Introduction
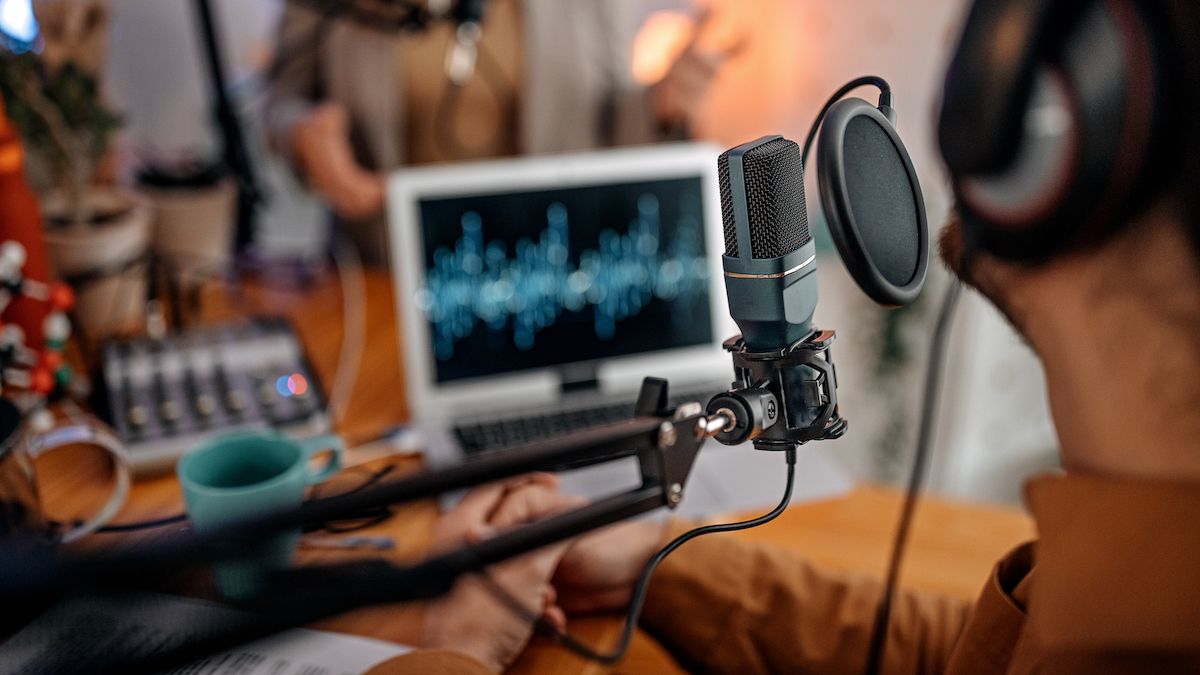
Welcome to the age of podcasting, where anyone with a microphone and internet connection can become a virtual broadcaster. Podcasts have rapidly gained popularity as a medium for sharing information, discussing topics of interest, and entertaining audiences worldwide. Whether you’re a seasoned podcaster or just getting started, recording a podcast remotely is a convenient option that allows for collaboration with co-hosts and guests from anywhere in the world.
Remote podcasting offers numerous advantages, including flexibility, the ability to connect with experts in various fields, and the opportunity to reach a wider audience. However, the process of recording a podcast remotely can be daunting, especially for those unfamiliar with the necessary tools and techniques. But fear not! In this article, we will guide you through the steps to successfully record a podcast from the comfort of your own space.
Before we dive in, it’s important to note that remote podcasting requires not only technical knowledge but also effective communication and organization skills. Clear and concise communication with your co-hosts or guests is vital to ensure a smooth recording process and high-quality episode. Now, let’s explore the tools you’ll need to get started with remote podcast recording.
Choosing the Right Tools
When it comes to remote podcast recording, having the right set of tools is essential to ensure a professional and seamless experience. Here are some tools you should consider:
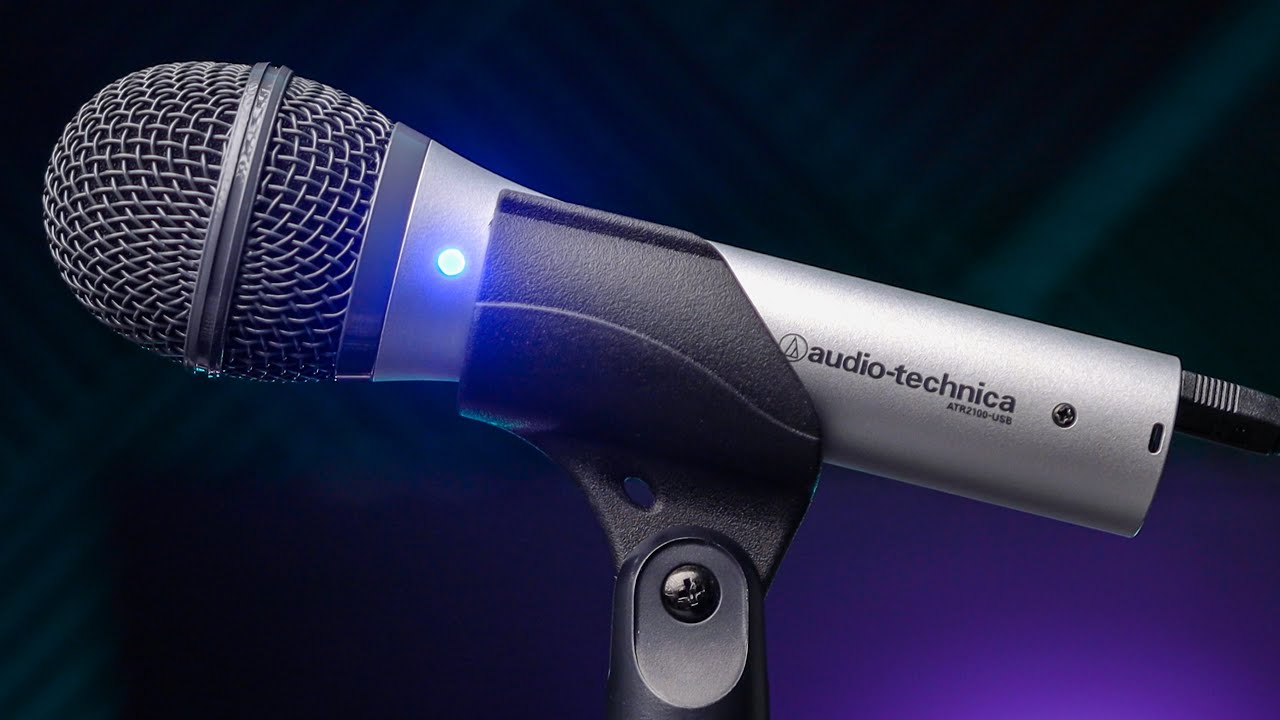
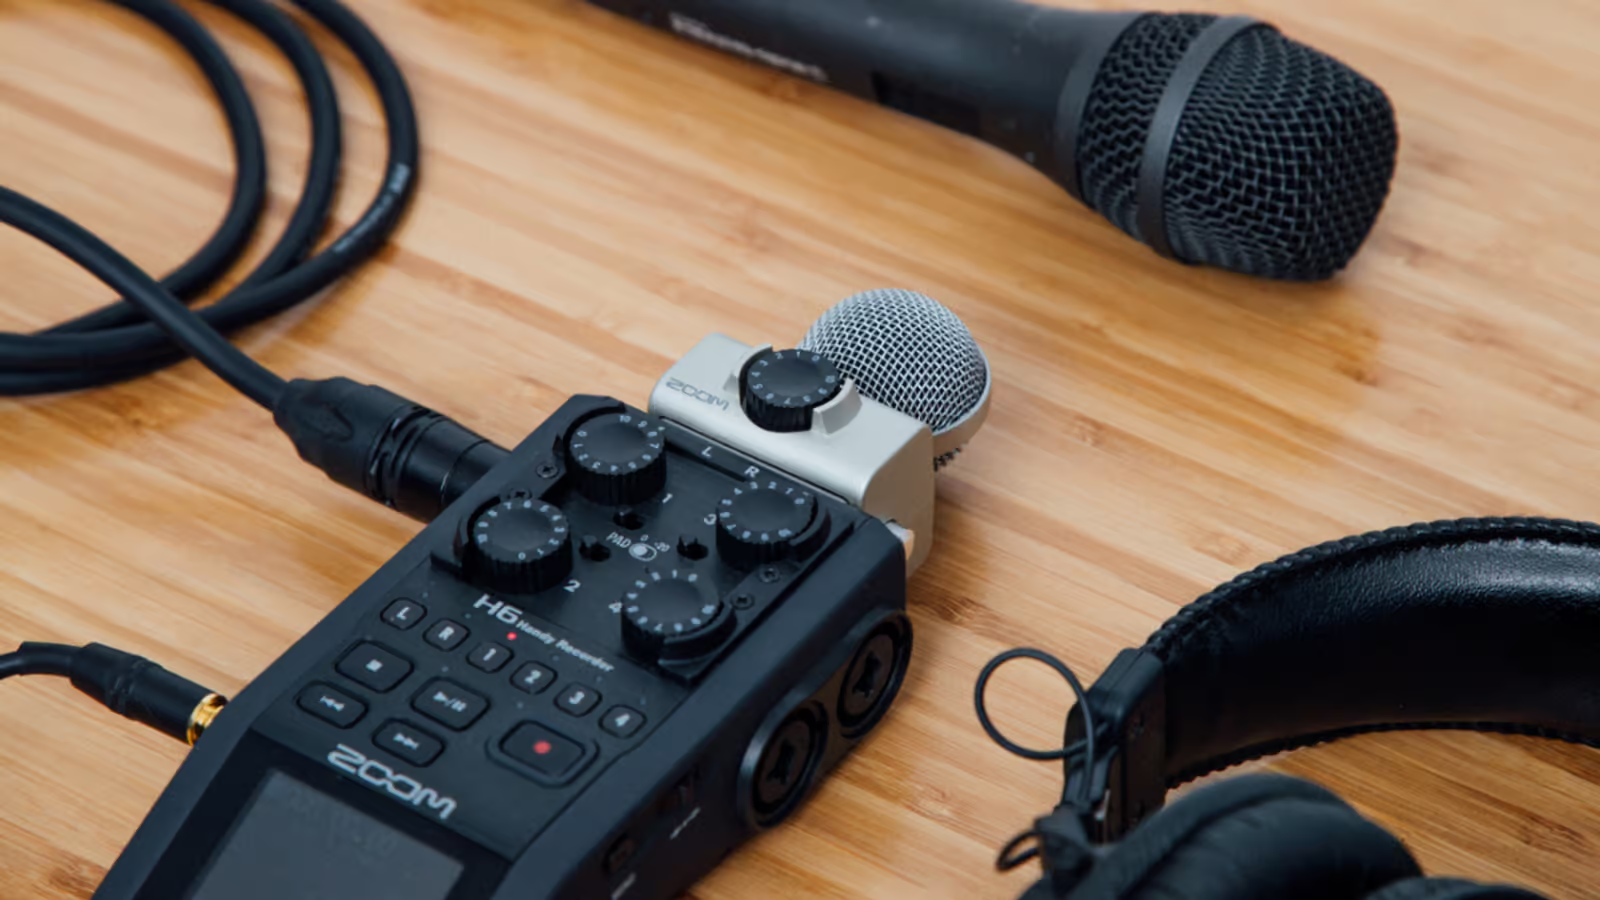
- Microphone: Invest in a good-quality microphone to ensure clear and crisp audio. USB microphones are popular choices for beginners as they are easy to set up and offer decent sound quality. If you want a more professional setup, consider using XLR microphones connected to an audio interface.
- Headphones: A good pair of closed-back headphones is crucial for monitoring audio during the recording. This allows you to catch any issues or background noise in real-time.
- Audio Mixing Software: Choose an audio recording and editing software that suits your needs. Popular options include Audacity (free), Adobe Audition, and GarageBand (for Mac users). These programs provide essential functions such as multi-track recording, editing, and noise reduction.
- VoIP Software: To establish real-time communication with your co-hosts or guests, consider using voice-over-IP (VoIP) software. Applications like Skype, Zoom, and Discord allow for voice and video calls, making it easy to connect and have virtual conversations.
- File Sharing and Storage: Find a reliable platform to share and store your podcast files. Cloud-based storage services like Google Drive, Dropbox, or OneDrive are excellent options that provide easy access to your files from anywhere with an internet connection.
Remember to do thorough research and read reviews before investing in any equipment or software. Consider your budget, recording environment, and specific requirements when choosing the right tools for your podcasting setup.
Now that you have the necessary tools, let’s move on to the next step: setting up your recording space.
Setting up Your Recording Space
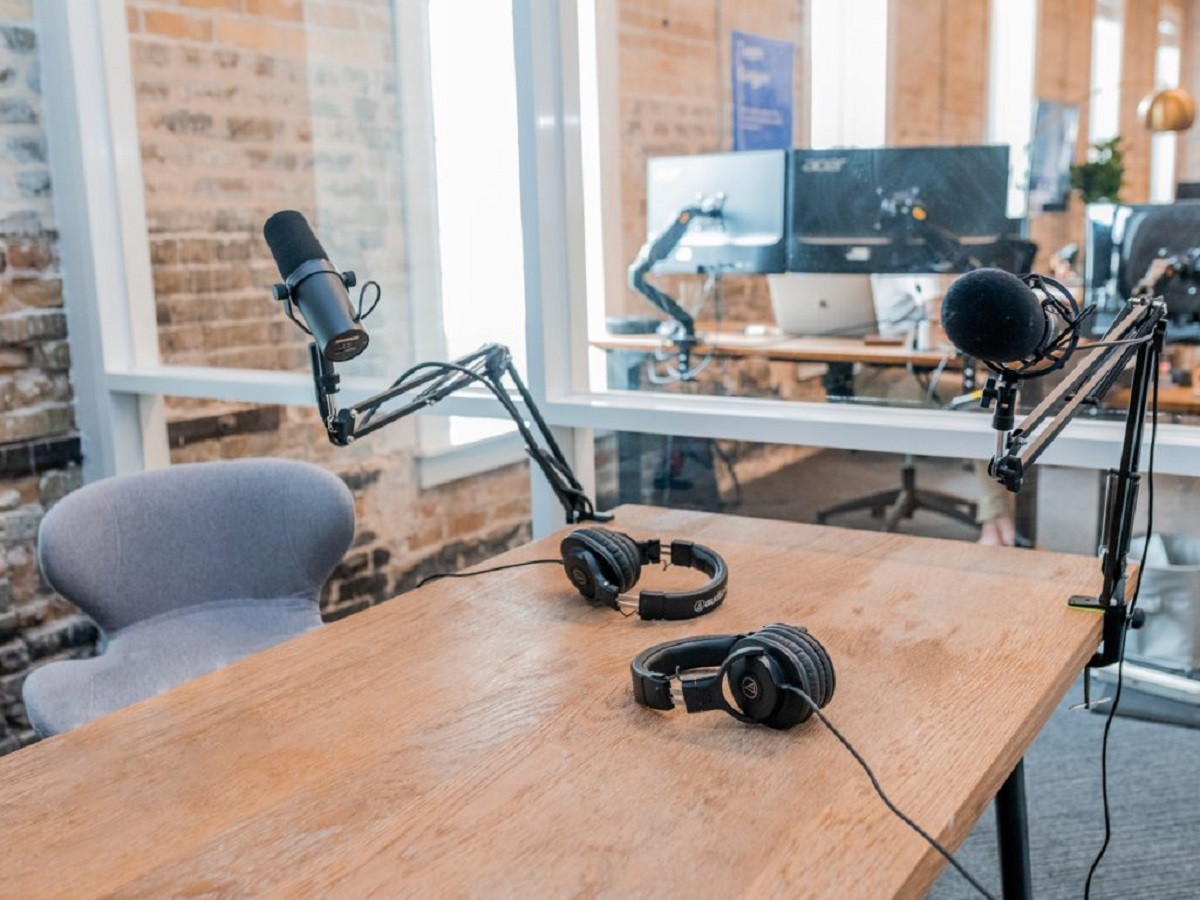
Creating an ideal recording space is vital for producing high-quality podcast episodes. Here are some steps to set up your recording space:
- Choose a Quiet Environment: Find a quiet room or area where you can record without distractions. Look for a space with minimal background noise, such as traffic, appliances, or loud neighbors.
- Minimize Echoes and Reverberation: Echoes and reverberations can negatively impact the sound quality of your podcast. To minimize these, choose a room with soft furnishings, like carpets or curtains, which help absorb sound reflections. Avoid rooms with hard surfaces like tiles or glass.
- Arrange Your Equipment: Set up your microphone and headphones in a comfortable position. Use a microphone stand or boom arm to keep the microphone at a consistent distance from your mouth to achieve consistent audio levels.
- Reduce External Noises: Use soundproofing techniques to minimize external noises from intruding into your recording. Consider using acoustic foam panels or blankets to dampen echoes and isolate your recording space from outside sounds.
- Test and Adjust: Take some time to test your recording setup and make necessary adjustments. Experiment with microphone positioning, volume levels, and gain settings to achieve optimal sound quality.
Remember that it’s not just about the physical space, but also about positioning your body in a way that allows for comfortable and consistent recording. Sit or stand straight, maintain a consistent distance from the microphone, and avoid unnecessary movements that could introduce handling noise.
By setting up a dedicated recording space and optimizing it for quality audio, you’ll be well-prepared to start recording your remote podcast sessions. In the next section, we’ll discuss how to ensure clear audio quality for your episodes.
Ensuring Clear Audio Quality
Clear audio is essential for a professional-sounding podcast. To ensure that your remote podcast recordings have excellent audio quality, follow these tips:
- Use a Pop Filter: A pop filter is a screen placed in front of the microphone to prevent plosive sounds (such as “p” and “b” sounds) from distorting the audio. It helps reduce unwanted noise and improves the clarity of your recordings.
- Maintain a Consistent Distance: Keep a consistent distance from the microphone throughout the recording to maintain a consistent volume level. Avoid moving too close to the mic, which can cause audio distortion, or too far away, which can result in a weak or distant sound.
- Eliminate Background Noise: Ideally, record in a quiet environment free from background noise. Close windows, turn off fans or air conditioning units, and silence any electronic devices that may produce unwanted sounds during the recording.
- Adjust Microphone Settings: Experiment with microphone gain settings to find the optimal level. Avoid setting the gain too high, as it can introduce unwanted noise or distortion. Use headphones to monitor and ensure that the audio levels are balanced.
- Speak Clearly and Enunciate: When recording, speak clearly and enunciate your words to improve the overall clarity of your speech. Avoid mumbling or speaking too quickly, as it can make it challenging for listeners to understand.
- Consider Using Noise Reduction: If you do encounter background noise or unwanted artifacts in your recordings, consider using noise reduction tools during the editing process to clean up the audio. However, use these tools judiciously to avoid sacrificing the natural sound quality of your voice.
Remember, it’s always better to prevent audio issues during the recording process rather than trying to fix them in post-production. Taking the time to address these audio quality considerations will significantly enhance the professional appeal of your podcast episodes.
Now that we’ve covered strategies for ensuring clear audio quality, let’s move on to the next step: establishing communication with your co-hosts or guests for remote podcast recording.
Establishing Communication with Your Co-hosts/Guests
When recording a podcast remotely, effective communication with your co-hosts or guests is essential for a seamless recording experience. Here are some tips to establish clear communication:
- Select a Reliable Communication Platform: Choose a voice-over-IP (VoIP) software that suits your needs and allows for real-time communication. Platforms like Skype, Zoom, or Discord are popular choices for remote podcast recordings.
- Do a Test Call: Before the actual recording, schedule a test call with your co-hosts or guests. This helps ensure that everyone’s audio and video settings are properly configured and that any potential technical issues can be resolved in advance.
- Use Headphones: Encourage all participants to use headphones to prevent audio feedback or echo during the call. Headphones help isolate the sound and ensure clear communication without interference.
- Establish Etiquette and Turn-Taking: Discuss the podcast flow and establish guidelines for when to speak. Ensure that everyone has a turn to contribute without talking over each other. This will improve the overall quality and cohesiveness of your episode.
- Record Locally: While the call may serve as a backup, ask your co-hosts or guests to record their audio locally on their own devices. This ensures that each participant’s audio is of the highest quality and can be synced during the editing process, resulting in superior audio for your podcast.
- Provide Clear Instructions: Communicate any specific technical requirements or guidelines to your co-hosts or guests. This includes microphone positioning, internet connection stability, and any necessary adjustments to audio settings.
Effective communication is not only about technical aspects but also about creating a comfortable and engaging atmosphere for conversation. Encourage open dialogue, active listening, and respectful interactions to foster a pleasant recording experience for everyone involved.
With a clear line of communication established, you’re ready to move on to the exciting part: recording the podcast session. In the next section, we’ll delve into the steps involved in recording your remote podcast.
Recording the Podcast Session
Now that you have everything set up, it’s time to start recording your remote podcast session. Follow these steps to ensure a smooth and successful recording:
- Prepare an Outline: Before hitting the record button, have an outline or script prepared to guide the conversation. This helps keep the discussion on track and ensures that you cover all the important points.
- Introduce Each Participant: Begin the session by introducing each participant, including their name and role. This helps listeners distinguish between speakers and creates a more professional and engaging experience.
- Start Recording: Press the record button on your chosen recording software. Make sure that all participants are aware that the session is being recorded to avoid any surprises or privacy concerns.
- Follow the Outline: Stick to your prepared outline or script but allow for natural conversation to flow. Encourage your co-hosts or guests to share their thoughts and perspectives, fostering an engaging and dynamic discussion.
- Monitor Audio Quality: Throughout the recording, keep an eye on the audio levels and monitor for any issues. Pay attention to background noise, microphone positioning, and any technical glitches that may affect the overall quality of the recording.
- Take Breaks and Pause when Needed: If the session is lengthy, consider taking short breaks to give everyone a chance to rest and regroup. Pause the recording during breaks and resume when ready to continue.
- Conclude the Session: End the recording by summarizing the main points discussed and thanking your co-hosts or guests for their participation. This provides a sense of closure and prepares you for the next steps in the podcast creation process.
Remember, the goal of recording a podcast session is to capture interesting and valuable content while maintaining a conversational and natural atmosphere. Embrace any unexpected moments or spontaneous discussions that add depth and authenticity to your episode.
Once the recording is complete, you’re ready to move on to the next phase: editing and polishing the podcast episode. We’ll explore this step in the following section.
Tips for a Smoother Recording Process
Recording a podcast remotely can present its own unique set of challenges. To ensure a smoother recording process, keep these tips in mind:
- Communicate and Coordinate: Establish clear communication with your co-hosts or guests and coordinate scheduling well in advance. This helps avoid confusion and ensures that everyone is prepared and available for the recording session.
- Test Equipment and Software: Perform thorough tests of your equipment and recording software before the actual recording session. This allows you to troubleshoot any potential issues in advance and streamline the recording process.
- Prepare in Advance: Proper preparation is key to a smooth recording process. Have your outlines, scripts, and any necessary materials ready beforehand. This saves time and reduces the chance of stumbling or becoming disorganized during the recording.
- Use Visual Cues for Communication: In addition to voice communication, consider utilizing video calls during the recording session. Visual cues can enhance communication, facilitate better timing, and help maintain engagement throughout the conversation.
- Take Note of Latency: Be aware of any latency issues that may arise due to internet connections or distance between participants. Allow for brief pauses to ensure that everyone has finished speaking before moving on to the next point.
- Record Backup Tracks: Whenever possible, record backup tracks of the session. This can be a separate recording on a different device or using software that simultaneously records multiple tracks. Having backups ensures you have a safety net if any technical issues occur.
- Stay Focused and Engaged: Maintain focus and engagement throughout the recording process. Encourage active listening and participation from all participants to keep the conversation lively and enriching.
- Embrace Imperfections: Remember that podcasting is a human-centric medium. Don’t overly stress about minor mistakes or imperfections during the recording. Embrace the natural flow of conversation and focus on delivering valuable content to your audience.
Implementing these tips can significantly enhance the recording experience, minimize disruptions, and lead to a polished and engaging podcast episode.
Now that you’re armed with these tips for a smoother recording process, let’s move on to the next step: editing and polishing the podcast episode.
Editing and Polishing the Podcast Episode
Editing is a crucial step in the podcast production process. It allows you to refine the raw recording, enhance the audio quality, and create a polished and professional final product. Here’s how to edit and polish your podcast episode:
- Trimming and Removing Unwanted Parts: Start by trimming the recording to remove any long pauses, mistakes, or irrelevant sections. Be mindful of maintaining the natural flow and continuity of the conversation.
- Enhancing Audio Quality: Use audio editing software to adjust audio levels, equalize the sound, and reduce background noise. Apply noise reduction, compression, and equalization techniques to improve the overall audio quality.
- Add Intro and Outro Music: Create a professional touch by adding intro and outro music to your podcast episode. Choose music that aligns with the tone and theme of your podcast to set the stage for each episode.
- Insert Transitions: Smooth out the transitions between different segments or topics by adding fade-ins, fade-outs, or sound effects. This helps create a more cohesive and engaging listening experience.
- Remove Filler Words and Vocal Tics: Edit out excessive filler words, such as “um,” “uh,” or repetitive vocal tics, to create a smoother and more professional delivery. However, ensure that the edits sound natural and do not compromise the authenticity of the conversation.
- Balance Audio Levels: Ensure that all participants’ audio levels are balanced throughout the episode. Adjust the volume of individual tracks to create a pleasant listening experience where all voices are clear and audible.
- Add Segments or Advertisements: If desired, incorporate pre-recorded segments or advertisements at appropriate points in the episode. Ensure smooth transitions between the main content and any additional segments or promotional materials.
- Review and Fine-Tune: Take the time to carefully listen to the edited episode in its entirety. Make any necessary adjustments, such as removing additional noise, inconsistencies, or long pauses, to ensure a polished final product.
Remember to maintain the integrity of the original conversation while enhancing the overall listening experience. The goal is to create a well-edited episode that retains the organic flow and genuine interactions between participants.
Once you’re satisfied with the final edit of your podcast episode, save the file in your desired format and prepare for the exciting step of publishing and sharing your podcast with the world.
Conclusion
Congratulations! You’ve now learned how to successfully record a podcast remotely. By choosing the right tools, setting up your recording space, ensuring clear audio quality, establishing communication with your co-hosts or guests, recording the podcast session, and editing and polishing the episode, you’re well-equipped to create engaging and professional podcasts from the comfort of your own space.
Remember, remote podcasting offers incredible opportunities for collaboration, flexibility, and reaching a wider audience. Embrace the power of technology to connect with co-hosts and guests from anywhere in the world, allowing for diverse perspectives and captivating discussions.
As you continue on your podcasting journey, always prioritize good communication, active listening, and providing valuable content for your audience. Stay consistent in your recording schedule, continuously improve your skills, and adapt to the ever-changing landscape of podcasting.
Now that you have a solid foundation in remote podcasting, it’s time to put your knowledge into practice and start creating amazing podcast episodes. So, grab your microphone, gather your co-hosts or guests, and embark on your podcasting adventure with confidence.
Happy podcasting!