Introduction
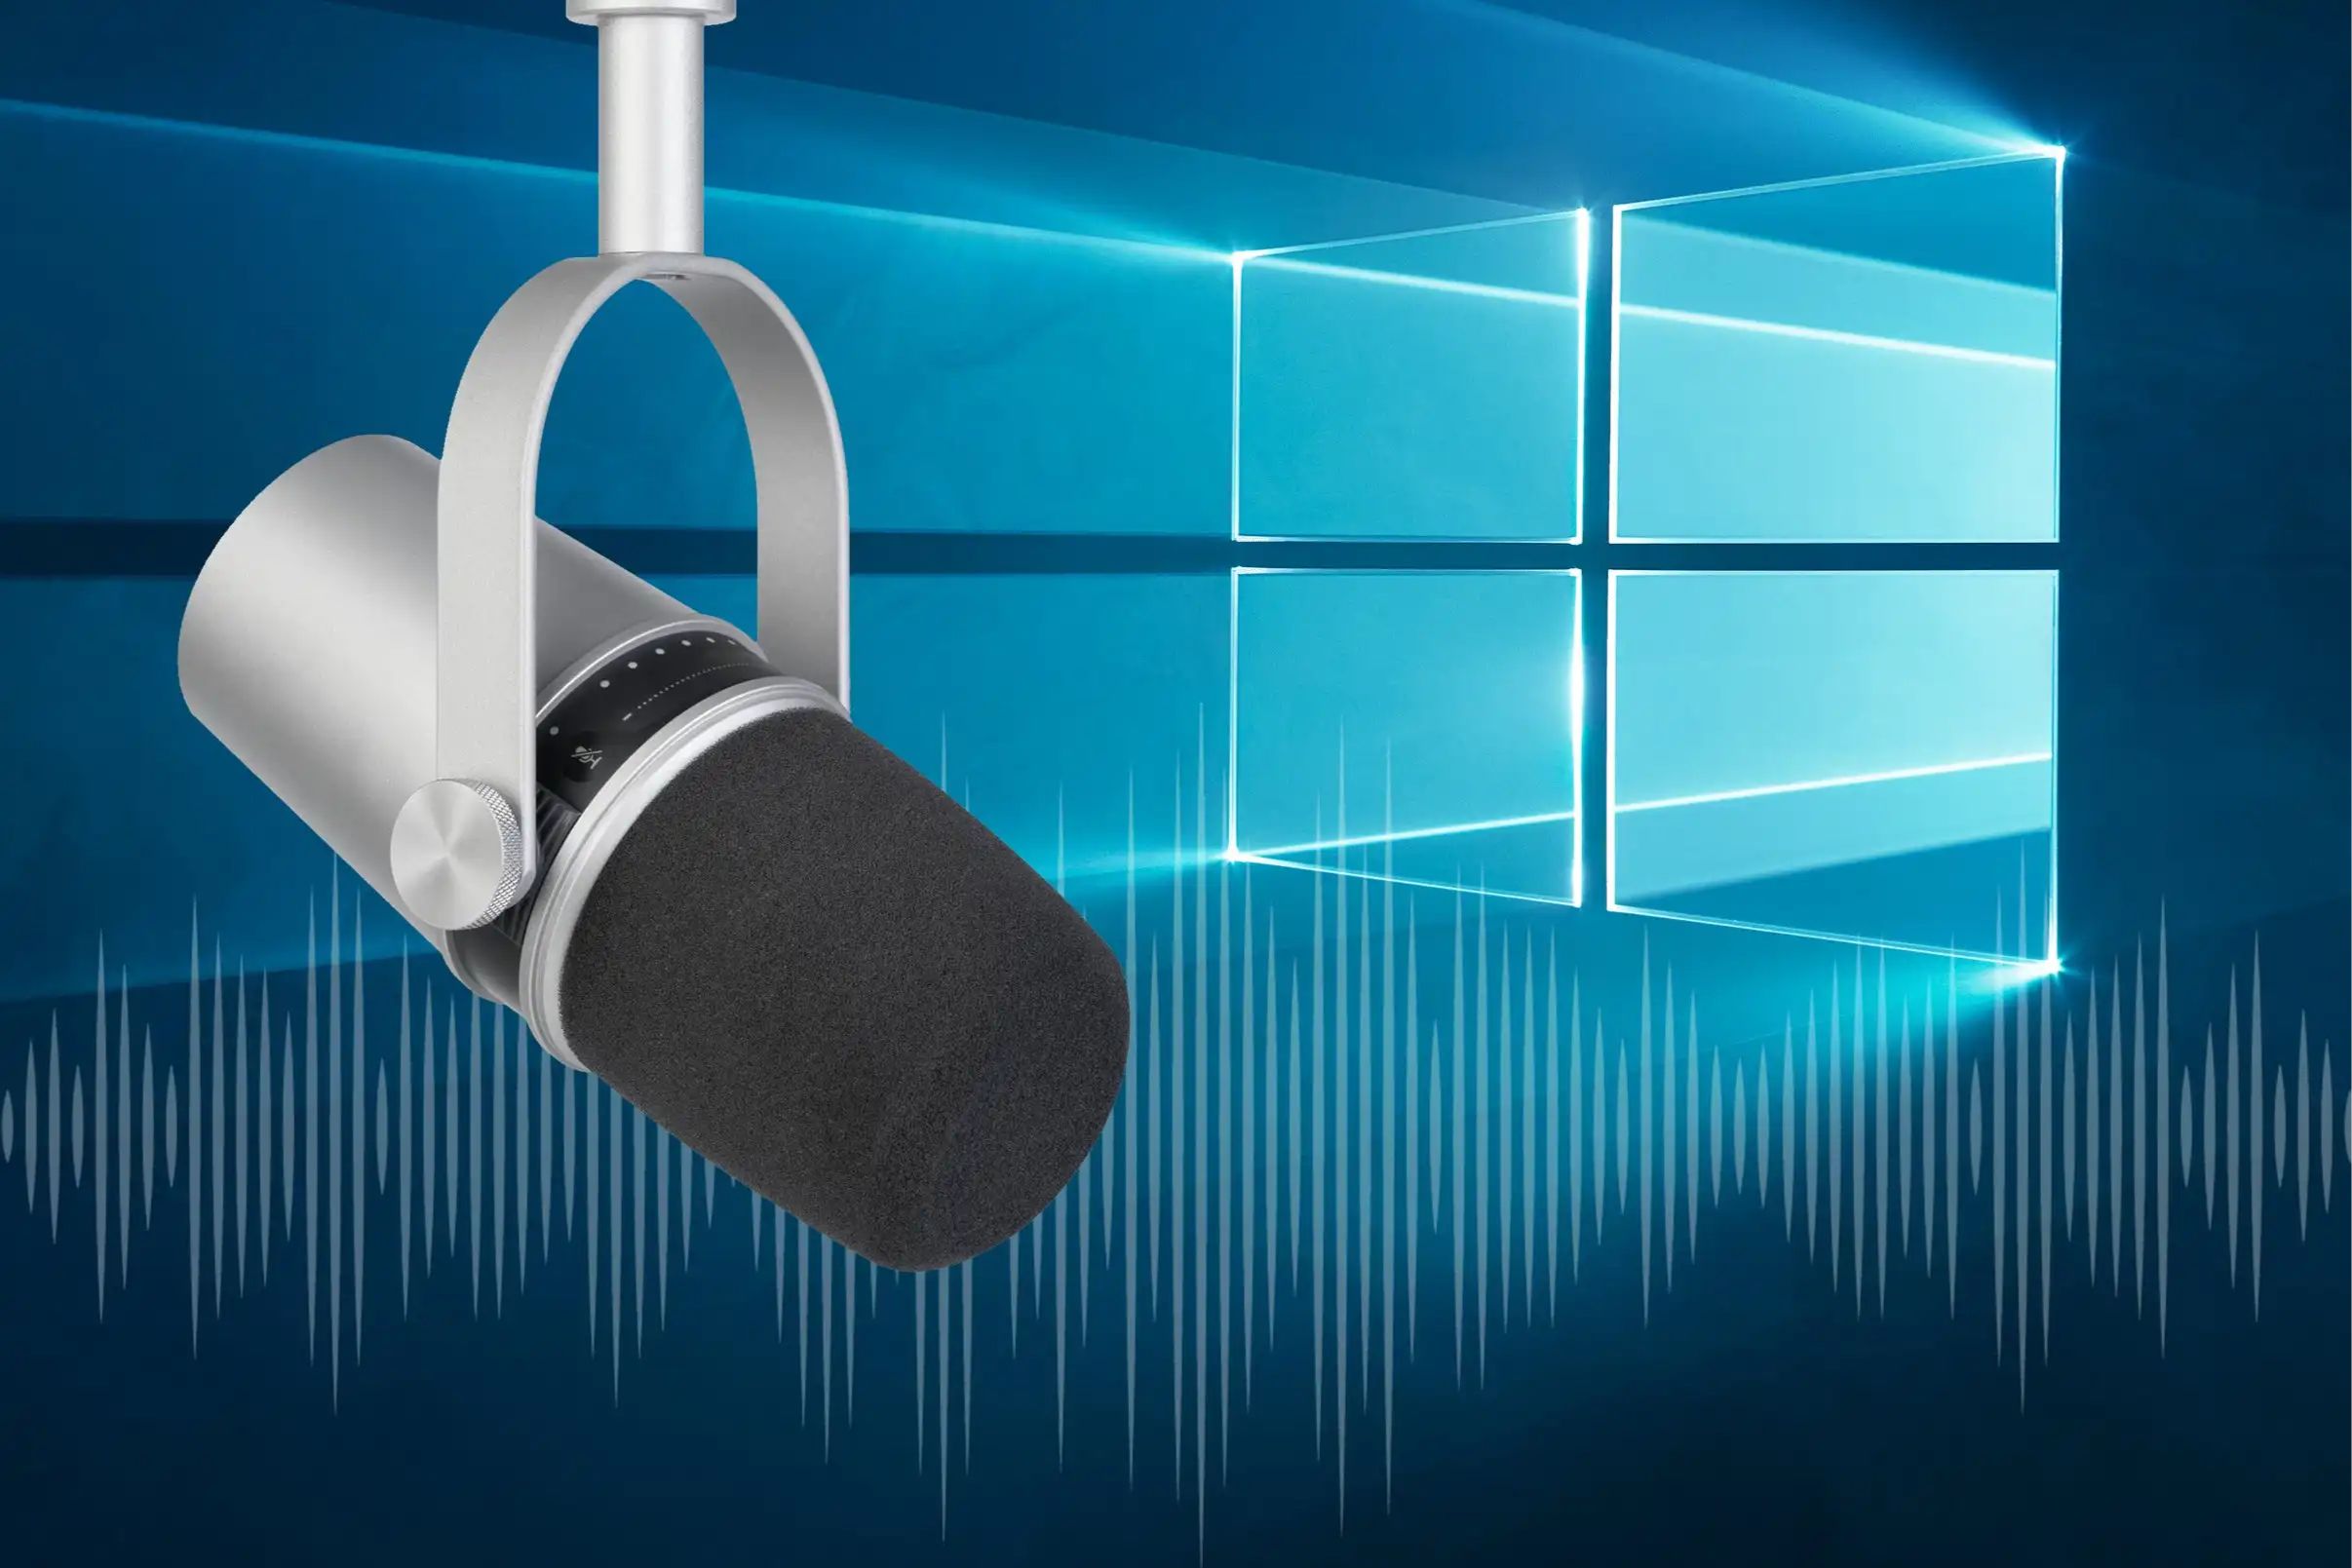
Welcome to the world of USB microphones! If you’re looking to boost your audio recording game, a USB microphone is a fantastic option. These compact and versatile devices allow you to capture high-quality audio directly into your computer without the need for any additional audio interfaces or complex setups.
Whether you’re a podcaster, gamer, musician, or content creator, having a top-notch USB microphone can make a significant difference in the clarity and professionalism of your recordings. However, getting the most out of your USB microphone requires a bit of know-how and some optimization techniques.
In this guide, we will explore various ways to boost your USB microphone’s performance and improve the overall audio quality. From selecting the right microphone to adjusting recording settings and utilizing accessories, we’ll cover everything you need to know to make your recordings sound exceptional.
So, if you’re ready to take your audio recordings to the next level, let’s dive into the world of USB microphones and discover how to make the most of this technological marvel!
Understanding USB Microphones
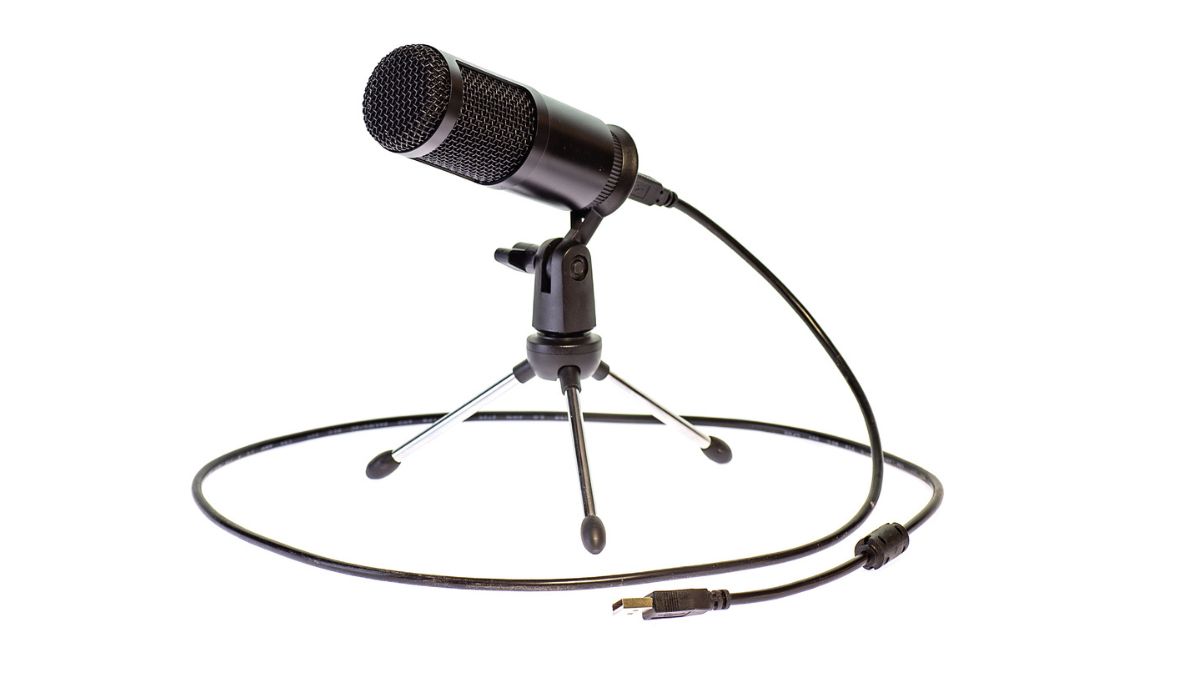
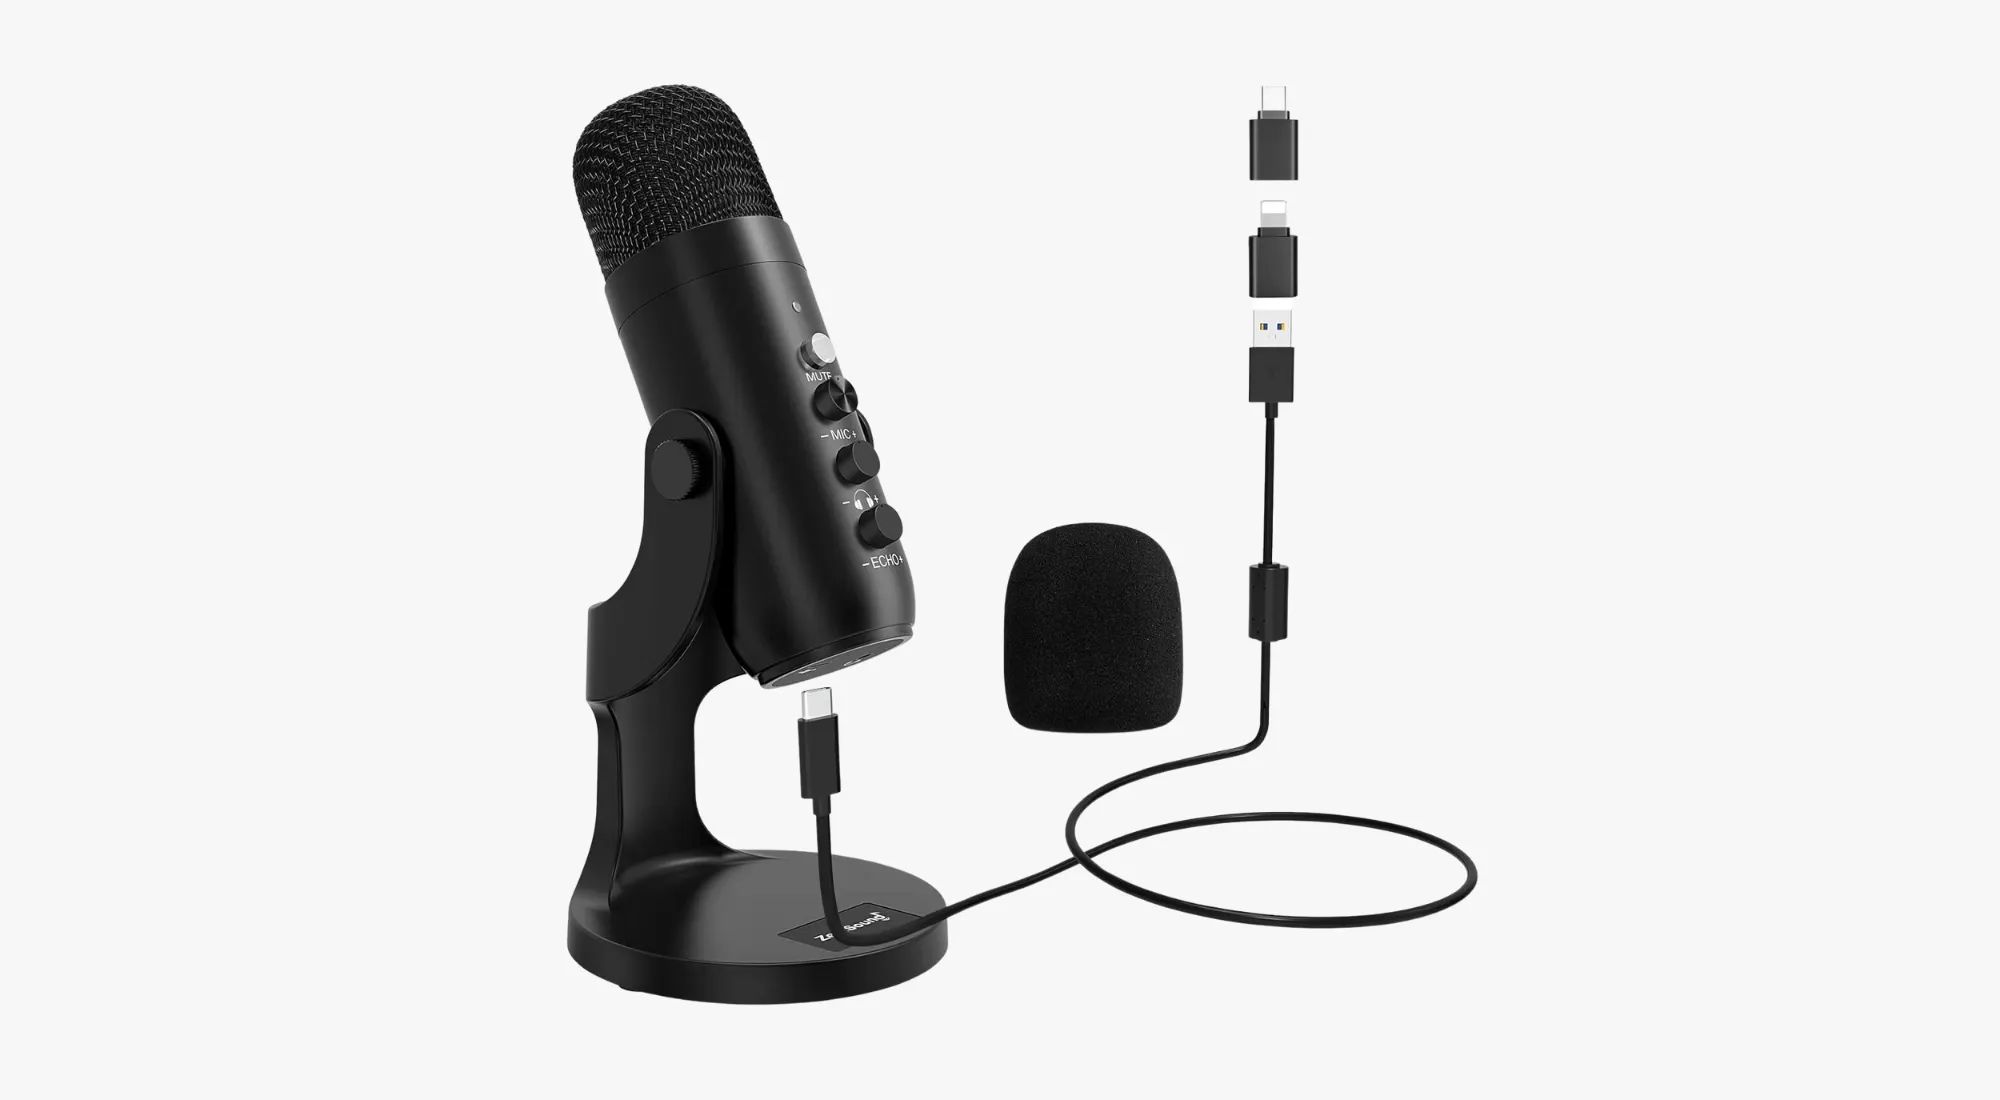
Before we start optimizing our USB microphone, it’s essential to have a good understanding of how these devices work. A USB microphone is a self-contained audio input device that connects directly to your computer’s USB port. It consists of a microphone element, analog-to-digital converter, and a USB interface.
Unlike traditional microphones that require additional audio interfaces or mixers, USB microphones simplify the setup process. They eliminate the need for complex cabling and external power supplies, making them a convenient choice for beginners and professionals alike. Just plug the USB microphone into your computer, and you’re ready to start recording!
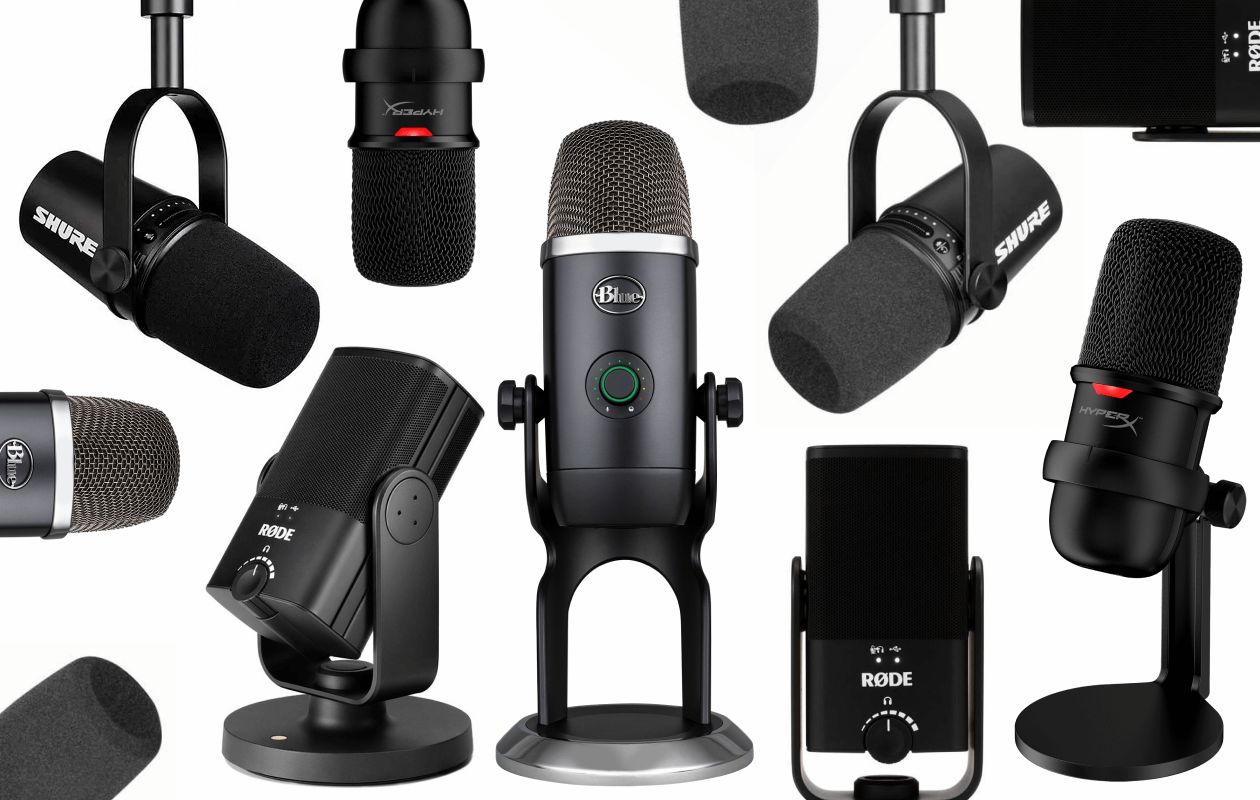
USB microphones are available in different types and designs. The most common types include dynamic, condenser, and ribbon microphones. Each type has its own distinct characteristics and is suitable for specific applications.
Dynamic microphones are known for their durability and ability to handle high sound pressure levels, making them ideal for live performances and recording vocals and instruments. Condenser microphones, on the other hand, are renowned for their sensitivity and accuracy, making them popular for studio recordings and capturing subtle nuances. Ribbon microphones offer a vintage and warm sound quality, often used for recording vocals and acoustic instruments.
USB microphones also come with different polar patterns, which determine how the microphone picks up sound from various directions. The most common polar patterns are cardioid, omni-directional, and bi-directional. A cardioid pattern captures sound from the front and rejects sound from the sides and rear, making it ideal for single-person recordings. An omni-directional pattern captures sound from all directions, making it suitable for capturing room ambience or group discussions. A bi-directional (figure-eight) pattern captures sound from the front and rear, making it ideal for interviews or capturing two-person conversations.
Understanding the different types and polar patterns of USB microphones will help you choose the most suitable option for your specific recording needs. It’s important to consider your intended use, environment, and desired sound quality when selecting a USB microphone.
Now that we have a solid understanding of USB microphones, let’s move on to the next step – choosing the right USB microphone that meets your requirements and enhances your audio recordings!
Choosing the Right USB Microphone
When it comes to selecting a USB microphone, there are several factors you need to consider to ensure you choose the right one that suits your recording needs. Here are some key points to keep in mind:
1. Purpose: Determine the primary use of the microphone. Are you recording vocals, instruments, podcasts, or gaming commentary? Different microphones are optimized for specific purposes, so identify your main recording application.
2. Budget: Set a budget for your USB microphone. They come in a wide range of prices, from budget-friendly options to high-end professional models. It’s important to find a balance between your budget and the quality you desire.
3. Sound Quality: Consider the overall sound quality you want to achieve. Condenser microphones generally offer higher sensitivity and better detail, while dynamic microphones are more robust and handle high sound pressure levels well.
4. Polar Pattern: Determine the polar pattern(s) you need for your recordings. If you’re a solo podcaster or vocalist, a cardioid pattern may suffice. However, if you plan to record interviews or roundtable discussions, an omni-directional or bi-directional pattern might be more suitable.
5. Convenience: Evaluate the microphone’s physical design and features. Do you need a portable microphone that you can easily take on the go? Consider the size, weight, and mounting options of the microphone to ensure it fits your requirements.
6. Compatibility: Ensure that the USB microphone is compatible with your computer’s operating system. Most USB microphones work with both Windows and Mac, but it’s always a good idea to double-check the specifications before making a purchase.
7. Reviews and Recommendations: Do your research and read reviews from trusted sources or seek recommendations from fellow content creators or musicians. Hearing from others who have experience with the microphone can provide valuable insights and help you make an informed decision.
By considering these factors, you can narrow down your options and find the USB microphone that best fits your requirements. Remember, finding the right USB microphone is crucial for enhancing the quality of your recordings and achieving professional-sounding results.
Now that we have covered the importance of choosing the right USB microphone, let’s move on to the next steps to further optimize its performance and maximize the audio quality of your recordings!
Adjusting Recording Settings
Once you’ve chosen the right USB microphone, it’s time to adjust the recording settings to optimize the audio quality. Here are some key settings to consider:
1. Sample Rate and Bit Depth: The sample rate determines the number of audio samples per second, while the bit depth determines the dynamic range and resolution of the audio. For most recordings, a sample rate of 44.1 kHz and a bit depth of 16-bit or 24-bit is sufficient. However, if you’re recording music or requiring higher quality, you can choose higher sample rates and bit depths.
2. Recording Levels: Ensure that the recording level is set appropriately to avoid clipping or distortion. Monitor the input level meter while speaking or playing an instrument and adjust the gain or input volume accordingly. Aim for a balanced level that avoids both overly quiet recordings and distorted audio.
3. Monitoring: Enable real-time monitoring of your microphone to hear the audio as you record. This allows you to check for any issues, such as background noise, plosives, or sibilance, and adjust accordingly. Use headphones to prevent the microphone from picking up the playback audio and causing feedback.
4. Software Enhancements: Take advantage of any software enhancements or effects that come with your recording software or audio interface. These can include EQ (equalization), compression, reverb, and noise reduction tools. Experiment with different settings to find the optimum balance for your recordings.
5. Recording Formats: Choose the appropriate file format for your recordings. Common formats include WAV, AIFF, and MP3. WAV and AIFF offer high-quality uncompressed audio, while MP3 is a compressed format suitable for online sharing or reducing file size.
6. File Organization: Establish a consistent file naming and organizational system to keep your recordings organized. Consider creating separate folders for different projects or categories to easily locate and manage your recordings.
7. Backup and Storage: Regularly back up your recordings to ensure you don’t lose any valuable work. Invest in external hard drives or cloud storage solutions to securely store your audio files.
By adjusting these recording settings, you can optimize the audio quality and ensure that your USB microphone is performing at its best. Experimentation and fine-tuning may be necessary to find the settings that work best for your specific recording needs.
Now that we have covered recording settings, let’s move on to the next step – optimizing the microphone placement to further enhance the audio quality of your recordings!
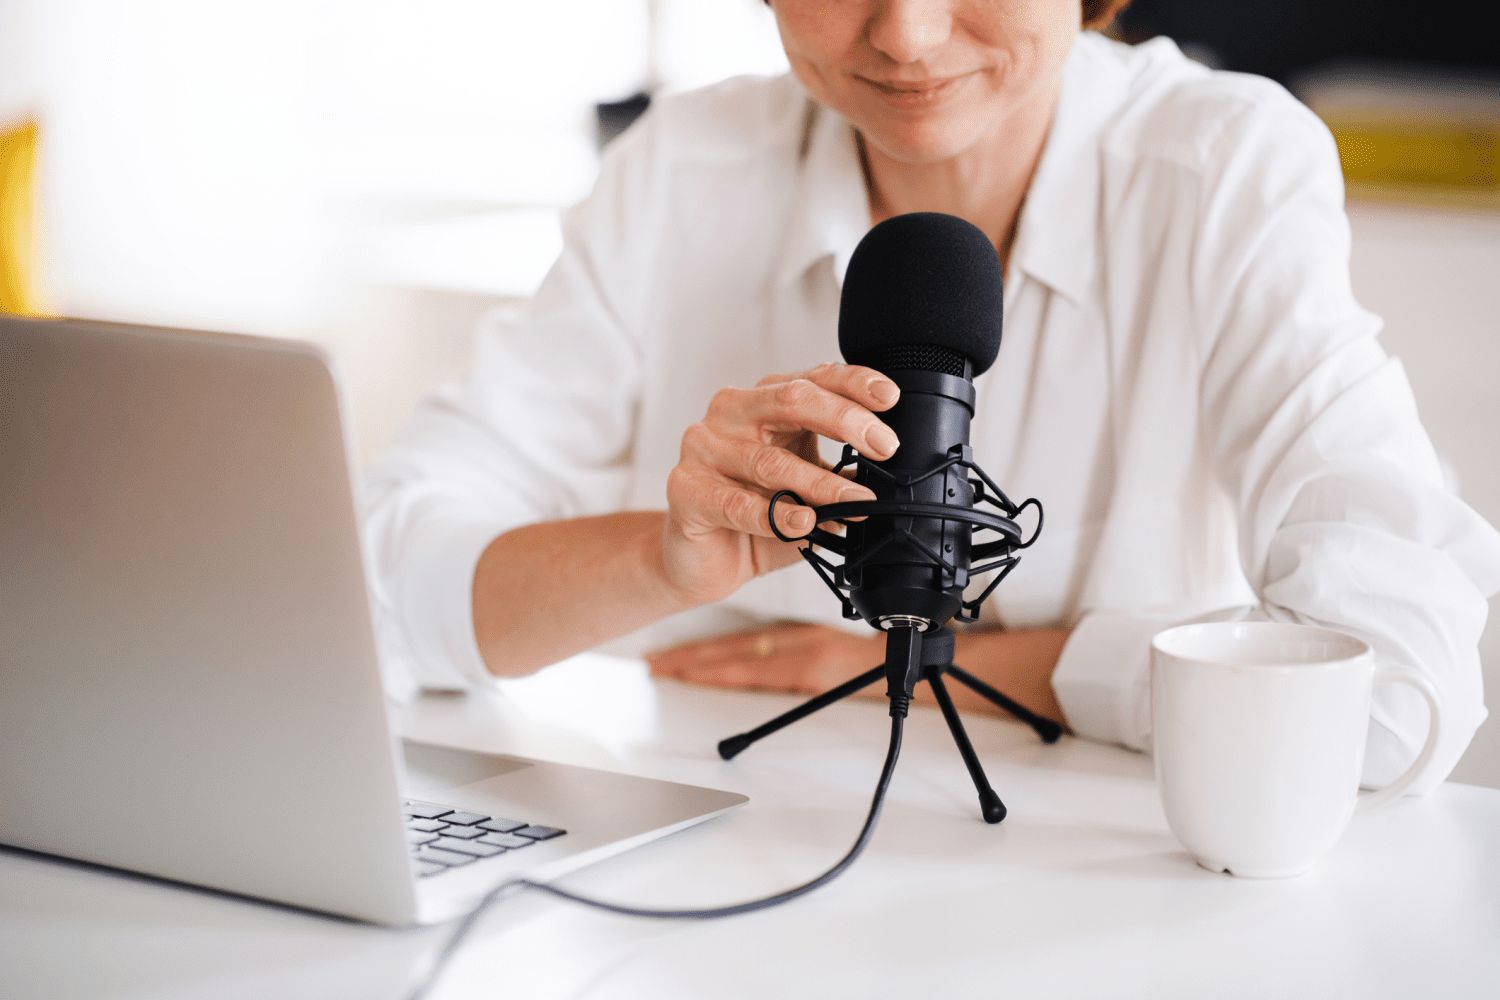
Optimizing the Microphone Placement
The placement of your USB microphone plays a critical role in capturing clear and high-quality audio. Here are some tips to help you optimize the microphone placement:
1. Distance: Position the microphone at an appropriate distance from the sound source. For vocal recordings, a distance of around 6-8 inches (15-20 cm) is generally a good starting point. Experiment with different distances to find the sweet spot that captures a balanced and clear sound.
2. Angle: Angle the microphone slightly downward or towards the sound source. This helps to minimize unwanted reflections and captures the intended sound more accurately. Tilting the microphone slightly can also help to reduce plosives (popping sounds) and sibilance (harsh ‘s’ sounds).
3. Placement Techniques: Different recording scenarios may require specific microphone placement techniques. For vocals, positioning the microphone slightly off-center can help reduce the proximity effect, which gives a boomy sound when the microphone is too close. For recording instruments, experiment with close-miking or room-miking techniques to capture the desired sound characteristics.
4. Acoustic Treatments: Consider the acoustic environment in which you are recording. If possible, use acoustic treatment such as foam panels, bass traps, or diffusers to minimize reflections, echoes, and background noise. This helps to create a cleaner and more focused sound capture.
5. Isolation: If you are facing significant background noise, isolate the microphone from unwanted sounds. Use a microphone isolation shield or a portable vocal booth to block out ambient noise and focus on capturing the desired sound source more effectively.
6. Mic Stand and Shock Mount: Invest in a sturdy microphone stand and a shock mount. A quality mic stand allows you to adjust the microphone’s height and position easily, while a shock mount helps isolate the microphone from handling noise and vibrations, resulting in cleaner recordings.
7. Experiment and Listen: Every recording environment and sound source is unique, so it’s important to experiment and listen carefully to the results. Make small adjustments to the microphone placement and listen back to the recordings to find the optimal placement for the specific desired sound.
Remember, finding the right microphone placement can significantly impact the overall audio quality of your recordings. Be patient, experiment, and fine-tune until you achieve the best possible sound capture.
Next, let’s explore the use of pop filters and windscreens to further enhance your recordings by minimizing unwanted noise and disturbances!
Utilizing Pop Filters and Windscreens
Pop filters and windscreens are essential accessories that can greatly improve the audio quality of your recordings by reducing unwanted noises caused by plosive sounds and wind interference. Here’s how you can utilize these accessories effectively:
1. Pop Filters: Pop filters are mesh screens placed in front of the microphone to minimize plosive sounds that occur when pronouncing certain letters, such as ‘p’ and ‘b’. These sounds can create unwanted bursts of air that cause distortion in the recording. Position the pop filter about two inches (5 cm) away from the microphone, ensuring that it covers the entire area where your breath passes over the microphone capsule.
2. Windscreens: Windscreens, also known as foam covers or windshields, are designed to reduce wind noise and minimize breath sounds that can occur during close vocal recordings or outdoor recording sessions. They are particularly useful when recording outdoors or in environments with air conditioning or fans. Slip the windscreen onto the microphone, ensuring a snug fit that covers the entire microphone head to effectively reduce wind interference.
3. Choosing the Right Filter or Windscreen: When selecting a pop filter or windscreen, consider the size and compatibility with your specific microphone model. There are universal options available that fit most microphones, as well as custom-made ones for certain microphone brands and models. Choose a filter or windscreen that suits your microphone’s size and shape to ensure a proper fit and optimal performance.
4. Maintenance and Cleaning: Regularly clean and maintain your pop filters and windscreens to prevent the buildup of dust, debris, or moisture. Follow the manufacturer’s instructions for cleaning, which typically involves gently rinsing or wiping the accessories with mild cleansers or warm water. Ensure they are completely dry before using them again to avoid any damage to your microphone.
5. Alternative Techniques: In some cases, you may not have access to a pop filter or windscreen. In such situations, you can try using alternative methods to reduce plosives and wind noise. For example, angle the microphone slightly off-center when recording vocals to minimize plosives or position the microphone behind a foam windscreen or pop shield to reduce wind interference.
By utilizing pop filters and windscreens, you can effectively minimize plosive sounds, reduce wind interference, and improve the overall audio quality of your recordings. These accessories are relatively inexpensive and can make a significant difference in the clarity and professionalism of your recordings.
Next, let’s explore the use of shock mounts to minimize vibrations and further enhance the performance of your USB microphone!
Using a Shock Mount to Minimize Vibrations
A shock mount is an essential accessory for any USB microphone setup, as it helps to minimize vibrations and handling noise that can deteriorate the audio quality of your recordings. Here’s how you can effectively use a shock mount:
1. What is a Shock Mount? A shock mount is a device designed to suspend the microphone in a cradle or elastic bands, isolating it from vibrations and handling noise. It absorbs shocks and vibrations that may occur from movement, bumps, or even tapping on the table.
2. Mounting the Microphone: Most shock mounts have a threaded adapter that allows you to securely attach the microphone. Screw the adapter onto the shock mount and then attach the microphone to the adapter. Make sure the microphone is properly seated in the shock mount and tightened to avoid any movement or looseness.
3. Isolating Vibrations: With the microphone mounted, the shock mount helps to isolate the microphone from any external vibrations. This includes vibrations caused by typing on a keyboard, moving the microphone stand, or adjusting any equipment on your desk. The shock mount absorbs these vibrations, preventing them from being picked up and affecting the recording quality.
4. Proper Adjustment: Ensure that the microphone is properly positioned within the shock mount. It should be centered and not touching the sides or top of the mount, as this can cause unwanted vibrations and rattling sounds. Make any necessary adjustments until the microphone is securely and centrally placed within the shock mount.
5. Stability and Maintenance: Place the shock mount on a stable surface or use a sturdy microphone stand to prevent any unnecessary movement. Regularly inspect the shock mount for any signs of wear or damage, such as stretched elastic bands. Replace any worn-out or damaged parts to maintain optimal performance.
6. Additional Benefits: In addition to minimizing vibrations, a shock mount can also help reduce low-frequency rumble caused by external sources such as HVAC systems or footsteps. This further enhances the overall audio quality and ensures clean recordings.
Using a shock mount is a simple yet effective way to minimize vibrations and handling noise, ultimately improving the audio quality of your USB microphone recordings. It is an essential accessory for any professional setup, especially if you are recording in a less controlled environment or engaging in more dynamic movements during your recordings.
Next, let’s delve into the process of setting the proper gain level on your USB microphone to achieve optimal signal-to-noise ratio.
Setting the Proper Gain Level
Setting the proper gain level on your USB microphone is crucial in achieving an optimal signal-to-noise ratio, which directly impacts the clarity and quality of your recordings. Here are some steps to help you set the gain level correctly:
1. Start with a Neutral Setting: Begin by setting the gain or input level on your USB microphone to a neutral or default position. This ensures that you start with a balanced level without any distortion or noise.
2. Monitor the Input Level Meter: While recording or speaking into the microphone, monitor the input level meter in your recording software or audio interface. Aim to keep the level between -12 dB and -6 dB on the meter during regular speech or normal volume levels.
3. Adjust the Gain Incrementally: Make small adjustments to the gain level if necessary. Increase the gain if your audio is too quiet and barely registering on the meter. Decrease the gain if the audio is consistently peaking or clipping, causing distortion.
4. Test with Different Sound Sources: To ensure a proper gain level, test the microphone with different sound sources you plan to record. This includes vocals, instruments, or any other audio sources you will be capturing. Adjust the gain accordingly for each specific sound source to achieve the best balance and avoid clipping or distortion.
5. Consider Dynamic Range: Keep in mind the dynamic range of your recordings. If you anticipate louder or more dynamic audio, leave some headroom by setting the gain level slightly lower to prevent clipping. This will provide you with more flexibility during the post-processing stage.
6. Monitor with Headphones: Use headphones to monitor the audio during the recording process. This allows you to listen closely for any unwanted noise, distortion, or clipping that may not be immediately apparent when monitoring through speakers. Headphones provide a more accurate representation of the recorded sound.
7. Test and Adjust as Needed: Continuously test and adjust the gain level as needed throughout the recording session. Factors such as microphone technique, vocalist dynamics, or changes in the environment may require slight adjustments to maintain an optimal gain level.
Setting the proper gain level ensures that your USB microphone captures the intended sound accurately while minimizing unwanted noise and distortion. It is a vital step in achieving professional-quality recordings.
Next, let’s explore techniques to reduce background noise and ensure cleaner audio recordings.
Reducing Background Noise
Background noise can significantly impact the quality of your USB microphone recordings. Fortunately, there are several techniques and tools that can help you reduce or eliminate background noise to ensure cleaner audio. Here are some effective ways to minimize background noise:
1. Choose a Quiet Recording Environment: Select a quiet location for your recordings, away from sources of noise such as traffic, appliances, or people talking. If possible, use a dedicated recording space or create a makeshift sound booth using soundproofing materials.
2. Close Doors and Windows: Close any doors and windows to minimize external noise from entering your recording space. This includes sounds from the surrounding neighborhood, wind, or birds chirping.
3. Use Soundproofing Materials: If you have a dedicated recording space, consider using soundproofing materials such as acoustic foam panels, bass traps, or sound curtains. These materials help to absorb and dampen external sounds, reducing their impact on your recordings.
4. Position the Microphone Carefully: Properly position your USB microphone to minimize background noise. Point the microphone towards the sound source and away from any noise-producing elements. Experiment with different placements and angles to find the position that provides the cleanest and most focused sound capture.
5. Reduce Ambient Noise: Ambient noise, such as HVAC systems or street noise, can be challenging to eliminate. Consider using a noise-cancelling microphone or a noise reduction plugin in your recording software to actively filter out background noise during the recording process.
6. Utilize Noise Gates: Noise gates are tools that automatically mute the microphone when the input signal falls below a certain threshold. This can be useful for eliminating low-level background noise during pauses or silent moments. Set the threshold level to a point where it effectively cuts out unwanted noise without cutting off the desired audio.
7. Post-Processing Noise Reduction: If background noise is still present in your recordings, use post-processing techniques to reduce or remove it. Noise reduction plugins and software can analyze the audio and intelligently filter out unwanted noise without affecting the desired sound. Be cautious not to overuse noise reduction, as it can introduce artifacts and adversely affect the overall quality of the recording.
By employing these techniques, you can effectively reduce background noise and improve the overall audio clarity of your USB microphone recordings. Remember, minimizing background noise is essential for capturing professional-sounding audio.
Next, let’s explore how post-processing techniques can further enhance the audio quality of your recordings.
Enhancing Audio Quality with Post-processing
Post-processing techniques can significantly enhance the audio quality of your USB microphone recordings, helping you achieve a polished and professional sound. Here are some effective ways to enhance your recordings through post-processing:
1. Equalization (EQ): Use EQ to adjust the balance and tone of your audio. This involves boosting or cutting specific frequencies to alter the overall sound. For example, you can boost the high frequencies to add clarity to vocals or reduce the low frequencies to minimize rumble or background noise. Experiment with different EQ settings to find the sweet spot that enhances the quality of your recordings.
2. Compression: Compression helps to control the dynamic range of your audio by reducing the difference between the loudest and softest parts. This can add consistency and smoothness to your recordings, ensuring that softer elements are more audible while preventing clipping or distortion from louder sections. Set the compression parameters (threshold, ratio, attack, and release) based on the characteristics of your audio and the desired effect.
3. Noise Reduction: If you are unable to eliminate background noise during the recording process, noise reduction tools can be invaluable in post-processing. These tools analyze the audio and intelligently reduce or remove unwanted noise, such as hiss, hum, or static. Carefully adjust the noise reduction settings to eliminate noise while avoiding artifacts or impacting the desired sound quality.
4. De-Essing: De-essing is the process of reducing excessive sibilance, those sharp ‘s’ and ‘sh’ sounds that can be harsh on the ears. Apply a de-esser plugin to target and tame these frequencies, ensuring a smoother and more pleasant listening experience. Adjust the de-esser settings to find the right balance between reducing sibilance and preserving the natural character of the vocals.
5. Reverb and Ambience: Add a touch of reverb or ambience to your recordings to create a sense of space or depth. This can make your audio sound more natural and immersive, mimicking the acoustics of different environments. Experiment with different reverb settings and adjust the mix to avoid overwhelming the original sound.
6. Volume and Leveling: Use volume automation or leveling tools to even out the overall volume of your recordings. This ensures that softer sections are audible and louder sections are not clipping or overwhelming. Smooth out any abrupt changes in volume to create a more consistent listening experience.
7. Listen and A/B Test: Take the time to listen critically to your processed audio and compare it to the original recording. Use A/B testing to hear the difference between the original and processed versions, making adjustments as necessary. Remember, the goal is to enhance the audio quality while maintaining its authenticity and natural character.
Applying post-processing techniques can significantly enhance the audio quality of your USB microphone recordings and give them a professional touch. Experiment with different tools and settings to find the right adjustments for your specific recordings.
Now that we have explored post-processing techniques, it’s time to wrap up our guide and reflect on the importance of optimizing your USB microphone to achieve the best audio quality possible.
Conclusion
Congratulations! You have now reached the end of our guide on how to boost your USB microphone’s performance and enhance the audio quality of your recordings. We have covered various topics and techniques to optimize your USB microphone, from choosing the right microphone to adjusting recording settings, optimizing placement, utilizing accessories, and enhancing audio quality through post-processing.
By understanding the different types of USB microphones and their polar patterns, you can make an informed choice that suits your recording needs. Adjusting recording settings, such as sample rate and bit depth, ensures that your recordings capture the desired level of detail and depth without distortion or noise.
Optimizing the microphone placement, utilizing accessories like pop filters and windscreens, and using a shock mount to minimize vibrations all contribute to capturing clean and focused audio. Setting the proper gain level establishes an optimal signal-to-noise ratio, while reducing background noise helps eliminate unwanted distractions from your recordings.
Post-processing techniques, such as EQ, compression, noise reduction, and adding a touch of reverb or ambience, can further enhance the audio quality and give your recordings a professional polish. It’s important to listen critically and make adjustments as needed to achieve the desired audio output.
Remember, the key to achieving the best audio quality with your USB microphone is to experiment, be patient, and fine-tune your settings. Every recording situation is unique, and it may take time to find the perfect combination of techniques and adjustments that work best for you.
We hope this guide has empowered you with the necessary knowledge and techniques to optimize your USB microphone and take your recordings to the next level. Whether you are a podcaster, musician, gamer, or content creator, implementing these strategies will help you produce professional-quality audio that captivates your audience.
Now, armed with this knowledge, it’s time to embark on your audio recording journey and let your creativity shine. Happy recording!