Introduction
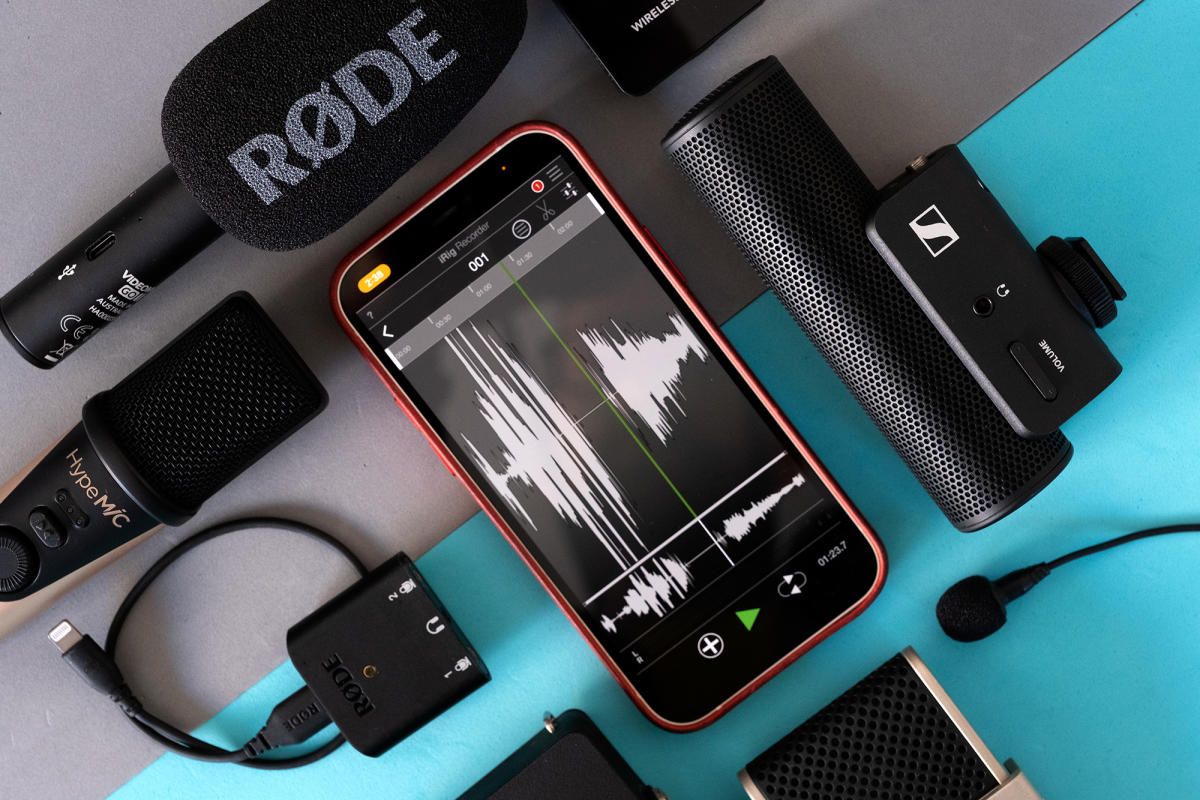
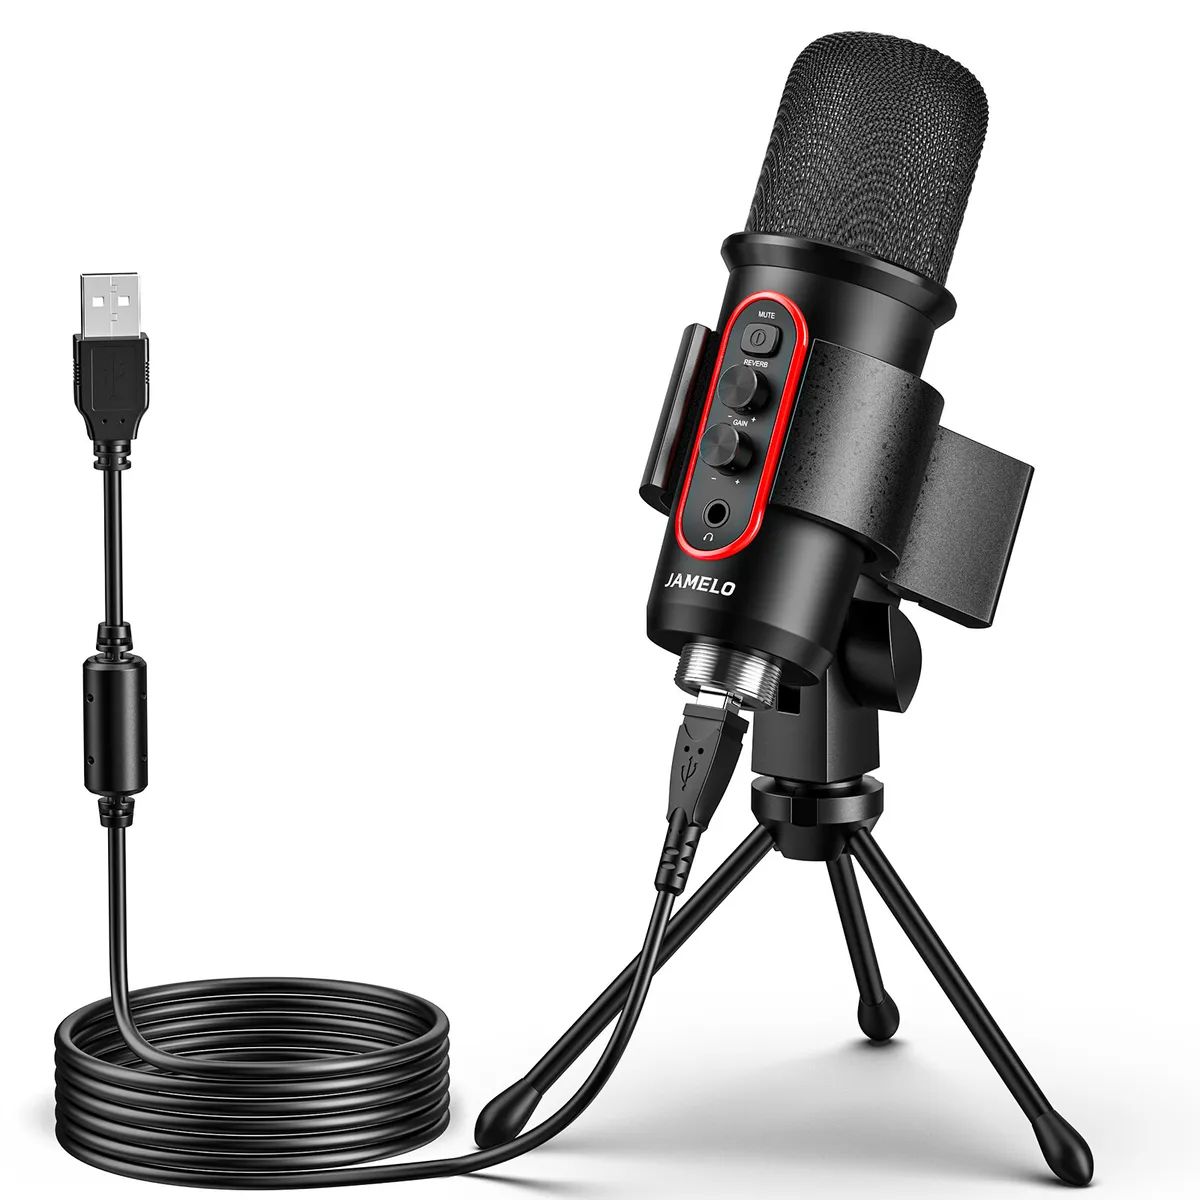
Welcome to the world of digital recording and communication! USB microphones have become increasingly popular for their convenience and ease of use. However, it can be frustrating when your USB microphone is not being recognized by your computer. There could be several reasons behind this issue, ranging from compatibility problems to software or hardware malfunctions.
In this article, we will explore the common reasons why your USB microphone may not be detected by your computer and provide troubleshooting steps to help you resolve the issue. Whether you are a podcaster, musician, or simply looking to improve the audio quality of your video conferences, understanding and solving the problem with your USB microphone is essential to continue enjoying a seamless recording experience.
Please note that the solutions provided in this article are generic and may vary depending on your specific situation and operating system. However, by following the steps outlined here, you can increase your chances of resolving the issue and getting your USB microphone up and running again.
So, let’s dive in and explore the possible reasons why your USB microphone is not being recognized by your computer, and find the best way to get it working again!
Reasons why your USB microphone is not being read
There are several common reasons why your USB microphone might not be detected or recognized by your computer. Understanding these factors can help you troubleshoot the issue effectively. Here are the most frequent culprits:
- Compatibility: One possible reason is that your USB microphone may not be compatible with your computer. Different models and brands have specific requirements, and if they are not met, the microphone may not be recognized. Make sure to check the compatibility specifications of your microphone with your computer’s operating system.
- USB Port Issues: Another potential culprit is a faulty USB port. Sometimes, the port itself may not be working correctly, preventing your computer from detecting the microphone. Try connecting the USB microphone to a different port to rule out a port-related issue.
- Missing or Outdated Drivers: USB microphones require specific drivers to communicate with your computer. If these drivers are missing or outdated, your computer may fail to recognize the microphone. Make sure to check if the appropriate drivers are installed and updated on your computer’s operating system.
- Mic Settings: Sometimes, the microphone settings on your computer may be misconfigured, causing it to go unnoticed. Check if your microphone is not muted or if the volume levels are abnormally low. Adjust the settings accordingly to ensure the microphone is functioning properly.
- Default Recording Device: Your computer may have another audio device set as the default recording device, resulting in your USB microphone going unnoticed. Check your computer’s audio settings and change the default recording device to your USB microphone.
- Outdated Operating System: An outdated operating system can sometimes conflict with USB devices, including microphones. Make sure your computer’s operating system is up to date to ensure compatibility with your USB microphone.
- Hardware or Cable Issues: It’s possible that there may be a problem with the hardware itself, such as a faulty cable or connector. Inspect the USB cable and ensure it is free from any damage or disconnection. Try using a different cable or connecting the microphone to another computer to rule out any hardware issues.
By understanding these potential reasons, you can now proceed to the next section and try the recommended troubleshooting steps to resolve the issue with your USB microphone.
Check if the microphone is compatible with your computer
The first step in troubleshooting your USB microphone not being recognized by your computer is to ensure compatibility between the microphone and your computer system. Different microphones have specific requirements, and if they are not met, the microphone may not work properly or be detected by your computer. Here’s what you can do:
- Read the microphone specifications: Refer to the user manual or the manufacturer’s website to find the compatibility specifications of your USB microphone. Look for information about supported operating systems and any additional software or drivers required for proper functioning.
- Check the operating system requirements: Verify that your computer’s operating system is compatible with the USB microphone. Some microphones may only work with specific operating systems, such as Windows, macOS, or Linux. Make sure your computer meets these requirements.
- Research online: Search for reviews, forums, or FAQs related to your specific USB microphone model. Other users might have encountered compatibility issues and shared their experiences or solutions. Look for any updates or known compatibility problems for your microphone and operating system combination.
- Contact the manufacturer: If you are unable to find the necessary information or have further questions regarding compatibility, reach out to the manufacturer’s customer support. They can provide direct assistance and clarify any doubts you may have about using the USB microphone with your computer system.
By confirming the compatibility of your USB microphone with your computer system, you can determine if it is a contributing factor to the microphone not being recognized. If your microphone is indeed compatible, you can move on to the next troubleshooting steps to pinpoint and resolve the underlying issue.
Ensure the USB port is working properly
If your USB microphone is not being recognized by your computer, it’s crucial to check if the USB port you’re using is functioning correctly. A faulty or malfunctioning port can prevent your computer from detecting the microphone. Follow these steps to ensure your USB port is working properly:
- Try a different USB port: Plug your USB microphone into a different USB port on your computer. Sometimes, the particular port you’re using may not be functioning properly. By connecting the microphone to another port, you can determine if the port itself is the issue.
- Test other USB devices: Connect another USB device, such as a mouse or keyboard, to the same port to verify if it’s working. If the other device is not recognized either, it’s likely that the USB port is faulty. In such cases, you may need to consult a technician or consider using an external USB hub for additional ports.
- Clean the USB port: Over time, dust, debris, or even oxidation can accumulate in the USB port, affecting its functionality. Carefully inspect the port and use compressed air or a soft brush to remove any dirt or particles. Ensure the port is clean and free from obstruction before reconnecting your USB microphone.
- Check for loose connections: Make sure the USB cable connecting the microphone to the computer is securely plugged in at both ends. Sometimes, a loose connection can disrupt the device recognition process. Disconnect and reconnect the cable firmly to both the microphone and the USB port.
By following these steps, you can determine if the USB port is the root cause of the problem. If your USB microphone is still not being recognized after trying different ports and ensuring a secure connection, it may be necessary to move on to the next troubleshooting steps to resolve the issue.
Install the necessary drivers for your microphone
One common reason why your USB microphone may not be recognized by your computer is the absence or outdated state of the required drivers. USB microphones often require specific drivers to establish proper communication with the operating system. Follow these steps to install or update the necessary drivers for your microphone:
- Check the manufacturer’s website: Visit the website of the microphone’s manufacturer and navigate to the support or downloads section. Look for the drivers specifically designed for your microphone model and operating system.
- Download and install the drivers: Download the appropriate drivers for your microphone and follow the installation instructions provided by the manufacturer. Ensure that you select the correct version corresponding to your operating system (e.g., Windows, macOS, Linux).
- Restart your computer: After installing the drivers, restart your computer to let the changes take effect. This will ensure that the newly installed drivers are properly integrated into the system.
- Verify driver installation: Once your computer restarts, check the device manager or system settings to verify if the USB microphone is now recognized. Look for any errors or warnings related to the microphone in the device manager.
- Manually update drivers: If the microphone is still not recognized, you can try manually updating the drivers. In the device manager, locate the USB microphone, right-click on it, and select “Update driver.” Choose the option to search automatically for updated driver software. If a newer driver version is available, let the system download and install it.
By ensuring the installation of the necessary drivers for your USB microphone, you can improve the chances of having it properly recognized by your computer. If the microphone is still not being detected after following these steps, further troubleshooting may be required to resolve the issue.
Troubleshoot your microphone settings in the computer
If your USB microphone is not being recognized by your computer, it’s essential to troubleshoot the microphone settings within the computer. Incorrect configuration or settings can cause the microphone to go unnoticed. Here are some steps to troubleshoot and adjust your microphone settings:
- Check microphone volume and mute settings: Ensure that your microphone is not muted and that the volume level is appropriately set. Look for the volume controls in the audio settings of your operating system and adjust them accordingly.
- Try different USB ports: Disconnect your USB microphone and try connecting it to a different USB port on your computer. Sometimes, certain USB ports may have restricted access to microphones or have conflicting settings. Testing different ports can help identify and resolve this issue.
- Disable other audio devices: In some cases, other audio devices connected to your computer, such as internal microphones or speakers, can cause conflicts with the USB microphone. Disable or disconnect any additional audio devices to see if it helps your computer recognize the USB microphone.
- Restart audio services: Restarting the audio services on your computer can sometimes fix unrecognized USB microphone issues. Open the Task Manager (Ctrl + Shift + Esc), go to the “Processes” or “Details” tab, find any processes related to audio services, and end them. Then, restart your computer to automatically restart the audio services.
- Update audio drivers: Outdated or incompatible audio drivers can also prevent your USB microphone from being recognized. Visit the website of your computer manufacturer or the audio device manufacturer and download the latest drivers for your audio hardware. Install the updated drivers and see if it resolves the issue.
By troubleshooting your microphone settings in the computer, you can address any configuration or compatibility issues that might be preventing your USB microphone from being recognized. If the microphone still remains undetected after trying these steps, proceed to the next troubleshooting methods to further resolve the issue.
Verify if the microphone is not muted or the volume is too low
When troubleshooting a USB microphone that is not being recognized by your computer, it’s important to check if the microphone is muted or if the volume is set too low. Incorrect microphone settings can cause it to go unnoticed by the system. Here’s what you can do to verify and adjust the microphone settings:
- Check the microphone mute button: Some USB microphones have a physical mute button or switch. Make sure that the mute button is in the unmuted position. If the microphone is muted, it will not be detected or produce any sound. Toggle the mute button and check if the microphone is recognized by your computer.
- Adjust microphone volume: Open the audio settings of your operating system and locate the microphone volume control. Ensure that the volume is not set too low. Increase the microphone volume to an audible level and see if your computer detects the microphone.
- Check the microphone boost/gain: Depending on the microphone model and software settings, there might be a microphone boost or gain option. It amplifies the microphone input signal. Try adjusting the boost or gain settings to improve the microphone’s sensitivity and check if it helps the computer recognize the microphone.
- Test the microphone on another device: Connect your USB microphone to another device, such as a different computer or a smartphone, to verify if it works correctly. If the microphone functions properly on another device, it suggests that the issue lies with the settings of your computer or operating system.
- Update audio drivers: Outdated or incompatible audio drivers can affect the performance of your USB microphone. Visit the website of your computer manufacturer or the microphone manufacturer and download the latest drivers for your audio hardware. Install the updated drivers to ensure compatibility and proper recognition of the microphone.
By verifying that the microphone is not muted and adjusting the volume settings appropriately, you can eliminate these factors as potential causes of your USB microphone not being recognized. If the microphone still remains undetected or the issue persists, proceed to the next troubleshooting steps to further troubleshoot and resolve the problem.
Check if the microphone is selected as the default recording device
When troubleshooting a USB microphone that is not being recognized by your computer, it’s important to check if the microphone is selected as the default recording device. Sometimes, another audio device may be set as the default, causing the computer to overlook the USB microphone. To ensure proper recognition, follow these steps to check and change the default recording device:
- Open the sound settings: Go to the sound settings of your operating system. In Windows, you can access it by right-clicking the volume icon in the system tray and selecting “Sounds” or “Recording devices”. On macOS, go to “System Preferences” and click on “Sound”, then navigate to the “Input” tab.
- Verify the default recording device: Look for the list of available recording devices in the sound settings. Check if your USB microphone is listed among the devices. If it’s not listed or if another device is selected as the default, proceed to the next step to change the settings.
- Select the USB microphone as the default: Right-click on your USB microphone in the sound settings and select “Set as default device” or “Set as default input”. On macOS, you can click on the microphone and select the “Use this device for sound input” checkbox.
- Test the microphone: After selecting the USB microphone as the default recording device, test it by speaking into the microphone or using the built-in microphone testing feature in your operating system. Check if the computer recognizes the microphone and if the sound levels are showing activity.
- Restart applications: In some cases, you may need to restart the applications or programs you’re using for the changes to take effect. Close and reopen any audio or communication applications you use with the USB microphone to ensure they recognize the new default recording device.
By verifying and selecting the USB microphone as the default recording device, you can ensure that your computer recognizes and utilizes the microphone correctly. If the USB microphone is still not being detected or if the issue persists, proceed to the next troubleshooting steps to further resolve the problem.
Update your computer’s operating system and drivers
Keeping your computer’s operating system and drivers up to date is crucial for ensuring compatibility with USB devices, including microphones. Outdated or incompatible software can sometimes prevent your USB microphone from being recognized. Here’s what you can do to update your operating system and drivers:
- Check for operating system updates: On Windows, click the Start button, go to Settings, and select “Update & Security.” Click on “Check for updates” to see if any updates are available for your operating system. On macOS, go to the Apple menu, click on “System Preferences,” and select “Software Update.” Install any available updates for your operating system.
- Install driver updates: Visit the support website of your computer manufacturer or the specific hardware manufacturer to check for driver updates. Look for drivers related to your audio device, USB ports, or any other relevant hardware. Download and install the latest driver versions compatible with your operating system.
- Use automatic driver update tools: Alternatively, you can use automatic driver update tools to simplify the process. These tools scan your computer for outdated drivers and automatically download and install the latest versions. Popular tools include Driver Booster, Driver Easy, and Snappy Driver Installer.
- Restart your computer: After updating the operating system and drivers, it’s important to restart your computer. This will ensure that the changes take effect and the updated software can properly configure the hardware, including the USB microphone.
By updating your computer’s operating system and drivers, you ensure that your system is equipped with the latest software and compatibility improvements. This can help resolve any conflicts or compatibility issues that may have been preventing your USB microphone from being recognized by the computer. If the microphone is still not being detected, further troubleshooting steps may be required to pinpoint and resolve the problem.
Test your USB microphone with another computer or device
If your USB microphone is still not being recognized by your computer after trying the previous troubleshooting steps, it’s important to test the microphone with another computer or device. This step will help determine if the issue lies with the microphone itself or if it’s specific to your computer system. Follow these steps to perform the test:
- Connect the USB microphone to another computer or device: Plug your USB microphone into another computer or device that you know is functioning properly. This can be a different computer, a laptop, or even a smartphone or tablet (if compatible).
- Check if the USB microphone is recognized: Once connected to the other device, check if the USB microphone is being detected and working properly. Look for the microphone in the audio settings or recording devices section of the other computer or device. Test it by speaking into the microphone and verifying if the sound is captured.
- Attempt different USB ports: If the USB microphone is not recognized on the other device, try connecting it to different USB ports. This will help rule out any potential port-related issues on both your original computer and the other device.
- Try alternative cables (if applicable): If possible, try using a different USB cable with your microphone. Sometimes, the cable itself can be the source of the problem. Replace the cable and see if the microphone is recognized.
By testing your USB microphone with another computer or device, you can determine if the issue is specific to your computer system or if it’s an inherent problem with the microphone itself. If the microphone works on another device, it suggests that the issue lies with your computer system and further troubleshooting may be required. On the other hand, if the microphone is also not recognized on the other device, it may indicate a problem with the microphone or its hardware. In such cases, contacting the manufacturer’s customer support for assistance or considering a replacement may be necessary.
Conclusion
Having your USB microphone not being recognized by your computer can be frustrating, but by following the troubleshooting steps outlined in this article, you can increase your chances of resolving the issue. From checking compatibility and ensuring the USB port is functioning properly to installing the necessary drivers and adjusting microphone settings, each step brings you closer to getting your USB microphone up and running again.
Throughout the troubleshooting process, it’s important to keep in mind that the solutions provided here are general guidelines and may vary depending on your specific computer system and operating system. It’s always a good idea to consult the user manual or reach out to the manufacturer’s customer support for further assistance if needed.
If you’ve tried all the troubleshooting steps outlined in this article and your USB microphone still doesn’t work, there may be an underlying hardware issue. In such cases, contacting a professional technician or considering a replacement may be necessary. It’s also worth noting that technology is constantly evolving, and new updates or developments in operating systems and drivers may require additional troubleshooting steps.
Remember to stay patient throughout the process and don’t hesitate to seek assistance if needed. USB microphones offer great convenience and audio quality, so resolving any issues will allow you to fully enjoy their benefits for various recording and communication purposes.
We hope this article has been helpful in troubleshooting and resolving the issue with your USB microphone not being recognized by your computer. Best of luck in getting your USB microphone up and running again!