Why Use a USB Microphone with Traktor
Traktor is a powerful DJ software that allows you to mix and manipulate music with precision. While it’s primarily known for its extensive support for MIDI controllers and digital turntables, Traktor also offers the capability to use a USB microphone. This opens up a whole new world of possibilities for DJs and performers. Here’s why you should consider using a USB microphone with Traktor:
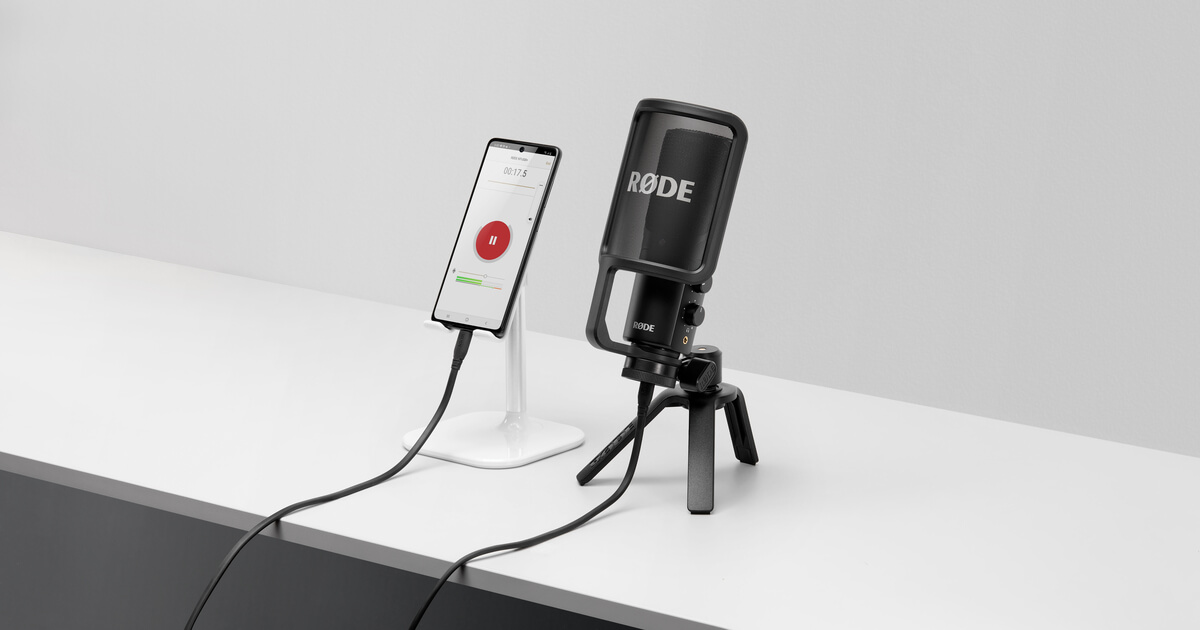
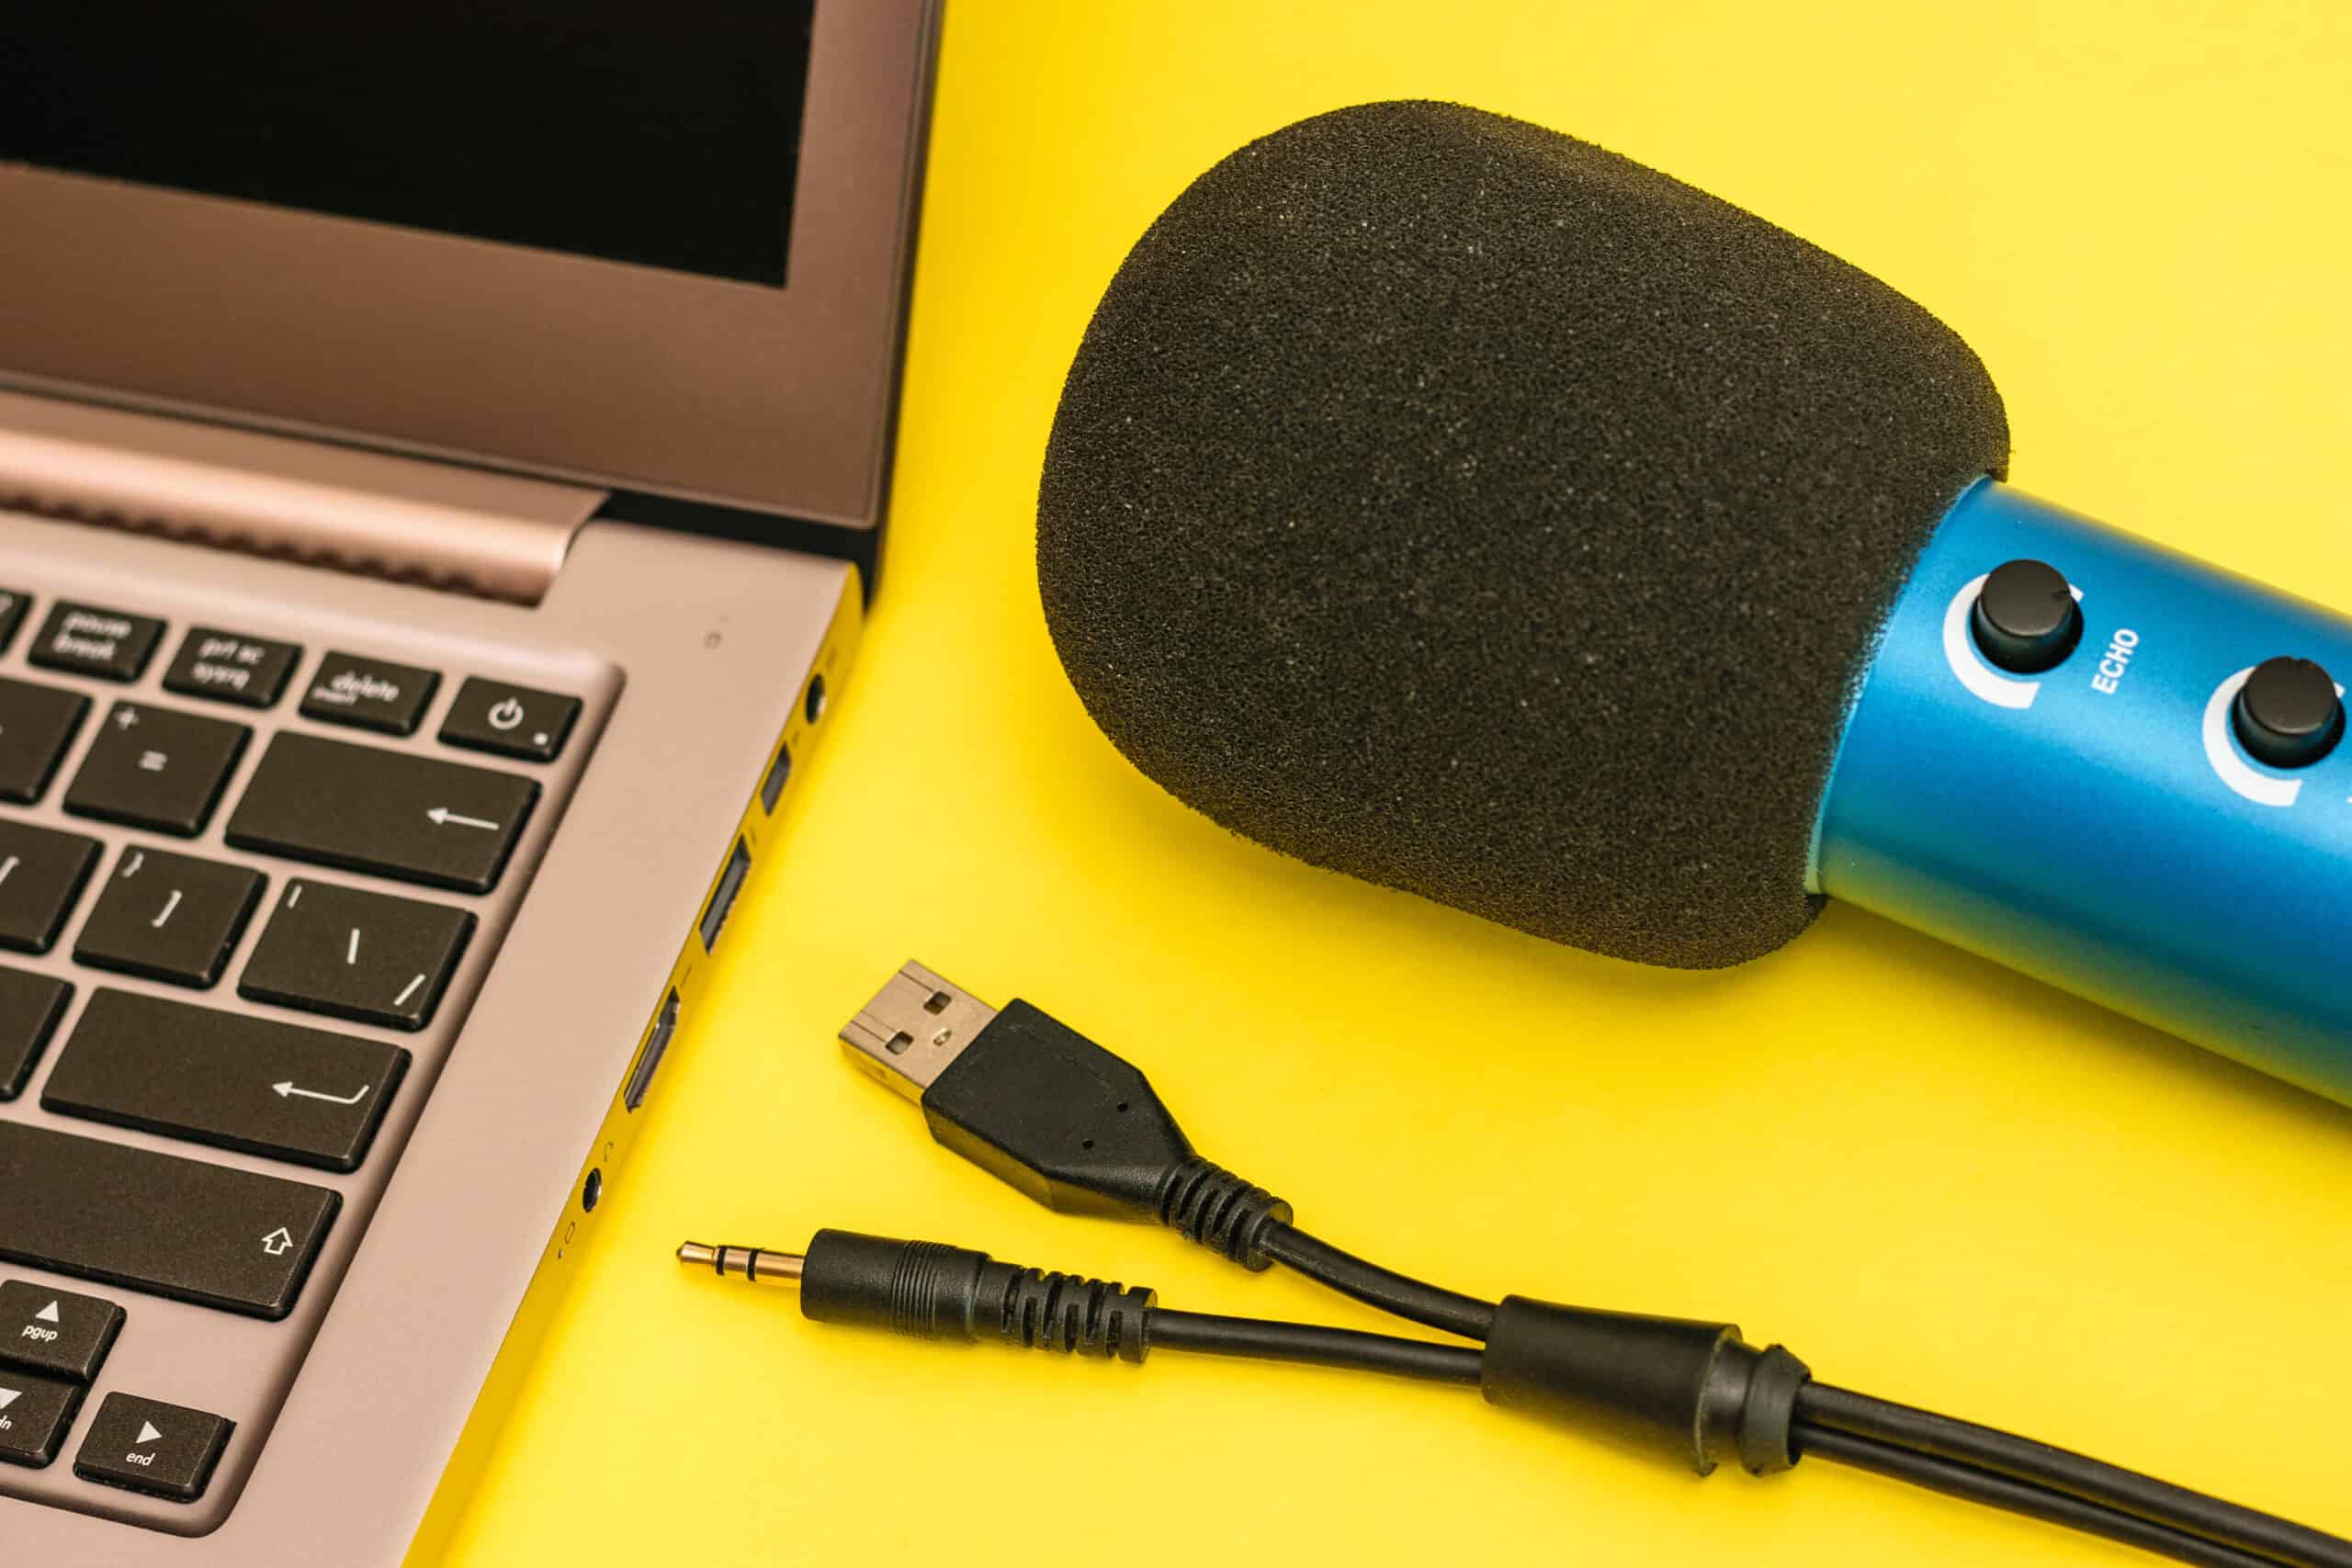
1. Seamless Integration: When you use a USB microphone with Traktor, you can easily connect it to your computer without the need for additional hardware or adapters. This means you can start using your microphone right away, without any hassle or complicated setup.
2. Versatility: A USB microphone gives you the freedom to add vocals, live performances, or even sound effects to your DJ sets. Whether you want to engage the crowd with your own voice or collaborate with guest artists, a USB microphone offers the flexibility to do so.
3. Enhanced Performance: Adding a USB microphone to your Traktor setup allows you to bring your performances to the next level. You can use the microphone to introduce tracks, make announcements, or interact with the audience. This enhances the overall experience and helps you create a more dynamic and engaging DJ set.
4. Recording Capabilities: One of the major advantages of using a USB microphone with Traktor is the ability to record your DJ sets. This is especially useful if you’re a beginner looking to improve your skills or if you want to review and analyze your performances. With a USB microphone, you can easily capture your mix, including your voice and any live elements you’ve added.
5. Live Streaming and Broadcasting: If you’re a DJ who enjoys live streaming or broadcasting your performances, a USB microphone is a valuable tool. It allows you to provide live commentary, interact with your audience, and enhance the overall quality of your streams. Whether you’re broadcasting on a livestream platform or recording a mix for later sharing, a USB microphone can take your DJ sets to the next level.
Using a USB microphone with Traktor opens up endless possibilities for DJs and performers. It allows you to add vocals, engage the crowd, record your mixes, and enhance your overall performance. With its seamless integration and versatility, a USB microphone is a valuable addition to any Traktor setup. So why not give it a try and elevate your DJ sets to new heights?
Choosing the Right USB Microphone for Traktor
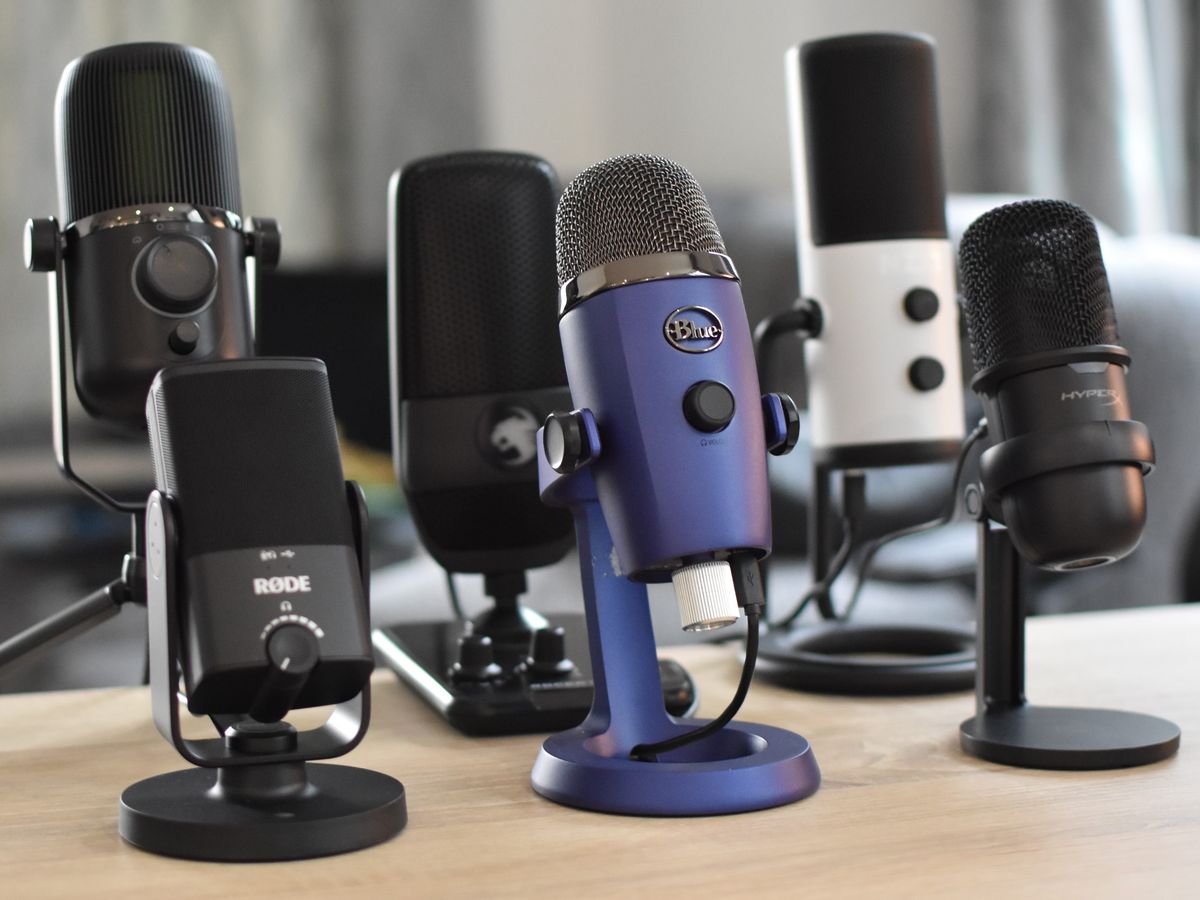
When it comes to selecting a USB microphone for use with Traktor, there are a few key factors to consider. The microphone you choose will greatly impact the sound quality and performance of your DJ sets. Here are some important points to keep in mind when choosing the right USB microphone for Traktor:
1. Microphone Type: USB microphones come in various types, such as condenser, dynamic, and ribbon. Condenser microphones are popular for their sensitivity and high-quality sound reproduction, making them a great choice for vocal performances. Dynamic microphones, on the other hand, are more rugged and resistant to handling noise, making them suitable for energetic performances. Consider your specific needs and preferences to determine which microphone type suits you best.
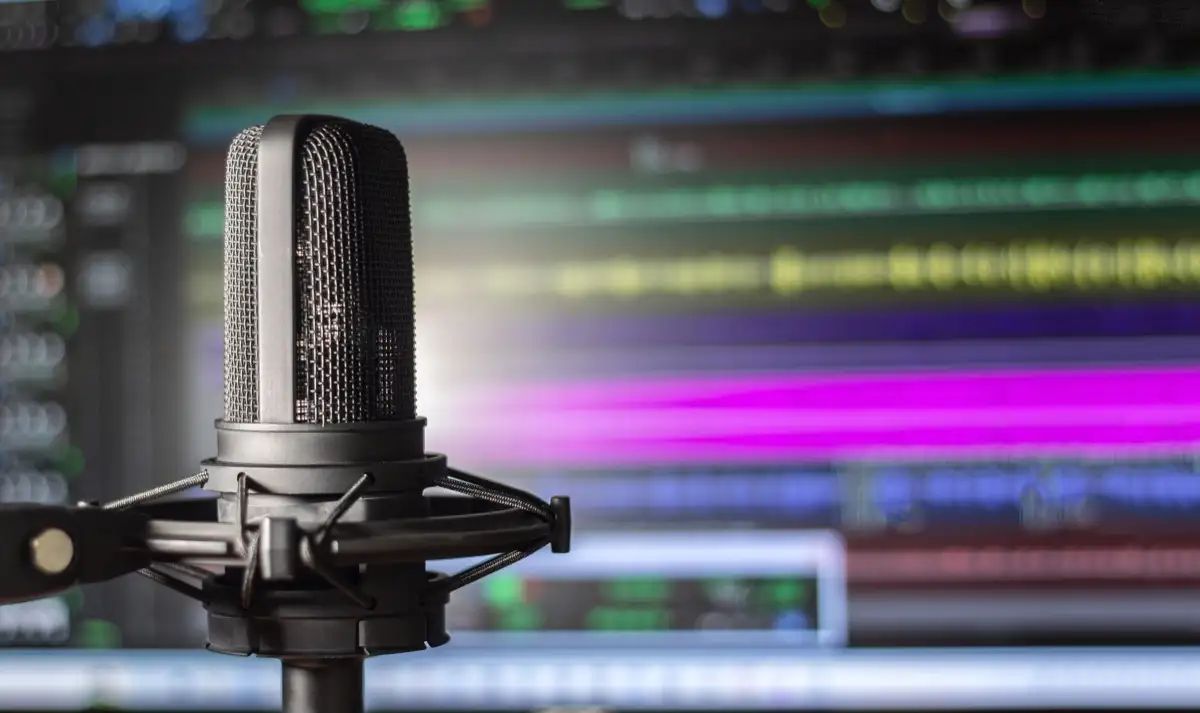
2. Sound Quality: The sound quality of the microphone is crucial for capturing vocals and other live elements accurately. Look for USB microphones that offer a wide frequency response range and low self-noise. Read customer reviews and listen to sample recordings to get an idea of the microphone’s sound quality before making a purchase.
3. Polar Pattern: USB microphones come with different polar patterns, such as cardioid, omnidirectional, and bi-directional. Cardioid microphones capture sound from the front while minimizing background noise, making them ideal for solo performances. Omnidirectional microphones capture sound from all directions, suitable for capturing ambient sounds or group performances. Bi-directional microphones capture sound from the front and back, making them suitable for interviews or duet performances.
4. Budget: Consider your budget when choosing a USB microphone for Traktor. USB microphones are available in a wide price range, from budget-friendly options to professional-grade models. It’s important to find the right balance between quality and affordability. Assess your needs and set a budget that aligns with your requirements.
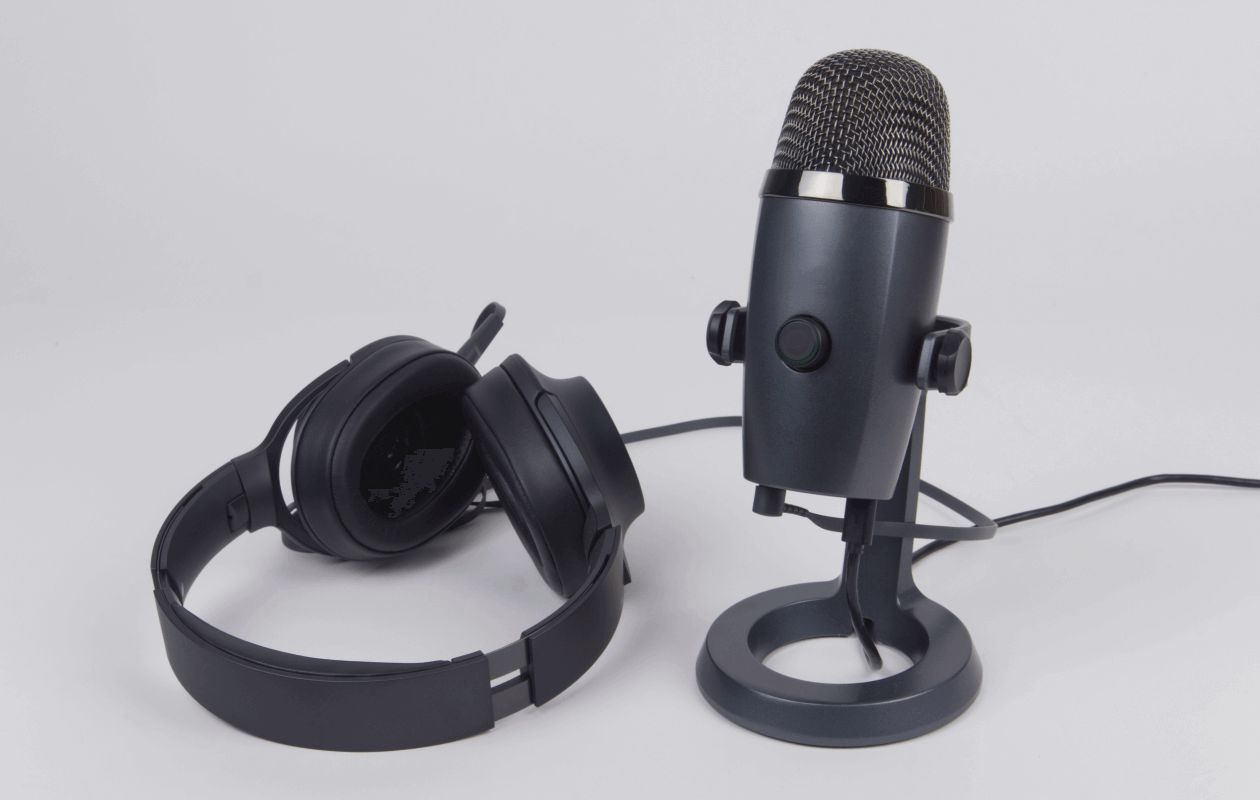
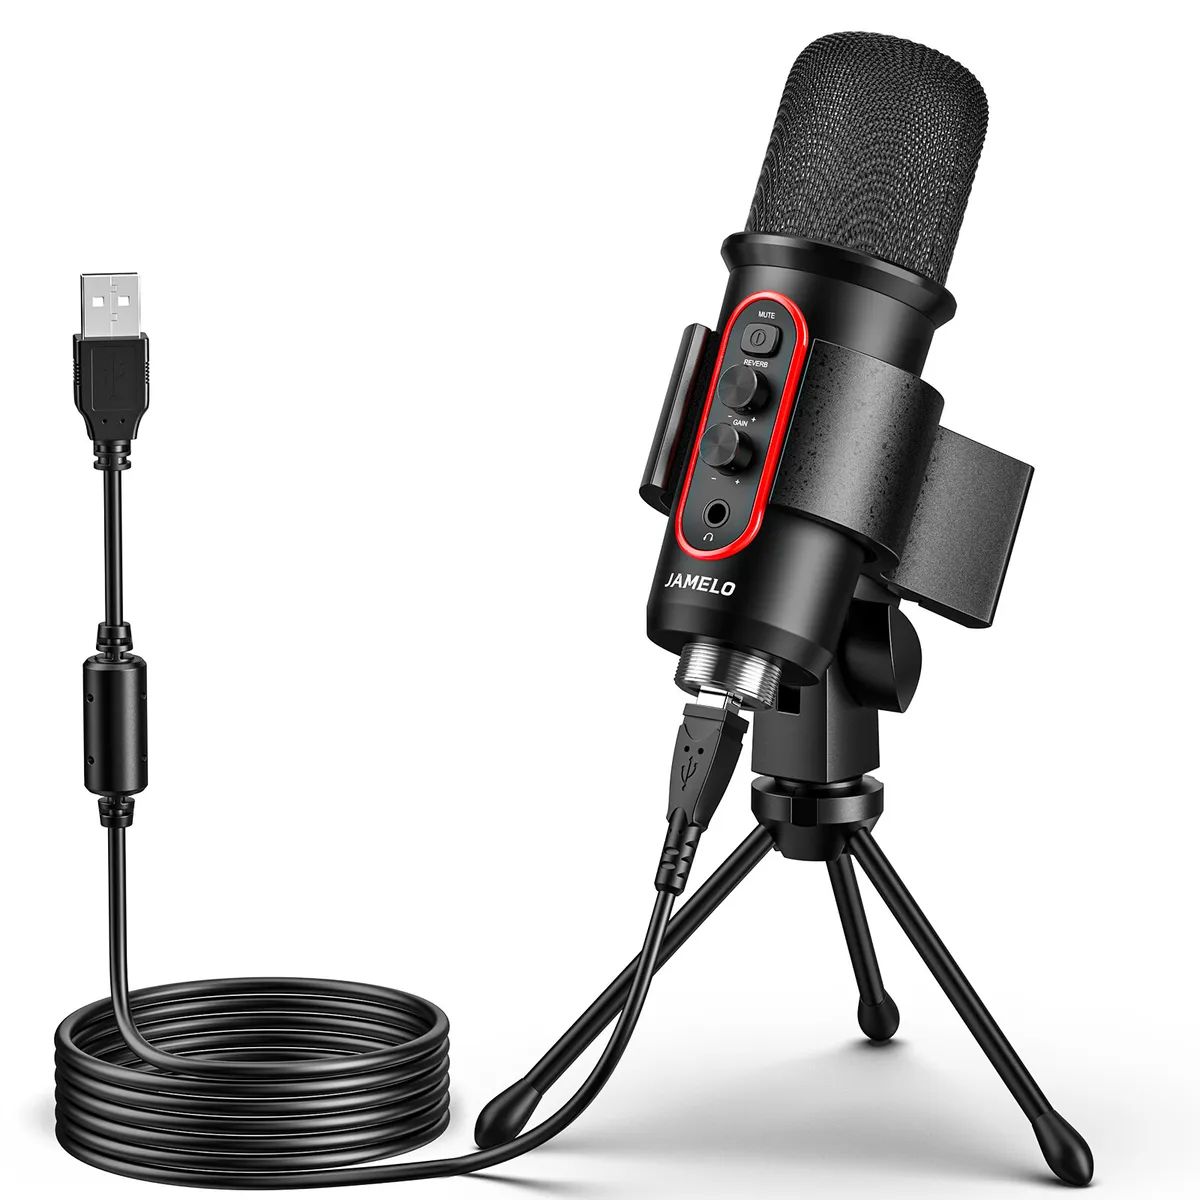
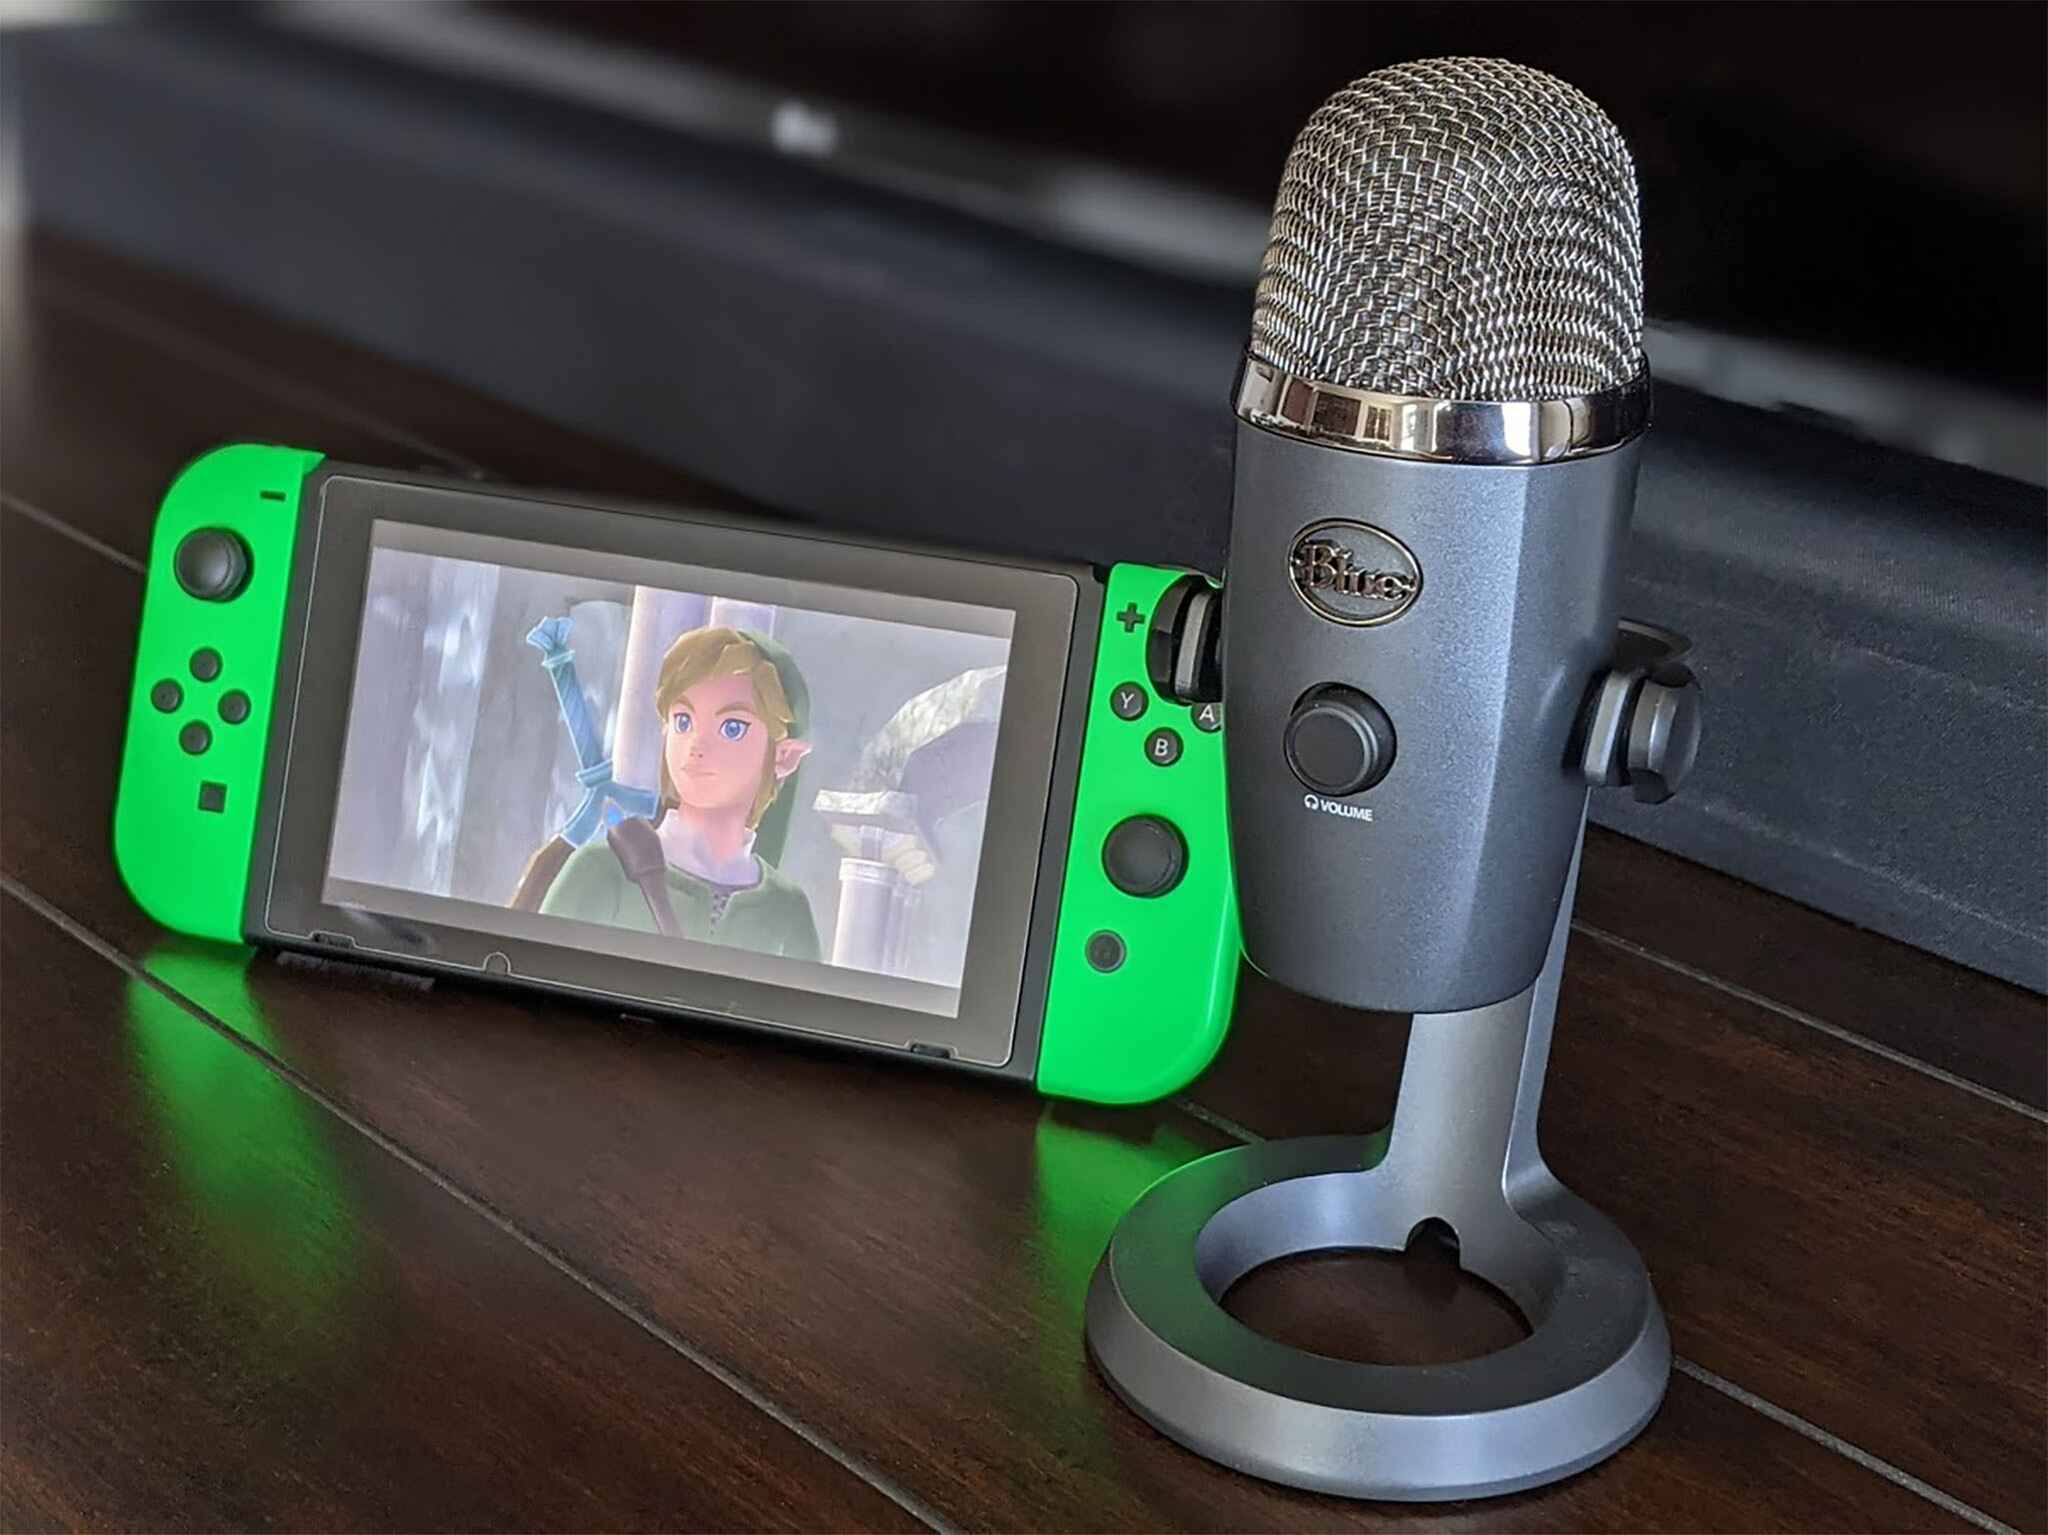
5. Additional Features: Some USB microphones offer additional features that can enhance your DJ sets. Look for microphones that have built-in headphone jacks, volume control, or mute buttons. These features can be convenient for monitoring your audio in real-time and making adjustments on the go.
By considering these factors, you can choose a USB microphone that best suits your needs for working with Traktor. Take your time to research and compare different models to find the perfect match for your DJing style and performance requirements. Remember, selecting the right USB microphone will ensure optimal sound quality and a seamless integration with Traktor.
Connecting Your USB Microphone to Traktor
Connecting your USB microphone to Traktor is a straightforward process that allows you to start using your microphone with the software in no time. Here’s a step-by-step guide on how to connect your USB microphone to Traktor:
1. Ensure Compatibility: Before connecting your USB microphone to Traktor, make sure it is compatible with your computer and operating system. Check the manufacturer’s specifications to ensure that the microphone is compatible with the version of Traktor you are using.
2. USB Connection: Plug your USB microphone into an available USB port on your computer. Traktor should automatically detect the microphone and recognize it as an audio input device.
3. Select Audio Input Device: Open Traktor and go to the Preferences or Settings menu. Look for the Audio setup section and select your USB microphone as the audio input device. You may need to choose the specific microphone model from a drop-down menu if there are multiple options available.
4. Configure Audio Settings: In the Traktor Preferences or Settings menu, navigate to the Audio setup section and adjust the input gain or volume levels for your USB microphone. This ensures that the audio input from your microphone is properly calibrated and balanced with the rest of your DJ setup.
5. Test the Microphone: To ensure that your USB microphone is working correctly, play a track in Traktor and speak into the microphone. Watch the input level meters in Traktor to confirm that the microphone is capturing your voice and producing the desired audio signal. Make any necessary adjustments to the audio settings if needed.
6. Route the Microphone’s Audio: Depending on your desired configuration, you may need to route the audio from your USB microphone to specific channels or outputs in Traktor. This allows you to control the microphone’s audio independently and apply effects or processing as desired. Refer to Traktor’s documentation or consult online resources for guidance on routing audio within the software.
7. Monitor the Audio: If your USB microphone has a headphone output, you can monitor the audio directly from the microphone. Alternatively, you can route the microphone’s audio back through Traktor and monitor it through your DJ headphones or speakers. Choose the method that works best for your needs and preferences.
By following these steps, you can easily connect your USB microphone to Traktor and start using it for vocal performances, live commentary, or any other audio input needs. Remember to periodically check for driver updates or firmware updates for your USB microphone to ensure optimal performance and compatibility with Traktor.
Configuring Traktor Settings for USB Microphone
After connecting your USB microphone to Traktor, it’s important to properly configure the software settings to ensure optimal performance and control over your microphone’s audio. Here are the key steps to configure Traktor settings for your USB microphone:
1. Open Traktor Preferences: Launch Traktor and navigate to the Preferences or Settings menu, usually located in the File or Edit menu.
2. Audio Setup: In the Preferences or Settings menu, locate the Audio setup section. Here you will find options for configuring your audio input and output settings.
3. Select Audio Input Device: Within the Audio setup section, choose your USB microphone as the preferred audio input device. This ensures that Traktor recognizes your microphone as the primary audio source.
4. Adjust Input Gain: Adjust the input gain or volume level for your USB microphone. This setting controls how loud or soft the incoming audio signal from your microphone will be. Find a balance that allows your voice to be clearly heard without distortion.
5. Set Monitoring Options: Decide how you want to monitor the audio from your USB microphone. Traktor offers options to monitor the microphone’s audio through your headphones, external speakers, or a combination of both. Choose the monitoring configuration that suits your preferences.
6. Apply Effects and Processing: Traktor provides a range of effects and processing tools that can enhance the sound of your USB microphone. Experiment with effects such as reverb, echo, or EQ to add depth and character to your voice. Use the individual channel and master effects sections to apply these effects selectively.
7. Route Audio Output: Determine where you want the audio from your USB microphone to be routed within Traktor. This can include sending the microphone’s audio to specific channels, outputs, or even applying it to the master output. This allows you to control the routing and blending of the microphone’s audio within your DJ mix.
8. Test and Adjust: To ensure that your USB microphone is configured correctly, perform a test recording or live performance and listen back to the audio. Make any necessary adjustments to the settings if the levels, clarity, or overall quality of the microphone’s audio require fine-tuning.
9. Save Settings: Once you are satisfied with the configuration of your USB microphone in Traktor, make sure to save your settings. This ensures that your microphone settings are stored and applied automatically each time you launch Traktor.
By carefully configuring Traktor settings for your USB microphone, you can optimize the performance and control over your microphone’s audio within the software. Experiment with different settings and effects to achieve the desired sound for your DJ sets and live performances.
Adjusting Audio Levels with USB Microphone in Traktor
Ensuring proper audio level adjustments with your USB microphone in Traktor is essential for delivering a clear and balanced sound in your DJ sets. Here are some tips on how to adjust the audio levels effectively:
1. Input Gain: Start by adjusting the input gain or volume level of your USB microphone. This setting controls the sensitivity of the microphone and determines how loud the audio signal will be. Experiment with different gain levels to find the sweet spot where your voice is clear and audible without distorting or clipping.
2. Watch the Peak Meters: Pay close attention to the peak meters in Traktor’s audio interface when speaking or singing into the microphone. The peak meters indicate the level of the audio signal and help you avoid overloading or clipping the signal. Aim for a balanced audio level where the meters are reaching close to but not consistently hitting the red zone.
3. Use EQ and Dynamics Processing: Traktor offers EQ and dynamics processing tools that can help further refine and shape the audio coming from your USB microphone. Use the EQ to adjust frequencies and remove any unwanted resonances or enhance specific elements of your voice. Dynamics processing can help control the dynamic range, reducing potential volume discrepancies and ensuring a consistent audio level.
4. Monitor Through Headphones: Utilize the headphone monitoring feature in Traktor to listen to the audio from your USB microphone in real-time. This allows you to ensure that your voice is balanced with the rest of the mix and make any necessary adjustments on the fly.
5. Test in Different Environments: It’s crucial to test and adjust the audio levels of your USB microphone in various environments. What may sound perfect in a quiet room might get drowned out in a busy club or outdoor event. Make sure to test your microphone’s audio levels in different venues and adjust accordingly to achieve optimal sound quality and balance in any setting.
6. Set Compressor and Limiter: Consider using a compressor and limiter on the microphone channel to control sudden changes in volume levels. A compressor helps smooth out the dynamic range, while a limiter prevents audio signals from exceeding a set threshold, avoiding distortion or clipping. These tools can help maintain a consistent and controlled audio level, especially in high-energy performances.
7. Perform Sound Checks: Before any live performance, it’s essential to conduct sound checks with your USB microphone. This allows you to make final adjustments to the input gain, monitor the audio levels, and ensure that the microphone is performing as expected before going on stage.
By following these tips and techniques, you can adjust the audio levels effectively with your USB microphone in Traktor. Remember, achieving a balanced and clear sound is key to delivering a memorable and professional DJ set.
Troubleshooting Common Issues with USB Microphone in Traktor
While using a USB microphone with Traktor can enhance your DJ sets, you may encounter some common issues along the way. Here are some troubleshooting tips to help you resolve these issues:
1. No Sound or Signal: If you’re not getting any sound or signal from your USB microphone, check the following:
- Ensure that the microphone is properly connected to your computer and recognized by Traktor. Reconnect the USB cable and try a different USB port if necessary.
- Make sure the USB microphone is selected as the audio input device in Traktor’s preferences or settings. Verify that the microphone is not muted or turned down in the volume settings.
- Check if the microphone requires any specific drivers or software installation. Visit the manufacturer’s website to download and install the necessary drivers if needed.
2. Distorted or Clipping Audio: If the audio from your USB microphone sounds distorted or clips, try the following:
- Reduce the input gain or volume level of the microphone to avoid overloading the signal. Keep an eye on the peak meters in Traktor and ensure they do not consistently reach the red zone.
- If you’re experiencing clipping, engage a limiter or compressor on the microphone channel to control sudden volume spikes or peaks.
- Make sure the microphone is positioned correctly and at an appropriate distance to avoid distortion caused by proximity effect or plosive sounds. Consider using a pop filter if needed.
3. Excessive Background or Ambient Noise: If you’re picking up unwanted background noise or ambient sounds, try the following:
- Check if you have selected the correct polar pattern for your USB microphone. Adjust the microphone’s directionality (cardioid, omnidirectional, or bi-directional) to minimize the pickup of unwanted sounds.
- Reduce the microphone’s sensitivity or adjust the input gain to focus more on your voice and less on the ambient noise. Use noise reduction or gating plugins to further minimize background noise.
- Consider optimizing your physical setup by isolating the microphone from sources of noise, such as fans, air conditioners, or other electronic devices.
4. Latency or Delay: If you’re experiencing latency or delay between your microphone input and the sound output, try the following:
- Reduce the buffer size or latency settings in Traktor’s audio preferences. However, be mindful that excessively low buffer sizes may cause audio dropouts or glitches.
- Ensure that your computer meets the system requirements for running Traktor and the USB microphone. Inadequate processing power or RAM can result in latency issues.
- Consider using an audio interface with a direct monitoring feature. This allows you to monitor the microphone’s input with near-zero latency directly from the audio interface, bypassing the computer’s processing.
If you’re still encountering issues after troubleshooting, refer to the documentation or support resources provided by Traktor or the USB microphone manufacturer. They may have specific solutions or workarounds for your situation. Remember, persistence and patience are key when troubleshooting, so don’t hesitate to seek further assistance if needed.
Enhancing Your Sound with USB Microphone in Traktor
Using a USB microphone with Traktor opens up possibilities for enhancing your sound and adding a unique touch to your DJ sets. Here are some tips and techniques to help you get the most out of your USB microphone:
1. Apply Effects and Processing: Traktor offers a wide range of effects and processing tools that can help enhance your USB microphone’s sound. Experiment with effects like reverb, delay, chorus, or distortion to add depth, texture, and character to your vocals or live performances. Additionally, utilize EQ and dynamics processing to shape your sound and achieve a professional and polished result.
2. Looping and Sampling: Harness the power of Traktor’s looping and sampling features to create unique and creative vocal loops or loops from other live elements. You can loop a snippet of your vocals or other live sounds, layer them with the music, and create complex and captivating textures. Experiment with different loop lengths, rhythms, and effects to add an innovative twist to your DJ sets.
3. Perform Live Remixes: Use your USB microphone to perform live remixes by sampling and manipulating your voice or other live elements. With Traktor’s remix decks and the microphone as an input source, you can capture snippets of vocals, beatbox sounds, or other live sounds and trigger them alongside your music. This allows you to remix on the fly and create dynamic and interactive performances.
4. Vocal Effects and Processing: Take advantage of Traktor’s dedicated vocal effects and processing plugins to enhance your voice. Experiment with pitch correction, harmonizing, vocal doubling, or vocal modulation effects to add richness and depth to your vocals. These effects can help transform your voice and create unique sonic signatures for your DJ sets.
5. Collaborate with Guest Artists: The USB microphone in Traktor opens up opportunities for collaboration with guest artists. Invite vocalists or other musicians to perform live with you and incorporate their performances into your sets. The USB microphone allows for seamless integration, making it easy to bring a new dimension to your DJ performances through live collaboration.
6. Record and Evaluate: Leverage your USB microphone’s recording capabilities in Traktor to capture your DJ sets, including your vocal performances or live elements. Recording your sets not only allows you to showcase your talent but also provides an opportunity for evaluation and improvement. Take time to listen back to your recordings, identify areas for enhancement, and fine-tune your performance over time.
7. Personalize Your Sound: Your USB microphone is a powerful tool for expressing your unique style and personality as a DJ. Experiment with different vocal techniques, delivery styles, and vocal effects to develop your signature sound. Whether it’s through energetic hype vocals, melodic vocalizations, or creative vocal manipulation, find ways to personalize your sound and leave a lasting impression on your audience.
By exploring these techniques and embracing the versatility of your USB microphone in Traktor, you can elevate your DJ sets to new heights, captivate your audience, and create a unique sonic experience that sets you apart from the rest.
Tips and Tricks for Using USB Microphone in Traktor
Using a USB microphone in Traktor can unleash a world of creative possibilities in your DJ sets. Here are some tips and tricks to help you make the most out of your USB microphone:
1. Experiment with Different Mic Placements: Try different distances and angles when positioning your USB microphone. Moving the microphone closer or farther from your voice or sound source can drastically affect the tone and presence. Explore various placements to find the sweet spot that suits your voice or desired sound.
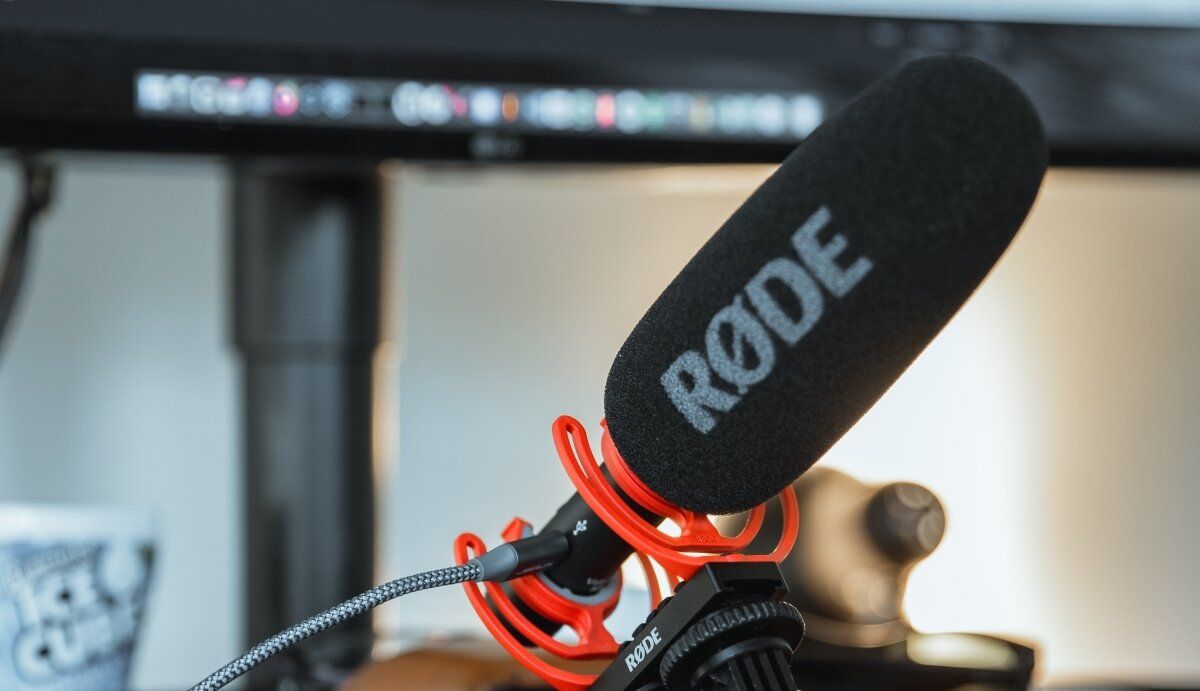
2. Use a Pop Filter or Windscreen: To minimize plosive sounds and reduce unwanted breath noises, consider using a pop filter or windscreen. These accessories help to soften and diffuse the impact of plosive sounds, resulting in cleaner and more polished recordings or performances.
3. Maximize USB Mic Portability: USB microphones are designed to be portable, so take advantage of their convenience. If you’re a mobile DJ, bring your USB microphone with you to gigs or events to add live elements and vocal performances to your sets. The portability of USB microphones allows you to easily incorporate them into various venues and setups.
4. Utilize Microphone Mute and On/Off Functions: Learn how to quickly mute or turn off your USB microphone when it’s not in use. This is particularly useful during transitions or when you want to remove the microphone from the mix temporarily. Familiarize yourself with the controls or software options that enable you to mute or turn off the microphone to maintain a seamless DJ performance.
5. Practice Microphone Technique: Develop microphone technique to ensure clear and powerful vocals. Experiment with microphone distance, projection, and breath control to achieve consistent volume levels and a well-balanced sound. Practice in various environments to adapt to different acoustics and overcome challenges like noise or feedback issues.
6. Explore Vocal Harmonies: If your USB microphone has a built-in headphone output, use it to listen to your vocals in real-time while adding harmonies or layering additional vocal tracks. This allows you to experiment with harmonizing and creating intricate vocal arrangements on the spot, adding depth and complexity to your DJ sets.
7. Automate Effects and Parameters: Take advantage of Traktor’s automation features to create dynamic vocal effects or alter parameters in real-time. Assign effects to specific buttons or knobs on your MIDI controller or use Traktor’s internal automation features to control effects, EQ, or other parameters. This adds an element of surprise and creativity to your live vocal performances.
8. Collaborate and Jam: Don’t hesitate to collaborate or jam with other musicians or vocalists. Invite them to join you for a live performance or incorporate their recorded vocals into your sets. Collaborating with other artists can introduce fresh elements and create unique experiences for your audience.
9. Use Pre-Recorded Samples: Extend your creative possibilities by incorporating pre-recorded samples into your DJ sets. Use your USB microphone to record vocal samples, beatbox sounds, or other live elements, and trigger them alongside your music. This allows you to create custom vocal stabs, vocal hooks, or even unique sound effects.
10. Practice, Practice, Practice: As with any DJ technique, mastering the use of a USB microphone takes practice. Experiment with different techniques, effects, and styles to develop your own signature sound. Refine your skills by recording and reviewing your performances, and make adjustments accordingly to continually improve and refine your craft.
By incorporating these tips and tricks into your DJ sets, you can unleash the full potential of your USB microphone in Traktor, adding depth, creativity, and a personalized touch to your performances.
Final Thoughts and Recommendations
Using a USB microphone with Traktor can greatly enhance your DJ sets by adding vocals, live performances, and unique audio elements to your mixes. Here are some final thoughts and recommendations to consider:
1. Quality Matters: When choosing a USB microphone, prioritize quality. Invest in a microphone that offers good sound reproduction, durability, and compatibility with Traktor. A high-quality microphone will ensure that your vocals or live performances shine through with clarity and precision.
2. Experiment and Explore: Don’t be afraid to push the boundaries of what you can do with a USB microphone in Traktor. Experiment with different vocal techniques, effects, and samples to create dynamic and captivating performances. Embrace the versatility of your microphone and let your creativity soar.
3. Practice Mic Technique: Work on improving your microphone technique to deliver powerful and professional-sounding vocals. Practice breath control, projection, and microphone placement to optimize your sound and ensure consistent audio levels.
4. Confirm Compatibility: Before purchasing a USB microphone, ensure that it is compatible with your computer’s operating system and Traktor software. Research the microphone’s compatibility and any necessary drivers or software updates to avoid compatibility issues down the line.
5. Stay Up to Date: Regularly check for software updates for Traktor and your USB microphone. These updates often introduce new features, improvements, and bug fixes that can enhance your overall experience and performance quality.
6. Engage the Crowd: Utilize your USB microphone to engage with your audience. Interact with the crowd, make announcements, introduce tracks, or even take song requests. Connecting with your audience on a personal level can significantly enhance their experience and make your DJ sets memorable.
7. Record and Review: Take advantage of Traktor’s recording capabilities to capture your DJ sets, including your USB microphone’s audio. Recording allows you to review and analyze your performances, identify areas for improvement, and fine-tune your DJing skills.
8. Share Your Talent: Once you’re confident in your DJ sets with your USB microphone, consider sharing your talent through live streams, online platforms, or local performances. Showcase your unique style, vocal abilities, and musical creativity to a wider audience.
9. Connect with Other DJs: Join DJ communities, forums, or social media groups to connect with other DJs who use USB microphones. Share your experiences, exchange tips, and learn from one another’s insights. Collaboration and networking in the DJ community can lead to new opportunities and growth as an artist.
10. Have Fun! Above all, enjoy the process of using a USB microphone in Traktor. Embrace the ability to add your own voice, creativity, and live performances to your DJ sets. Have fun exploring the endless possibilities and let your passion for music shine through.
With the right USB microphone and a bit of experimentation, you can take your DJ sets to a whole new level with Traktor. Embrace the power of your USB microphone, unleash your creativity, and watch as your performances come alive with the addition of vocals and live elements.