Introduction
Welcome to our comprehensive guide on how to record with a USB microphone in Reaper. Whether you are a podcaster, musician, or content creator, understanding how to effectively use a USB microphone and record in Reaper can greatly enhance the quality of your audio recordings.
Reaper is a popular digital audio workstation (DAW) that provides powerful tools for recording, editing, and mixing audio. USB microphones, on the other hand, are convenient and user-friendly devices that offer plug-and-play functionality without the need for additional audio interfaces or complex setups.
In this guide, we will walk you through the step-by-step process of setting up your USB microphone and configuring Reaper to ensure optimal recording results. We will cover topics such as selecting the USB microphone as your input device, adjusting input levels, configuring the recording settings, creating a new project, arming tracks for recording, monitoring your recordings, editing the recorded audio, and finally, exporting your recordings.
Whether you are a beginner looking to get started with recording or a seasoned audio engineer searching for best practices in using USB microphones with Reaper, this guide has got you covered. So let’s dive in, and learn how to harness the full potential of your USB microphone and Reaper to achieve professional-quality recordings.
Setting up your USB microphone
Before you begin recording in Reaper, it is crucial to properly set up your USB microphone. Follow these steps to ensure a seamless connection and optimal performance:
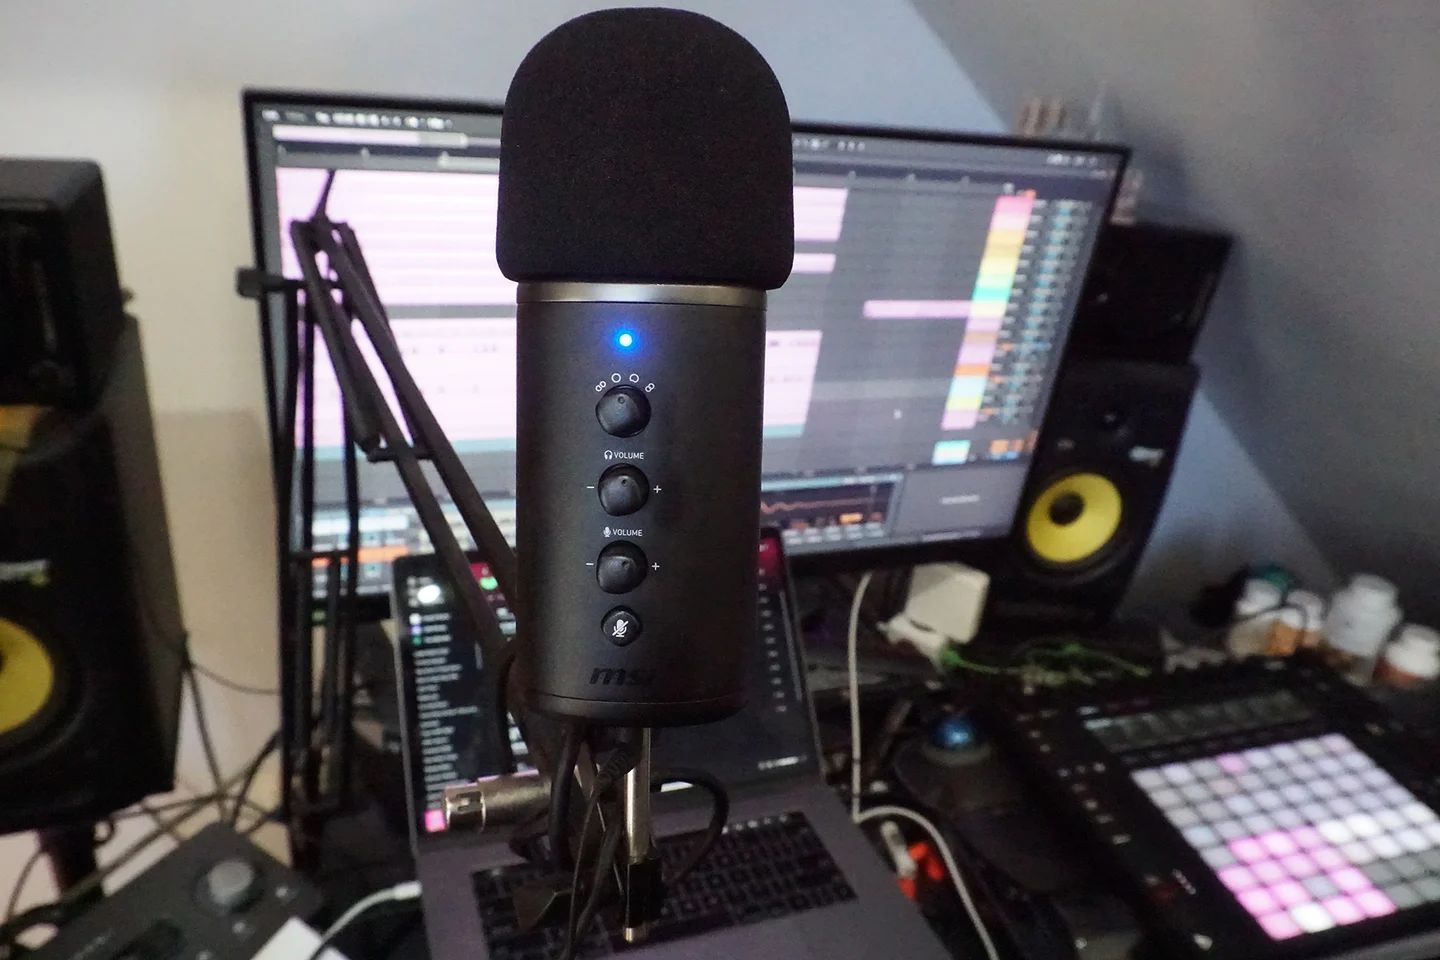
- Connect your USB microphone: Start by plugging your USB microphone into an available USB port on your computer. Make sure to use a high-speed USB port for the best audio quality.
- Check the microphone’s drivers: Most modern USB microphones are plug-and-play, meaning they will automatically install the necessary drivers when connected to your computer. However, it’s a good idea to check the manufacturer’s website for any available driver updates or specific installation instructions.
- Adjust the microphone’s settings: Once connected, you may need to adjust the microphone’s settings. On Windows, you can access the microphone settings by right-clicking the speaker icon in the system tray, selecting “Sounds,” and navigating to the “Recording” tab. On Mac, go to “System Preferences,” select “Sound,” and then choose the “Input” tab.
- Test the microphone: Before launching Reaper, it’s essential to confirm that your USB microphone is working correctly. You can use the built-in voice recorder or any other audio recording software to test the microphone’s audio quality and ensure it is capturing sound without any issues.
- Eliminate background noise: USB microphones are often more prone to picking up background noise compared to professional studio microphones. To minimize unwanted noise, make sure you are recording in a quiet environment and consider using a pop filter or a microphone isolation shield to reduce plosives and reflections.
By following these steps, you can set up your USB microphone properly and eliminate any potential issues that might affect your recording quality. Once your USB microphone is ready, we can move on to configuring Reaper to start recording your audio.
Configuring Reaper
Now that your USB microphone is set up and ready to go, let’s dive into configuring Reaper to ensure optimal recording settings:
- Launch Reaper: Open the Reaper software on your computer. If you haven’t installed Reaper yet, you can download and install it from the official website.
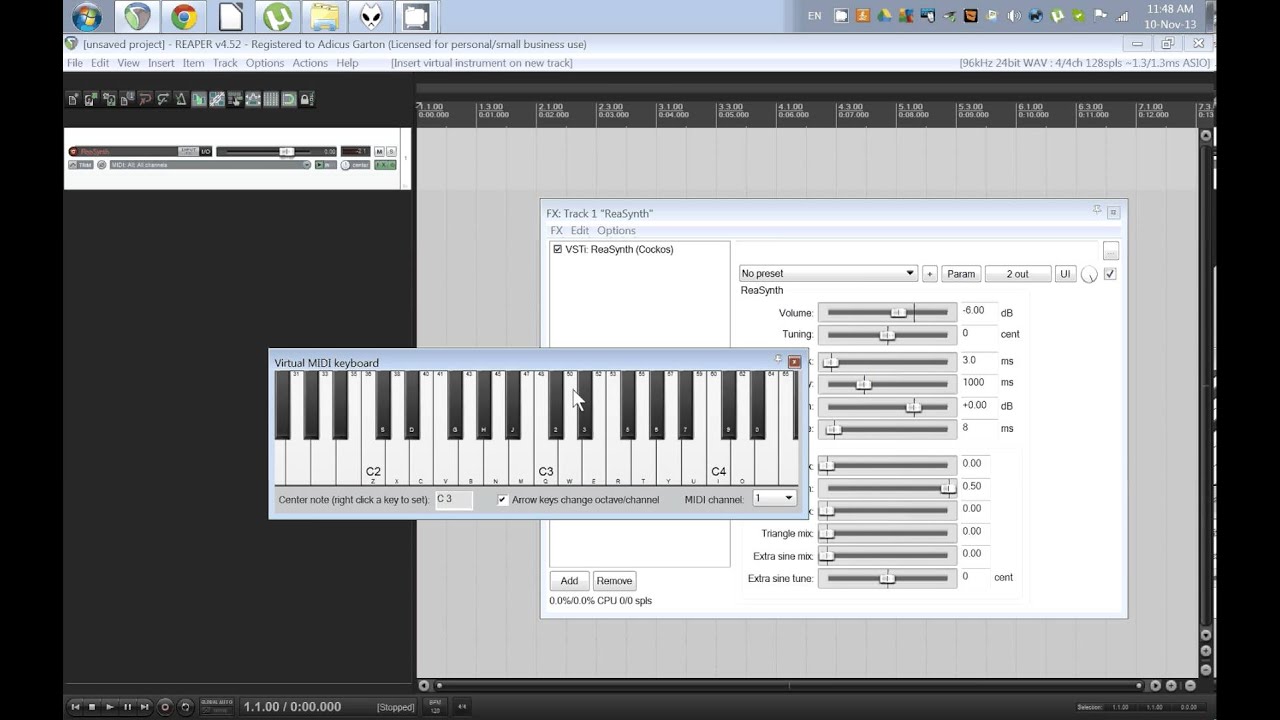
- Audio device settings: In Reaper, go to “Options” > “Preferences” and click on “Audio.” Choose your USB microphone from the “Audio system” dropdown menu. If your USB microphone doesn’t appear, make sure it is properly connected and recognized by your computer’s operating system.
- Buffer size: Set the buffer size to a value that balances low latency with smooth performance. Lower buffer sizes reduce latency but may increase the strain on your computer’s processor. Experiment with different buffer sizes to find the optimal setting for your system.
- Sample rate and bit depth: Set the sample rate and bit depth according to your project requirements. For most standard recordings, a sample rate of 44.1kHz and a bit depth of 24 bits provide excellent audio quality.
- ASIO drivers (optional): If you have an ASIO-compatible USB microphone, consider using ASIO drivers for improved audio performance. In the Audio preferences, select the ASIO driver corresponding to your USB microphone.
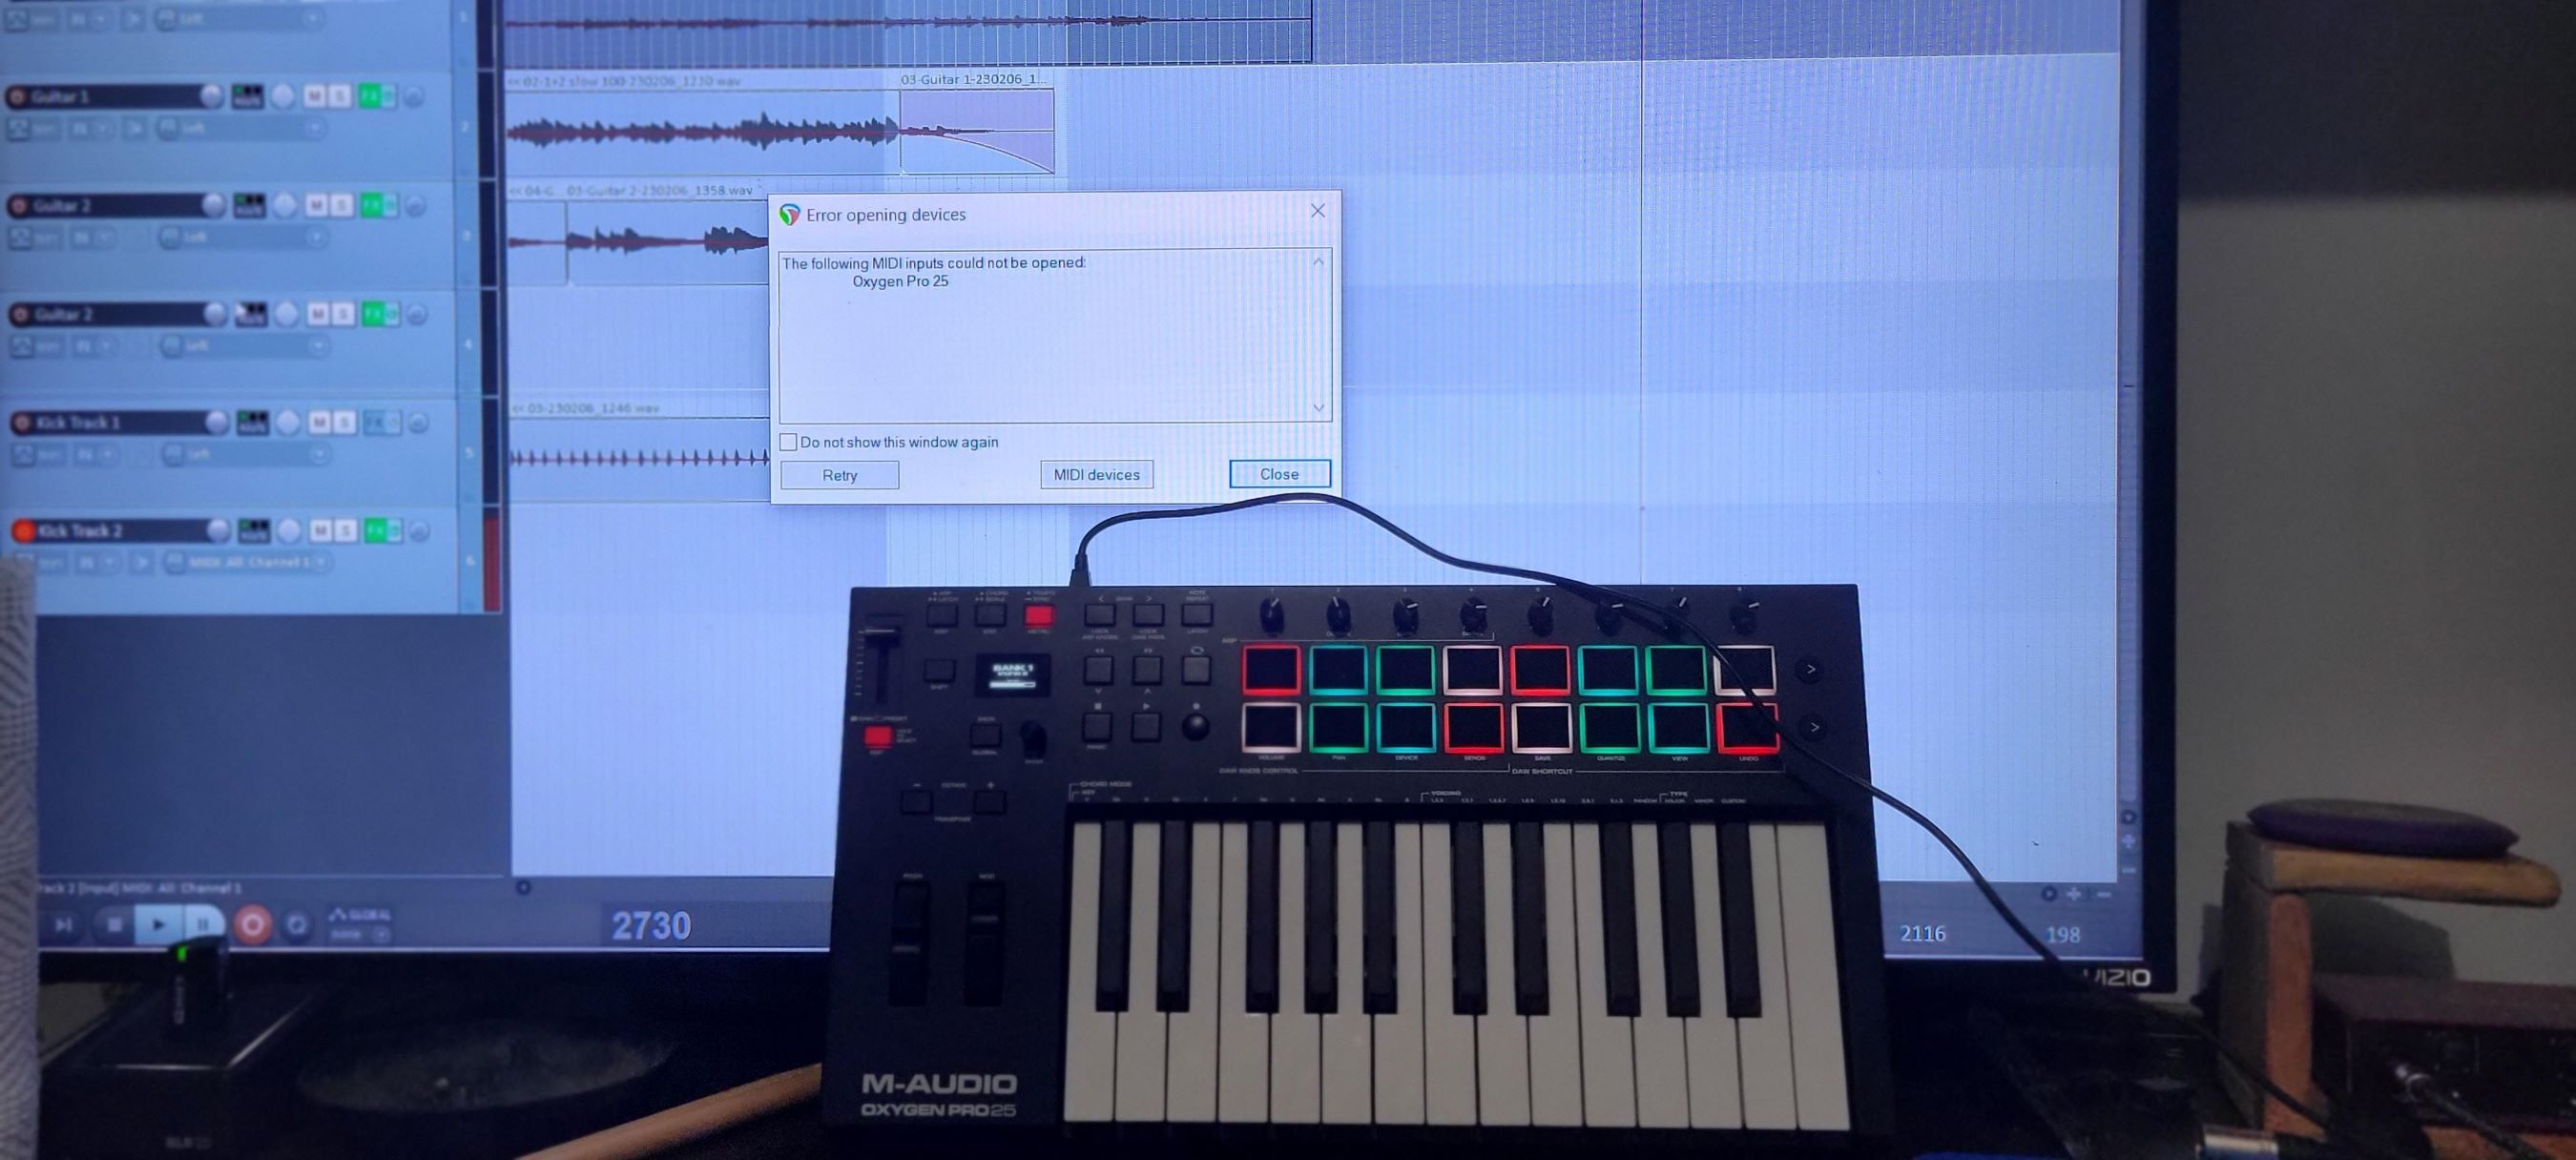
- MIDI device settings (if applicable): If you plan to incorporate MIDI instruments or controllers in your recordings, configure the MIDI device settings in Reaper’s preferences to ensure proper connectivity and functionality.
By configuring Reaper with the appropriate audio settings and device preferences, you can ensure that your USB microphone is seamlessly integrated and ready to deliver high-quality audio recordings. Once you have completed these configurations, you’re ready to move on to selecting your USB microphone as the input device and adjusting input levels in Reaper.
Selecting the USB microphone as your input device
Now that you have configured Reaper’s audio settings, it’s time to select your USB microphone as the input device for recording. Follow these steps:
- Open the track input settings: In Reaper, locate the track you want to record on. Right-click on the track and select “Input settings” from the context menu.
- Choose the USB microphone: In the input settings window, click on the dropdown menu next to “Input” to select your USB microphone as the input device. You should see the name of your USB microphone listed in the available options.
- Enable monitoring: Check the box next to “Record Monitoring” to enable live monitoring of your input signal. This allows you to listen to your audio in real-time as you record.
By selecting your USB microphone as the input device in Reaper, you ensure that the software recognizes and captures audio from the correct source. This step is crucial for a successful recording session. Once you have selected your USB microphone as the input device, it’s time to adjust the input levels to achieve an optimal recording level.
Adjusting the input levels
Properly adjusting the input levels of your USB microphone in Reaper is essential to ensure an accurate and clean recording. Follow these steps to adjust the input levels:
- Open the track control panel: Locate the track you are recording on in Reaper and click on the small triangle icon on the left side to open the track control panel.
- Check the input meter: In the track control panel, you will see an input meter that displays the incoming audio signal level. Speak or make some noise into your USB microphone, and observe the meter to gauge the intensity of the signal.
- Adjust the input gain: Depending on the signal level, you may need to adjust the input gain on your USB microphone. Most USB microphones have a gain control knob or slider that allows you to increase or decrease the input sensitivity. Adjust the gain until the input meter’s peaks are around -12dB to -6dB to provide enough headroom and avoid clipping.
Properly setting the input levels ensures that your recordings are neither too quiet nor too loud. It helps in capturing the details of your audio without allowing it to distort or clip. Once you have adjusted the input levels, it’s time to configure the recording settings in Reaper.
Configuring the recording settings
Configuring the recording settings in Reaper is essential to ensure that your recordings meet your desired specifications. Here’s how you can configure the recording settings:
- Select your preferred file format: In Reaper, go to “Options” > “Preferences” and click on the “Audio” tab. Choose your preferred file format for recording, such as WAV, AIFF, or MP3. Consider the desired audio quality and file size when making your selection.
- Set the recording path: Choose the location on your computer where you want to save your recorded files. In Reaper’s preferences, go to the “Media” tab, and under “Recording,” click on “Path.” Navigate to the desired folder and click “OK.”
- Configure the recording mode: Determine whether you want to record in mono or stereo mode. In the track control panel, click on the dropdown menu next to “Record Mode” and select your preferred option.
- Choose the recording quality: Set the desired sample rate and bit depth for your recordings. Higher sample rates and bit depths offer better audio quality but result in larger file sizes. In the track control panel, click on the “Record Settings” icon and adjust the quality settings according to your needs.
By configuring the recording settings in Reaper, you can ensure that your recordings are saved in the desired format and meet your specific quality requirements. Take into consideration the project’s needs and the available space on your computer. Once you have configured the recording settings, you’re ready to create a new project in Reaper and start recording your audio.
Creating a new project
Before you can start recording in Reaper, you need to create a new project where your recordings will be saved. Follow these steps to create a new project:
- Open Reaper: Launch the Reaper software on your computer.
- Create a new project: Go to “File” and select “New project” from the dropdown menu. Alternatively, you can use the keyboard shortcut Ctrl+N (Windows) or Cmd+N (Mac).
- Set project settings: In the new project window, you can specify the project settings such as the project name, location, sample rate, bit depth, and tempo. Choose the appropriate settings that match your recording requirements.
- Choose a track template (optional): If you have pre-configured track templates that you want to use for your recording, you can select a template from the dropdown menu in the new project window. This allows you to have a predefined setup with effects, routing, and settings already in place.
- Save the project: Once you have set your project settings, click on “OK” to create the new project. Reaper will prompt you to choose a location to save the project. Select a suitable folder on your computer and give the project a descriptive name.
By creating a new project in Reaper, you establish a dedicated space to organize and store your recordings. This allows for easier management and future editing. Once your project is created, the next step is to arm the track for recording.
Arm the track for recording
Before you can start recording audio in Reaper, you need to “arm” the track that you want to record on. Arming a track means preparing it to receive and record audio input. Here’s how you can arm a track for recording:
- Select the track: Locate the track you want to record on in the Reaper interface. Click on the track to select it.
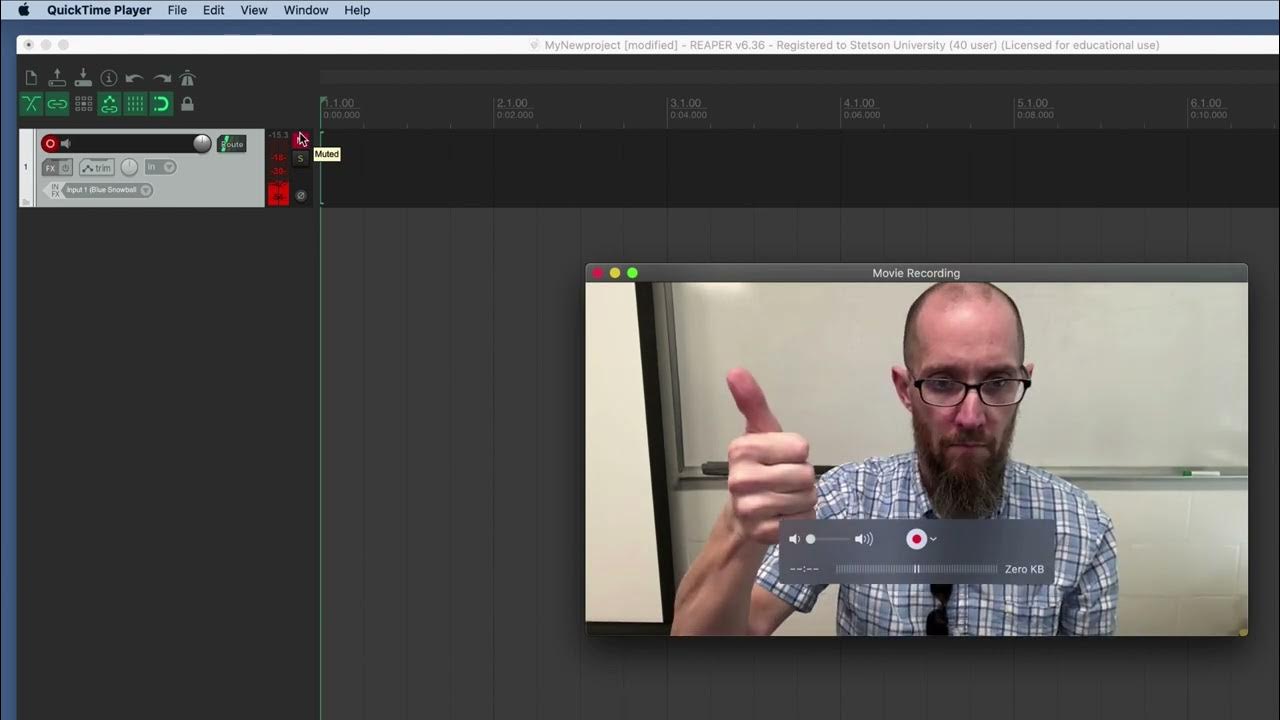
- Arm the track: In the track control panel, look for the record arm button, which typically looks like a red circle. Click on the record arm button to enable recording on the selected track. When armed, the button will turn red, indicating that the track is ready to record.
- Check input monitoring: Depending on your recording preferences, you may want to enable input monitoring. Input monitoring allows you to hear the incoming audio signal in real-time while recording. In the track control panel, click on the “I” button to enable input monitoring.
By arming the track for recording and enabling input monitoring, you ensure that Reaper is set up to capture the audio input from your USB microphone. Once the track is armed, you can start recording your audio by pressing the record button in Reaper. Take your time, relax, and focus on delivering the best performance!
Recording your audio
Now that you have armed the track for recording, it’s time to start capturing your audio in Reaper. Follow these steps to begin recording:
- Position the playhead: Move the playhead to the desired starting point in your project by clicking on the timeline or using the playback controls.
- Prepare for recording: Take a deep breath, get into the right mindset, and prepare to perform or speak into your USB microphone.
- Start the recording: Press the record button in Reaper to begin recording. You can use the shortcut key “R” on your keyboard to start and stop recording as well.
- Perform or speak: Give your best performance, speak clearly, or play your instrument while keeping an eye on the input levels to make sure they stay within the desired range.
- Monitor your recording: As you record, you can use the input monitoring feature to hear your audio in real-time through your headphones or speakers.
- Stop the recording: When you have finished recording, press the stop button in Reaper to stop the recording. You can also use the shortcut key “Spacebar” to stop the recording.
Remember to take breaks, listen back to your recordings, and make adjustments if necessary. Multiple takes are common in recording, so don’t be discouraged if you need to re-record certain parts or sections. Reaper provides various editing tools and features that can help you refine your recordings later on.
Once you have captured your audio, it’s time to move on to the next step, which is monitoring the recording to ensure its quality.
Monitoring the recording
After you’ve completed the recording process in Reaper, it’s important to monitor the recording to ensure its quality and make any necessary adjustments. Follow these steps to monitor your recording:
- Playback the recording: Click on the play button in Reaper to listen back to your recording. You can use the spacebar key as a shortcut to start and stop playback.
- Listen critically: As you listen to the recording, pay attention to the overall audio quality, clarity, and any unwanted noise or artifacts. Take note of any areas that may require editing or re-recording.
- Check for technical issues: Monitor the recording for any technical issues such as clicks, pops, or distortion. If you notice any problems, you may need to adjust input levels, microphone position, or other settings for future recordings.
- Make edits if necessary: If you identify sections of the recording that need editing, such as removing mistakes or trimming unnecessary pauses, use Reaper’s editing tools to make the necessary adjustments.
- Re-record if needed: If you are unhappy with the overall quality of the recording or specific sections, don’t hesitate to re-record those parts. It’s important to achieve the best possible audio quality.
Monitoring the recording gives you the opportunity to assess the quality of your audio and make any necessary improvements or corrections. By actively listening and analyzing the recording, you can ensure that your final product meets your desired standards. Once you are satisfied with the recording and any necessary edits have been made, you can move on to the next step, which is editing your recording in Reaper.
Editing your recording
Editing your recording is an important step in refining the audio and preparing it for the final product. Reaper provides a range of powerful editing tools that allow you to trim, cut, enhance, and polish your recording. Follow these steps to edit your recording in Reaper:
- Select the track: Locate the track containing your recorded audio and select it in the Reaper interface.
- Trim unwanted sections: Use the cutting tool or the razor tool in Reaper to trim any unwanted sections of the recording. This can include mistakes, pauses, or any parts that need to be removed.
- Correct audio errors: If you come across any audio errors, such as clicks, pops, or background noise, you can use Reaper’s audio editing features, like noise reduction or equalization, to address these issues and enhance the overall audio quality.
- Apply effects (if desired): Depending on your creative vision or the requirements of your project, you may want to apply audio effects, such as reverb, compression, or EQ, to enhance the audio and add depth and character to the recording.
- Arrange and rearrange: Reaper’s timeline view allows you to arrange and rearrange your recorded audio segments easily. This can be useful if you want to reorder parts of your recording or create a cohesive structure for your project.
- Smooth transitions: Use Reaper’s crossfade tool to create smooth transitions between different sections of the recording. This can help eliminate any abrupt changes and create a seamless listening experience.
Editing your recording in Reaper gives you the creative freedom to shape the audio to your liking and ensure it meets your intended purpose. Remember to save your progress as you make edits, allowing you to revisit and fine-tune your work if needed. Once you are satisfied with the editing process, you can proceed to the final step, which is exporting your recording.
Exporting your recording
Once you have finished editing your recording in Reaper, it’s time to export it into a usable audio file format. Follow these steps to export your recording:
- Select the desired section: If you only want to export a specific section of your recording, select that portion in the Reaper interface. If you want to export the entire recording, you can skip this step.
- Go to the export settings: In Reaper, navigate to “File” > “Render” to access the export settings dialog box.
- Choose the export format: In the export settings dialog box, choose the desired file format for your exported recording. Common formats include WAV, AIFF, and MP3.
- Specify the export parameters: Set the export parameters such as the sample rate, bit depth, and file location. Make sure these settings match the desired specifications for your final recording.
- Apply any additional settings: Depending on your requirements, you may want to apply additional settings in the export settings dialog box, such as adding ID3 tags or specifying a specific file name.
- Start the export: Click on the “Render” or “Export” button to start the exporting process. Reaper will process and save your recording as a separate audio file in the specified location.
Once the exporting process is complete, you will have a finalized audio file that you can use for various purposes, such as sharing, uploading, or further post-production work. Congratulations on successfully exporting your recording!
It’s worth noting that Reaper offers a multitude of advanced options and settings for exporting audio. If you have specific requirements or preferences, be sure to explore these settings to tailor the export process to your exact needs.