Introduction
So, you've just purchased a digital piano and you're eager to start recording your musical masterpieces using the powerful digital audio workstation (DAW) software, Reaper. This guide will walk you through the process of setting up your digital piano in Reaper, allowing you to unleash your creativity and produce high-quality recordings right from the comfort of your own home.
Whether you're a seasoned musician or a budding enthusiast, integrating your digital piano with Reaper opens up a world of possibilities for composing, recording, and producing music. By following the steps outlined in this guide, you'll be well on your way to harnessing the full potential of your digital piano within the versatile and intuitive Reaper environment.
Before diving into the technical aspects of installation and configuration, it's important to understand the benefits of using a digital piano in conjunction with Reaper. Unlike traditional acoustic pianos, digital pianos offer a wide range of features and capabilities, including built-in sound libraries, MIDI connectivity, and the ability to connect directly to a computer. When paired with a powerful DAW like Reaper, your digital piano becomes a versatile tool for music creation, enabling you to explore various sounds, record multiple tracks, and fine-tune your compositions with ease.
In the upcoming sections, we'll cover the essential steps to seamlessly integrate your digital piano with Reaper. From setting up your digital piano and installing Reaper on your computer to configuring the software for optimal performance and testing your setup, each step is designed to provide a comprehensive yet accessible guide for musicians of all levels.
So, grab your digital piano, fire up your computer, and let's embark on this exciting journey toward transforming your musical ideas into polished, professional recordings. By the end of this guide, you'll be well-equipped to harness the full potential of your digital piano within the dynamic realm of Reaper, paving the way for endless musical creativity and expression. Let's get started!
Step 1: Setting up your digital piano
Before delving into the intricacies of Reaper, it’s crucial to ensure that your digital piano is properly set up and ready to interface with your computer. Follow these essential steps to prepare your digital piano for seamless integration with Reaper:
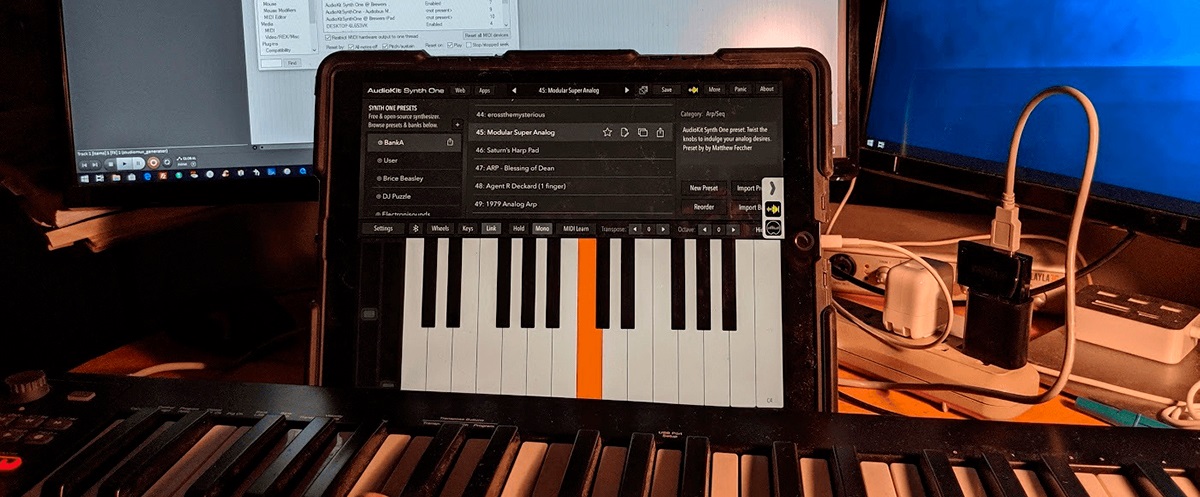
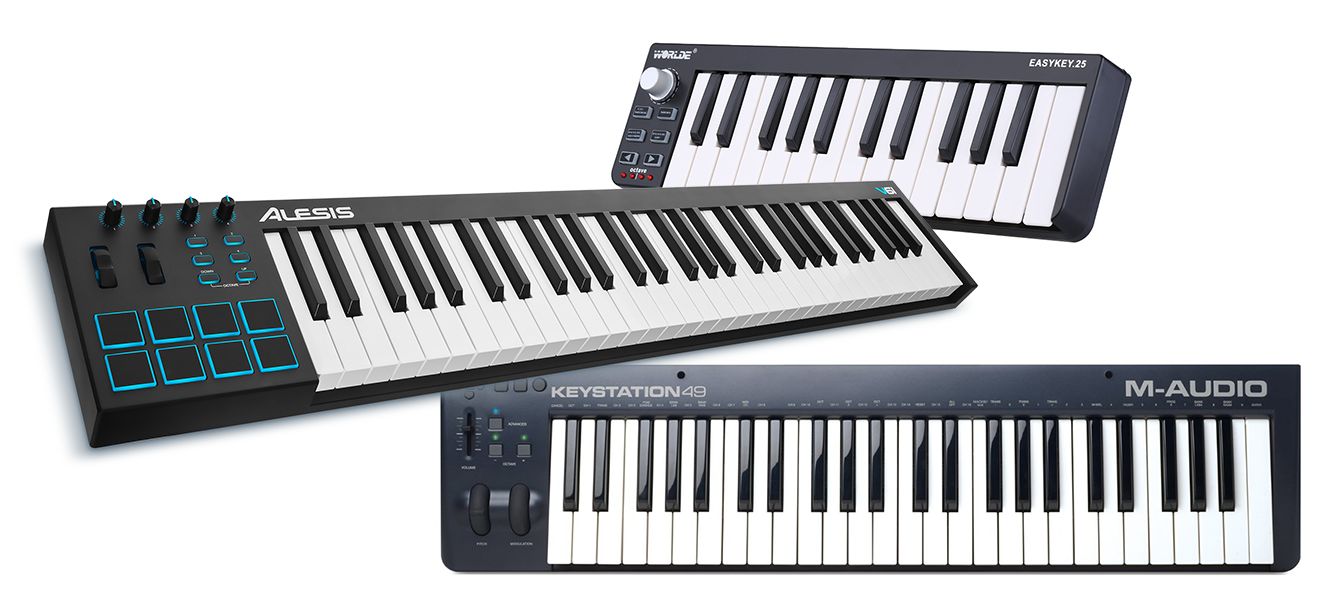
- Positioning and Connectivity: Begin by selecting an optimal location for your digital piano within your workspace. Ensure that the instrument is placed in a comfortable and ergonomic position, allowing for unrestricted movement and easy access to the keys and controls. Next, establish the connection between your digital piano and your computer. Depending on the model of your digital piano, this may involve connecting via USB, MIDI, or audio cables. Refer to the manufacturer’s instructions for specific guidance on establishing the connection.
- Power and Calibration: Once the physical connection is established, power on your digital piano and ensure that it is calibrated for operation. This may involve adjusting settings such as volume levels, touch sensitivity, and pedal functions to suit your preferences and playing style. Familiarize yourself with the basic functions and controls of your digital piano to ensure a smooth and responsive playing experience.
- Software Compatibility: Check for any specific software requirements or drivers associated with your digital piano. Many modern digital pianos are designed to be compatible with a wide range of DAWs and operating systems. Visit the manufacturer’s website to download and install any necessary drivers or software updates that facilitate seamless communication between your digital piano and your computer.
By meticulously following these initial setup steps, you’ll establish a solid foundation for integrating your digital piano with Reaper. A well-positioned and properly calibrated digital piano, coupled with a reliable connection to your computer, forms the cornerstone of a successful music production setup. With your digital piano primed for action, you’re now ready to embark on the next phase of the installation process: installing Reaper on your computer.
Step 2: Installing Reaper on your computer
With your digital piano set up and ready to go, the next crucial step in the process is to install Reaper, the versatile digital audio workstation (DAW) software, on your computer. Follow these steps to seamlessly install Reaper and prepare it for integration with your digital piano:
- Downloading the Reaper Installer: Begin by visiting the official Cockos Incorporated website to download the latest version of the Reaper installer. The website provides options for both Windows and macOS platforms, ensuring compatibility with your operating system. Once the installer is downloaded, proceed to launch the installation process.
- Running the Installation Wizard: Upon launching the Reaper installer, you will be guided through a series of prompts and options to customize the installation according to your preferences. Follow the on-screen instructions to select the desired installation location, create desktop shortcuts, and configure additional settings as needed. The installation wizard simplifies the process, making it accessible for users of all experience levels.
- Completing the Installation: After customizing the installation settings, proceed to complete the installation of Reaper on your computer. The software will be swiftly installed, and a desktop shortcut or program icon will be created for easy access. Once the installation is complete, launch Reaper to begin the initial setup and configuration process.
By following these straightforward steps, you’ll successfully install Reaper on your computer, paving the way for a seamless integration with your digital piano. Reaper’s intuitive interface and powerful features make it an ideal platform for capturing, editing, and producing your musical creations. With Reaper installed and ready for action, you’re now prepared to move on to the next crucial phase: configuring Reaper to recognize and interface with your digital piano.
Step 3: Configuring Reaper for your digital piano
Now that Reaper is successfully installed on your computer, it’s time to configure the software to recognize and seamlessly interact with your digital piano. Follow these essential steps to ensure that Reaper is optimized for integration with your digital piano:
- Accessing Preferences: Upon launching Reaper, navigate to the “Options” menu and select “Preferences” to access the configuration settings. Within the Preferences window, locate the “MIDI Devices” section, where you’ll be able to configure your digital piano as a MIDI input device for Reaper.
- Adding MIDI Input: In the MIDI Devices section of the Preferences window, click on the “Enable input from this device” option for your digital piano. This action allows Reaper to recognize and receive MIDI input signals from your digital piano, enabling you to record and manipulate MIDI data within the software.
- Assigning MIDI Channels: If your digital piano supports multiple MIDI channels, you can assign specific channels for input within Reaper’s Preferences. This feature is particularly useful when working with multi-timbral instruments or when routing MIDI data to different tracks within your projects.
- Configuring Audio Settings: In addition to MIDI configuration, ensure that Reaper’s audio settings are optimized for use with your digital piano. This may involve selecting the appropriate audio input and output devices, setting sample rates, and adjusting buffer sizes to minimize latency and ensure smooth audio performance.
By meticulously configuring Reaper to recognize and interface with your digital piano, you’ll establish a seamless connection between the two, allowing for effortless recording, playback, and manipulation of MIDI data. With Reaper finely tuned to accommodate your digital piano, you’re now poised to move on to the final phase of the installation process: testing your setup to ensure optimal functionality and performance.
Step 4: Testing your setup
With your digital piano and Reaper intricately connected and configured, it’s time to put your setup to the test. Follow these essential steps to ensure that your digital piano seamlessly integrates with Reaper, allowing for smooth and responsive performance:
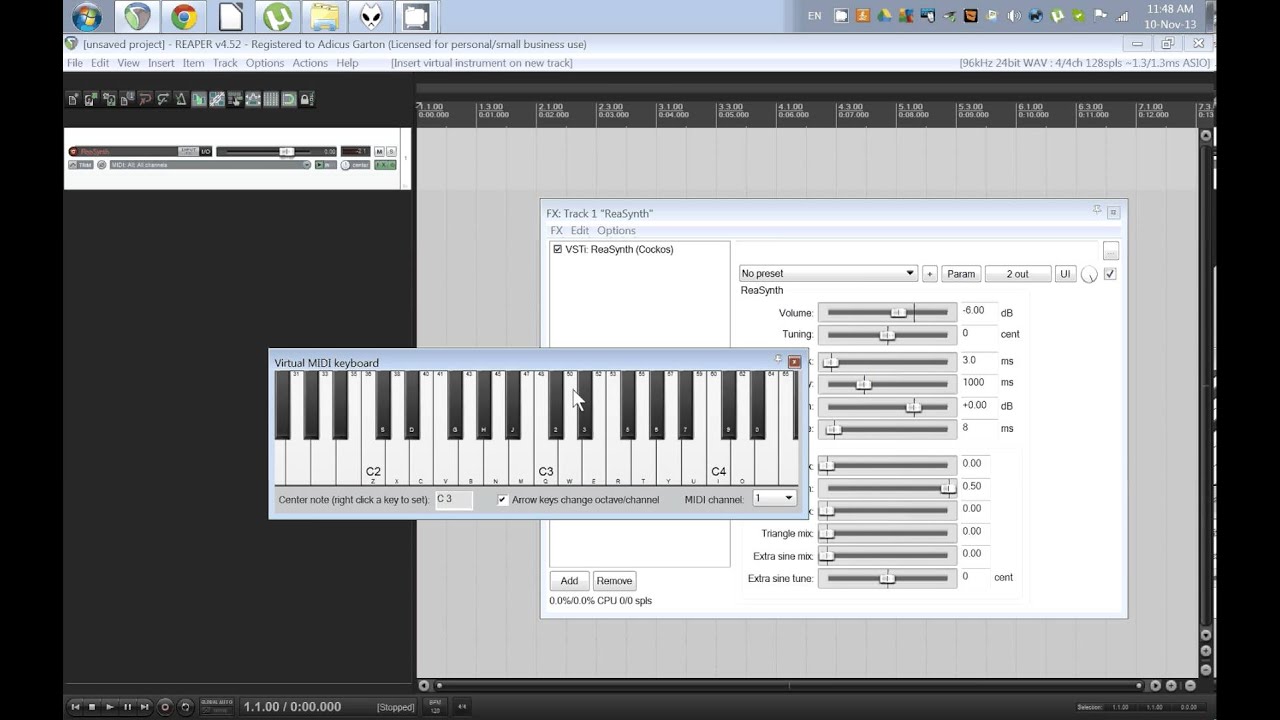
- Recording MIDI Input: Begin by playing a few notes or chords on your digital piano while Reaper is open. Verify that Reaper accurately captures the MIDI input from your digital piano. You should see MIDI signal indicators lighting up within Reaper, confirming that the software is receiving input from your digital piano.
- Monitoring Audio Output: After recording MIDI input, play back the recorded MIDI data within Reaper while listening to the audio output from your digital piano. Ensure that the audio playback accurately reflects the notes and dynamics of your performance, demonstrating a seamless translation of MIDI data into audible sound.
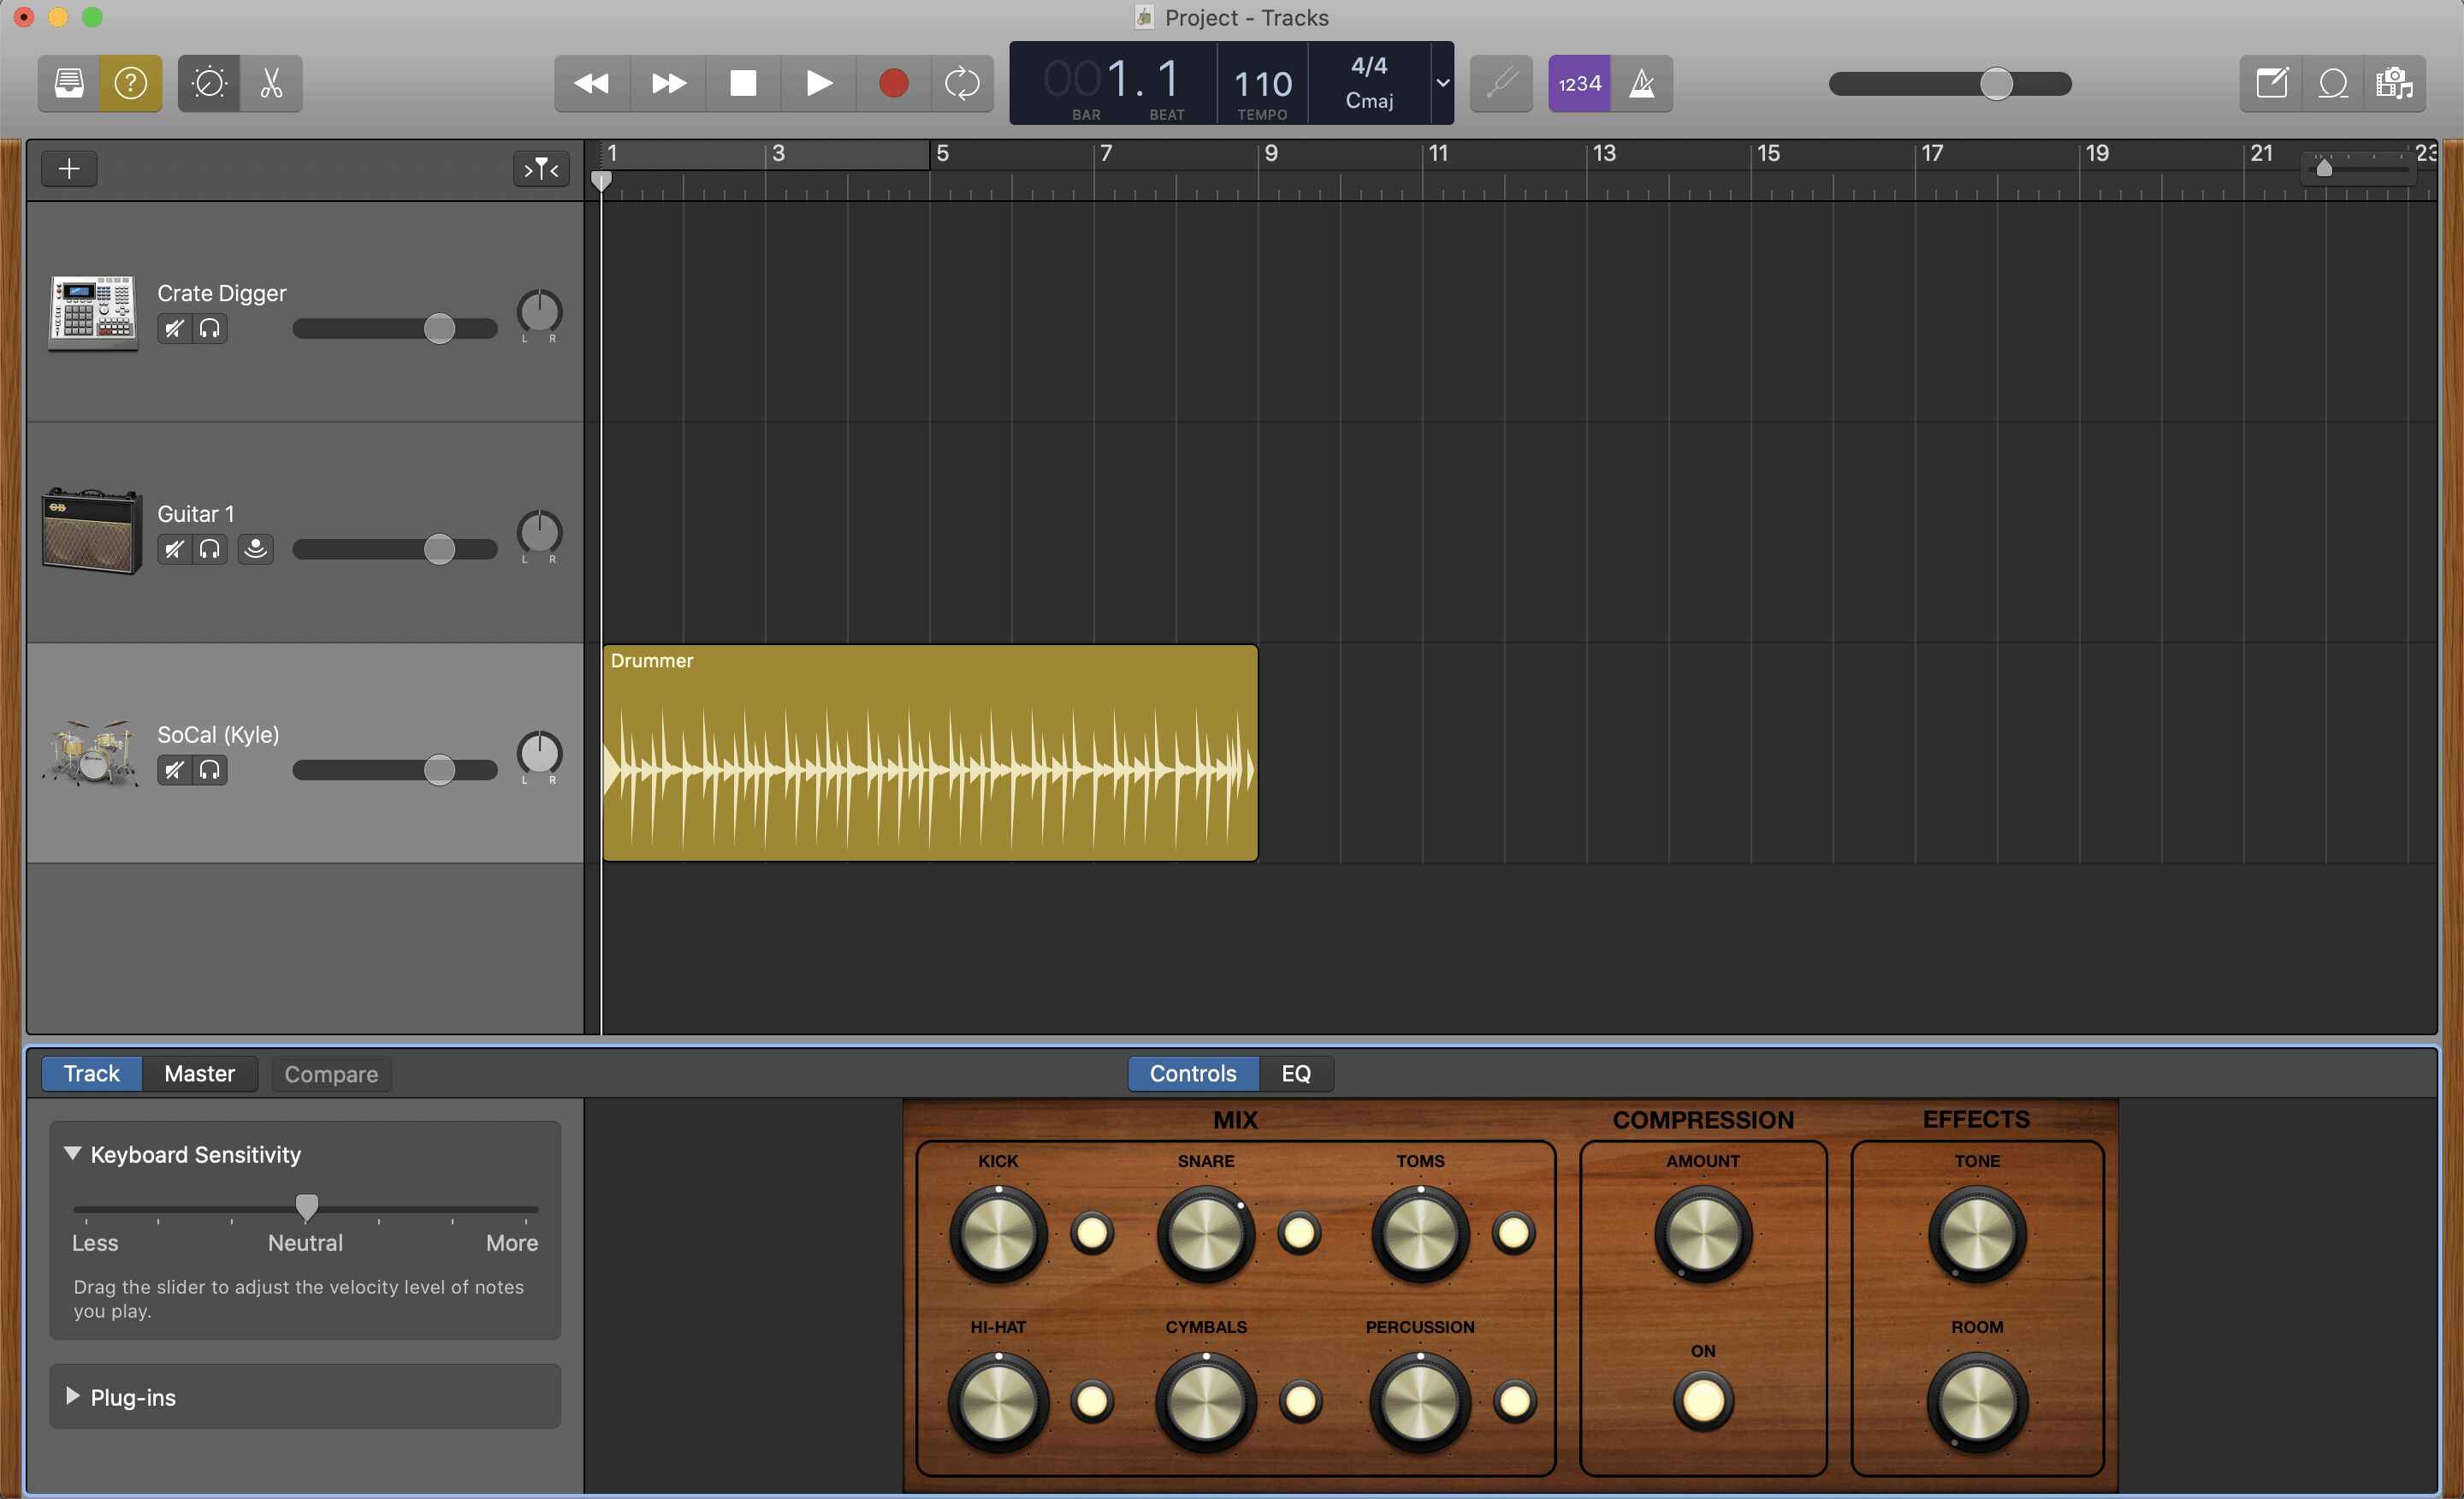
- Exploring Instrument Libraries: If your digital piano features built-in sound libraries or virtual instruments, experiment with selecting different instrument sounds and patches while playing through Reaper. Verify that Reaper accurately triggers and controls the various sounds and articulations available on your digital piano, showcasing the versatility of your setup.
- Testing Real-Time Performance: Engage in real-time playing and recording within Reaper, testing the responsiveness and latency of your digital piano’s interaction with the software. Pay attention to any delays or inconsistencies in performance, ensuring that your setup delivers a smooth and immediate response to your musical input.
By diligently testing your setup through these comprehensive steps, you’ll gain confidence in the seamless integration of your digital piano with Reaper. The testing phase allows you to validate the functionality, performance, and compatibility of your setup, ensuring that it meets the demands of your creative workflow and musical aspirations.
Conclusion
Congratulations! By following the comprehensive steps outlined in this guide, you’ve successfully installed and configured your digital piano within the powerful digital audio workstation, Reaper. This integration opens up a world of possibilities for music creation, recording, and production, empowering you to unleash your creativity and bring your musical visions to life.
With your digital piano seamlessly interfaced with Reaper, you now have the tools at your disposal to explore a myriad of musical genres, experiment with diverse sounds, and capture your performances with unparalleled precision and flexibility. Whether you’re a composer, songwriter, or performer, the seamless integration of your digital piano with Reaper amplifies your ability to express yourself through music.
As you embark on your musical journey with this newfound setup, continue to explore the vast array of features and capabilities offered by both your digital piano and Reaper. Experiment with recording techniques, delve into the world of MIDI editing, and leverage the extensive effects and processing tools within Reaper to sculpt your musical compositions with finesse.
Remember, the integration of your digital piano with Reaper is not merely a technical achievement; it’s a gateway to boundless creativity and expression. Embrace the process of discovery, hone your skills, and let your musical endeavors flourish within the dynamic environment of Reaper.
Whether you’re crafting intricate piano compositions, layering lush orchestrations, or experimenting with electronic music production, the seamless integration of your digital piano with Reaper empowers you to realize your artistic vision with unparalleled depth and precision.
So, seize this opportunity to harness the full potential of your digital piano within the versatile realm of Reaper, and let your musical aspirations soar to new heights. The harmonious synergy between your digital piano and Reaper awaits, ready to accompany you on a journey of musical exploration and innovation.