Introduction
Are you a digital piano enthusiast looking to capture your musical creations on your computer? Recording from a digital piano to a computer opens up a world of possibilities, allowing you to preserve your performances, share your music with others, and explore the realm of digital music production. Whether you’re a seasoned musician or just starting your musical journey, this guide will walk you through the steps to seamlessly record your digital piano playing on your computer.
Capturing the nuances of your piano performance can be a rewarding experience, and with the right tools and techniques, you can achieve professional-quality recordings from the comfort of your own home. This process involves connecting your digital piano to your computer, selecting the appropriate recording software, adjusting input levels, and finally, recording and saving your musical masterpiece.
In this comprehensive guide, we will delve into each step in detail, providing you with the knowledge and confidence to embark on your recording journey. By the end of this tutorial, you will be equipped with the essential skills to harness the power of digital technology and unleash your creativity through the art of recording from your digital piano to your computer. So, let’s dive in and explore the exciting world of digital piano recording!
Step 1: Connecting Your Digital Piano to Your Computer
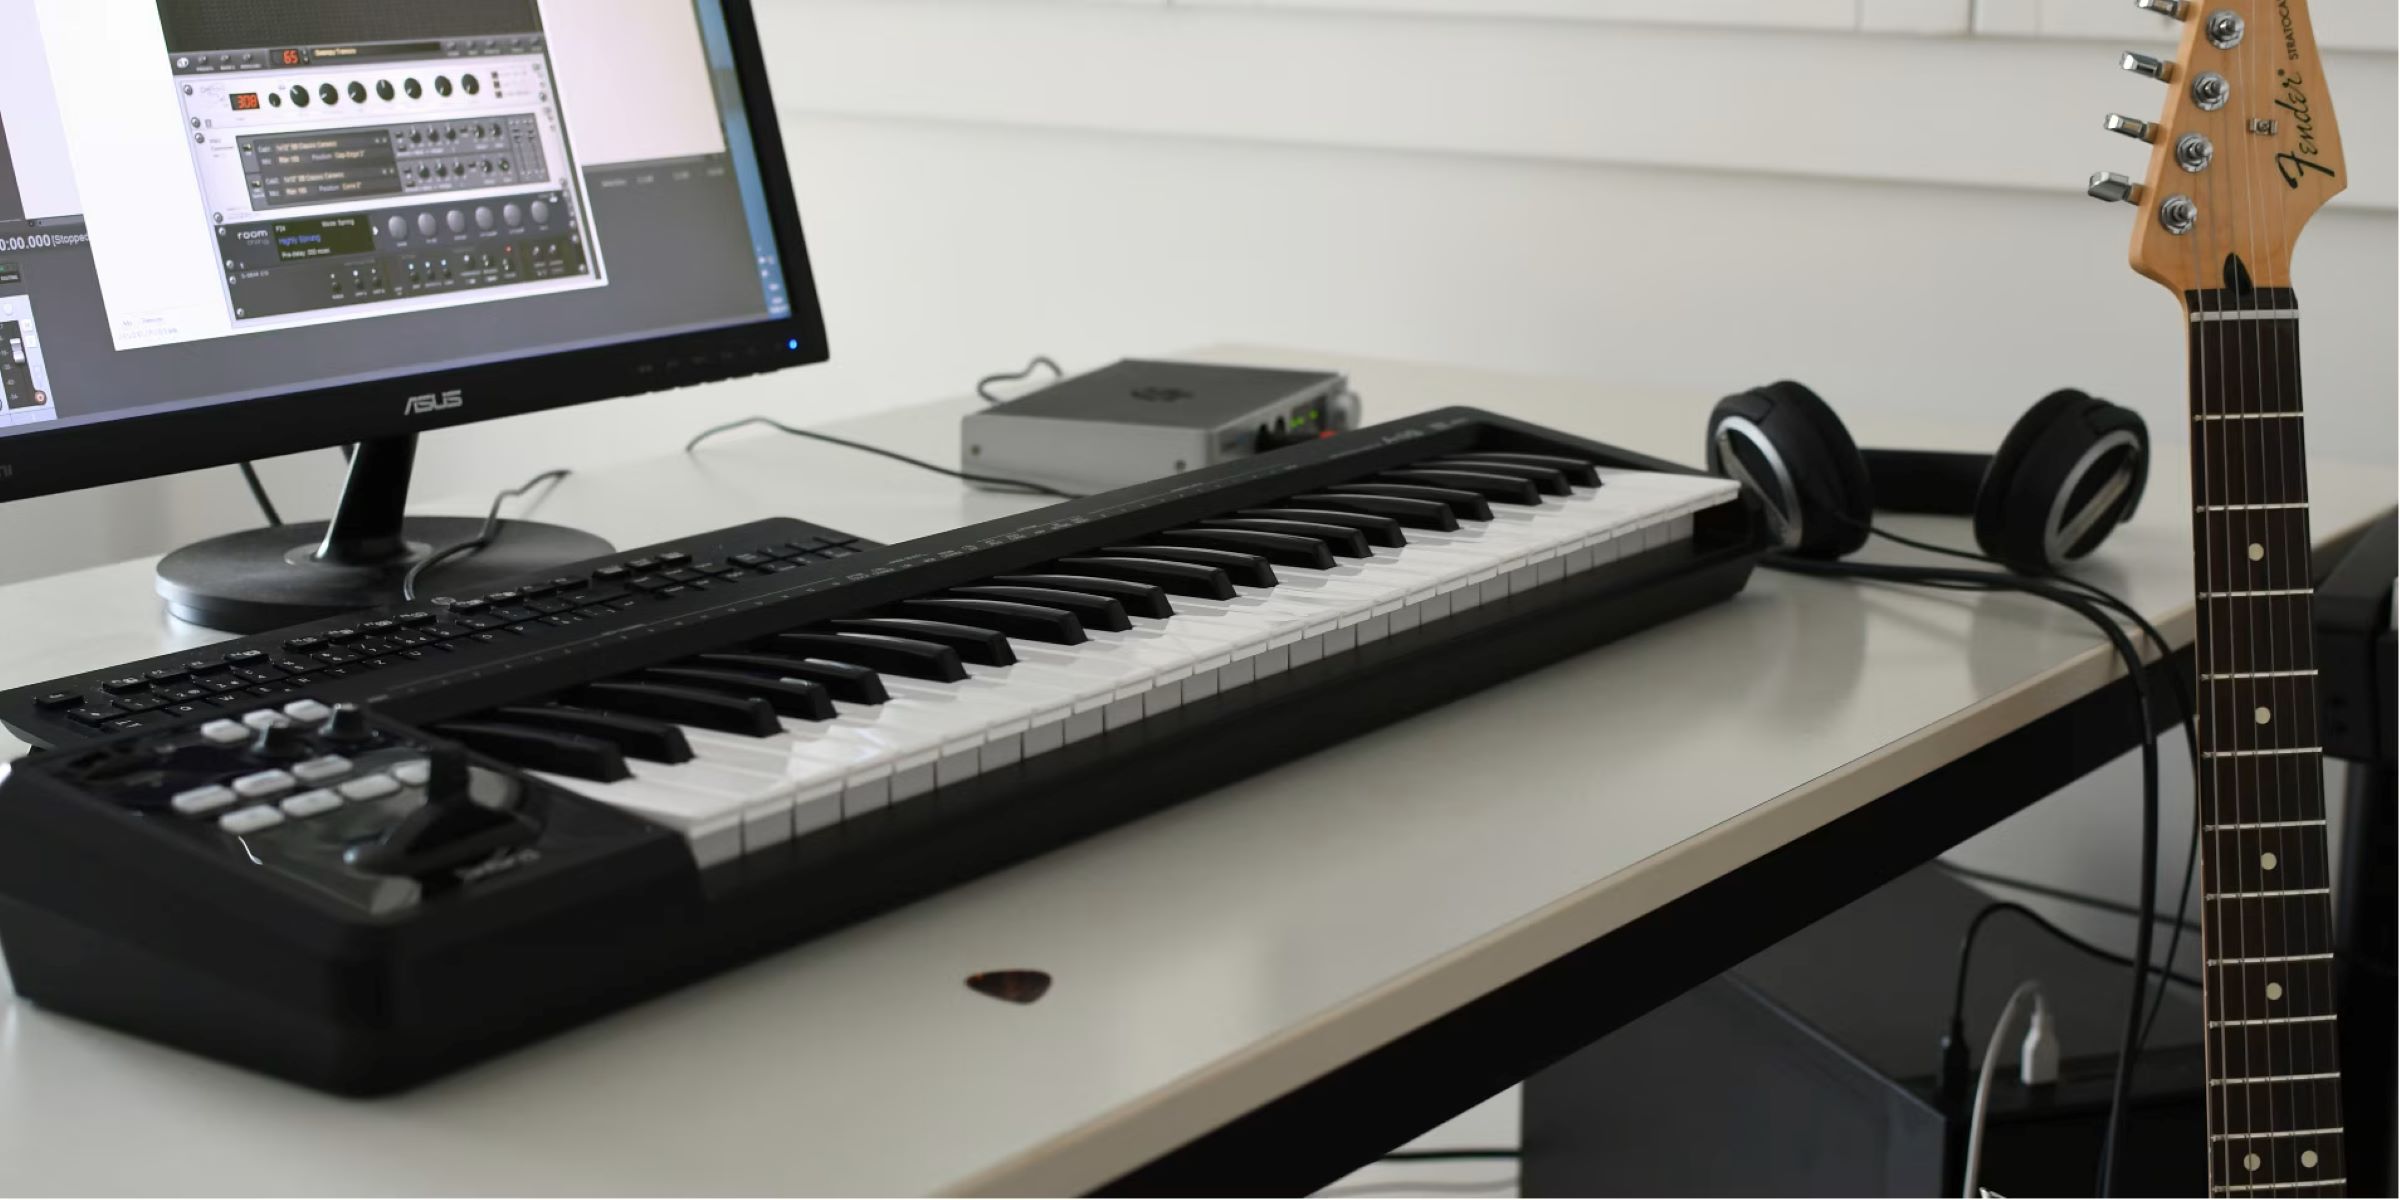
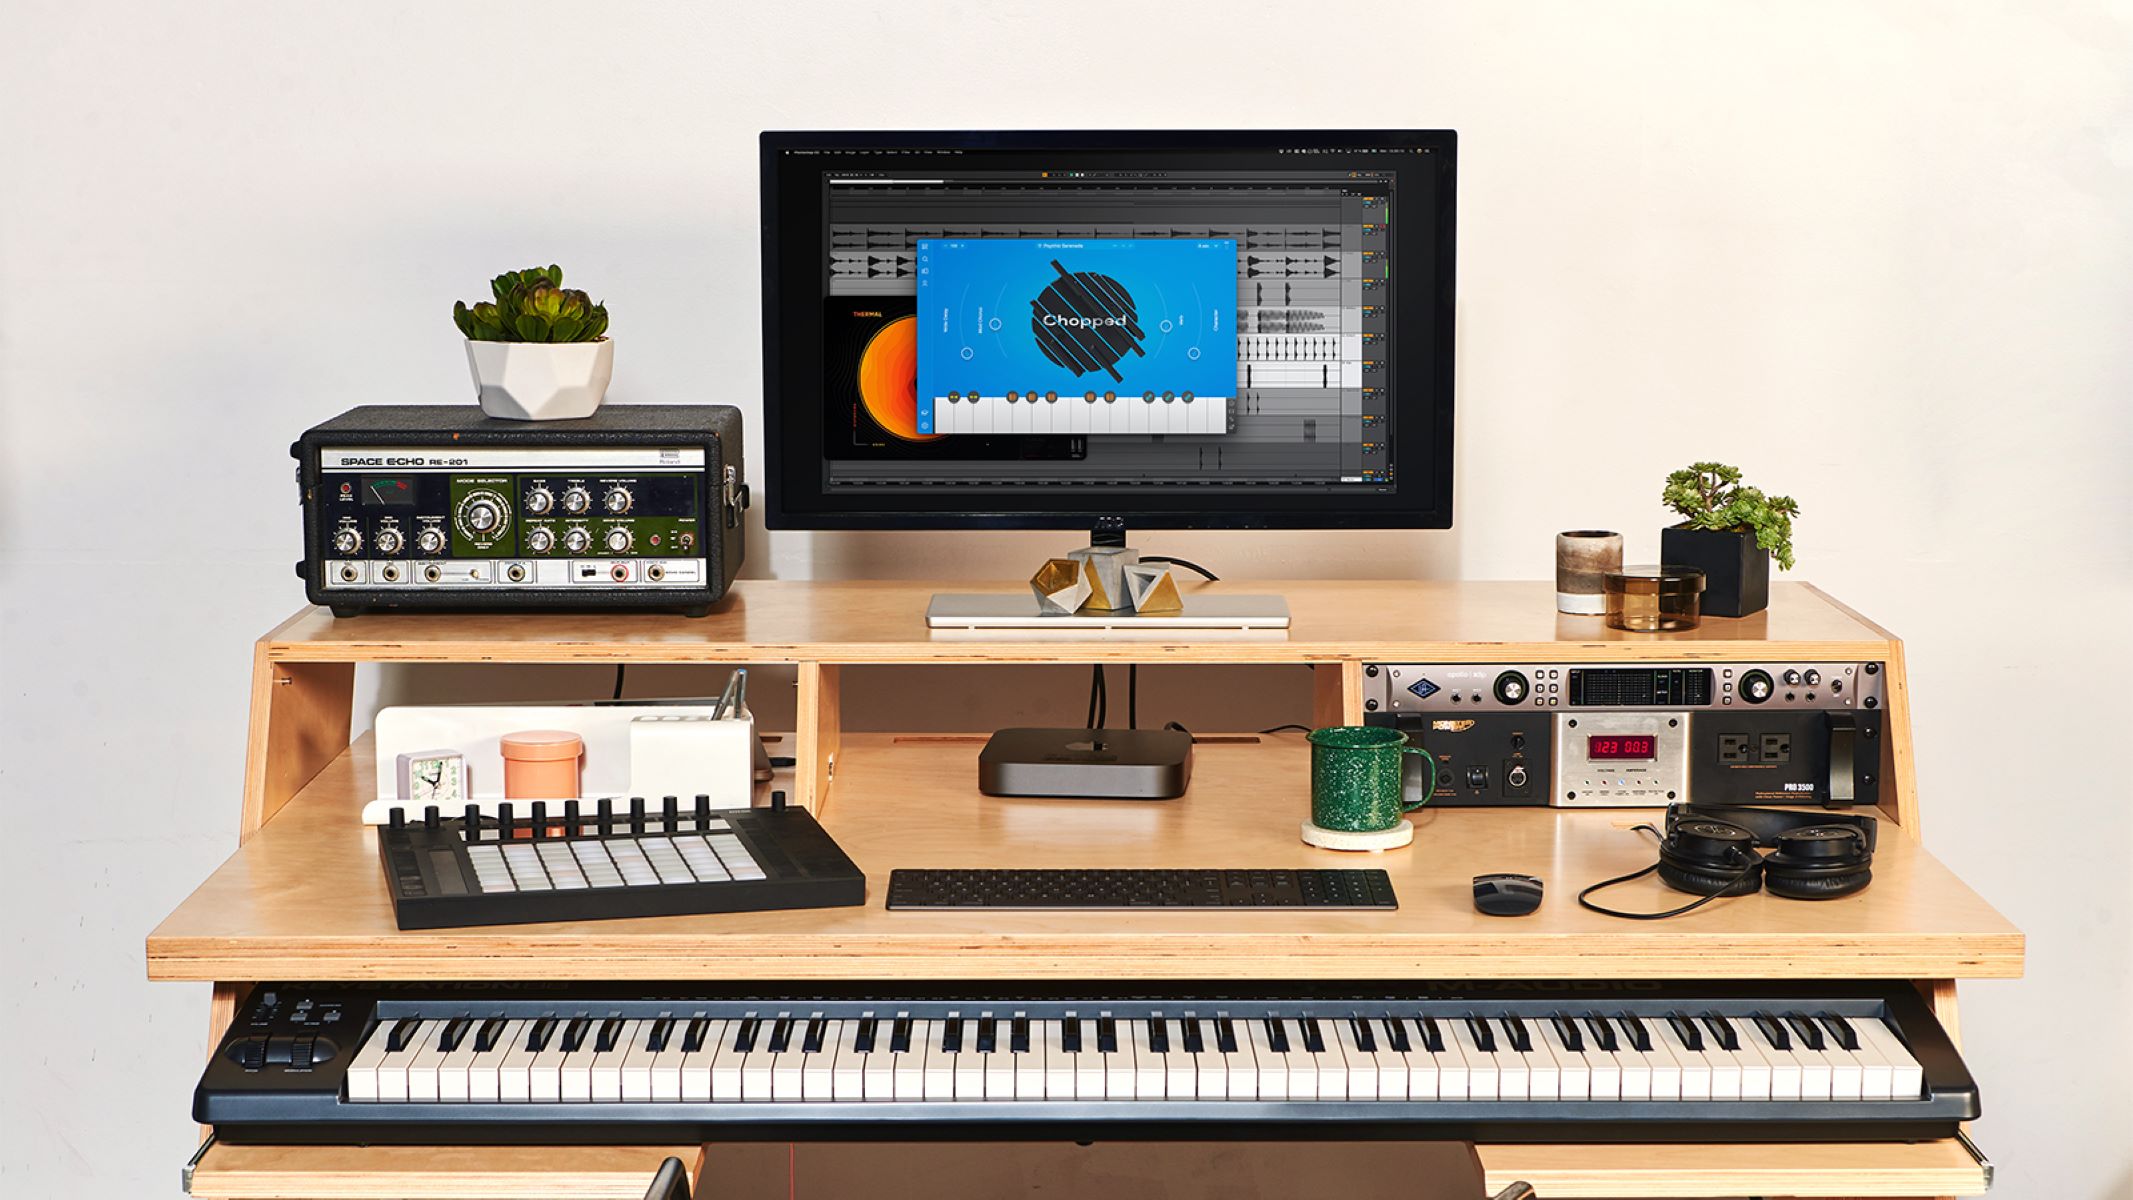
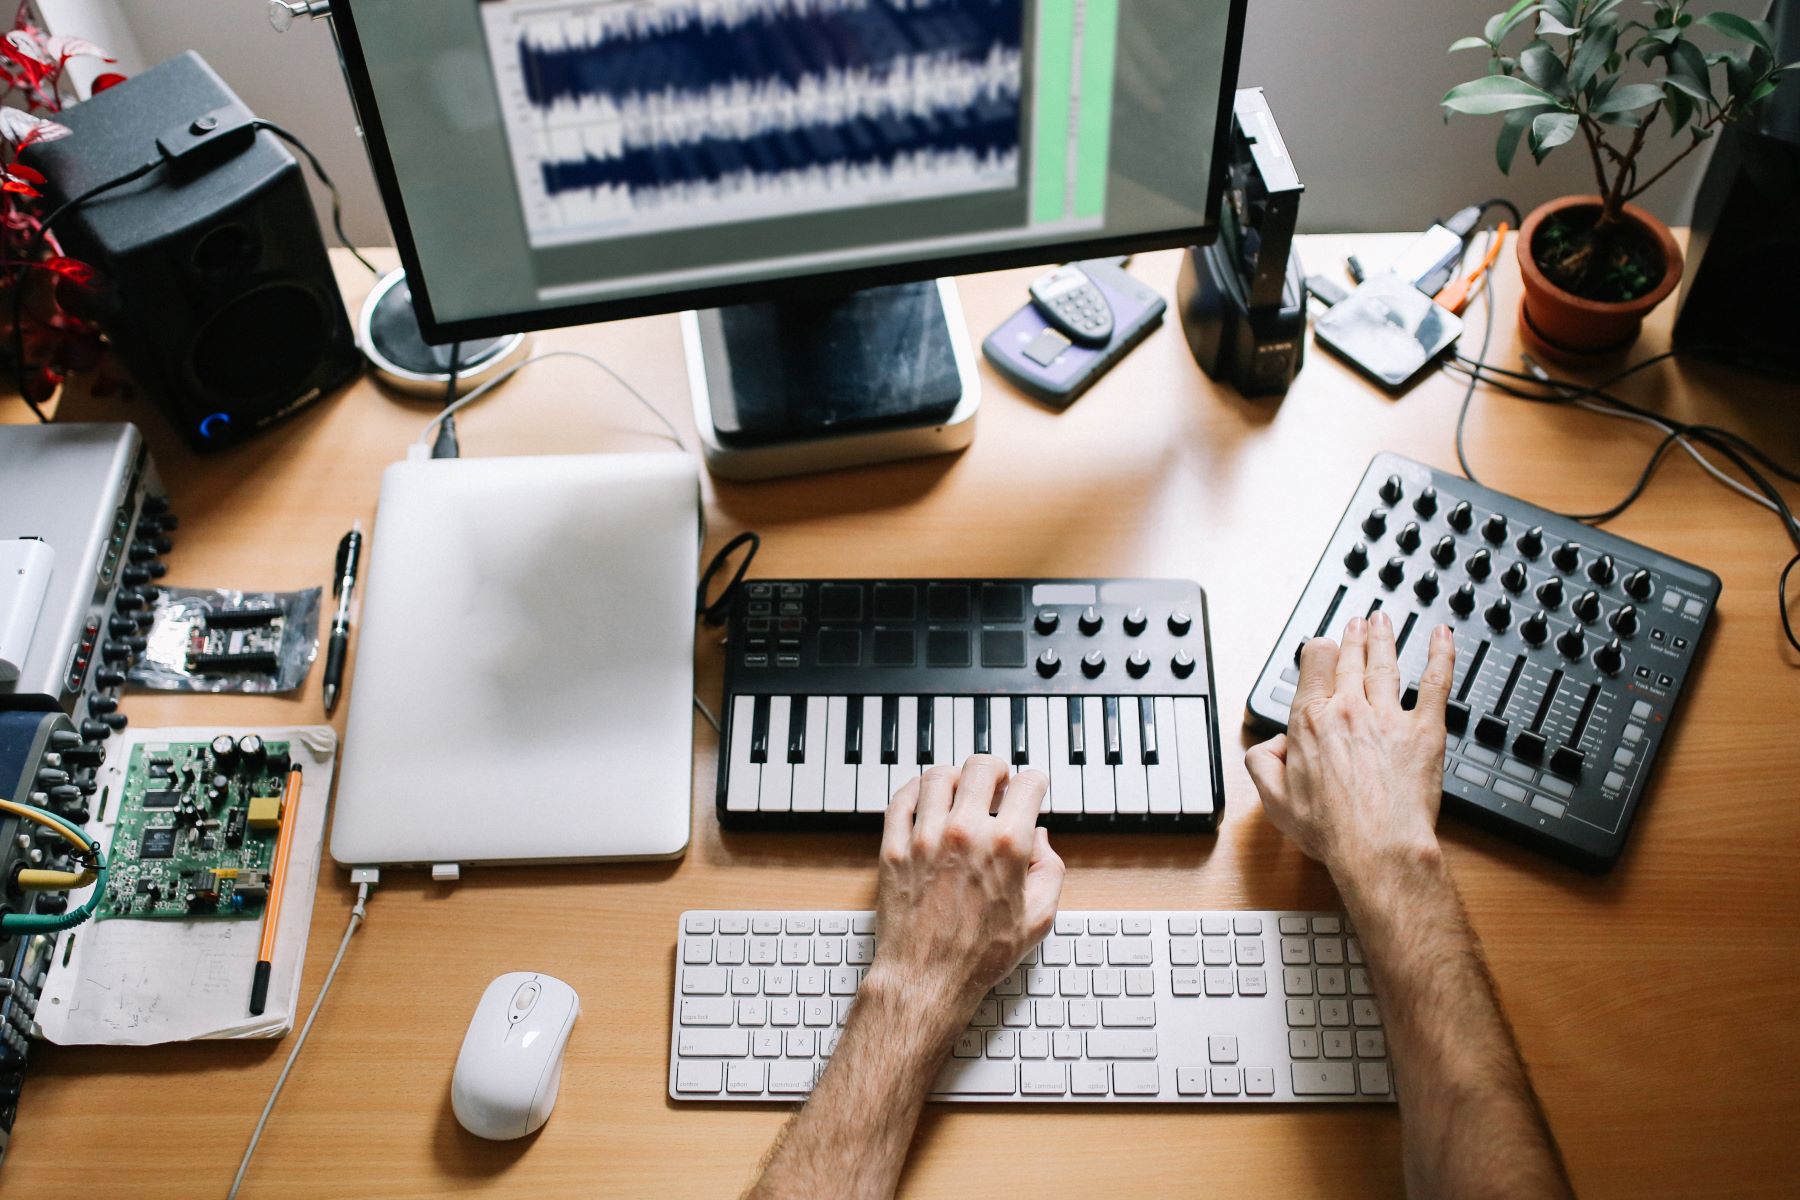
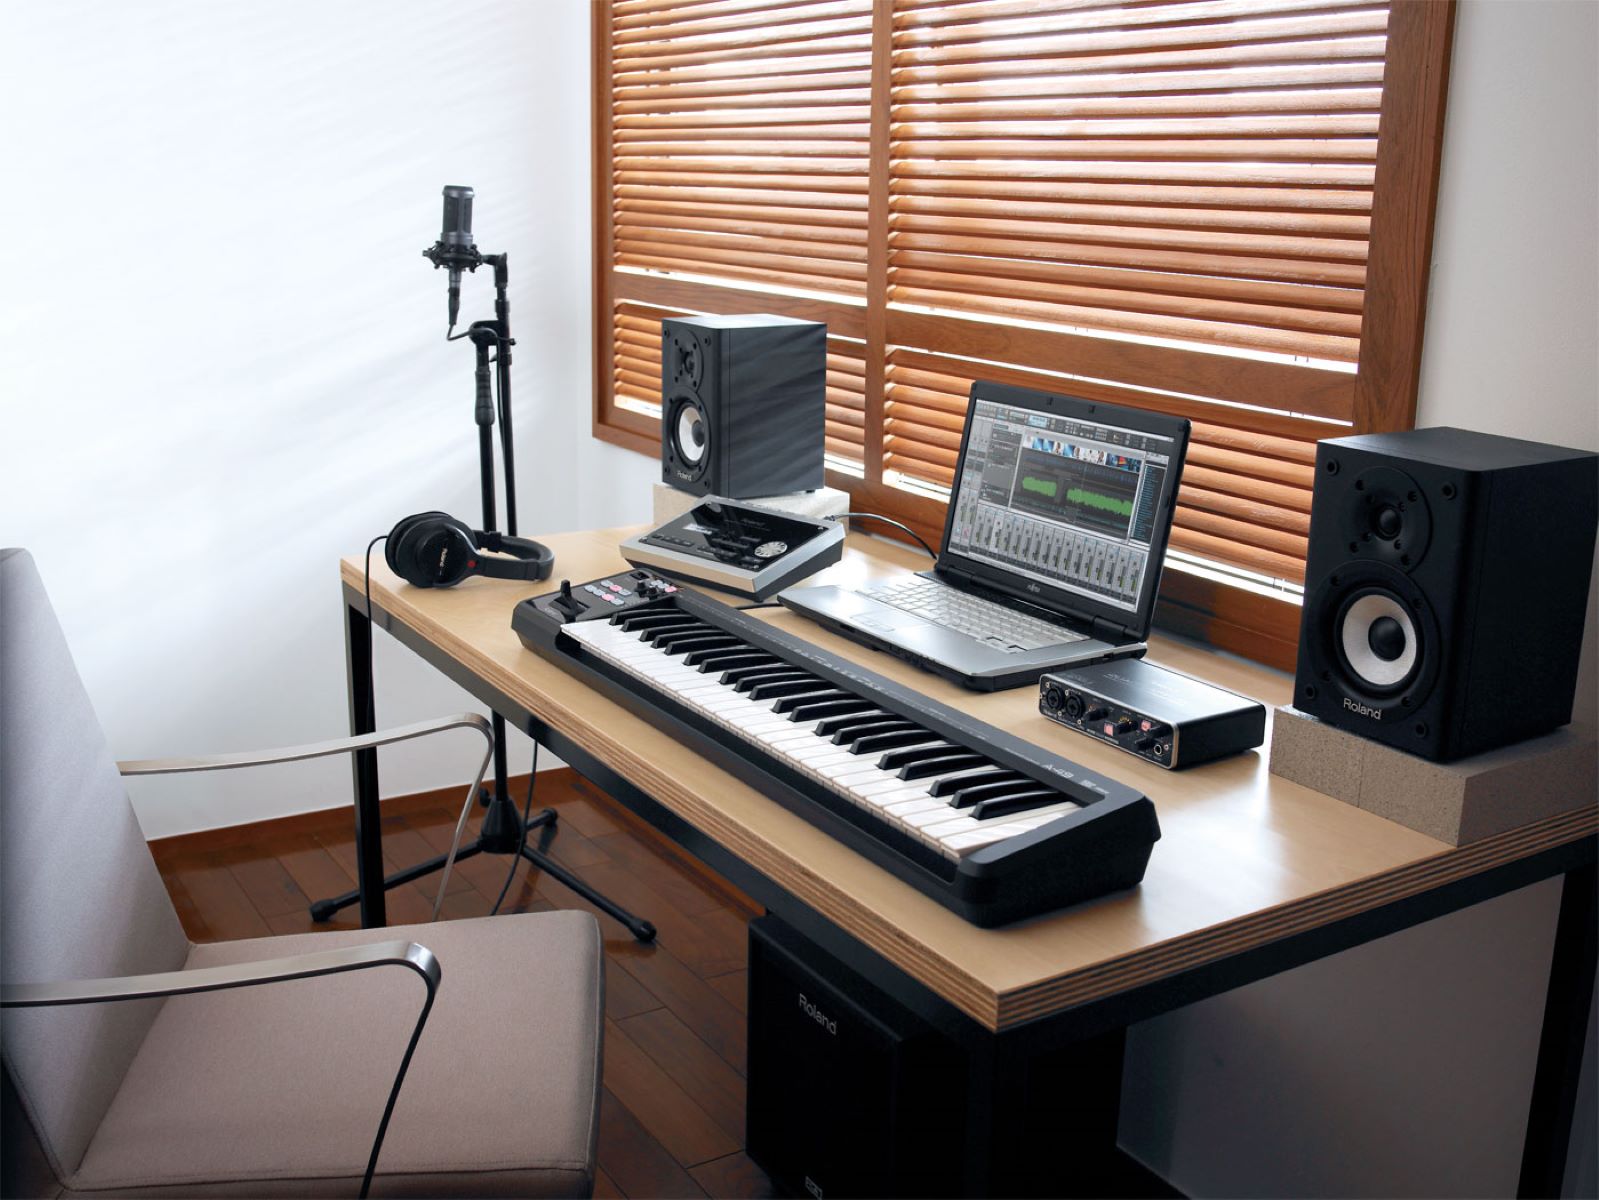
Before you can start recording from your digital piano to your computer, you need to establish a seamless connection between the two devices. The most common method involves using a USB-MIDI interface, which allows for the transmission of musical data between your digital piano and computer. Here’s a step-by-step guide to help you set up the connection:
- Check Your Digital Piano’s Connectivity: Determine if your digital piano has a USB-MIDI port or traditional MIDI ports. Many modern digital pianos come equipped with a USB-MIDI port, simplifying the connection process.
- Acquire a USB-MIDI Interface (if necessary): If your digital piano uses traditional MIDI ports, you will need a USB-MIDI interface to connect it to your computer. This interface serves as a bridge between the MIDI ports on your piano and the USB port on your computer.
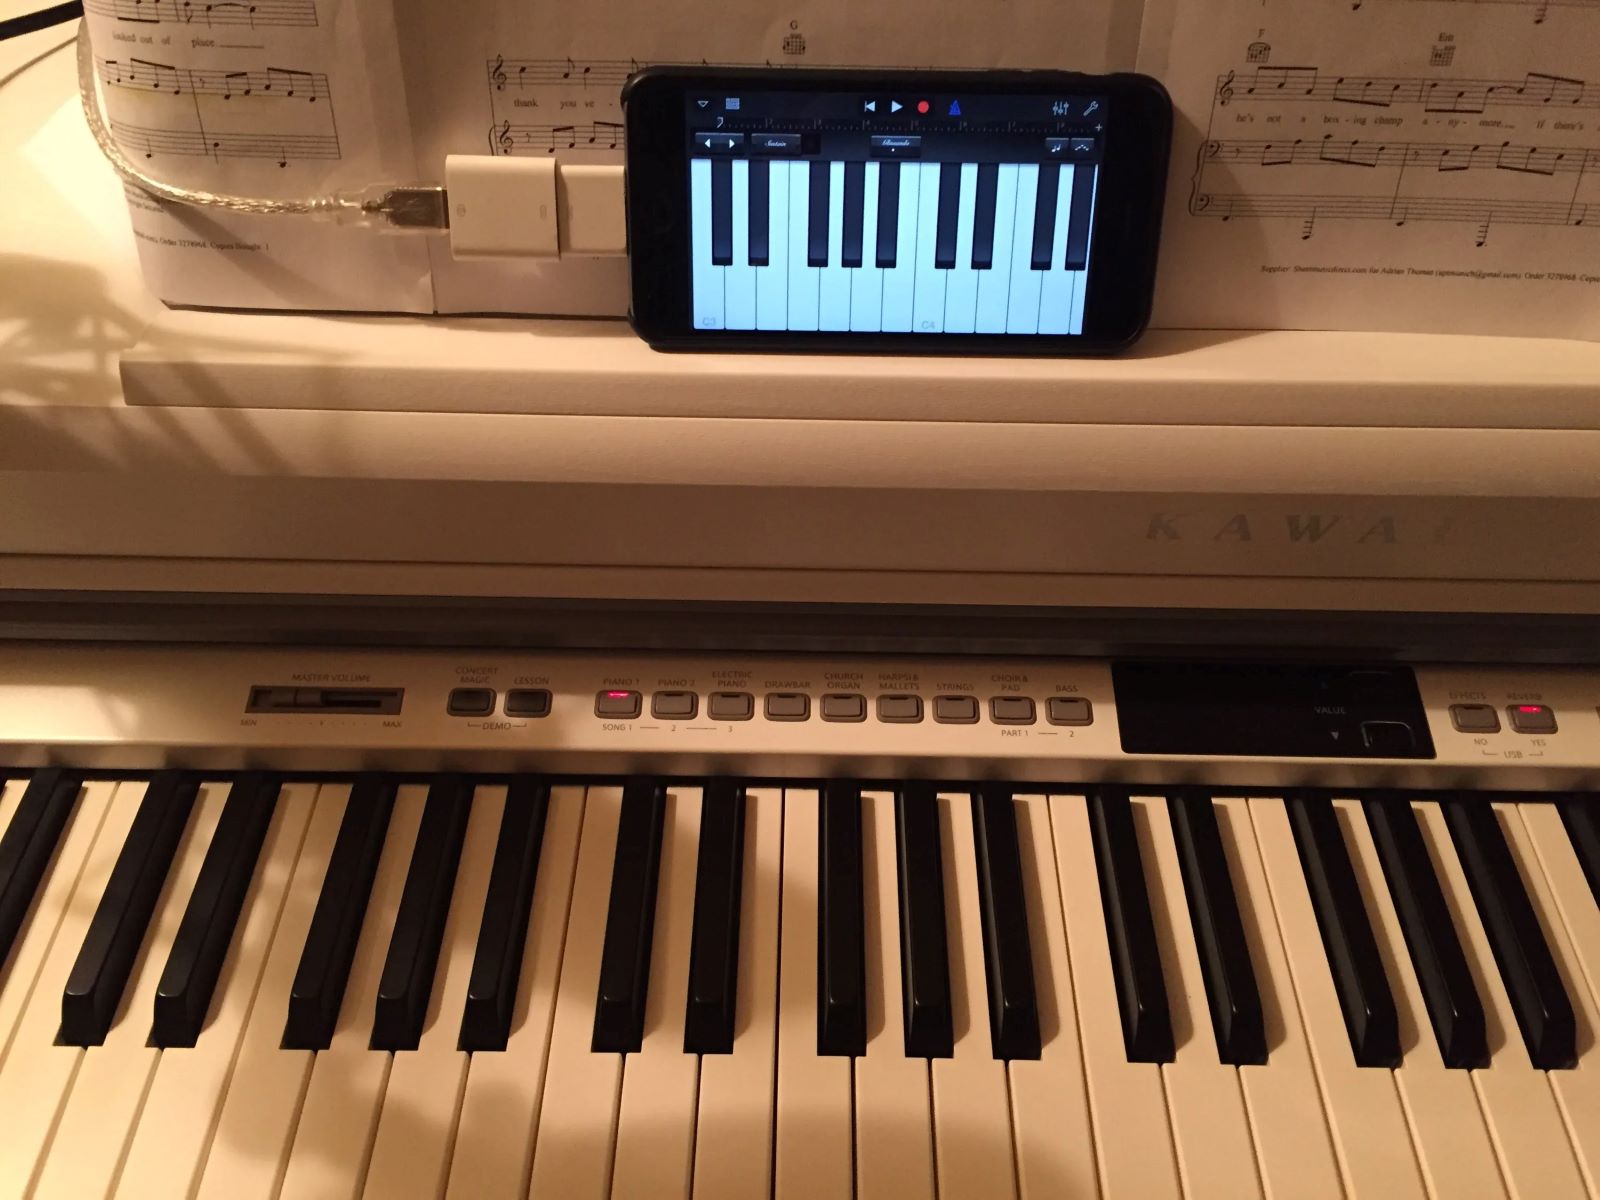
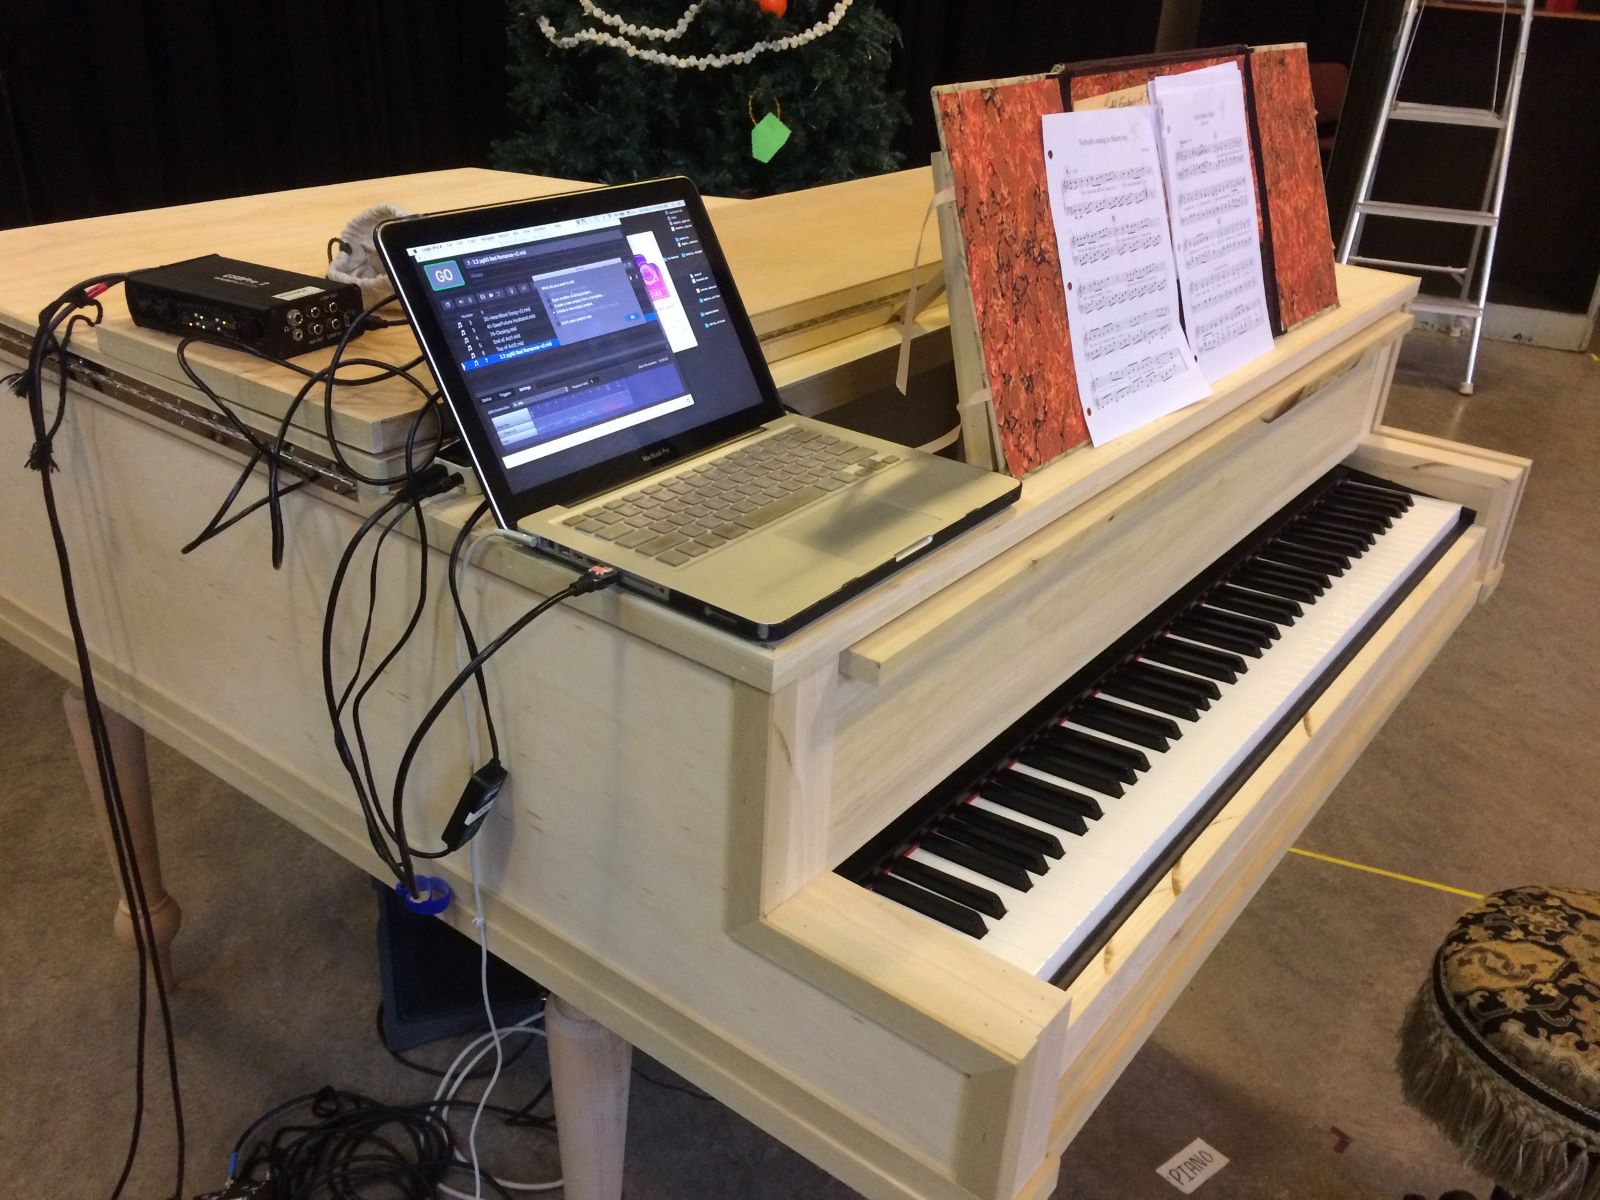
- Connect the USB Cable: If your digital piano features a USB-MIDI port, simply connect one end of a USB cable to the port on your piano and the other end to an available USB port on your computer. For pianos with traditional MIDI ports, connect the MIDI cables to the corresponding ports on the USB-MIDI interface and then connect the USB end to your computer.
- Install Necessary Drivers: In some cases, you may need to install specific drivers for the USB-MIDI interface to ensure proper communication between your digital piano and computer. Check the manufacturer’s website for the latest drivers and installation instructions.
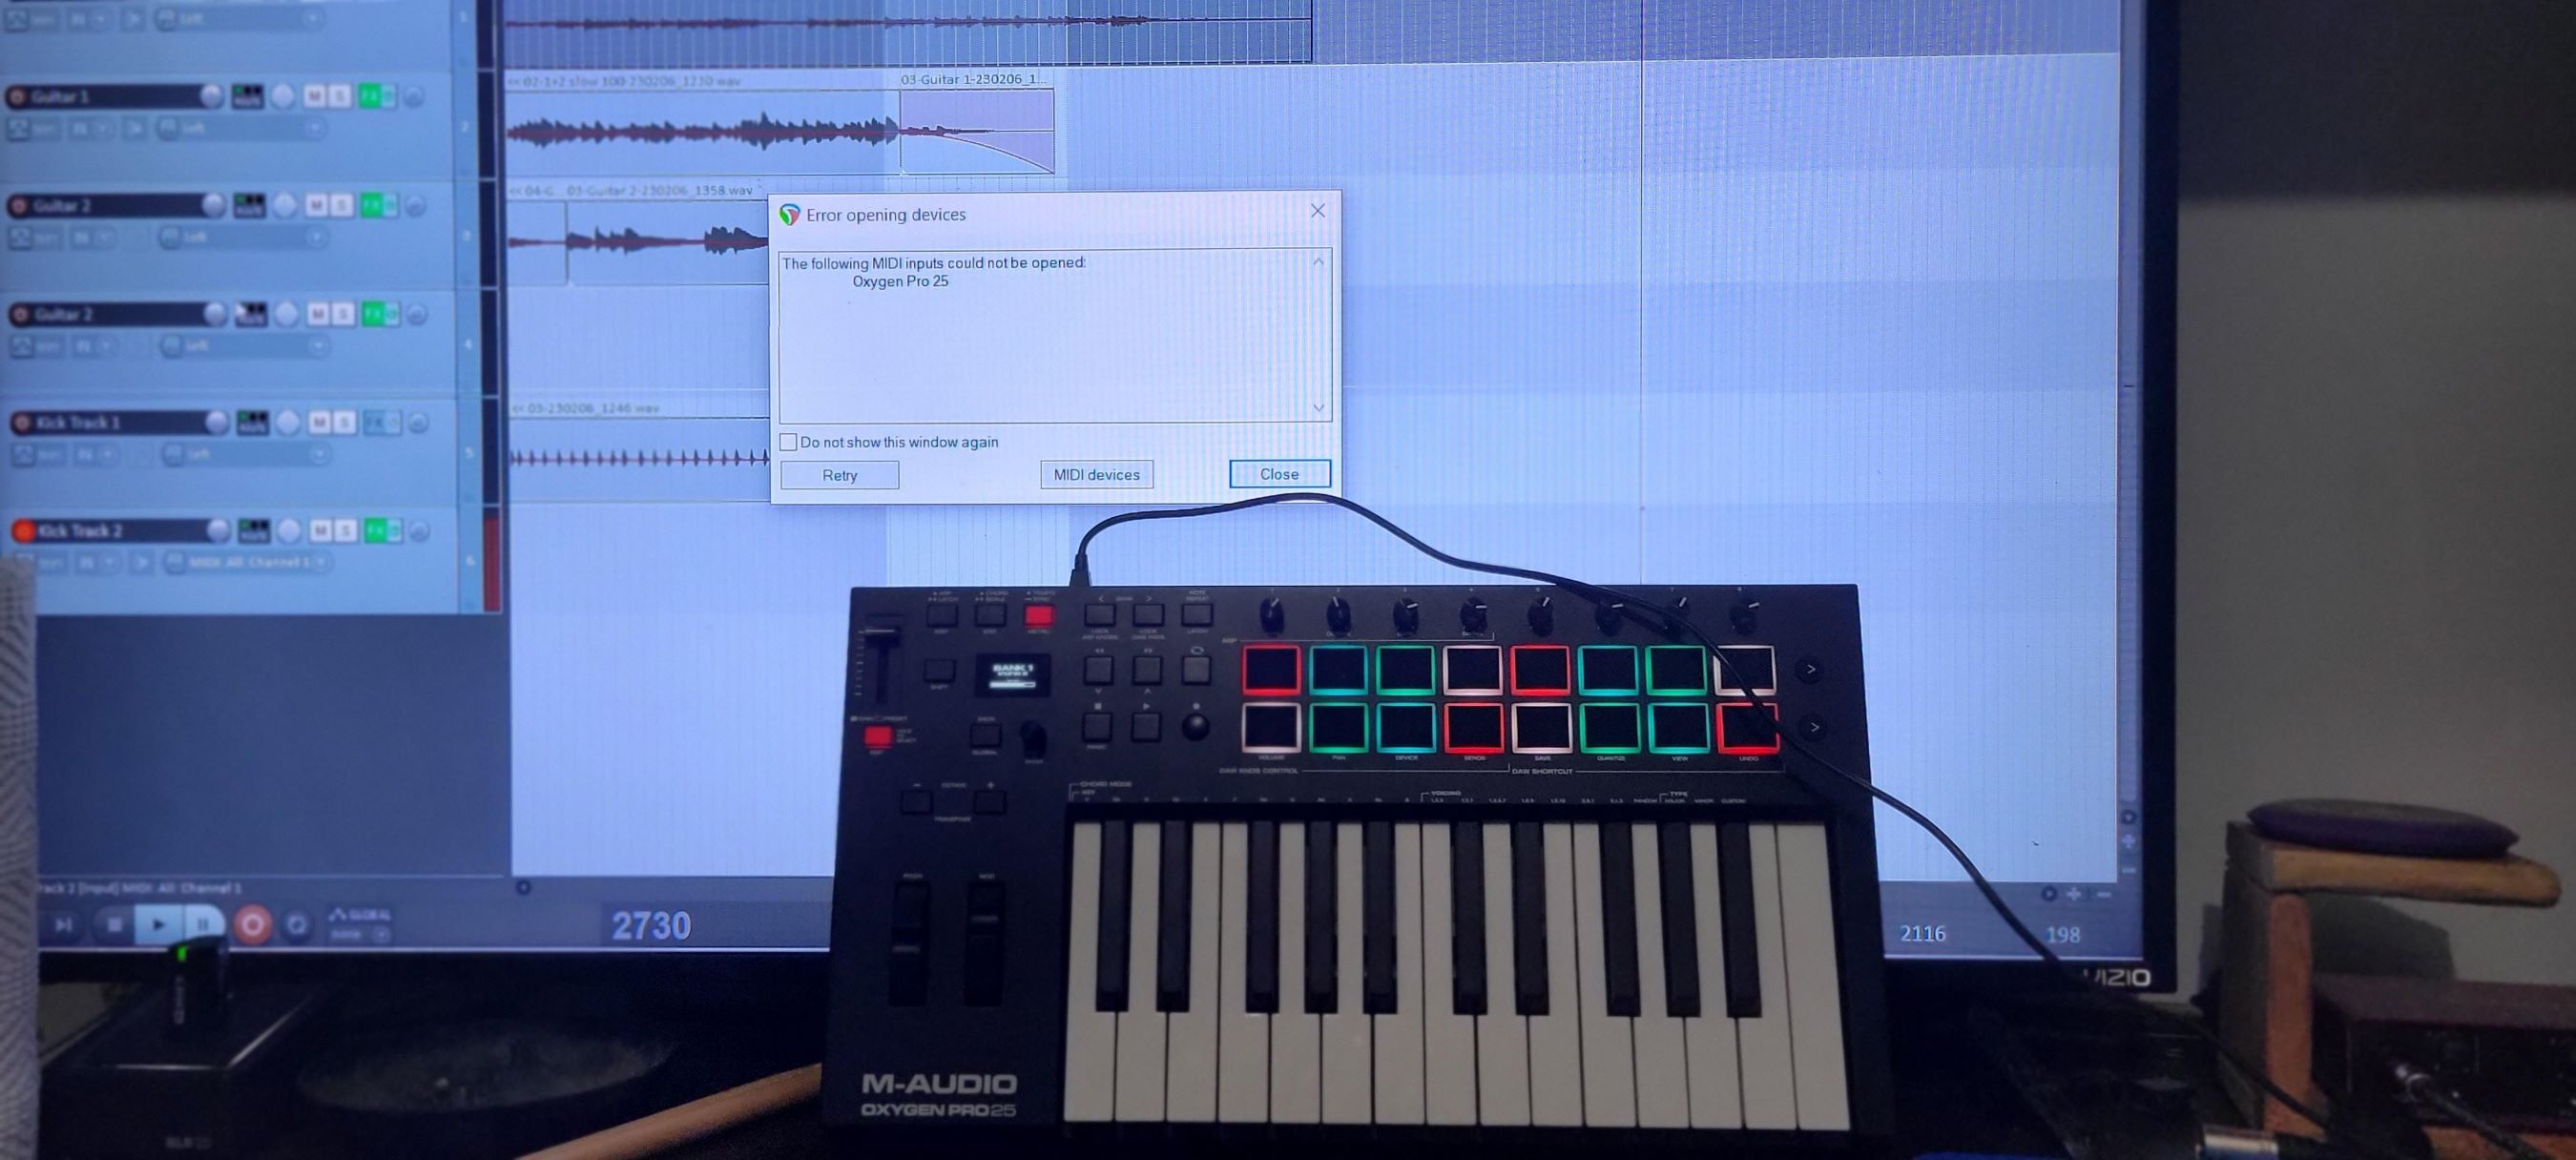
- Verify the Connection: Once the physical connections are in place, verify that your computer recognizes the digital piano as a MIDI input device. You can typically check this in the audio or MIDI settings of your computer’s operating system.
By following these steps, you can establish a reliable connection between your digital piano and computer, laying the foundation for seamless recording and musical creativity. With the physical link established, you are now ready to move on to the next step of selecting the right software for recording your digital piano performances.
Step 2: Selecting the Right Software for Recording
Choosing the appropriate software for recording your digital piano performance is crucial to achieving high-quality results. There are various recording software options available, each offering unique features and capabilities. When selecting the right software, consider the following factors:
- Compatibility: Ensure that the recording software you choose is compatible with your computer’s operating system. Whether you’re using Windows, macOS, or Linux, it’s essential to select software that seamlessly integrates with your setup.
- Audio Interface Support: If you’re using an audio interface to connect your digital piano to your computer, verify that the recording software supports your specific interface. This ensures that you can effectively route the audio signal from your piano to the recording software.
- Features and Functionality: Consider the features you require for recording and editing. Look for software that offers multi-track recording, MIDI support, audio effects, and intuitive editing tools. Some popular recording software options include Ableton Live, Pro Tools, Logic Pro, FL Studio, and Reaper.
- User Interface and Workflow: The user interface of the recording software should be intuitive and conducive to your workflow. A well-designed interface can enhance your recording experience and streamline the editing process.
- Budget and Accessibility: Evaluate the cost of the recording software and determine if it aligns with your budget. Additionally, consider if the software offers a trial version or a demo, allowing you to test its functionality before making a purchase.
By carefully considering these factors, you can make an informed decision when selecting the right software for recording your digital piano. Once you’ve chosen the software that best suits your needs, you can proceed to the next step of setting up the recording software and preparing for your recording session.
Step 3: Setting Up Your Recording Software
Now that you’ve chosen the recording software that aligns with your requirements, it’s time to set it up for capturing your digital piano performances. Proper configuration of the recording software ensures that you can effectively record, monitor, and edit your musical creations. Here are the essential steps for setting up your recording software:
- Audio Input Configuration: Access the audio settings within the recording software and configure the input to receive the audio signal from your digital piano. If you’re using an audio interface, select the appropriate input channels to receive the piano’s audio output.
- MIDI Device Setup: If you intend to record MIDI data from your digital piano, ensure that the recording software recognizes your piano as a MIDI input device. This allows you to capture MIDI performances for further editing and manipulation.
- Monitoring and Latency Adjustment: Set up monitoring options to listen to your piano playing in real-time through headphones or studio monitors. Adjust the buffer size and latency settings to minimize any perceivable delay between playing a note and hearing the sound through the recording software.
- Session Configuration: Create a new recording session or project within the software, specifying the desired sample rate, bit depth, and project tempo. These settings impact the audio quality and synchronization of your recordings.
- Routing and Signal Flow: Familiarize yourself with the routing capabilities of the recording software, especially if you plan to incorporate external effects or process the audio signal within the software. Understanding the signal flow ensures efficient utilization of the software’s features.
By meticulously setting up your recording software, you establish an optimized environment for capturing your digital piano performances with precision and clarity. Once the software is configured to your specifications, you’re ready to proceed to the next step of adjusting your input levels to ensure optimal recording quality.
Step 4: Adjusting Your Input Levels
Before you commence recording your digital piano, it’s crucial to fine-tune the input levels to achieve an optimal balance between the audio signal and the recording software. Properly adjusting the input levels ensures that your recordings are free from distortion and capture the full dynamic range of your piano performance. Here’s how you can effectively adjust your input levels:
- Gain Staging: If you’re using an audio interface, set the input gain levels to an appropriate range to avoid clipping or distortion. Aim to achieve a healthy signal level without overdriving the input, ensuring sufficient headroom for dynamic playing.
- Software Input Controls: Within the recording software, utilize the input level controls to monitor the incoming audio signal. Adjust the input levels to attain a balanced signal that registers within the optimal range without peaking into the red zone on the level meters.
- Dynamic Playing Considerations: Take into account the dynamic range of your piano playing, particularly if your performances encompass both delicate passages and more forceful sections. Adjust the input levels to accommodate the full spectrum of your playing dynamics.
- Monitoring and Test Recording: While adjusting the input levels, monitor the audio signal through headphones or studio monitors to gauge its clarity and presence. Conduct a test recording to assess the input levels and make any necessary adjustments before proceeding with the actual recording.
- Consistency Across Tracks: If you plan to record multiple tracks or layers, maintain consistency in the input levels across the recordings to ensure uniformity in the overall sound and mix. This helps in achieving a cohesive and balanced musical arrangement.
By meticulously fine-tuning the input levels, you pave the way for capturing your digital piano performances with precision and fidelity. Once the input levels are optimized, you’re primed to embark on the exhilarating process of recording your musical expressions with confidence and clarity.
Step 5: Recording Your Digital Piano
With your digital piano connected, recording software set up, and input levels adjusted, you’re now poised to commence the exhilarating process of capturing your musical creations. Recording from your digital piano to your computer involves translating your expressive performances into digital audio or MIDI data for preservation and future manipulation. Here’s a guide to help you navigate the recording process:
- Arm the Recording Tracks: Within the recording software, arm the tracks designated for recording your digital piano. Ensure that the input sources are correctly assigned and that the tracks are ready to receive the audio signal or MIDI data from your piano.
- Set the Recording Parameters: Specify the recording parameters, such as the recording format (audio or MIDI), bit depth, and sample rate. Additionally, determine if you intend to record multiple takes or if you require a click track or metronome for rhythmic reference.
- Engage Record Mode: Initiate the record mode within the software and prepare to capture your performance. Take a moment to center yourself and mentally prepare for the recording session, ensuring that you’re in a conducive environment for focused and inspired playing.
- Capture Your Musical Expressions: Once the recording is armed and the parameters are set, commence playing your digital piano with passion and precision. Embrace the opportunity to convey your musical expressions, leveraging the technology at your disposal to immortalize your performances.
- Review and Edit: After recording your piano performance, take the time to review the captured takes and identify any sections that may require editing or retakes. Utilize the editing tools within the software to refine your recordings and sculpt them into polished musical compositions.
By following these steps, you can seamlessly record your digital piano performances with finesse and artistry. Embrace the recording process as a canvas for expressing your musical identity and capturing the essence of your piano playing. With each recording, you preserve a moment of musical inspiration, laying the groundwork for future exploration and creative endeavors.
Step 6: Editing and Saving Your Recording
After capturing your digital piano performances, the next phase involves refining and preserving your recordings through the process of editing and saving. This pivotal step allows you to shape your musical creations, address any imperfections, and prepare the recordings for sharing or future production endeavors. Here’s a comprehensive guide to editing and saving your recordings:
- Audio Editing: If you recorded your piano performance as audio, utilize the editing tools within the recording software to trim, arrange, and enhance the recorded tracks. Address any timing discrepancies, adjust the levels, and apply audio effects as desired to elevate the sonic quality of your recordings.
- MIDI Editing (if applicable): If you captured your performance as MIDI data, delve into the MIDI editing capabilities of the software to refine note velocities, adjust timing, and experiment with musical arrangements. MIDI editing provides a versatile platform for sculpting your musical ideas with precision.
- File Formats and Export Options: Explore the various file formats and export options available within the recording software. Consider the intended use of your recordings—whether for personal archiving, sharing online, or integration into a larger music production project—and select the appropriate file format and quality settings.
- Metadata and Organization: Assign relevant metadata, such as track titles, artist information, and keywords, to your recordings for efficient cataloging and retrieval. Organize your recordings within the software’s project structure, creating a cohesive and navigable repository of your musical endeavors.
- Backup and Storage: Once your recordings are edited and finalized, ensure that you create backup copies and store them in secure locations. Consider utilizing cloud storage or external hard drives to safeguard your musical assets against unforeseen data loss.
By engaging in the editing and saving process, you not only refine your recordings but also imbue them with a sense of purpose and longevity. Each editing decision contributes to the evolution of your musical vision, allowing you to present your piano performances in their most compelling and polished form. With your recordings meticulously edited and securely saved, you have successfully traversed the journey of recording from your digital piano to your computer, culminating in a collection of meticulously crafted musical expressions.