Introduction
So, you've got a digital piano and you're eager to share your musical creations with the world. Whether you're a budding composer, a seasoned performer, or just someone who loves to tinker with melodies, recording your digital piano can open up a world of possibilities. With the right tools and techniques, you can capture the nuances of your performance, refine your compositions, and share your music with a global audience.
In this guide, we'll walk you through the process of recording your digital piano using Audacity, a powerful and user-friendly audio recording and editing software. Whether you're a novice or a tech-savvy musician, you'll find the steps easy to follow and the results rewarding.
Through this comprehensive tutorial, you'll learn how to set up your digital piano for recording, install Audacity on your computer, connect your digital piano to your PC or Mac, configure Audacity for optimal recording quality, and finally, record, edit, and export your musical masterpiece.
By the end of this guide, you'll be equipped with the knowledge and skills to unleash your creativity, preserve your musical ideas, and share your passion for music with the world. Let's embark on this exciting journey of turning your digital piano into a recording studio, and let your musical expressions resonate far and wide.
Setting Up Your Digital Piano
Before diving into the recording process, it’s essential to ensure that your digital piano is optimally set up for capturing high-quality audio. Here are the key steps to prepare your digital piano for recording:
- Positioning: Find a quiet and well-lit space where you can set up your digital piano. Ensure that the area is free from distractions and has ample room for you to move comfortably while playing.
- Power and Connectivity: Connect your digital piano to a power source and ensure that it’s functioning properly. If your digital piano has USB or MIDI connectivity, make sure the necessary cables are available for connecting to your computer.
- Audio Output: Familiarize yourself with the audio output options of your digital piano. Some models have headphone jacks, line outputs, or USB audio interfaces. Understanding these options will help you choose the most suitable method for connecting to your computer.
- Acoustic Considerations: If your digital piano has built-in speakers, take note of their positioning and adjust them to achieve the best sound projection. If you’re using external speakers or headphones, ensure they are in optimal working condition.
By meticulously setting up your digital piano, you lay the groundwork for capturing pristine audio and an immersive musical experience. Once your digital piano is ready, you can proceed to the next steps, which involve installing Audacity and configuring your recording environment.
Installing Audacity
To begin your recording journey, you’ll need a reliable and feature-rich audio recording and editing software. Audacity, a free, open-source application, is an excellent choice for capturing the nuances of your digital piano performances. Here’s how to install Audacity on your computer:
- Downloading Audacity: Visit the official Audacity website and navigate to the download section. Select the appropriate version for your operating system (Windows, macOS, or Linux) and initiate the download. Follow the on-screen instructions to complete the download process.
- Installation: Once the download is complete, launch the installer and follow the installation prompts. Choose the desired installation location and any additional settings as per your preferences. The installation process is straightforward and typically requires only a few clicks to complete.
- Initial Setup: After installing Audacity, take a few moments to explore its interface and familiarize yourself with its features. You can customize settings such as audio device preferences, recording formats, and keyboard shortcuts to align with your recording needs.
By installing Audacity on your computer, you gain access to a versatile and user-friendly platform for capturing, editing, and refining your musical recordings. Once Audacity is successfully installed, you’re ready to connect your digital piano to your computer and delve into the process of configuring the software for recording.
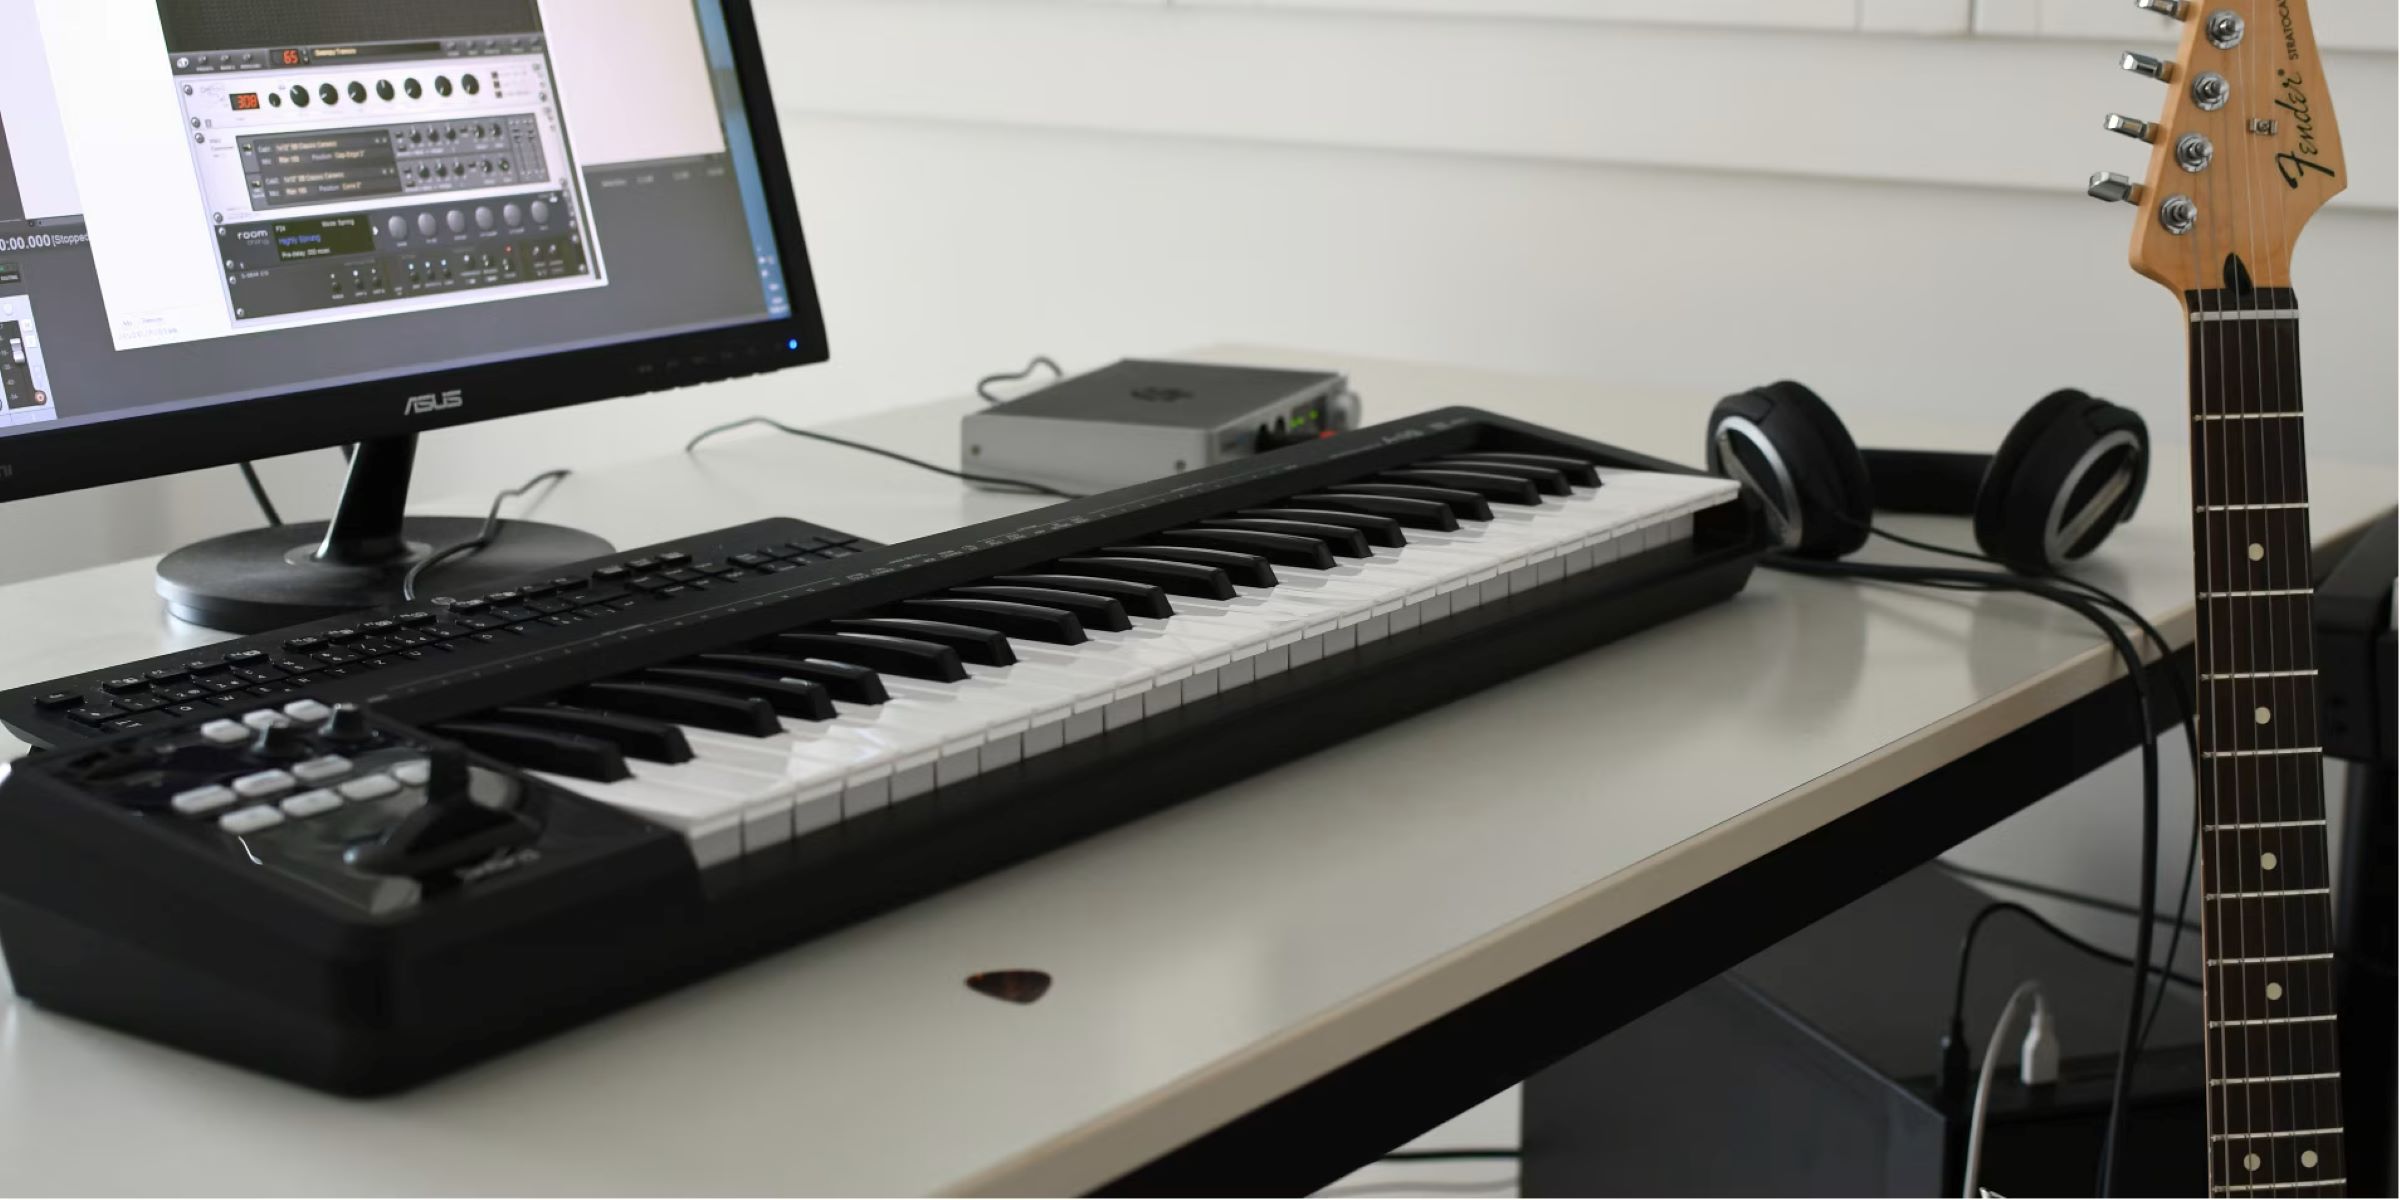
Connecting Your Digital Piano to Your Computer
Now that Audacity is installed on your computer, it’s time to establish a seamless connection between your digital piano and your PC or Mac. This connection allows for the transfer of audio signals from your digital piano to the recording software, enabling you to capture and manipulate your musical performances. Here’s a step-by-step guide to connecting your digital piano to your computer:
- USB or MIDI Connection: Determine the available connectivity options on your digital piano. Many modern digital pianos feature USB or MIDI ports, which can be used to establish a direct connection to your computer. If your digital piano supports USB connectivity, use a USB cable to link it to your computer. For MIDI connections, you’ll need a MIDI-to-USB interface to bridge the connection between your digital piano and computer.
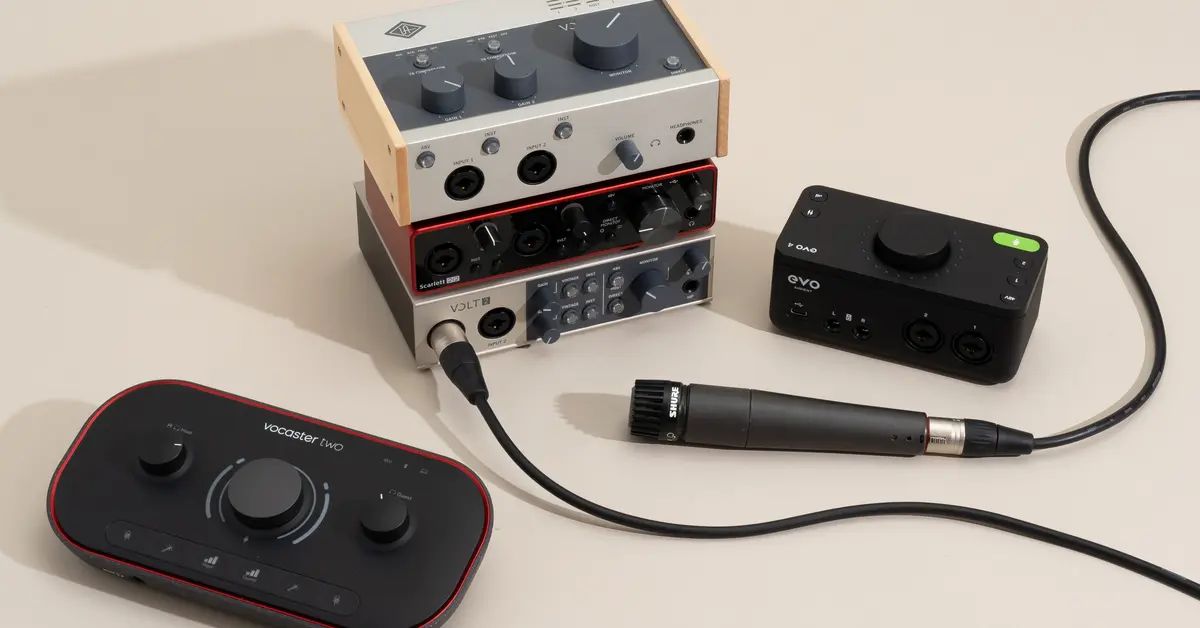
- Audio Interface (Optional): If your digital piano lacks direct USB or MIDI connectivity, consider using an audio interface. This external device serves as a bridge between your digital piano’s audio output and your computer’s recording software, ensuring a stable and high-fidelity audio connection.
- Driver Installation (If Required): In some cases, connecting your digital piano via USB may necessitate the installation of specific drivers to enable seamless communication between the piano and your computer. Check the manufacturer’s website for any required drivers and follow the installation instructions carefully.
- Testing the Connection: Once the physical connection is established, test the link between your digital piano and your computer. Play a few notes or chords on your piano and verify that the audio signal is being received by your computer. You can use Audacity’s input level meters to monitor the incoming audio signal and ensure that it’s being captured accurately.
By successfully connecting your digital piano to your computer, you pave the way for capturing the rich, expressive sounds of your instrument and bringing your musical ideas to life in the digital realm. With the physical connection in place, you’re now ready to configure Audacity for optimal recording settings.
Configuring Audacity for Recording
With your digital piano connected to your computer, it’s time to optimize Audacity for capturing your musical performances with precision and clarity. Configuring Audacity involves setting up the recording device, adjusting input levels, and selecting the appropriate recording format. Follow these essential steps to configure Audacity for recording your digital piano:
- Selecting the Recording Device: In Audacity, navigate to the “Device Toolbar” and choose the appropriate audio input device. Ensure that your digital piano or the audio interface to which it’s connected is selected as the recording device. This step is crucial for capturing the audio signal from your digital piano.
- Setting Input Levels: Adjust the input levels to ensure that the audio signal from your digital piano is neither too quiet nor distorted. Use the input level meters in Audacity to monitor the incoming signal and make adjustments as needed. Aim for a healthy signal level that avoids clipping while maximizing the signal-to-noise ratio.
- Choosing Recording Format: Determine the recording format that best suits your needs. Audacity offers various formats, including WAV, MP3, and others. Consider the desired audio quality, file size, and compatibility when selecting the recording format. Additionally, you can configure the sample rate and bit depth to align with your recording preferences.
- Monitoring Options: Explore Audacity’s monitoring options to enable real-time playback of your digital piano’s audio while recording. This feature allows you to listen to your performance through headphones or speakers connected to your computer, providing immediate feedback as you play.
By meticulously configuring Audacity, you ensure that the software is optimized to capture the full spectrum of your digital piano’s sound, from delicate nuances to powerful crescendos. With the recording environment finely tuned, you’re now poised to embark on the exhilarating process of capturing your musical expressions through the art of recording.
Recording Your Digital Piano
Now that your digital piano and Audacity are primed for recording, it’s time to embark on the exhilarating process of capturing your musical performances. Whether you’re composing original pieces, practicing beloved classics, or experimenting with new melodies, recording your digital piano allows you to preserve your musical expressions and share them with the world. Here’s a step-by-step guide to effectively record your digital piano using Audacity:
- Prepare for Recording: Set the mood for your recording session by creating a comfortable and focused environment. Ensure that your digital piano is positioned optimally, and eliminate any potential sources of distraction. Take a moment to center yourself and mentally prepare for the musical journey ahead.
- Arm the Recording Track: In Audacity, select the track where you want to record your digital piano. Arm the track for recording by clicking the “Record” button, and be ready to start playing as soon as you initiate the recording process.
- Capture Your Performance: Once the recording begins, immerse yourself in your musical expression and let your creativity flow. Play your compositions, improvisations, or practice sessions with passion and precision, knowing that each note is being faithfully captured by Audacity.
- Monitor the Recording: Keep an eye on the recording levels in Audacity to ensure that the audio signal from your digital piano is being captured optimally. Make any necessary adjustments to the input levels or performance technique as you monitor the recording process.
- Pause and Resume (If Needed): If you need to take a break during your recording session, Audacity allows you to pause the recording and resume at a later point. This feature is particularly useful for longer performances or when interruptions are unavoidable.
- Review and Fine-Tune: After capturing your performance, take the time to review the recorded audio in Audacity. Listen attentively to the playback, identify any sections that may require refinement, and make use of Audacity’s editing tools to fine-tune your recording as needed.
By following these steps, you’ll harness the power of Audacity to preserve the essence of your musical prowess and creativity. Each recording becomes a testament to your artistry, ready to be shared, refined, and cherished. As you immerse yourself in the recording process, remember that every note has the potential to resonate deeply with your audience and leave an indelible impression.
Editing and Exporting Your Recording
Once you’ve captured your musical masterpiece through the art of recording, the journey continues with the refinement and exportation of your audio creation. Audacity empowers you to polish your recordings, apply enhancements, and export them in various formats for sharing and preservation. Here’s a guide to effectively edit and export your digital piano recordings using Audacity:
- Review Your Recording: Listen to your recorded performance in Audacity and identify any sections that may benefit from editing. Pay attention to timing, dynamics, and overall tonal quality as you assess the captured audio.
- Editing Tools: Utilize Audacity’s versatile editing tools to refine your recording. You can trim unwanted sections, adjust the volume levels, apply fade-ins and fade-outs, and even remove any imperfections or background noise that may have been captured during the recording.
- Enhancements and Effects: Explore Audacity’s array of audio effects and enhancements to elevate your recording. Experiment with reverb, equalization, and compression to enrich the sonic character of your performance, adding depth and dimension to your digital piano recordings.
- Exporting Formats: Choose the appropriate file format for exporting your recording. Audacity supports various formats, including WAV, MP3, OGG, and more. Consider the intended use of the recording, the desired audio quality, and the compatibility with different playback devices when selecting the export format.
- Metadata and Tags: Before exporting, consider adding metadata and tags to your recording. Include relevant information such as the title of the composition, the performer’s name, the recording date, and any other pertinent details. This metadata enhances the organization and categorization of your recordings.
- Export Settings: Configure the export settings in Audacity to align with your preferences. Specify the desired audio quality, bit rate, and any additional parameters relevant to the chosen export format. Audacity provides flexibility in tailoring the export settings to suit your specific requirements.
- Finalize and Share: Once you’ve completed the editing and exportation process, your refined digital piano recording is ready to be shared with the world. Whether you’re publishing your music online, archiving your compositions, or collaborating with fellow musicians, your meticulously crafted recordings are poised to captivate and inspire audiences.
By leveraging Audacity’s editing and export capabilities, you infuse your digital piano recordings with a professional touch, ensuring that your musical expressions are presented in their best light. Each edited and exported recording becomes a testament to your artistry and dedication, ready to resonate with listeners and stand the test of time.