Introduction
Welcome to the world of professional-grade audio recording! A USB condenser microphone is a powerful tool that can elevate your sound quality to new heights. Whether you’re a podcaster, musician, voice-over artist, or content creator, this versatile device offers a convenient and high-fidelity solution for capturing your voice or instruments with exceptional clarity.
In this guide, we’ll walk you through the essential steps for setting up, adjusting, and using your USB condenser microphone to achieve optimal results. From unpacking the microphone to recording your first track, we’ve got you covered with practical tips and techniques to make the most of your recording experience.
Whether you’re a seasoned audio professional or a newcomer to the world of recording, this guide will provide valuable insights to help you harness the full potential of your USB condenser microphone. So, let’s dive in and explore the exciting possibilities that await you in the realm of pristine audio capture!
Setting Up Your USB Condenser Microphone
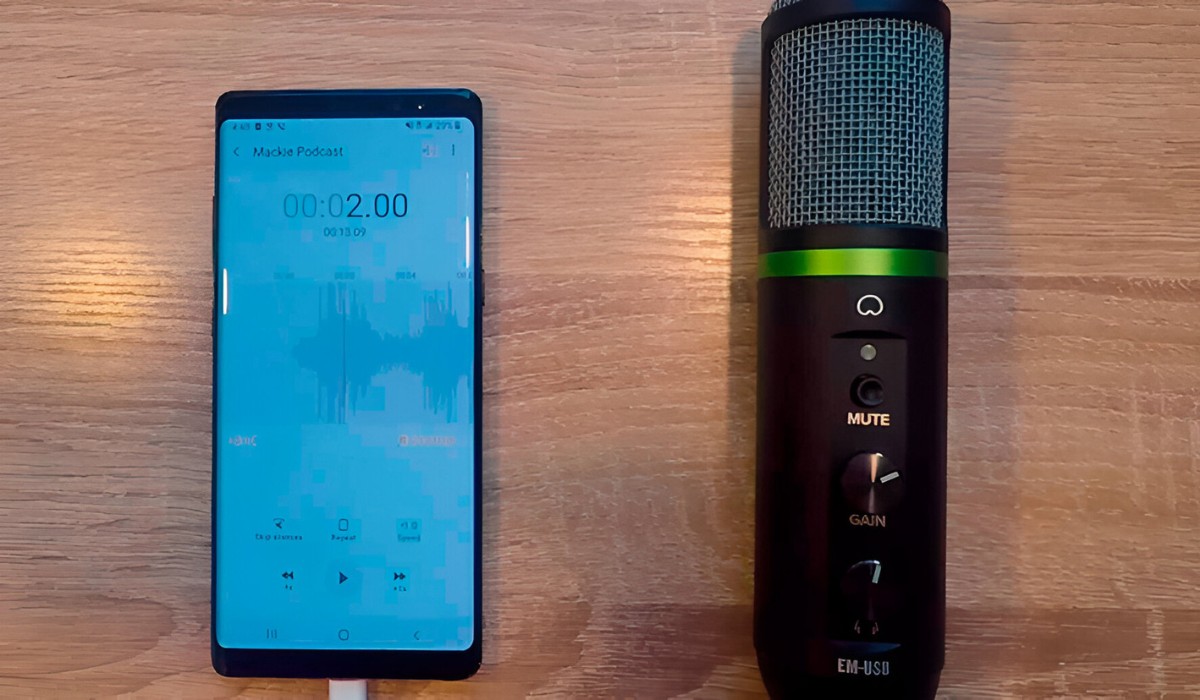
Before delving into the recording process, it’s crucial to set up your USB condenser microphone correctly to ensure optimal performance. Start by unboxing your microphone and familiarizing yourself with its components. Most USB condenser microphones come with a USB cable for easy connectivity to your computer, eliminating the need for additional audio interfaces or mixers.
Once you’ve connected the microphone to your computer, ensure that the appropriate drivers are installed. Many USB condenser microphones are plug-and-play devices, meaning they can be recognized and utilized by your computer without the need for manual driver installation. However, it’s advisable to check the manufacturer’s website for any available updates or specific driver requirements.
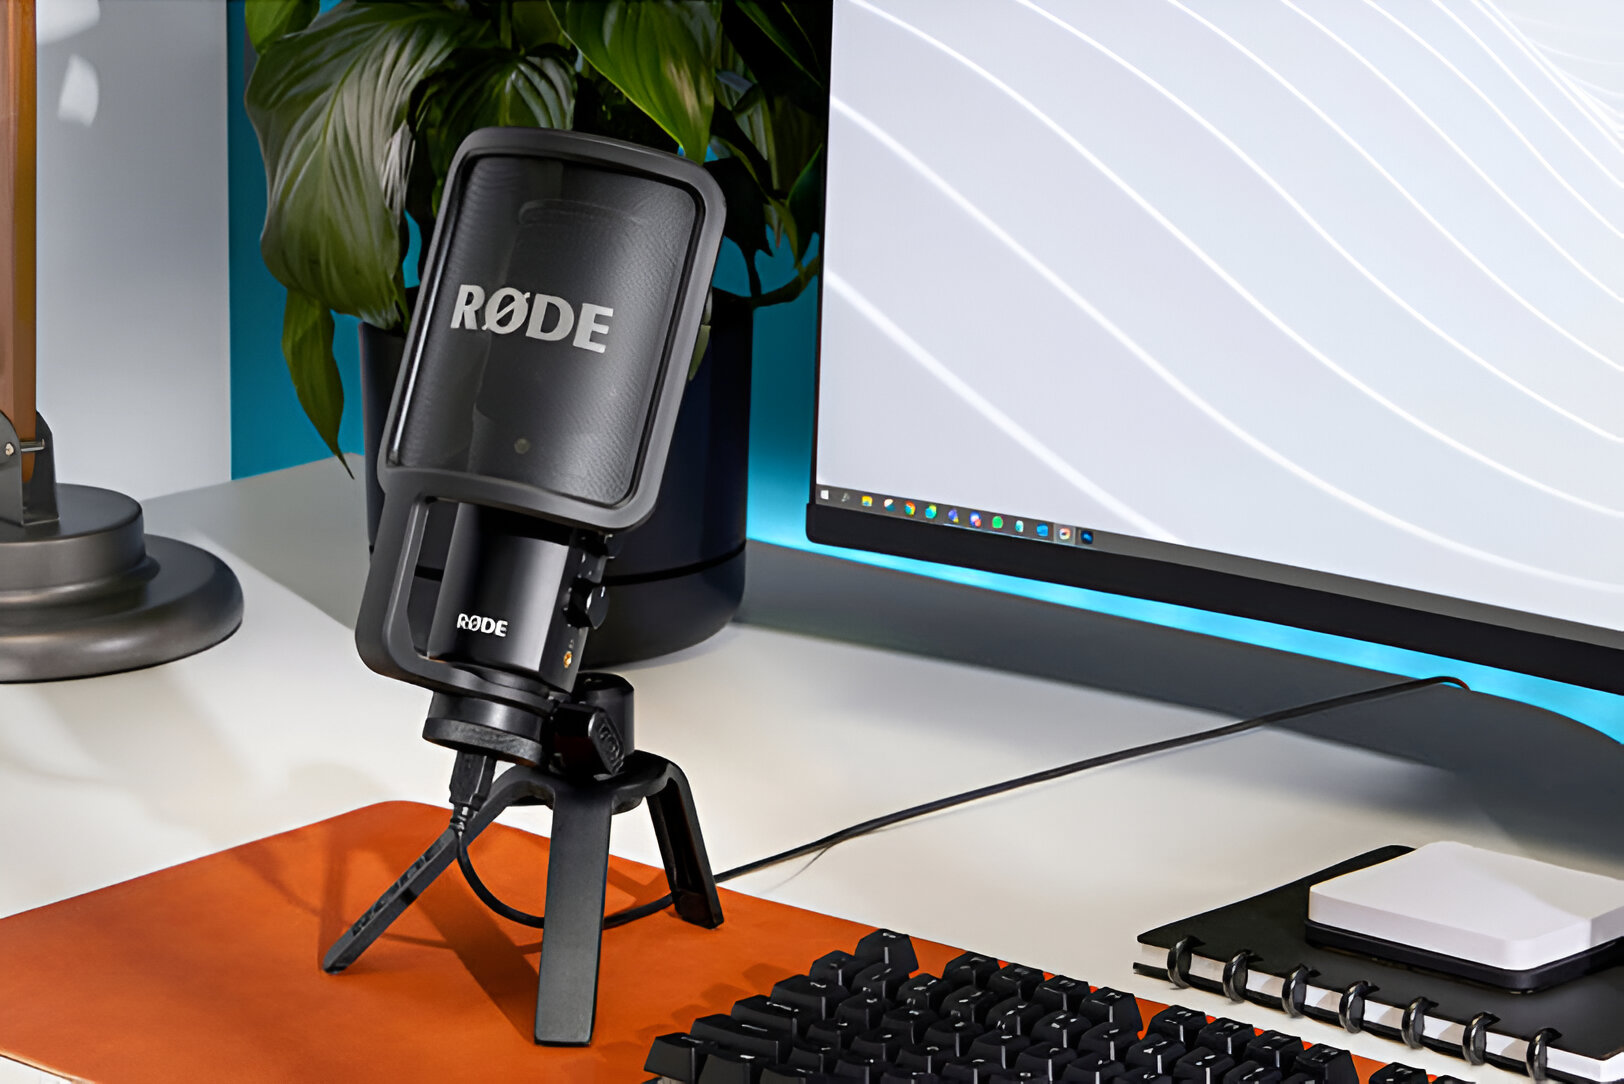
Position the microphone on a stable surface, such as a desk or microphone stand, to minimize vibrations and ensure consistent audio capture. Adjust the microphone’s angle and height to suit your recording preferences, keeping in mind that the optimal distance between the microphone and your mouth is typically around 6 to 12 inches.
Some USB condenser microphones feature built-in headphone jacks for direct monitoring, allowing you to listen to your voice in real time without latency. This feature can be particularly useful for podcasters and vocalists who require immediate feedback while recording.
As you embark on your recording journey, remember that the setup process sets the foundation for the quality of your audio productions. By taking the time to properly configure your USB condenser microphone, you pave the way for seamless and professional-grade recordings that capture the essence of your voice or instruments with precision and clarity.
Adjusting the Microphone Settings on Your Computer
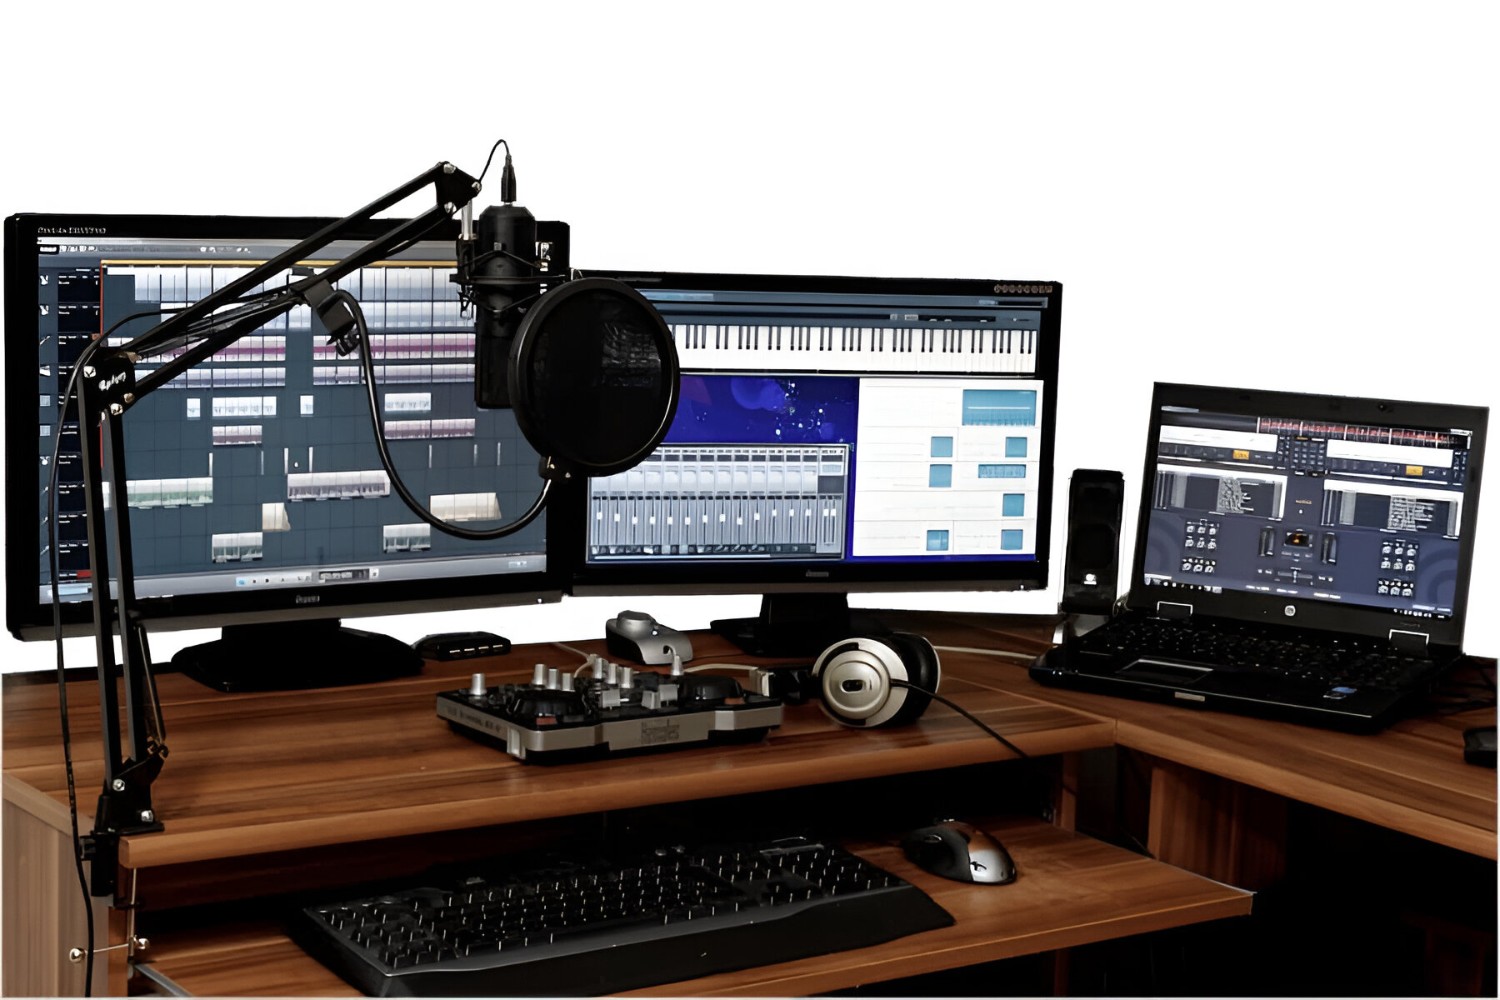
Once your USB condenser microphone is physically set up, it’s essential to fine-tune the microphone settings on your computer to optimize its performance. Depending on your operating system, the process for adjusting these settings may vary slightly, but the fundamental principles remain consistent.
On Windows, you can access the microphone settings by right-clicking the speaker icon in the taskbar and selecting “Open Sound settings.” Under the “Input” section, you can choose your USB condenser microphone from the list of available input devices. Clicking on “Device properties” allows you to adjust additional settings such as microphone volume, sample rate, and bit depth. It’s advisable to select the highest sample rate and bit depth supported by your microphone to ensure the highest recording quality.
For Mac users, the microphone settings can be accessed by clicking the Apple menu, selecting “System Preferences,” and then navigating to “Sound” or “Audio.” Here, you can choose your USB condenser microphone as the input device and adjust the input volume as needed. Some USB condenser microphones may offer additional customization options through dedicated software provided by the manufacturer.
Regardless of your operating system, it’s crucial to test the microphone levels and make adjustments to prevent audio distortion or an excessively low input signal. Many recording applications, such as Audacity or Adobe Audition, also feature built-in controls for adjusting microphone input levels and monitoring the signal in real time.
Furthermore, if you’re using your USB condenser microphone for live streaming or online meetings, platforms like Zoom and OBS Studio allow you to configure microphone settings within their respective settings menus. This can include adjusting input volume, noise suppression, and echo cancellation to enhance the clarity of your audio during virtual interactions.
By taking the time to fine-tune the microphone settings on your computer, you can ensure that your USB condenser microphone delivers exceptional audio quality across a wide range of recording scenarios, from music production and podcasting to voiceovers and video conferencing.
Positioning the Microphone for Optimal Sound Quality
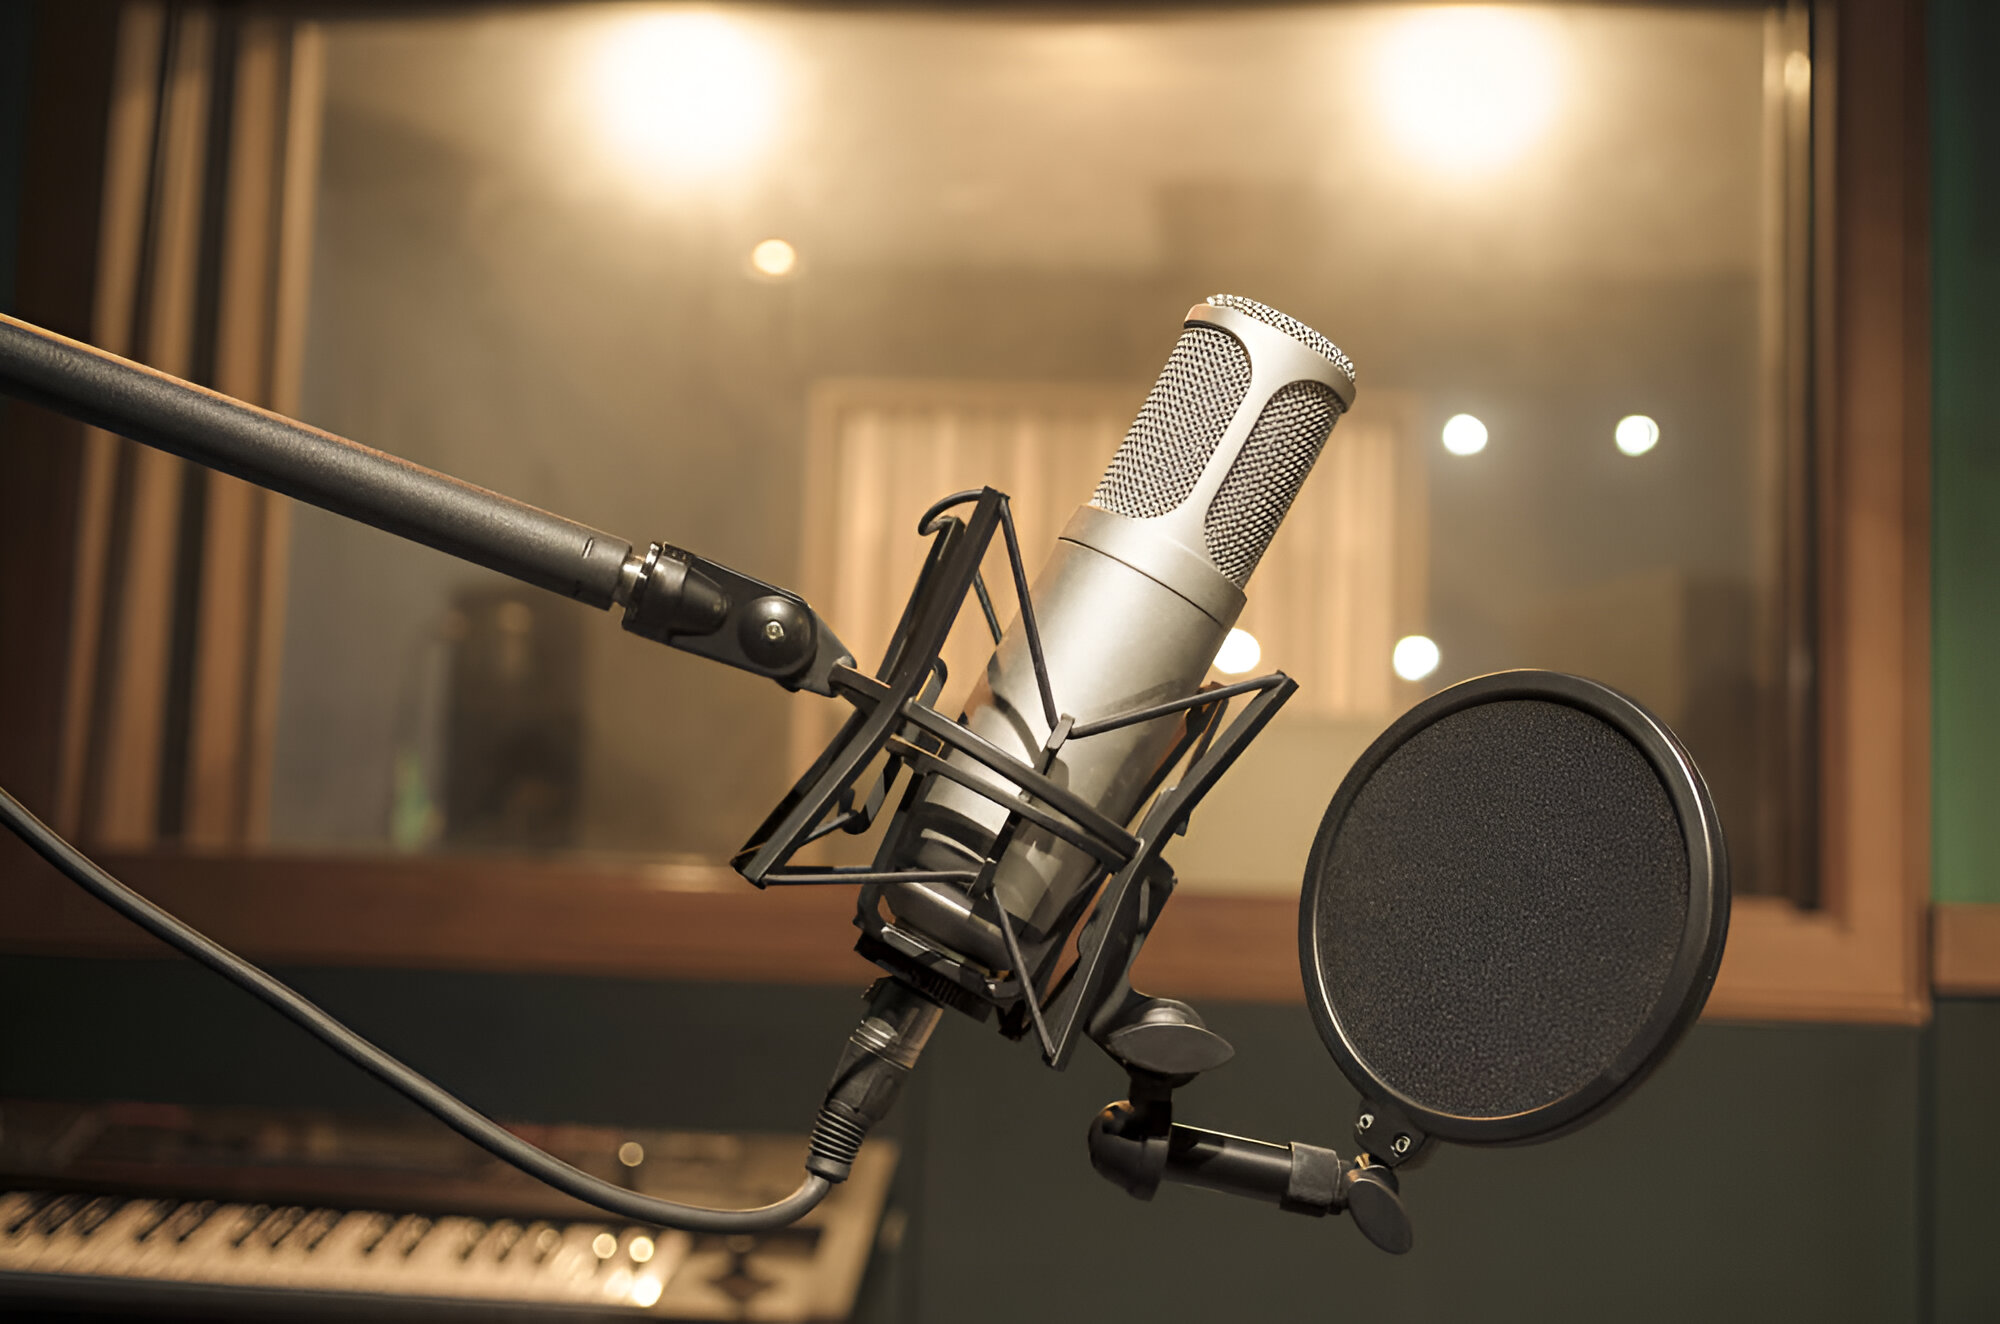
Proper microphone positioning is a critical factor in capturing high-quality audio with your USB condenser microphone. Whether you’re recording vocals, instruments, or spoken dialogue, the microphone’s placement can significantly impact the clarity, tonal balance, and overall sonic character of the recorded sound.
When positioning your USB condenser microphone for vocal recording, it’s essential to consider the distance, angle, and orientation relative to the sound source. For vocal performances, positioning the microphone approximately 6 to 12 inches away from the vocalist’s mouth is a common starting point. This distance helps capture a balanced frequency response while minimizing plosives and sibilance.
For instruments such as acoustic guitars or pianos, the microphone placement will vary based on the specific tonal characteristics and desired sound. Experimenting with different microphone positions, such as close-miking or room-miking techniques, can yield diverse sonic textures and spatial imaging, allowing you to tailor the recording to suit the musical context.
When recording in a home studio or untreated acoustic environment, consider using acoustic treatment and isolation shields to minimize unwanted room reflections and background noise. This can enhance the direct-to-reverberant ratio, resulting in a more focused and articulate recording with minimal sonic distractions.
Furthermore, the microphone’s angle and orientation play a crucial role in capturing the desired tonal characteristics and minimizing off-axis coloration. Angling the microphone slightly off-axis from the sound source can help attenuate harsh high frequencies and reduce proximity effect, especially when recording vocals or close-miked instruments.
When positioning the microphone, be mindful of potential sources of vibration or handling noise that could affect the recording. Using shock mounts or isolation pads can mitigate these issues, ensuring that the microphone captures the intended sound without being compromised by external disturbances.
Ultimately, the goal of positioning your USB condenser microphone is to achieve a balanced and natural representation of the sound source, whether it’s a voice, instrument, or ambient environment. By experimenting with different placement techniques and considering the acoustic characteristics of your recording space, you can unlock the full sonic potential of your USB condenser microphone and capture captivating audio with exceptional fidelity.
Recording with Your USB Condenser Microphone
Once your USB condenser microphone is set up and positioned for optimal sound capture, you’re ready to embark on the exciting journey of recording. Whether you’re laying down vocal tracks, capturing acoustic performances, or conducting voiceovers, the process of recording with a USB condenser microphone offers a seamless and high-fidelity experience.
Before initiating the recording session, it’s advisable to conduct a sound check to ensure that the microphone levels are appropriately set and that the signal is free from distortion or excessive noise. Many recording software applications provide visual level meters, allowing you to monitor the input signal and make real-time adjustments to the microphone gain.
When recording vocals, enunciate clearly and maintain a consistent distance from the microphone to ensure uniform tonal characteristics and minimize variations in volume. Pay attention to your posture and breathing to avoid unintentional microphone movements or handling noise that could compromise the recording quality.
For instrument recording, such as acoustic guitar or percussion, experiment with microphone placement to capture the desired tonal nuances and spatial imaging. Consider utilizing stereo miking techniques to create a sense of depth and dimension in the recording, especially for acoustic ensembles or immersive soundscapes.
When conducting voiceovers or podcast recordings, engage in vocal warm-up exercises to ensure a clear and articulate delivery. Maintain a steady speaking pace and modulate your voice to convey the intended emotions and inflections, allowing the USB condenser microphone to faithfully capture the nuances of your performance.
During the recording process, it’s beneficial to monitor the audio through headphones connected to the microphone or the computer’s audio interface. This direct monitoring capability enables you to assess the recording in real time, making adjustments to the microphone placement or performance as needed.
Once the recording is complete, take a moment to review the captured audio and address any potential issues such as background noise, plosives, or sibilance. Many recording software packages offer tools for editing and processing the recorded audio, allowing you to enhance the clarity and sonic fidelity of the final product.
By embracing the recording process with creativity and attention to detail, you can harness the full potential of your USB condenser microphone to capture captivating performances and immersive sonic experiences. Whether you’re creating music, podcasts, or audiovisual content, the USB condenser microphone serves as a versatile and reliable tool for bringing your artistic vision to life with uncompromising audio quality.
Tips for Getting the Best Results from Your USB Condenser Microphone
Maximizing the potential of your USB condenser microphone involves a combination of technical expertise, creative exploration, and thoughtful execution. Here are some valuable tips to help you achieve outstanding results and elevate the quality of your audio recordings:
- Optimize Your Recording Environment: Create a conducive recording environment by minimizing ambient noise, utilizing acoustic treatment, and strategically positioning the microphone to capture the purest sound possible.
- Experiment with Mic Placement: Explore different microphone placement techniques to discover the optimal positioning for various sound sources, whether it’s vocals, instruments, or ambient recordings. Small adjustments can yield significant sonic enhancements.
- Use Pop Filters and Shock Mounts: Employ pop filters to mitigate plosives and sibilance, and utilize shock mounts to reduce handling noise and vibrations, ensuring clean and undisturbed recordings.
- Monitor Input Levels: Keep a close eye on the input levels to prevent audio clipping and distortion, adjusting the microphone gain as needed to maintain a healthy signal-to-noise ratio.
- Engage in Vocal Warm-ups: Prior to vocal recordings, engage in vocal warm-up exercises to enhance clarity, diction, and tonal consistency, resulting in more polished and expressive performances.
- Utilize Direct Monitoring: Take advantage of direct monitoring capabilities to listen to your performance in real time, allowing for immediate adjustments to microphone placement, performance dynamics, and articulation.
- Experiment with Polar Patterns: If your USB condenser microphone offers selectable polar patterns, such as cardioid, omnidirectional, or figure-8, experiment with different patterns to tailor the microphone’s sensitivity and directionality to suit the recording scenario.
- Embrace Post-Processing Tools: Leverage the capabilities of digital audio workstations (DAWs) and audio editing software to refine and enhance your recordings through equalization, compression, reverb, and other processing tools.
- Regular Maintenance: Keep your USB condenser microphone clean and free from dust or debris, and store it in a protective case when not in use to ensure its longevity and consistent performance.
- Continuous Learning and Exploration: Stay curious and open-minded, and continue to explore new recording techniques, microphone applications, and sonic possibilities to expand your creative horizons and refine your audio recording skills.
By incorporating these tips into your recording practices, you can unlock the full potential of your USB condenser microphone and achieve exceptional results across a diverse range of audio production endeavors. Whether you’re crafting music, podcasts, voiceovers, or field recordings, these insights will empower you to capture captivating soundscapes with precision, clarity, and artistic expression.