Introduction
Are you ready to elevate your podcasting or recording game? The TONOR XLR to 3.5mm Podcasting Studio Recording Condenser Microphone is a game-changer in the world of audio recording. Whether you're a seasoned podcaster, a musician, or a content creator looking to enhance the quality of your recordings, this microphone offers professional-grade sound quality and versatility.
With its XLR to 3.5mm connectivity, the TONOR microphone is compatible with a wide range of devices, making it a versatile and convenient option for various recording setups. Its studio recording condenser design ensures that you capture clear, crisp, and detailed audio, adding a professional touch to your recordings.
In this guide, we'll take you through the process of unboxing, setting up, and testing the TONOR XLR to 3.5mm Podcasting Studio Recording Condenser Microphone. By the end of this tutorial, you'll be equipped with the knowledge and confidence to unleash the full potential of this exceptional microphone, bringing your audio recordings to the next level.
Let's dive into the world of professional audio recording with the TONOR XLR to 3.5mm Podcasting Studio Recording Condenser Microphone.
Unboxing the TONOR XLR to 3.5mm Podcasting Studio Recording Condenser Microphone
As you unbox the TONOR XLR to 3.5mm Podcasting Studio Recording Condenser Microphone, you’ll immediately notice the care and attention to detail that has gone into its packaging. The sleek and sturdy box contains everything you need to kick-start your professional recording journey.
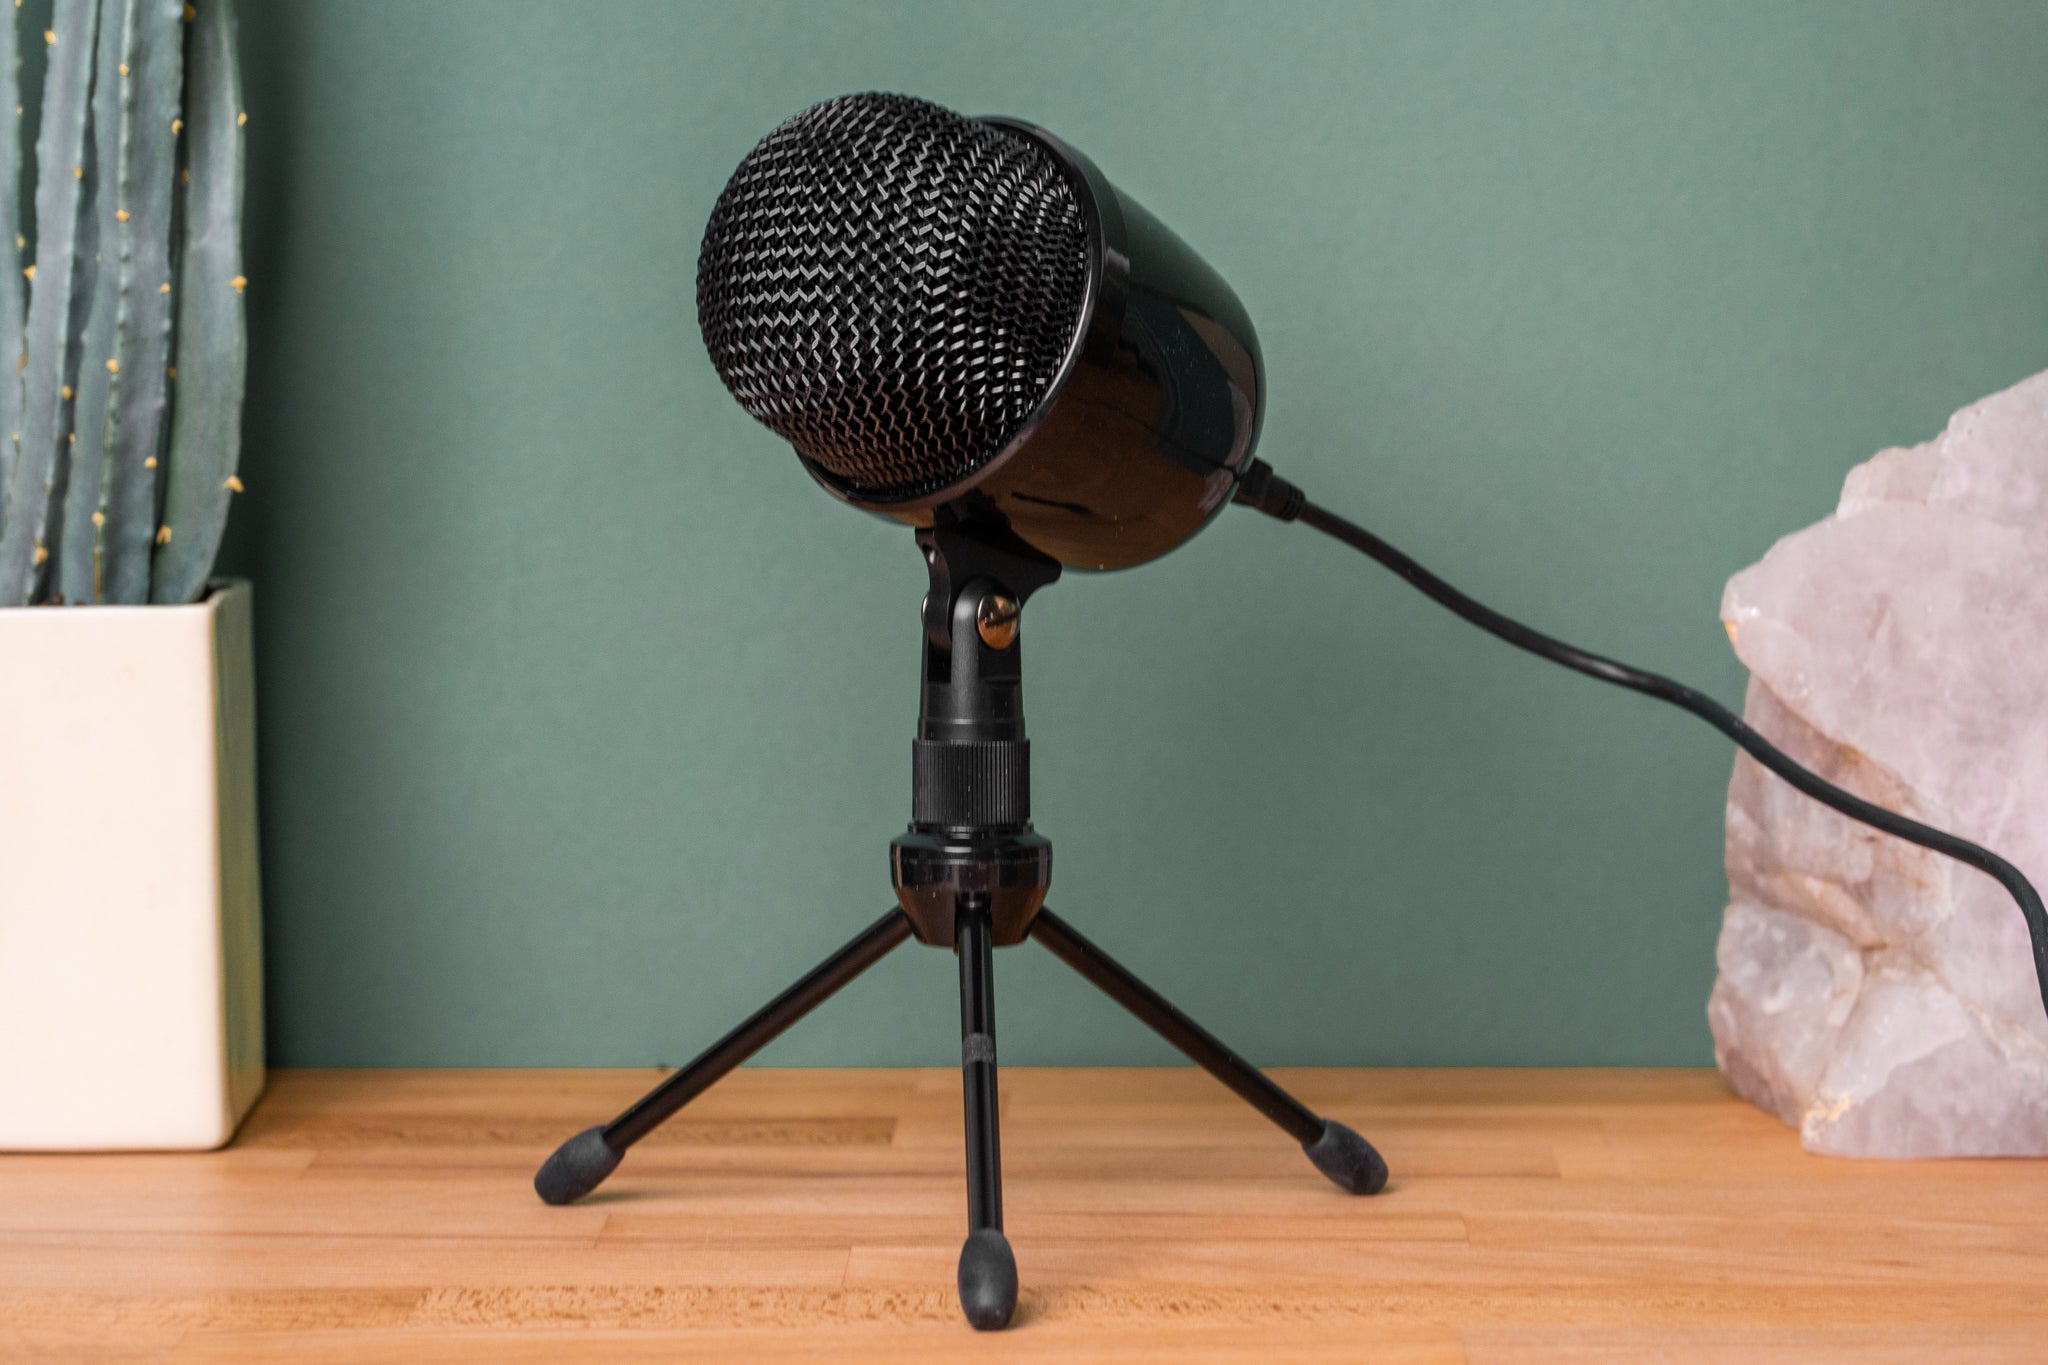
Upon opening the box, you’ll find the TONOR microphone itself, exuding a robust and professional feel. Its solid construction and premium finish underscore its quality and reliability. The package also includes a stable and adjustable scissor arm stand, a shock mount, a pop filter, an anti-wind foam cap, an XLR to 3.5mm cable, and a user manual.
The scissor arm stand, with its adjustable design, provides flexibility in positioning the microphone according to your recording setup. The shock mount effectively minimizes vibrations and handling noise, ensuring that your recordings are free from unwanted disturbances. The pop filter and anti-wind foam cap help to eliminate plosives and reduce wind interference, resulting in clear and pristine audio quality.
Equipped with these essential accessories, the TONOR microphone offers a comprehensive and user-friendly package, catering to the diverse needs of podcasters, musicians, and content creators. The inclusion of a detailed user manual further enhances the unboxing experience, providing clear instructions for setting up and utilizing the microphone to its full potential.
By unboxing the TONOR XLR to 3.5mm Podcasting Studio Recording Condenser Microphone, you’re not just gaining access to a high-quality recording device; you’re embarking on a journey towards professional and captivating audio content creation.
Connecting the Microphone to Your Recording Device
Once you’ve unboxed the TONOR XLR to 3.5mm Podcasting Studio Recording Condenser Microphone and familiarized yourself with its components, it’s time to connect it to your recording device. This seamless process ensures that you can start capturing high-quality audio without any unnecessary complications.
The first step is to identify the appropriate input on your recording device. Whether you’re using a computer, audio interface, mixer, or other compatible equipment, locating the XLR or 3.5mm input is essential. The TONOR microphone’s versatile connectivity options allow for easy integration with a wide range of devices, offering convenience and flexibility in your recording setup.
If your recording device features an XLR input, simply connect the microphone to it using the provided XLR to XLR cable. The secure and stable connection ensures reliable signal transmission, enabling you to capture professional-grade audio with ease. On the other hand, if your device utilizes a 3.5mm input, the included XLR to 3.5mm cable facilitates a straightforward and hassle-free connection, eliminating compatibility concerns.
Once the physical connection is established, it’s important to configure the input settings on your recording device to accommodate the TONOR microphone. Adjusting the input gain or volume levels ensures optimal signal reception, allowing you to capture clear and balanced audio without any distortion or clipping.
By seamlessly connecting the TONOR microphone to your recording device, you’re laying the foundation for exceptional audio quality and performance. This straightforward process sets the stage for immersive and professional recordings, empowering you to unleash your creativity with confidence.
Adjusting the Microphone Settings
With the TONOR XLR to 3.5mm Podcasting Studio Recording Condenser Microphone seamlessly connected to your recording device, the next crucial step is to fine-tune the microphone settings to achieve optimal audio performance. These adjustments ensure that you capture clear, balanced, and professional-grade sound, setting the stage for engaging and captivating recordings.
One of the primary settings to consider is the microphone’s polar pattern. The TONOR microphone offers a cardioid polar pattern, which is ideal for capturing sound sources directly in front of the microphone while minimizing background noise and feedback. This focused pickup pattern is well-suited for podcasting, vocal recordings, and instrument capture, providing versatility in various recording scenarios.
Additionally, adjusting the microphone’s gain or sensitivity settings is essential for optimizing its performance. Depending on your recording environment and the sound source’s proximity to the microphone, fine-tuning the gain ensures that you capture the desired audio levels without introducing unwanted noise or distortion. This precision in gain adjustment empowers you to achieve consistent and professional audio quality across your recordings.
Furthermore, the inclusion of a pop filter and anti-wind foam cap in the TONOR microphone package offers additional flexibility in managing the microphone’s settings. The pop filter effectively reduces plosives and breath noises, enhancing vocal clarity and articulation. Meanwhile, the anti-wind foam cap minimizes wind interference, making outdoor recordings and vocal performances more manageable and reliable.
By carefully adjusting the TONOR microphone settings, you’re harnessing its full potential and maximizing its capabilities for diverse recording applications. These nuanced adjustments pave the way for immersive and high-fidelity audio capture, empowering you to produce professional-grade content with ease and confidence.
Testing the Microphone
After unboxing, connecting, and adjusting the TONOR XLR to 3.5mm Podcasting Studio Recording Condenser Microphone, it’s time to put its capabilities to the test. Conducting a comprehensive microphone test allows you to evaluate its performance, sound quality, and versatility across different recording scenarios, ensuring that it meets your specific audio production needs.
Begin by initiating a test recording session, whether it’s a vocal performance, podcast segment, musical instrument recording, or any other audio capture activity relevant to your creative endeavors. This initial test serves as a practical assessment of the microphone’s ability to faithfully reproduce sound while maintaining clarity and fidelity.
During the test, pay close attention to the microphone’s sensitivity, ensuring that it accurately captures the nuances and dynamics of the sound source. Whether it’s capturing subtle vocal inflections, intricate instrument details, or powerful spoken word segments, the TONOR microphone’s performance should reflect a balanced and natural representation of the audio content.
Furthermore, explore the microphone’s adaptability to different recording environments. Test its performance in controlled studio settings, as well as in challenging acoustic conditions to gauge its ability to mitigate background noise and deliver consistent audio quality. This comprehensive evaluation provides valuable insights into the microphone’s versatility and reliability across diverse recording scenarios.
As part of the testing process, consider experimenting with the microphone’s positioning and distance from the sound source. Assess its ability to maintain consistent audio quality and clarity, even when capturing sound from varying distances and angles. This exploration allows you to leverage the microphone’s flexibility and adaptability to different recording techniques and styles.
By thoroughly testing the TONOR microphone, you gain a deeper understanding of its capabilities and performance characteristics. This firsthand experience equips you with the knowledge and confidence to leverage the microphone’s strengths, harnessing its potential to elevate your audio productions and creative endeavors.
Conclusion
The TONOR XLR to 3.5mm Podcasting Studio Recording Condenser Microphone has proven to be a versatile and reliable tool for audio content creators, musicians, and podcasters alike. From the moment of unboxing, the attention to detail in its packaging and the inclusion of essential accessories set the stage for a seamless and professional recording experience.
Connecting the microphone to various recording devices was effortless, thanks to its adaptable XLR to 3.5mm connectivity, allowing for a wide range of recording setups. The inclusion of a comprehensive user manual further facilitated the setup process, ensuring that users could maximize the microphone’s potential without unnecessary complications.
Adjusting the microphone settings, including the polar pattern, gain, and utilizing the provided pop filter and anti-wind foam cap, offered a level of customization and control that is essential for capturing high-quality audio in diverse recording environments. These nuanced adjustments underscore the microphone’s adaptability and its ability to deliver professional-grade sound reproduction.
Conducting a thorough microphone test revealed the TONOR microphone’s exceptional sensitivity, fidelity, and adaptability to various recording scenarios. Whether capturing vocals, instruments, or podcast segments, the microphone consistently delivered clear, balanced, and detailed audio, meeting the demands of professional audio production.
In conclusion, the TONOR XLR to 3.5mm Podcasting Studio Recording Condenser Microphone exceeds expectations as a reliable, versatile, and high-performance recording tool. Its seamless integration with recording devices, customizable settings, and exceptional audio capture capabilities position it as an invaluable asset for content creators seeking to elevate the quality of their recordings and productions. With the TONOR microphone as part of your recording arsenal, you’re empowered to unleash your creativity and produce captivating audio content with confidence and professionalism.