Introduction
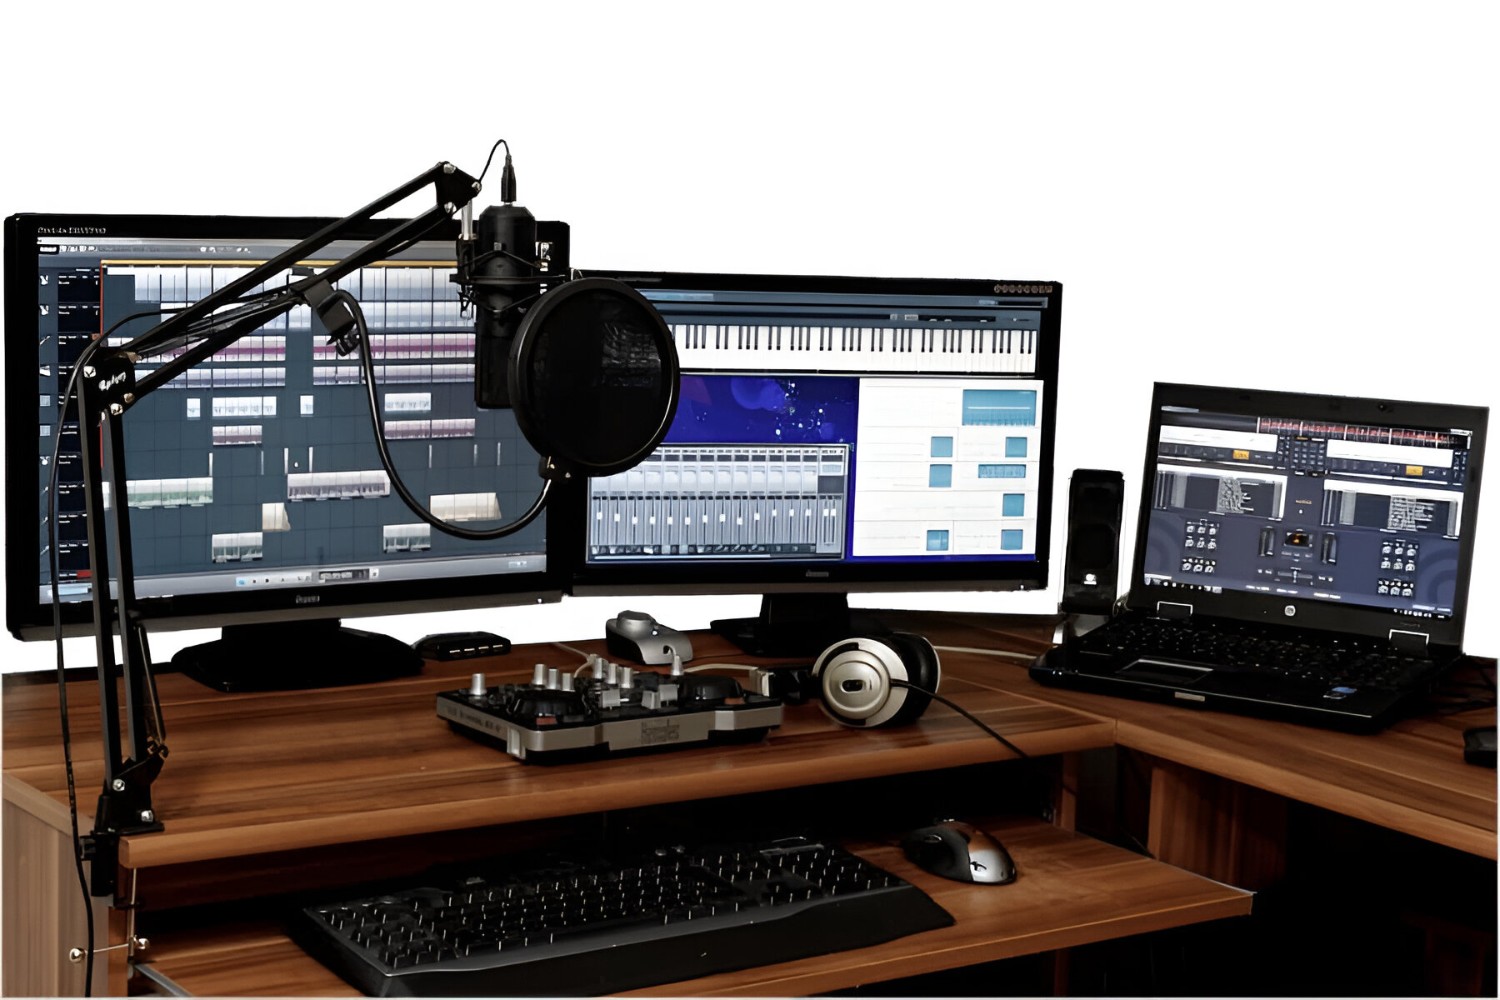
Setting up a condenser microphone on a computer can be a game-changer for anyone involved in audio recording, podcasting, or live streaming. The high sensitivity and wide frequency response of condenser microphones make them a popular choice for capturing vocals, acoustic instruments, and ambient sounds with exceptional clarity. However, the process of connecting and configuring a condenser microphone with a computer may seem daunting to beginners. Fear not, as this guide will walk you through the essential steps to set up your condenser microphone and optimize its performance on your computer.
Whether you’re a musician, podcaster, or content creator, harnessing the power of a condenser microphone can elevate the quality of your audio productions. By understanding the intricacies of condenser microphones, selecting the appropriate connection method, and fine-tuning the input levels, you can unleash the full potential of your microphone and achieve professional-grade audio recordings. So, let’s dive into the world of condenser microphones and demystify the process of integrating them with your computer for stellar sound capture.
Understanding Condenser Microphones
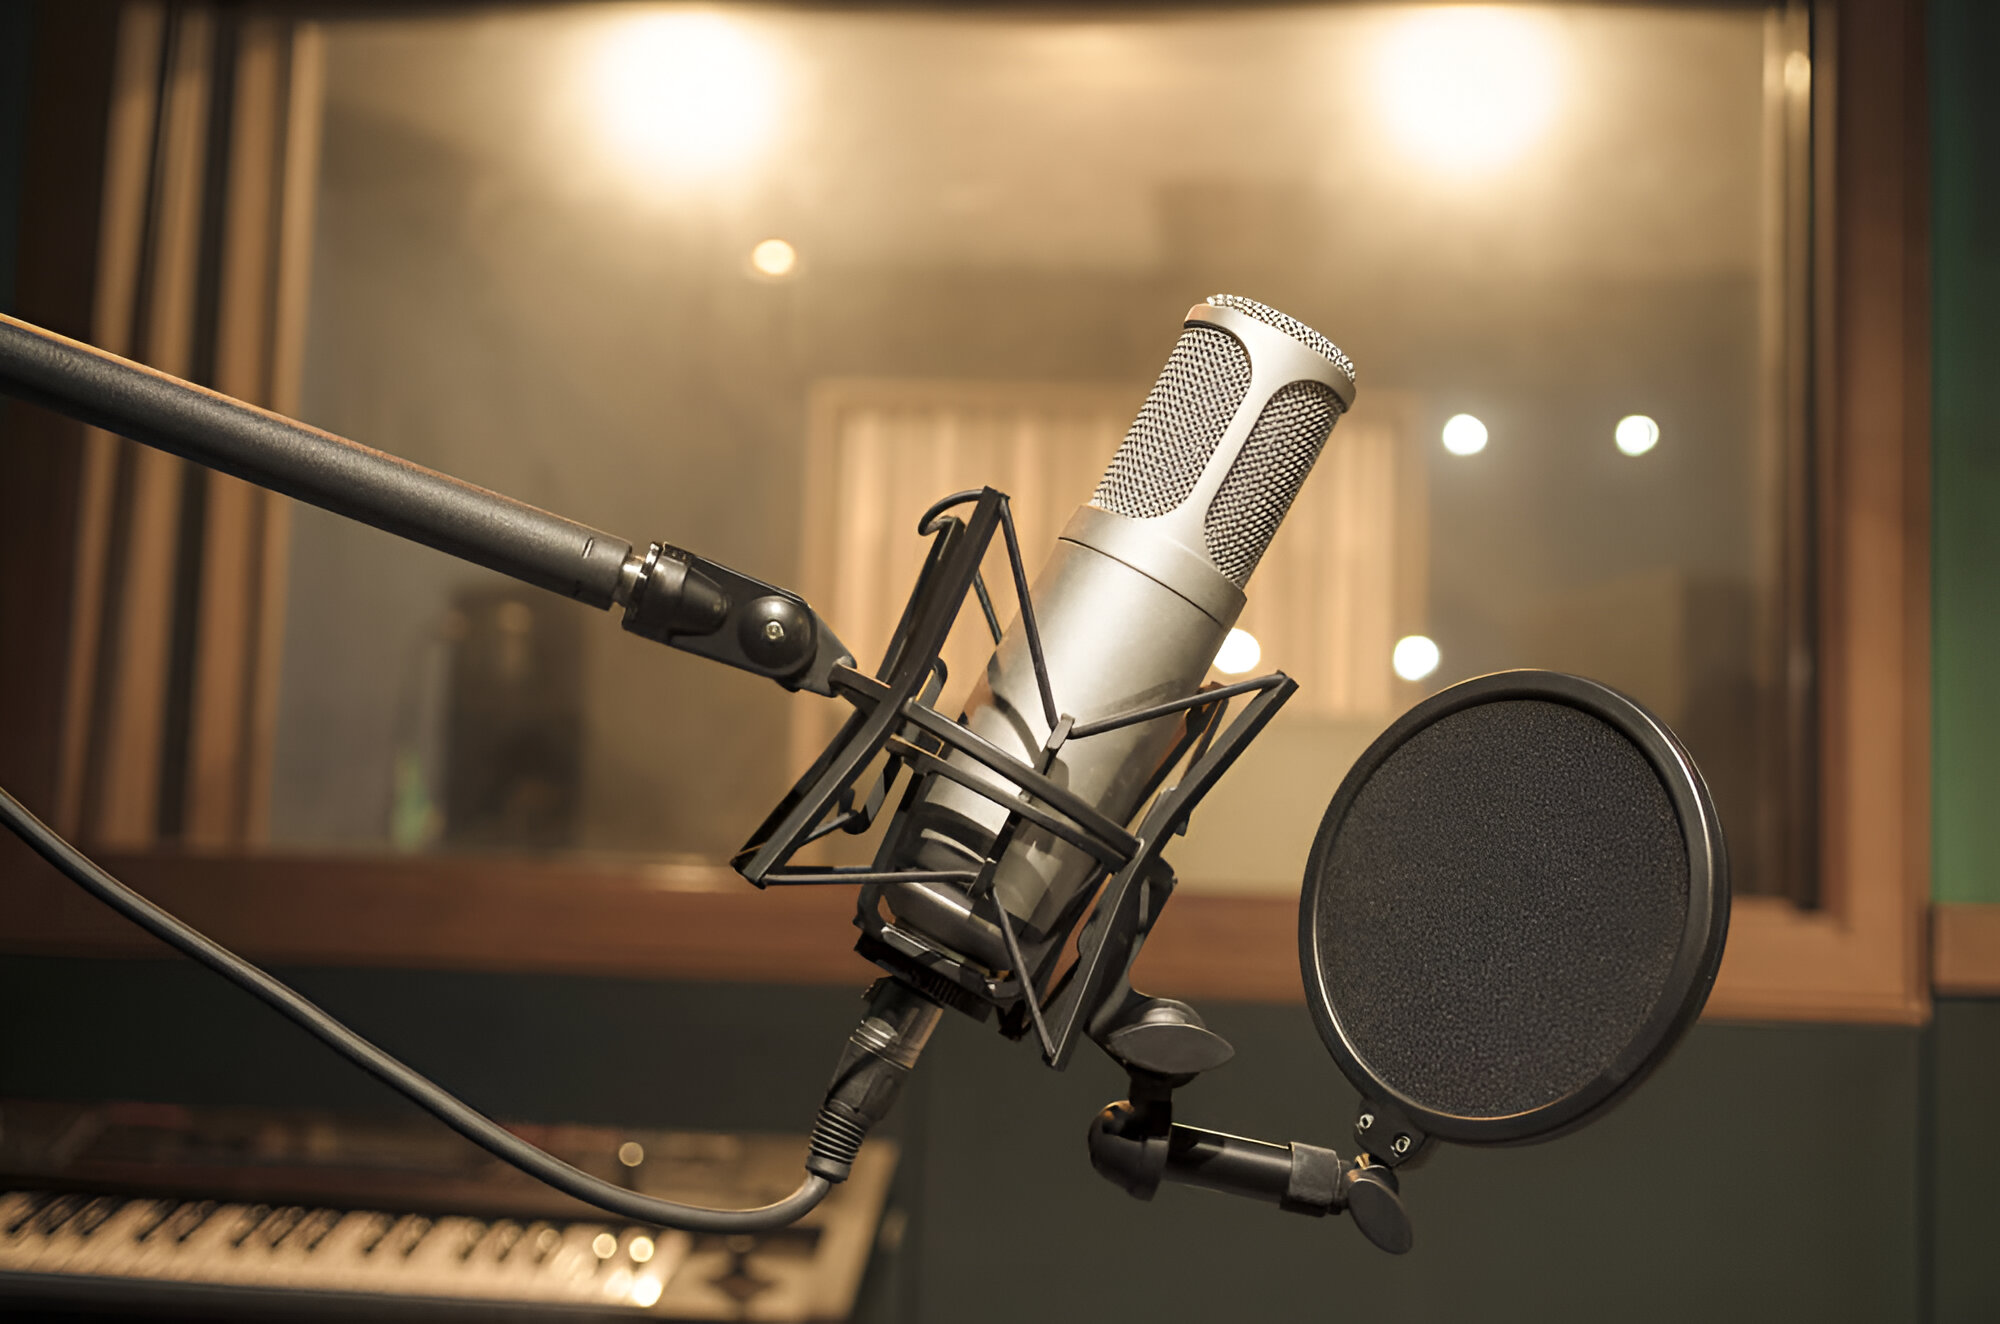
Condenser microphones, also known as capacitor microphones, are renowned for their exceptional audio quality and sensitivity. Unlike dynamic microphones, which use electromagnetic induction to generate an electrical signal, condenser microphones rely on a vibrating diaphragm and a backplate to convert sound waves into electrical signals. This design allows condenser microphones to capture subtle nuances and transients with remarkable accuracy, making them ideal for recording vocals, acoustic instruments, and intricate sound sources.
One of the defining features of condenser microphones is their ability to respond to a wide frequency range, capturing both the low-end warmth and the high-end brilliance of sound. This characteristic makes condenser microphones a preferred choice in professional recording studios and home setups alike. It’s important to note that condenser microphones require power to operate their internal circuitry, typically in the form of phantom power supplied by audio interfaces, mixers, or dedicated power sources.
Furthermore, condenser microphones come in various polar patterns, such as cardioid, omnidirectional, and figure-8, offering versatility in capturing sound from different directions. Understanding the polar pattern of your condenser microphone is crucial in optimizing its performance for specific recording scenarios. For instance, a cardioid condenser microphone is well-suited for solo vocal recordings, while an omnidirectional condenser microphone excels in capturing ambient sounds and group performances.
When selecting a condenser microphone for your computer setup, consider factors such as frequency response, polar pattern, self-noise level, and durability. By comprehending the unique characteristics and requirements of condenser microphones, you can make informed decisions in choosing the right microphone to meet your audio recording needs.
Choosing the Right Connection
When setting up a condenser microphone on a computer, selecting the appropriate connection method is pivotal in ensuring seamless integration and optimal performance. Condenser microphones typically utilize XLR or USB connections, each offering distinct advantages based on the recording setup and intended use.
XLR Connection: Many professional-grade condenser microphones feature XLR outputs, requiring an audio interface or a mixer with XLR inputs to connect to a computer. This traditional analog connection provides balanced audio signals and phantom power, essential for powering condenser microphones. While XLR connections offer high audio fidelity and compatibility with a wide range of audio equipment, they necessitate additional hardware in the form of an audio interface or a mixer, making them suitable for studio setups and advanced recording environments.
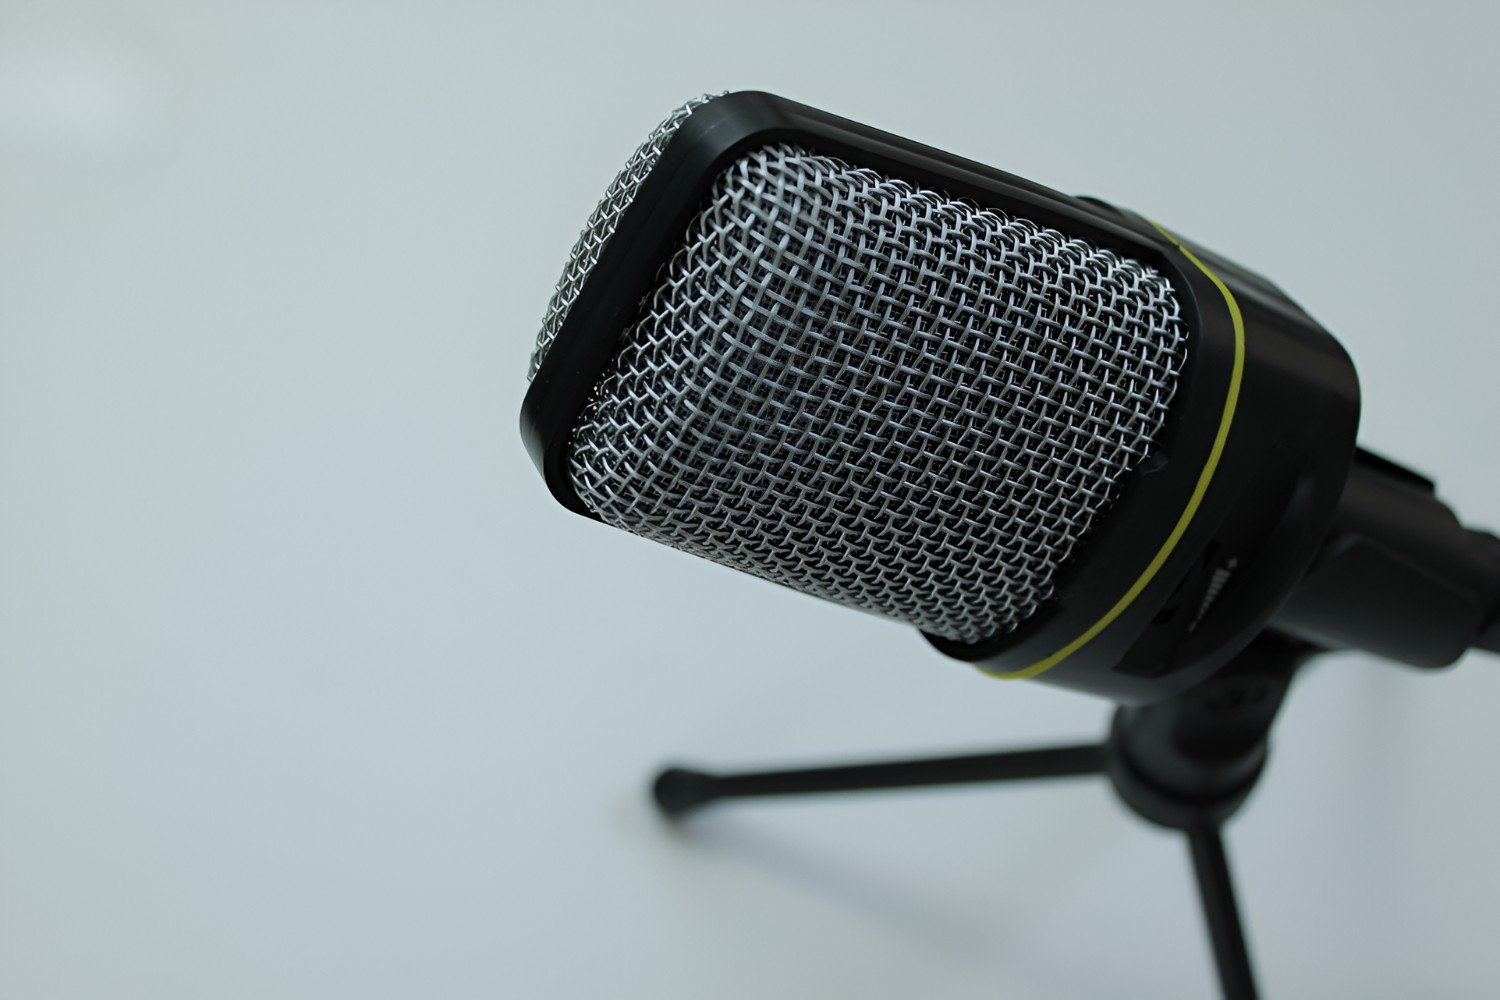
USB Connection: In recent years, the prevalence of USB condenser microphones has surged, catering to content creators, podcasters, and home recording enthusiasts. USB condenser microphones feature built-in analog-to-digital converters, allowing direct connection to a computer’s USB port. This plug-and-play functionality eliminates the need for an external audio interface or mixer, simplifying the setup process and making USB condenser microphones an attractive choice for beginners and on-the-go recording setups.
When deciding on the connection type for your condenser microphone, consider the intended usage, budget, and the existing audio equipment at your disposal. While XLR connections offer professional-grade audio quality and versatility, USB connections provide convenience and accessibility for entry-level and portable recording setups. By choosing the right connection method, you can seamlessly integrate your condenser microphone with your computer and embark on capturing pristine audio recordings with ease.
Connecting the Microphone to the Computer
Once you’ve selected the appropriate connection method for your condenser microphone, the next step is to establish a solid physical and digital connection with your computer. The process varies based on whether you’re using an XLR or USB condenser microphone, but both setups are straightforward and can be accomplished with ease.
XLR Microphone Connection: If your condenser microphone utilizes an XLR connection, you’ll need an audio interface or a mixer with XLR inputs. Begin by connecting the XLR cable from the microphone to the corresponding input on the audio interface or mixer. Ensure that phantom power is activated on the audio interface or mixer to supply the necessary power to the condenser microphone. Next, connect the audio interface or mixer to your computer using a USB or FireWire cable, depending on the interface’s connectivity options. Once connected, configure your computer’s audio settings to recognize the audio interface or mixer as the input device for recording.
USB Microphone Connection: For USB condenser microphones, simply plug the USB cable directly into an available USB port on your computer. The plug-and-play nature of USB microphones eliminates the need for additional audio interfaces or mixers, streamlining the setup process. Once connected, your computer should automatically detect the USB microphone as the input device for recording. In some cases, you may need to adjust the input settings in your computer’s audio control panel or system preferences to ensure the microphone is recognized and functioning properly.
Regardless of the connection type, it’s essential to use high-quality cables and ensure secure connections to minimize potential signal loss or interference. Additionally, familiarize yourself with the input and output settings on your computer to route the microphone signal effectively. By establishing a reliable connection between your condenser microphone and your computer, you pave the way for capturing pristine audio and unleashing the full potential of your recording setup.
Adjusting Input Levels and Settings
After connecting your condenser microphone to the computer, it’s crucial to fine-tune the input levels and settings to achieve optimal audio quality and prevent potential issues such as distortion or noise. Whether you’re using built-in audio controls or dedicated recording software, understanding and adjusting the input settings is essential for capturing pristine recordings.
Input Gain: The input gain, often controlled by a knob or slider on the audio interface, mixer, or within recording software, regulates the sensitivity of the microphone. When setting the input gain, aim to achieve a strong and clear signal without allowing it to peak into the red or clip, which can result in distorted audio. Start by setting the input gain to a conservative level and gradually increase it while monitoring the audio levels to find the optimal setting for your recording.
Phantom Power: If you’re using an XLR condenser microphone that requires phantom power, ensure that the phantom power option is activated on your audio interface or mixer. This power supply is essential for the proper functioning of condenser microphones and should be engaged before attempting to record. Most audio interfaces feature a dedicated phantom power switch or button for this purpose.
Polar Patterns and Settings: Some condenser microphones offer selectable polar patterns, allowing you to adjust the microphone’s sensitivity to sound from different directions. If your microphone features multiple polar patterns, familiarize yourself with their characteristics and select the appropriate pattern for your recording scenario. Additionally, if your microphone includes a low-cut filter or pad switch, consider experimenting with these settings to tailor the microphone’s response to specific sound sources.
Computer Input Settings: Within your computer’s audio settings or recording software, verify that the correct input device (i.e., your condenser microphone) is selected and that the input levels are appropriately adjusted. Many recording applications provide visual level meters to monitor the input signal, enabling you to ensure that the audio levels are within an optimal range for recording.
By meticulously adjusting the input levels, engaging phantom power when necessary, and leveraging the microphone’s features and settings, you can fine-tune your condenser microphone setup for exceptional audio capture. Taking the time to optimize these settings will contribute to the production of professional-grade recordings and enhance your overall recording experience.
Testing the Microphone
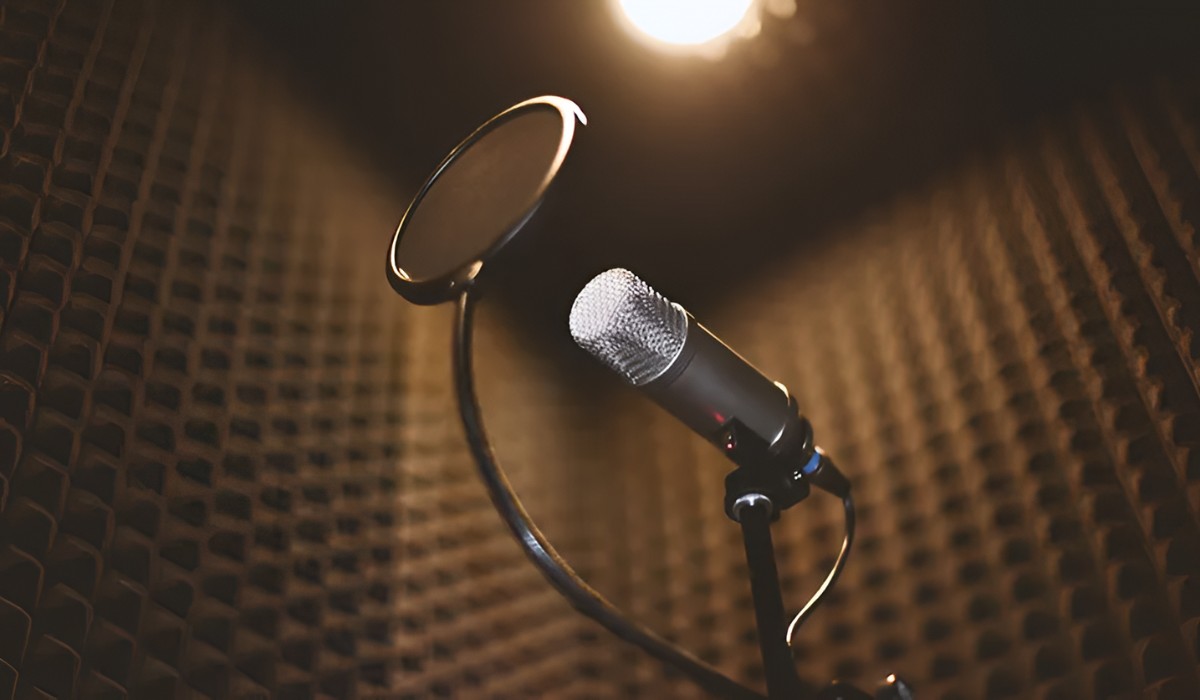
Before diving into full-fledged recording sessions with your condenser microphone, it’s essential to conduct thorough testing to ensure that the setup is functioning as intended and to familiarize yourself with the microphone’s behavior in different recording scenarios. Testing the microphone allows you to identify and address any potential issues, fine-tune the settings, and gain confidence in its performance before embarking on serious recording projects.
Sound Check: Begin by conducting a sound check to verify that the microphone is capturing audio signals and transmitting them to your computer. Speak or sing into the microphone at varying distances and angles to assess its sensitivity and directionality. Listen to the playback to ascertain the clarity and fidelity of the recorded sound. Pay attention to any background noise, distortion, or anomalies that may require adjustments to the input levels or settings.
Recording Samples: Record short samples of different sound sources, such as vocals, acoustic instruments, or ambient sounds, to evaluate the microphone’s performance across a range of frequencies and dynamics. This process allows you to gauge the microphone’s ability to capture subtle details, handle loud transients, and reproduce the nuances of different sound sources accurately.
Polar Pattern Testing: If your condenser microphone features selectable polar patterns, experiment with each pattern to understand how it influences the microphone’s pickup characteristics. Test the microphone’s response to sound sources from various directions and assess how the polar pattern settings impact the recorded audio. This experimentation will provide valuable insights into leveraging the microphone’s polar patterns for different recording scenarios.
Monitoring and Feedback: Utilize headphones or studio monitors to monitor the recorded audio in real time as you test the microphone. Pay attention to the tonal balance, presence, and overall sonic characteristics of the recordings. Additionally, seek feedback from peers or collaborators by sharing the recorded samples to gain diverse perspectives on the microphone’s performance and potential areas for improvement.
By thoroughly testing your condenser microphone in diverse recording situations, you can refine its setup, familiarize yourself with its capabilities, and address any technical or sonic considerations before embarking on formal recording projects. This iterative testing process empowers you to optimize the microphone’s performance and harness its full potential in capturing exceptional audio recordings.
Conclusion
Setting up a condenser microphone on a computer opens up a world of possibilities for audio enthusiasts, content creators, musicians, and podcasters. By understanding the nuances of condenser microphones, selecting the appropriate connection method, and fine-tuning input levels and settings, you can unleash the full potential of your microphone and elevate the quality of your audio recordings.
Condenser microphones, renowned for their sensitivity, wide frequency response, and versatility in capturing sound, offer a powerful tool for capturing vocals, acoustic instruments, and ambient environments with exceptional clarity and detail. Whether opting for an XLR or USB connection, the choice depends on the intended usage, recording environment, and existing audio equipment. Both connection types offer distinct advantages, with XLR connections catering to professional studios and USB connections providing accessibility and convenience for home setups and on-the-go recording.
Once the microphone is connected to the computer, meticulous adjustments to input levels, phantom power activation, and exploration of polar patterns and settings contribute to optimizing the microphone’s performance. This attention to detail ensures that the microphone is poised to capture pristine audio while minimizing potential technical issues during recording sessions.
Thorough testing of the microphone’s capabilities through sound checks, recording samples, and polar pattern experimentation allows for a comprehensive understanding of its behavior and sonic characteristics. This testing phase empowers users to fine-tune the microphone setup, identify potential areas for improvement, and gain confidence in its performance before embarking on formal recording projects.
In conclusion, the process of setting up a condenser microphone on a computer encompasses a blend of technical know-how, creative exploration, and meticulous fine-tuning. By embracing this process and leveraging the capabilities of condenser microphones, you can embark on a journey of capturing professional-grade audio recordings and unlocking the full potential of your creative endeavors.