Introduction
So, you've just purchased a BM 800 condenser microphone, and you're eager to start using it to record your voice or instruments on your computer. This versatile and affordable microphone is a popular choice for home recording enthusiasts, podcasters, and YouTubers due to its high-quality audio capture capabilities. However, before you can begin creating stunning audio content, you'll need to properly set up and activate the BM 800 on your computer.
In this guide, I'll walk you through the process of unboxing and assembling the BM 800 condenser microphone, connecting it to your computer, adjusting the microphone settings, and testing its functionality. By the end of this tutorial, you'll be ready to unleash the full potential of your BM 800 and embark on your audio recording journey with confidence.
Whether you're a budding musician, a content creator, or simply someone who wants to improve the audio quality of their online calls, activating the BM 800 condenser microphone on your computer is the first step towards achieving professional-grade sound. So, without further ado, let's dive into the exciting world of audio recording and unleash the power of the BM 800 condenser microphone!
Step 1: Unboxing and Assembling the BM 800 Condenser Microphone
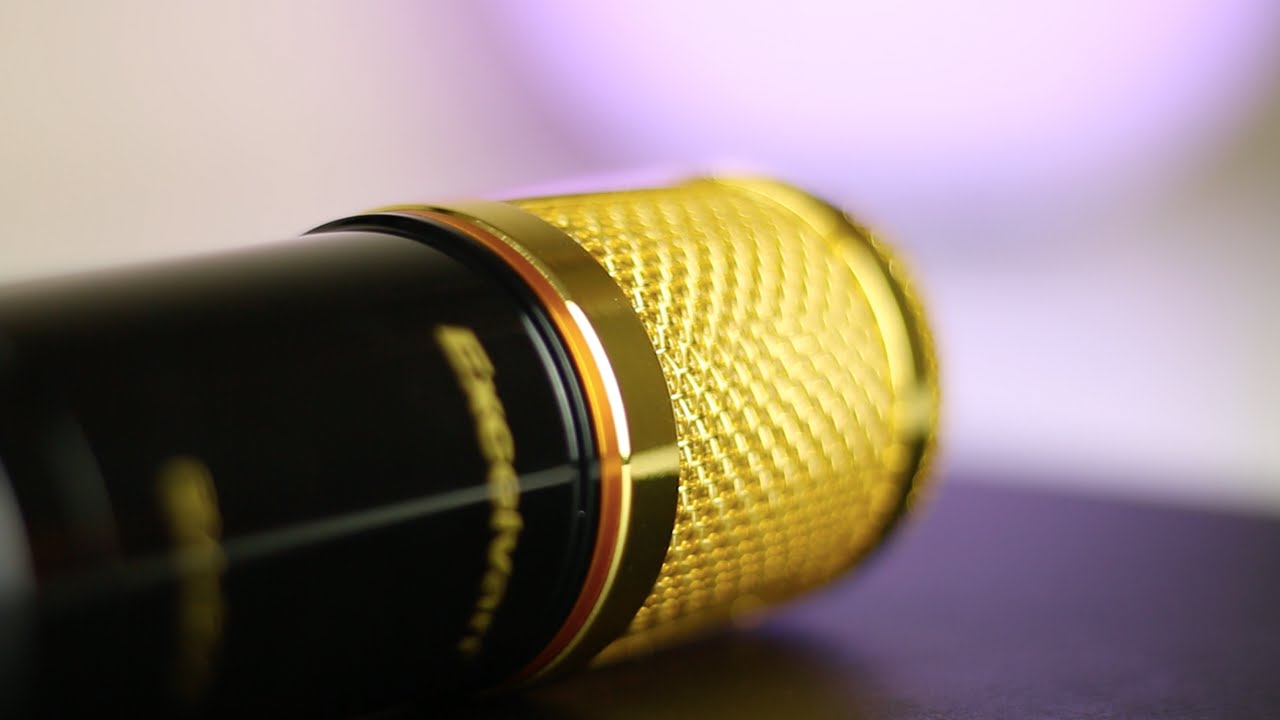
Before you can start using your BM 800 condenser microphone, you need to unbox and assemble it properly. The package typically includes the microphone itself, a shock mount, a foam windscreen, and an XLR to 3.5mm cable. Here’s how to get everything set up:
- Unboxing: Carefully open the package and take out all the components. Ensure that everything is in good condition and that no parts are missing.
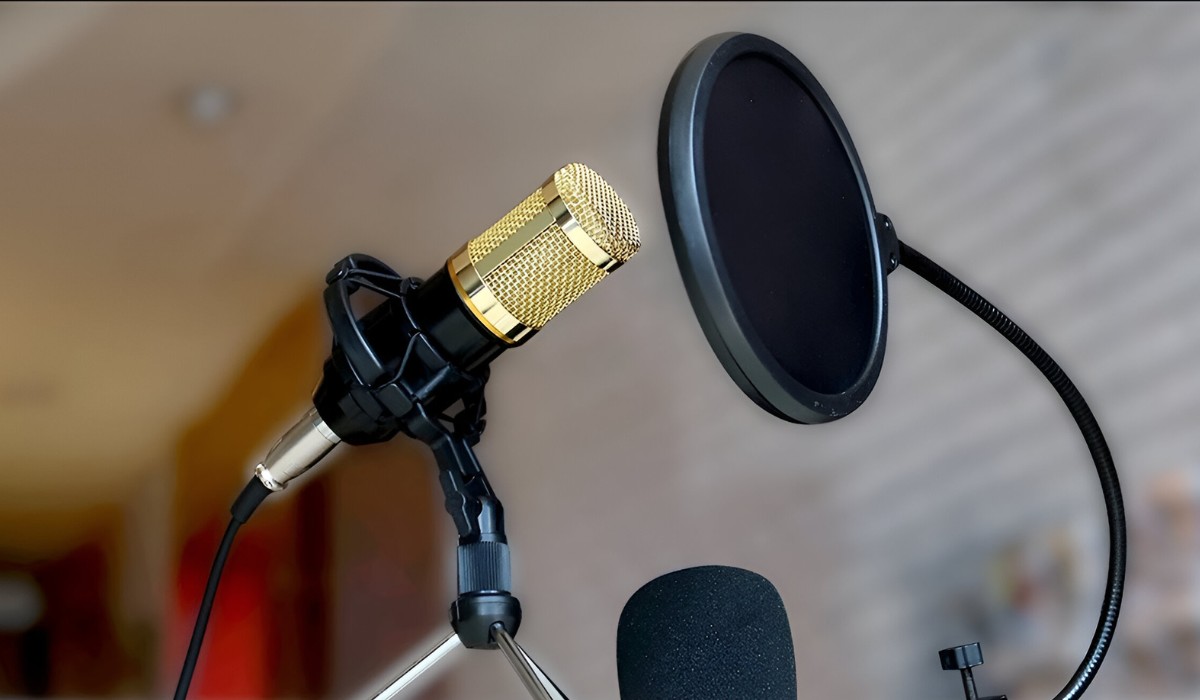
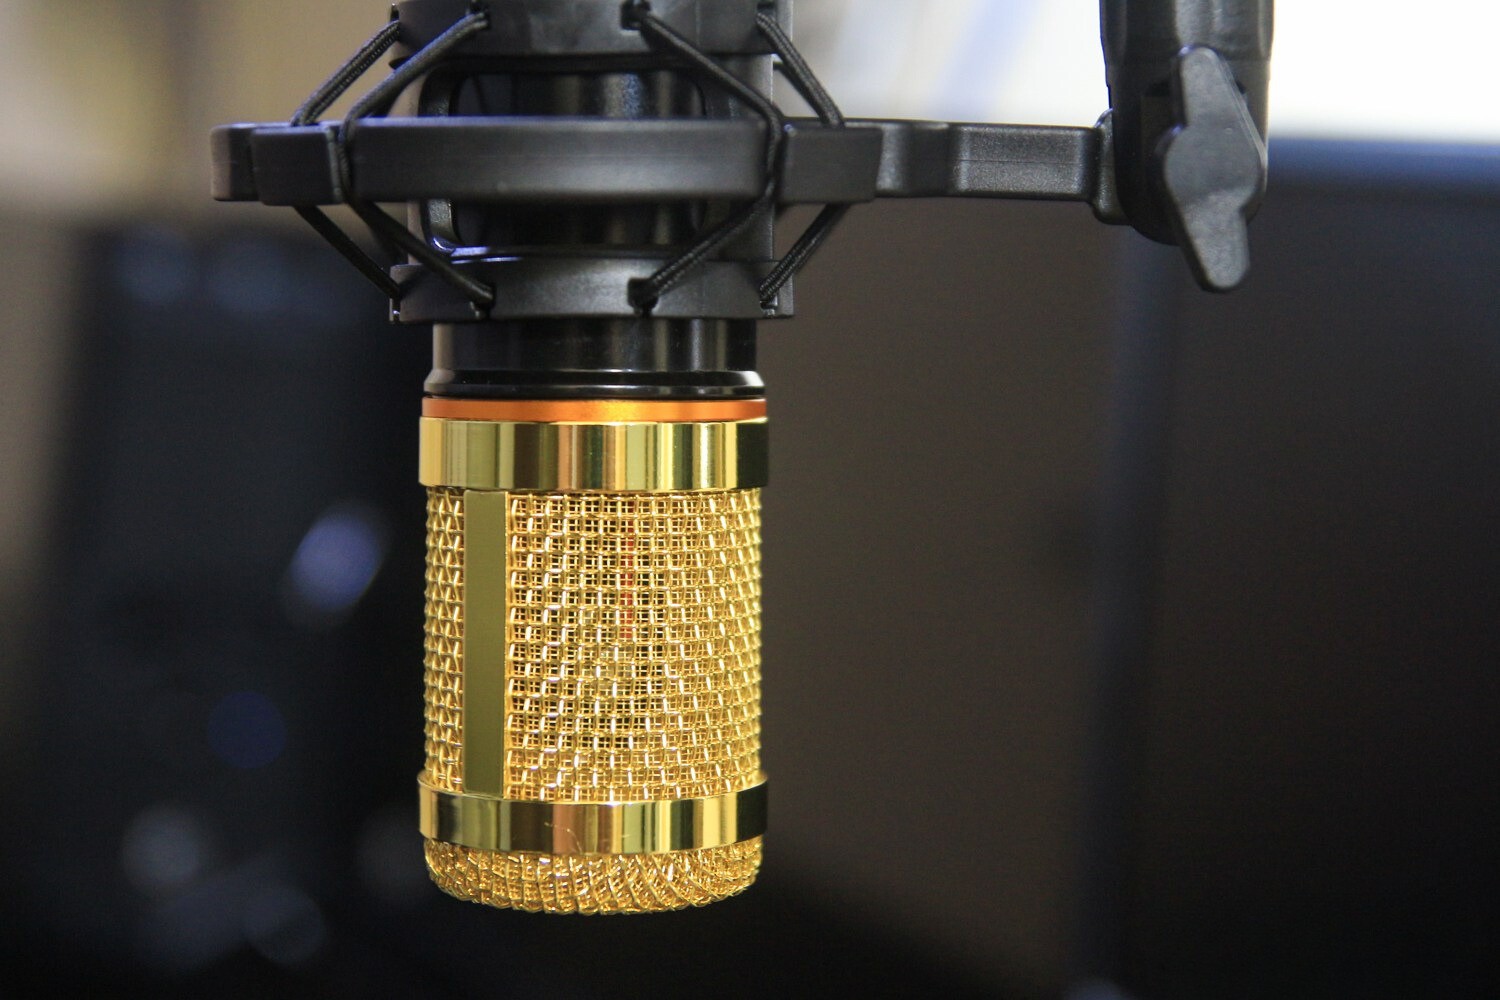
- Assembling the Shock Mount: The shock mount is a crucial accessory that helps reduce vibrations and handling noise. Attach the BM 800 microphone to the shock mount by gently screwing it into place. Make sure it’s secure but not over-tightened to avoid damaging the microphone.
- Attaching the Foam Windscreen: The foam windscreen helps minimize plosive sounds and protects the microphone from dust and moisture. Slide the foam windscreen over the BM 800 microphone, ensuring a snug fit.
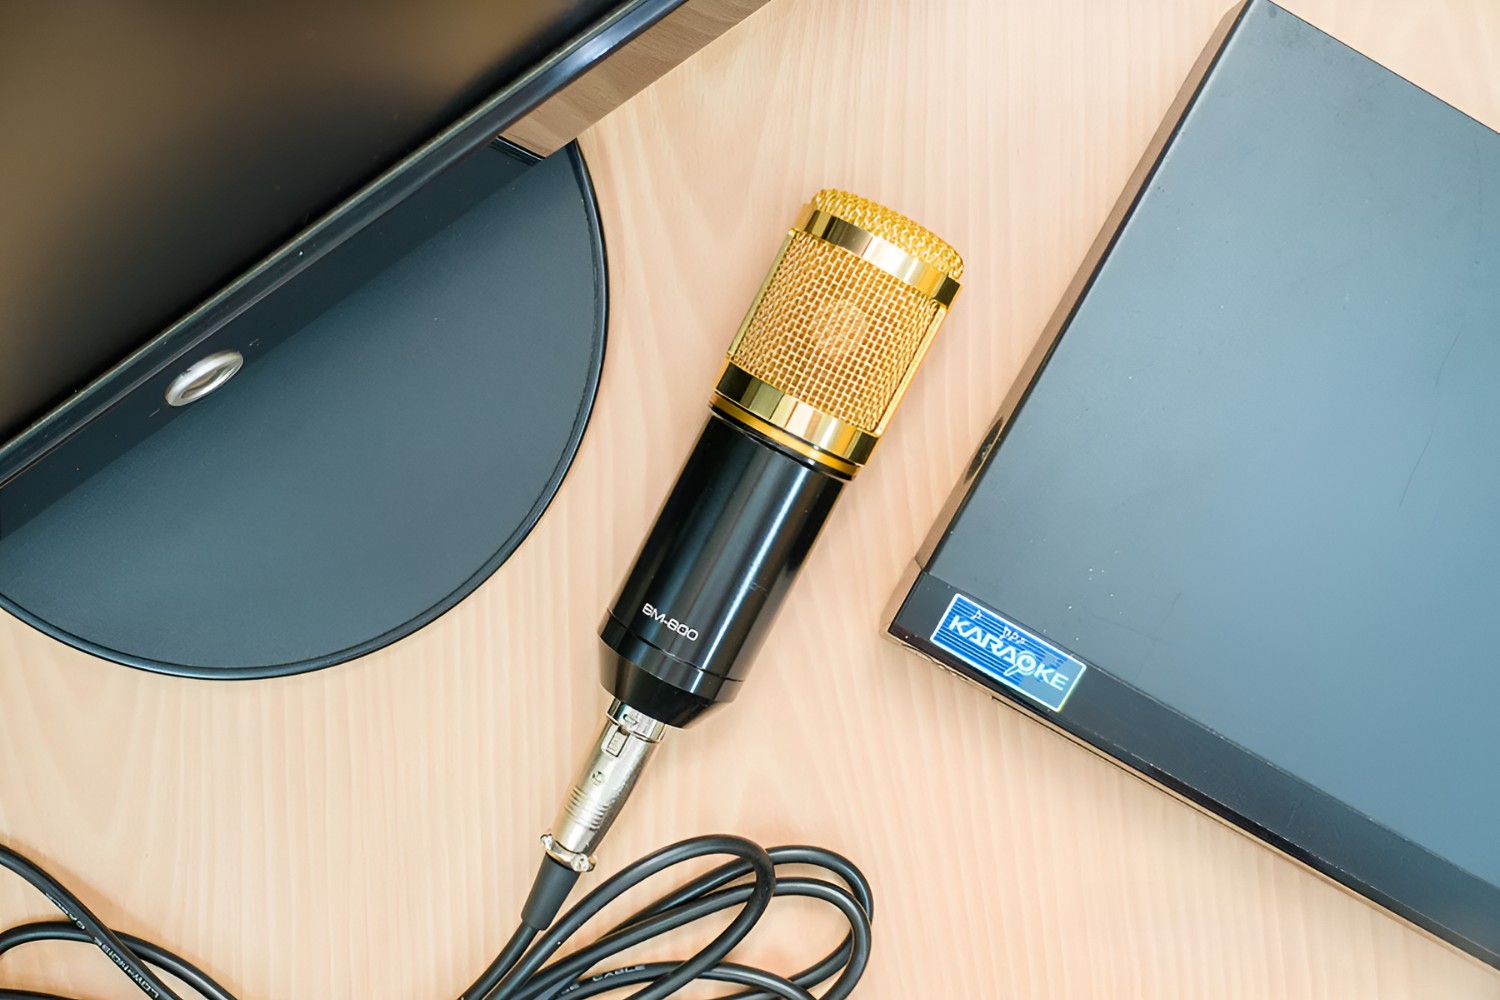
- Connecting the Cable: Use the provided XLR to 3.5mm cable to connect the BM 800 microphone to your computer’s audio input. The XLR end goes into the microphone, while the 3.5mm jack plugs into your computer’s microphone port.
Once you’ve completed these steps, your BM 800 condenser microphone should be fully assembled and ready for the next phase of the setup process. Properly assembling the microphone and its accessories ensures optimal performance and longevity, setting the stage for seamless integration with your computer.
Step 2: Connecting the BM 800 to Your Computer
Now that you’ve assembled the BM 800 condenser microphone, it’s time to connect it to your computer. The process involves identifying the appropriate ports on your computer and ensuring that the microphone is recognized as the input device. Follow these steps to establish the connection:
- Locate the Microphone Port: Depending on your computer’s model, the microphone port may be located on the front or back panel. It is typically marked with a microphone icon or the color pink, indicating it as the input for external microphones.
- Plug in the 3.5mm Cable: Take the 3.5mm end of the cable connected to the BM 800 microphone and insert it into the microphone port on your computer. Ensure it is securely plugged in to establish a stable connection.
- Check Audio Settings: Access your computer’s audio settings to verify that the BM 800 microphone is recognized. On Windows, right-click the speaker icon in the taskbar, select “Open Sound settings,” and navigate to the “Input” section to confirm the microphone is listed and selected. On Mac, go to “System Preferences,” select “Sound,” and choose the BM 800 microphone under the “Input” tab.
- Adjust Input Levels: Once the BM 800 microphone is detected, you may need to adjust its input levels to ensure optimal audio capture. Use the volume or gain controls on the microphone or adjust the input level settings on your computer to achieve the desired sensitivity without causing distortion.
By following these steps, you can seamlessly establish a direct connection between the BM 800 condenser microphone and your computer, laying the groundwork for capturing high-quality audio for your recording or communication needs. A secure and properly configured connection is essential for maximizing the microphone’s performance and achieving professional-grade audio results.
Step 3: Adjusting the Microphone Settings on Your Computer
Once the BM 800 condenser microphone is connected to your computer, it’s essential to fine-tune the microphone settings to optimize its performance and ensure that it captures clear and crisp audio. Proper adjustment of the settings can significantly enhance the quality of your recordings or live audio input. Here’s how to adjust the microphone settings on your computer:
- Accessing Audio Control Panel: On Windows, right-click the speaker icon in the taskbar and select “Open Sound settings.” Click on “Sound Control Panel” to access advanced audio settings. On Mac, navigate to “System Preferences,” select “Sound,” and choose the “Input” tab for microphone settings.
- Microphone Properties: In the sound control panel, locate the BM 800 microphone and access its properties. Here, you can adjust settings such as the microphone’s volume, sample rate, and bit depth. Ensure that the microphone is set to the appropriate recording quality to capture high-fidelity audio.
- Enhancements and Effects: Some operating systems offer audio enhancements and effects that can be applied to the microphone input. Experiment with these settings to apply noise reduction, equalization, or other audio enhancements to tailor the microphone’s output to your specific requirements.
- Monitoring Options: If you need to monitor the microphone’s input in real-time, check for monitoring options in the audio control panel. Enabling monitoring allows you to hear the microphone’s input directly through your computer’s speakers or headphones, providing immediate feedback on the audio quality.
By adjusting the microphone settings on your computer, you can customize the BM 800 condenser microphone’s behavior to suit your recording environment and preferences. Fine-tuning the settings ensures that the microphone captures audio with precision and clarity, setting the stage for professional-grade recordings and seamless communication.
Step 4: Testing the Microphone
After connecting and adjusting the settings of your BM 800 condenser microphone, it’s crucial to perform a thorough test to ensure that it is functioning as expected. Testing the microphone allows you to confirm its audio capture quality, identify any potential issues, and make necessary adjustments before embarking on your recording or communication endeavors. Here’s how to effectively test the BM 800 microphone:
- Recording Software: Open your preferred recording software on your computer. This could be a digital audio workstation (DAW) for music production, a voice recording app, or the built-in recording utility on your operating system.
- Sound Check: Speak or sing into the BM 800 microphone at varying distances and volumes. Monitor the audio levels in the recording software to ensure that the microphone is capturing sound accurately without distortion or excessive background noise.
- Playback Test: After recording a sample audio clip, play it back to assess the quality. Listen for clarity, presence, and any unwanted artifacts. Pay attention to the overall tonal balance and ensure that the microphone accurately reproduces your voice or instrument.
- Real-Time Monitoring: If your recording software supports real-time monitoring, enable this feature to listen to the microphone’s input directly through your computer’s speakers or headphones. This allows you to assess the sound quality in real time and make on-the-fly adjustments if necessary.
By thoroughly testing the BM 800 condenser microphone, you can gain confidence in its performance and identify any potential issues that may require troubleshooting. A comprehensive test ensures that the microphone is ready to deliver exceptional audio quality for your specific recording or communication needs, setting the stage for successful and satisfying usage.
Conclusion
Congratulations! You’ve successfully navigated the process of activating your BM 800 condenser microphone on your computer. By following the steps outlined in this guide, you’ve unboxed and assembled the microphone, established a secure connection to your computer, adjusted the microphone settings for optimal performance, and conducted a comprehensive test to ensure its functionality. Now, armed with the knowledge and practical experience gained from this tutorial, you’re well-equipped to harness the full potential of the BM 800 microphone for your audio recording and communication endeavors.
As you venture into the world of audio production, podcasting, voiceovers, or online communication, the activation of the BM 800 condenser microphone marks the beginning of an exciting journey. The microphone’s ability to capture clear and detailed sound, coupled with your creativity and passion, opens up a realm of possibilities for expressing yourself through high-quality audio content.
Whether you’re a musician seeking to capture captivating performances, a content creator aiming to deliver engaging podcasts, or an individual looking to elevate the quality of your online calls and voice recordings, the BM 800 condenser microphone serves as a reliable and versatile tool in your audio arsenal.
Remember, as you continue to explore the capabilities of your BM 800 microphone, don’t hesitate to experiment with different recording techniques, explore various audio effects, and adapt the microphone’s settings to suit your unique preferences and creative vision. Embrace the journey of continuous learning and improvement, and let the BM 800 condenser microphone be your steadfast companion in achieving exceptional audio results.
With your BM 800 condenser microphone activated and ready to unleash its sonic prowess, you’re poised to embark on a fulfilling and rewarding audio recording experience. Embrace the power of sound, let your creativity soar, and make every moment behind the microphone an opportunity to captivate and inspire.