Introduction
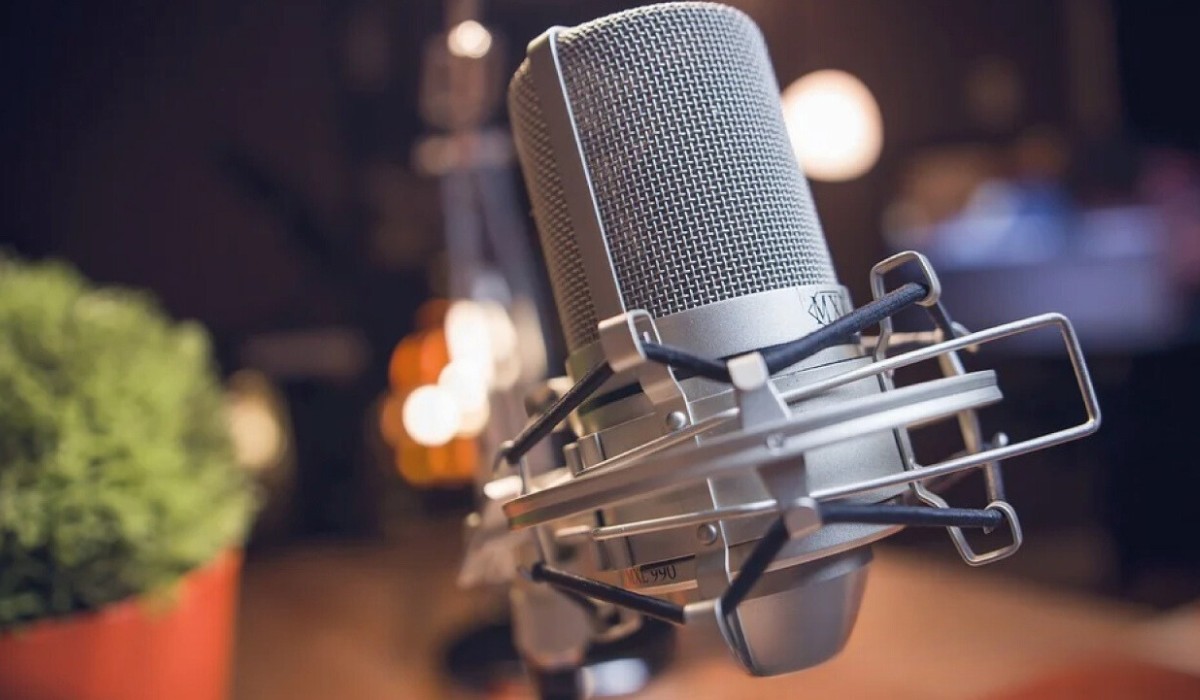
Welcome to the world of professional audio recording with the Excelvan Bm-800 condenser microphone. Whether you’re a podcaster, musician, or content creator, this versatile microphone is designed to deliver exceptional sound quality for a wide range of applications. In this guide, we’ll walk you through the step-by-step process of setting up and optimizing your Excelvan Bm-800 condenser microphone, allowing you to unleash its full potential and capture crystal-clear audio with ease.
Setting up a condenser microphone may seem daunting at first, but with the right guidance, you’ll be up and running in no time. We’ll cover everything from unboxing the microphone to adjusting the settings on your computer, ensuring that you’re well-equipped to make the most of this powerful audio tool. Whether you’re a seasoned audio professional or a novice enthusiast, this guide is tailored to provide clear and concise instructions for a seamless setup process.
By the end of this tutorial, you’ll have a comprehensive understanding of how to assemble, connect, and optimize the Excelvan Bm-800 condenser microphone, empowering you to embark on your audio recording journey with confidence. So, without further ado, let’s dive into the exciting world of professional audio capture and unleash the potential of your Excelvan Bm-800 condenser microphone.
Unboxing the Excelvan Bm-800 Condenser Microphone
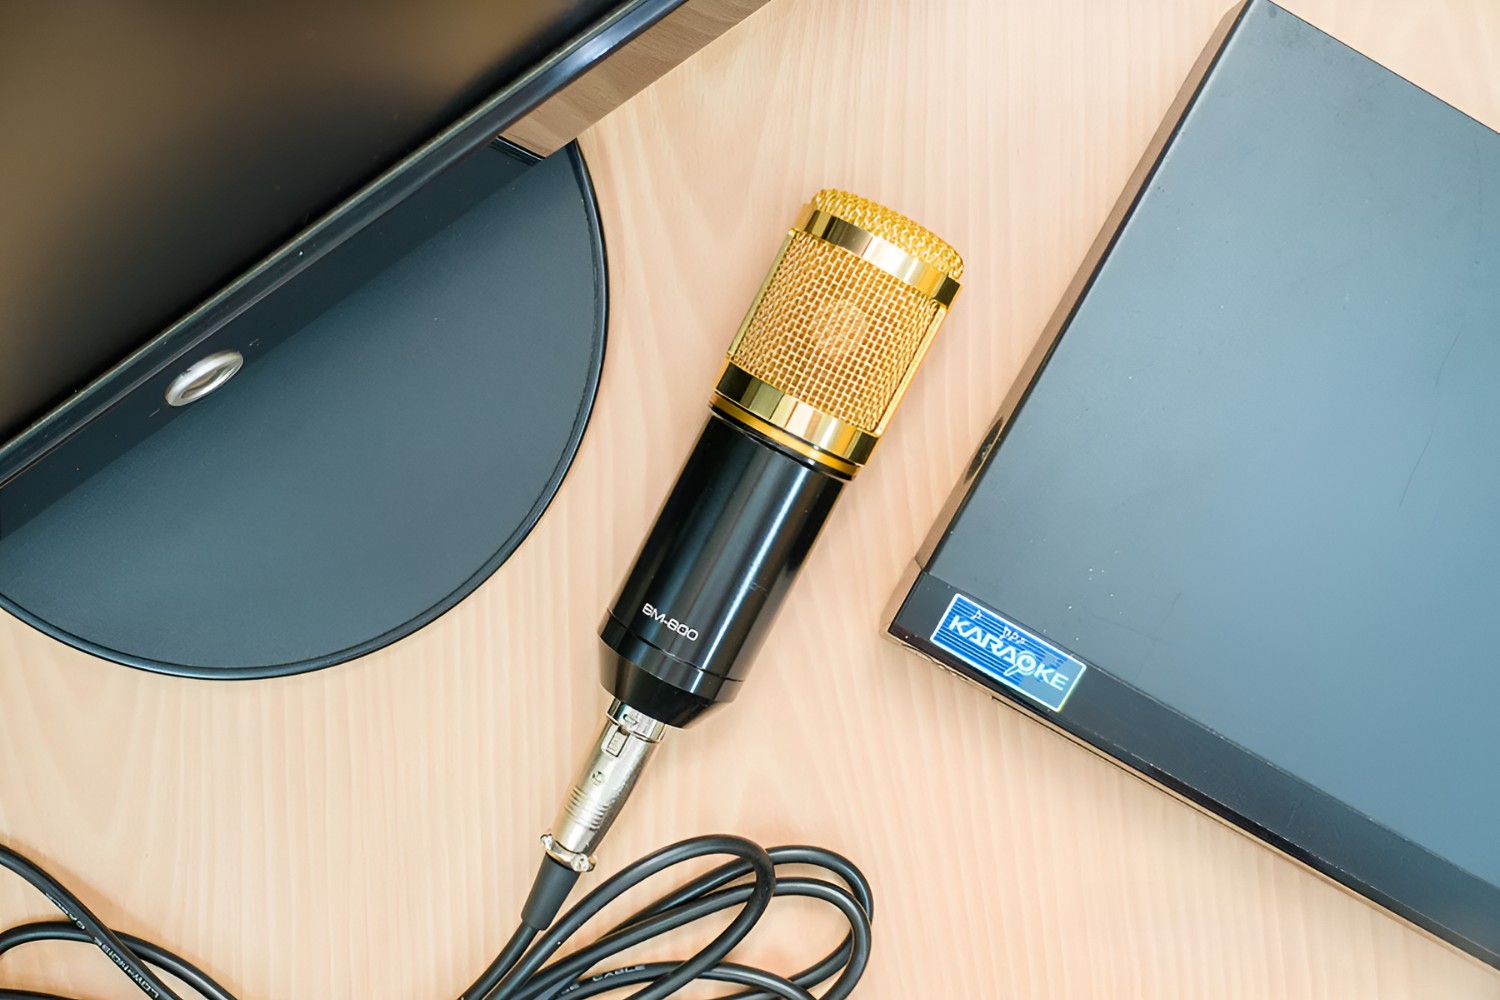
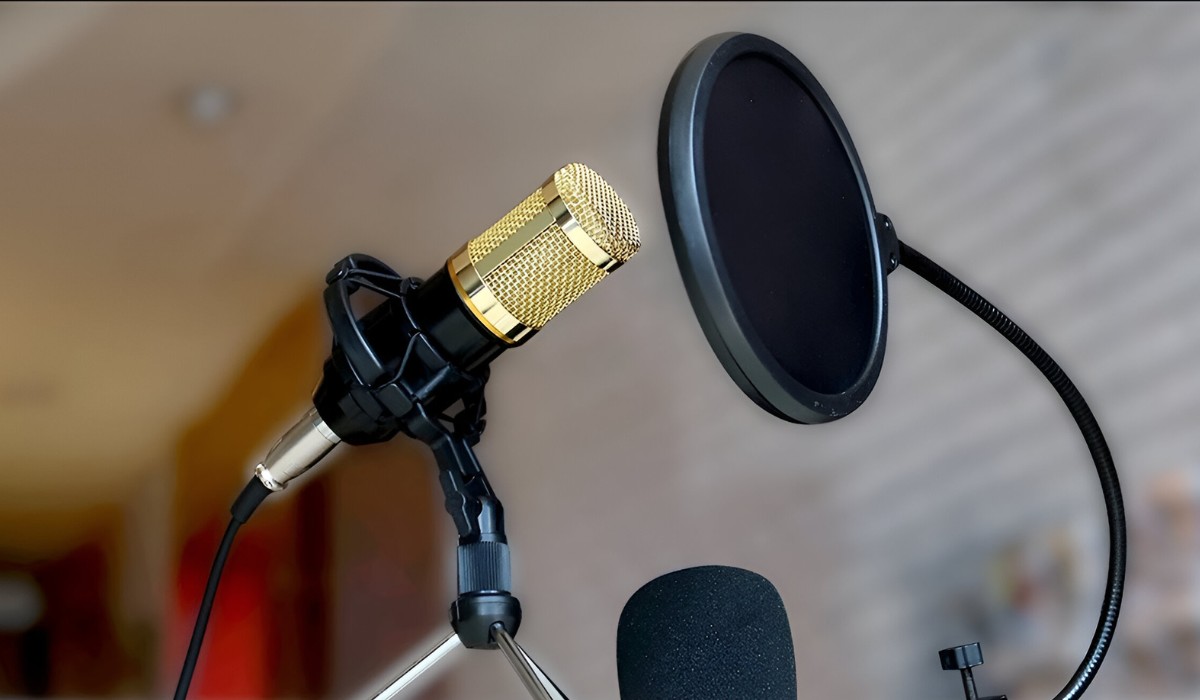
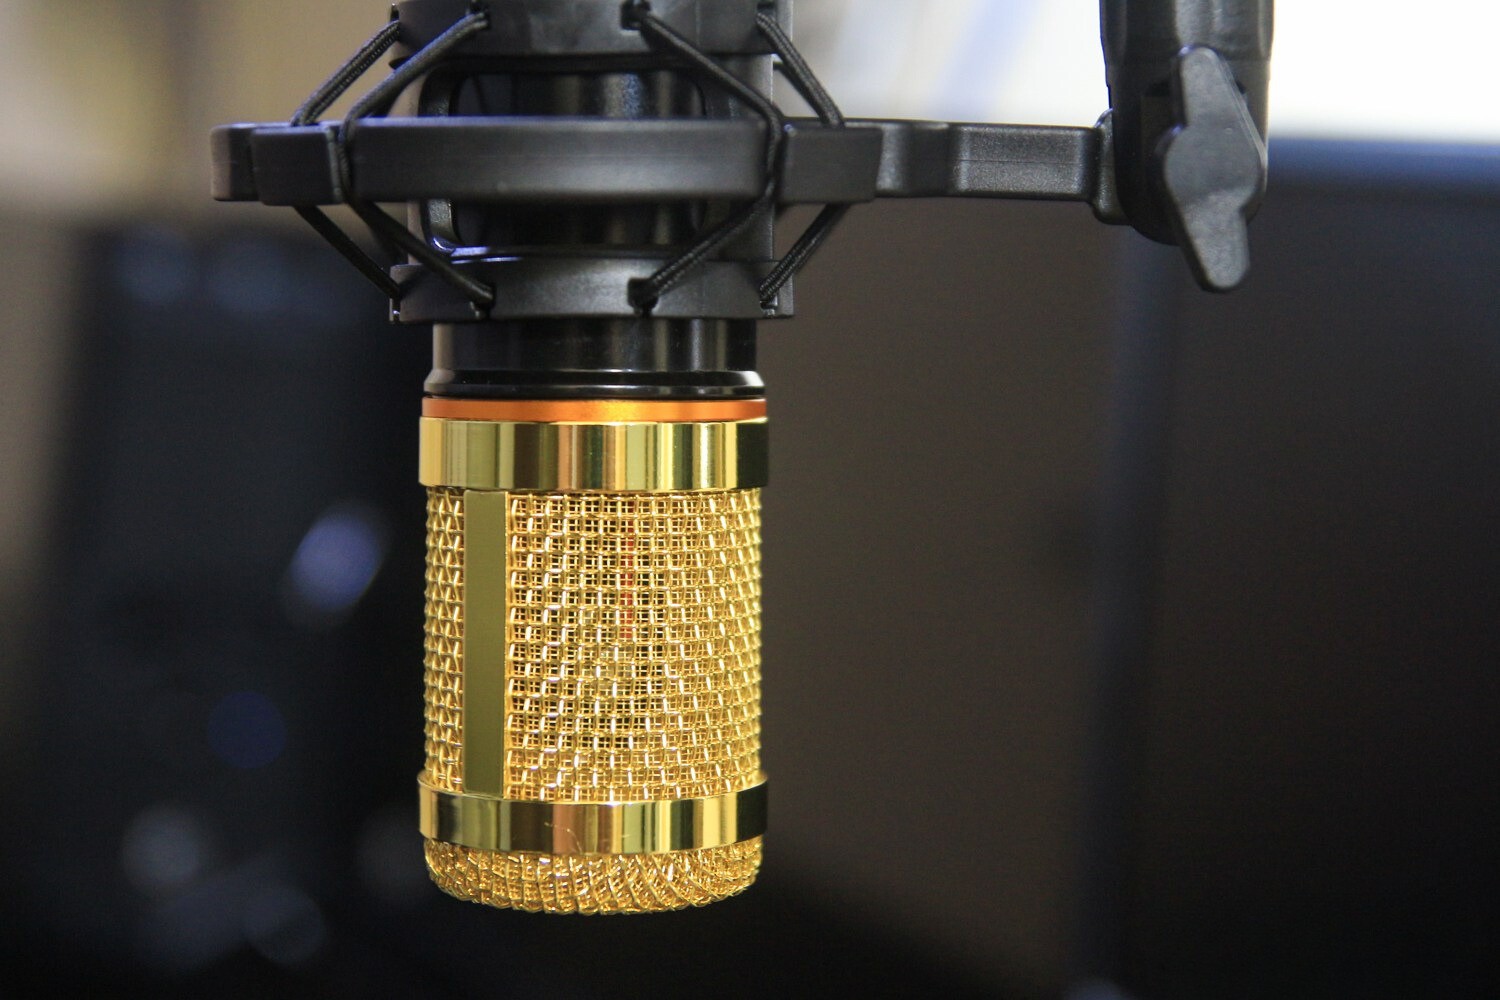
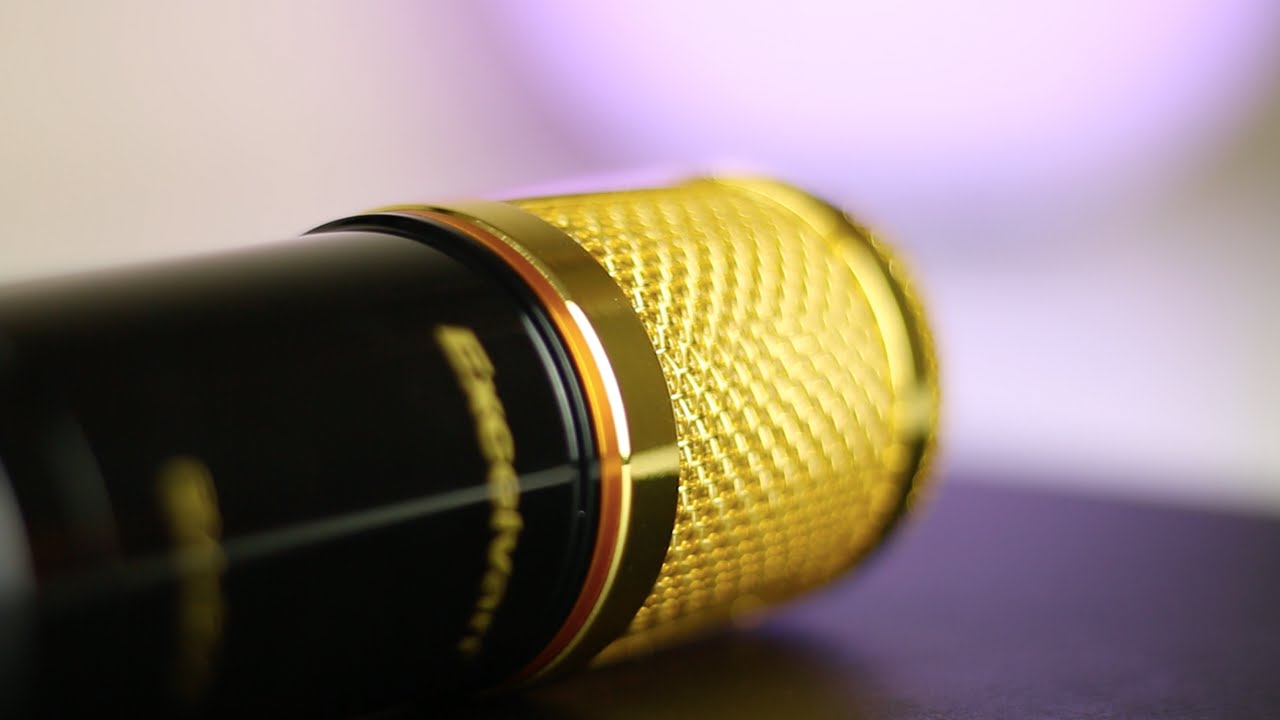
As you unbox your Excelvan Bm-800 condenser microphone, you’ll be greeted by a carefully packaged ensemble of essential components. The contents typically include the microphone itself, a shock mount, a pop filter, an XLR cable, and an adjustable suspension scissor arm stand. Each component plays a crucial role in ensuring optimal audio capture and can be easily assembled to create a professional recording setup.
The sleek and sturdy design of the Bm-800 microphone exudes quality, promising a durable and reliable audio recording experience. The shock mount, designed to minimize handling noise and vibrations, complements the microphone’s performance, while the pop filter effectively reduces plosives and sibilance for clear and pristine vocal recordings.
Upon unboxing, take a moment to inspect each component, ensuring that all parts are present and undamaged. Familiarize yourself with the layout of the microphone, identifying the XLR port and the microphone stand threading, which will be instrumental in the assembly process. Additionally, examine the suspension scissor arm stand to understand its adjustable features, allowing you to position the microphone according to your recording preferences.
The unboxing experience sets the stage for an exciting journey into the world of professional audio recording. With the components laid out before you, you’re ready to embark on the next steps of assembling and setting up your Excelvan Bm-800 condenser microphone, culminating in a versatile and reliable recording solution for your creative endeavors.
Assembling the Microphone Stand
As you embark on assembling the microphone stand for your Excelvan Bm-800 condenser microphone, you’ll find that the process is straightforward and intuitive, allowing you to create a stable and adjustable platform for your audio recording needs.
Begin by unpacking the suspension scissor arm stand, taking note of its various components. The stand typically comprises a clamp for securing it to your desk or table, an adjustable arm with internal springs for flexibility, and a mounting adapter for attaching the microphone and shock mount.
Position the clamp at the edge of your desk or table, ensuring a secure and stable attachment that minimizes vibrations during recording. Once the clamp is in place, tighten it to secure the stand, providing a reliable foundation for your microphone setup.
Next, adjust the arm of the suspension scissor stand to your preferred height and angle, taking advantage of its flexible design to position the microphone precisely where you need it. The internal springs enable smooth and effortless adjustments, allowing you to achieve the optimal recording position with ease.
With the stand securely attached and the arm adjusted to your liking, it’s time to mount the microphone and shock mount onto the stand. The mounting adapter provides a stable connection point for the microphone and shock mount, ensuring that they are securely positioned for reliable and consistent performance.
By carefully assembling the suspension scissor arm stand, you’ll create a professional and ergonomic setup for your Excelvan Bm-800 condenser microphone, setting the stage for high-quality audio recordings across various applications. The versatility and stability of the stand empower you to customize your recording environment, ensuring that you can capture pristine audio with ease and precision.
Connecting the Microphone to Your Computer
Once you have assembled the stand and prepared the Excelvan Bm-800 condenser microphone for use, the next crucial step is connecting it to your computer. This process involves utilizing the appropriate cables and audio interfaces to establish a seamless and reliable connection, allowing you to harness the full potential of the microphone for your recording endeavors.
Begin by identifying the XLR cable included with the microphone, noting its sturdy connectors and durable construction. The XLR cable serves as the conduit for transmitting audio signals from the microphone to your computer, ensuring a balanced and interference-free connection.
Locate the XLR port on the Excelvan Bm-800 microphone, typically situated at the base of the device. With precision and care, connect one end of the XLR cable to the microphone, securing it in place to guarantee a stable and reliable connection.
With the microphone end of the XLR cable securely attached, turn your attention to the other end of the cable, which features a standard XLR connector or a 3.5mm audio jack, depending on your computer’s audio input options. If your computer is equipped with a dedicated audio interface or a sound card featuring XLR inputs, connect the XLR cable directly to the corresponding input for optimal signal quality.
For computers with 3.5mm audio input jacks, you may require an XLR to 3.5mm adapter to facilitate the connection. These adapters are readily available and provide a convenient solution for integrating professional XLR microphones with consumer-grade audio interfaces.
Upon successfully connecting the Excelvan Bm-800 condenser microphone to your computer, ensure that the cable is neatly routed and free from obstructions to prevent accidental disconnection or interference during recording sessions. This meticulous approach to cable management contributes to a tidy and efficient recording setup, allowing you to focus on capturing exceptional audio without distractions.
By establishing a secure and reliable connection between the Excelvan Bm-800 condenser microphone and your computer, you pave the way for immersive and professional-grade audio recording experiences. The seamless integration of the microphone with your computer empowers you to unleash your creativity and capture pristine sound with confidence and precision.
Adjusting the Microphone Settings
With the Excelvan Bm-800 condenser microphone successfully connected to your computer, it’s time to fine-tune the microphone settings to optimize its performance for your specific recording needs. Whether you’re engaging in vocal recordings, instrument capture, podcasting, or live streaming, adjusting the microphone settings is crucial for achieving exceptional audio quality and clarity.
Begin by accessing your computer’s audio settings or digital audio workstation (DAW) software, where you can configure the input settings for the Excelvan Bm-800 microphone. Depending on your operating system and recording software, you may need to navigate to the sound settings or preferences to locate the microphone input options.
Once you’ve accessed the microphone settings, adjust the input level or gain to achieve an optimal signal-to-noise ratio. It’s essential to set the input level at a point that captures the desired audio without introducing excessive background noise or distortion. Experiment with different input levels while monitoring the audio signal to find the sweet spot for your recordings.
Additionally, consider enabling features such as phantom power if your microphone requires it to operate. The Excelvan Bm-800 condenser microphone typically relies on phantom power to function, so ensure that this feature is activated either through your audio interface or mixing console to power the microphone effectively.
Depending on your recording environment and the nature of your audio sources, you may also need to engage the microphone’s built-in low-cut filter or pad to tailor its response to specific recording scenarios. The low-cut filter helps attenuate low-frequency rumble and handling noise, while the pad can accommodate high sound pressure levels without distortion.
As you adjust the microphone settings, it’s beneficial to monitor the audio input through headphones or studio monitors to accurately gauge the impact of your adjustments. This real-time feedback allows you to make informed decisions regarding input levels, filtering options, and overall microphone performance.
By meticulously fine-tuning the microphone settings, you’ll unlock the full potential of the Excelvan Bm-800 condenser microphone, ensuring that it seamlessly integrates into your recording workflow and delivers exceptional audio fidelity across various applications. These adjustments empower you to capture pristine sound with precision and clarity, setting the stage for professional-grade recordings that resonate with your audience.
Testing the Microphone
With the Excelvan Bm-800 condenser microphone assembled, connected, and its settings adjusted, it’s time to embark on an exciting phase of your audio journey: testing the microphone. This pivotal step allows you to assess the microphone’s performance, verify the quality of your setup, and make any necessary refinements to achieve optimal audio capture.
Begin by launching your preferred recording software or digital audio workstation (DAW) on your computer. Ensure that the Excelvan Bm-800 microphone is selected as the input device within the software’s settings, allowing you to capture audio directly from the microphone.
Before initiating the recording, perform a sound check to gauge the microphone’s sensitivity and response. Speak into the microphone at varying distances and angles, noting how it captures your voice and any ambient noise in the environment. This initial assessment provides valuable insights into the microphone’s behavior and helps you identify potential adjustments for improved performance.
Once you’re satisfied with the microphone’s initial response, consider conducting a series of test recordings to evaluate its performance across different vocal or instrumental scenarios. Experiment with spoken word, singing, or musical instrument recordings to gauge the microphone’s versatility and fidelity across diverse audio sources.
During the test recordings, pay close attention to the clarity, tonal balance, and presence of the captured audio. Listen for any unwanted artifacts, such as background noise, sibilance, or plosives, and make note of any areas that may require further adjustments or refinement.
As you review the test recordings, consider the microphone’s ability to faithfully reproduce the nuances and dynamics of the audio sources. Assess its transient response, frequency accuracy, and overall tonal character, ensuring that it aligns with your expectations for professional-grade audio capture.
Engage in active experimentation with microphone placement, input levels, and performance settings during the testing phase, allowing you to fine-tune the setup for optimal results. By iteratively refining the microphone’s configuration based on the test recordings, you’ll elevate the quality of your audio capture and pave the way for exceptional recordings across your creative endeavors.
Testing the Excelvan Bm-800 condenser microphone serves as a pivotal step in the setup process, providing valuable insights into its performance characteristics and guiding you toward a refined and reliable recording solution. Embrace this phase as an opportunity to explore the microphone’s capabilities, refine your recording techniques, and unlock its full potential for capturing pristine audio with precision and artistry.
Conclusion
Congratulations on successfully setting up and optimizing your Excelvan Bm-800 condenser microphone for professional audio recording. Throughout this comprehensive guide, you’ve embarked on a journey from unboxing the microphone to fine-tuning its settings and conducting thorough testing, culminating in a versatile and reliable recording solution that empowers you to capture pristine sound with confidence and precision.
By familiarizing yourself with the components and assembly process, you’ve gained a deeper understanding of the microphone’s construction and its potential to deliver exceptional audio fidelity. The meticulous assembly of the suspension scissor arm stand has provided you with a stable and adjustable platform for positioning the microphone, ensuring optimal recording conditions in varied environments.
Connecting the Excelvan Bm-800 microphone to your computer marked a pivotal step in integrating professional audio capture into your digital workflow. The seamless establishment of a reliable connection has laid the foundation for immersive recording experiences, empowering you to unleash your creativity and capture pristine sound with ease.
Adjusting the microphone settings has allowed you to tailor its performance to your specific recording needs, ensuring optimal signal quality, tonal balance, and dynamic response. By engaging with the microphone’s features and fine-tuning its settings, you’ve harnessed its full potential and set the stage for professional-grade audio capture across diverse applications.
Through meticulous testing and experimentation, you’ve had the opportunity to evaluate the microphone’s performance across various recording scenarios, refining its configuration to achieve exceptional audio fidelity. This iterative process of testing and refinement has empowered you to elevate the quality of your recordings and unlock the microphone’s full potential for capturing pristine sound with precision and artistry.
As you venture into the world of professional audio recording with the Excelvan Bm-800 condenser microphone, remember that your setup is a dynamic and adaptable tool that can be further refined and customized to suit evolving creative needs. Embrace the art of audio capture with confidence, knowing that your meticulously optimized setup is equipped to deliver exceptional recordings that resonate with your audience.
With your Excelvan Bm-800 condenser microphone poised for action, you’re now prepared to embark on a captivating audio journey, capturing the subtleties, nuances, and emotions of your creative endeavors with unparalleled clarity and fidelity. Whether you’re a musician, podcaster, content creator, or audio enthusiast, your meticulously optimized setup is primed to elevate your recordings and inspire awe-inspiring sonic experiences.