Introduction
Welcome to the world of home recording! Connecting your HDe condenser microphone to your PC is an exciting first step toward creating high-quality audio recordings in the comfort of your own space. Whether you’re a musician, podcaster, or content creator, this guide will walk you through the process of setting up your microphone with your computer, allowing you to capture professional-grade sound without the need for a professional studio.
With the rise of digital media and the increasing demand for high-quality audio content, having the ability to record crisp, clear sound at home has never been more important. The HDe condenser microphone is a popular choice for many enthusiasts and professionals due to its exceptional sound capture capabilities, making it an ideal tool for a wide range of recording applications.
By following the steps outlined in this guide, you’ll be able to seamlessly connect your HDe condenser microphone to your PC, opening up a world of creative possibilities. Whether you’re laying down vocal tracks, recording instruments, conducting interviews, or capturing the nuances of your voice for podcasts, this setup will empower you to achieve professional results from the comfort of your own home.
So, let’s dive in and get your HDe condenser microphone connected to your PC, allowing you to unleash your creativity and share your unique voice with the world.
Step 1: Gather the Necessary Equipment
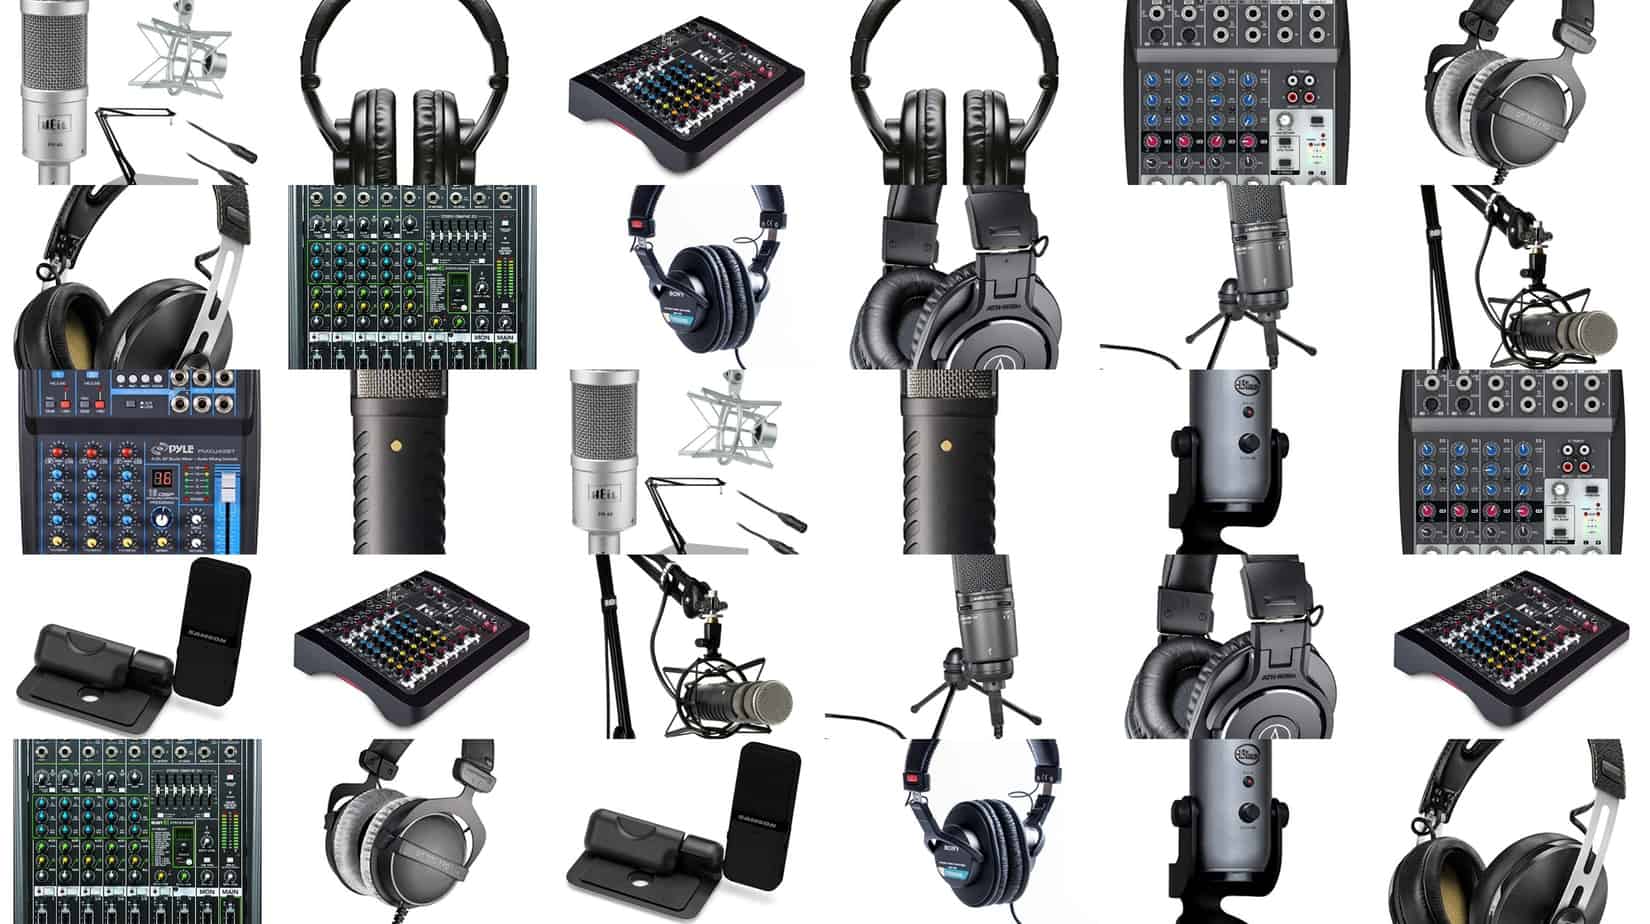
Before you begin the process of connecting your HDe condenser microphone to your PC, it’s essential to gather all the necessary equipment. Having the right tools at your disposal will ensure a smooth and successful setup, allowing you to focus on creating exceptional audio content without any hiccups.
Here’s what you’ll need:
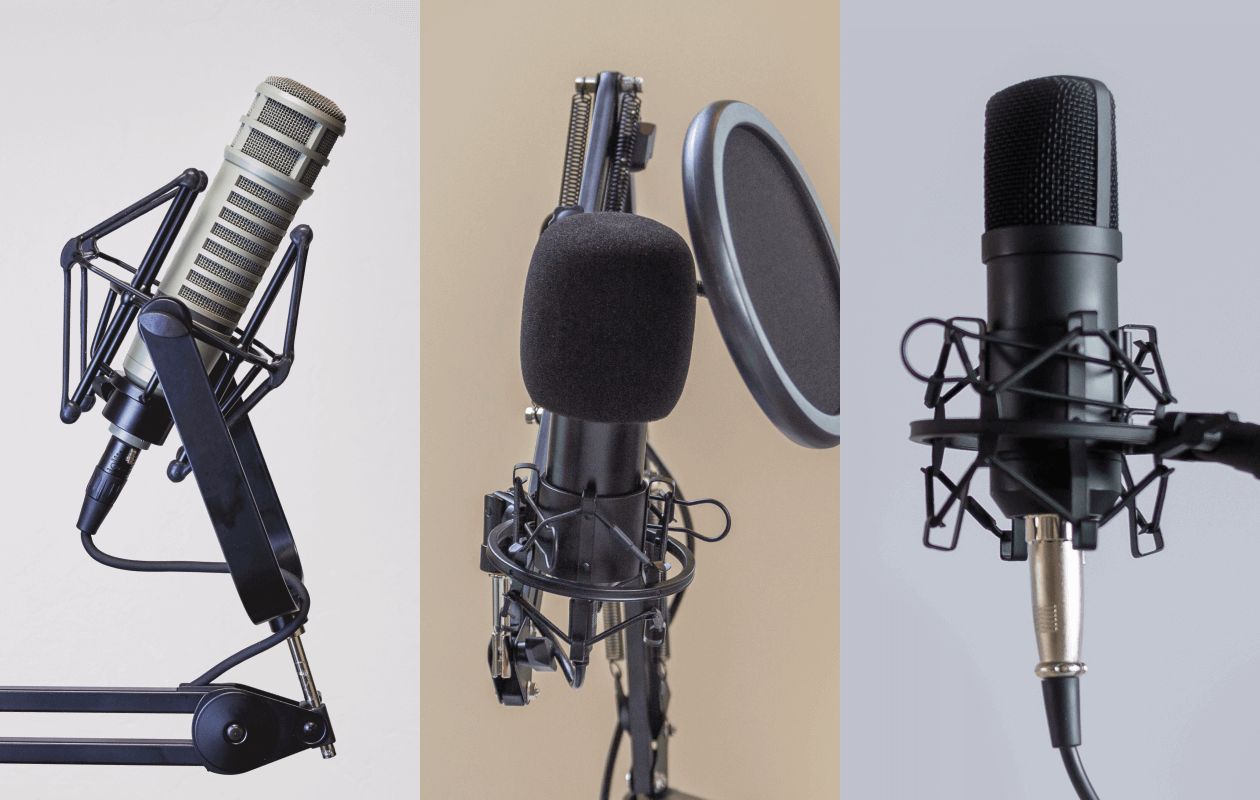
- HDe Condenser Microphone: The centerpiece of your recording setup, the HDe condenser microphone is designed to capture clear, detailed audio with precision. Its high sensitivity and wide frequency response make it an ideal choice for various recording applications.
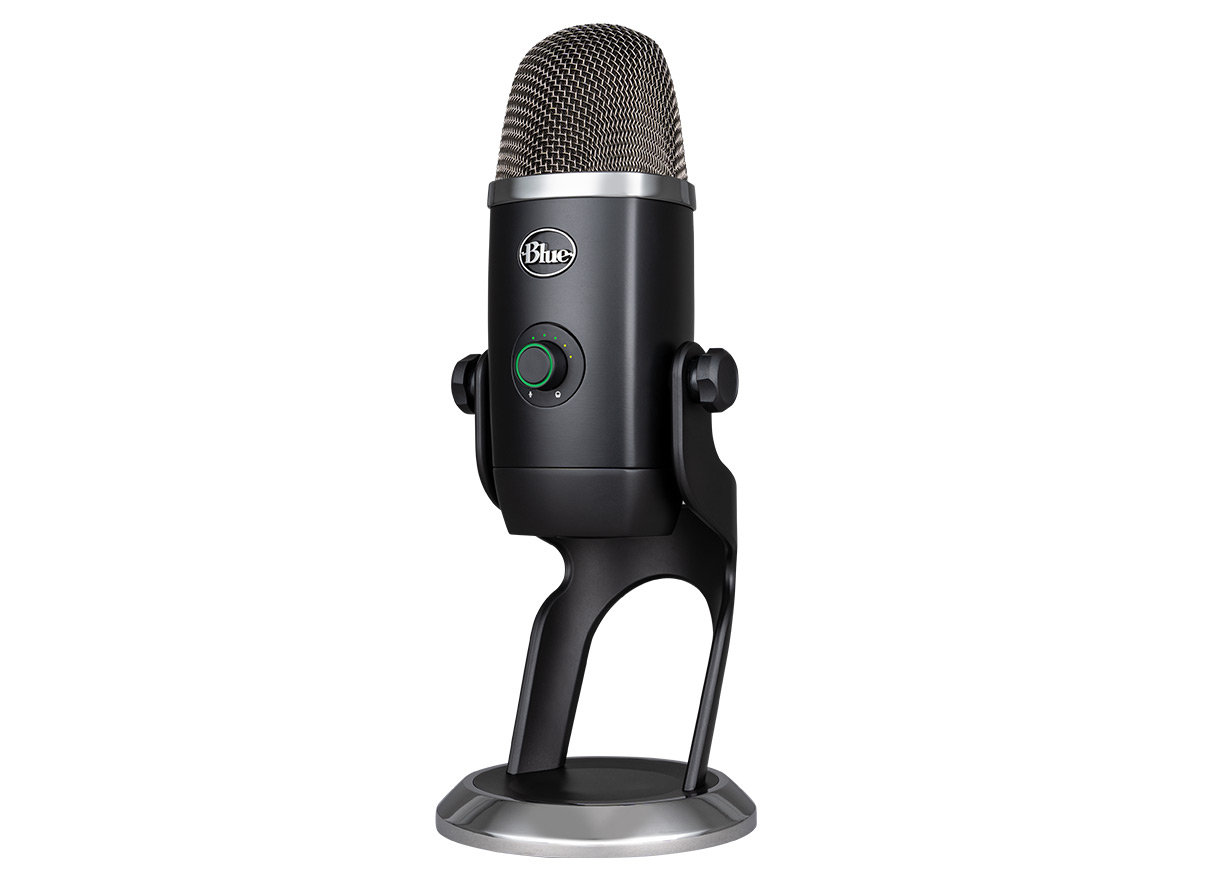
- USB Cable: To connect the microphone to your computer, you’ll need a USB cable with the appropriate connectors. Ensure that the cable is in good condition and capable of transmitting data reliably.
- Microphone Stand or Mount: A stable and adjustable microphone stand or mount will provide support for your HDe condenser microphone, allowing you to position it optimally for recording. This is crucial for achieving the best sound quality.
- Pop Filter (Optional): While not mandatory, a pop filter can be a valuable addition to your setup, helping to reduce plosive sounds and sibilance during vocal recordings. If you anticipate recording vocals, consider adding a pop filter to your equipment list.
- Computer or Laptop: Of course, you’ll need a computer or laptop with available USB ports to connect your HDe condenser microphone. Ensure that your computer meets the necessary system requirements for using an external microphone.
- Recording Software: Depending on your recording needs, you may require recording software to capture and edit your audio. There are numerous options available, ranging from basic recording apps to professional digital audio workstations (DAWs).
By ensuring that you have all the essential equipment on hand, you’ll be well-prepared to proceed with the setup process, setting the stage for seamless integration between your HDe condenser microphone and your computer.
Step 2: Connect the Microphone to the Computer
Now that you’ve gathered all the necessary equipment, it’s time to connect your HDe condenser microphone to your computer. This step is crucial for establishing a direct audio input into your computer, allowing you to leverage the microphone’s capabilities for recording and communication purposes.
Follow these steps to connect the microphone to your computer:
- Locate the USB Port: Begin by identifying an available USB port on your computer or laptop. The USB port is where you’ll connect the HDe condenser microphone to establish a data link between the two devices.
- Connect the USB Cable: Take the USB cable that came with your HDe condenser microphone and plug one end into the USB port on your computer. Ensure that the connection is secure to facilitate reliable data transmission.
- Attach the Microphone: With the USB cable connected to your computer, take the other end of the cable and plug it into the corresponding port on your HDe condenser microphone. The USB port on the microphone is designed to facilitate a secure and stable connection.
- Stabilize the Microphone: If you’re using a microphone stand or mount, position the HDe condenser microphone securely to ensure stability during recording. This step is essential for achieving consistent and high-quality audio capture.
Once you’ve completed these steps, your HDe condenser microphone will be physically connected to your computer, paving the way for seamless communication and audio input. The direct USB connection establishes a reliable link between the microphone and your computer, enabling you to leverage the microphone’s capabilities for various recording and communication purposes.
With the physical connection in place, you’re now ready to proceed to the next step, where you’ll set up the microphone on your computer to ensure that it’s recognized and configured correctly for use.
Step 3: Set Up the Microphone on Your Computer
After physically connecting your HDe condenser microphone to your computer, the next crucial step involves setting up the microphone on your computer to ensure that it is recognized and configured correctly. This process allows your computer to interface seamlessly with the microphone, enabling you to utilize its full range of features for recording and communication purposes.
Follow these steps to set up the microphone on your computer:
- Access System Settings: Begin by accessing the system settings or control panel on your computer. This can typically be done by clicking on the settings icon in the taskbar or navigating through the Start menu.
- Open Sound Settings: Within the system settings, look for the sound or audio settings. This is where you’ll be able to manage input and output devices, including microphones and speakers.
- Select the Microphone: Once in the sound settings, locate the option to manage input devices. Look for the HDe condenser microphone in the list of available input devices and select it as the default input device for recording.
- Adjust Microphone Settings: Depending on your operating system, you may have the option to adjust the microphone settings, such as input volume and sensitivity. Fine-tune these settings to achieve the desired audio capture quality.
- Test the Microphone: To ensure that the microphone is functioning correctly, use the built-in microphone test feature available in your computer’s sound settings. Speak into the microphone and observe the input levels to confirm that the microphone is capturing sound effectively.
By following these steps, you’ll be able to set up the HDe condenser microphone on your computer, allowing for seamless integration and optimal performance. Once the microphone is recognized and configured correctly, you’ll be ready to proceed to the next step, where you’ll test the microphone to ensure that it’s functioning as expected.
Step 4: Test the Microphone
With your HDe condenser microphone connected and set up on your computer, it’s essential to perform a thorough test to ensure that the microphone is functioning as expected. Testing the microphone allows you to verify its audio input quality and troubleshoot any potential issues before engaging in recording or communication activities.
Follow these steps to test the microphone:
- Open Recording Software: Launch your preferred recording software or communication application that utilizes the microphone. This could be a digital audio workstation (DAW) for music production, a voice recording app, or a video conferencing platform.
- Select Microphone Input: Within the recording software or application settings, ensure that the HDe condenser microphone is selected as the input device for audio capture. This allows the software to receive audio input from the microphone.
- Record a Sample: Initiate a test recording or simply speak into the microphone to generate audio input. Monitor the input levels within the recording software to confirm that the microphone is capturing sound effectively.
- Playback and Evaluate: After recording a sample, play back the audio to evaluate the quality and clarity of the captured sound. Pay attention to any distortions, background noise, or irregularities that may indicate issues with the microphone setup.
- Adjust Settings if Necessary: If you encounter any issues during the test, revisit the microphone settings in both the recording software and your computer’s sound settings. Make adjustments to the input volume, sensitivity, and other relevant parameters to optimize the microphone’s performance.
By thoroughly testing the microphone, you can ensure that it is fully functional and capable of delivering high-quality audio input for your recording and communication needs. This step allows you to address any potential issues proactively, ensuring that the microphone is ready for use in various creative and professional endeavors.
Once you’ve confirmed that the microphone is performing as expected, you can proceed with confidence, knowing that your HDe condenser microphone is seamlessly integrated with your computer and ready to capture exceptional sound.
Conclusion
Congratulations! You’ve successfully connected and set up your HDe condenser microphone with your computer, paving the way for a seamless and productive recording experience. By following the steps outlined in this guide, you’ve established a direct audio input into your computer, allowing you to leverage the microphone’s capabilities for a diverse range of recording and communication purposes.
With your HDe condenser microphone ready for action, you now have the power to capture professional-grade audio from the comfort of your own space. Whether you’re a musician, podcaster, content creator, or simply someone who values high-quality sound, this setup opens up a world of creative possibilities.
By ensuring that you have all the necessary equipment, establishing a physical connection between the microphone and your computer, and configuring the microphone for optimal performance, you’ve laid the foundation for seamless integration and exceptional audio capture. The thorough testing process has allowed you to confirm that the microphone is functioning as expected, ensuring that it’s ready to deliver outstanding results in your recording endeavors.
As you embark on your recording journey with your HDe condenser microphone, remember to explore the full potential of your setup. Whether you’re recording vocals, instruments, podcasts, or engaging in online communication, the quality and clarity of your audio will be a testament to the successful integration of your microphone with your computer.
With your HDe condenser microphone seamlessly connected to your computer, you’re now equipped to unleash your creativity, share your voice with the world, and elevate the quality of your audio recordings. Embrace the possibilities that this setup offers and embark on a journey of sonic exploration and expression, knowing that your microphone is a reliable and versatile tool in your creative arsenal.
Here’s to capturing exceptional sound and bringing your unique audio vision to life with your HDe condenser microphone and computer setup!