Introduction
Exploring the Versatility of Lavalier Condenser Microphones
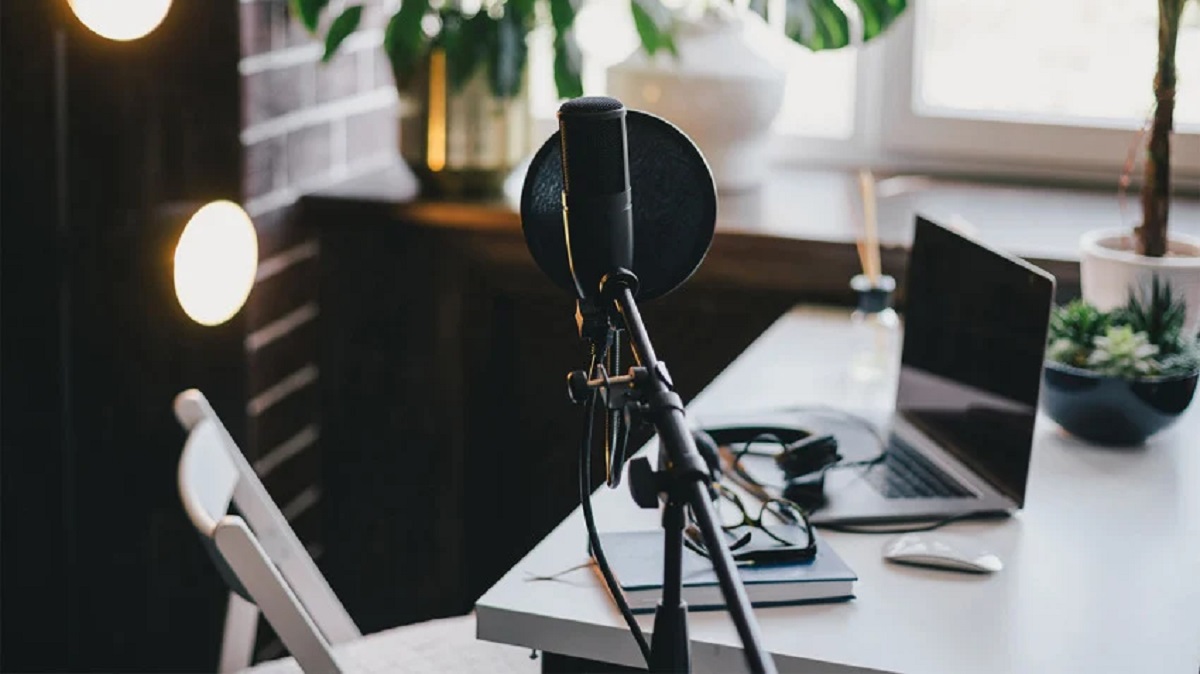
Lavalier condenser microphones, also known as lapel mics, are compact and versatile audio devices that have become indispensable in various professional and personal settings. From broadcasting and public speaking to filmmaking and content creation, these discreet microphones offer exceptional audio capture while allowing the speaker to move freely without being encumbered by bulky equipment. This article serves as a comprehensive guide for utilizing lavalier condenser microphones effectively, covering everything from selecting the right microphone to optimizing audio quality during recording or live presentations.
Whether you're a seasoned professional or a novice enthusiast, understanding the intricacies of lavalier condenser microphones can significantly enhance the quality of your audio productions. By delving into the nuances of microphone selection, setup, positioning, and audio level adjustments, you can ensure that your recordings and live performances are marked by crystal-clear sound and minimal interference.
Throughout this guide, we will explore the various considerations involved in using lavalier condenser microphones, providing practical tips and insights to help you harness the full potential of these compact yet powerful audio tools. By the end of this article, you will have gained valuable knowledge on how to leverage lavalier condenser microphones to elevate the audio quality of your projects and presentations, empowering you to captivate your audience with professional-grade sound reinforcement.
Choosing the Right Lavalier Condenser Microphone
Understanding Key Considerations for Optimal Microphone Selection
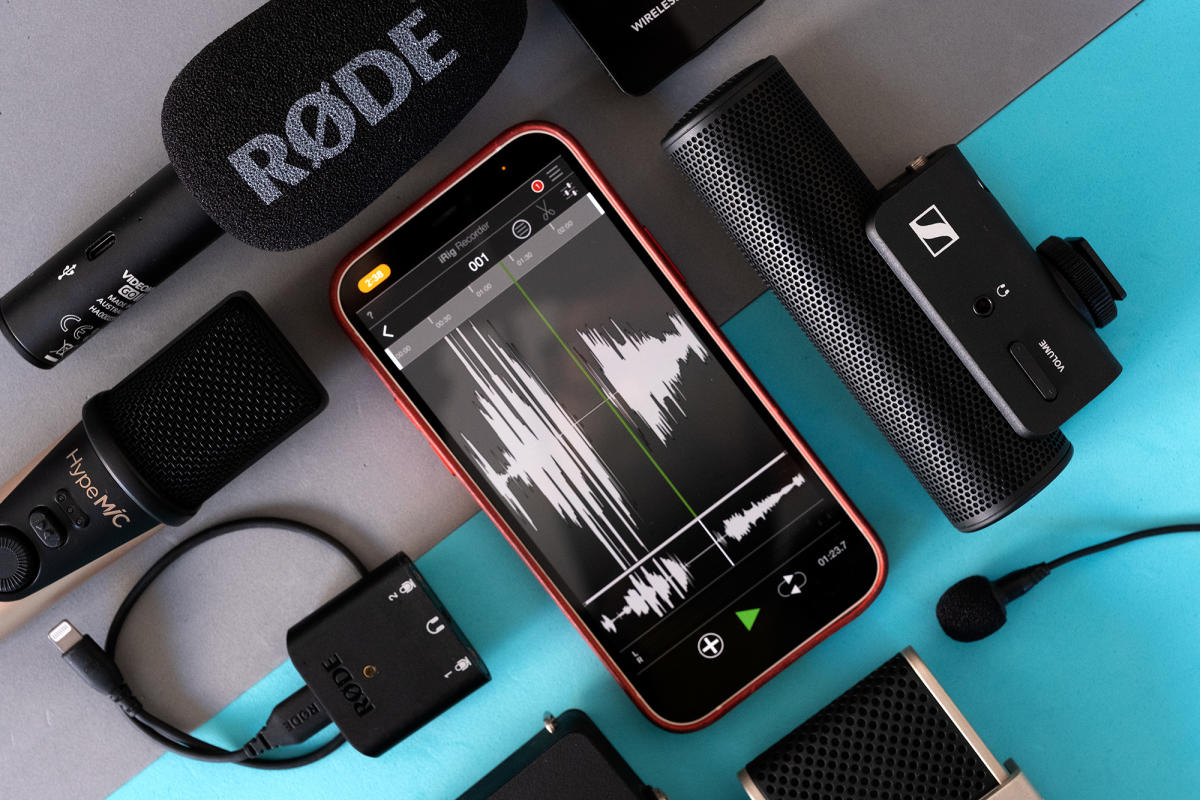
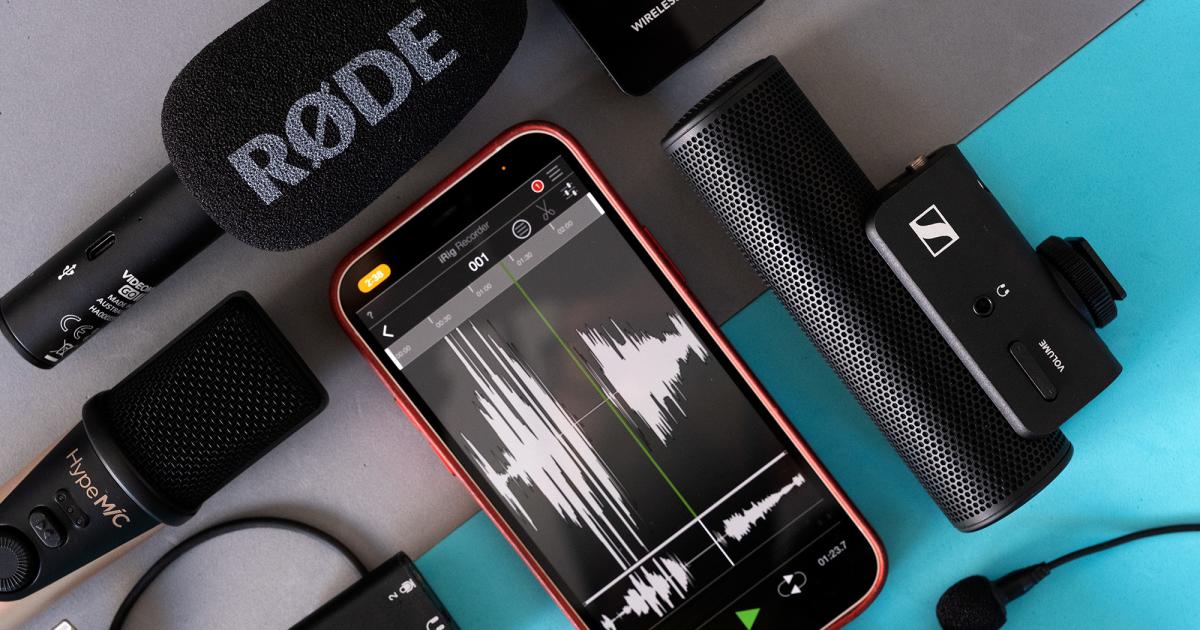
When embarking on a quest to select the ideal lavalier condenser microphone for your specific audio needs, it’s crucial to consider several factors that can significantly impact the overall quality of your recordings or live sound reinforcement. With a myriad of options available in the market, each boasting unique features and specifications, making an informed decision is paramount to achieving exceptional audio results.
1. Purpose and Application: Begin by identifying the primary purpose and intended application of the lavalier condenser microphone. Whether it’s for interviews, public speaking, filmmaking, or live performances, understanding the specific use case will guide you in selecting a microphone that aligns with the demands of the intended application.
2. Polar Pattern: Consider the polar pattern that best suits your recording environment. Omnidirectional microphones capture sound from all directions, making them suitable for capturing ambient noise and natural soundscapes. In contrast, cardioid microphones are more focused and ideal for minimizing background noise in noisy environments.
3. Connectivity and Compatibility: Evaluate the compatibility of the lavalier condenser microphone with your recording or sound reinforcement equipment. Whether it requires a wired connection, operates via a wireless transmitter, or features compatibility with specific audio interfaces, ensuring seamless integration with your existing setup is essential.
4. Durability and Build Quality: Assess the build quality and durability of the microphone, particularly if it will be subjected to frequent movement or outdoor use. Look for robust construction and reliable materials that can withstand the rigors of regular use without compromising performance.
5. Budget and Value: While considering your budget constraints, strive to strike a balance between cost and value. Investing in a high-quality lavalier condenser microphone that meets your requirements can yield long-term benefits in terms of audio fidelity and reliability.
By meticulously evaluating these considerations and conducting thorough research on available options, you can confidently select a lavalier condenser microphone that aligns with your specific needs, ensuring optimal audio performance and versatility across diverse applications.
Setting Up the Lavalier Condenser Microphone
Optimizing Audio Capture for Seamless Integration
Once you’ve chosen the right lavalier condenser microphone for your audio endeavors, the next critical step is to ensure its proper setup to maximize audio quality and minimize potential technical hitches. Whether you’re preparing for a recording session, live presentation, or on-location shoot, following these essential steps will pave the way for seamless integration and exceptional audio performance.
1. Familiarize Yourself with the Microphone: Before diving into the setup process, take the time to familiarize yourself with the lavalier condenser microphone and its accompanying accessories. Understanding the components and functionality of the microphone, including any adapters, windshields, or connectors, will streamline the setup process.
2. Connect the Microphone: Depending on whether the microphone operates wirelessly or requires a direct connection, ensure that it is securely connected to the appropriate input on your recording device, audio interface, or wireless transmitter. Verify the connections to prevent any potential signal loss or interference.
3. Check Power and Phantom Power: If the lavalier condenser microphone requires power, ensure that it is adequately powered, whether through an internal battery, external power source, or phantom power from a compatible audio interface or mixer. Confirm that the power source is reliable to sustain uninterrupted operation.
4. Position the Microphone Cable: When using a wired lavalier condenser microphone, carefully position the cable along the speaker’s clothing or conceal it inconspicuously to minimize handling noise and obstructions. Employing cable clips or adhesive mounts can help secure the cable discreetly.
5. Test the Microphone Signal: Prior to commencing the actual recording or live presentation, conduct a thorough test of the microphone signal to ensure that it is registering accurately on your recording device or sound reinforcement system. Adjust input levels and monitor the signal for any distortions or irregularities.
6. Conduct Sound Checks: Perform sound checks in the actual recording or presentation environment to assess the microphone’s performance and acoustics. Address any potential issues related to background noise, room acoustics, or interference, and make necessary adjustments to optimize audio quality.
By meticulously following these steps and paying attention to the nuances of lavalier condenser microphone setup, you can lay a solid foundation for capturing pristine audio with minimal technical impediments, setting the stage for a seamless and professional audio production or presentation.
Positioning the Lavalier Condenser Microphone
Mastering the Art of Strategic Microphone Placement
Effective positioning of a lavalier condenser microphone is paramount to achieving optimal audio capture while ensuring the speaker’s comfort and freedom of movement. Whether you’re recording an interview, delivering a speech, or engaging in on-camera dialogue, employing strategic techniques for microphone placement can significantly enhance the clarity and naturalness of the audio, enriching the overall listening experience.
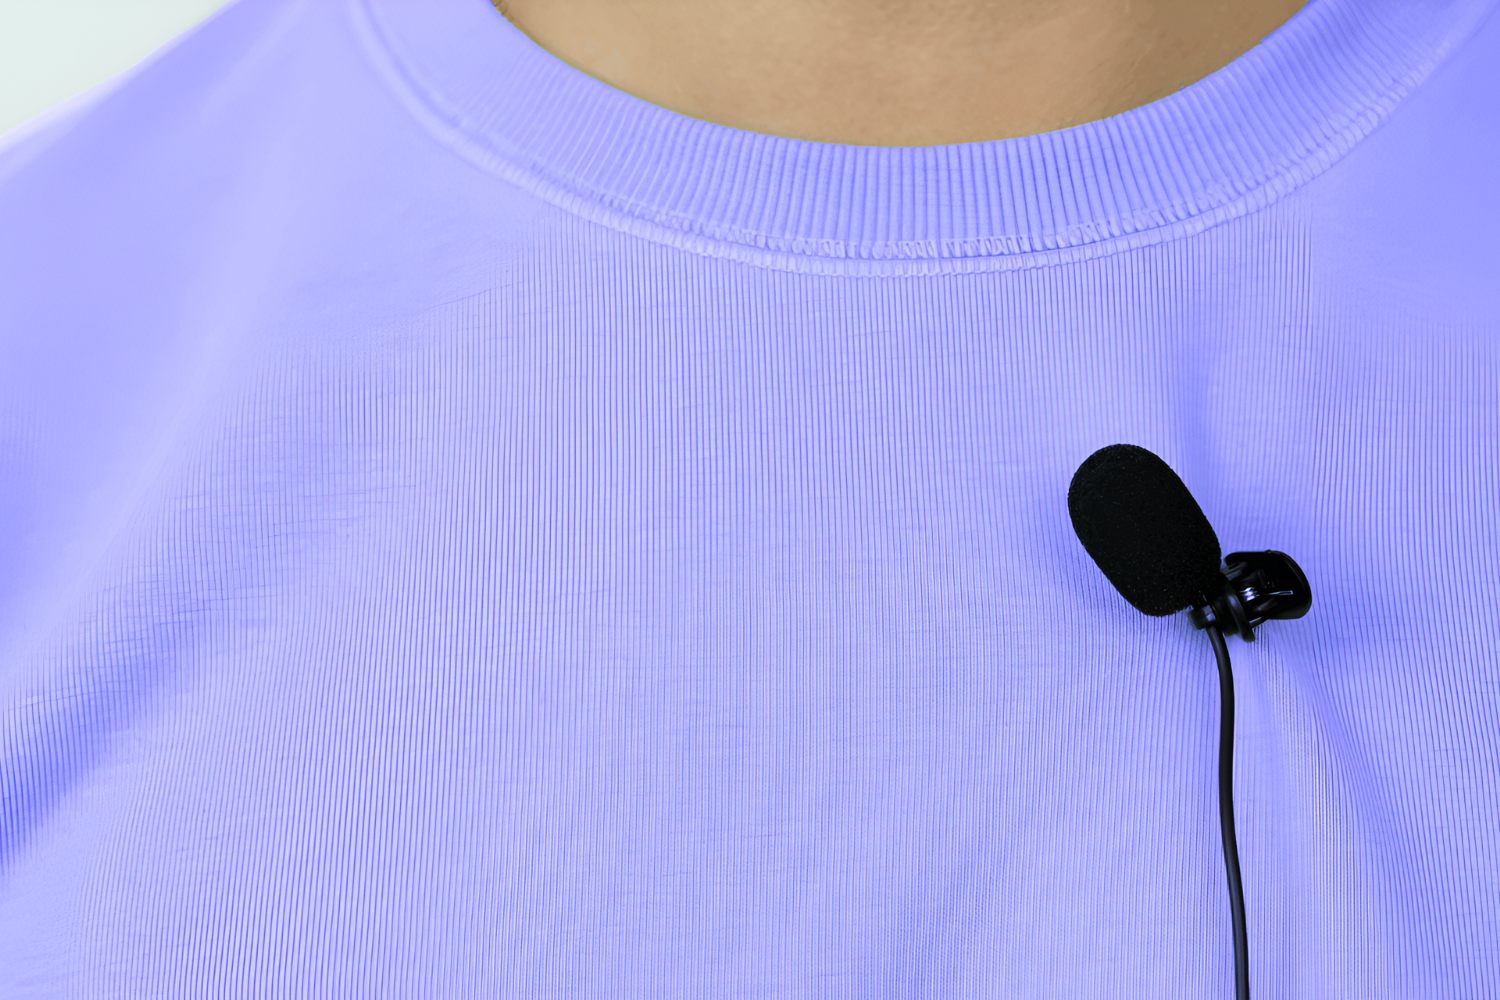
1. Concealment and Discretion: When positioning the lavalier condenser microphone, prioritize discreet placement to minimize its visibility and avoid distracting the audience or compromising the aesthetics of the presentation. Conceal the microphone within the speaker’s attire or accessories, ensuring that it remains inconspicuous while capturing clear audio.
2. Distance from the Sound Source: Position the microphone at an optimal distance from the sound source, typically around 6 to 12 inches from the speaker’s mouth. This distance facilitates natural sound capture while minimizing plosives and sibilance, contributing to a balanced and articulate audio reproduction.
3. Avoiding Clothing Rustle: Take precautions to prevent clothing rustle and fabric friction from interfering with the microphone’s performance. Secure the microphone to the clothing using clips or mounts, ensuring that it remains stationary and free from contact with rustling fabrics that could introduce unwanted noise.
4. Mitigating Wind and Breath Noise: Employ windshields or pop filters to mitigate the impact of wind and breath noise on the microphone. These accessories act as a barrier against gusts of air and vocal plosives, preserving the integrity of the audio signal and reducing the need for extensive post-processing.
5. Adapting to Movement: Anticipate the speaker’s movements and gestures, ensuring that the microphone’s position accommodates dynamic shifts while maintaining consistent audio quality. Allow for sufficient slack in the microphone cable to facilitate natural movement without causing strain on the connection or impeding the speaker’s mobility.
6. Environmental Considerations: Factor in the acoustic characteristics of the recording environment and make adjustments to the microphone position to optimize audio capture. Be mindful of ambient noise, reverberation, and potential sources of interference, adapting the microphone placement to mitigate these environmental factors.
By honing your skills in strategically positioning the lavalier condenser microphone, you can elevate the quality of audio capture and presentation, fostering a seamless and immersive auditory experience for your audience while affording the speaker the freedom to engage naturally and expressively.
Testing and Adjusting the Audio Levels
Refining Audio Quality for Pristine Sound Reproduction
Once the lavalier condenser microphone is positioned and connected, the pivotal phase of testing and adjusting the audio levels ensues, ensuring that the captured sound is pristine and well-balanced. This critical process involves meticulous assessment and fine-tuning to optimize the microphone’s performance, mitigate potential anomalies, and achieve a harmonious audio blend that resonates with the audience.
1. Initial Signal Check: Initiate the testing phase by conducting an initial signal check to verify that the microphone is registering a clear and discernible audio signal. Monitor the input levels on the recording device or sound console to confirm that the microphone is capturing sound without distortion or clipping.
2. Gain Adjustment: Adjust the microphone’s gain or input level to attain an optimal signal-to-noise ratio. Strive to set the gain at a level that captures the desired sound levels while minimizing background noise and potential signal overload, thereby preserving the integrity of the audio signal.
3. Monitor Audio Quality: Continuously monitor the audio quality during testing, paying attention to nuances such as tonal balance, dynamic range, and clarity. Listen for any irregularities, artifacts, or tonal imbalances that may necessitate adjustments to the microphone position or input levels.
4. Addressing Feedback and Interference: Identify and address any potential feedback or interference issues that may arise during testing. Mitigate feedback by adjusting the microphone position or employing notch filters, and minimize interference from electronic sources or wireless devices that could compromise audio fidelity.
5. Dynamic Range Optimization: Fine-tune the microphone’s dynamic range to accommodate variations in the speaker’s vocal intensity and articulation. Ensure that the microphone can faithfully capture both subtle nuances and more emphatic vocal expressions without distortion or signal compression.
6. Real-World Simulation: Simulate real-world scenarios and speaking conditions during the testing phase to gauge the microphone’s adaptability to dynamic environments. Mimic the speaker’s movements, gestures, and vocal dynamics to assess the microphone’s ability to consistently capture clear and natural sound.
By methodically testing and adjusting the lavalier condenser microphone’s audio levels, you can refine the sound quality to a professional standard, fostering an immersive and captivating auditory experience that resonates with the audience and elevates the impact of your audio productions or live presentations.
Tips for Using the Lavalier Condenser Microphone
Maximizing Performance and Overcoming Common Challenges
Mastering the art of using a lavalier condenser microphone involves leveraging practical tips and techniques to optimize audio quality, mitigate potential obstacles, and harness the microphone’s full potential across diverse applications. Whether you’re engaging in public speaking, conducting interviews, or capturing on-location audio, incorporating these invaluable tips into your workflow can elevate the overall outcome of your audio productions and presentations.
1. Conduct Thorough Sound Checks: Prior to any recording or live presentation, allocate ample time for comprehensive sound checks to ensure that the lavalier condenser microphone is capturing clear and balanced audio. Address any issues related to background noise, microphone placement, or signal levels during these checks.
2. Secure Cable Management: Pay meticulous attention to cable management to prevent tangling, interference, or accidental disconnection during use. Utilize cable clips, adhesive mounts, or concealment techniques to secure the microphone cable discreetly and minimize handling noise.
3. Optimize Clothing Placement: When securing the microphone to the speaker’s attire, opt for areas that minimize fabric rustle and friction, such as lapels, ties, or collars. Position the microphone strategically to capture clear audio while ensuring the speaker’s comfort and freedom of movement.
4. Mitigate Environmental Noise: Be mindful of environmental factors such as wind, air conditioning, or ambient noise that can impact the microphone’s performance. Employ windshields, pop filters, or noise gates to mitigate these external influences and preserve the clarity of the audio signal.
5. Monitor Battery Life: If using a wireless lavalier condenser microphone, monitor the battery life to avoid unexpected power depletion during critical moments. Carry spare batteries or utilize rechargeable battery systems to maintain uninterrupted operation.
6. Adapt to Speaker Dynamics: Anticipate and adapt to the speaker’s vocal dynamics and movements, ensuring that the microphone placement accommodates variations in volume and articulation. This adaptability contributes to consistent and natural-sounding audio capture.
7. Engage in Continuous Monitoring: Throughout the recording or presentation, engage in continuous monitoring of the microphone’s performance, remaining vigilant for any anomalies or fluctuations in audio quality that may require immediate attention or adjustment.
By integrating these tips into your utilization of the lavalier condenser microphone, you can navigate common challenges, optimize audio quality, and empower yourself to deliver compelling and professional-grade audio presentations, ensuring that your message is conveyed with clarity and impact.
Conclusion
Elevating Audio Excellence with Lavalier Condenser Microphones
As we conclude this comprehensive guide to utilizing lavalier condenser microphones, it’s evident that these compact yet powerful audio tools hold the key to unlocking professional-grade sound reinforcement and pristine audio capture across a myriad of applications. By delving into the nuances of microphone selection, setup, positioning, and audio level adjustments, we’ve uncovered the essential elements that contribute to harnessing the full potential of lavalier condenser microphones.
From the meticulous process of choosing the right microphone tailored to specific needs and applications to the strategic positioning techniques that optimize audio capture while ensuring speaker comfort and freedom of movement, each facet of using lavalier condenser microphones contributes to a seamless and immersive auditory experience. By incorporating practical tips to mitigate common challenges and maximize performance, users can navigate potential obstacles and elevate the overall quality of their audio productions and presentations.
Embracing the versatility and adaptability of lavalier condenser microphones empowers professionals and enthusiasts alike to captivate audiences, convey messages with clarity, and immerse listeners in a rich auditory tapestry that transcends the constraints of conventional audio capture. Whether in the realms of broadcasting, public speaking, filmmaking, content creation, or live performances, lavalier condenser microphones stand as indispensable allies in the pursuit of audio excellence.
As you embark on your journey of integrating lavalier condenser microphones into your audio endeavors, remember that meticulous attention to detail, continuous monitoring, and adaptability to dynamic environments are the cornerstones of achieving exceptional audio results. By harnessing the insights and techniques presented in this guide, you are poised to elevate the impact of your audio productions and presentations, setting a new standard of excellence in sound reinforcement and capturing the essence of every spoken word and nuanced expression.
With a deepened understanding of lavalier condenser microphones and a wealth of practical strategies at your disposal, you are equipped to embark on a transformative audio journey, where the seamless integration of technology and artistry culminates in captivating and immersive auditory experiences that resonate with audiences and leave a lasting impression.