Introduction
Introduction
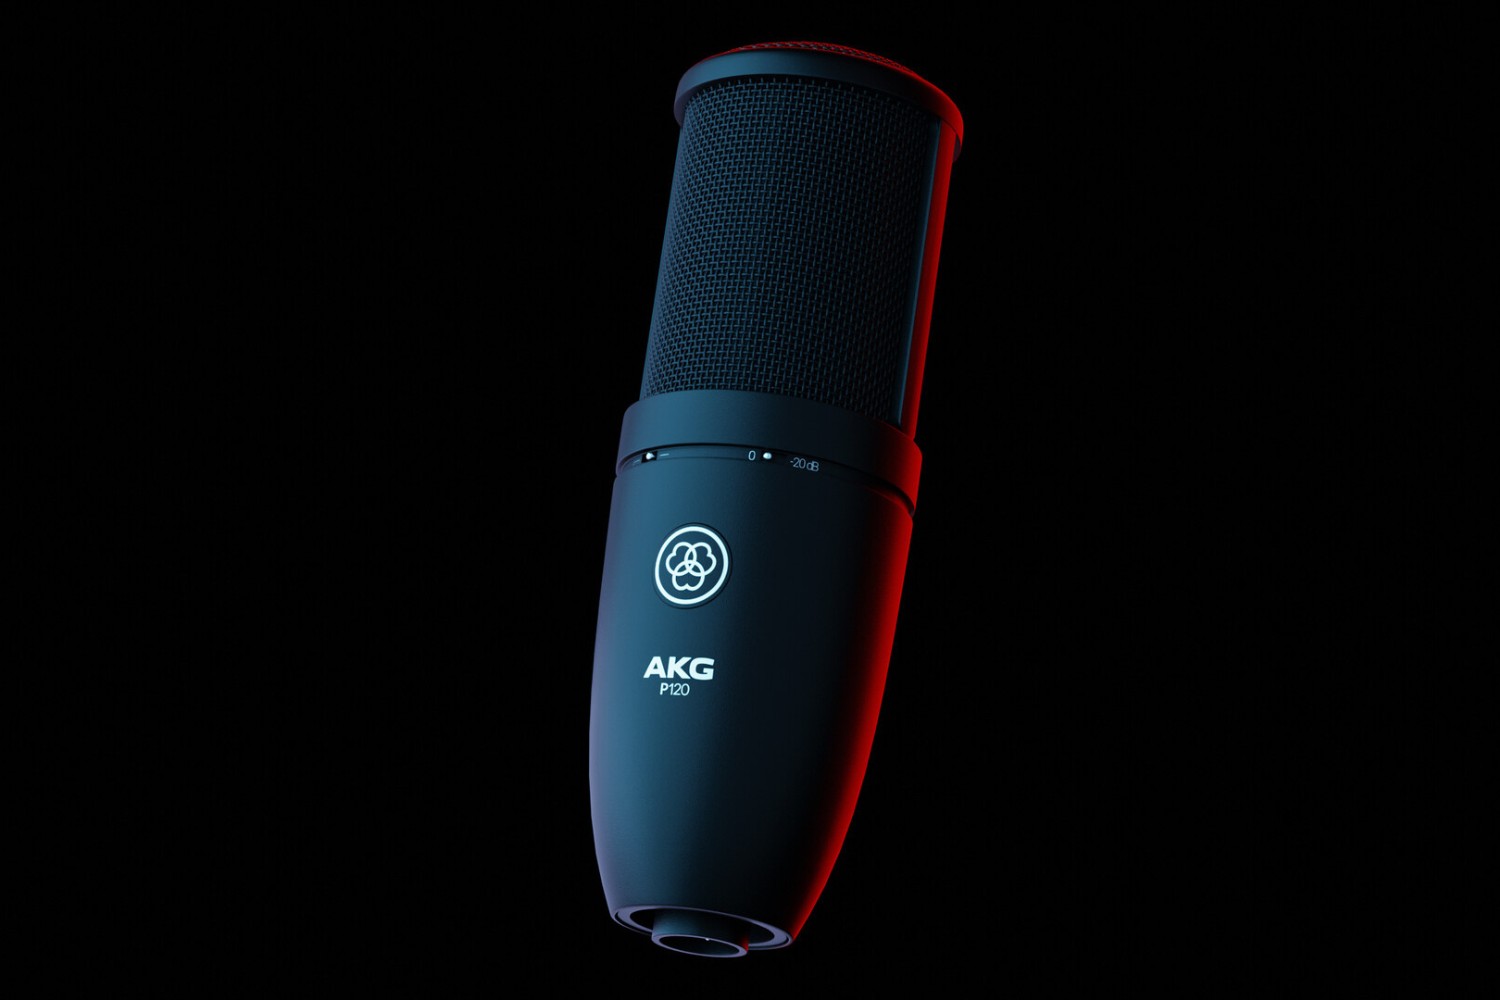
The AKG P120 Project Studio Condenser Microphone is a versatile and high-performance audio recording device that is ideal for a wide range of applications. Whether you are a professional musician, podcaster, or content creator, the AKG P120 offers exceptional audio capture capabilities that can elevate the quality of your recordings. With its solid build, superior sound quality, and user-friendly design, this microphone has become a popular choice among audio enthusiasts and professionals alike.
The AKG P120 is renowned for its ability to deliver clear and detailed sound reproduction, making it an excellent tool for capturing vocals, acoustic instruments, and even overhead drum miking. Its cardioid polar pattern ensures focused sound pickup while effectively minimizing unwanted background noise, resulting in pristine recordings with minimal post-processing requirements.
This article is a comprehensive guide on how to make the most of the AKG P120 Project Studio Condenser Microphone. From setting up the microphone to optimizing its settings and capturing high-quality audio, this guide will walk you through the essential steps to maximize the potential of this exceptional recording device.
Whether you are a novice looking to explore the world of audio recording or a seasoned professional seeking to enhance your recording setup, this guide will provide valuable insights and practical tips to help you harness the full capabilities of the AKG P120. By the end of this article, you will be equipped with the knowledge and techniques to unleash the true potential of this remarkable condenser microphone and elevate the quality of your audio recordings. Let's dive into the intricacies of using the AKG P120 Project Studio Condenser Microphone to achieve professional-grade audio capture.
Setting Up the AKG P120
Before diving into the recording process, it is essential to properly set up the AKG P120 Project Studio Condenser Microphone to ensure optimal performance. The following steps will guide you through the initial setup process, allowing you to seamlessly integrate this microphone into your recording environment.
- Unboxing and Inspection: Upon receiving your AKG P120, carefully unbox the microphone and inspect it for any signs of damage that may have occurred during shipping. Ensure that all the components, including the shock mount and carrying case, are present and in good condition.
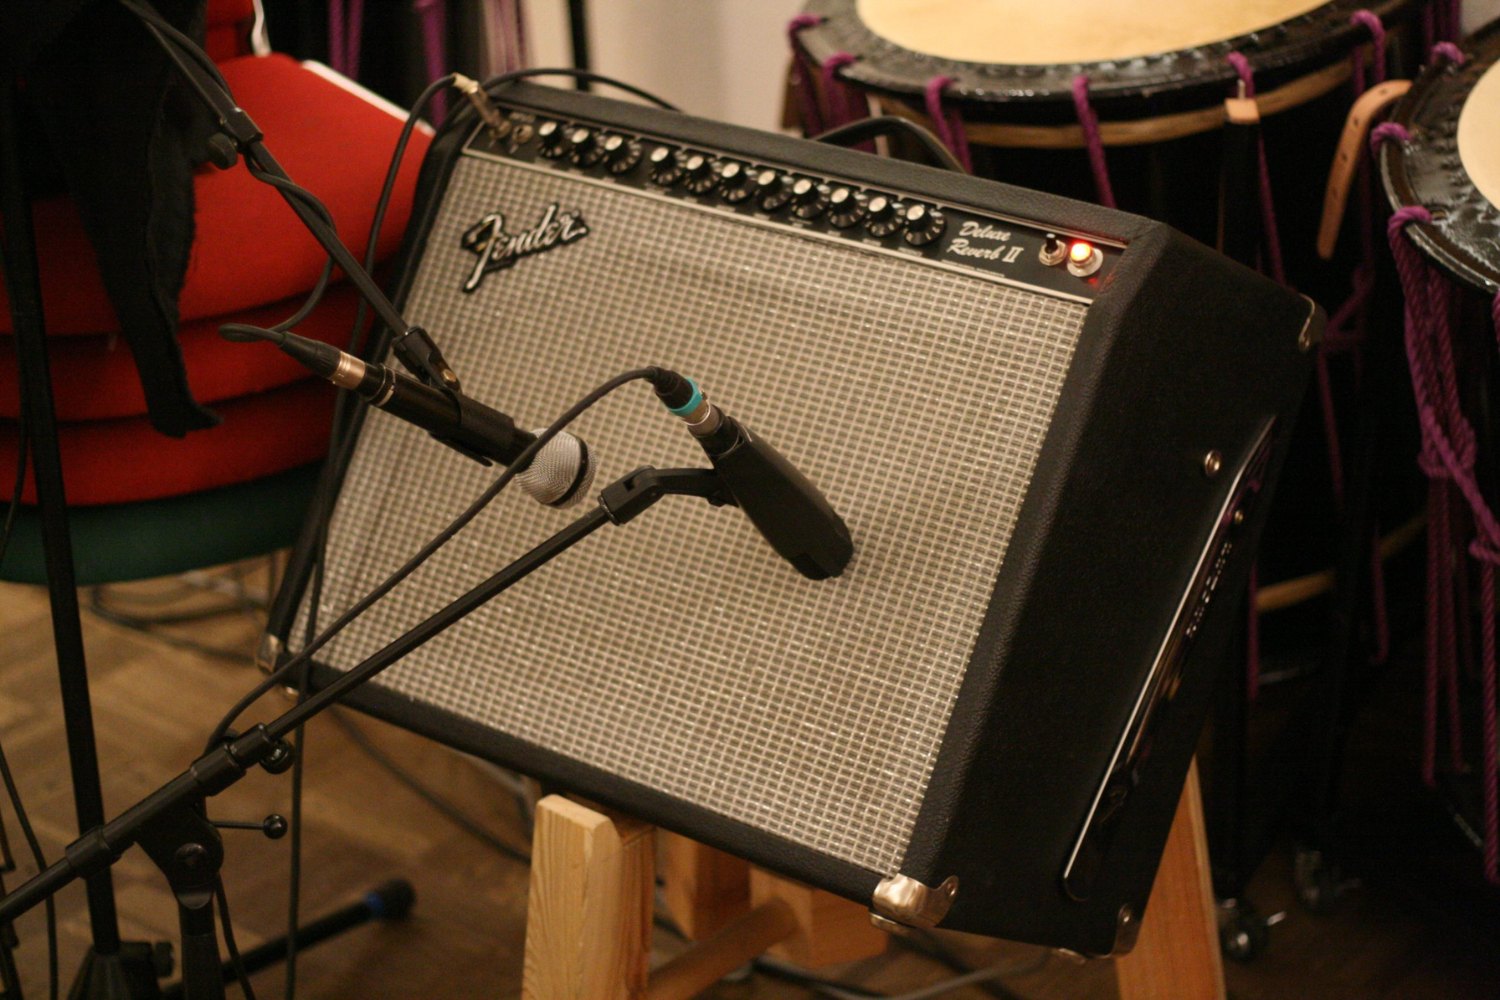
- Mounting the Microphone: The AKG P120 typically comes with a shock mount designed to reduce vibrations and handling noise. Attach the microphone to the shock mount by securely fastening it using the provided mounting mechanism. This step is crucial for isolating the microphone from unwanted mechanical disturbances during recording.
- Connecting the Microphone Cable: The AKG P120 utilizes an XLR connection, requiring a compatible microphone cable to interface with your recording device. Connect one end of the XLR cable to the microphone and the other end to the input of your audio interface or recording device. Ensure a snug and secure connection to prevent any signal loss or interference.
By following these initial setup steps, you can ensure that the AKG P120 is securely mounted and properly connected, setting the stage for seamless integration into your recording setup. With the microphone in place and the necessary connections established, you are now ready to position the AKG P120 for optimal audio capture.
Positioning the Microphone
Proper microphone placement is a critical factor in capturing high-quality audio, and the AKG P120 Project Studio Condenser Microphone offers flexibility in positioning to achieve the desired sound characteristics. Whether you are recording vocals, acoustic instruments, or ensembles, the following guidelines will help you position the AKG P120 effectively for optimal audio capture.
- Vocal Recording: When recording vocals, position the AKG P120 at a distance of approximately 6 to 12 inches from the vocalist’s mouth. Adjust the microphone angle to capture the sound accurately while minimizing plosives and sibilance. For a more intimate vocal sound, positioning the microphone closer can enhance the warmth and presence of the vocals.
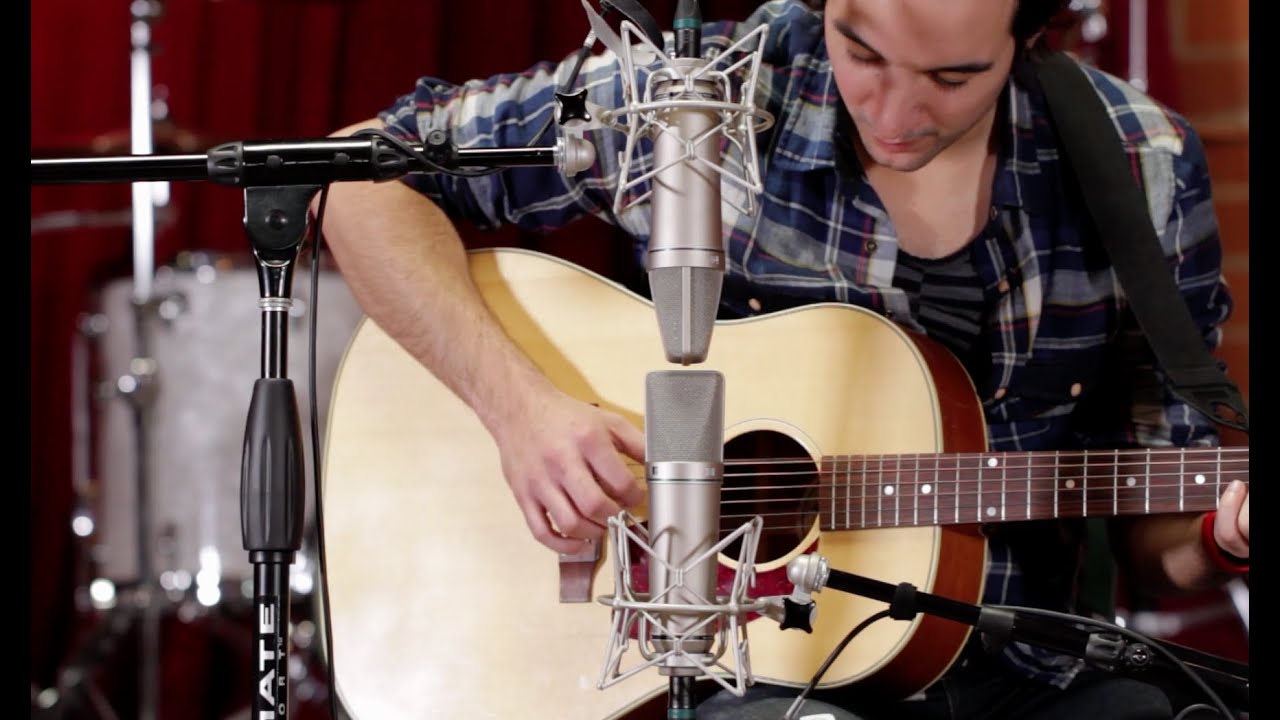
- Instrumental Recording: For acoustic instruments such as guitars, pianos, or string instruments, experiment with microphone placement to capture the instrument’s natural tonal characteristics. Placing the AKG P120 in front of the instrument, slightly off-center, can yield a balanced and nuanced sound. Additionally, adjusting the microphone’s distance from the instrument can influence the blend of direct sound and room ambience in the recording.
- Room Ambience Capture: When aiming to capture the ambience of a room or ensemble performance, consider using the AKG P120 as a room microphone. Position the microphone at a suitable distance from the sound source, taking into account the room’s acoustics and the desired balance of direct sound and reverberation. This approach can add depth and spaciousness to the overall recording.
By understanding the nuances of microphone positioning, you can leverage the AKG P120’s versatility to capture a wide range of audio sources with precision and clarity. Experimenting with different microphone placements and angles will enable you to tailor the sound to suit the specific characteristics of the source material, resulting in professional-grade recordings.
Connecting the Microphone to Your Recording Device
Once the AKG P120 Project Studio Condenser Microphone is positioned for optimal audio capture, the next crucial step is to establish a seamless connection between the microphone and your recording device. Whether you are using an audio interface, mixer, or digital recorder, the following steps will guide you through the process of connecting the AKG P120 to your recording equipment.
- Check Compatibility: Before making any connections, ensure that your recording device is compatible with condenser microphones that require phantom power. The AKG P120 operates on 48V phantom power, so verify that your recording equipment can provide this essential power source.
- Phantom Power Activation: If your recording device features phantom power, activate it before connecting the AKG P120. Phantom power is typically engaged through a dedicated switch on the audio interface or mixer. Be cautious when activating phantom power to prevent any potential damage to the microphone or recording equipment.
- XLR Connection: The AKG P120 utilizes an XLR output, requiring an XLR cable to establish a connection with your recording device. Connect the male end of the XLR cable to the microphone’s output and the female end to the corresponding input on your audio interface or mixer. Ensure a secure connection to prevent signal loss or interference.
- Input Gain Adjustment: Once the microphone is connected, adjust the input gain on your recording device to achieve an optimal signal level without introducing distortion. Gradually increase the input gain while monitoring the audio levels to ensure a clean and well-balanced signal from the AKG P120.
By following these steps, you can effectively connect the AKG P120 to your recording device, ensuring a reliable and high-quality audio signal flow. With the microphone seamlessly integrated into your recording setup, you are now ready to fine-tune the settings to achieve the desired sound characteristics.
Adjusting the Settings
Optimizing the settings of the AKG P120 Project Studio Condenser Microphone is essential for achieving the desired sound quality and ensuring that the microphone performs at its best. By adjusting the microphone’s settings and leveraging its features, you can tailor the audio capture to suit the specific requirements of your recording project. The following steps will guide you through the process of fine-tuning the settings of the AKG P120 to achieve optimal results.
- Polar Pattern Selection: The AKG P120 features a cardioid polar pattern, which is ideal for capturing sound from a specific direction while effectively rejecting off-axis noise. Depending on the recording scenario, ensure that the microphone’s polar pattern selector is set to cardioid to focus the capture on the intended sound source and minimize ambient noise.
- Low-Frequency Roll-Off: To attenuate low-frequency rumble and proximity effect, the AKG P120 is equipped with a switchable bass-cut filter. If the recording environment or the sound source introduces excessive low-frequency content, engage the bass-cut filter to reduce low-end buildup and achieve a cleaner, more focused sound.
- Handling High Sound Pressure Levels: When recording loud sound sources such as amplified instruments or percussion, the AKG P120’s -20dB attenuation pad can be activated to handle high sound pressure levels without distortion. Engage the pad when capturing loud sources to ensure that the microphone accurately reproduces the sound without overloading.
- Monitoring and Headphone Output: If your recording device features a headphone output for direct monitoring, ensure that the AKG P120’s output level is adjusted to provide a suitable headphone mix. This allows performers to monitor their own performance in real time, enhancing the recording experience.
By carefully adjusting these settings, you can harness the full potential of the AKG P120 to achieve professional-grade audio capture tailored to the specific demands of your recording project. With the microphone’s settings optimized, you are now poised to embark on the recording process with confidence, knowing that the AKG P120 is primed to deliver exceptional sound quality.
Recording with the AKG P120
Once the AKG P120 Project Studio Condenser Microphone is set up, positioned, and its settings adjusted, you are ready to embark on the recording process. Whether you are capturing vocals, acoustic instruments, or ensembles, the AKG P120 offers exceptional audio capture capabilities that can elevate the quality of your recordings. The following steps will guide you through the process of recording with the AKG P120, ensuring that you achieve professional-grade results.
- Sound Check: Before commencing the recording, perform a sound check to ensure that the microphone is capturing the intended sound source accurately. Monitor the audio levels and make any necessary adjustments to the microphone’s position or settings to achieve the desired sound characteristics.
- Performance and Articulation: Encourage performers to maintain consistent distance and articulation when recording vocals or acoustic instruments. This helps ensure a uniform sound capture and minimizes variations in the recorded performance, resulting in a more cohesive and polished final recording.
- Room Acoustics Consideration: When capturing audio with the AKG P120, be mindful of the room acoustics and how they contribute to the overall sound. Experiment with microphone placement and capture techniques to leverage the room’s natural ambience, enhancing the spatial characteristics of the recording.
- Multiple Takes and Variations: Encourage multiple takes and variations during the recording process to provide flexibility during the post-production phase. Capturing different performances and nuances allows for greater creative options when selecting the best takes for the final mix.
By following these steps and considerations, you can leverage the capabilities of the AKG P120 to capture pristine and detailed audio, ensuring that your recordings exhibit professional-grade sound quality. The versatility and precision of the AKG P120 make it an invaluable tool for a wide range of recording applications, empowering you to achieve exceptional results across various musical and audio production endeavors.
Tips for Getting the Best Sound Quality
Obtaining the best sound quality with the AKG P120 Project Studio Condenser Microphone involves a combination of technical expertise and creative finesse. By implementing the following tips and techniques, you can maximize the potential of the AKG P120 to capture pristine and professional-grade audio across a diverse range of recording scenarios.
- Optimize Room Acoustics: Pay attention to the acoustic characteristics of the recording environment. Consider acoustic treatment and positioning the microphone in areas of the room that yield favorable sound characteristics, minimizing unwanted reflections and resonances.
- Experiment with Mic Placement: Explore various microphone placements to discover the optimal position for capturing the desired sound. Small adjustments in the microphone’s placement can significantly impact the tonal balance and spatial characteristics of the recording.
- Utilize Pop Filters and Windscreens: When recording vocals or close-miked instruments, employing pop filters and windscreens can mitigate plosives and excessive breath noise, resulting in cleaner and more intelligible recordings.
- Monitor Input Levels: Keep a close eye on the microphone’s input levels to prevent signal distortion. Aim for a healthy signal level without peaking, ensuring that the recorded audio maintains its clarity and fidelity.
- Engage Phantom Power Safely: When using an audio interface or mixer that provides phantom power, activate and deactivate the phantom power supply carefully to prevent any potential damage to the microphone or recording equipment.
- Perform Sound Checks: Before embarking on the recording session, conduct thorough sound checks to verify the microphone’s performance and the overall audio signal chain. Address any anomalies or issues that may compromise the recording quality.
By incorporating these tips into your recording practices, you can harness the full potential of the AKG P120 to achieve exceptional sound quality and fidelity in your recordings. The meticulous attention to detail and the creative application of recording techniques will elevate the sonic character of your productions, resulting in captivating and professional-grade audio content.
Conclusion
Mastering the art of using the AKG P120 Project Studio Condenser Microphone opens up a world of possibilities for achieving professional-grade audio recordings. By following the comprehensive guide outlined in this article, you have gained valuable insights into setting up, positioning, and optimizing the settings of the AKG P120 to capture pristine and detailed sound across a diverse range of recording applications.
From unboxing the microphone to connecting it to your recording device and fine-tuning its settings, each step plays a crucial role in ensuring that the AKG P120 performs at its best, delivering exceptional sound quality and fidelity. By leveraging the microphone’s cardioid polar pattern, bass-cut filter, and attenuation pad, you can tailor the audio capture to suit the specific requirements of your recording projects, resulting in recordings that exhibit clarity, definition, and depth.
Furthermore, the tips and techniques provided for optimizing room acoustics, experimenting with microphone placement, and monitoring input levels empower you to refine the sound capture process, elevating the sonic character of your recordings. Whether you are recording vocals, acoustic instruments, or ensembles, the AKG P120’s versatility and precision make it an invaluable tool for audio enthusiasts and professionals alike.
As you continue to explore the capabilities of the AKG P120, remember that the journey toward achieving the best sound quality is a blend of technical expertise, creative experimentation, and a discerning ear. Embrace the process of refining your recording techniques and leveraging the features of the AKG P120 to unleash the full potential of this remarkable condenser microphone.
With the knowledge and techniques acquired from this guide, you are equipped to embark on a sonic journey where the AKG P120 serves as your faithful companion in capturing the nuances, dynamics, and emotive qualities of sound. Whether in a studio setting, a live performance environment, or a creative space, the AKG P120 stands ready to elevate your recordings to new heights, enabling you to express your artistic vision with unparalleled sonic fidelity.