Introduction
Placing a condenser microphone on a guitar amp is a crucial step in capturing the perfect sound for recording or live performances. The placement of the microphone can significantly impact the tonal quality and overall sound of the guitar, making it essential to understand the process and techniques involved in achieving optimal results.
By comprehending the characteristics of condenser microphones and mastering the art of positioning them effectively, you can unleash the full potential of your guitar amp's sound. Whether you are a seasoned audio engineer, a passionate musician, or a budding recording enthusiast, this guide will provide valuable insights into selecting the right microphone and positioning it to capture the best possible sound from your guitar amp.
In the following sections, we will delve into the intricacies of condenser microphones, explore the considerations for choosing the most suitable microphone for your guitar amp, and discuss the art of placing the microphone to achieve the desired sound. Additionally, we will cover the crucial steps for testing and adjusting the microphone position to fine-tune the sound to your liking.
Understanding the nuances of microphone placement on a guitar amp is an art form that can elevate the quality of your recordings and live performances. With the right knowledge and techniques, you can harness the power of condenser microphones to capture the rich, dynamic sound of your guitar amp, allowing your music to resonate with clarity and depth.
As we embark on this journey of mastering microphone placement on guitar amps, let's dive into the world of condenser microphones and uncover the secrets to unlocking the full sonic potential of your guitar amp.
Understanding the Condenser Microphone
Before delving into the specifics of placing a condenser microphone on a guitar amp, it’s essential to grasp the fundamental characteristics and functionality of condenser microphones. Unlike dynamic microphones, condenser microphones utilize an electrically-charged diaphragm and a backplate to convert sound waves into electrical signals. This design allows condenser microphones to capture a broader frequency range and deliver exceptional sensitivity, making them an ideal choice for recording intricate sound sources such as acoustic instruments and vocals.
Condenser microphones come in various diaphragm sizes, including small diaphragm and large diaphragm models. Small diaphragm condensers are renowned for their accurate transient response and ability to capture high-frequency details with precision, making them suitable for capturing the nuances of acoustic instruments and percussive sounds. On the other hand, large diaphragm condensers excel in capturing the warmth and depth of sound, making them a popular choice for recording vocals and instruments with rich harmonic content.
Understanding the polar patterns of condenser microphones is crucial in optimizing their placement on a guitar amp. Common polar patterns include cardioid, omnidirectional, and figure-8, each offering distinct characteristics that influence the microphone’s sensitivity to sound from different directions. For capturing the sound of a guitar amp, a cardioid condenser microphone is often preferred due to its directional pickup pattern, which focuses on the sound source while minimizing unwanted ambient noise and feedback.
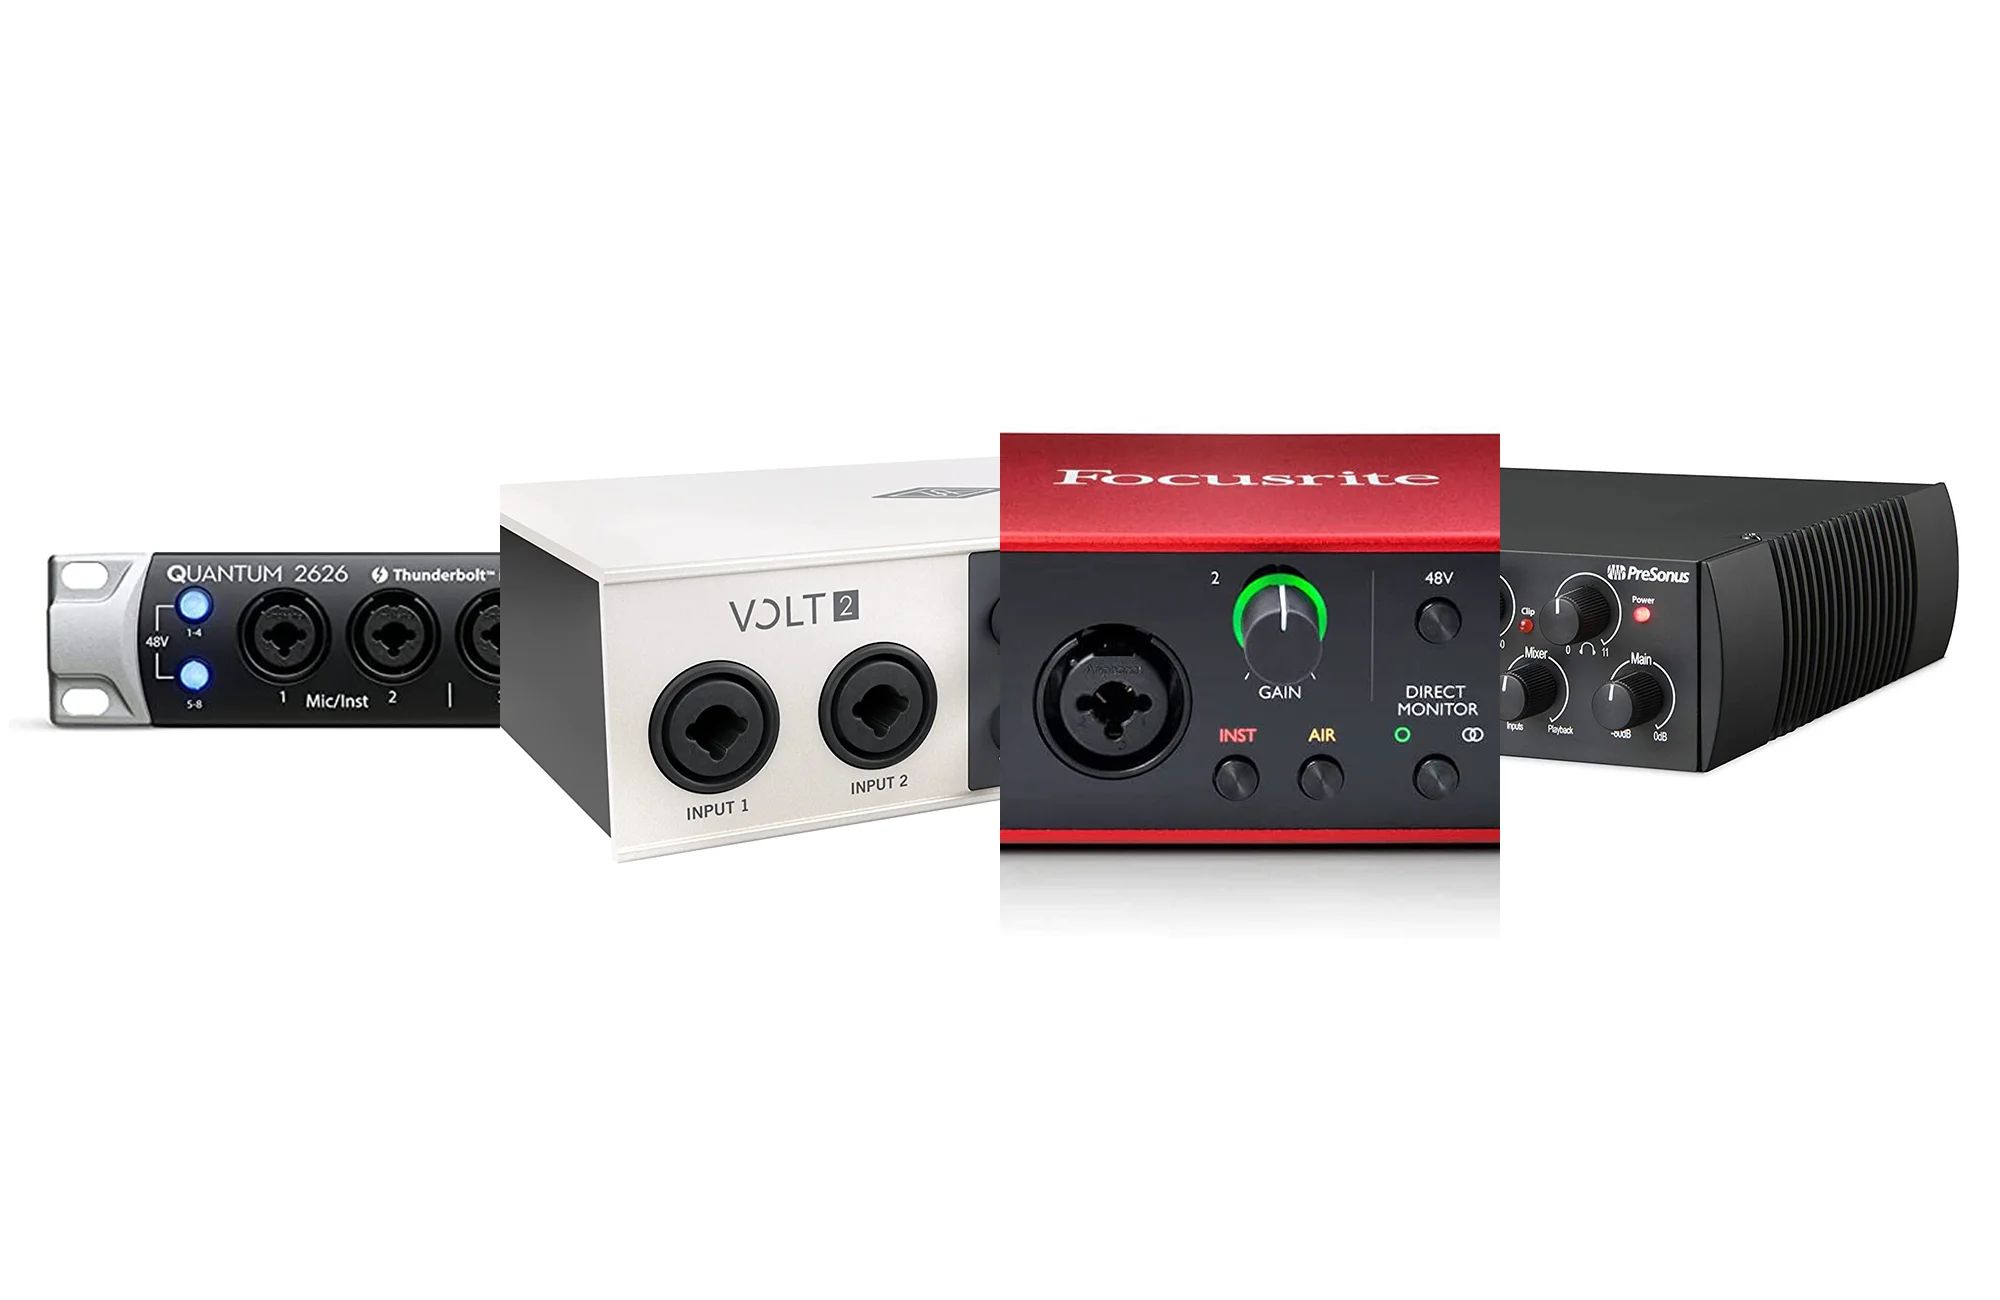
Furthermore, condenser microphones require phantom power to operate, typically supplied by a mixing console, audio interface, or dedicated microphone preamp. This power is essential for energizing the microphone’s internal circuitry and enabling it to capture sound with exceptional clarity and fidelity.
By comprehending the intricacies of condenser microphones, including their diaphragm sizes, polar patterns, and power requirements, you can make informed decisions when selecting the most suitable microphone for your guitar amp. With this knowledge as a foundation, you’ll be well-equipped to explore the art of placing and positioning condenser microphones to capture the full sonic spectrum of your guitar amp’s sound.
Choosing the Right Microphone for Your Guitar Amp
When selecting a microphone for capturing the sound of a guitar amp, it’s essential to consider the sonic characteristics of the amp, the desired tonal qualities, and the specific application, whether it’s recording in a studio environment or amplifying the sound in a live setting. The choice of microphone can profoundly influence the final sound, making it crucial to choose a microphone that complements the unique sonic profile of the guitar amp.
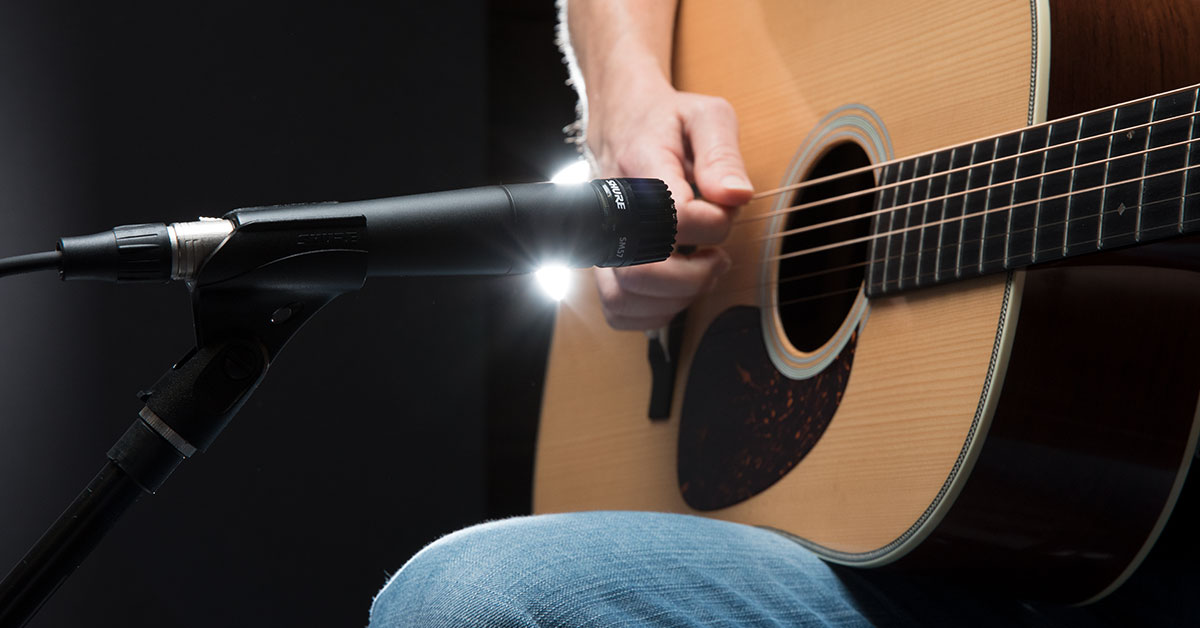
For recording electric guitar amplifiers, a dynamic microphone such as the legendary Shure SM57 is a popular choice due to its ability to handle high sound pressure levels and capture the punch and presence of the amp’s sound. The SM57’s robust build and tailored frequency response make it well-suited for close-miking guitar amp speakers, delivering a focused and impactful sound that cuts through the mix with clarity.
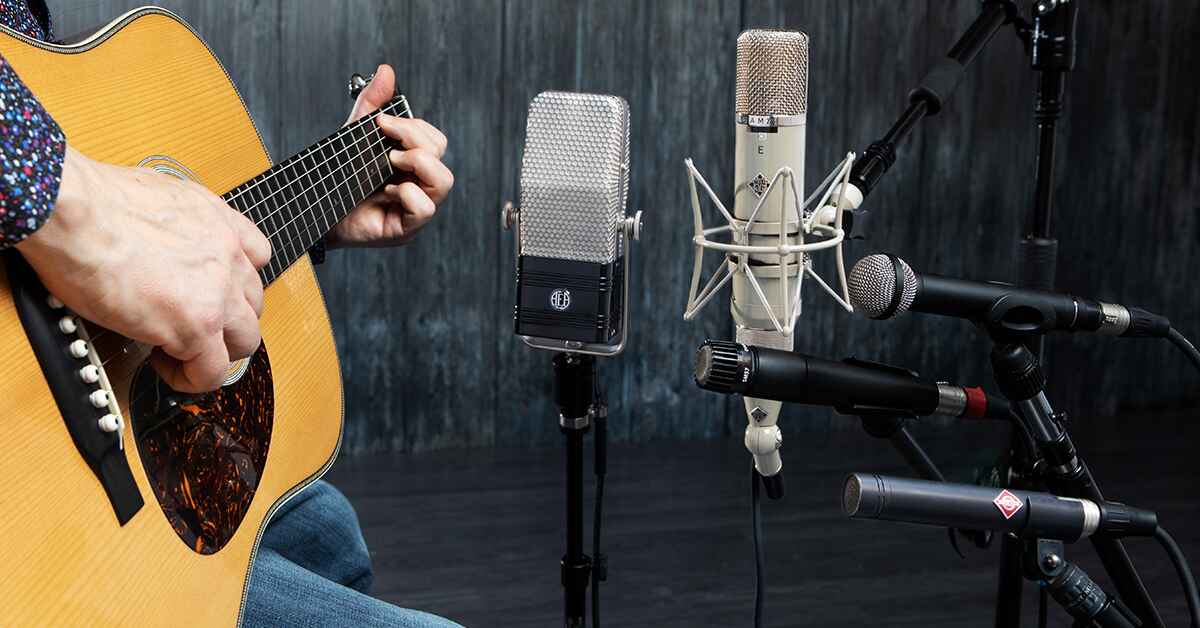
Alternatively, condenser microphones offer a broader frequency response and enhanced sensitivity, making them an excellent choice for capturing the nuances and harmonics of a guitar amp’s sound. Small diaphragm condensers like the AKG C451 or the Neumann KM184 are renowned for their ability to faithfully reproduce the transient details and high-frequency content of guitar amplifiers, making them ideal for capturing the shimmering top-end and intricate tonal nuances.
Large diaphragm condenser microphones such as the Neumann U87 or the Audio-Technica AT4050 excel in capturing the warmth and depth of the guitar amp’s sound, adding a rich and dimensional quality to the recordings. Their extended frequency response and nuanced transient capture make them an excellent choice for capturing the full sonic spectrum of the guitar amp, from the resonant lows to the sparkling highs.
When selecting a microphone for live amplification of a guitar amp, factors such as feedback resistance, off-axis rejection, and durability become paramount. Dynamic microphones with tight cardioid polar patterns, such as the Sennheiser e906 or the Electro-Voice RE20, offer excellent feedback rejection and off-axis sound suppression, making them reliable choices for capturing the sound of a guitar amp in a live performance environment.
By understanding the sonic characteristics of different microphones and their suitability for capturing the unique qualities of a guitar amp, you can make an informed decision when choosing the right microphone for your specific application, whether it’s recording, live sound reinforcement, or both.
Placing the Microphone on the Guitar Amp
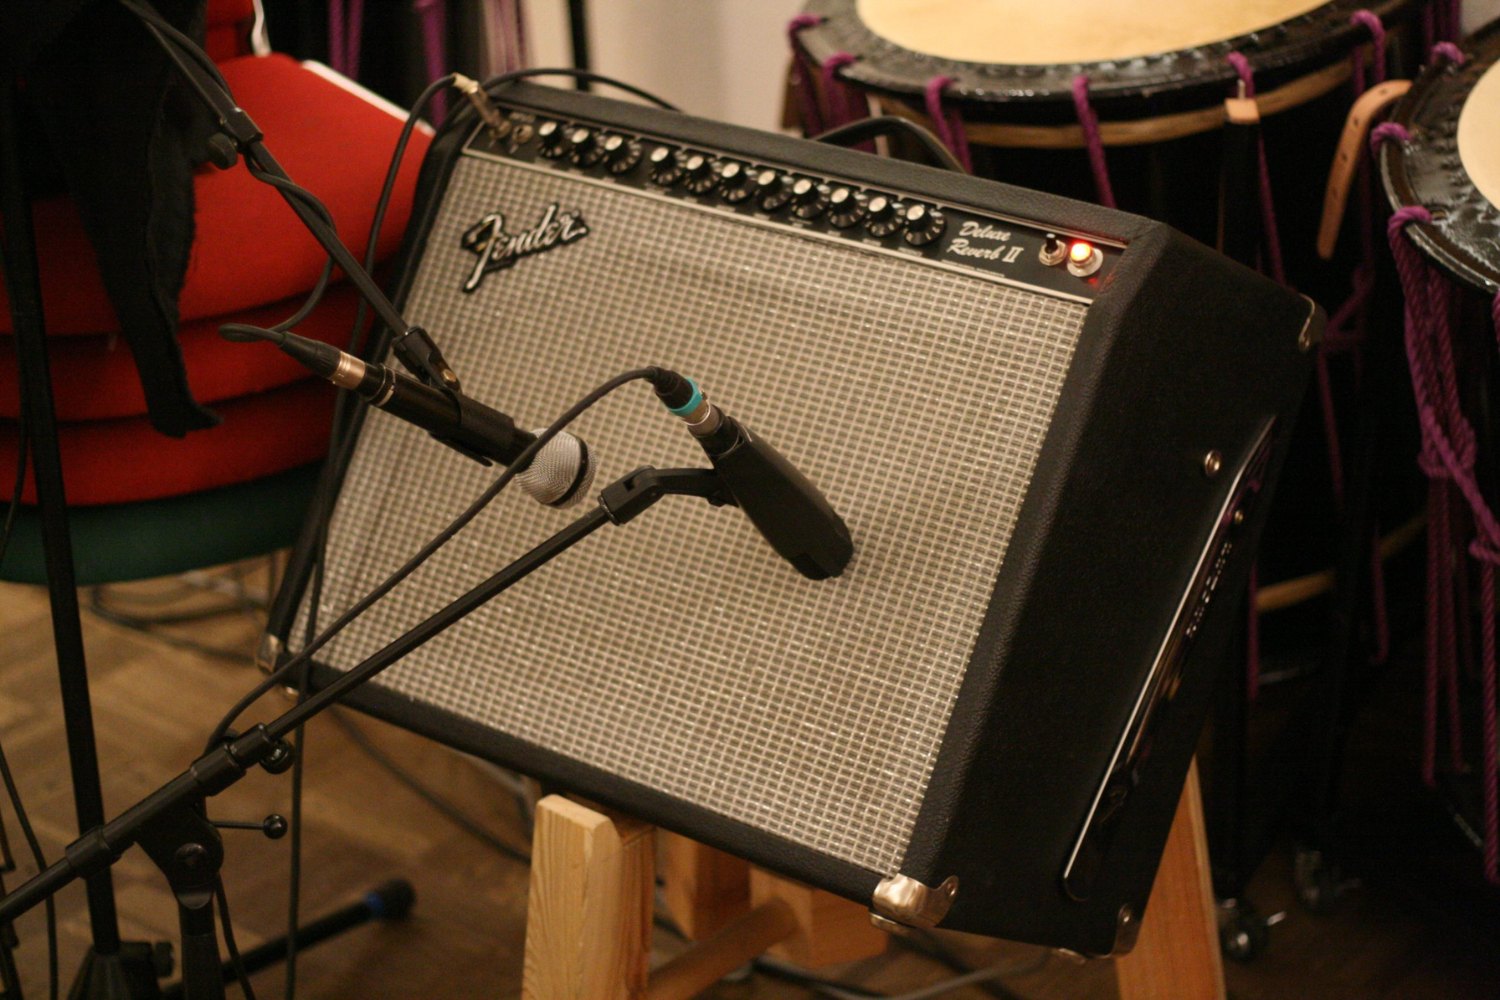
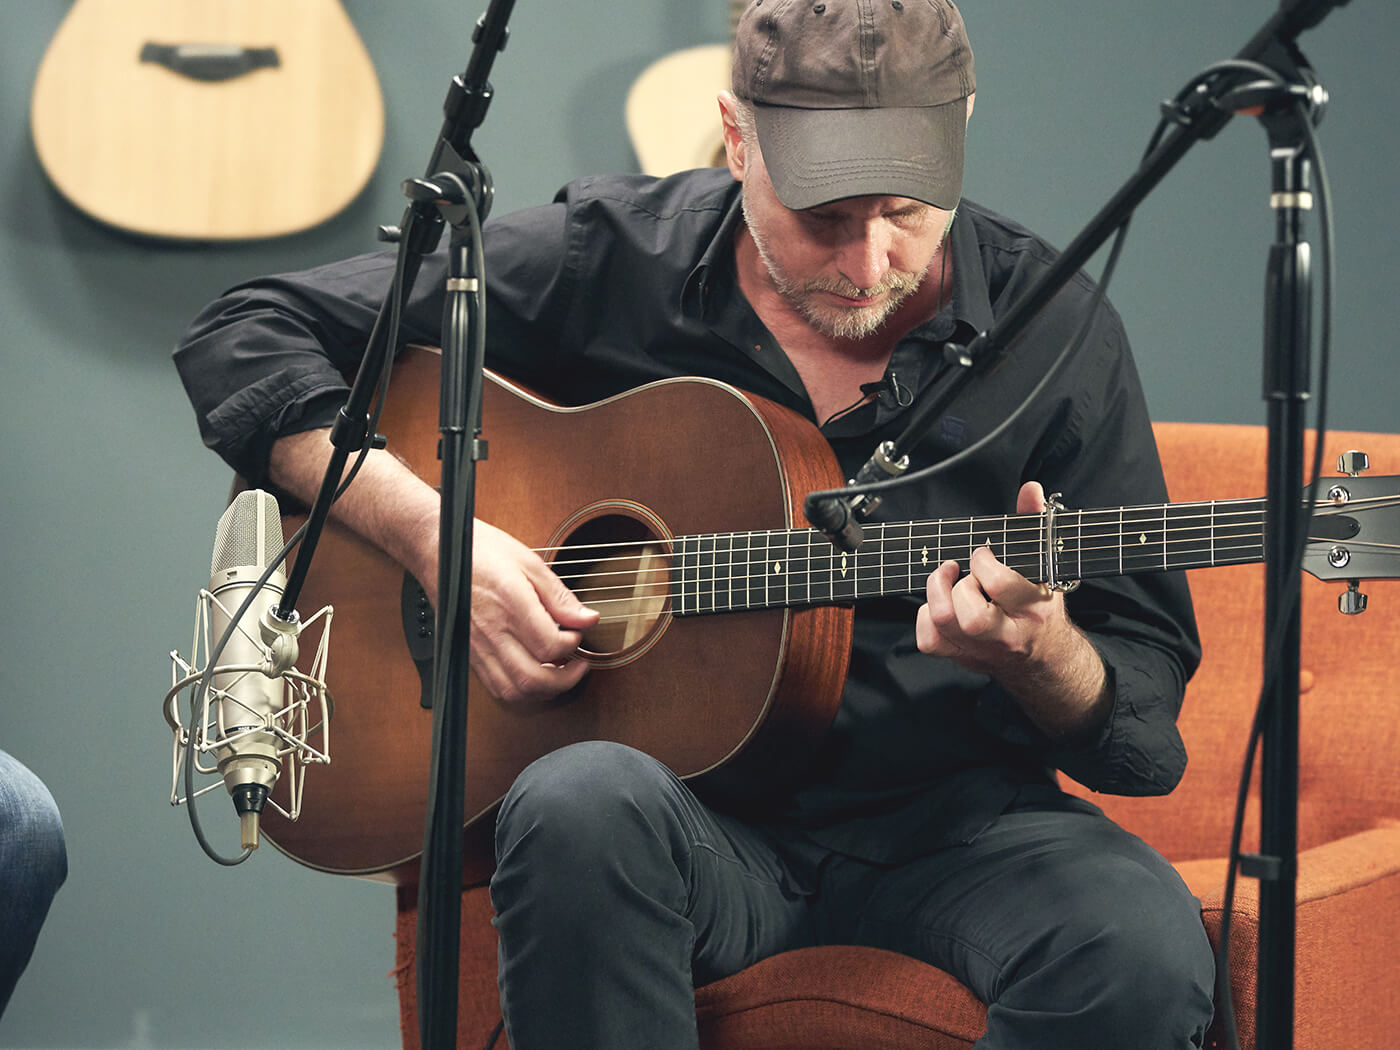
Once you have selected the appropriate microphone for capturing the sound of your guitar amp, the next crucial step is to position the microphone effectively to achieve the desired tonal characteristics and sonic nuances. The placement of the microphone in relation to the guitar amp’s speaker plays a pivotal role in capturing the optimal sound, making it essential to employ precise techniques for microphone placement.
When positioning a microphone on a guitar amp, the proximity to the speaker cone significantly influences the tonal characteristics and frequency response of the captured sound. Placing the microphone close to the speaker cone emphasizes the direct, punchy sound of the amp, accentuating the midrange and high-frequency content while capturing the speaker’s transient response with precision. This close-miking technique is ideal for capturing the amp’s dynamic and aggressive sound, commonly used in rock and metal genres.
Conversely, moving the microphone slightly away from the speaker cone or angling it towards the edge of the speaker can yield a more balanced tonal representation, capturing a blend of direct sound and ambient room reflections. This approach can introduce a sense of air and depth to the captured sound, adding a touch of natural ambiance and spatial dimension to the guitar amp’s tone. Experimenting with different microphone placements around the speaker cone can offer a diverse range of tonal options, allowing you to tailor the sound to suit your artistic vision.
Furthermore, the positioning of the microphone in relation to the speaker’s axis can influence the tonal balance and off-axis response of the captured sound. Placing the microphone directly in line with the center of the speaker cone captures the most focused and direct sound, while off-axis placement towards the edge of the speaker cone can introduce tonal variations and harmonic complexities, offering a nuanced sonic palette to explore.
It’s important to note that the distance between the microphone and the speaker also plays a crucial role in capturing the desired sound. Adjusting the microphone’s distance from the speaker allows for fine-tuning the balance between direct sound and ambient room reflections, offering control over the captured sound’s intimacy and spatial characteristics.
By mastering the art of placing the microphone on the guitar amp, you can unlock a myriad of sonic possibilities, allowing you to capture the full spectrum of the amp’s sound with precision and artistry.
Testing and Adjusting the Microphone Position
Once the microphone is placed in the desired position relative to the guitar amp’s speaker, it’s essential to conduct thorough testing and adjustments to ensure that the captured sound aligns with your sonic vision. Testing the microphone position involves monitoring the captured sound through headphones or studio monitors and making subtle adjustments to optimize the tonal characteristics and balance.
Begin by capturing a test recording or live sound check while monitoring the microphone’s output. Listen attentively to the captured sound and assess its tonal qualities, transient response, and overall balance. Pay close attention to the midrange presence, high-frequency articulation, and low-frequency depth to gauge the microphone’s positioning and its impact on the captured sound.
During the testing phase, experiment with slight adjustments to the microphone’s placement, such as varying the distance from the speaker cone, angling the microphone towards different areas of the speaker, or repositioning it along the speaker’s axis. These subtle adjustments can yield significant changes in the captured sound, allowing you to fine-tune the microphone’s position to achieve the desired sonic characteristics.
Additionally, consider the impact of the room acoustics on the captured sound and make adjustments to compensate for any undesirable reflections or resonances. If the room exhibits excessive reverberation or unwanted reflections, repositioning the microphone or utilizing acoustic treatment can help mitigate these issues and capture a more focused and defined sound from the guitar amp.
While testing and adjusting the microphone position, it’s crucial to involve the guitarist or performer in the process, as their feedback and input can provide valuable insights into the tonal qualities and articulation of the captured sound. Collaborating with the musician to refine the microphone position ensures that the captured sound aligns with the artistic vision and sonic expression intended for the performance or recording.
Throughout the testing and adjustment process, document the changes made to the microphone position and keep detailed notes on the sonic characteristics achieved with each adjustment. This systematic approach allows for methodical refinement of the microphone position and facilitates efficient decision-making based on the captured sound’s nuances.
By meticulously testing and adjusting the microphone position, you can fine-tune the captured sound to perfection, ensuring that the guitar amp’s sonic qualities are faithfully represented and optimized for the intended application, whether it’s recording a studio performance or delivering a captivating live sound experience.
Conclusion
Mastering the art of placing a condenser microphone on a guitar amp is a transformative journey that empowers you to capture the full sonic spectrum of the amp’s sound with precision and artistry. By understanding the characteristics of condenser microphones, selecting the right microphone for your specific application, and employing effective placement techniques, you can elevate the quality of your recordings and live performances, allowing the rich, dynamic sound of your guitar amp to resonate with clarity and depth.
Throughout this guide, we have explored the intricacies of condenser microphones, delving into their diaphragm sizes, polar patterns, and power requirements. This foundational knowledge equips you with the insights needed to make informed decisions when selecting the most suitable microphone for capturing the sound of your guitar amp, whether it’s for recording in a studio environment or amplifying the sound in a live setting.
Furthermore, we have discussed the critical considerations for positioning the microphone on the guitar amp, emphasizing the impact of proximity, angle, and distance on the captured sound’s tonal characteristics. By mastering the art of microphone placement, you can unlock a myriad of sonic possibilities, tailoring the sound to suit your artistic vision and sonic expression.
Testing and adjusting the microphone position emerged as a crucial phase in the process, allowing for meticulous refinement of the captured sound and collaboration with the musician to ensure that the sonic qualities align with the intended artistic vision. This iterative approach to testing and adjustment enables you to capture the guitar amp’s sound with precision and finesse, ensuring that it resonates with the desired tonal qualities and expressive nuances.
As you continue to explore the realm of microphone placement on guitar amps, remember that each step in the process contributes to the sonic tapestry of your recordings and performances. Embrace experimentation, collaboration, and attentive listening as you refine the microphone position, allowing the captivating sound of your guitar amp to shine through with clarity, depth, and expressive richness.
With dedication, knowledge, and a discerning ear, you can harness the power of condenser microphones to capture the essence of your guitar amp’s sound, creating recordings and live performances that resonate with authenticity and artistic brilliance.