Introduction
When it comes to capturing the rich and dynamic sound of an acoustic guitar, using the right microphone can make all the difference. Whether you’re recording in a studio or performing live on stage, properly micing an acoustic guitar is essential to achieving optimal sound quality.
In this article, we will explore the various types of microphones that are commonly used for micing acoustic guitars. Additionally, we will discuss the importance of choosing the right mic placement, as well as essential techniques for getting the best possible sound. Finally, we will provide some tips to help you avoid common mistakes and ensure the highest quality sound for your acoustic guitar recordings or performances.
Before we dive into the specifics, it’s important to understand that selecting the right microphone for your acoustic guitar is highly dependent on the desired sound and the context in which you’re recording or performing. There are several types of microphones to choose from, each with its own characteristics and sonic qualities.
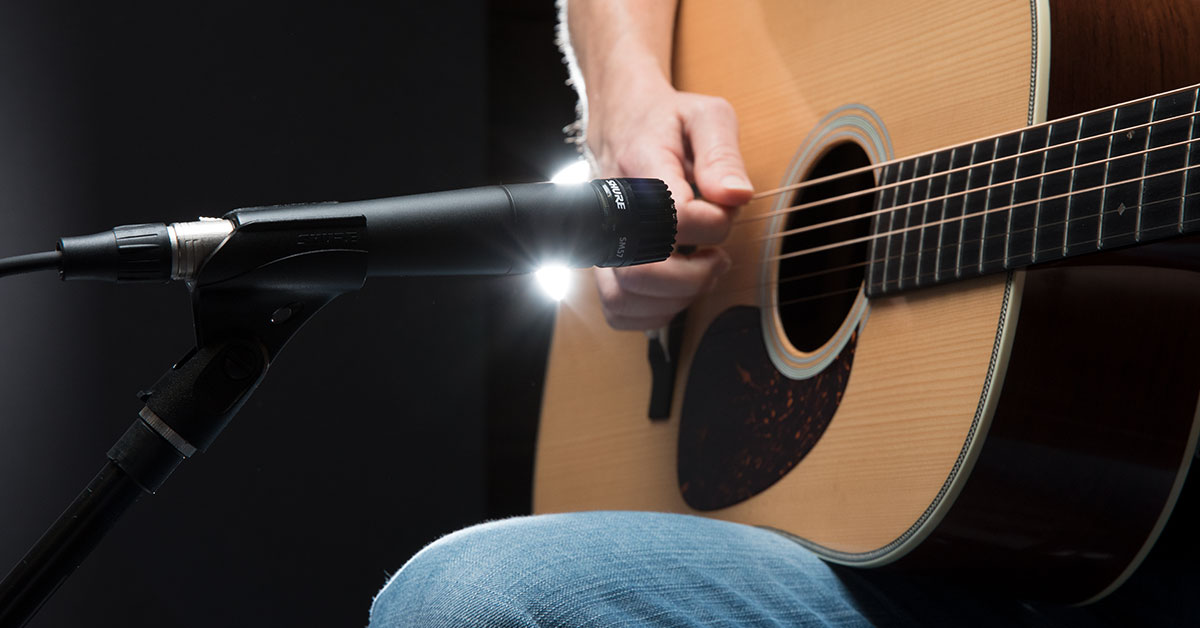
Dynamic microphones, such as the Shure SM57, are rugged and versatile, making them suitable for both studio and live applications. They are particularly effective for capturing the percussive attack and warmth of strummed acoustic guitars.
On the other hand, condenser microphones, like the Neumann U87, are more sensitive and offer a wider frequency response. They are commonly used in professional studio recordings to capture the intricate details and natural resonance of acoustic guitars.
Overall, the choice of microphone will depend on your personal preference and budget. It’s always a good idea to experiment with different microphones to find the one that best suits your acoustic guitar and desired sound.
Types of Microphones for Acoustic Guitars
When it comes to micing an acoustic guitar, different types of microphones offer distinct characteristics and benefits. Understanding the advantages and limitations of each type can help you make an informed decision for your specific needs.
1. Dynamic Microphones:
Dynamic microphones are known for their durability and versatility. They can handle high sound pressure levels and are less sensitive to ambient noise, making them ideal for live performances. When micing an acoustic guitar with a dynamic microphone, you can capture the instrument’s percussive attack and warm tone. Popular options include the Shure SM57 and the Sennheiser e609.
2. Condenser Microphones:
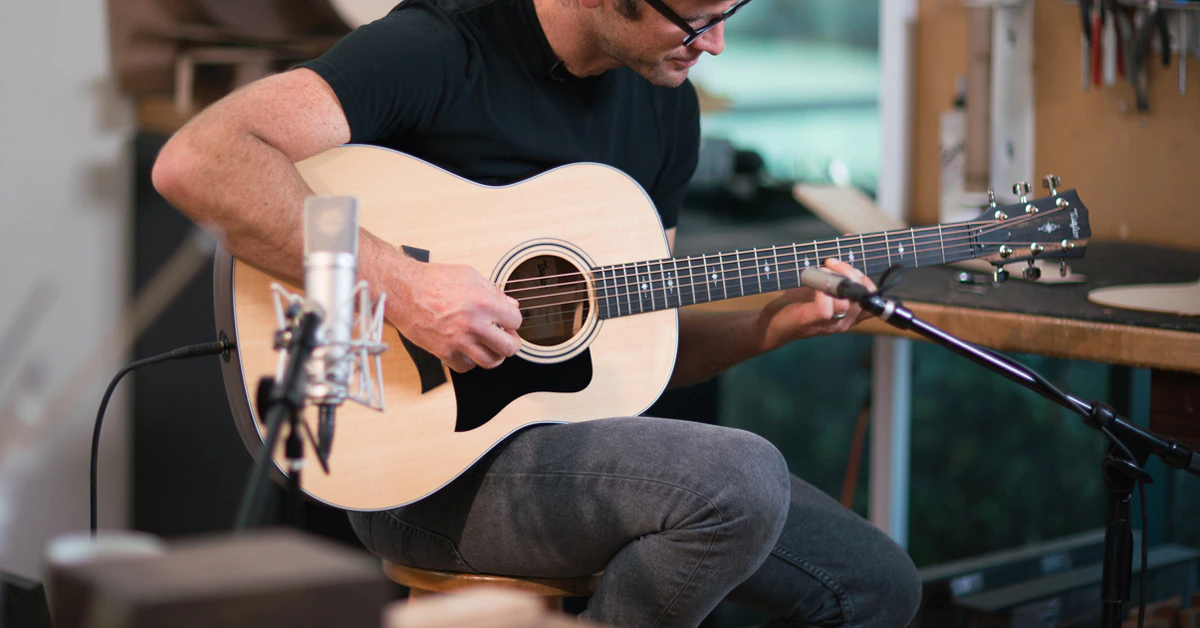
Condenser microphones are more sensitive and deliver a wider frequency response, making them a popular choice for studio recordings. They capture the intricate details and natural resonance of acoustic guitars with exceptional accuracy. Condenser mics require an external power source, either through batteries or phantom power. Professional-grade options like the Neumann U87 or AKG C414 are commonly used for high-quality acoustic guitar recordings.
3. Ribbon Microphones:
Ribbon microphones are revered for their warm and vintage sound. They have a figure-eight polar pattern, which means they capture sound equally from the front and back, while rejecting sound from the sides. Ribbon mics excel at capturing the natural tonal nuances and smoothness of acoustic guitars. They are delicate and can be sensitive to high sound pressure levels, so caution is advised when using them for loud performances. The Royer R-121 and the Coles 4038 are well-regarded ribbon microphone options.
4. Piezo Pickups:
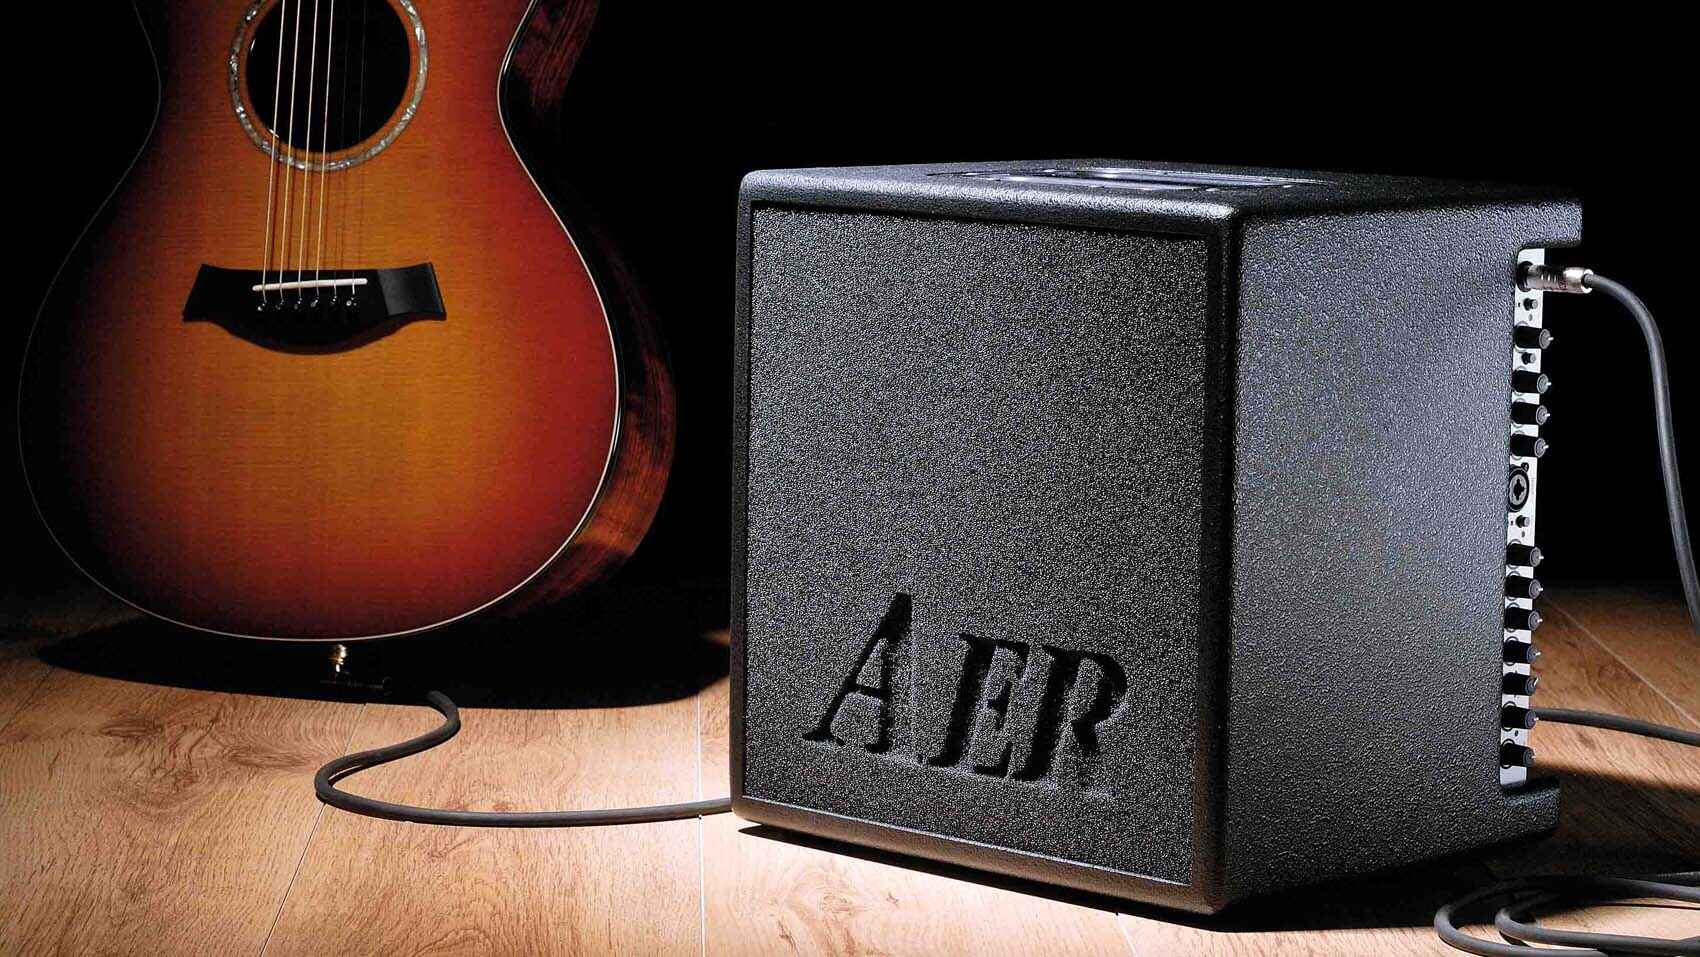
Piezo pickups are not traditional microphones, but they are commonly used in acoustic guitars’ built-in pickup systems. These pickups sit under the guitar’s saddle and detect the vibrations, allowing you to amplify the sound. While piezo pickups offer convenience and feedback resistance, they can lack the depth and complexity offered by microphone recordings.
It’s important to note that many recording engineers use a combination of microphones to capture the optimal sound. For example, blending a dynamic microphone with a condenser microphone can provide a balanced and natural tone for your acoustic guitar recordings.
When selecting a microphone for your acoustic guitar, consider the intended use (live performance or studio recording), the desired sound, and your budget. Experimentation with different microphone types and positions can unlock the perfect tone for your instrument.
Choosing the Best Mic Placement
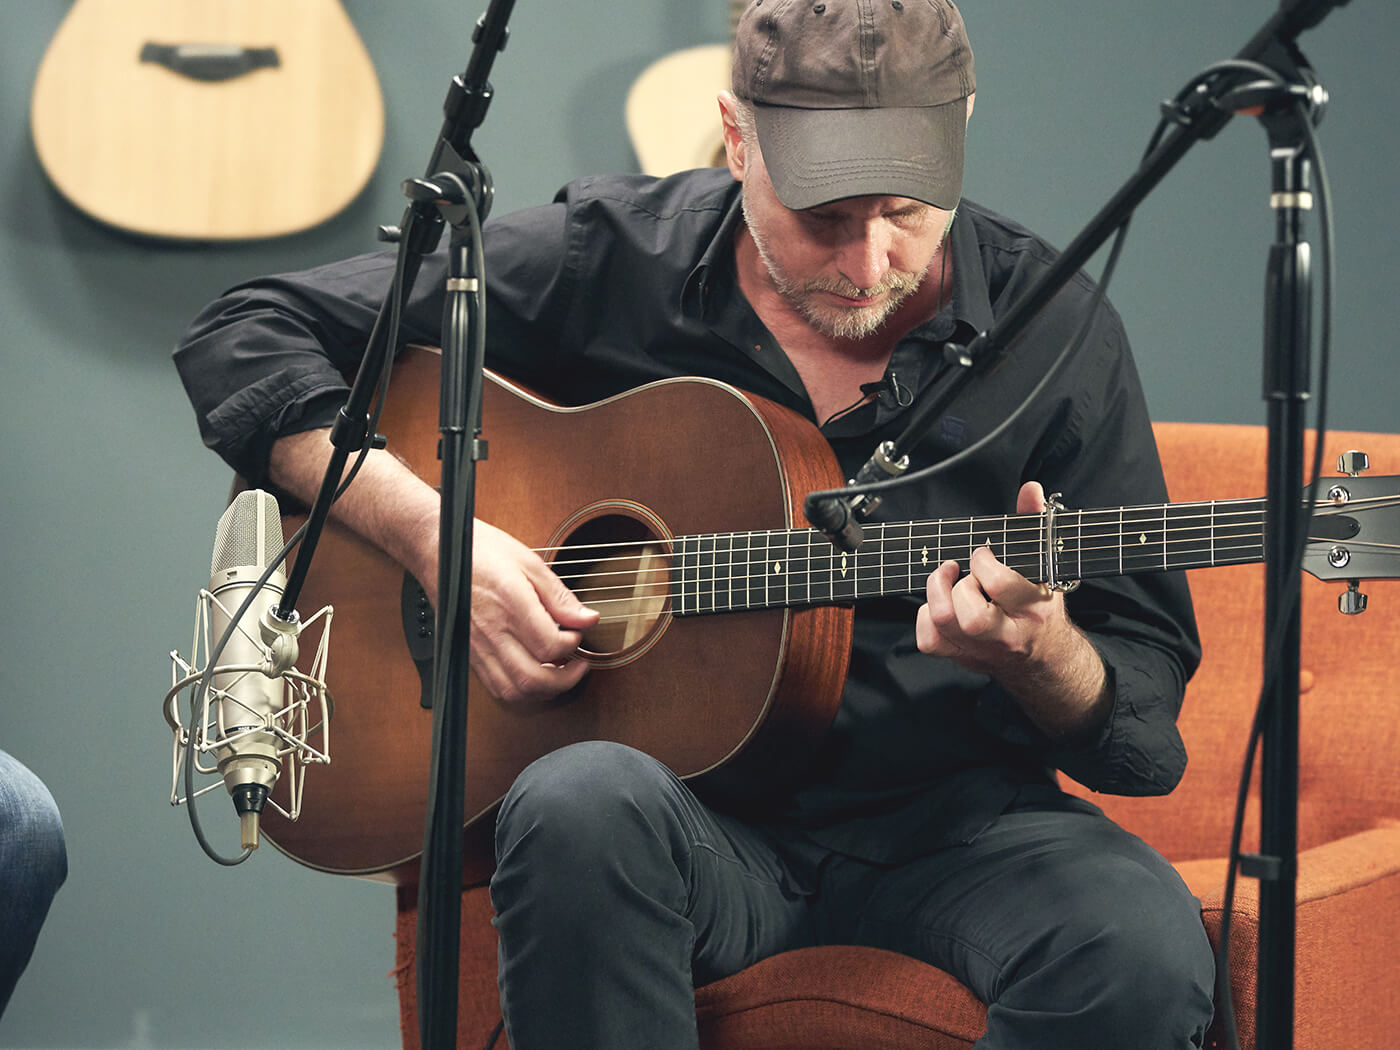
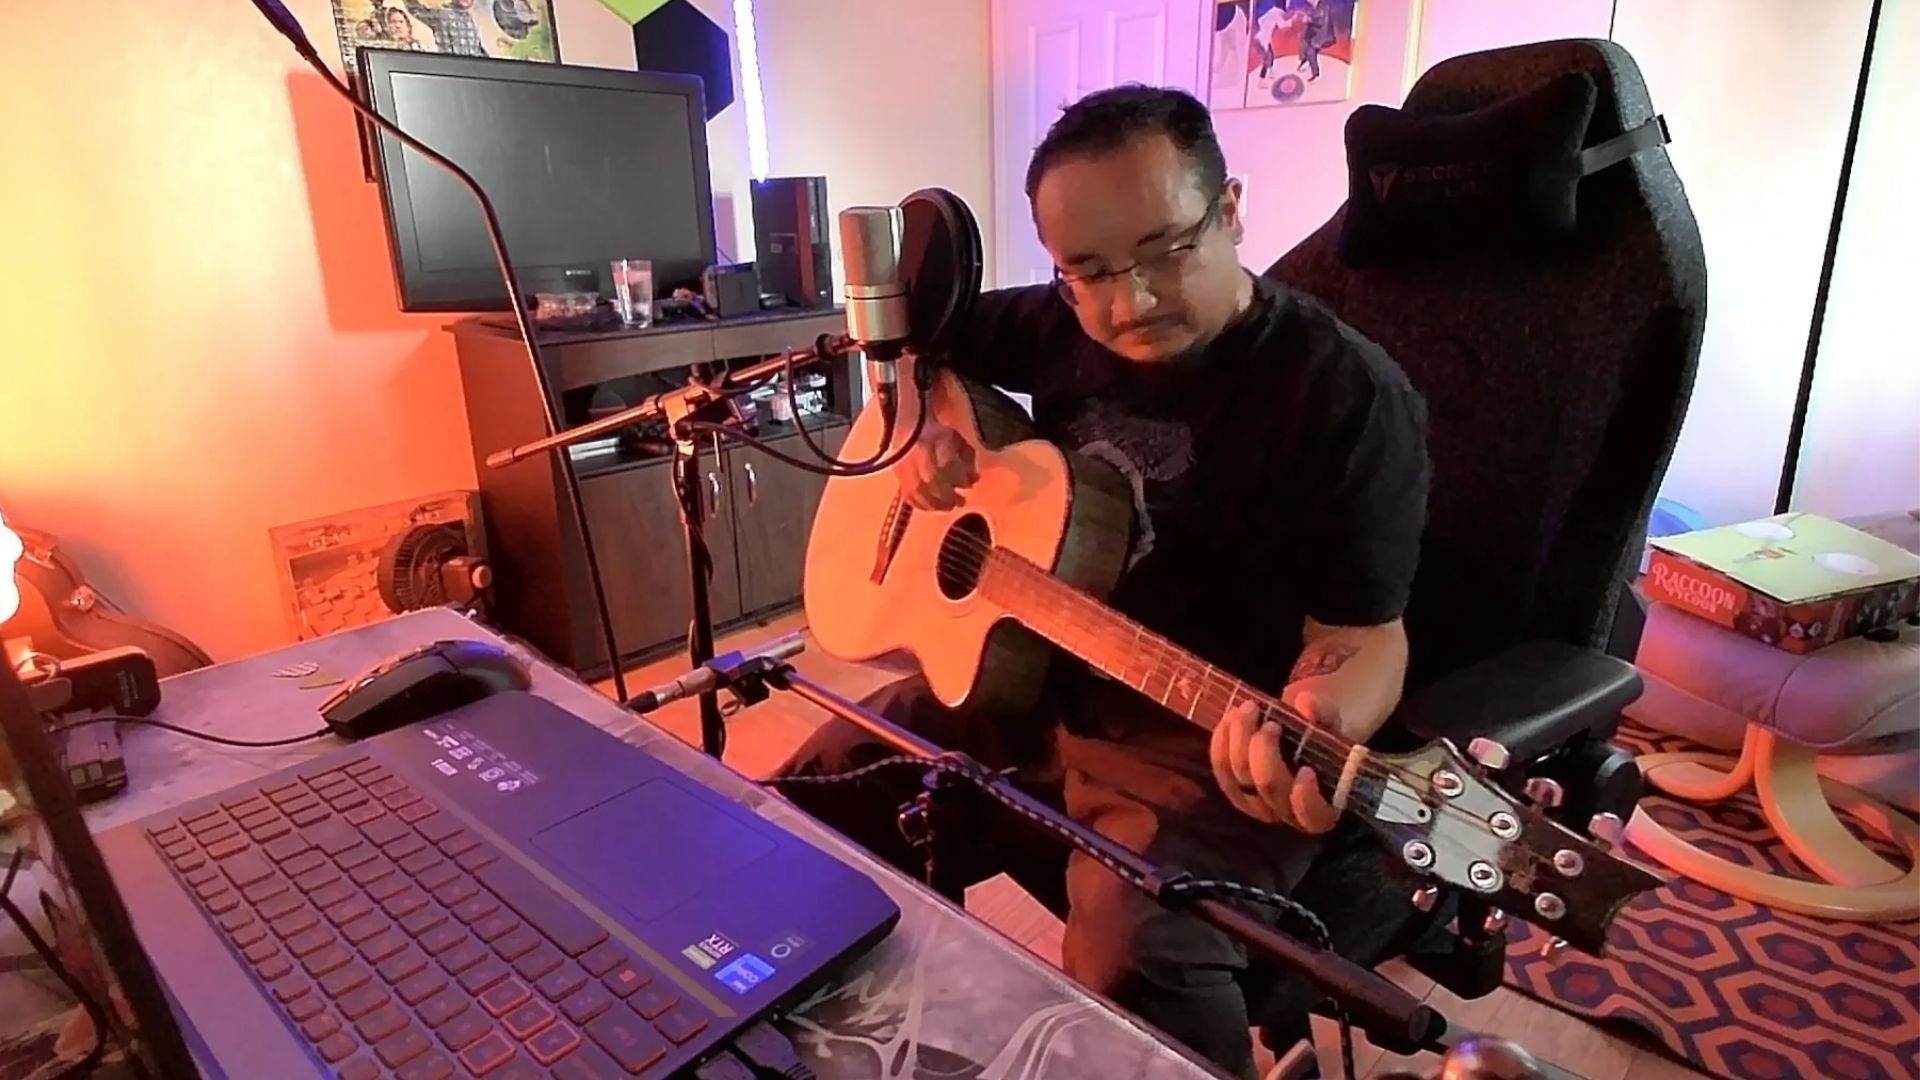
Proper mic placement is crucial when micing an acoustic guitar. The microphone’s position in relation to the guitar will greatly affect the sound you capture. Experimenting with different mic placements can help you achieve the desired tone and balance. Here are some common mic placement techniques to consider:
1. Soundhole Placement:
Placing the microphone directly in front of the soundhole is a common starting point. This position captures the natural resonance and warmth of the guitar, emphasizing the low-end frequencies. However, be mindful that it can also pick up excessive finger noise and body handling sounds, so controlling the proximity and angle of the microphone is crucial.
2. 12th Fret Placement:
Positioning the microphone around the 12th fret area allows you to capture a more balanced tone with a blend of both the low and high-end frequencies. This placement emphasizes the guitar’s midrange and can offer a more focused and articulate sound.
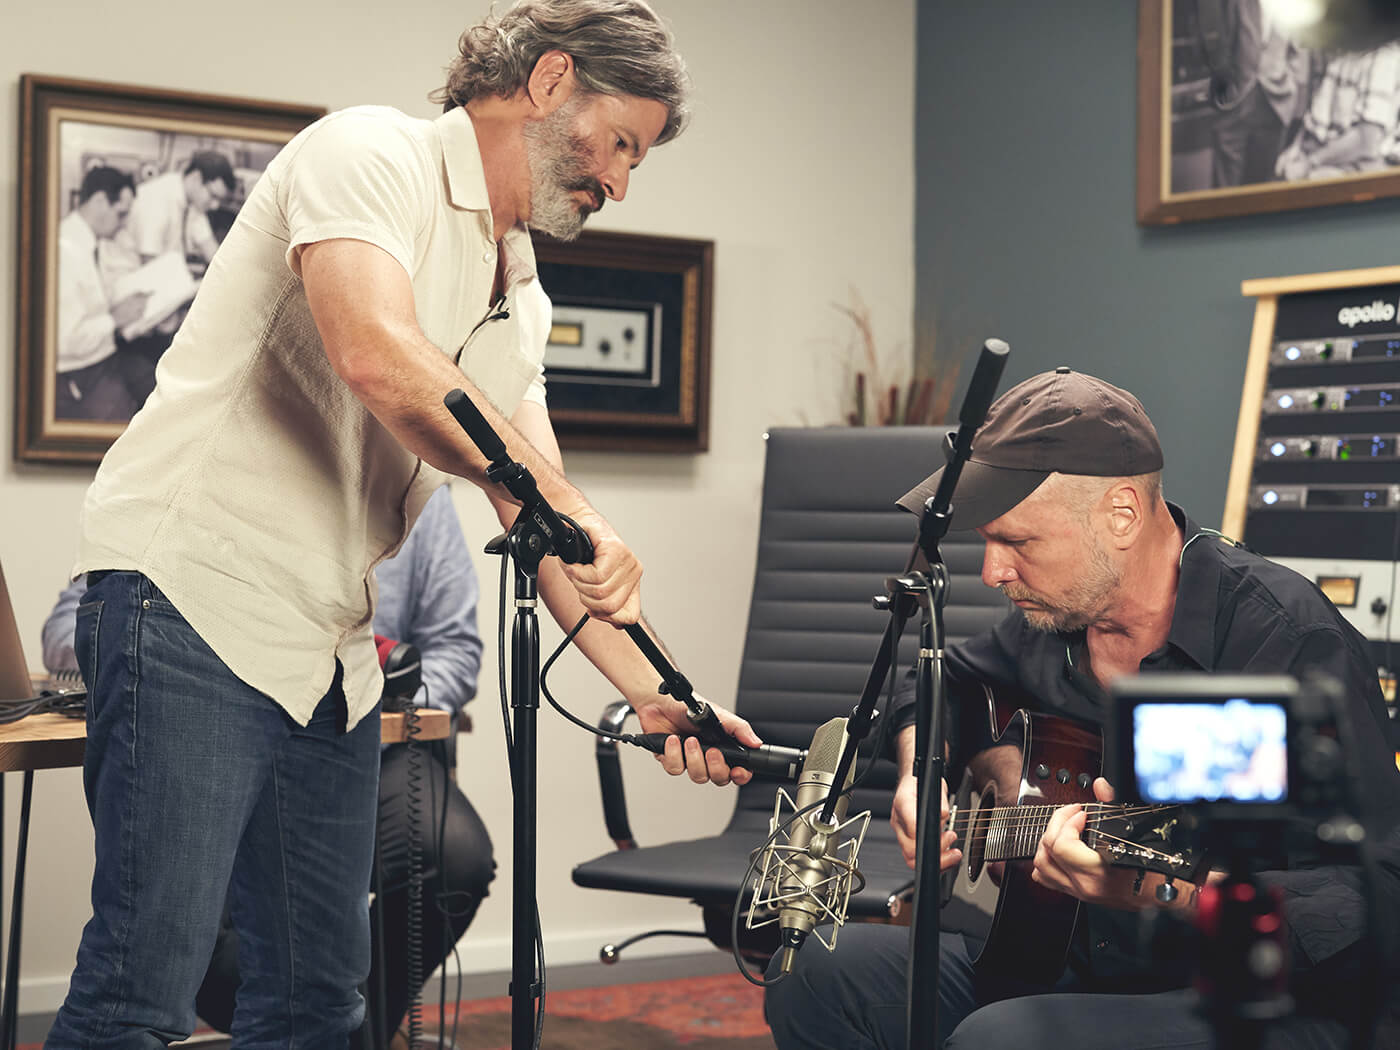
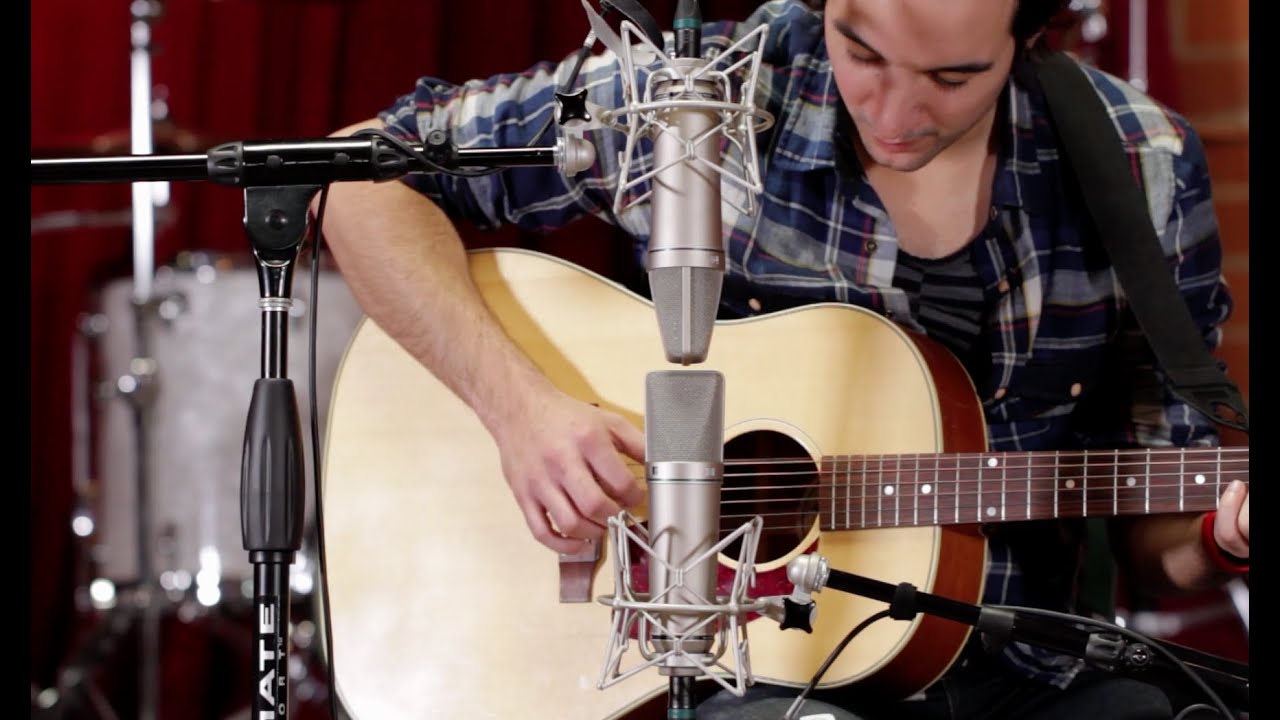
3. Stereo Mic Placement:
For a more immersive sound, consider using two microphones in a stereo configuration. One microphone can be placed near the soundhole for warmth and depth, while the other is positioned around the 12th fret or slightly above for clarity and sparkle. This technique can provide a wider stereo image and a sense of depth to your recordings.
4. Room Mic Placement:
In addition to close-miking techniques, incorporating a room microphone can capture the natural ambiance and resonance of the acoustic guitar. Place a microphone several feet away from the guitar, facing the sound source, to pick up the room’s reflections and add depth to the sound.
When experimenting with mic placement, it’s essential to maintain a consistent distance from the guitar, as moving the microphone closer or farther will affect the balance of frequencies. It’s also worth noting that the position of the musician’s hands and body can impact the sound as well, so consider the overall performance when adjusting the microphone placement.
Remember, there are no hard and fast rules for mic placement. Each acoustic guitar and room will have its own unique characteristics, and personal preference will play a significant role. Take the time to experiment with different placements, listen critically, and trust your ears to find the sweet spot for capturing the best sound from your acoustic guitar.
Essential Mic Techniques for Acoustic Guitars
Mastering microphone techniques is essential for capturing the best sound from your acoustic guitar. Proper mic techniques can enhance the natural characteristics of the instrument and provide clarity and balance in your recordings. Here are some essential techniques to consider:
1. Close-Miking:
Close-miking involves placing the microphone relatively close to the instrument to capture its detailed nuances. Experiment with different mic placements mentioned earlier, such as placing the microphone near the soundhole or the 12th fret, to find the balance that suits your desired sound.
2. Diaphragm Orientation:
When using a condenser microphone, pay attention to the diaphragm orientation. Typically, placing the diaphragm perpendicular to the guitar’s soundboard yields the best results. This position allows the microphone to capture the full frequency range without emphasizing specific frequencies excessively.
3. Angle and Proximity:
The angle and proximity of the microphone can significantly affect the sound. Experiment by angling the microphone slightly towards or away from the instrument to find the sweet spot. Additionally, adjusting the proximity of the microphone can control the balance between the direct sound and room ambience.
4. Phase Alignment:
When using multiple microphones, it’s important to check for phase issues. Phase cancellation can occur when two or more microphones pick up the same sound source but are out of phase with each other. To avoid this, listen to the blended sound through headphones and adjust the microphone positions until you achieve a full and coherent sound.
5. Panning and Stereo Imaging:
When working with stereo microphone techniques or multiple microphones, consider the panning and stereo imaging of the recorded tracks. This allows you to create a sense of space and depth in your mix. Adjust the panning of each microphone track to create a balanced stereo spread.
6. Gain Staging:
Pay attention to the gain staging of your microphones to avoid clipping or distortion. Ensure that the microphone signal matches the input level of your recording device or preamplifier. Adjust the gain accordingly to capture the optimal signal without sacrificing sound quality.
Remember, these techniques serve as a foundation, but there is always room for experimentation and personal preference. Each acoustic guitar and performance setting may require different approaches. Trust your ears and feel free to explore different mic techniques to achieve the desired sound for your acoustic guitar recordings.
Tips for Achieving the Best Sound Quality
When micing an acoustic guitar, there are several factors to consider that can greatly impact the overall sound quality. Here are some helpful tips to ensure you capture the best possible sound:
1. Quality Instrument and Strings:
Start with a high-quality acoustic guitar and fresh strings. A well-made instrument and new strings will produce a more vibrant and resonant sound, providing a solid foundation for your recordings or performances.
2. Room Acoustics:
Take into account the acoustics of the room you are recording or performing in. A room with good natural reverb can add depth and character to your recordings. Experiment with microphone placement to capture the optimal balance between the guitar and the room’s natural ambiance.
3. Control Background Noise:
Avoid recording in noisy environments that can interfere with the clarity of your recordings. Ensure that the background noise is minimized to maintain the focus on the acoustic guitar’s sound. Consider using sound isolation techniques or a quiet space for your recordings.
4. Proper Mic Positioning:
Experiment with different mic positions to find the sweet spot that captures the desired tone and balance. Don’t be afraid to move the microphone around and listen critically to find the best sound for your acoustic guitar.
5. Monitor the Signal:
Keep an eye on the signal levels to avoid distortion or clipping. Ensure that the microphone signal is neither too low, resulting in a weak sound, nor too high, leading to distortion. Monitor the levels throughout the recording or performance to maintain consistent sound quality.
6. Use a Pop Filter:
When capturing vocals along with the acoustic guitar, use a pop filter to minimize plosive sounds. Plosives are strong bursts of air that can create unwanted audio issues. A pop filter placed between the vocalist and the microphone helps eliminate these sounds and ensures a cleaner recording.
7. Experiment with Microphone Blending:
Consider using multiple microphones to blend different tones and capture various aspects of the acoustic guitar’s sound. Combining a dynamic mic for the percussive attack and a condenser mic for the intricate details can enhance the overall sound quality and add depth to your recordings.
8. Post-Processing and EQ:
After recording, make use of post-processing techniques and EQ to enhance the sound further. Fine-tune the levels, apply subtle compression, and use EQ to shape the frequency response and remove any unwanted frequencies. Remember to approach post-processing with subtlety and let the natural sound of the acoustic guitar shine through.
By implementing these tips, you can significantly improve the sound quality of your acoustic guitar recordings or performances. Remember that practice, experimentation, and attentive listening are key to achieving the best possible results.
Common Mistakes to Avoid
When micing an acoustic guitar, it’s important to be aware of common mistakes that can negatively impact the sound quality. By avoiding these errors, you can ensure a more professional and polished result. Here are some common mistakes to watch out for:
1. Poor Mic Placement:
Avoid haphazardly placing the microphone without considering its position in relation to the guitar. Improper mic placement can result in an unbalanced or muffled sound. Take the time to experiment with different placements to find the best position that captures the desired tone and balance.
2. Ignoring Room Acoustics:
Don’t overlook the impact of the room’s acoustics on your recordings. A room with excessive echo or reverb can muddle the sound of the guitar. Conversely, a room with poor acoustics can make the recording sound dull and lifeless. Take the time to find a suitable recording space or consider using acoustic treatment to improve the sound quality.
3. Neglecting Noise Control:
Avoid recording in noisy environments or failing to control background noise. Unwanted noise can compromise the clarity and purity of the guitar’s sound. Ensure that the recording environment is as quiet as possible to maintain the focus on the instrument.
4. Improper Gain Staging:
Failure to set the correct gain levels can lead to distortion or an inadequate signal. Pay attention to the microphone’s input level and adjust it accordingly. Avoid clipping or overloading the signal to preserve the integrity of the recording.
5. Not Monitoring the Signal:
Failure to consistently monitor the signal levels during a recording or performance can result in unexpected issues. Keep an eye on the signal meter and ensure that levels are within the appropriate range. This will help you catch any potential problems and maintain optimal sound quality.
6. Over-Processing the Sound:
Avoid excessive post-processing and effects that can degrade the natural sound of the guitar. While some post-processing is necessary, it’s important to use it judiciously and preserve the instrument’s authenticity. Apply EQ and compression with subtlety to enhance the sound without overpowering it.
7. Using Poor-Quality Equipment:
The quality of your microphones and recording equipment can significantly impact the sound outcome. Investing in high-quality microphones and audio interfaces will yield better results. Cheap or subpar equipment can introduce unwanted noise, distortion, and a lower overall sound quality.
By being aware of these common mistakes and taking the necessary precautions, you can avoid these pitfalls and achieve a more professional and captivating sound when micing your acoustic guitar.
Conclusion
Micing an acoustic guitar requires careful consideration of microphone types, placement techniques, and sound quality to achieve the desired results. By understanding the characteristics of different microphones and experimenting with various placements, you can capture the unique timbre and resonance of your acoustic guitar.
Remember to choose a microphone that suits your needs and budget, whether it’s a dynamic microphone for live performances or a condenser microphone for studio recordings. Pay attention to mic placement, taking into account factors such as distance, angle, and proximity to the sound source to capture the ideal balance of tones.
Additionally, maintaining optimal sound quality involves avoiding common mistakes like poor mic placement, ignoring room acoustics, neglecting noise control, improper gain staging, and over-processing the sound. By addressing these issues, you can ensure a clean, clear, and professional sound capture.
Lastly, always trust your ears and be willing to experiment. Each acoustic guitar and recording environment is unique, and finding the best sound is a combination of technique and personal preference. Take the time to listen critically and make adjustments as needed to achieve the best possible sound for your acoustic guitar recordings or performances.
With the proper microphone selection, thoughtful mic placement, and attention to sound quality, you can capture the true essence and beauty of your acoustic guitar, delighting listeners with its rich, resonant tones.