Introduction
Introduction
The acoustic guitar is a versatile and expressive instrument that can add warmth and depth to any musical arrangement. Whether you're recording a solo performance, tracking acoustic rhythm parts, or capturing the subtle nuances of fingerstyle playing, getting a great acoustic guitar sound is essential. In this guide, we'll explore the essential techniques for mixing acoustic guitar to help you achieve a professional and polished sound.
When it comes to mixing acoustic guitar, there are several key factors to consider. From choosing the right microphone to optimizing mic placement, setting levels, applying EQ and compression, and adding reverb and delay, each step plays a crucial role in shaping the final sound. By mastering these techniques, you can bring out the natural beauty of the acoustic guitar while ensuring that it sits perfectly in the mix.
In the following sections, we'll delve into each of these aspects in detail, providing practical tips and insights to help you elevate your acoustic guitar recordings. Whether you're a seasoned engineer looking to refine your skills or a beginner seeking to learn the fundamentals of acoustic guitar mixing, this guide is designed to equip you with the knowledge and tools necessary to achieve outstanding results. So, let's dive in and discover the art of mixing acoustic guitar!
Choosing the Right Mic
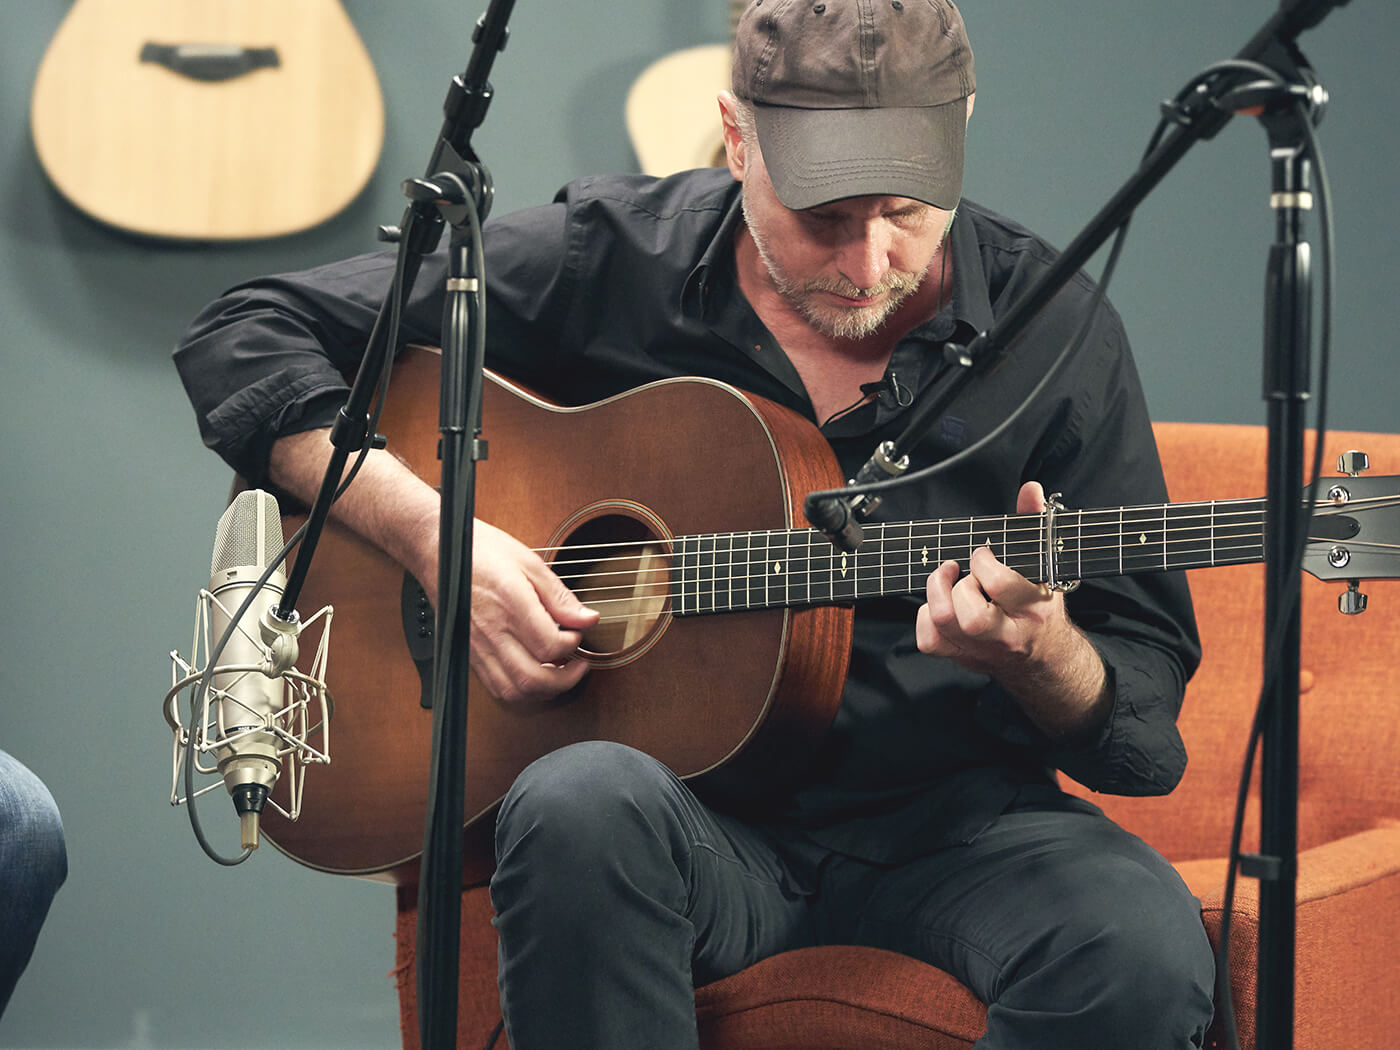
When it comes to capturing the rich and nuanced sound of an acoustic guitar, selecting the right microphone is paramount. The choice of mic can significantly influence the tonal characteristics and overall sonic quality of the recording. There are various types of microphones commonly used for capturing acoustic guitar, each with its own sonic attributes and ideal applications.
Condenser microphones are a popular choice for recording acoustic guitar due to their sensitivity and ability to capture the instrument’s intricate details. They excel at capturing the transient response and harmonic richness of the guitar, making them well-suited for capturing fingerpicking, intricate strumming patterns, and delicate nuances.
On the other hand, dynamic microphones can also be used to capture the acoustic guitar, particularly in live sound reinforcement or for achieving a more focused and punchy sound. While they may not offer the same level of detail and high-frequency response as condenser mics, dynamic microphones can impart a warm and robust character to the guitar sound, making them suitable for certain musical styles and sonic aesthetics.
Additionally, ribbon microphones are renowned for their smooth and natural sound reproduction, making them a compelling choice for capturing the warmth and character of acoustic instruments. Their gentle high-frequency roll-off and natural transient response can impart a vintage and intimate quality to acoustic guitar recordings.
When selecting a microphone for recording acoustic guitar, it’s essential to consider the sonic characteristics you wish to emphasize, the recording environment, and the specific tonal qualities of the instrument. Experimenting with different microphone types and placements can provide valuable insights into the sonic possibilities and help you discover the ideal microphone for capturing the unique voice of your acoustic guitar.
Mic Placement
Once you’ve chosen the right microphone for capturing the acoustic guitar, the next critical step is determining the optimal mic placement. The placement of the microphone relative to the guitar significantly influences the tonal balance, frequency response, and spatial characteristics of the recorded sound. By strategically positioning the microphone, you can capture the full spectrum of the guitar’s sonic nuances and achieve a balanced and natural sound.
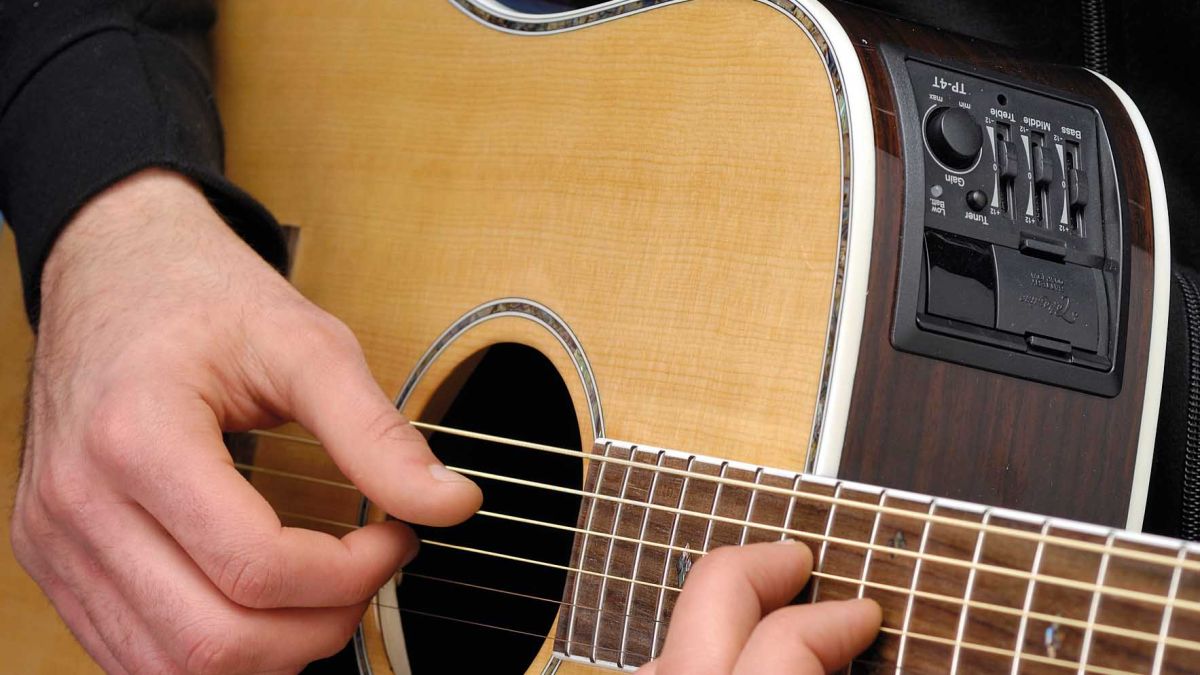
When positioning a microphone for acoustic guitar recording, the soundhole, the fretboard, and the body of the guitar are key areas to consider. Placing the microphone near the soundhole can emphasize the low-end warmth and resonance of the guitar, making it ideal for capturing a rich and full-bodied sound. However, this placement may also result in an excessive buildup of low frequencies, requiring careful attention during the mixing process to maintain clarity and definition.
Alternatively, positioning the microphone closer to the fretboard or the 12th fret can capture a more detailed and articulate sound, accentuating the midrange and high-frequency clarity of the guitar. This placement can be particularly effective for capturing intricate fingerstyle playing and subtle harmonic overtones, adding a sense of intimacy and expressiveness to the recording.
Experimenting with different mic placements, such as varying the distance from the guitar and angling the microphone, can yield diverse tonal characteristics and spatial imaging. Additionally, utilizing multiple microphones, such as a stereo pair or a combination of close and distant miking, can offer enhanced sonic depth and dimensionality, allowing for greater flexibility during the mixing process.
It’s important to consider the acoustic environment and the desired sonic aesthetic when determining mic placement. The acoustic properties of the recording space, such as room reflections and ambient characteristics, can also influence mic placement decisions and contribute to the overall sonic texture of the recording.
By carefully exploring different mic placement options and considering the sonic attributes you wish to capture, you can tailor the microphone positioning to suit the unique tonal qualities and expressive nuances of the acoustic guitar, ultimately enhancing the depth and realism of the recorded sound.
Setting Levels
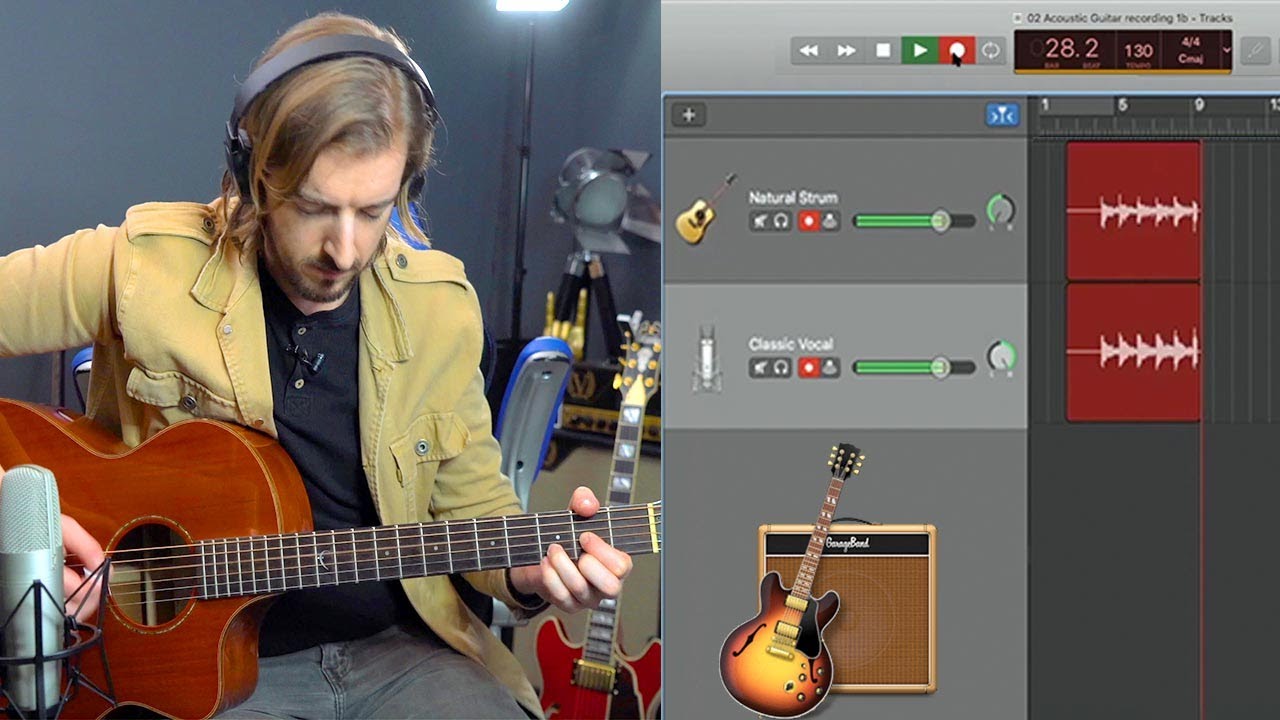
Once the microphone is in place, the next crucial step in mixing acoustic guitar is setting the levels to ensure a balanced and well-defined sound. Proper level setting is essential for capturing the dynamic range of the acoustic guitar performance while maintaining a healthy signal-to-noise ratio and avoiding distortion.
When setting levels for acoustic guitar recording, it’s important to monitor the input signal and adjust the microphone preamp or recording interface to achieve an optimal level without clipping. Aim to capture a healthy signal that allows for the full expression of the instrument’s dynamics while avoiding excessive peaks that could lead to distortion.
During the recording process, it’s beneficial to have the guitarist perform at their intended playing intensity to gauge the dynamic range of the performance. This allows for real-time adjustments to the input levels, ensuring that both the delicate nuances and the more forceful passages are captured with clarity and fidelity.
Utilizing the gain control on the microphone preamp or the input level on the recording interface, carefully monitor the input signal level on the recording device’s metering system. Aim to achieve an average signal level that provides ample headroom for dynamic peaks while avoiding prolonged excursions into the red zone, which may result in undesirable distortion.
Additionally, consider the overall balance of the acoustic guitar within the context of the mix. While setting levels during recording, it’s beneficial to envision how the guitar will interact with other instruments and elements in the arrangement, allowing for appropriate headroom and dynamic range to accommodate subsequent processing and mixing stages.
By attentively setting levels during the recording phase, you can capture the full expressive range of the acoustic guitar performance while maintaining a clean and well-balanced signal. This foundational step lays the groundwork for subsequent processing and mixing, ensuring that the recorded acoustic guitar tracks are primed for further enhancement and sonic refinement.
EQ and Compression
After capturing the raw acoustic guitar tracks, the next stage in the mixing process involves applying equalization (EQ) and compression to shape the tonal characteristics and dynamic response of the recorded sound. These essential processing tools allow for fine-tuning the frequency balance, controlling dynamic inconsistencies, and enhancing the overall sonic impact of the acoustic guitar within the mix.
When applying EQ to acoustic guitar tracks, it’s important to consider the tonal qualities of the instrument and the desired sonic characteristics. Utilize a parametric or graphic equalizer to adjust the frequency response, addressing any tonal imbalances or resonant frequencies that may detract from the clarity and definition of the guitar sound.
Common EQ adjustments for acoustic guitar involve attenuating boomy low frequencies to reduce muddiness, enhancing the presence and clarity in the midrange frequencies to accentuate the articulation and detail, and delicately shaping the high frequencies to add sparkle and air to the sound without introducing harshness.
Compression plays a pivotal role in controlling the dynamic range of the acoustic guitar performance, ensuring a consistent and polished sound throughout the recording. By applying gentle compression, you can tame transient peaks, even out the overall level, and enhance the sustain and perceived loudness of the guitar without sacrificing its natural dynamics.
When setting compression parameters for acoustic guitar, opt for a moderate ratio and a relatively slow attack time to preserve the transient detail and the expressive nuances of the performance. Adjust the threshold and release settings to achieve a subtle and transparent compression effect that smoothens out dynamic fluctuations while preserving the natural ebb and flow of the guitar’s performance.
It’s essential to approach EQ and compression with a discerning ear, making subtle and purposeful adjustments to enhance the natural characteristics of the acoustic guitar rather than imposing drastic tonal changes or excessive dynamic processing. By delicately sculpting the tonal balance and dynamic response, EQ and compression can elevate the acoustic guitar tracks, ensuring that they integrate seamlessly into the mix with clarity, presence, and musicality.
Adding Reverb and Delay
Once the primary tonal and dynamic aspects of the acoustic guitar sound have been refined, the judicious application of reverb and delay can further enhance the spatial depth, ambience, and sense of dimension within the mix. These time-based effects can imbue the acoustic guitar with a captivating sense of space, envelopment, and sonic allure, enriching the overall sonic tapestry of the recording.
Reverb is a fundamental tool for creating a sense of acoustic environment and spatial immersion around the acoustic guitar. By adding a tasteful amount of reverb, you can simulate the natural reverberation of different acoustic spaces, from intimate rooms to expansive halls, enhancing the perceived depth and realism of the guitar sound.
When applying reverb to acoustic guitar tracks, consider the decay time, pre-delay, and early reflections to tailor the sense of space and envelopment to suit the musical context. Shorter decay times can impart a sense of intimacy and proximity, while longer decay times can evoke a more spacious and reverberant ambiance, adding a sense of grandeur and depth to the guitar sound.
Delay, on the other hand, can introduce rhythmic interest, spatial movement, and atmospheric textures to the acoustic guitar sound. By judiciously applying delay effects, you can create subtle echoes, rhythmic patterns, and spatial movement that enhance the expressiveness and dynamic character of the guitar performance.
Experiment with different delay settings, such as delay time, feedback, and modulation, to introduce captivating rhythmic motifs, spatial movement, and ambient textures that complement the musical phrasing and rhythmic nuances of the acoustic guitar. From subtle slapback echoes to lush ambient delays, the creative use of delay can imbue the guitar sound with a sense of depth, movement, and sonic intrigue.
It’s essential to approach reverb and delay with a discerning ear, applying these effects judiciously to enhance the natural expressiveness and spatial characteristics of the acoustic guitar without overwhelming the mix with excessive ambience. By carefully sculpting the spatial dimension and atmospheric allure of the guitar sound, reverb and delay can elevate the sonic landscape, adding depth, dimension, and immersive charm to the acoustic guitar recordings.
Finalizing the Mix
As the various elements of the acoustic guitar recording take shape, the final stage of the mixing process involves refining the overall balance, spatial placement, and sonic cohesion of the guitar within the context of the entire mix. This critical phase ensures that the acoustic guitar integrates seamlessly with other instruments and elements, contributing to a cohesive and compelling sonic landscape.
Begin by critically evaluating the tonal balance and dynamic interaction of the acoustic guitar within the mix. Make subtle adjustments to the EQ and compression settings, ensuring that the guitar sits well in the frequency spectrum, maintains clarity and definition, and exhibits a balanced dynamic response that complements the overall musical arrangement.
Pay particular attention to the spatial placement of the acoustic guitar within the stereo field. Consider panning, stereo imaging, and spatial processing to position the guitar within the mix, creating a sense of depth, width, and spatial immersion that enhances the overall sonic panorama. By carefully placing the acoustic guitar within the stereo spectrum, you can optimize its presence and impact while fostering a cohesive and engaging sonic environment.
Additionally, consider the integration of reverb and delay effects to further enhance the spatial dimension and atmospheric allure of the acoustic guitar within the mix. Fine-tune the parameters of these effects to create a sense of envelopment, depth, and sonic intrigue that complements the expressive nuances and tonal characteristics of the guitar performance.
Throughout the finalization process, maintain a holistic perspective on the mix, ensuring that the acoustic guitar not only retains its individual identity and expressive character but also contributes harmoniously to the overall sonic narrative. Strive for a cohesive and balanced mix that showcases the acoustic guitar as a central musical voice while allowing it to interact synergistically with other instruments and elements in the arrangement.
Lastly, critically listen to the mix across different playback systems and environments to ensure its sonic integrity and compatibility. Make any necessary refinements to the acoustic guitar’s sonic presentation, spatial placement, and overall integration within the mix to ensure that it translates effectively across various listening contexts, from studio monitors to headphones and consumer playback systems.
By meticulously finalizing the mix, you can ensure that the acoustic guitar assumes its rightful place as a captivating and integral element of the musical arrangement, contributing to a cohesive, immersive, and emotionally resonant sonic experience.