Introduction
Welcome to the world of live acoustic guitar performances! Whether you’re a seasoned musician or just starting out, knowing how to properly EQ your acoustic guitar can make all the difference in your live sound. Proper EQ (equalization) allows you to control the frequency balance and tone of your guitar, ensuring that it sits well in the mix and sounds its best to your audience.
Live settings present unique challenges compared to studio recording, as you have to take into account factors like room acoustics, stage setup, and potential feedback issues. It may seem overwhelming at first, but with the right techniques and understanding, you can achieve a clear and balanced sound that highlights the true essence of your acoustic guitar.
In this guide, we will walk you through the process of EQing your acoustic guitar live. We will cover everything from understanding EQ concepts to setting up your equipment, finding the right EQ settings for different styles, dealing with feedback issues, and utilizing EQ to enhance your sound. By the end, you’ll have the knowledge and skills to EQ your acoustic guitar like a pro!
Understanding EQ
Before diving into the practical aspects of EQing your acoustic guitar, it’s essential to understand the basic concepts of EQ. EQ, short for equalization, is the process of adjusting the balance of frequencies in an audio signal. It allows you to boost or cut specific frequencies to shape the overall tone of your guitar.
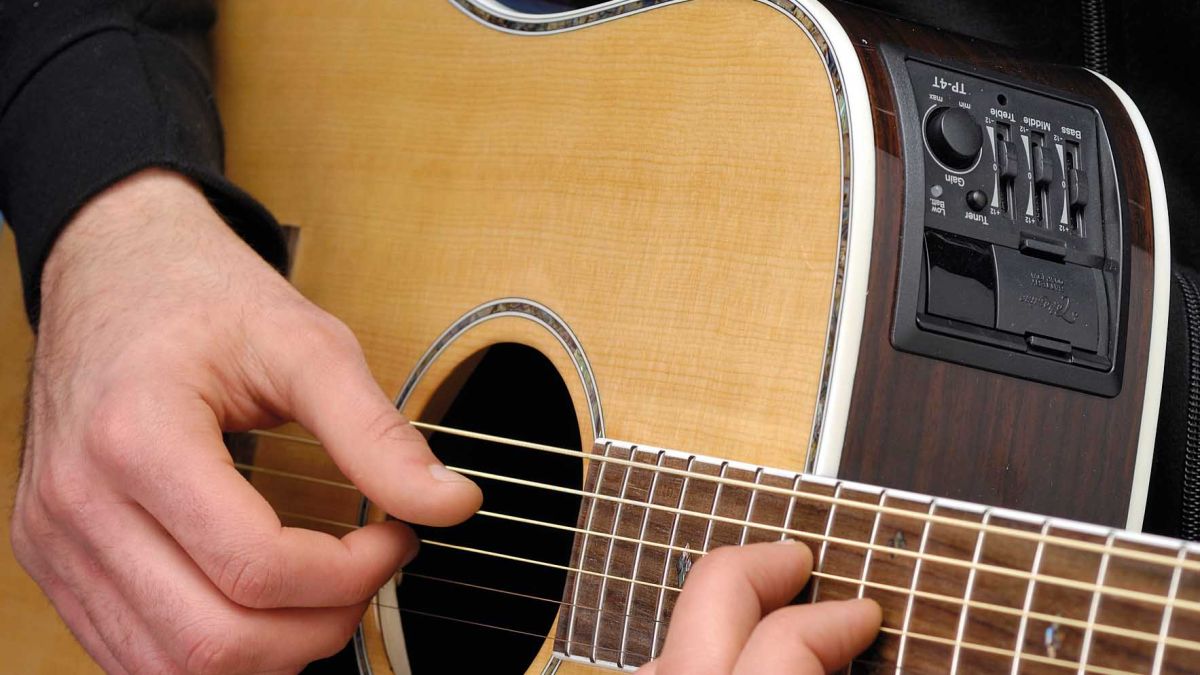
An EQ section typically consists of sliders or knobs for different frequency bands, such as bass, midrange, and treble. By manipulating these controls, you can make your guitar sound warmer, brighter, more prominent, or even remove unwanted frequencies.
Understanding the frequency ranges is crucial to effectively EQing your acoustic guitar. Here’s a quick breakdown:
- Bass frequencies (around 20Hz to 300Hz) provide the low-end foundation of your guitar sound. Boosting the bass can add depth, while cutting it can reduce muddiness.
- Midrange frequencies (around 300Hz to 2kHz) contribute to the body and character of your guitar. Boosting the midrange can make your guitar more present and articulate, while cutting it can reduce boxiness.
- Treble frequencies (around 2kHz to 20kHz) add sparkle and definition to your guitar sound. Boosting the treble can make your guitar sound brighter and more detailed, while cutting it can reduce harshness.
When EQing your acoustic guitar, it’s essential to listen carefully and make subtle adjustments. Start by making small changes to specific frequencies and evaluate how they affect the overall sound. Experimentation is key, as every guitar and performance space is different.
It’s also worth mentioning that the placement of your EQ in the signal chain can make a difference. For live performances, it’s common to apply EQ before any effects or amplification. However, there are no hard rules, and you can experiment with different signal chain configurations to achieve the desired sound.
Now that you have a basic understanding of EQ, let’s move on to setting up your equipment and preparing your acoustic guitar for live EQing!
Setting Up Your Equipment
Before you begin EQing your acoustic guitar, it’s important to ensure that your equipment is properly set up for optimal sound quality.
First and foremost, make sure you have a high-quality acoustic guitar and a reliable pickup system or microphone. The quality of your instrument and pickup can significantly impact the tone and sound reproduction. If you’re using a pickup, ensure that it’s positioned correctly and securely attached to your guitar to avoid any unwanted vibrations or clattering sounds.
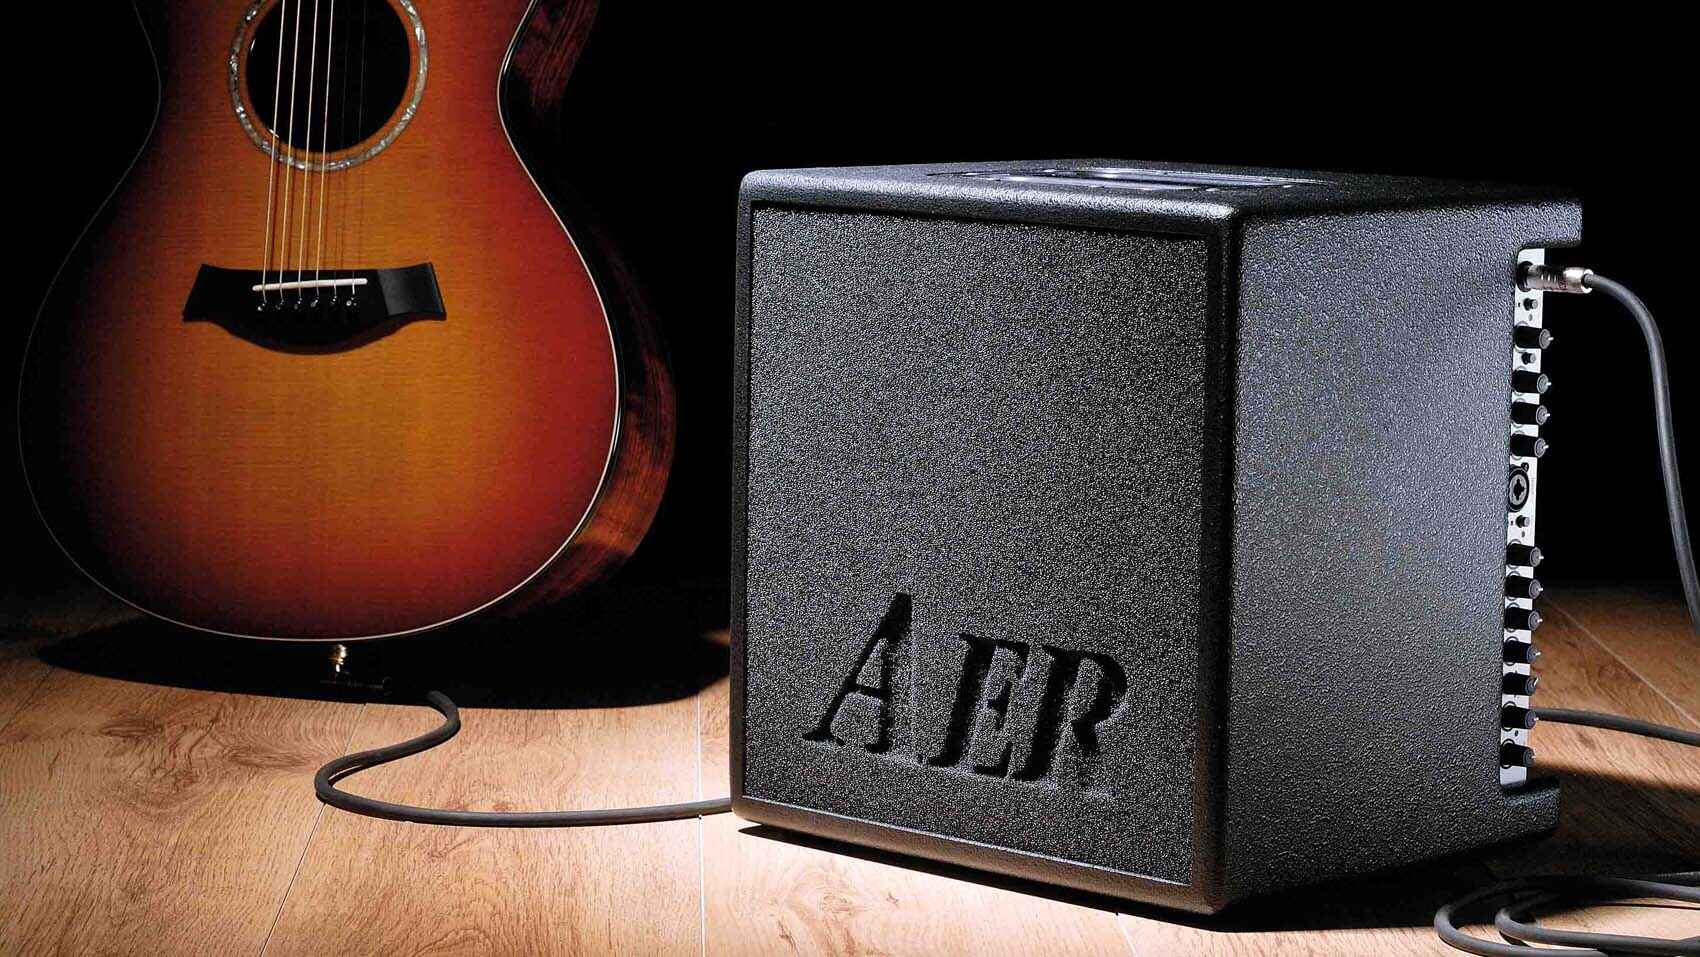
Next, ensure that your amplifier or PA system is set up properly. Connect your guitar to the amplifier using a high-quality cable, and place the amplifier in an appropriate position on the stage for optimal sound dispersion. Take into account the acoustics of the venue and consider using stage monitors or in-ear monitors to hear yourself clearly while performing.
It’s also crucial to check the settings on your amplifier or mixing console. Set the volume level to an appropriate level, ensuring that it’s neither too low nor too high. Adjust the gain or input level to avoid any distortion or clipping. Additionally, familiarize yourself with the EQ controls on your amplifier or mixing console, as you’ll be using these to shape your acoustic guitar sound.
Lastly, always do a soundcheck before the performance. This will allow you to hear how your acoustic guitar sounds through the PA system and make any necessary adjustments. Work closely with the sound engineer to ensure that the sound is balanced and suits your preferences.
By taking the time to properly set up your equipment, you’ll lay the foundation for achieving a great sounding acoustic guitar in your live performances. With everything in place, it’s time to prepare your acoustic guitar for EQing.
Preparing Your Acoustic Guitar
Before you can effectively EQ your acoustic guitar for live performances, it’s crucial to prepare your instrument. Here are some essential steps to ensure that your guitar is in optimal condition:
1. String Maintenance: Make sure your strings are fresh and properly stretched. Old, worn-out strings can negatively impact the sound quality and intonation of your guitar. Consider changing your strings regularly to maintain a bright and vibrant tone.
2. Action and Neck Relief: Check the action and neck relief of your guitar. The action refers to the height of the strings from the fretboard, while neck relief refers to the curvature of the neck. Ensure that the action is comfortable for playing and that the neck relief is adjusted properly. A guitar with low action and a straight neck will be easier to play and yield better sound.
3. Intonation: Accurate intonation is essential for proper tuning and precise pitch across the fretboard. Use a digital tuner and make any necessary adjustments to ensure that the open strings and higher frets are in tune with each other. This will improve the overall playability and tonal accuracy of your guitar.
4. Check for Rattles and Buzzes: Play each string individually and listen for any rattles or buzzes. These can be caused by issues like loose hardware, a saddle that needs adjustment, or a fret that needs leveling. If you notice any buzzing sounds, have a professional guitar technician address the issue to prevent distractions during your performance.
5. Clean and Condition: Keep your guitar clean and well-maintained. Regularly wipe down the body, neck, and fretboard with a soft cloth to remove dirt and sweat. Use appropriate guitar cleaning products to condition the fretboard and protect the wood. A clean and well-cared-for guitar will not only look great but also sound better.
By following these steps, you’ll ensure that your acoustic guitar is in top shape and ready to be EQed for live performances. Now that your guitar is prepped, let’s dive into finding the right EQ settings.
Finding the Right EQ Settings
Now that your acoustic guitar is properly prepared, it’s time to find the right EQ settings to enhance its sound. Keep in mind that there is no one-size-fits-all approach, as the best EQ settings will depend on factors such as your playing style, guitar type, and the room acoustics. However, here are some general guidelines to help you get started:
1. Start with Flat EQ: Begin by setting all EQ controls to their neutral or flat positions. This allows you to work from a clean slate and make adjustments based on your specific requirements.
2. Listen and Observe: Play your guitar while making subtle adjustments to the EQ controls. Listen carefully to how each adjustment affects the tone and overall sound. Pay attention to any frequencies that sound overly boomy, harsh, or muddy.
3. Cut Unwanted Frequencies: If you notice any frequencies that are causing issues or muddying up your guitar sound, use a narrow EQ band to cut those frequencies. For example, if you’re experiencing muddiness, try cutting some low-mid frequencies around 200Hz to clean up the sound.
4. Boost Desired Frequencies: To bring out the best qualities of your acoustic guitar, consider boosting certain frequencies. For instance, if you want to enhance the sparkle and articulate nature of your guitar, try boosting the high frequencies (around 2kHz to 10kHz).
5. Be Subtle: When making EQ adjustments, it’s important to be subtle and make small changes at a time. Avoid making drastic EQ adjustments, as they can negatively impact the overall sound. Instead, make gradual tweaks to find the sweet spot that complements your guitar’s natural tone.
6. Experiment and Adapt: Every guitar, player, and performance space is unique, so don’t be afraid to experiment and adapt your EQ settings accordingly. Trust your ears and make adjustments based on what you think sounds best in the given context.
Remember, finding the perfect EQ settings for your acoustic guitar may take some time and experimentation. Don’t get discouraged if it takes a few tries to achieve the desired sound. As you gain more experience, you’ll develop a better understanding of how to EQ your guitar to suit different playing styles and performance environments.
Now that you have a better grasp on finding the right EQ settings, let’s explore EQ adjustments for different guitar styles.
Adjusting for Different Guitar Styles
One of the great things about acoustic guitars is their versatility across various musical styles. Whether you’re playing folk, blues, country, or jazz, adjusting your EQ settings to suit the specific guitar style can greatly enhance your sound. Here’s a guide on EQ adjustments for different guitar styles:
1. Folk and Fingerstyle: Folk and fingerstyle guitar playing often focus on intricate picking patterns and delicate melodies. To capture the subtle nuances of this style, consider boosting the midrange frequencies (around 500Hz to 1kHz) to emphasize the warm and rich character of acoustic guitars. Additionally, a slight boost in the high frequencies (around 2kHz to 5kHz) can enhance the crispness and clarity of fingerpicked notes.
2. Blues and Slide Guitar: Blues and slide guitar playing typically require a more pronounced and expressive tone. To achieve this, try boosting the midrange frequencies around 1kHz to 3kHz to bring out the growl and bite in your guitar sound. Additionally, a moderate boost in the low frequencies (around 80Hz to 200Hz) can add depth and a thick bottom end to your bluesy riffs and slide licks.
3. Country and Bluegrass: In country and bluegrass music, the acoustic guitar often has a prominent role, providing the rhythmic drive and melodic accompaniment. To cut through the mix and maintain clarity in these styles, focus on boosting the high frequencies (around 2kHz to 8kHz) to enhance the brightness and sparkle of your guitar sound. Additionally, a subtle boost in the upper midrange (around 2kHz to 4kHz) can bring out the pick attack and string definition.
4. Jazz and Bossa Nova: Jazz and Bossa Nova guitar playing require a balanced, smooth, and warm tone. For these styles, focus on a gentle boost in the low frequencies (around 80Hz to 200Hz) to add warmth and depth to your chords and comping. Cutting some high-mid frequencies (around 1kHz to 3kHz) can help create a smoother and less piercing tone, allowing the guitar to blend seamlessly with other instruments in the ensemble.
Remember, these are general guidelines, and there is plenty of room for experimentation. Each guitarist has their own unique approach and preferences, so adjust the EQ settings to suit your playing style and personal taste.
Now that you have a better understanding of adjusting EQ for different guitar styles, let’s address one of the greatest challenges in live performances – feedback.
Dealing with Feedback Issues
Feedback can be a common challenge when performing live with an acoustic guitar. It occurs when the sound from your guitar’s amplified signal is picked up by the guitar’s pickup or microphone, resulting in a high-pitched squeal or howling noise. Here are some strategies to help you deal with feedback issues:
1. Positioning: Start by experimenting with the positioning of your guitar in relation to the amplifier or speakers. Sometimes, simply adjusting the angle or distance can help reduce the occurrence of feedback. Try moving further away from the speakers or tilting your guitar slightly to change the direction of sound projection.
2. Use a Feedback Buster: A feedback buster or soundhole cover can help reduce the chances of feedback, especially when playing at higher volume levels. These devices fit into the soundhole and dampen the vibrations that can lead to feedback. They are particularly effective for solo acoustic performances.
3. Notch Filter: If you’re dealing with a specific frequency that’s causing feedback, a notch filter can be used to target and cut that frequency. This can be done using an outboard processor, pedal, or a built-in EQ on your amplifier or mixing console. Adjust the notch filter until the feedback frequency is attenuated, but be careful not to affect other desired frequencies.
4. EQ Adjustments: Proper EQ settings can also help reduce feedback. Cutting frequencies that are prone to feedback, such as the low-mids or high-mids, can help prevent excessive resonance. However, it’s important to strike a balance between reducing feedback and maintaining a good overall guitar tone.
5. Soundcheck and Volume Control: Before your performance, conduct a thorough soundcheck. Play your guitar at different volume levels and monitor for any feedback issues. If feedback occurs, adjust the volume accordingly. It may be necessary to find a compromise between achieving the desired volume and keeping feedback under control.
6. Monitor Placement: If you’re using stage monitors, consider their placement and angle. Position them strategically to minimize the chances of sound from the monitors entering the microphone or pickup and causing feedback. Experiment with different monitor positions and angles to find the optimal setup.
7. Control Environment: Factors like the room acoustics, audience size, and stage setup can contribute to feedback. If possible, try to control the environment by using curtains, partitions, or sound-absorbing materials to reduce reflections and control sound dispersion. Additionally, maintaining a proper distance between the guitar and microphones or speakers can help minimize feedback challenges.
Remember that dealing with feedback is an ongoing process. Each performance space and setup can present different challenges, so it’s essential to be aware and adaptable. With practice and experience, you’ll become more adept at minimizing feedback and delivering a smooth and feedback-free acoustic guitar performance.
Now, let’s explore how you can utilize EQ to enhance the sound of your acoustic guitar in live performances.
Using EQ to Enhance Your Sound
EQ is a powerful tool that can greatly enhance the sound of your acoustic guitar in live performances. With careful adjustments and a keen ear, you can achieve a well-balanced and professional-quality sound. Here are some tips on how to use EQ to enhance your sound:
1. Shape Your Tone: Use EQ to shape the overall tone of your guitar. Experiment with boosting or cutting specific frequency ranges to achieve the desired sound. For example, boosting the treble frequencies can add brightness and articulation, while cutting the low-mid frequencies can reduce muddiness.
2. Reduce Muddiness: Acoustic guitars can sometimes sound muddy, especially in certain performance spaces. To combat this, focus on cutting frequencies in the low-mid range (around 200Hz to 500Hz) to reduce the boominess and ensure clarity in your guitar sound.
3. Enhance Presence: If you want to make your guitar sound more present and cutting through the mix, consider boosting the midrange frequencies (around 1kHz to 4kHz). This can help your guitar stand out and ensure that your playing is clearly heard.
4. Add Warmth: For a warmer sound, consider boosting the low frequencies (around 80Hz to 200Hz). This can add depth and richness to your acoustic guitar tone, giving it a more inviting and pleasing quality.
5. Tweak for Different Venues: Keep in mind that different performance venues may require different EQ adjustments. Large, reverberant spaces may benefit from reducing certain frequencies to minimize reflections, while smaller, intimate venues may require a boost in specific frequency ranges to compensate for the lack of natural resonance.
6. Listen to the Mix: When EQing your guitar, always consider how it fits into the overall mix with other instruments and vocals. Avoid overpowering or clashing with other elements by making subtle adjustments to ensure a balanced and cohesive sound.
7. Trust Your Ears: Ultimately, trust your ears when using EQ. Each guitar and performance space is unique, so rely on your judgment and make adjustments based on what you think sounds best. Don’t be afraid to experiment and fine-tune your EQ settings to achieve the desired sound.
With practice and experience, you’ll become more comfortable and skilled at using EQ to enhance the sound of your acoustic guitar in live performances. Take the time to understand your instrument and the impact of different EQ adjustments, and soon you’ll be able to achieve a professional and polished sound.
Now that we’ve explored how to utilize EQ to enhance your sound, let’s wrap up with some final thoughts.
Final Thoughts
EQing your acoustic guitar live is a skill that can greatly impact your sound and overall performance. By understanding the basics of EQ, properly setting up your equipment, preparing your guitar, and making the necessary adjustments, you can achieve a clear, balanced, and professional-sounding acoustic guitar tone.
Remember that EQ is a tool for shaping your sound, and it requires careful listening and experimentation. Trust your ears and make subtle adjustments to achieve the desired tone for your playing style and the performance space.
Furthermore, keep in mind that EQ is just one aspect of achieving a great live acoustic guitar sound. Pay attention to other factors such as your playing technique, dynamics, and overall performance. Practice regularly and strive to improve your skills as a guitarist to deliver the best possible live performance.
Lastly, don’t be discouraged if it takes time to find the perfect EQ settings for your acoustic guitar. Every guitar has its unique characteristics, and every performance space presents its own challenges. Embrace the process of discovery and continue to refine your EQ settings until you find the sweet spot that brings out the best in your instrument.
With dedication and attention to detail, you’ll be able to EQ your acoustic guitar live like a pro, captivating audiences with a clear, balanced, and captivating sound. So, grab your guitar, apply these tips, and let your musical journey come alive with the beautifully EQed sound of your acoustic guitar!