Introduction
Turning a right-handed acoustic guitar into a left-handed one may seem like a daunting task, but with the right tools and a little know-how, it is completely possible. Many left-handed guitarists choose to convert their instruments rather than purchasing a separate left-handed guitar, as it allows them to have a wider range of options when it comes to selecting their ideal instrument.
In this article, we will guide you through the step-by-step process of converting a right-handed acoustic guitar into a left-handed one. We will cover everything from removing the strings to adjusting the truss rod, ensuring that you have all the information you need to successfully make the conversion.
It’s important to note that this process requires some basic knowledge of guitar maintenance and a familiarity with common guitar tools. If you’re unsure about any of the steps, it may be best to consult with a professional guitar technician to avoid any potential damage to your instrument.
With that said, let’s dive into the world of converting a right-handed acoustic guitar into a left-handed one. Follow the instructions carefully, and soon enough, you’ll be strumming away on your newly converted instrument.
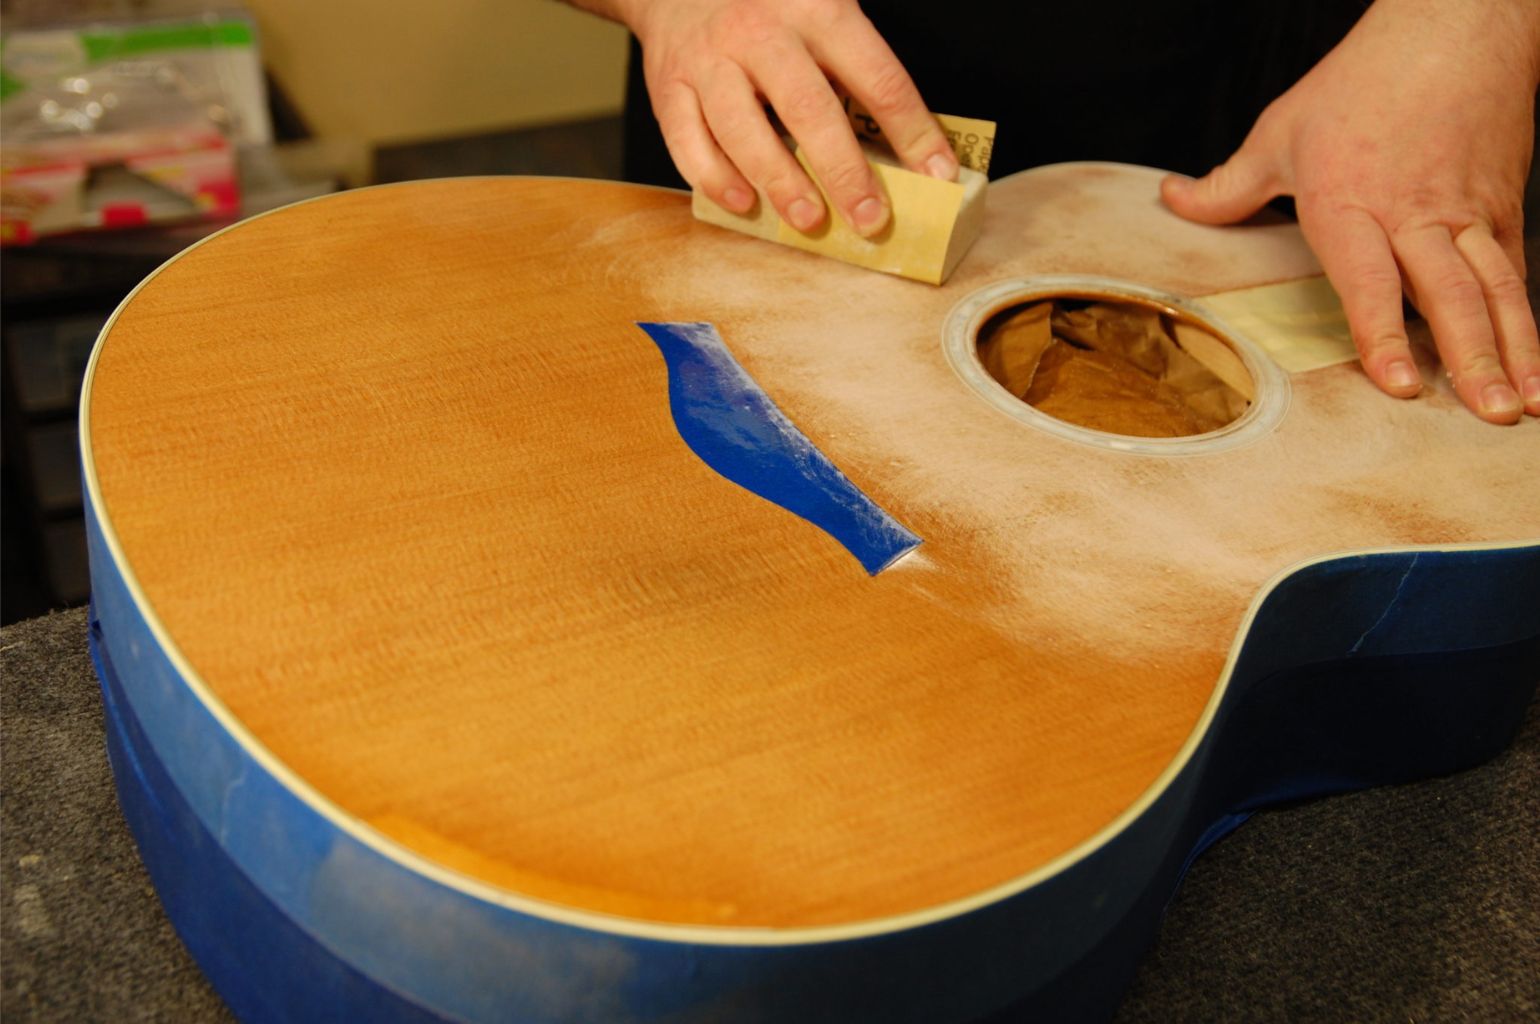
Step 1: Prepare the necessary tools
Before you start the conversion process, it’s important to gather all the necessary tools and equipment. Here’s a list of items you’ll need:
- A right-handed acoustic guitar (the one you want to convert)
- String winder
- Wire cutters
- Small screwdriver or hex key (depending on your guitar’s truss rod)
- Left-handed nut
- Left-handed saddle
- New set of strings (left-handed)
- Pencil or marker
- Ruler or measuring tape
- Clean cloth or microfiber cloth
Make sure you have all the necessary tools and that they are in good working condition. It’s also a good idea to have a clean and well-lit workspace to perform the conversion.
Once you have gathered all the tools, you’re ready to move on to the next step.
Step 2: Remove the strings
The first step in converting your right-handed acoustic guitar into a left-handed one is to remove the strings. This will allow you to access the nut and saddle, which will need to be flipped later on.
To remove the strings, follow these steps:
- Use a string winder to loosen each string. Rotate the winder counterclockwise to unwind the strings.
- Once the strings are loose, cut them close to the tuning pegs using wire cutters. Be careful not to damage the guitar’s finish.
- Carefully remove each string from the bridge, being cautious not to scratch or damage the guitar in the process.
Once you have removed all the strings, set them aside or dispose of them properly.
Removing the strings is an essential step as it allows you to access the nut and saddle for flipping. Now that the guitar is stringless, you can move on to the next step of the conversion process.
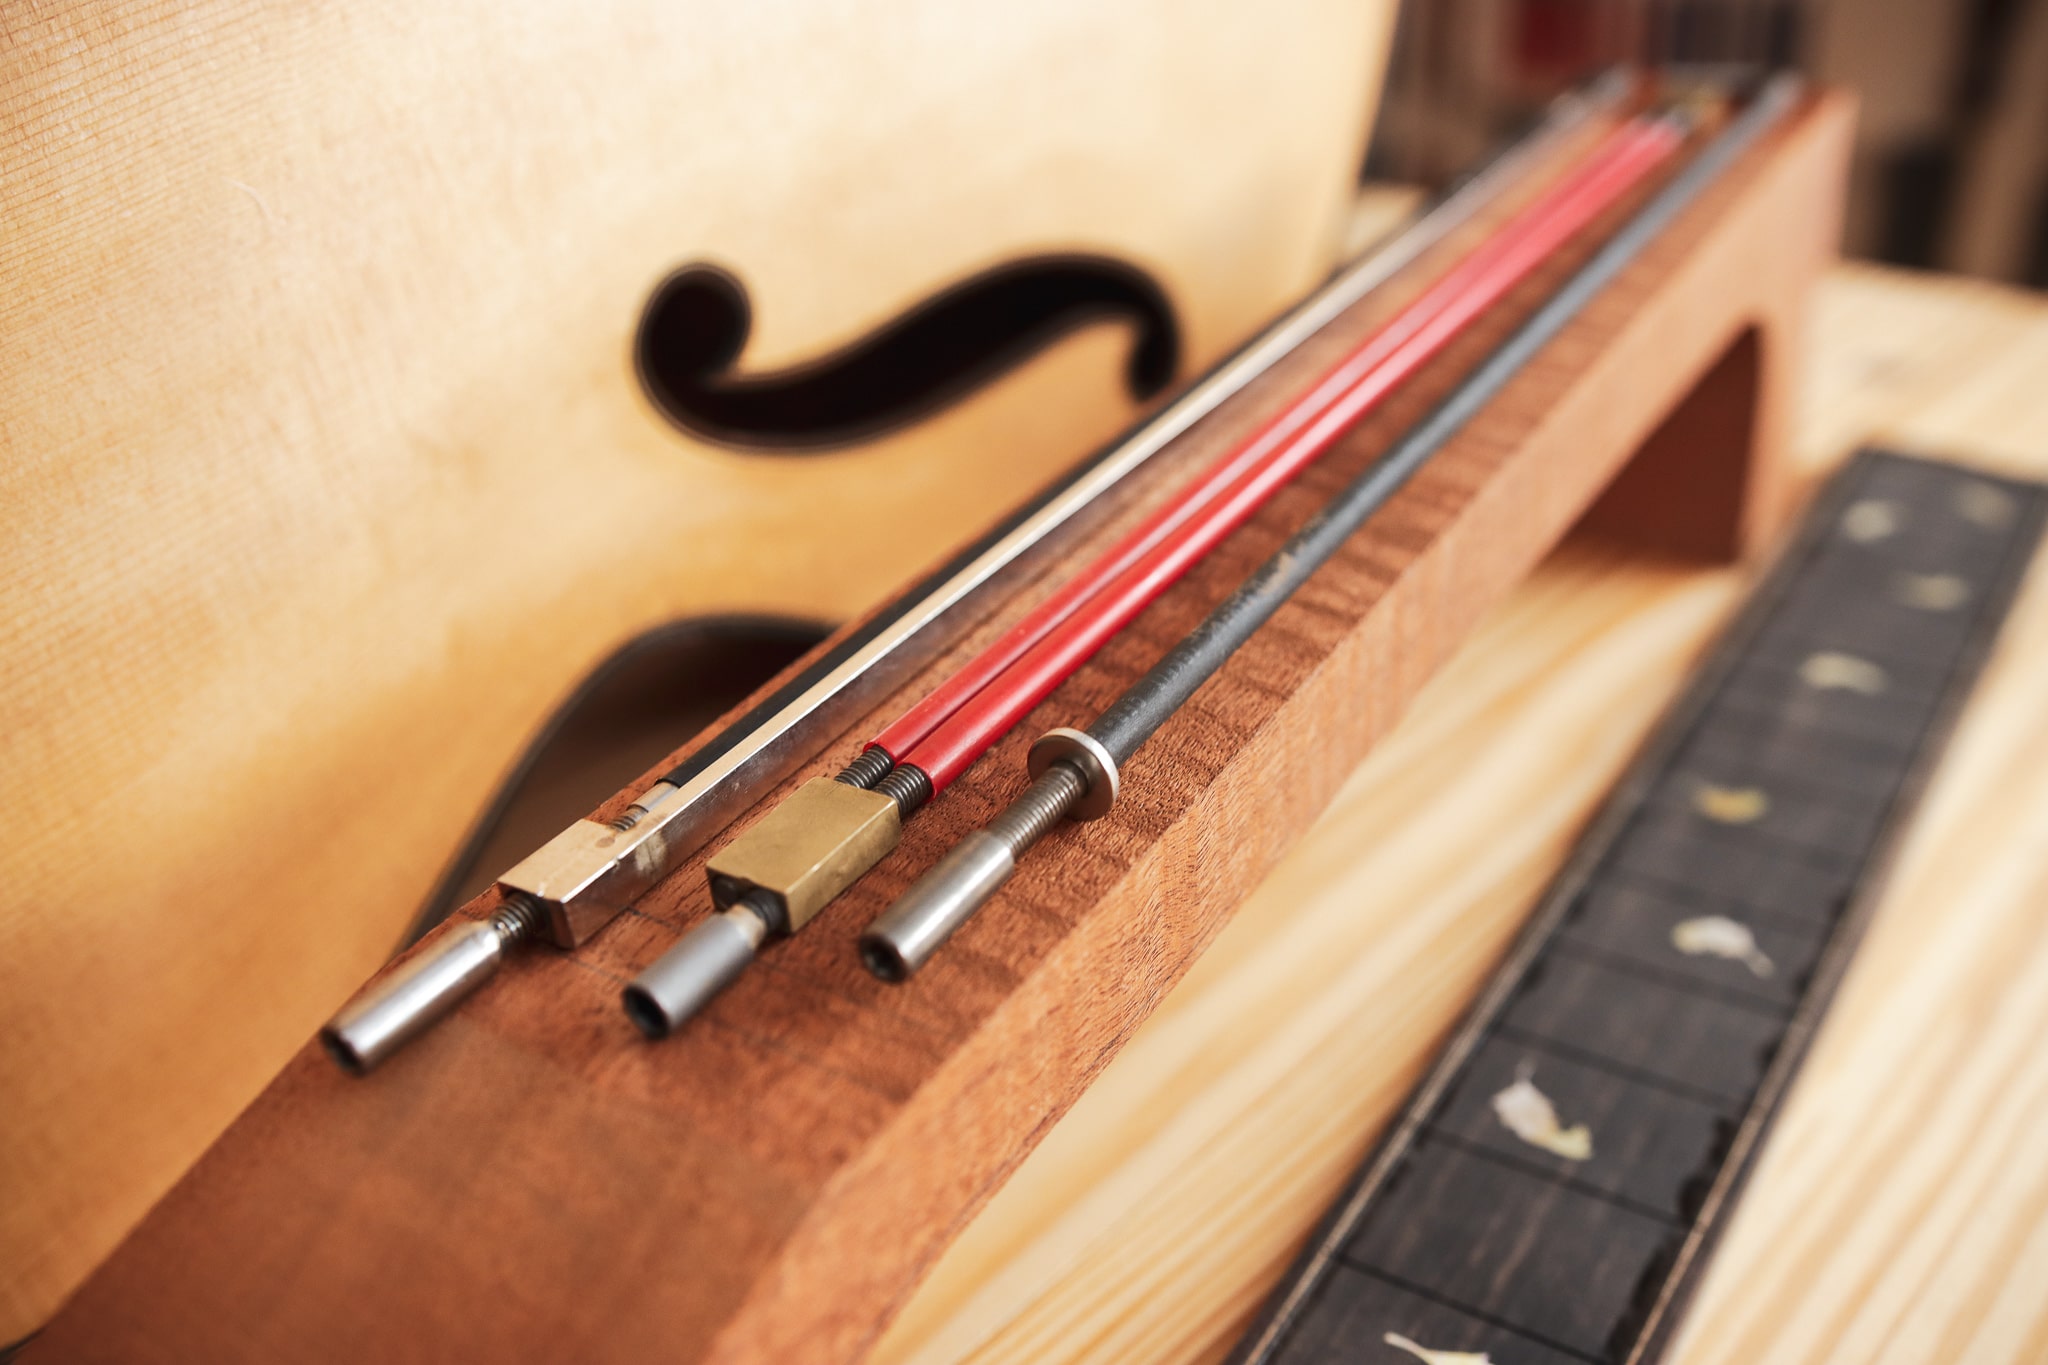
Step 3: Take off the saddle and nut
With the strings removed, you can now proceed to take off the saddle and nut from your right-handed acoustic guitar. These components will need to be flipped to accommodate left-handed playing.
Follow these steps to remove the saddle and nut:
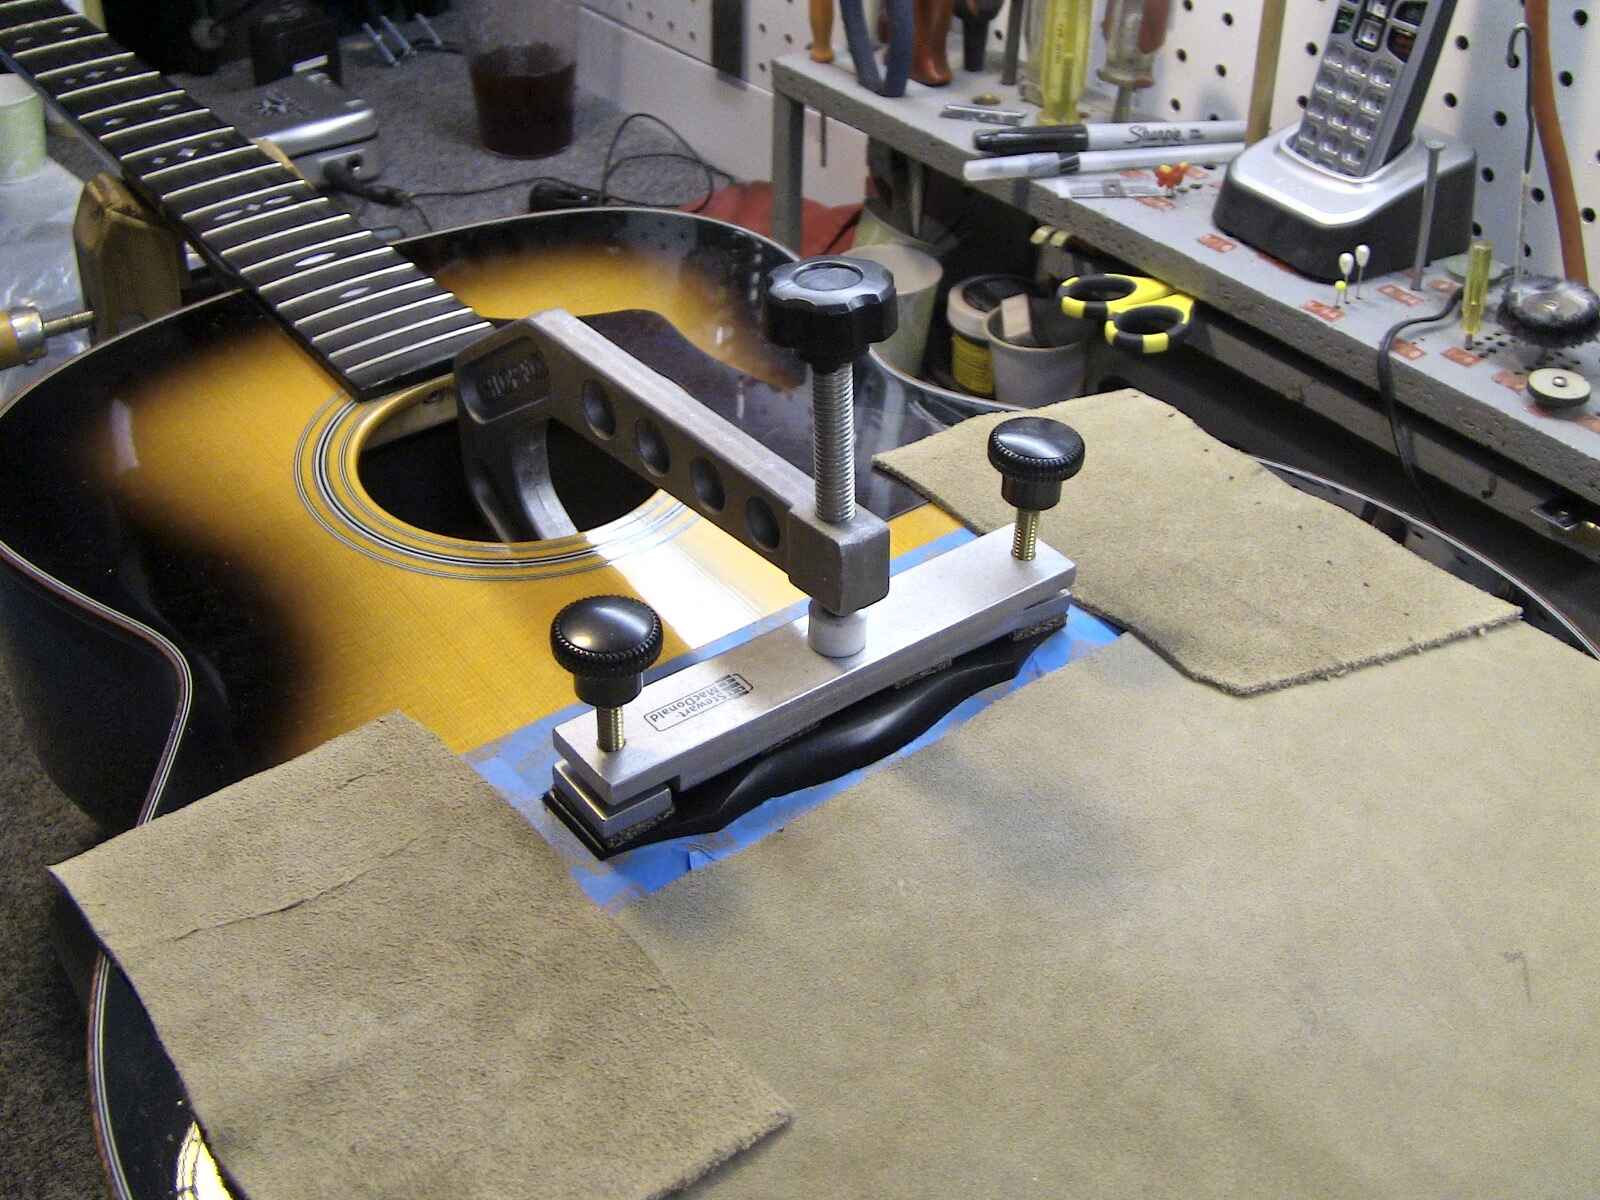
- Locate the saddle, which is usually a small piece of bone or synthetic material located near the bridge of the guitar.
- Using a small screwdriver or hex key, unscrew any screws or clips holding the saddle in place. Carefully lift the saddle out of its slot in the bridge.
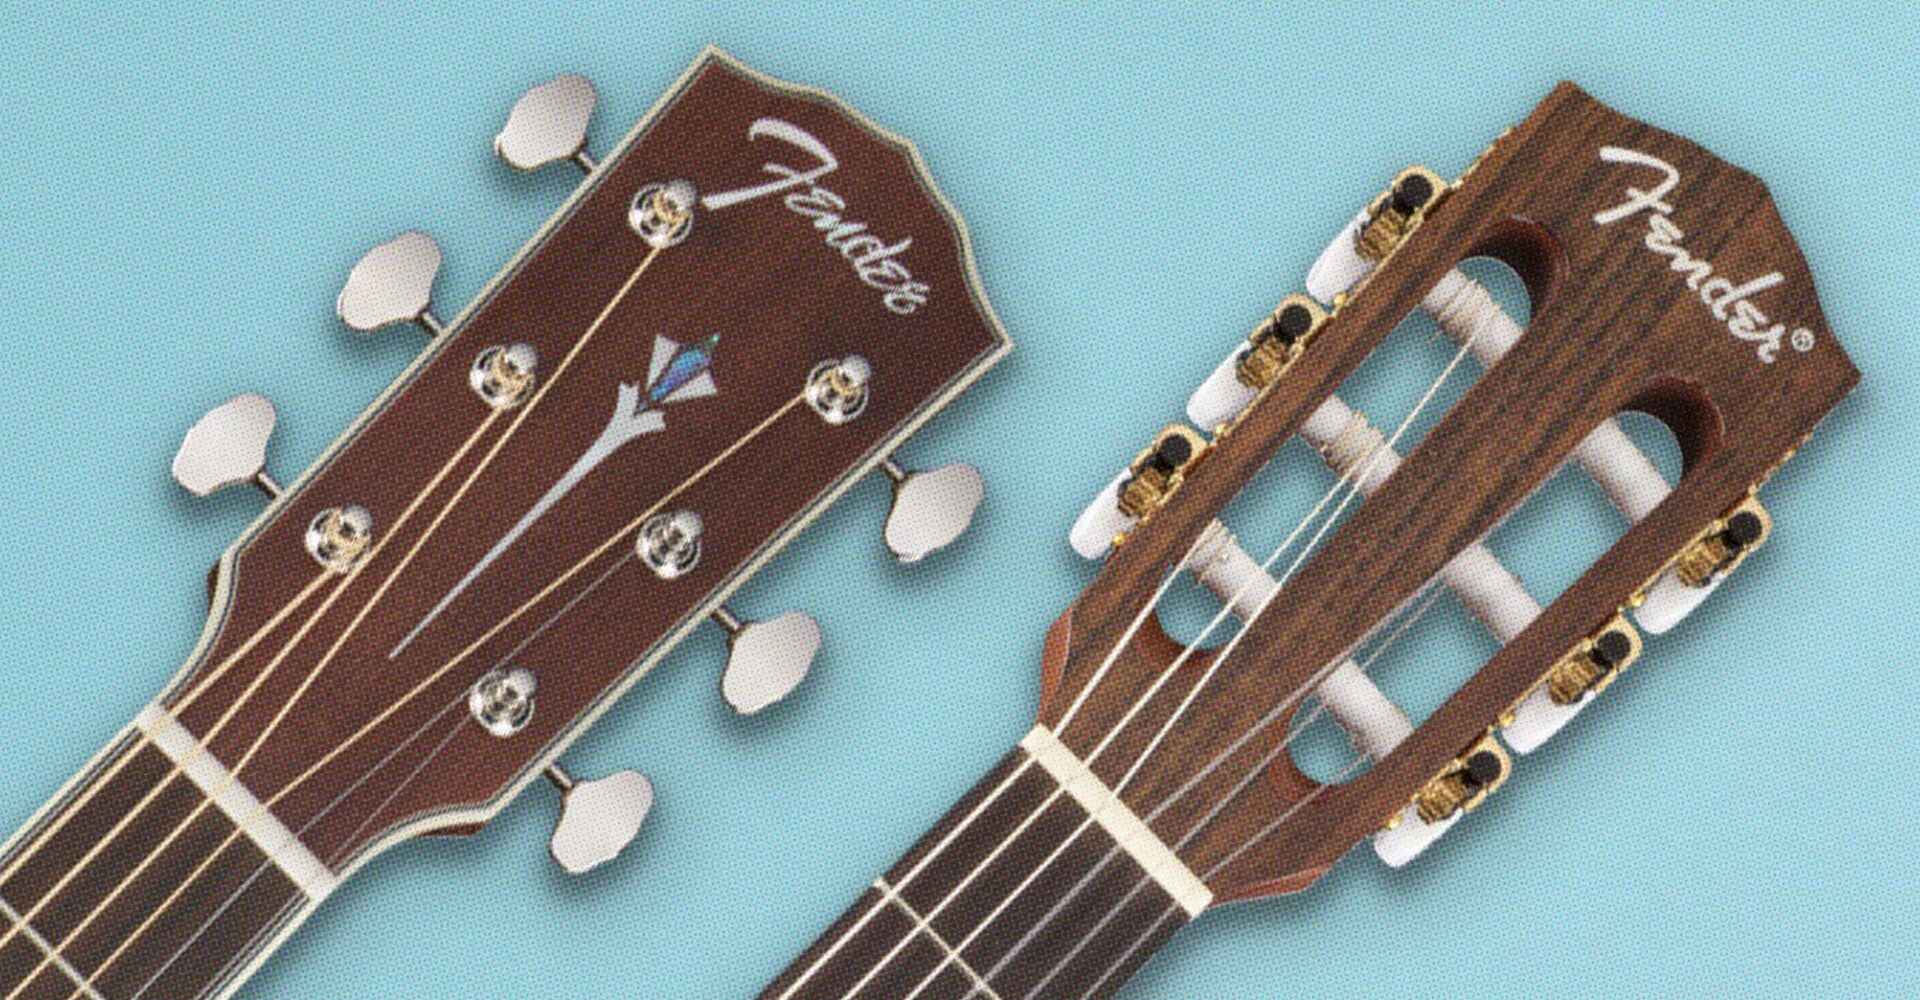
- Next, find the nut, situated at the top of the neck near the tuning pegs.
- Similar to the saddle, the nut may be held in place with screws, clips, or adhesive. Remove any fasteners and gently lift the nut out of its slot.
Take note of the orientation of the saddle and nut before removing them, as they will need to be flipped in the next step. Additionally, it’s a good practice to keep the screws and clips in a safe place to avoid misplacing them.
By removing the saddle and nut from your right-handed guitar, you are one step closer to transforming it into a left-handed instrument. Move on to the next step to learn how to flip and reinstall these components correctly.
Step 4: Flip the nut and saddle
Now that you have removed the saddle and nut from your right-handed acoustic guitar, it’s time to flip them to accommodate left-handed playing. Flipping these components will ensure that the strings are properly aligned for a left-handed guitarist.
Here are the steps to flip the nut and saddle:
- Take the nut and saddle that you removed earlier.
- Using a pencil or marker, mark the side that was facing towards the headstock or bridge respectively. This will help you remember which way they were originally positioned.
- Flip the nut and saddle over, placing the marked side facing down.
- Inspect the nut and saddle slots to ensure they are clean and free of debris.
- Gently place the flipped nut and saddle back into their respective slots. Make sure they are snugly seated.
Flipping the nut and saddle is a crucial step in converting your right-handed guitar into a left-handed one. This adjustment will align the strings properly for left-handed finger placement and strumming.
Once you have successfully flipped the nut and saddle, you are ready to proceed to the next step, which involves reinstalling these components in their new orientation.
Step 5: Reinstall the nut and saddle
Now that you have flipped the nut and saddle to accommodate left-handed playing, it’s time to reinstall them back onto your guitar. This step is crucial for ensuring proper string alignment and tension.
To reinstall the nut and saddle, follow these steps:
- Begin by applying a small amount of wood glue or adhesive to the bottom of the flipped nut.
- Carefully place the nut back into its original slot on the guitar’s neck, with the marked side facing down.
- Gently press down on the nut to ensure it is securely in place.
- Next, apply a small amount of adhesive to the bottom of the flipped saddle.
- Insert the saddle back into its slot on the guitar’s bridge, with the marked side facing down.
- Press down on the saddle to ensure it is properly seated in its slot.
It’s crucial to use a suitable adhesive to secure the nut and saddle in place. Wood glue or a specialized instrument adhesive will typically work well. However, be sure to follow the manufacturer’s instructions when using any adhesive.
Once you have reinstalled the nut and saddle, you can proceed to the next step, which involves restringing your guitar to complete the conversion process.
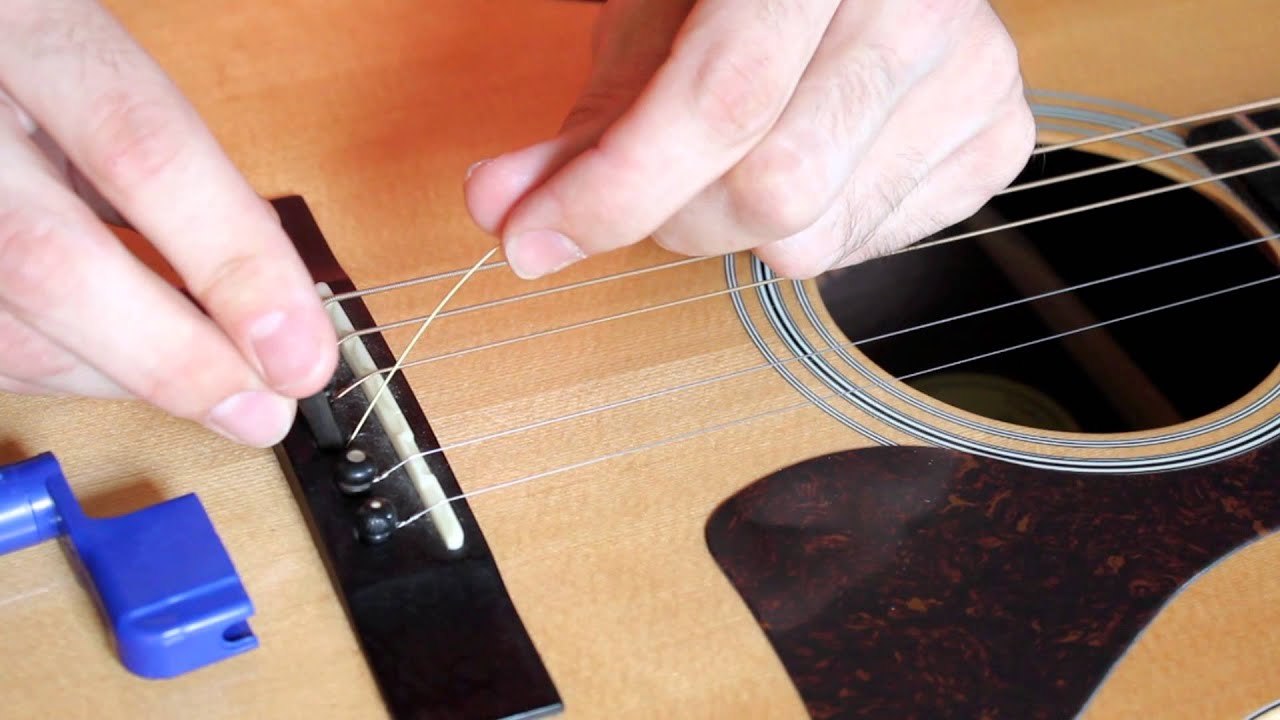
Step 6: Re-string the guitar
With the nut and saddle properly installed in their flipped positions, it’s time to re-string your newly transformed left-handed acoustic guitar. This step will bring your instrument one step closer to being ready to play in its new orientation.
To re-string the guitar, follow these steps:
- Choose a set of left-handed guitar strings that suit your playing style.
- Starting with the low E string (the thickest string), insert one end of the string into the corresponding hole in the bridge.
- Carefully guide the string through the bridge and pull it tight, leaving enough slack to wind around the tuning peg.
- Insert the other end of the string into the appropriate tuning peg hole.
- Using a string winder, begin turning the tuning peg clockwise to tighten the string. Make sure the string is properly seated in the nut slot and the bridge saddle.
- Repeat this process for each remaining string, starting with the A string, then the D string, the G string, the B string, and finally, the high E string.
As you re-string the guitar, be mindful of keeping the strings properly aligned in their respective nut slots and bridge saddles. This will ensure optimal string height and tension.
After re-stringing the guitar, you’re almost there! The final steps involve adjusting the truss rod and making any minor adjustments necessary to optimize the playability of your left-handed instrument.
Step 7: Adjust the truss rod
Now that you have re-strung your left-handed acoustic guitar, it’s crucial to adjust the truss rod to ensure proper neck relief and optimal playability. The truss rod is a metal rod inside the neck of the guitar that helps counteract the tension of the strings.
To adjust the truss rod, follow these steps:
- Locate the truss rod adjustment nut, which is typically located at the headstock end of the guitar.
- Using a small screwdriver or hex key that fits the truss rod nut, carefully turn the nut clockwise to add relief or counterclockwise to reduce relief. Make small adjustments (about a quarter turn) at a time.
- Check the neck relief by fretting the low E string at the first and last fret simultaneously. Look for a small gap between the string and the frets around the 7th-9th frets. This gap should be roughly the thickness of a business card.
- If the gap is too small or non-existent, you may need to loosen the truss rod by turning it counterclockwise. Conversely, if the gap is too large, you may need to tighten the truss rod by turning it clockwise.
- Make gradual adjustments and recheck the neck relief after each adjustment until you achieve the desired result.
Remember, it’s essential to make small adjustments and give the neck time to settle after each adjustment. It’s recommended to wait for several hours or even overnight before rechecking the neck relief and making further adjustments if necessary.
Proper truss rod adjustment will ensure that your left-handed acoustic guitar has a straight and playable neck, enhancing your overall playing experience.
Once you have adjusted the truss rod, you may need to make some minor adjustments to the action or intonation to achieve optimal playability. These adjustments are covered in the next and final step.
Step 8: Make minor adjustments if needed
After adjusting the truss rod, it’s time to make any minor adjustments necessary to optimize the playability of your newly converted left-handed acoustic guitar. These adjustments typically involve the action and intonation of the instrument.
Here are some steps you can take to make minor adjustments:
- Check the action of the strings by fretting each string at the 12th fret. There should be a comfortable amount of space between the bottom of the string and the top of the 12th fret.
- If the action is too high, you can lower it by adjusting the individual saddle height screws on the bridge. Use a small screwdriver or hex key to make these adjustments. Lower the screws gradually, checking the action after each adjustment to ensure it meets your preference.
- Next, check the intonation of the guitar. Play a harmonic at the 12th fret and then fret the note at the 12th fret. The two pitches should match perfectly. If the fretted note is sharp or flat compared to the harmonic, you will need to make adjustments.
- To adjust the intonation, use a small screwdriver to lengthen or shorten the length of each string at the saddle. Moving the saddle forward will flatten the intonation, while moving it backward will sharpen it. Make small adjustments and recheck the intonation until it is accurate.
- Repeat the action and intonation checks and adjustments for each string, ensuring uniformity across the instrument.
By making these minor adjustments, you can fine-tune the playability and tone of your left-handed acoustic guitar. It’s important to approach these adjustments with patience and accuracy, as they can greatly impact your overall playing experience.
Once you are satisfied with the action and intonation, your converted left-handed acoustic guitar is ready to be played and enjoyed!
Conclusion
Congratulations! You have successfully transformed your right-handed acoustic guitar into a left-handed one. By following the step-by-step process outlined in this article, you have acquired the skills and knowledge necessary to make this conversion.
Converting a right-handed guitar to left-handed not only allows you to have a wider range of options when choosing an instrument but also saves you the hassle and cost of purchasing a separate left-handed guitar. It’s a great way for left-handed guitarists to explore different models and designs that may not be readily available in left-handed configurations.
Remember, while the process of converting a guitar may seem challenging at first, with practice and familiarity, it becomes easier. If you’re not confident in performing the conversion yourself, it’s always a good idea to consult with a professional guitar technician who can assist you and ensure the best results.
Now that you have a left-handed guitar, take the time to get comfortable with your new instrument. Explore different playing styles, chords, and techniques that work best for you. Gradually, you’ll become more proficient and enjoy the benefits of having a guitar perfectly suited to your left-handed playing needs.
Lastly, remember to continue maintaining and caring for your left-handed guitar. Regular cleaning, string changes, and periodic adjustments will keep your instrument in excellent condition and help it sound its best.
Enjoy your newly converted left-handed acoustic guitar, and may it bring you endless joy and inspiration as you continue your musical journey!