Introduction
When it comes to playing the guitar, a properly set up instrument is essential for optimal performance. One crucial component of a well-adjusted guitar is the truss rod. The truss rod plays a crucial role in maintaining the neck’s stability and ensuring that the strings are properly aligned along the fretboard.
For those who own a Madeira A25R right-handed 6-string acoustic guitar, knowing the location and how to adjust the truss rod can make a significant difference in the instrument’s playability. Whether you’re a professional guitarist or a beginner looking to fine-tune your guitar’s setup, understanding the truss rod’s function and its importance is paramount.
In this article, we will explore the purpose of the truss rod in a guitar, its significance in achieving optimal playability, and guide you through locating and adjusting the truss rod on your Madeira A25R acoustic guitar. We will also provide some precautionary measures and alternative methods for truss rod adjustments.
So, if you’re ready to dive into the world of truss rods and learn how to make the necessary adjustments for your Madeira A25R, read on to discover the secrets behind optimizing your guitar’s performance.
Understanding the Truss Rod
Before we delve into adjusting the truss rod on your Madeira A25R acoustic guitar, it’s important to have a clear understanding of what the truss rod is and how it works.
The truss rod is a metal rod embedded in the neck of the guitar. It runs along the length of the neck, underneath the fingerboard. Its primary function is to counteract the tension created by the guitar strings. By adjusting the truss rod, you can control the amount of relief or forward bow in the neck, ensuring the optimal alignment of the strings.
Without a properly adjusted truss rod, a guitar’s neck can suffer from issues such as excessive bowing or back bowing. Excessive bowing, also known as a forward bow, refers to when the neck curves outward towards the strings, causing high action and string buzz. On the other hand, back bowing occurs when the neck curves inward away from the strings, resulting in low action and fret buzzing.
By understanding how the truss rod affects the neck’s curvature, you can alleviate these issues and achieve a well-balanced guitar setup. It’s worth noting that truss rod adjustments should be made in small increments to avoid causing damage to the neck or destabilizing the instrument.
Now that we have a basic understanding of the truss rod’s purpose and function, let’s move on to the next section to explore the importance of the truss rod in guitar setup.
Importance of the Truss Rod in Guitar Setup
The truss rod is a crucial component of guitar setup, and its proper adjustment can significantly impact the playability and overall performance of your instrument. Let’s explore the importance of the truss rod in guitar setup.
First and foremost, the truss rod helps to maintain the neck’s stability. As guitar strings exert tension on the neck, it can cause the neck to bow or warp over time. By adjusting the truss rod, you can counteract this tension and ensure the neck remains straight. A straight neck not only enhances playability but also prevents the strings from buzzing against the frets and improves overall intonation.
Furthermore, the truss rod plays a crucial role in setting the guitar’s action. Action refers to the distance between the strings and the fretboard. By adjusting the truss rod, you can achieve the optimal amount of relief in the neck, which allows for comfortable string height and reduces the risk of string buzzing. This is particularly important for players who prefer low action, as a properly adjusted truss rod can help achieve that desired setup without compromising playability.
The truss rod is also essential for maintaining proper string alignment along the fretboard. If the truss rod is improperly adjusted, it can cause the strings to be too close to one side or the other, resulting in uneven string tension and intonation issues. A well-adjusted truss rod ensures that the strings sit evenly across the frets, enabling accurate and consistent note representation across the fretboard.
Additionally, the truss rod can significantly impact the longevity of your instrument. By maintaining the neck’s proper alignment, you reduce the risk of excessive stress on the neck, which can lead to structural issues or even irreversible damage to the guitar. Regular truss rod adjustments, along with proper care and maintenance, can help prolong the life of your guitar and keep it playing its best for years to come.
Now that we recognize the importance of the truss rod in guitar setup, let’s move on to locating the truss rod on the Madeira A25R acoustic guitar and understanding how to make adjustments.
Locating the Truss Rod on the Madeira A25R
Now that we understand the importance of the truss rod in guitar setup, let’s focus on locating the truss rod on the Madeira A25R acoustic guitar.
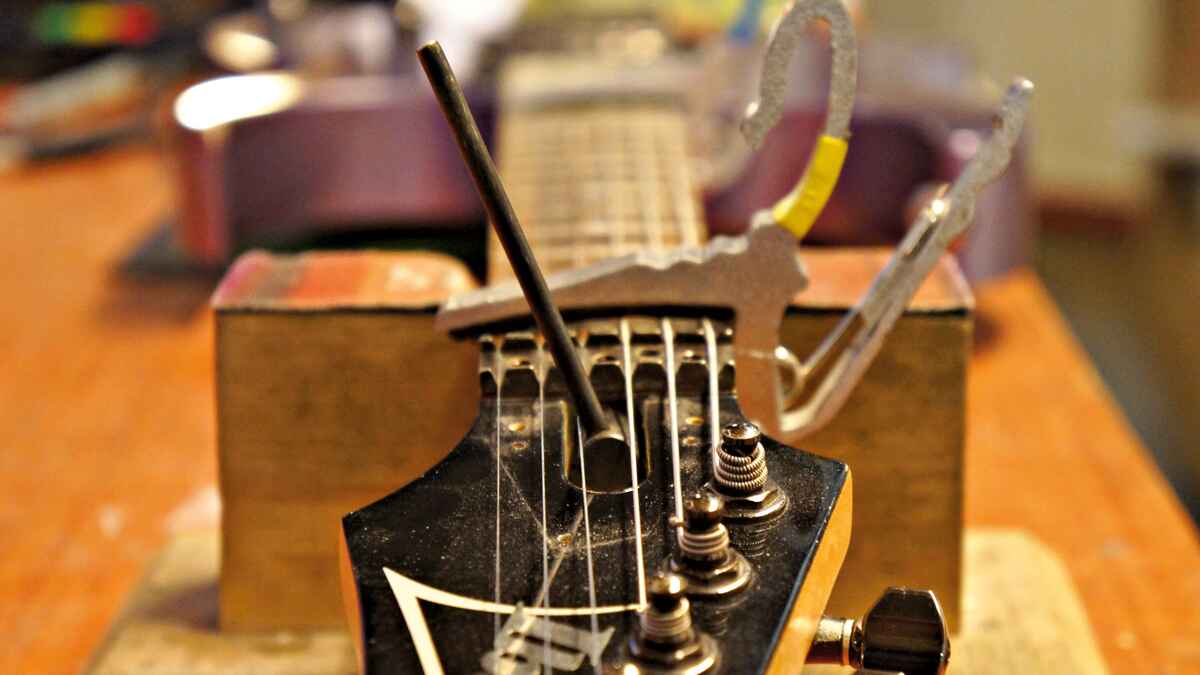
The truss rod on the Madeira A25R is typically accessed through a small opening in the headstock, located at the base of the neck. Look for a small circular or hexagonal cover that can be unscrewed to reveal the truss rod adjustment point beneath.
Once you have located the truss rod access point, you will need the appropriate tool to make the adjustments. Most guitars use either an Allen wrench or a specialized truss rod wrench to turn the rod. Check the manufacturer’s instructions or consult with a guitar technician to ensure you are using the correct tool and size for your Madeira A25R.
It’s important to note that the truss rod adjustment point may be labeled with “+” and “-” symbols, indicating which direction to turn the rod to increase or decrease the tension. This allows for easy and precise adjustments to the neck’s relief.
Now that we know where to find the truss rod on the Madeira A25R acoustic guitar, let’s move on to the step-by-step guide on how to adjust it properly.
Step-by-step Guide to Adjusting the Truss Rod
Adjusting the truss rod on your Madeira A25R acoustic guitar requires care and precision. Follow this step-by-step guide to ensure a successful truss rod adjustment:
- Prepare your guitar: Before making any adjustments, ensure that your guitar is in tune and resting on a stable surface.
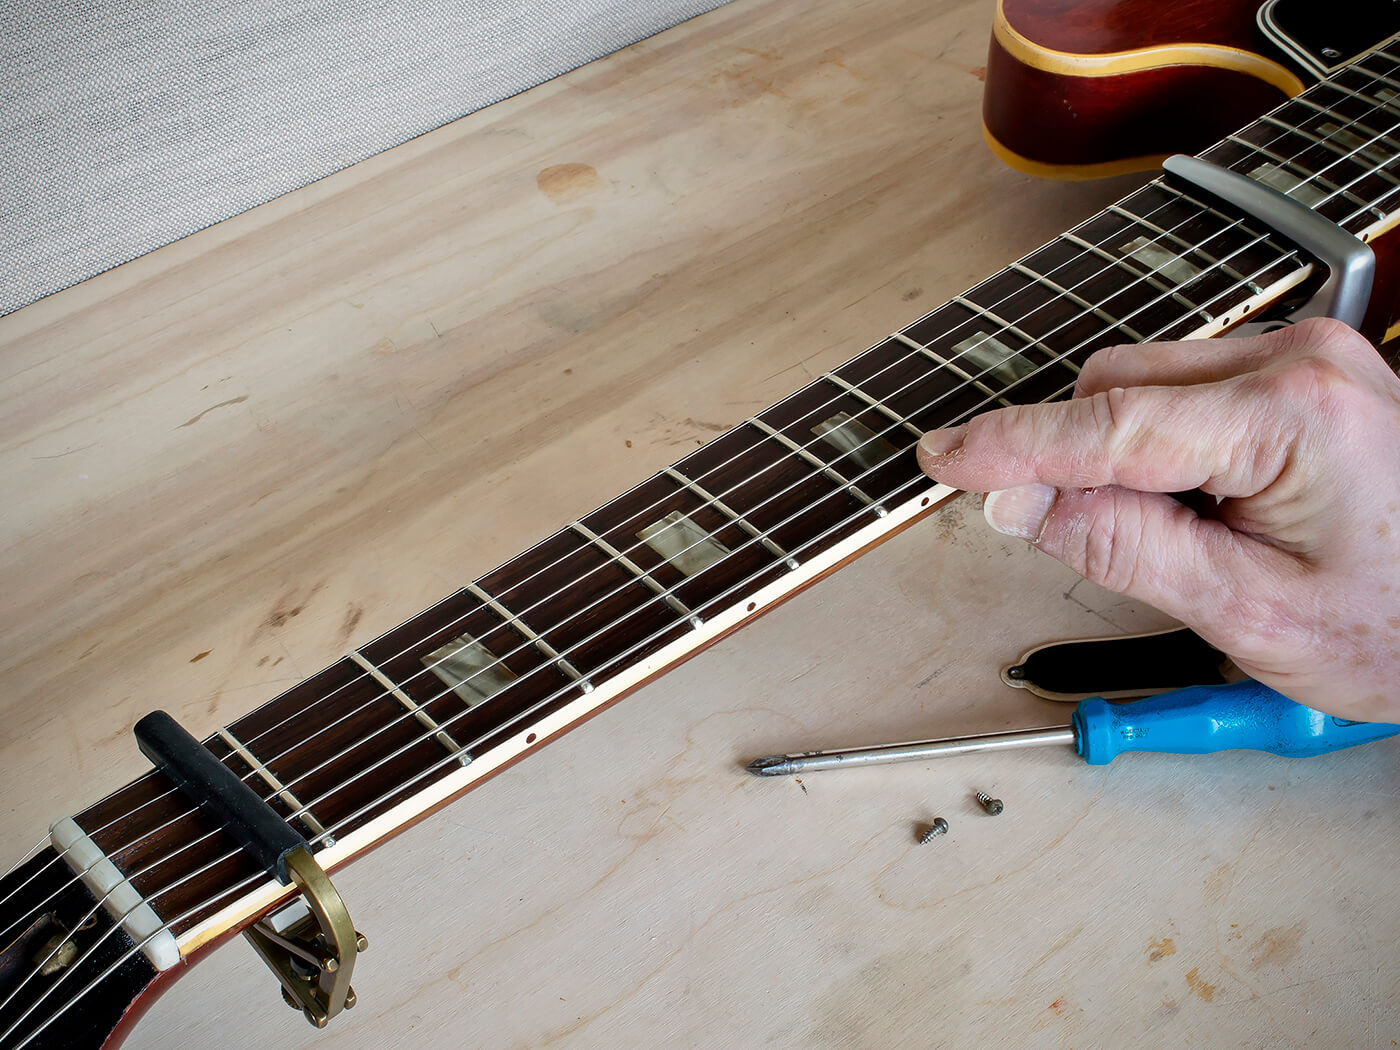
- Locate the truss rod access point: As mentioned earlier, find the truss rod access point on the headstock of your Madeira A25R acoustic guitar. Remove the cover to reveal the adjustment point.
- Choose the correct tool: Select the appropriate tool for adjusting the truss rod. It can be an Allen wrench or a specialized truss rod wrench. Be sure to use the correct size for your specific guitar model.
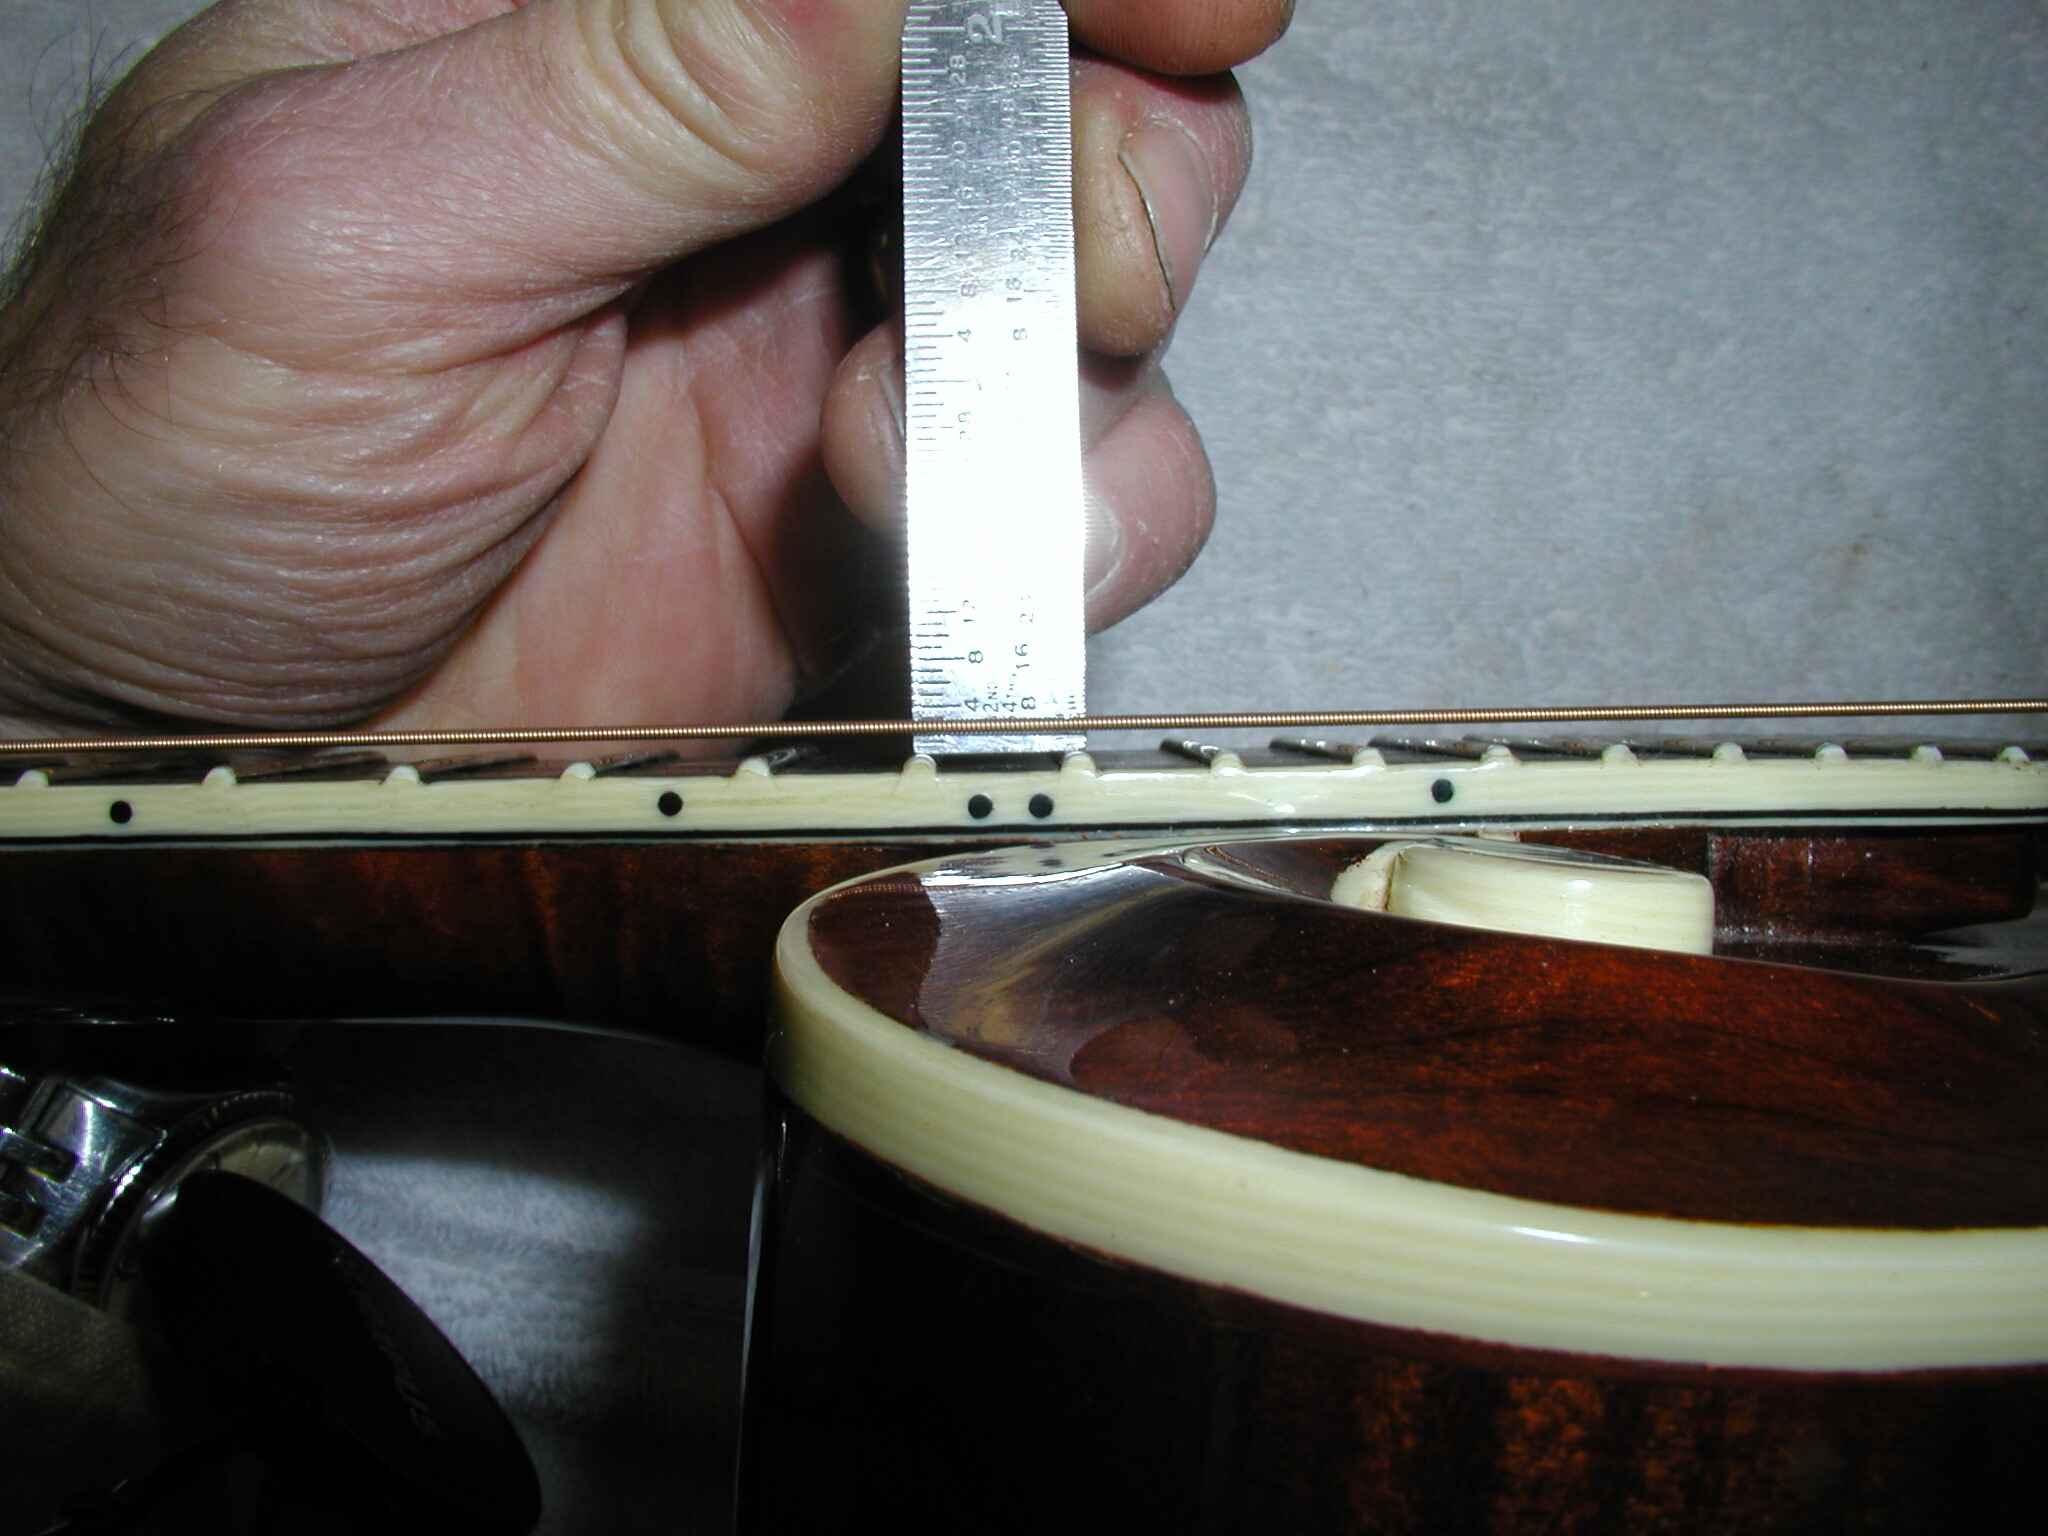
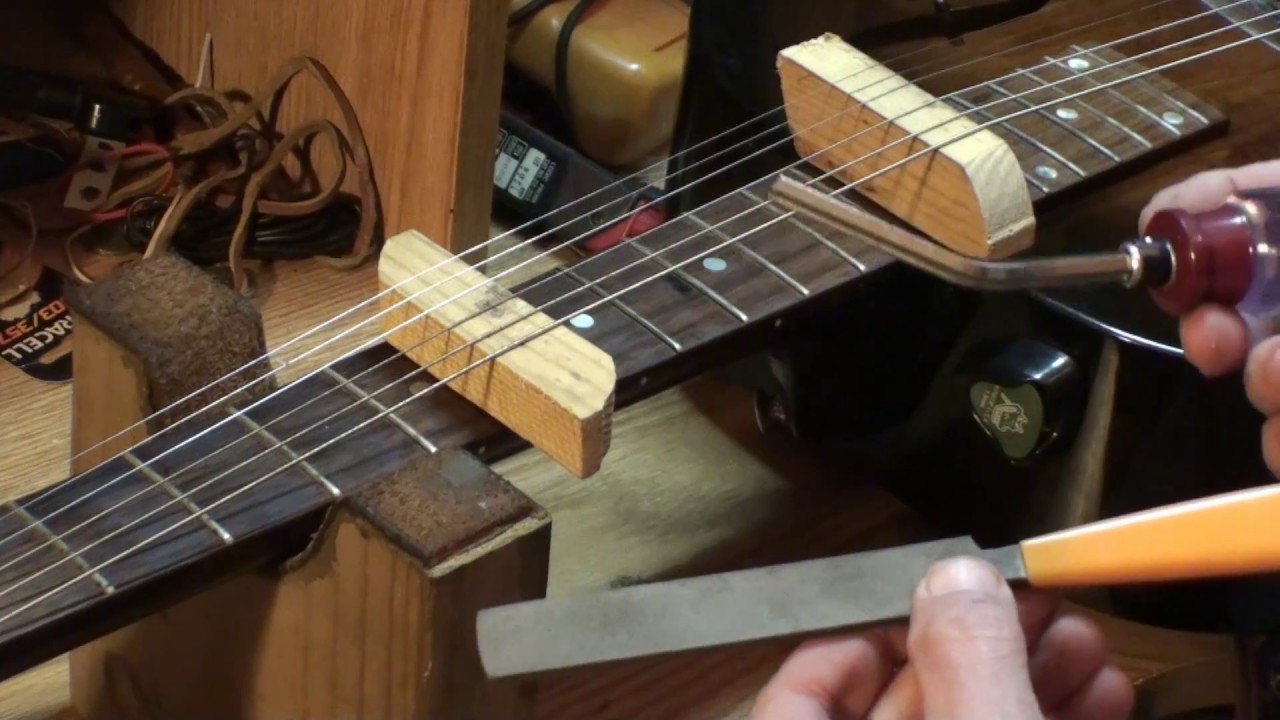
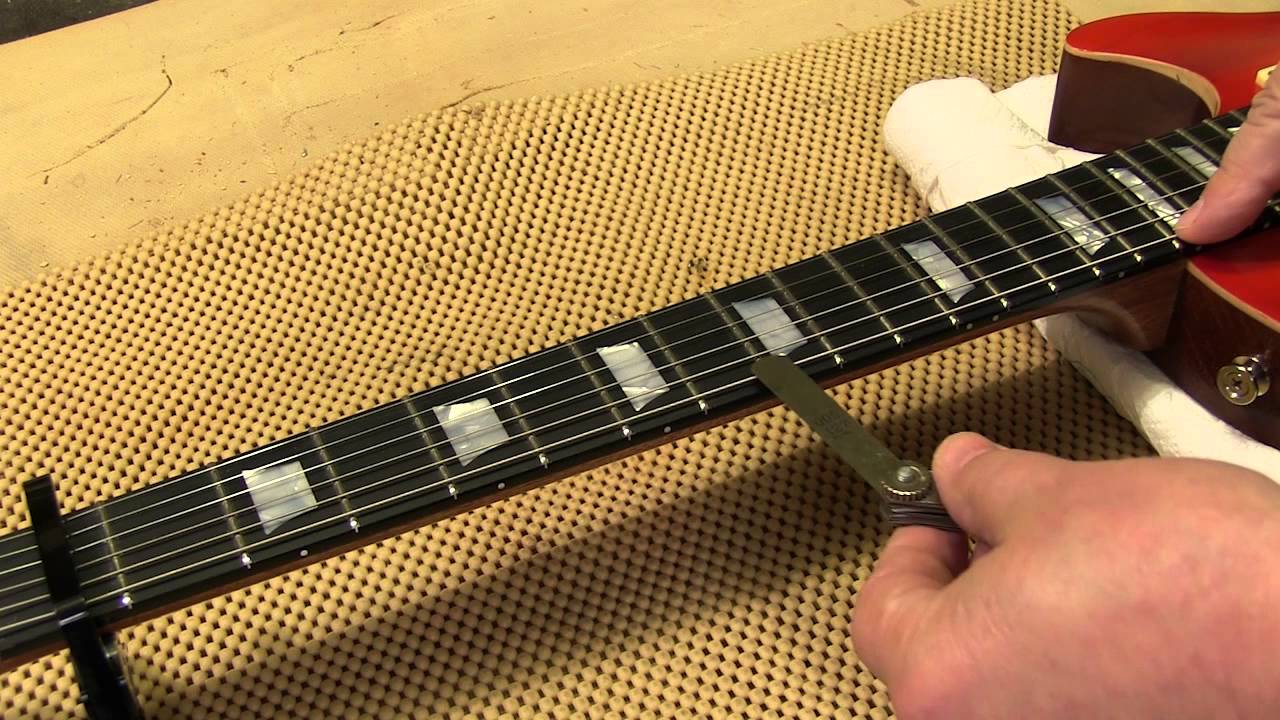
- Determine the current neck relief: Use a straight edge, such as a ruler or a specialized straightedge tool, to measure the neck’s relief. Place the straight edge on the fretboard, spanning several frets. Check the gap between the straight edge and the frets. This will give you an idea of whether the neck needs more relief (if there is back bow) or less relief (if there is forward bow).
- Make adjustments: Insert the truss rod adjustment tool into the access point. If the neck needs more relief (back bow), turn the truss rod counter-clockwise (left) to loosen it. If the neck needs less relief (forward bow), turn the truss rod clockwise (right) to tighten it. Make small adjustments, typically no more than a quarter or half turn at a time, and recheck the neck relief after each adjustment.
- Allow time for adjustments to settle: After each adjustment, give the guitar some time to settle before making further changes. This may take a few hours or even a day, as the wood needs time to adjust to the new tension.
- Recheck and fine-tune: Once the guitar has settled, recheck the neck relief using the straight edge. Fine-tune the truss rod adjustment if necessary, making additional small adjustments as needed. Remember to be patient and make gradual changes to avoid over-tightening or damaging the truss rod.
Following these steps will help you achieve the desired neck relief for your Madeira A25R acoustic guitar. If you’re uncertain about making truss rod adjustments on your own, it’s always advisable to seek guidance from a professional guitar technician.
Precautions and Best Practices for Truss Rod Adjustments
Adjusting the truss rod is an important task that requires caution and adherence to best practices to ensure the safety and integrity of your Madeira A25R acoustic guitar. Here are some precautions and best practices to keep in mind:
- Only make small adjustments: It’s crucial to make small, incremental adjustments when turning the truss rod. Over-tightening or loosening the truss rod too much can cause damage to the neck or affect the overall stability of the guitar.
- Allow the guitar to settle: After each adjustment, give the guitar some time to settle before making further tweaks. The wood needs time to adjust to the new tension, so wait for a few hours or even a day before rechecking the neck relief.
- Use the correct tool: Always use the appropriate tool for adjusting the truss rod. Using the wrong tool or incorrect size can damage the truss rod or the adjustment point on the guitar.
- Make adjustments in the correct direction: Understand the impact of turning the truss rod in different directions. Turning it clockwise (right) typically tightens the rod, reducing neck relief. Turning it counter-clockwise (left) loosens the rod, increasing neck relief.
- Monitor the guitar’s response: As you make adjustments, pay attention to how the guitar responds. Listen for any buzzing or changes in the overall playability and adjust accordingly. If you experience any difficulties or uncertainties, it’s best to seek advice from a professional guitar technician.
- Document your adjustments: Keeping a record of your truss rod adjustments can help you track the changes you’ve made and their effects on the guitar. This can be particularly useful if you experiment with different string gauges or significantly change the climate in which the guitar is stored.
- Know when to seek professional help: If you feel uncertain or uncomfortable with adjusting the truss rod on your own, it’s always best to seek assistance from a qualified guitar technician. They have the expertise and tools necessary to make precise adjustments without risking damage to your instrument.
By following these precautions and best practices, you can confidently make truss rod adjustments on your Madeira A25R acoustic guitar and achieve the desired playability and neck relief.
Alternative Methods for Truss Rod Adjustments
While adjusting the truss rod on your Madeira A25R acoustic guitar is the standard method for achieving optimal neck relief, there are alternative approaches that you may consider depending on your comfort level and the specific needs of your instrument. Here are a few alternative methods for truss rod adjustments:
- Visit a professional guitar technician: If you feel uncertain or inexperienced in making truss rod adjustments, it’s always a good idea to seek assistance from a professional guitar technician. They have the expertise and knowledge to make precise adjustments tailored to your guitar’s specific needs.
- Temperature and humidity adjustments: In some cases, changes in temperature and humidity can cause fluctuations in neck relief. If you notice slight changes in neck bow due to environmental conditions, you may find that adjusting the temperature or humidity levels in your guitar’s storage area can help alleviate the issue without directly adjusting the truss rod.
- Experiment with string gauge and tension: Changing the string gauge or tension can indirectly affect the neck relief. By using lighter or heavier gauge strings or adjusting the tension on the strings, you may be able to achieve the desired neck relief without making direct truss rod adjustments. However, be aware that changing string gauge may also necessitate adjustments to other aspects of the guitar’s setup.
- Seek specialized tools: Some guitar manufacturers offer specialized tools designed to make truss rod adjustments easier. These tools, such as dual-action truss rod wrenches, can provide greater control and precision when making adjustments. Research if such tools are available for your Madeira A25R acoustic guitar.
- Consult online resources and forums: There are numerous online resources, forums, and communities dedicated to guitar setup and maintenance. By seeking advice and guidance from experienced guitarists and technicians, you can gain insights into alternative truss rod adjustment methods and gather valuable tips and recommendations.
It’s important to approach alternative truss rod adjustment methods with caution and to consider the specific needs and characteristics of your guitar. If you are not confident in your abilities or are unsure about the best course of action, consulting with a professional guitar technician remains the safest and most reliable choice.
Conclusion
Understanding and adjusting the truss rod on your Madeira A25R acoustic guitar is an essential skill for maintaining optimal playability and performance. By carefully following the steps outlined in this article, you can ensure that your guitar’s neck remains stable and properly aligned.
The truss rod plays a vital role in counteracting the tension created by the strings, allowing you to achieve the ideal neck relief and string alignment. This, in turn, enhances the overall playability and intonation of your instrument.
Remember to exercise caution and make small, incremental adjustments when turning the truss rod. Allowing sufficient time for the guitar to settle after each adjustment is crucial, as it allows the wood to adapt to the changes in tension.
While the truss rod adjustment is the standard method for achieving optimal neck relief, alternative approaches, such as consulting a professional guitar technician or adjusting temperature and humidity conditions, can also be considered based on your comfort level and the specific needs of your instrument.
By being attentive to the precautions and best practices, documenting your adjustments, and seeking guidance if needed, you can confidently maintain and fine-tune your Madeira A25R acoustic guitar for years of enjoyable playing experiences.