Introduction
When it comes to maintaining and repairing your acoustic guitar, sometimes you may need to remove and reset its neck. This can be necessary if you’re experiencing issues like a misaligned neck, high action, or if you simply want to give your guitar a thorough clean. While this task may seem daunting at first, with the right tools and a step-by-step approach, you can easily tackle it yourself.
Removing and resetting an acoustic guitar neck involves a series of carefully executed steps to ensure proper alignment and optimal playability. This process allows you to address any structural issues and make adjustments to the neck angle, if needed. By following this guide, you will be able to confidently disassemble, clean, reset, and reattach the neck of your acoustic guitar, giving it a fresh start.
In this article, we will walk you through each step of the neck removal and reset process, providing clear instructions along the way. We will also highlight the tools you’ll need to complete the task, ensuring you have everything necessary to achieve successful results.
Remember, if you are unsure about any part of this process or lack the necessary skills, it’s always wise to consult a professional guitar technician. They have the expertise and experience to handle more complex repairs and adjustments. However, for those with some DIY experience, removing and resetting an acoustic guitar neck can be a gratifying and cost-effective solution.
Tools Needed
Before you begin the process of removing and resetting the neck of your acoustic guitar, it’s essential to gather the necessary tools. Having the right tools on hand will ensure that the job is done efficiently and safely. Here are the basic tools you’ll need:
1. Screwdrivers: You will need a set of screwdrivers, including both Phillips and flathead screwdrivers. These will be used to remove the screws that hold the neck in place.
2. Allen wrenches: Acoustic guitars often have a truss rod adjuster located at the headstock. You’ll need an appropriate size Allen wrench to loosen and adjust the truss rod.
3. String cutter: A string cutter will come in handy when removing the strings from your guitar. It makes the process quicker and easier.
4. Soft cloth: A soft cloth is necessary for cleaning the neck joint and removing any dirt or debris.
5. Cleaning solution: You may want to use a cleaning solution specifically designed for guitar maintenance. This will help to remove grime and restore the finish of the neck.
6. Lubricant: Having some lubricant, such as guitar-specific lubricant or graphite powder, is essential for ensuring smooth neck joint movement when reattaching the neck.
7. Neck support: It’s important to have a stable surface to rest your guitar’s body on during the neck removal process. You can use a guitar neck support or a soft towel to provide a cushion for the guitar body.
8. Guitar strings: If you plan on completely removing the neck, you’ll need a new set of guitar strings to restring the instrument once the process is complete.
Having these tools readily available will make the process of removing and resetting an acoustic guitar neck much more convenient and manageable. Now that you have everything you need, let’s move on to the step-by-step process of removing the neck from your guitar.
Step 1: Remove the Strings
The first step in the process of removing and resetting the neck of your acoustic guitar is to remove the strings. Removing the strings will make it easier to access the neck joint and ensure a smoother removal process. Here’s how to do it:
1. Loosen the strings: Start by loosening the tension on each string. You can do this by turning the tuning pegs counterclockwise until the strings are loose enough to remove.
2. Cut the strings: Once the strings are sufficiently loosened, use your string cutter to snip each string near the bridge. This will free the strings from the guitar’s body.
3. Remove the strings: Gently pull each string out from the bridge. Make sure to keep them organized so that you can easily restring your guitar later.
4. Release the tension: Take note of any leftover tension on the strings and release it by carefully unwinding the tuning pegs. This will prevent any unnecessary strain on the neck joint during the subsequent steps.
Removing the strings will allow you to work on the neck and body of the guitar more freely. It’s important to handle the strings with care to avoid damage. Now that the strings are removed, we can move on to the next step: loosening the truss rod.
Step 2: Loosen the Truss Rod
Loosening the truss rod is an important step in the process of removing and resetting the neck of your acoustic guitar. The truss rod is responsible for adjusting the neck’s curvature and should be loosened to ensure easy removal. Here’s how to do it:
1. Locate the truss rod adjustment point: The truss rod is usually accessed through the soundhole near the guitar’s headstock. Look for a small opening covered by a plastic or metal plate.
2. Insert the appropriate Allen wrench: Choose the correct size Allen wrench that matches the truss rod adjustment point. Insert it into the opening securely.
3. Turn the Allen wrench counterclockwise: Apply gentle pressure to the Allen wrench and turn it counterclockwise. This will loosen the truss rod and relieve any tension on the neck.
4. Loosen the truss rod gradually: It’s important not to force or over-loosen the truss rod. Make small adjustments, turning the Allen wrench a quarter of a turn at a time. This gradual approach will help prevent any sudden changes that could damage the neck or truss rod.
5. Check the neck relief: After each quarter turn, check the neck relief by sighting down the edge of the fingerboard from the headstock to the body. The goal is to achieve a slight concave curvature, allowing for proper string height and playability.
By loosening the truss rod, you ensure that the neck can be easily detached from the guitar body without any unnecessary resistance or strain. Remember that the truss rod adjustments are meant to be subtle, so take your time and make small adjustments as needed. With the truss rod loosened, we’re ready to move on to the next step: removing the neck.
Step 3: Remove the Neck
Once you have loosened the truss rod, you’re ready to proceed with removing the neck of your acoustic guitar. This step requires careful handling to ensure the neck is safely detached without causing any damage. Here’s how to remove the neck:
1. Secure the guitar body: Place the guitar body on a stable surface, such as a workbench or a soft towel, to provide support and prevent any accidental movement during the neck removal process.
2. Locate the neck joint: The neck joint is where the neck of the guitar connects to the body. It’s usually located at the heel of the neck, near the guitar’s soundhole.
3. Remove the screws: Look for screws or bolts that secure the neck to the body. Use the appropriate screwdriver to carefully remove these screws. Take note of the number and arrangement of the screws for reassembly later.
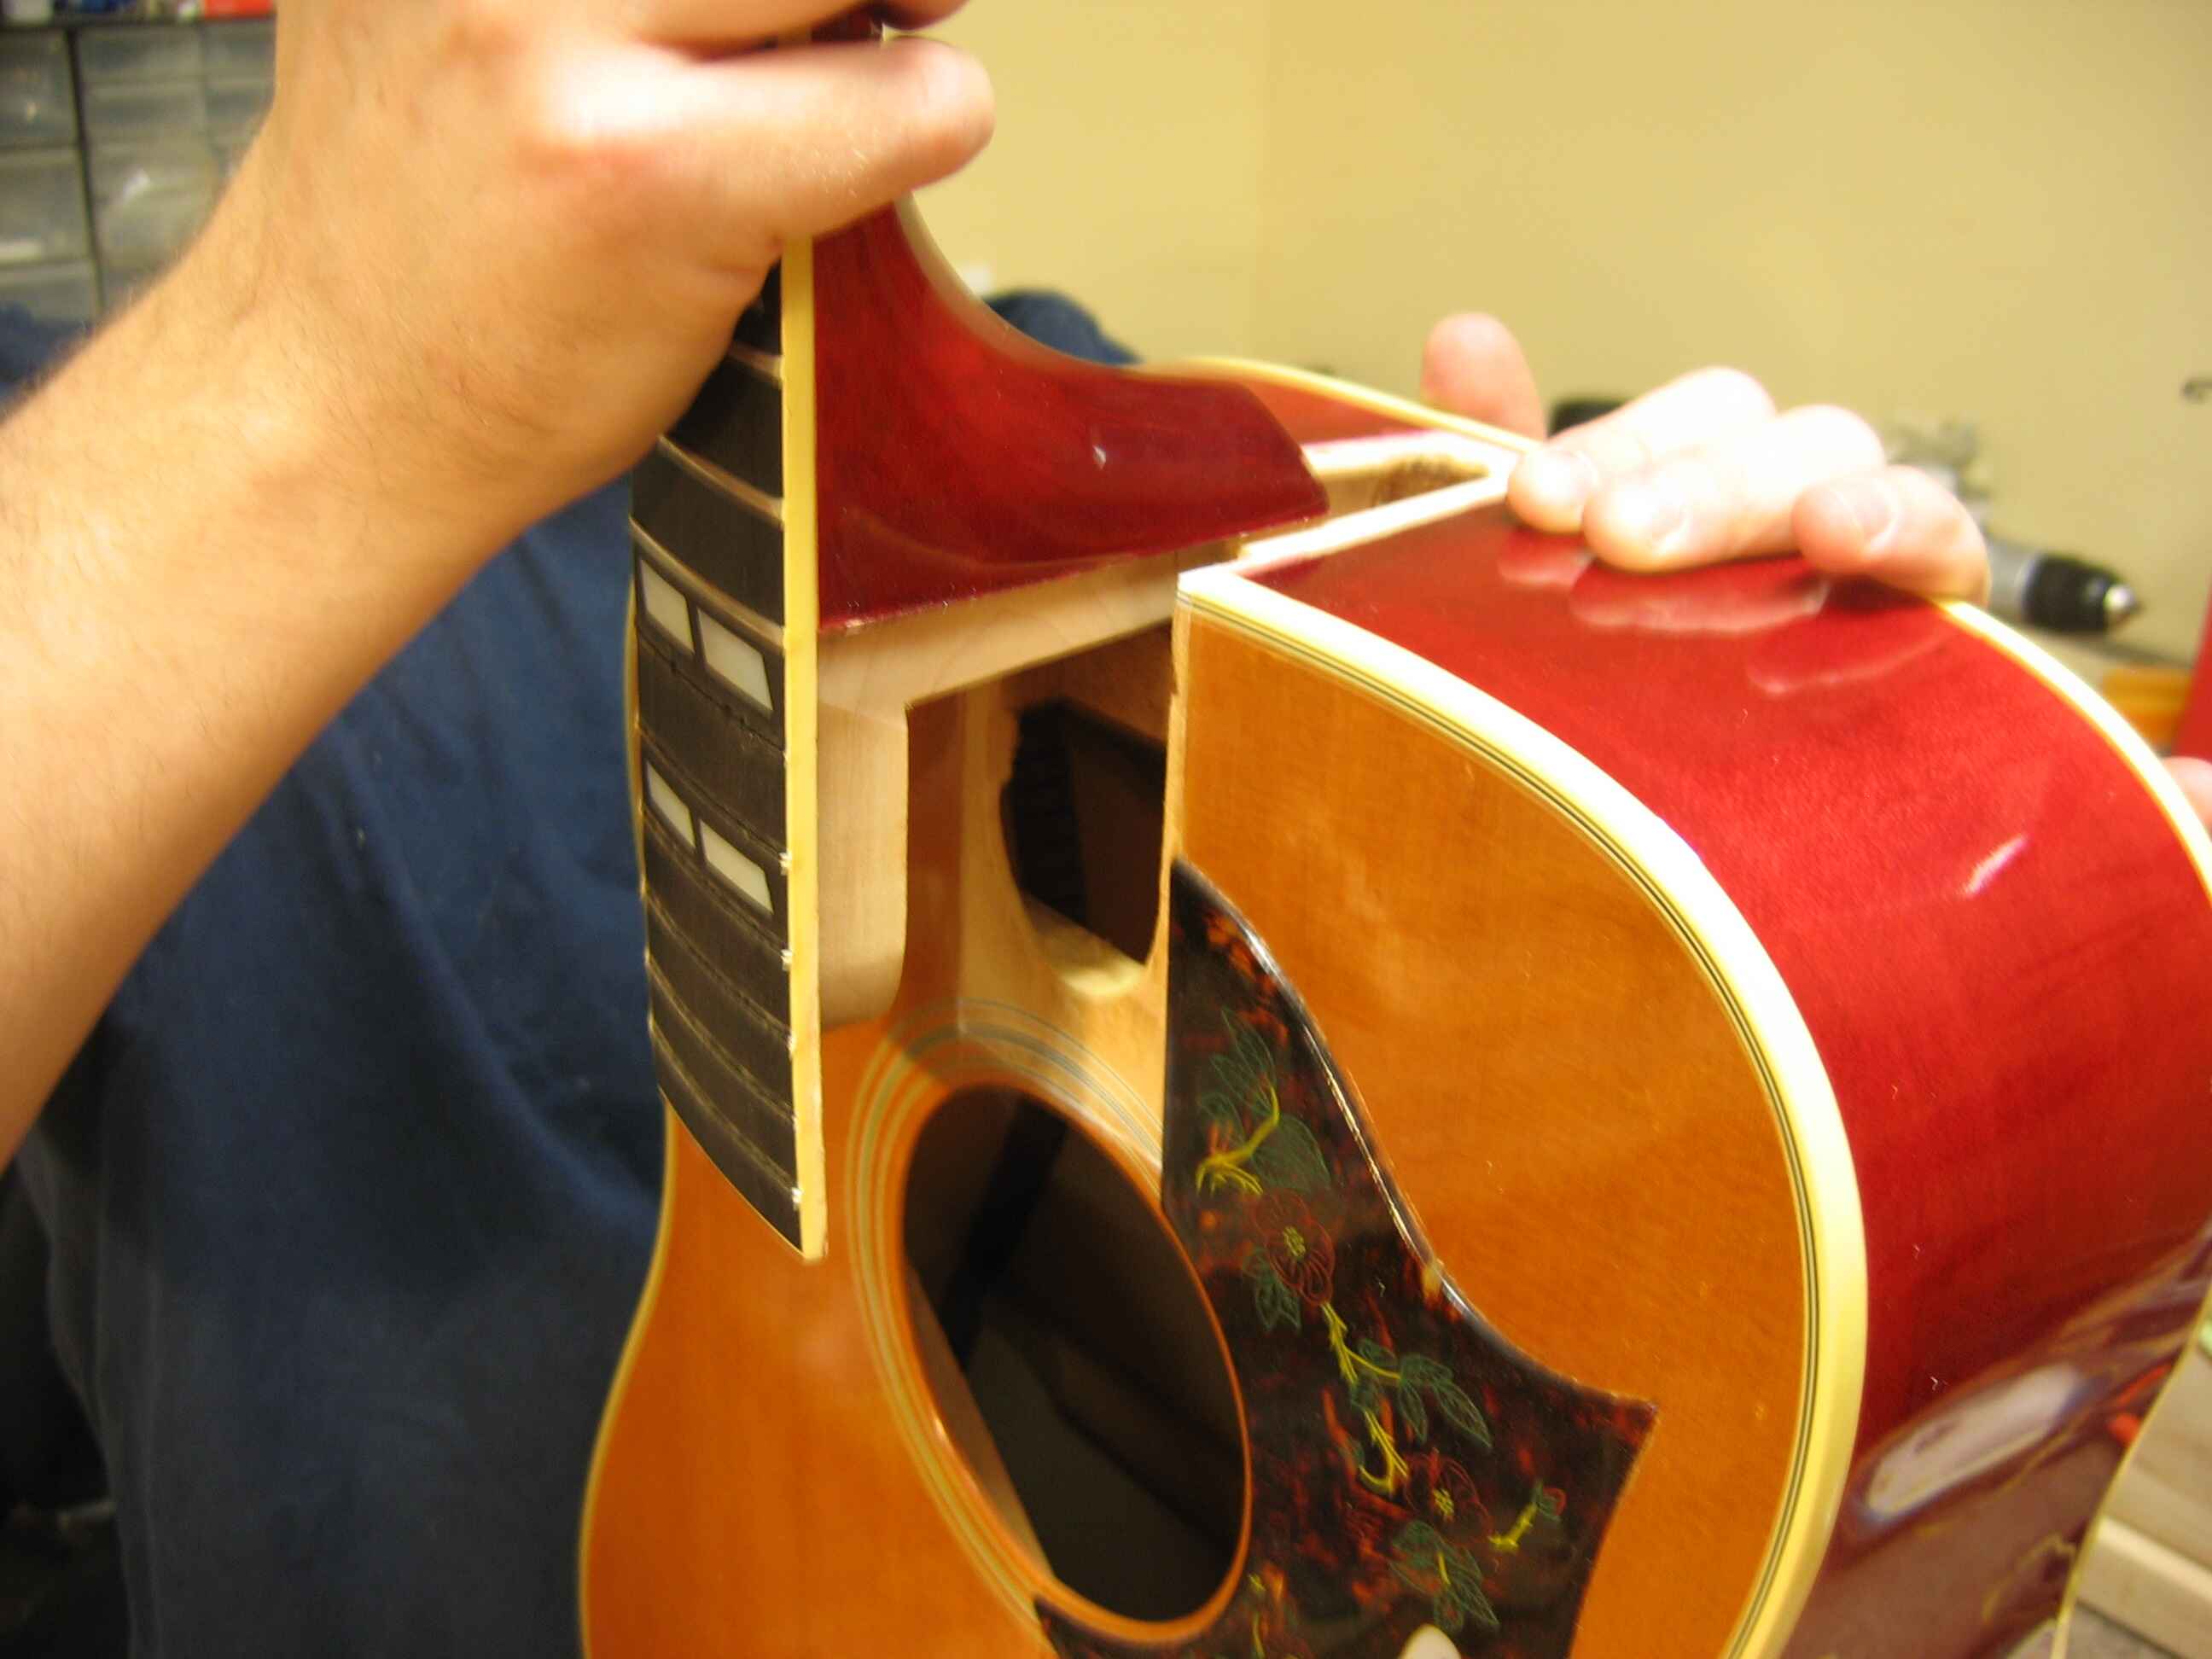
4. Gently lift the neck: With the screws removed, slowly lift the neck off the body of the guitar. Be cautious and apply even pressure to ensure a smooth and controlled removal.
5. Inspect the neck joint and pocket: Take a moment to inspect the neck joint and the pocket in the guitar body where the neck was seated. Look for any signs of damage or debris that may need to be addressed before reattaching the neck.
By following these steps, you will successfully remove the neck of your acoustic guitar. Remember to handle the neck with care to avoid any accidental damage. With the neck removed, we can now move on to the next step: cleaning and lubricating the neck joint.
Step 4: Clean and Lubricate the Neck Joint
After removing the neck from your acoustic guitar, it’s essential to clean and lubricate the neck joint and the pocket in the guitar body. This step ensures that the surfaces are free from dirt, debris, and any residue that could affect the reattachment process. Here’s how to clean and lubricate the neck joint:
1. Prepare a cleaning solution: Mix a small amount of a guitar-friendly cleaning solution with water, following the manufacturer’s instructions. Alternatively, you can use a mild soap solution or a damp, soft cloth to clean the joint.
2. Clean the neck joint and pocket: Dip a clean, soft cloth into the cleaning solution and gently wipe the neck joint and the pocket in the guitar body. Pay attention to removing any grime or dirt build-up, ensuring a clean and smooth surface.
3. Dry the surfaces: After cleaning, use another clean, dry cloth to thoroughly dry the neck joint and the pocket. Moisture can interfere with the reattachment process, so make sure the surfaces are completely dry before proceeding.
4. Apply lubricant: Once the surfaces are clean and dry, it’s advisable to apply a small amount of lubricant to the neck joint. This will facilitate smooth movement and help prevent any friction when reattaching the neck. Use a guitar-specific lubricant or a small amount of graphite powder for this purpose.
5. Spread the lubricant: Gently spread the lubricant along the neck joint and inside the pocket using a soft cloth or your fingers. Be careful not to apply too much; a thin, even coat is all that’s needed.
Cleaning and lubricating the neck joint ensures optimal performance and a secure fit when reattaching the neck. By taking the time to clean and lubricate these surfaces, you’re setting a solid foundation for the next step: resetting the neck.
Step 5: Reset the Neck
With the neck joint cleaned and lubricated, it’s time to proceed with resetting the neck of your acoustic guitar. This step involves aligning the neck in its proper position and ensuring that it fits snugly and securely in the guitar body. Here’s how to reset the neck:
1. Align the neck: Carefully align the neck with the pocket in the guitar body, ensuring that the neck heel is correctly seated in the joint. Take your time to make sure the neck is aligned properly before proceeding.
2. Insert screws or bolts: Once the neck is aligned, insert the screws or bolts into their respective holes. Start by loosely threading them in by hand to ensure proper alignment before fully tightening them.
3. Tighten the screws or bolts: Use the appropriate screwdriver to tighten the screws or bolts, making sure not to overtighten them. Tighten them gradually in a diagonal pattern to ensure even pressure, allowing the neck to settle in securely.
4. Check for proper alignment: Once the screws or bolts are tightened, visually inspect the neck alignment with the body. Ensure that the neck is straight and properly aligned in relation to the guitar body.
5. Test the fit: Gently press down on the neck to confirm that it fits snugly and securely in the pocket. There should be no movement or gaps between the neck and the guitar body.
Resetting the neck is a crucial step in the process of removing and resetting an acoustic guitar neck. Take your time to ensure proper alignment and a secure fit, as this will contribute to the guitar’s playability and overall stability. With the neck reset, we can now move on to the next step: reattaching the neck.
Step 6: Reattach the Neck
After resetting the neck, it’s time to reattach it to the body of your acoustic guitar. A secure and properly aligned neck attachment is vital for maintaining the playability and structural integrity of the instrument. Here’s how to reattach the neck:
1. Align the neck: Ensure the neck is properly aligned with the neck joint in the guitar body. Make sure the heel of the neck fits snugly into the joint.
2. Insert the screws or bolts: Insert the screws or bolts into their respective holes. Begin by loosely threading them in by hand to ensure proper alignment before fully tightening.
3. Tighten the screws or bolts: Use the appropriate screwdriver to fully tighten the screws or bolts. Tighten them gradually and evenly to maintain an even distribution of pressure.
4. Check for proper alignment: Once the screws or bolts are tightened, visually inspect the alignment of the neck with the body. The neck should be straight and properly aligned with the fingerboard and the body of the guitar.
5. Test stability: Gently press down on the neck to ensure it is securely attached to the body. There should be no movement or looseness between the neck and the guitar body.
Reattaching the neck is a crucial step in completing the process of removing and resetting an acoustic guitar neck. Take your time to ensure proper alignment and a secure attachment. With the neck reattached, we can now move on to the next step: adjusting the truss rod.
Step 7: Adjust the Truss Rod
Now that the neck is reattached to the body of your acoustic guitar, it’s time to adjust the truss rod. The truss rod helps to control the curvature of the neck and ensures proper string action and playability. Here’s how to adjust the truss rod:
1. Restring the guitar: Before adjusting the truss rod, it’s best to restring the guitar with a fresh set of strings. This will provide an accurate reference for making adjustments.
2. Find the truss rod adjustment point: Look for the truss rod adjustment point, usually located at the headstock end of the neck. It may be covered with a small plastic or metal plate.
3. Choose the right tool: Use the appropriate size of Allen wrench or truss rod wrench to adjust the truss rod. Insert the wrench into the adjustment point securely.
4. Make small adjustments: Turning the wrench clockwise will tighten the truss rod, while turning it counterclockwise will loosen it. Make small quarter-turn adjustments to avoid drastic changes.
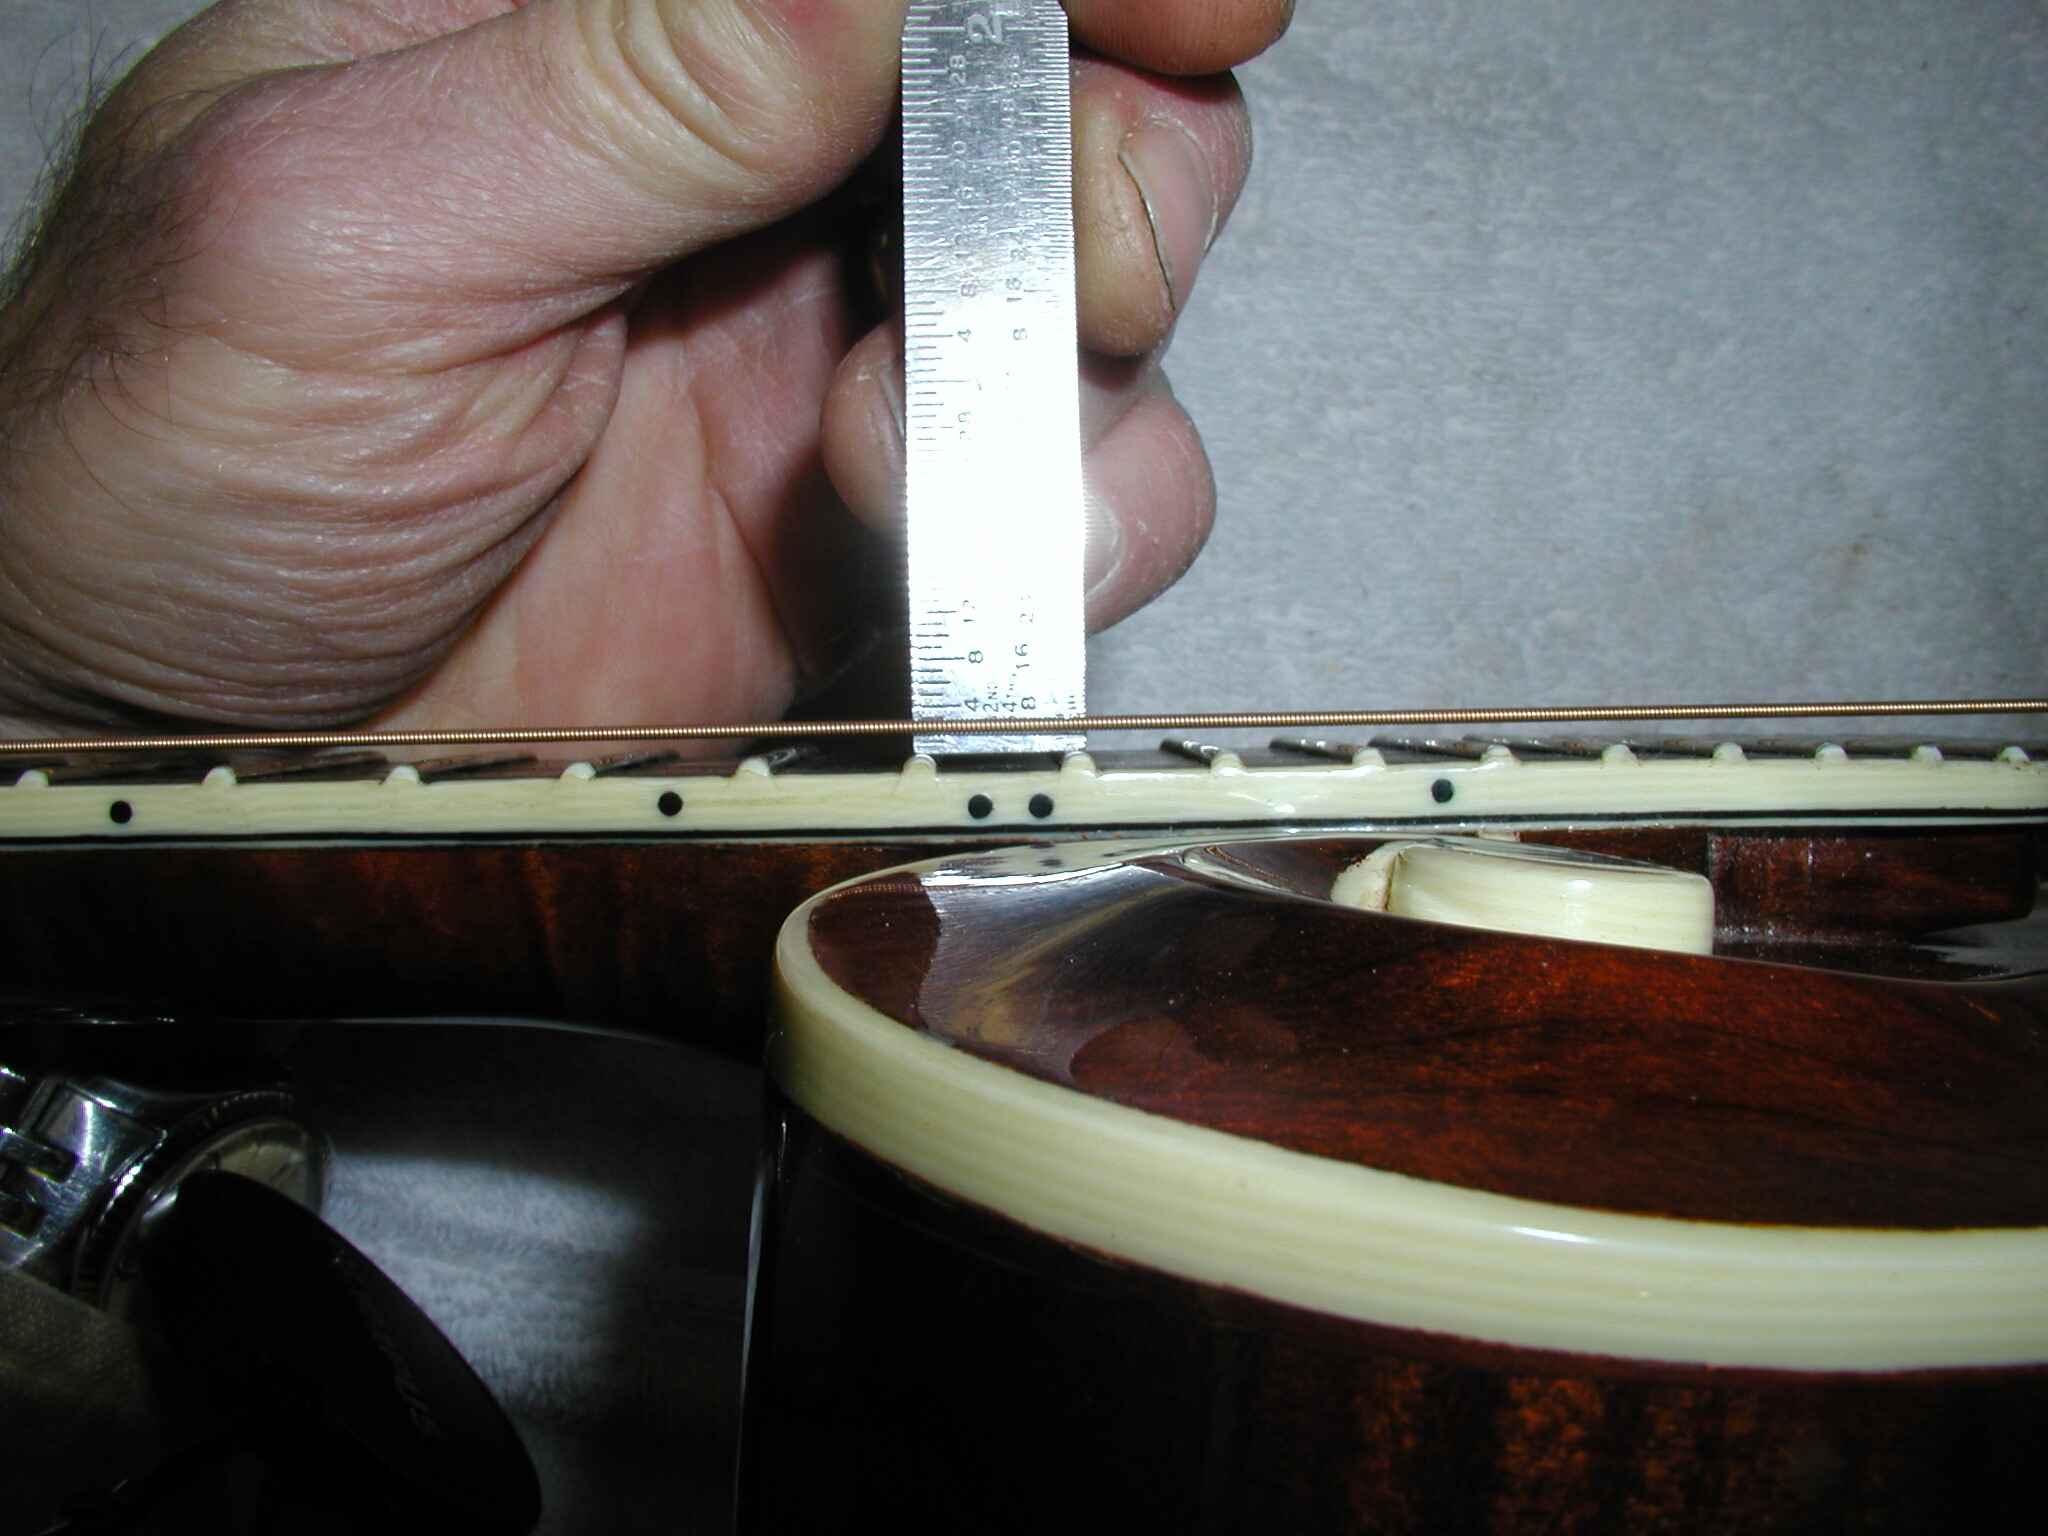
5. Observe the neck relief: After each adjustment, give the truss rod some time to settle before observing the effect on the neck relief. Use a straightedge or specialized tool to check the curvature of the neck.
6. Assess the string action: As you make adjustments, pay attention to the string action, which refers to the height of the strings above the fretboard. The goal is to achieve a comfortable playing action without any buzzing or fretting out.
7. Use caution: It’s crucial to make small adjustments and avoid over-tightening or loosening the truss rod. If you’re unsure, it’s recommended to seek guidance from a professional guitar technician.
Adjusting the truss rod can take some trial and error to find the optimal neck relief and string action for your playing preferences. Take your time, make incremental adjustments, and carefully observe the results. With the truss rod adjusted, we can now move on to the final step: restringing the guitar.
Step 8: Restring the Guitar
With the neck adjusted and the truss rod properly set, it’s time to restring your acoustic guitar. Properly installed strings are essential for optimal sound quality and playability. Here’s how to restring your guitar:
1. Choose the right strings: Select a set of high-quality acoustic guitar strings that suit your playing style and preference. Different materials and gauges offer variations in tone and feel.
2. Thread the strings through the bridge: Begin by threading the end of the string with the ball end through the corresponding bridge hole. Pull the string through until the ball end is securely seated against the bridge.
3. Wind the strings around the tuning pegs: Starting with the sixth (lowest) string, insert the end of the string through the appropriate tuning peg hole. Leave some slack, then wind the string clockwise around the peg, pulling it taut.
4. Tune the strings: Once the string is wound, use a guitar tuner to tune it to the correct pitch. Repeat this process for each string, working your way up from the sixth to the first (highest) string.
5. Stretch the strings: After tuning, gently stretch each string by pulling it away from the guitar body at multiple points along its length. This helps to remove any excess slack and ensures better stability in tuning.
6. Retune the guitar: As you stretch the strings, they may lose some tension and require further tuning. Retune each string until they stabilize and hold their pitch.
7. Trim the excess string length: Once the guitar is properly tuned and the strings are stretched, use a string cutter to trim the excess string length beyond the tuning pegs. Be cautious not to cut the string too close to the peg.
By correctly restringing your guitar, you’re ensuring optimal sound quality and playability. Take your time with each string and tune them carefully to achieve the desired pitch. With the guitar successfully restrung, you can now enjoy playing your freshly reset acoustic guitar.
Conclusion
Removing and resetting the neck of your acoustic guitar may seem like a daunting task, but with the right tools and a step-by-step approach, it can be accomplished successfully. Performing this maintenance task allows you to address issues like misalignment, high action, or simply give your guitar a thorough clean.
By following the steps outlined in this guide, you can confidently disassemble, clean, reset, and reattach the neck of your acoustic guitar. Remember to handle the instrument with care throughout the process to avoid any accidental damage.
Each step plays a crucial role in achieving a secure and properly aligned neck attachment. Loosening the truss rod, cleaning and lubricating the neck joint, resetting the neck, and adjusting the truss rod contribute to the overall playability and stability of your guitar.
Once the neck is reattached and the truss rod is adjusted, restringing the guitar ensures optimal sound quality and playability. Choosing the right strings, threading them through the bridge, winding them around the tuning pegs, and carefully stretching and tuning them will result in a well-tuned instrument ready for playing.
If you encounter any difficulties or lack the necessary skills, it is always advisable to seek assistance from a professional guitar technician.
By following these steps and taking the time to properly maintain your guitar, you can enjoy a well-functioning instrument that brings you joy and inspiration for years to come. Happy playing!