Introduction
Welcome to the wonderful world of guitar building! Making your own acoustic guitar is not only a rewarding and fulfilling experience, but it also allows you to create a custom instrument that reflects your own personal style and sound. Whether you’re a seasoned woodworker or a beginner with a passion for craftsmanship, this comprehensive guide will take you through the step-by-step process of building your very own acoustic guitar.
Building an acoustic guitar from scratch may seem like a daunting task, but with the right materials, tools, and a little bit of patience, anyone can achieve stunning results. By following this guide, you’ll learn how to choose the right materials, shape the guitar body, build the neck, install the fretboard, attach the neck to the body, install guitar hardware, apply a finish, and finally, string and tune your masterpiece.
Not only does building your own guitar give you a sense of pride and accomplishment, but it also allows you to have a deeper connection with your instrument. As you understand its construction and see the guitar take shape under your hands, you’ll gain a greater appreciation for the artistry and craftsmanship that goes into creating these beautiful instruments.
Throughout this guide, we will provide you with detailed instructions, tips, and tricks to ensure that you can successfully build your own acoustic guitar. From selecting the right tonewoods to applying the perfect finish, each step is essential in creating a guitar that produces exceptional sound quality and is aesthetically pleasing to the eye.
Are you ready to embark on this exciting journey? Let’s gather the necessary materials and tools, and begin our adventure into the world of acoustic guitar crafting!
Choosing the Right Materials
When it comes to building an acoustic guitar, selecting the right materials is crucial in achieving the desired sound and aesthetic. Here are the key components to consider:
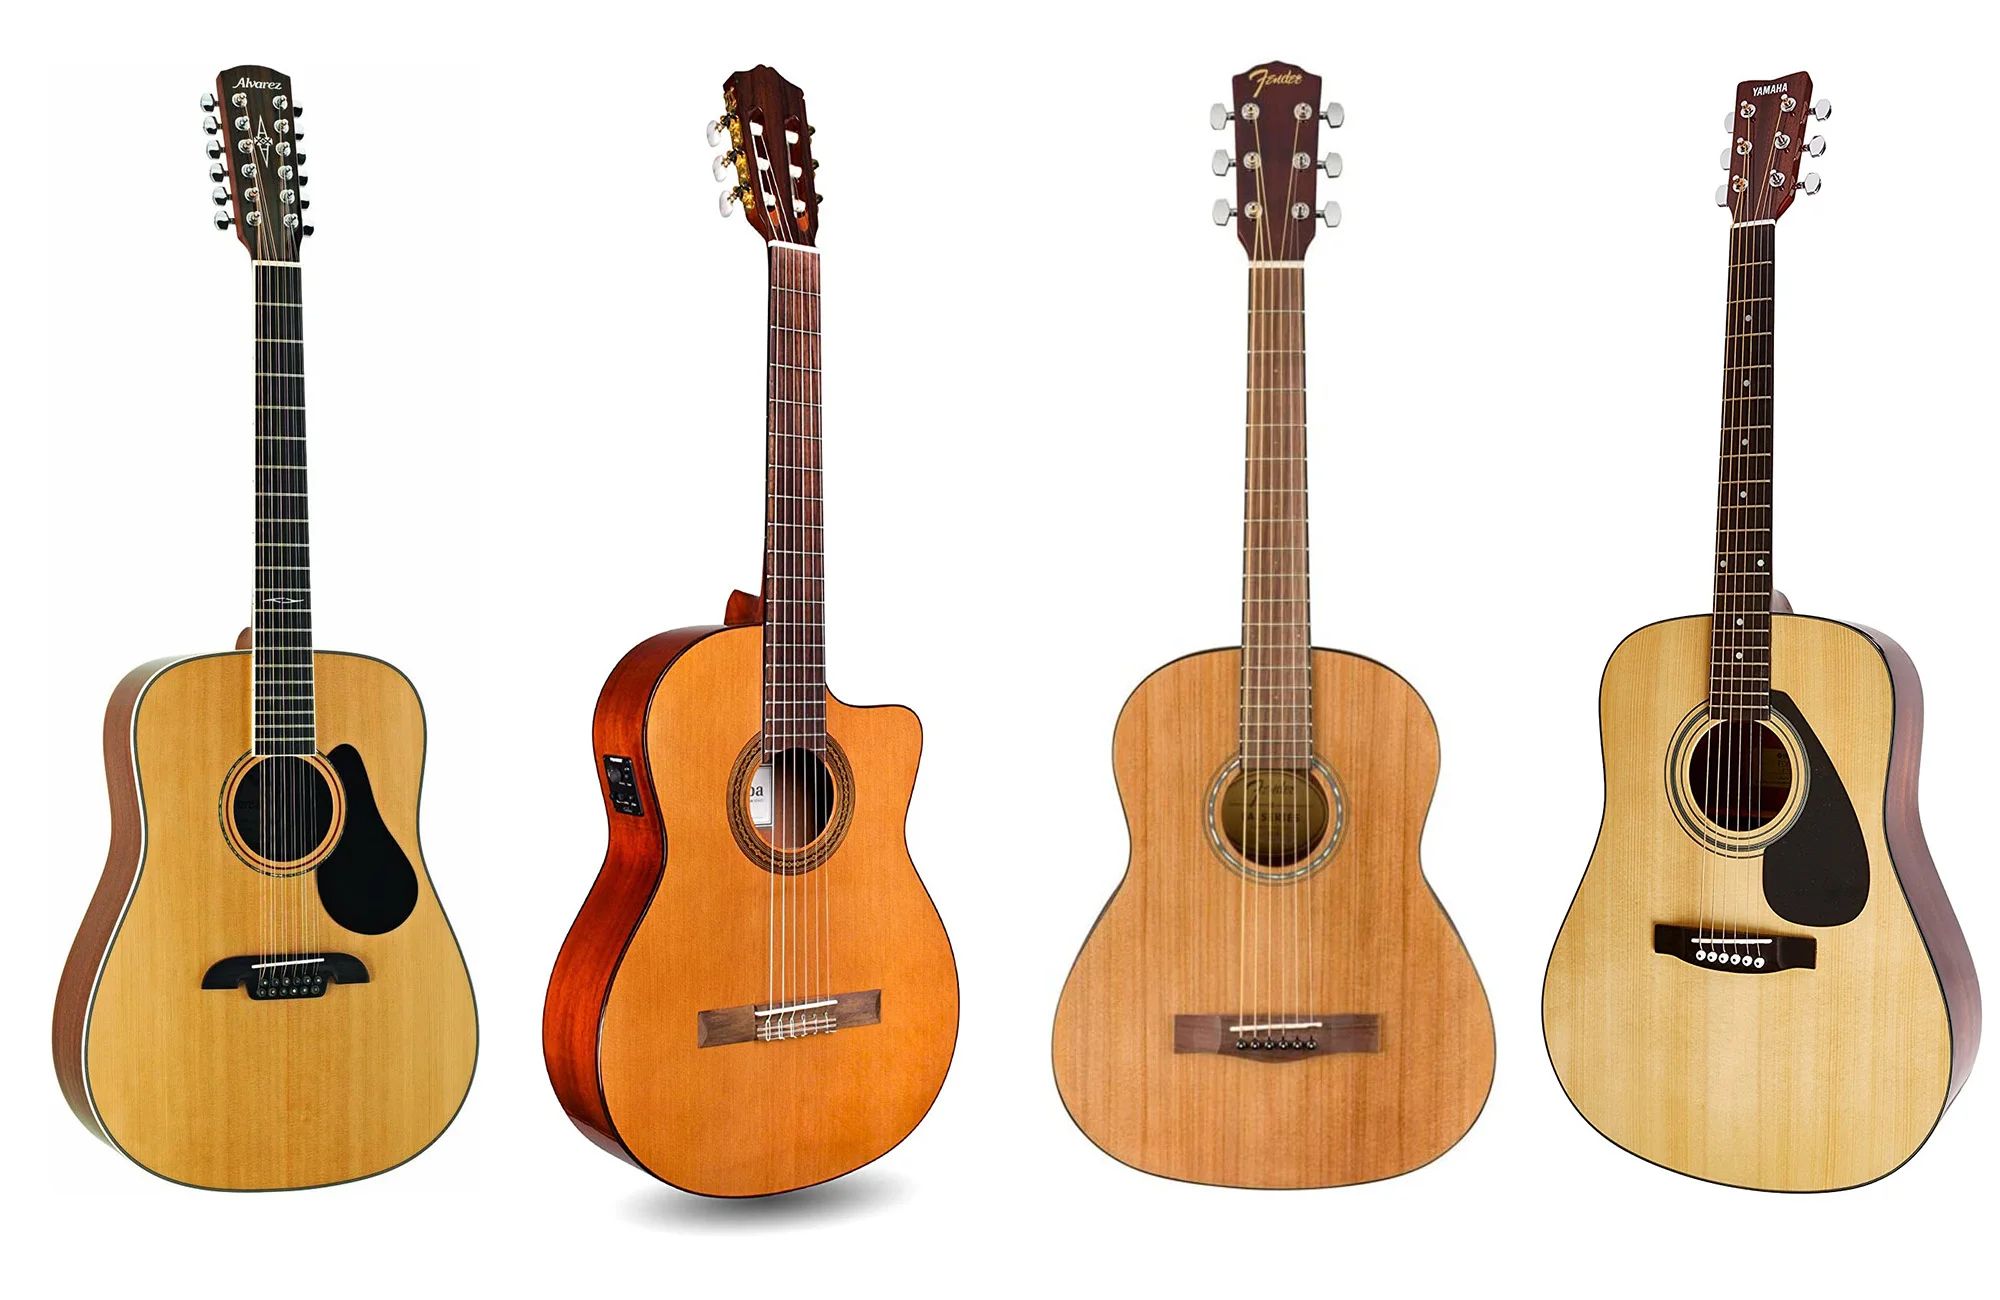
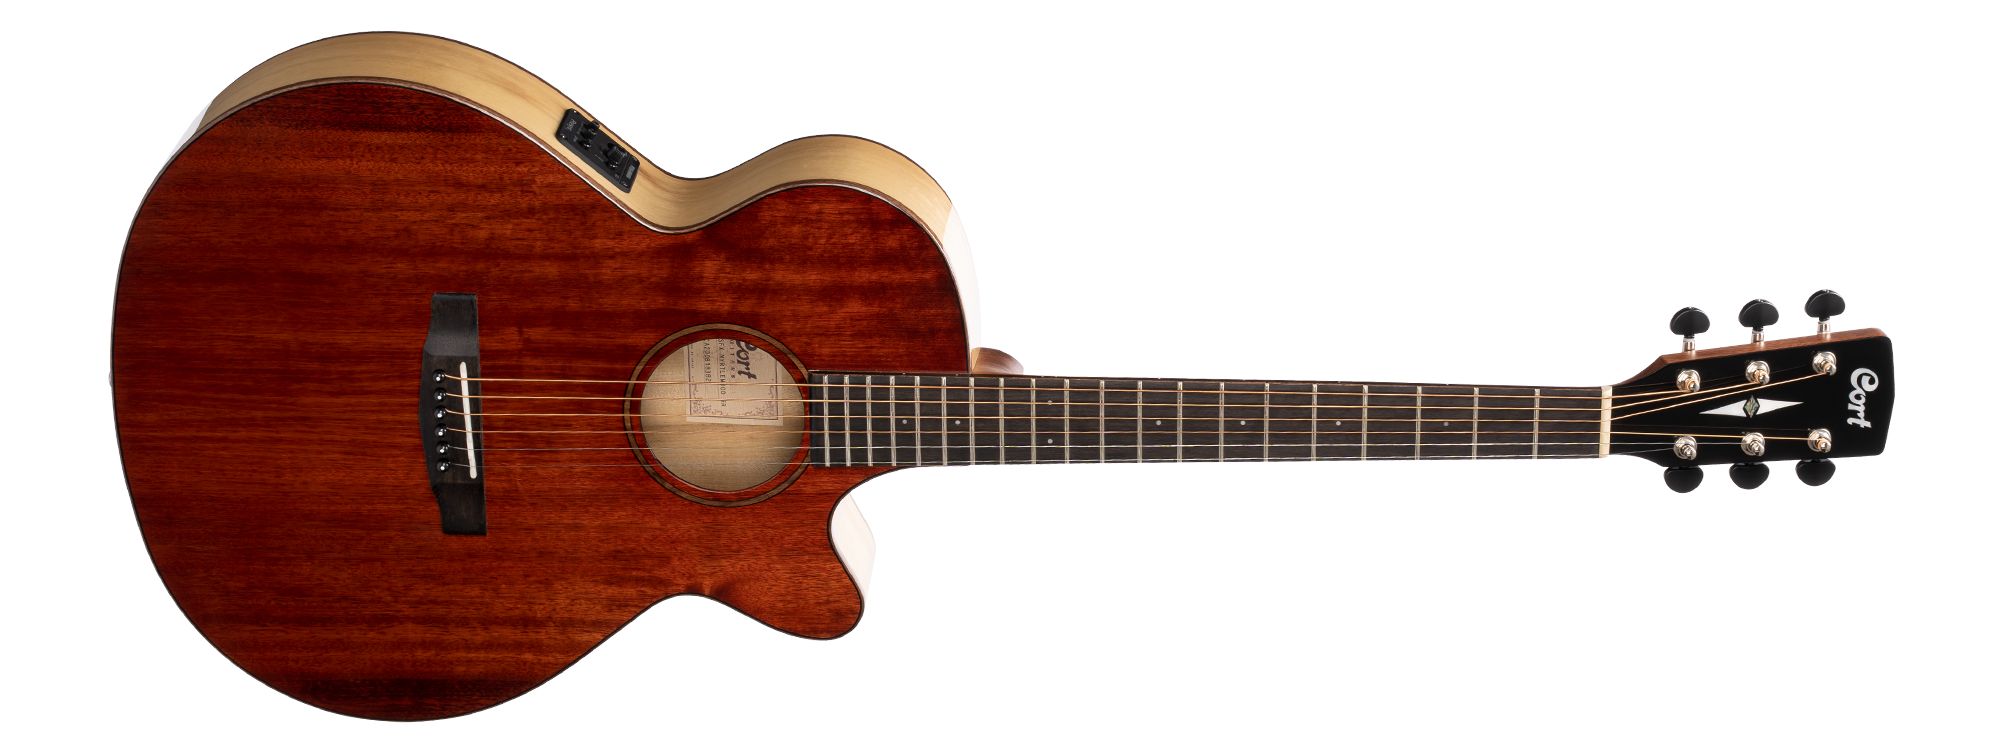
- Tonewoods: The type of wood used for the top, back, and sides of the guitar greatly influences its sound. Common choices include spruce, cedar, mahogany, and rosewood. Each wood offers its own unique tone and characteristics, so it’s important to research and experiment to find the best fit for your desired sound.
- Neck and Fretboard Wood: The neck of the guitar should be stable and durable. Many builders choose mahogany or maple for the neck, as they provide strength and resonance. For the fretboard, rosewood and ebony are popular choices due to their smooth texture and durability.
- Nut and Saddle: These small but important components affect the guitar’s tone and playability. Typically made of bone or synthetic materials, the nut and saddle help transmit the vibrations of the strings to the body, influencing the overall sound quality.
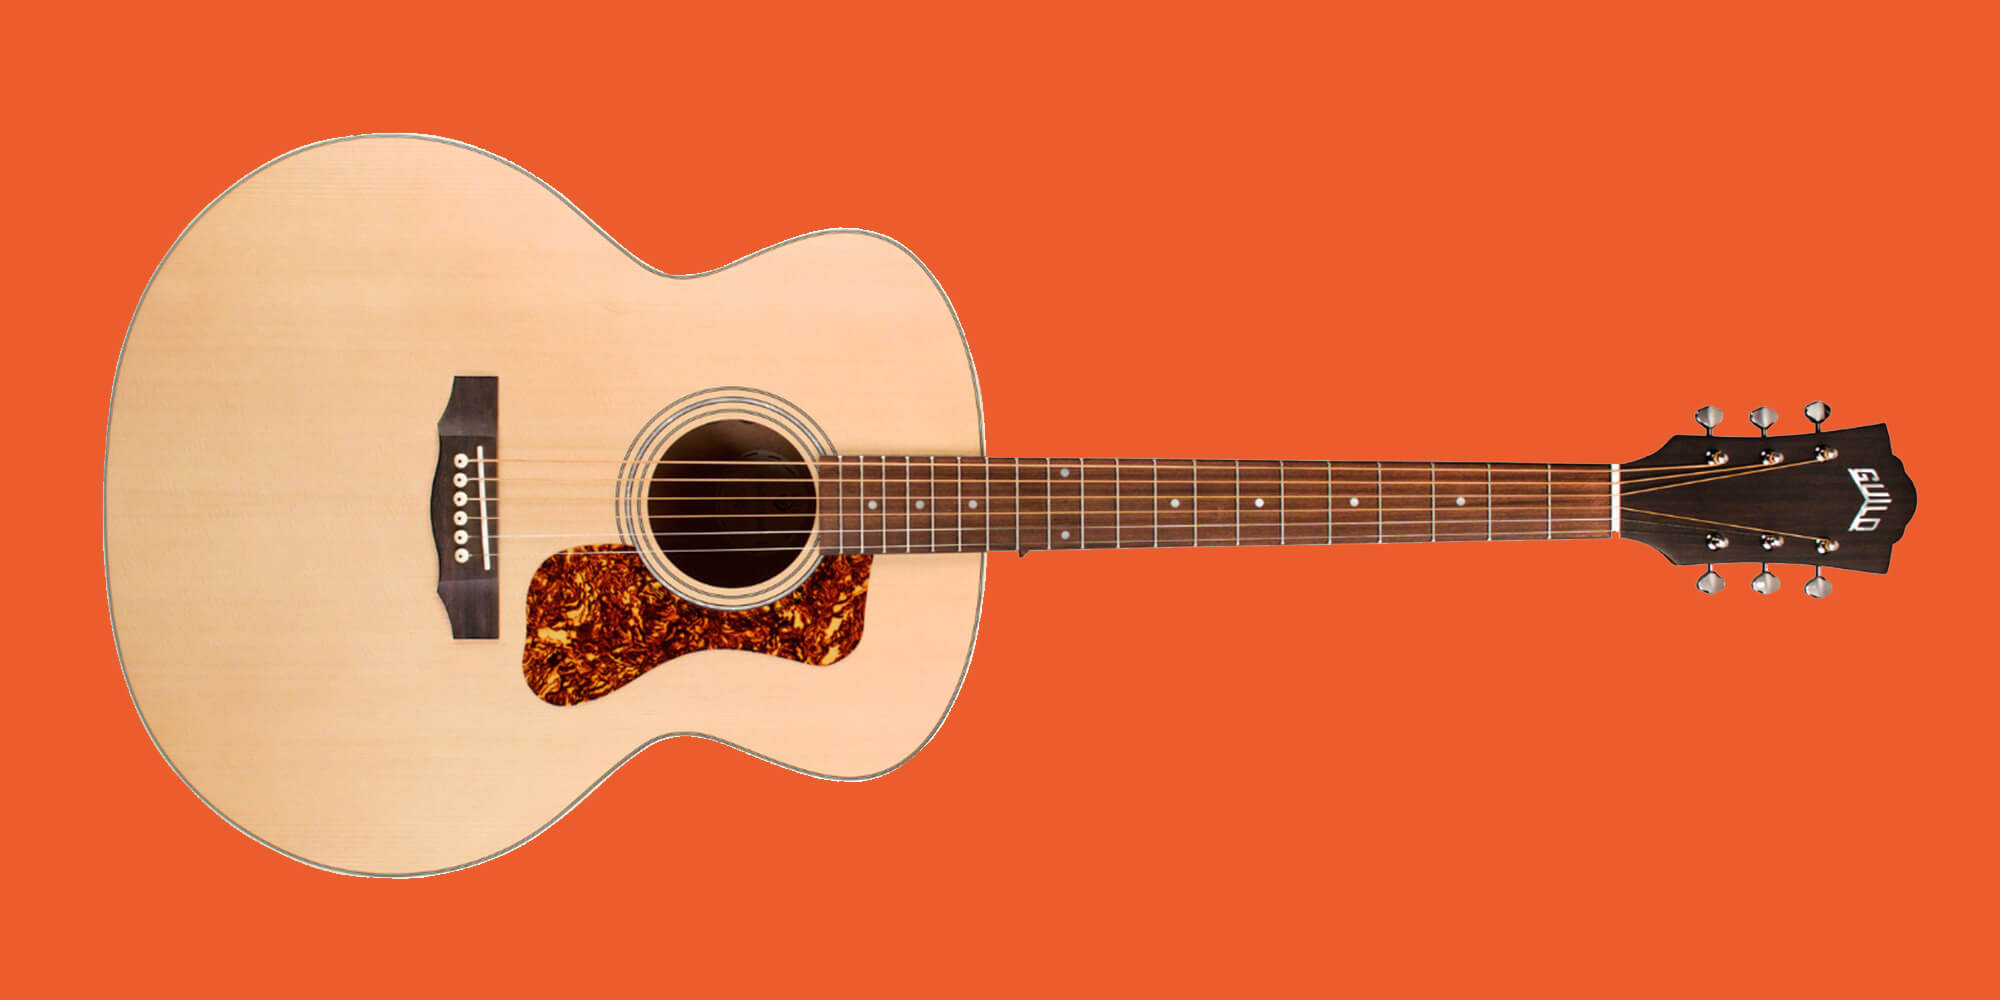
- Bridge: The bridge is responsible for transferring the vibrations from the strings to the soundboard. It should be made from a dense, durable material like rosewood, ebony, or bone to ensure optimal sound transmission.
- Bindings and Purflings: Bindings and purflings are decorative elements that also provide structural reinforcement. They can be made from various materials such as wood, plastic, or even mother-of-pearl, adding a touch of elegance to the guitar’s appearance.
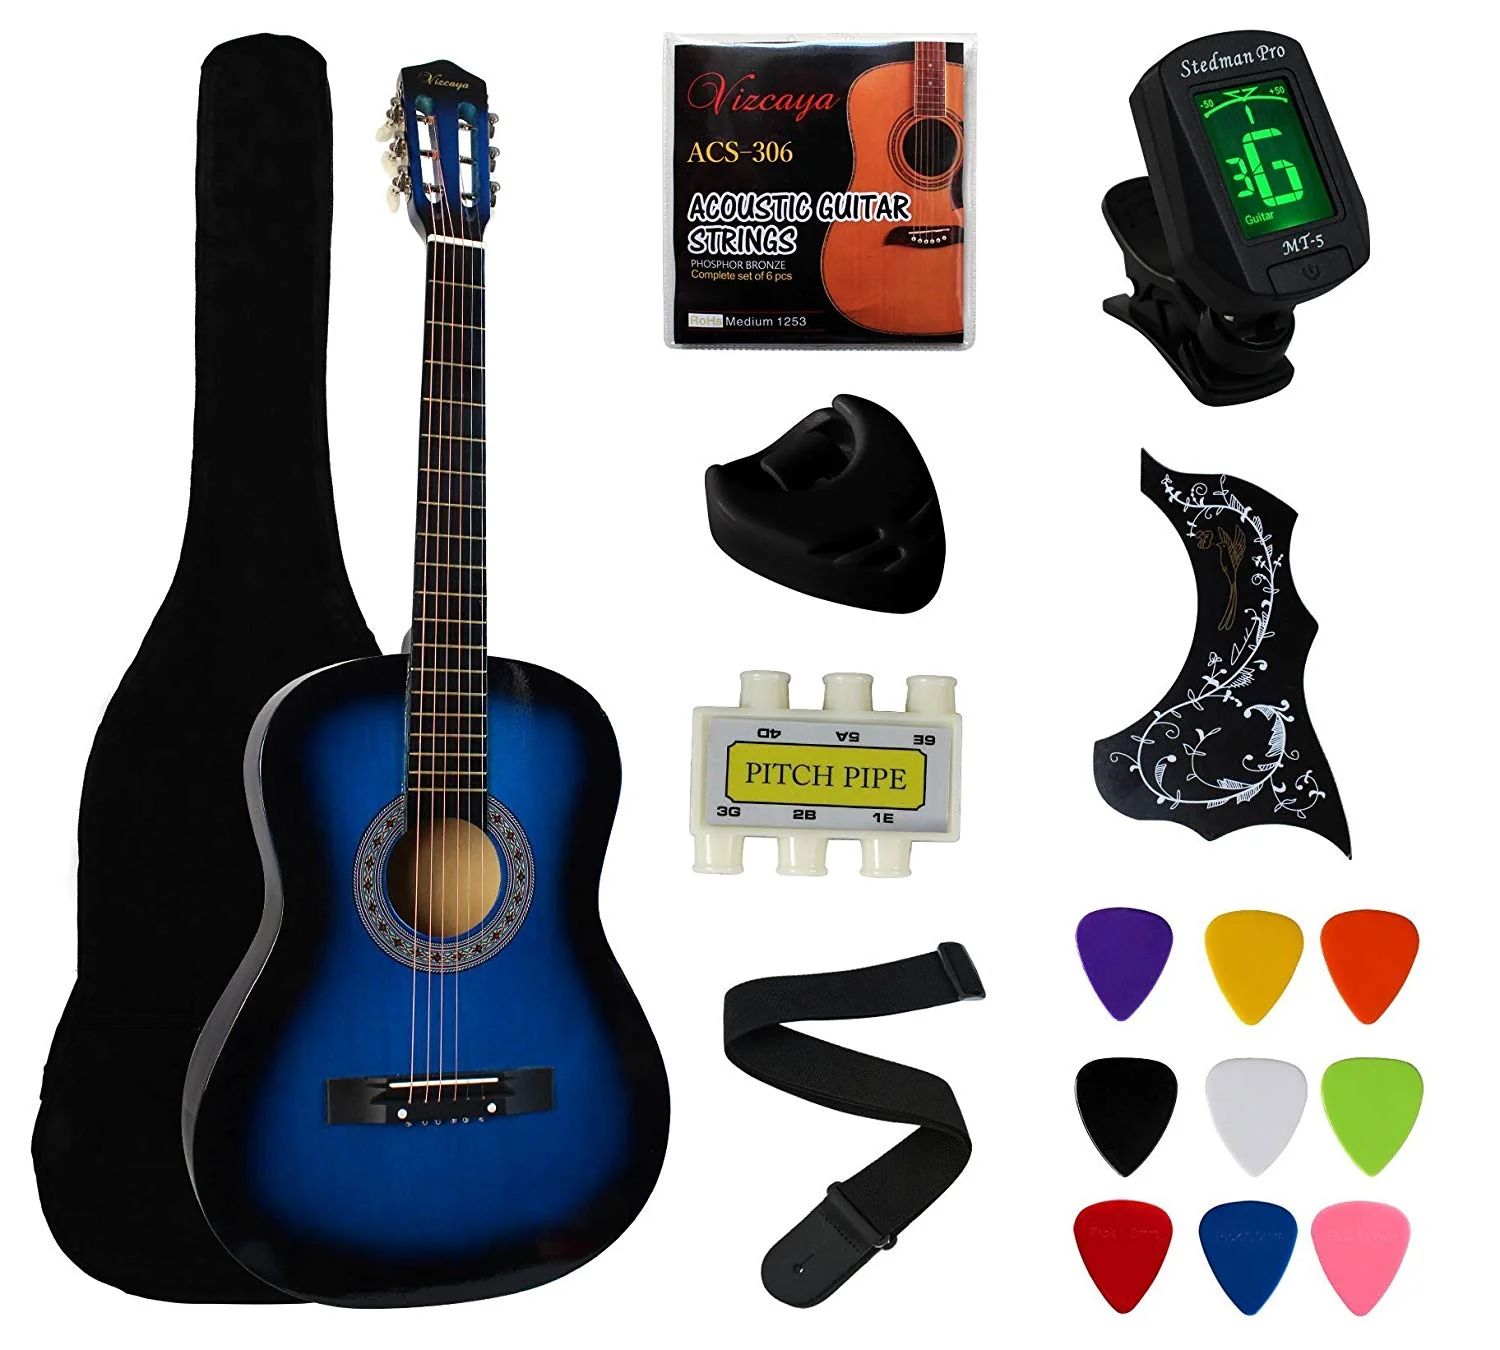
- Hardware: Consider the hardware components like tuners, truss rod, and fretwire. High-quality tuners ensure stable and accurate tuning, while a properly functioning truss rod helps to adjust the neck relief. Fretwire comes in different sizes and materials, so choose what suits your playing style.
It’s essential to remember that the quality of your materials will greatly affect the sound and playability of your guitar. While it’s possible to build a functioning instrument with budget-friendly options, investing in higher-quality materials will often yield superior results. Take the time to research and even consult with experienced builders to make informed decisions and create a guitar that suits your preferences.
Tools You’ll Need
Before you start building your acoustic guitar, it’s crucial to gather the necessary tools to ensure a smooth and successful construction process. Here are the essential tools you’ll need:
- Workbench or Table: A sturdy work surface is essential to provide stability and support for your guitar-building project. Make sure you have enough space to comfortably maneuver and work around the guitar.
- Clamps: Clamps are used to hold parts together while gluing and drying. They come in various sizes and shapes, and having a variety of clamps will ensure you can secure different parts of your guitar effectively.
- Saws: A few types of saws will come in handy throughout the guitar-building process. A band saw or jigsaw is used for cutting out the guitar body shape, while a coping saw or fret saw is necessary for shaping the headstock and cutting fret slots.
- Chisels: Chisels are essential for carving and shaping various parts of the guitar. A set of chisels with different sizes and shapes will allow you to accurately shape the neck, fit the fretboard, and carve details as needed.
- Router: A router is used for tasks such as routing the channels for the bindings and purflings, as well as shaping the neck joint. It’s an important tool, so make sure you have a router and appropriate router bits for the tasks at hand.
- Planes and Files: Planes and files are necessary for shaping and smoothing surfaces. A block plane is ideal for leveling the guitar body and neck, while various files will help shape the nut, saddle, and frets.
- Sanding Tools: Sanding is a crucial step in achieving a smooth and polished finish. You’ll need sandpaper of various grits, along with sanding blocks or a powered sander to ensure consistent and even sanding.
- Drill and Bits: A drill is necessary for making holes for the tuning pegs, bridge pins, and other hardware. Ensure you have appropriate drill bits for the specific tasks required during the building process.
- Measuring Tools: Accurate measurements are critical for a well-built guitar. Invest in a quality tape measure, calipers, straightedge, and combination square to ensure precise measurements and angles.
- Gluing and Clamping Tools: You’ll need a variety of tools for applying adhesive and ensuring a strong bond. This includes glue brushes or rollers, glue spreaders, and clamps to secure pieces together during the gluing process.
Remember, having the right tools for the job will make the guitar-building process much more enjoyable and efficient. While certain specialized tools are necessary, many can be found at your local hardware store or online. Take the time to gather all the tools you need before starting your project, and consider investing in good-quality tools that will last for future guitar-building endeavors.
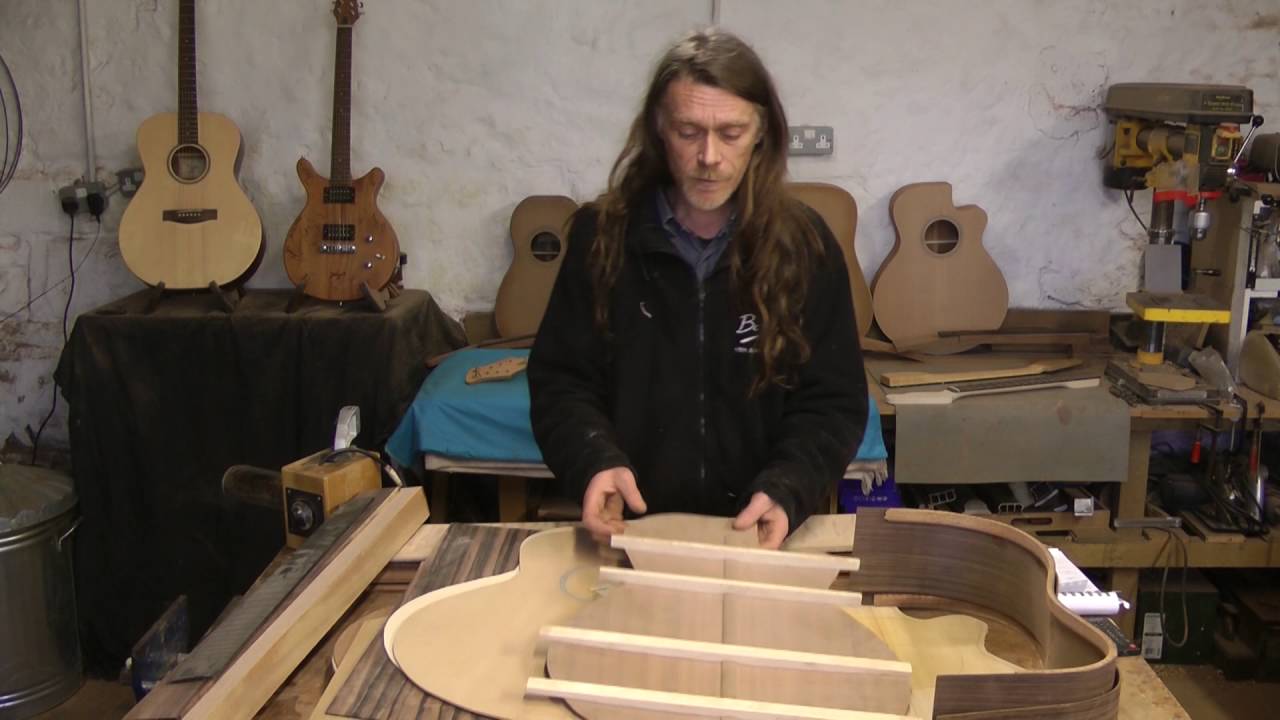
Step 1: Creating the Guitar Body
Building the body of your acoustic guitar is the foundation of the entire construction process. It involves shaping the top, back, and sides of the guitar to create the resonant cavity that will produce the beautiful sound. Here’s a step-by-step guide on creating the guitar body:
- Selecting the Tonewoods: Begin by choosing the tonewoods for the top, back, and sides of your guitar. This will greatly impact the sound quality and aesthetics of the instrument. Common choices for the top include spruce and cedar, while mahogany and rosewood are popular options for the back and sides.
- Creating the Templates: Acquire or create templates for the body shape you desire. These templates will serve as a guide for shaping the wood and ensuring consistency throughout the process.
- Preparing the Tonewoods: Cut the top, back, and side pieces to the desired dimensions, taking care to align the grain properly. Use a bandsaw or jigsaw to rough out the shapes, leaving a bit of extra material for the final shaping and sanding.
- Shaping the Top and Back: Using a combination of hand tools and powered tools, carefully shape the top and back to match the template. This includes carving out the bracing patterns on the inside of the top, as well as shaping the arch or contour on both the top and back plates.
- Bending the Side Wood: To create the curved shape of the sides, use a heated bending iron or a bending machine to gradually bend the side wood. Be cautious not to overheat or burn the wood. Once the sides have been bent, they can be shaped to match the template.
- Joining the Top, Back, and Sides: Glue the braced top and back plates to the sides, ensuring a solid and even joint. Use clamps and binding tape to hold everything together while the glue dries. This step requires precision and attention to detail to ensure a strong and durable body construction.
- Carving the Soundhole: Using a router or chisels, carefully carve the soundhole into the top plate of the guitar. Pay attention to the size, shape, and placement of the soundhole, as it can affect the tone and resonance of the instrument.
Building the guitar body is a critical part of the guitar-building process. It requires careful attention to detail, precision, and a combination of hand tools and powered tools to shape the wood into the desired form. Take your time and ensure that each step is executed with care to create a solid and resonant guitar body that will lay the foundation for a beautiful-sounding instrument.
Step 2: Building the Neck
The neck of an acoustic guitar plays a crucial role in how the instrument feels and performs. Building the neck requires precision and attention to detail to create a comfortable and playable piece. Here’s a step-by-step guide on building the neck for your acoustic guitar:
- Choose the Neck Wood: Select a sturdy and stable wood for the neck, such as mahogany or maple. Ensure that the wood is free from defects and has straight grain for added strength.
- Prepare the Neck Blanks: Start by cutting the neck blanks to the desired dimensions. The length, width, and thickness should match the specifications of your guitar design. Use a bandsaw or handsaw to make accurate cuts.
- Design and Shape the Neck Profile: Determine the neck profile that suits your playing style and preferences. Whether it’s a C-shaped, V-shaped, or a custom design, use a combination of hand tools, rasps, and sandpapers to shape the back of the neck accordingly. Pay attention to ergonomics and ensure a comfortable grip.
- Create the Truss Rod Slot: Install a truss rod to reinforce the neck and provide adjustability for neck relief. Carefully measure and create a slot on the back of the neck to accommodate the truss rod. Use specialized tools or a router with the appropriate bit to make the slot.
- Attach the Fingerboard: Select a high-quality fingerboard material such as rosewood or ebony. Cut the fingerboard to the desired length and radius. Attach it to the neck using wood glue, ensuring proper alignment and a tight bond. Clamp the fingerboard in place while the glue dries.
- Install Fret Slots: Measure and mark the positions of the frets on the fingerboard. Use a fret slotting saw or a specialized fret slotting tool to carefully cut the slots, ensuring they are deep enough to securely hold the fretwire.
- Shape the Headstock: Use a bandsaw or handsaw to cut the headstock to the desired shape. Shape the contours and curves using rasps, files, and sandpaper. Ensure that the headstock is both visually appealing and structurally strong.
- Install the Nut and Fretwire: Cut a slot for the nut at the top of the fingerboard and install it using a small amount of glue. Then, cut and install the fretwire into the fret slots, ensuring that each piece is securely seated. Use a fret press or hammer to gently tap the fretwire into place.
Building the neck of your acoustic guitar requires careful attention to detail and precise craftsmanship. Take your time during each step to ensure that the neck is comfortable, stable, and aesthetically pleasing. A well-constructed neck will greatly enhance the playability and overall performance of your finished instrument.
Step 3: Installing the Fretboard
The fretboard is an essential component of an acoustic guitar that not only provides a playing surface but also influences the sound and playability of the instrument. Installing the fretboard requires precision and attention to detail to ensure proper alignment and functionality. Here’s a step-by-step guide on installing the fretboard:
- Select the Fretboard Material: Choose a high-quality material for the fretboard, such as rosewood, ebony, or maple. Consider the visual appeal, durability, and tonal characteristics of the wood.
- Prepare the Fretboard: Cut the fretboard to the desired length and width, ensuring it matches the scale length and neck width of your guitar design. Also, decide on the fretboard radius, which impacts the curvature of the playing surface.
- Create Fret Slots: Measure and mark the positions of the frets on the fretboard. Use a fret slotting saw or a specialized fret slotting tool to carefully cut the fret slots, ensuring they are deep enough to accommodate the fretwire securely.
- Shape the Fretboard Profile: Use rasps, files, and sandpaper to shape the fretboard profile, including the neck-to-fretboard transition, fretboard edges, and fretboard thickness. Pay attention to ergonomics and ensure a smooth and comfortable playing surface.
- Install Fretwire: Cut individual pieces of fretwire and insert them into the fret slots. Apply a small amount of wood glue into each slot for added stability. Use a fret press or a hammer with a wooden block to firmly seat the fretwire into place, ensuring they are flush with the fretboard surface.
- Trim Excess Fretwire: Once the fretwire is installed and secured, carefully use a fret tang nipper or flush-cutting tool to trim off the excess wire. Take care not to damage the surrounding wood or fretboard surface.
- Level and Crown the Frets: After installing the fretwire, use a leveling beam or straightedge to ensure that the frets are level across the entire fretboard. If necessary, use a leveling file or sandpaper to correct any high spots. Once the frets are level, use a crowning file or fret crowning tool to shape the crown of each fret, resulting in a smooth and rounded playing surface.
- Final Fretboard Preparation: Sand the fretboard surface, removing any tool marks and ensuring a smooth and polished finish. Clean the fretboard thoroughly and apply a protective finish, such as lemon oil or a specialized fretboard conditioner, to enhance its appearance and longevity.
Installing the fretboard is a critical step in the guitar-building process. It requires precision and care to ensure proper alignment, fret placement, and a comfortable playing experience. By following these steps, you’ll be well on your way to creating an acoustic guitar with a beautiful and functional fretboard.
Step 4: Attaching the Neck to the Body
The neck-to-body joint is a vital connection in an acoustic guitar, ensuring stability, proper alignment, and optimum transfer of vibrations. Attaching the neck to the body requires precision and careful consideration of the joint type, fit, and reinforcement. Here’s a step-by-step guide on attaching the neck to the body:
- Select the Neck Joint Type: Determine the type of neck joint you’ll be using, such as a dovetail joint, bolt-on joint, or mortise and tenon joint. Consider the strength, stability, and repairability of the joint when making your decision.
- Prepare the Neck Heel and Body Block: Accurately shape the neck heel to match the body block or neck block of the guitar. Carefully measure and mark the locations for the neck screws or bolts if using a bolt-on joint.
- Create the Neck Joint Pocket: Using a chisel, router, or a combination of both, carefully carve out the neck joint pocket in the body, ensuring a snug and precise fit for the neck. Take your time to ensure that the angles, depth, and width of the pocket match the neck specifications.
- Fit the Neck to the Body: With the neck joint pocket completed, gently insert the neck into the pocket, ensuring a tight and secure fit. Pay attention to the alignment of the neck in relation to the body, ensuring proper centering and alignment of the fretboard with the body.
- Secure the Neck: Depending on the chosen joint type, secure the neck to the body using appropriate fasteners such as screws, bolts, or glue. Follow the manufacturer’s instructions if using a bolt-on joint or refer to industry best practices if using a different joint type.
- Reinforce the Neck Joint: To increase the stability and strength of the neck joint, consider adding reinforcement such as wooden dowels, metal rods, or carbon fiber strips. These reinforcements can provide added support and prevent any potential movement or shifting over time.
- Check Neck Alignment and Fit: Once the neck is securely attached, carefully check the alignment between the neck and the body. Ensure the strings align properly with the nut and bridge, and verify that the neck angle and relief are within the desired specifications. Make any necessary adjustments before proceeding.
Attaching the neck to the body is a crucial step in guitar construction. It requires precision, attention to detail, and careful consideration of the chosen joint type. By following these steps, you’ll establish a strong and secure connection, ensuring the stability and playability of your acoustic guitar.
Step 5: Installing Guitar Hardware
Installing the hardware onto your acoustic guitar is an exciting step that brings it closer to being a fully functional instrument. From the tuning pegs to the bridge and everything in between, proper installation of guitar hardware is key to ensure optimal playability and functionality. Here’s a step-by-step guide on installing the hardware:
- Tuning Pegs: Start by installing the tuning pegs or machine heads onto the headstock. Depending on the type of tuners you have, they may require drilling pilot holes or using screws. Make sure they are firmly attached and aligned properly for smooth tuning.
- Nut: Install the nut onto the neck by placing it in its designated slot at the top of the fingerboard. Apply a small amount of glue to secure it in place. Ensure the strings fit properly in the nut slots, allowing them to glide smoothly without binding.
- Bridge: Position the bridge onto the body, aligning it with the scale length and ensuring proper intonation. Mark the location and use a drill to create pilot holes for the bridge pins. Carefully attach the bridge, making sure it sits flush against the body and is properly aligned.
- Bridge Pins: Insert the bridge pins into the holes on the bridge, making sure they fit securely and hold the strings in place. Apply gentle pressure to ensure they are fully seated without raising the bridge. Depending on the type of bridge, you may need to tie the strings or use ball-end strings.
- Saddle: Install the saddle into the slot on the bridge. The saddle is responsible for transferring the vibrations from the strings to the soundboard. Ensure it is positioned correctly, providing proper string height and intonation. Make any necessary adjustments to achieve optimal string action.
- Pickguard: If your acoustic guitar features a pickguard, carefully attach it to the body using adhesive. Take care to align it properly and smooth out any air bubbles or wrinkles. The pickguard helps protect the body from scratches caused by strumming or picking.
- Strap Buttons: Install strap buttons on the body of the guitar if desired. These buttons allow you to attach a guitar strap for more comfortable playing. Use a screwdriver to attach the buttons securely, ensuring they are properly anchored to withstand the weight of the guitar.
Installing the hardware onto your acoustic guitar is an important step in completing the instrument. Take your time to ensure proper alignment, stability, and functionality of each component. When done correctly, the installed hardware will contribute to the overall playability and aesthetics of the guitar, bringing it one step closer to making beautiful music.
Step 6: Applying a Finish
Applying a finish to your acoustic guitar not only enhances its appearance but also protects the wood and enhances its tonal qualities. Choosing the right finish and applying it properly is crucial to achieve the desired aesthetics and durability. Here’s a step-by-step guide on applying a finish to your acoustic guitar:
- Sanding and Preparation: Start by sanding the entire guitar body, neck, and headstock to ensure a smooth and even surface. Start with coarser grit sandpaper and gradually work your way up to finer grits. Remove any dust or debris before proceeding.
- Selecting the Finish: Choose a finish that aligns with your desired look and desired level of protection. Common options for acoustic guitars include nitrocellulose lacquer, polyurethane, or oil finishes. Consider the advantages and disadvantages of each and select the one that fits your needs.
- Applying the Finish: Follow the manufacturer’s instructions for applying the chosen finish. Use a clean brush, cloth, or spray gun to apply thin and even coats. Allow each coat to dry completely before applying the next coat. The number of coats required will depend on the type of finish and desired result.
- Sanding Between Coats: Depending on the type of finish you’re using, you may need to lightly sand between coats to ensure a smooth and level surface. Use a fine-grit sandpaper or steel wool to gently remove any imperfections or bumps. Be careful not to sand too aggressively to avoid damage to the underlying layers.
- Finishing Touches and Detailing: Once you have achieved the desired number of coats, inspect the finish for any imperfections. Touch up any areas that need additional coverage or blending. Use fine sandpaper or polishing compounds to achieve a high-gloss or satin finish, depending on your preference.
- Curing and Drying: Allow the finish to cure and dry completely according to the manufacturer’s instructions. This will ensure that the finish has hardened and will provide maximum protection and durability to your guitar.
- Final Buffing and Polishing: Once the finish has fully cured, use a clean cloth or polishing compound to buff the guitar’s body, neck, and headstock. This will enhance the shine and smoothness of the finish, giving your guitar a professional appearance.
Applying a finish to your acoustic guitar takes time, patience, and attention to detail. It is a crucial step that brings out the beauty of the wood and protects it from wear and tear. By following these steps, you can achieve a stunning finish that not only enhances the appearance of your guitar but also ensures its long-lasting beauty and performance.
Step 7: Stringing and Tuning the Guitar
Stringing and tuning your acoustic guitar is the final step before you can start playing and enjoying the beautiful sounds you’ve worked so hard to create. Proper string installation and tuning are essential for a well-functioning instrument. Here’s a step-by-step guide on stringing and tuning your acoustic guitar:
- Choosing the Right Strings: Select the appropriate gauge and type of strings for your playing style and genre. Lighter gauge strings are easier to play but may sacrifice some tone, while heavier gauge strings produce a fuller sound but may require more finger strength.
- Removing the Old Strings: Before you can install new strings, remove the old ones by loosening and unwinding them from the tuning pegs. Be careful not to scratch or damage the guitar’s finish during this process.
- Stringing the Guitar: Starting with the thinnest string (usually the high E string), insert the end of the string into the appropriate bridge hole or bridge pin. Pull the string through until there is enough slack to wind it around the tuning peg. Follow the proper winding direction for each string and make sure there are no kinks or tangles.
- Stretching the Strings: After installing all the strings, gently pull and stretch each string along its length. This helps to eliminate any residual slack and ensures more stable tuning.
- Tuning the Guitar: Begin by tuning the guitar to a standard pitch, usually E-A-D-G-B-E from the thickest to the thinnest string. Use an electronic tuner, pitch pipe, or reference tones to guide you. Tune each string by adjusting the tuning pegs and listening for the correct pitch.
- Checking Intonation: Once the guitar is in tune, play a few notes on each string at different frets to check the intonation. If any notes sound out of tune, adjust the saddle position accordingly. This step ensures that the guitar plays in tune throughout the entire fretboard.
- Fine-tuning and Retuning: After adjusting the intonation, fine-tune each string using your ear or a tuner. Make small adjustments to the tuning pegs as necessary until each string is perfectly in tune.
- Checking String Height and Action: Check the string height or action by measuring the distance between the strings and the frets. Adjust the saddle height if necessary to achieve comfortable and playable action for your desired playing style.
Stringing and tuning your acoustic guitar is the final step in the building process. It allows you to bring your instrument to life and enjoy the fruits of your labor. Follow these steps carefully to ensure that your guitar is properly strung, perfectly tuned, and ready to create beautiful music.
Conclusion
Congratulations on completing the journey of building your own acoustic guitar! Through careful selection of materials, precise craftsmanship, and attention to detail in each step, you have created a unique instrument that reflects your vision and passion for music. Building a guitar is a labor of love that requires dedication, patience, and a commitment to quality.
From choosing the right tonewoods to shaping the body and neck, installing hardware, and applying a beautiful finish, every aspect of the guitar building process contributes to the final result. Each step is critical in ensuring a well-crafted instrument that not only looks beautiful but also produces outstanding sound and playability.
Now that your guitar is complete, it’s time to enjoy the fruits of your labor. Take the time to familiarize yourself with your new instrument, exploring its unique characteristics and adjusting it to your playing style. As you play and develop a deeper connection with your self-built acoustic guitar, you’ll appreciate the level of craftsmanship and customization that went into its creation.
Remember, building a guitar is just the beginning of your musical journey. Your self-built instrument is a tool that will accompany you on countless musical adventures. With dedication, practice, and a creative spirit, you’ll be able to create beautiful music and express yourself in ways that only a handmade instrument can provide.
Whether you build more guitars in the future or continue to refine and personalize your current one, the skills and knowledge you’ve gained throughout this process will be invaluable. Embrace your passion for craftsmanship, continue learning, and most importantly, enjoy the incredible sound and satisfaction that come from playing a guitar that you built with your own hands.