Introduction
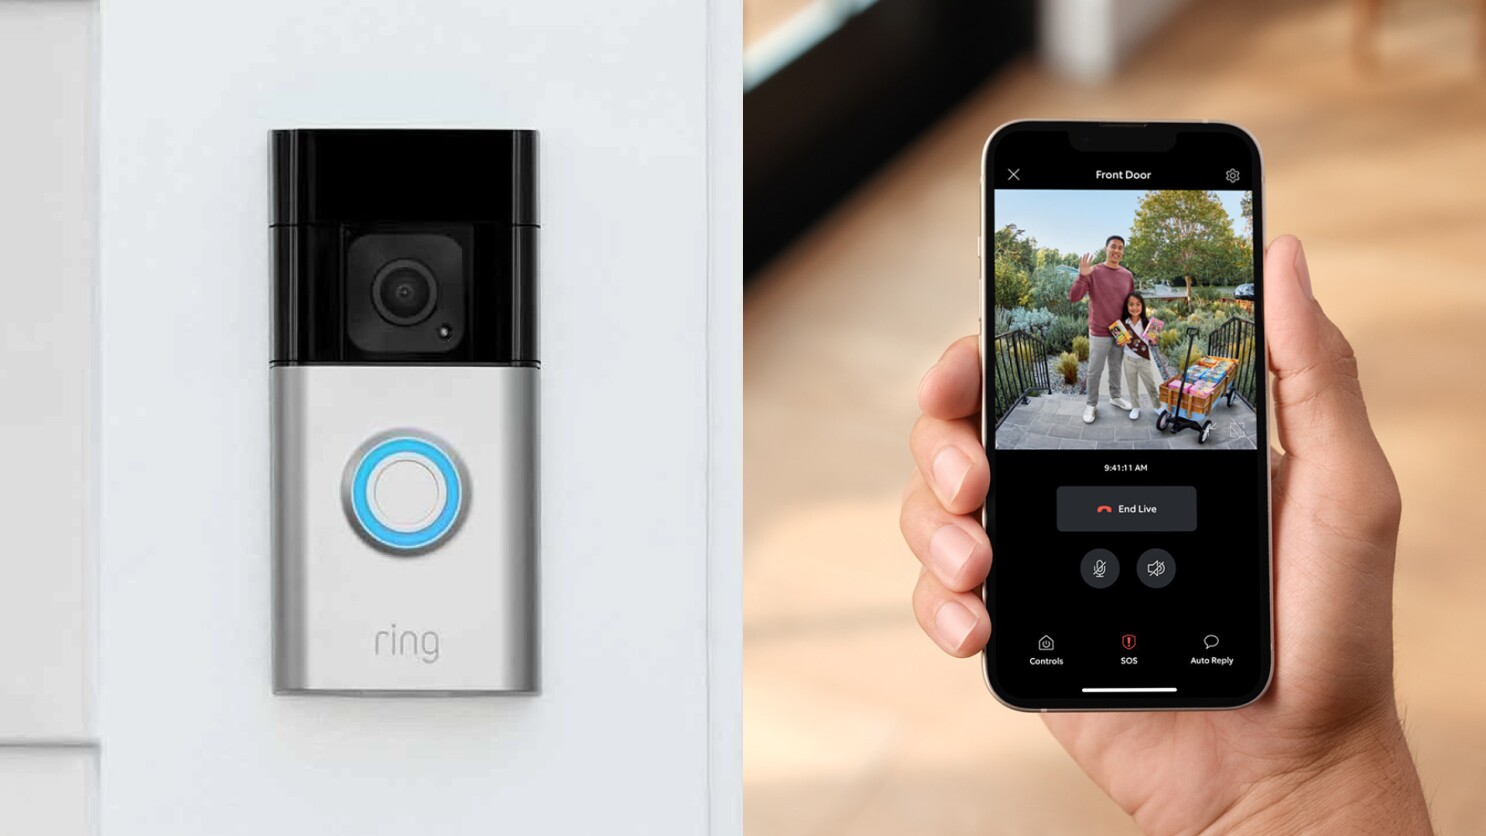
Welcome to our guide on how to physically install your Ring Video Doorbell 2 with a Nutone Doorbell. The Ring Video Doorbell 2 is a popular choice for enhancing home security and convenience. With its advanced features like motion detection, two-way audio, and remote access, it’s no wonder homeowners are turning to this smart doorbell solution.
Installing the Ring Video Doorbell 2 can seem daunting at first, especially if you have an existing Nutone Doorbell. However, with the right tools and a little guidance, you can have your new doorbell up and running in no time.
In this guide, we’ll walk you through the step-by-step process of physically installing your Ring Video Doorbell 2 with a Nutone Doorbell. From turning off the power to connecting the wiring, we’ll cover everything you need to know to ensure a successful installation.
Please note that this guide assumes you have already completed the initial setup of your Ring Video Doorbell 2 using the Ring app on your smartphone or tablet. If you have not done so, please refer to the provided instructions or visit the Ring website for detailed instructions on setting up your device.
Now, let’s dive into the tools and materials you’ll need for this installation process.
Tools and Materials Needed
Before you begin installing your Ring Video Doorbell 2 with a Nutone Doorbell, make sure you have the following tools and materials on hand:
- Screwdriver – You’ll need a screwdriver to remove the existing Nutone Doorbell and attach the mounting plate.
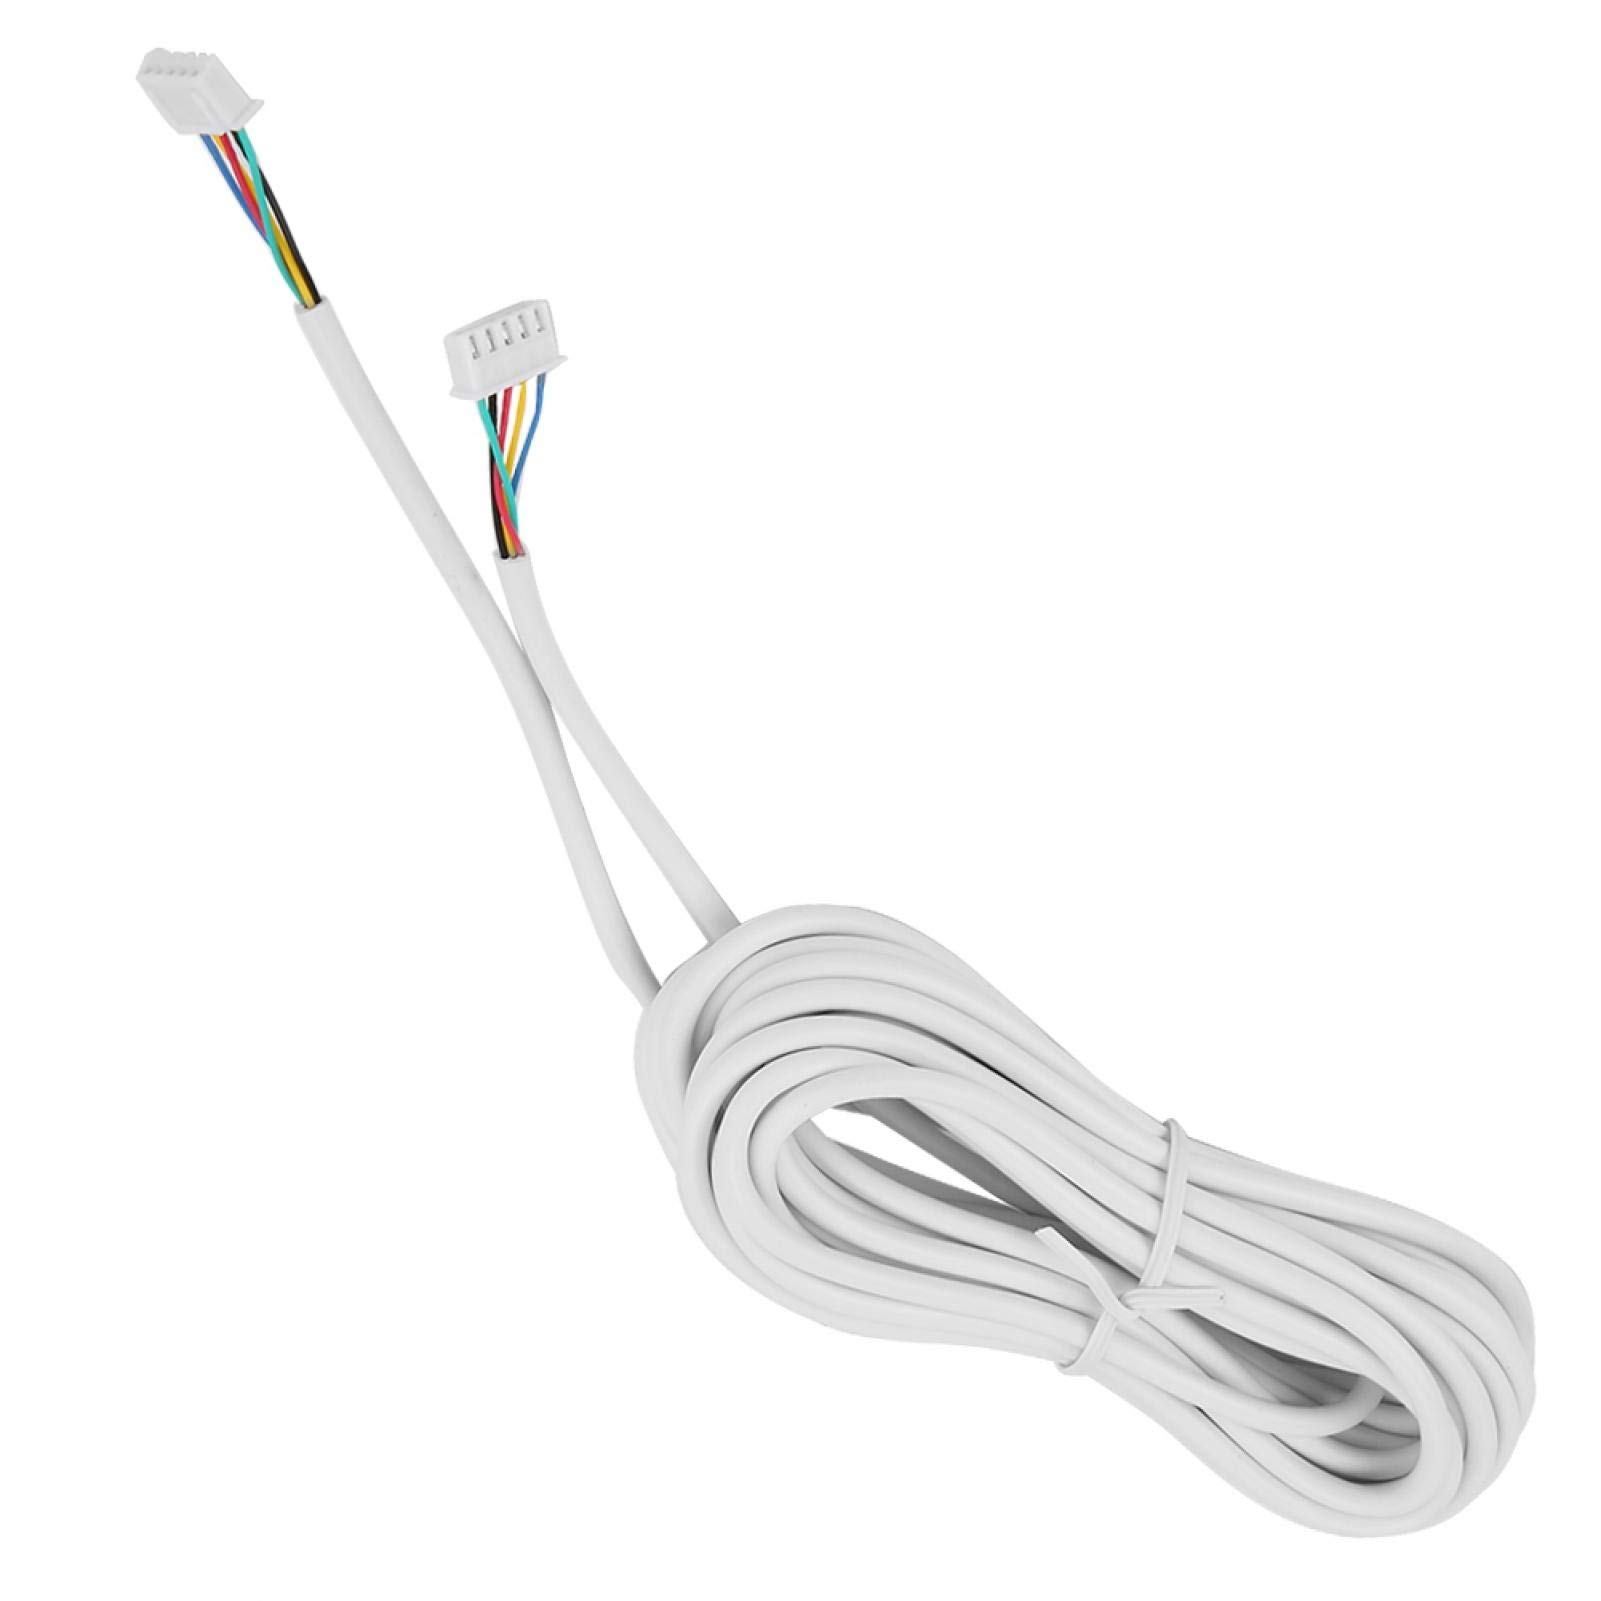
- Wire strippers – If necessary, you may need wire strippers to remove the insulation from the doorbell wiring.
- Wire nuts – These will be used to securely connect the doorbell wires to the Ring Video Doorbell 2.
- Level – A level will help you ensure that the mounting plate and the doorbell are installed straight and level.
- Drill and drill bits – Depending on the material of your door or wall, you may need a drill and appropriate drill bits for installation.
- Masking tape – Masking tape can come in handy for marking drill holes and keeping the doorbell wires in place during installation.
- Mounting screws – The Ring Video Doorbell 2 usually comes with mounting screws, but you may need additional ones depending on your installation scenario.
- Chime connector (if applicable) – If you have a digital chime, you may need a chime connector to ensure compatibility with the Ring Video Doorbell 2.
It’s important to have all the necessary tools and materials before starting the installation process to avoid any unnecessary delays or complications.
Now that you’re equipped with the required tools and materials, let’s move on to the first step of the installation process – turning off the power.
Step 1: Turn off the Power
Before you begin any work on your doorbell, it’s crucial to ensure that the power is turned off to prevent any accidents or electrical shocks. Follow these steps to safely turn off the power:
- Locate your home’s circuit breaker or fuse box. This is usually found in the basement, garage, or utility room.
- Look for the circuit breaker or fuse that controls the power to your doorbell. It may be labeled as “doorbell” or “door chime.”
- Switch off the circuit breaker or unscrew the fuse that corresponds to the doorbell. Double-check to ensure that the power is indeed off by testing the doorbell and making sure it doesn’t ring.
- Consider using a non-contact voltage tester to verify that there is no electrical current running through the doorbell wiring. Simply hold the tester near the wires and see if it detects any voltage. If it does, the power is still on and you’ll need to find the correct circuit breaker or fuse to turn off.
Take caution when working with electrical components and always prioritize your safety. If you’re unsure or uncomfortable working with electrical systems, it’s best to hire a professional electrician to handle the power shut-off and installation process.
Now that you’ve turned off the power, you’re ready to move on to the next step – removing the existing Nutone Doorbell.
Step 2: Remove the Existing Nutone Doorbell
Now that you’ve turned off the power, it’s time to remove the existing Nutone Doorbell. Follow these steps to safely remove the old doorbell:
- Take a closer look at the Nutone Doorbell and locate the mounting screws that hold it in place.
- Using a screwdriver, carefully unscrew the mounting screws and gently remove the Nutone Doorbell from the wall.
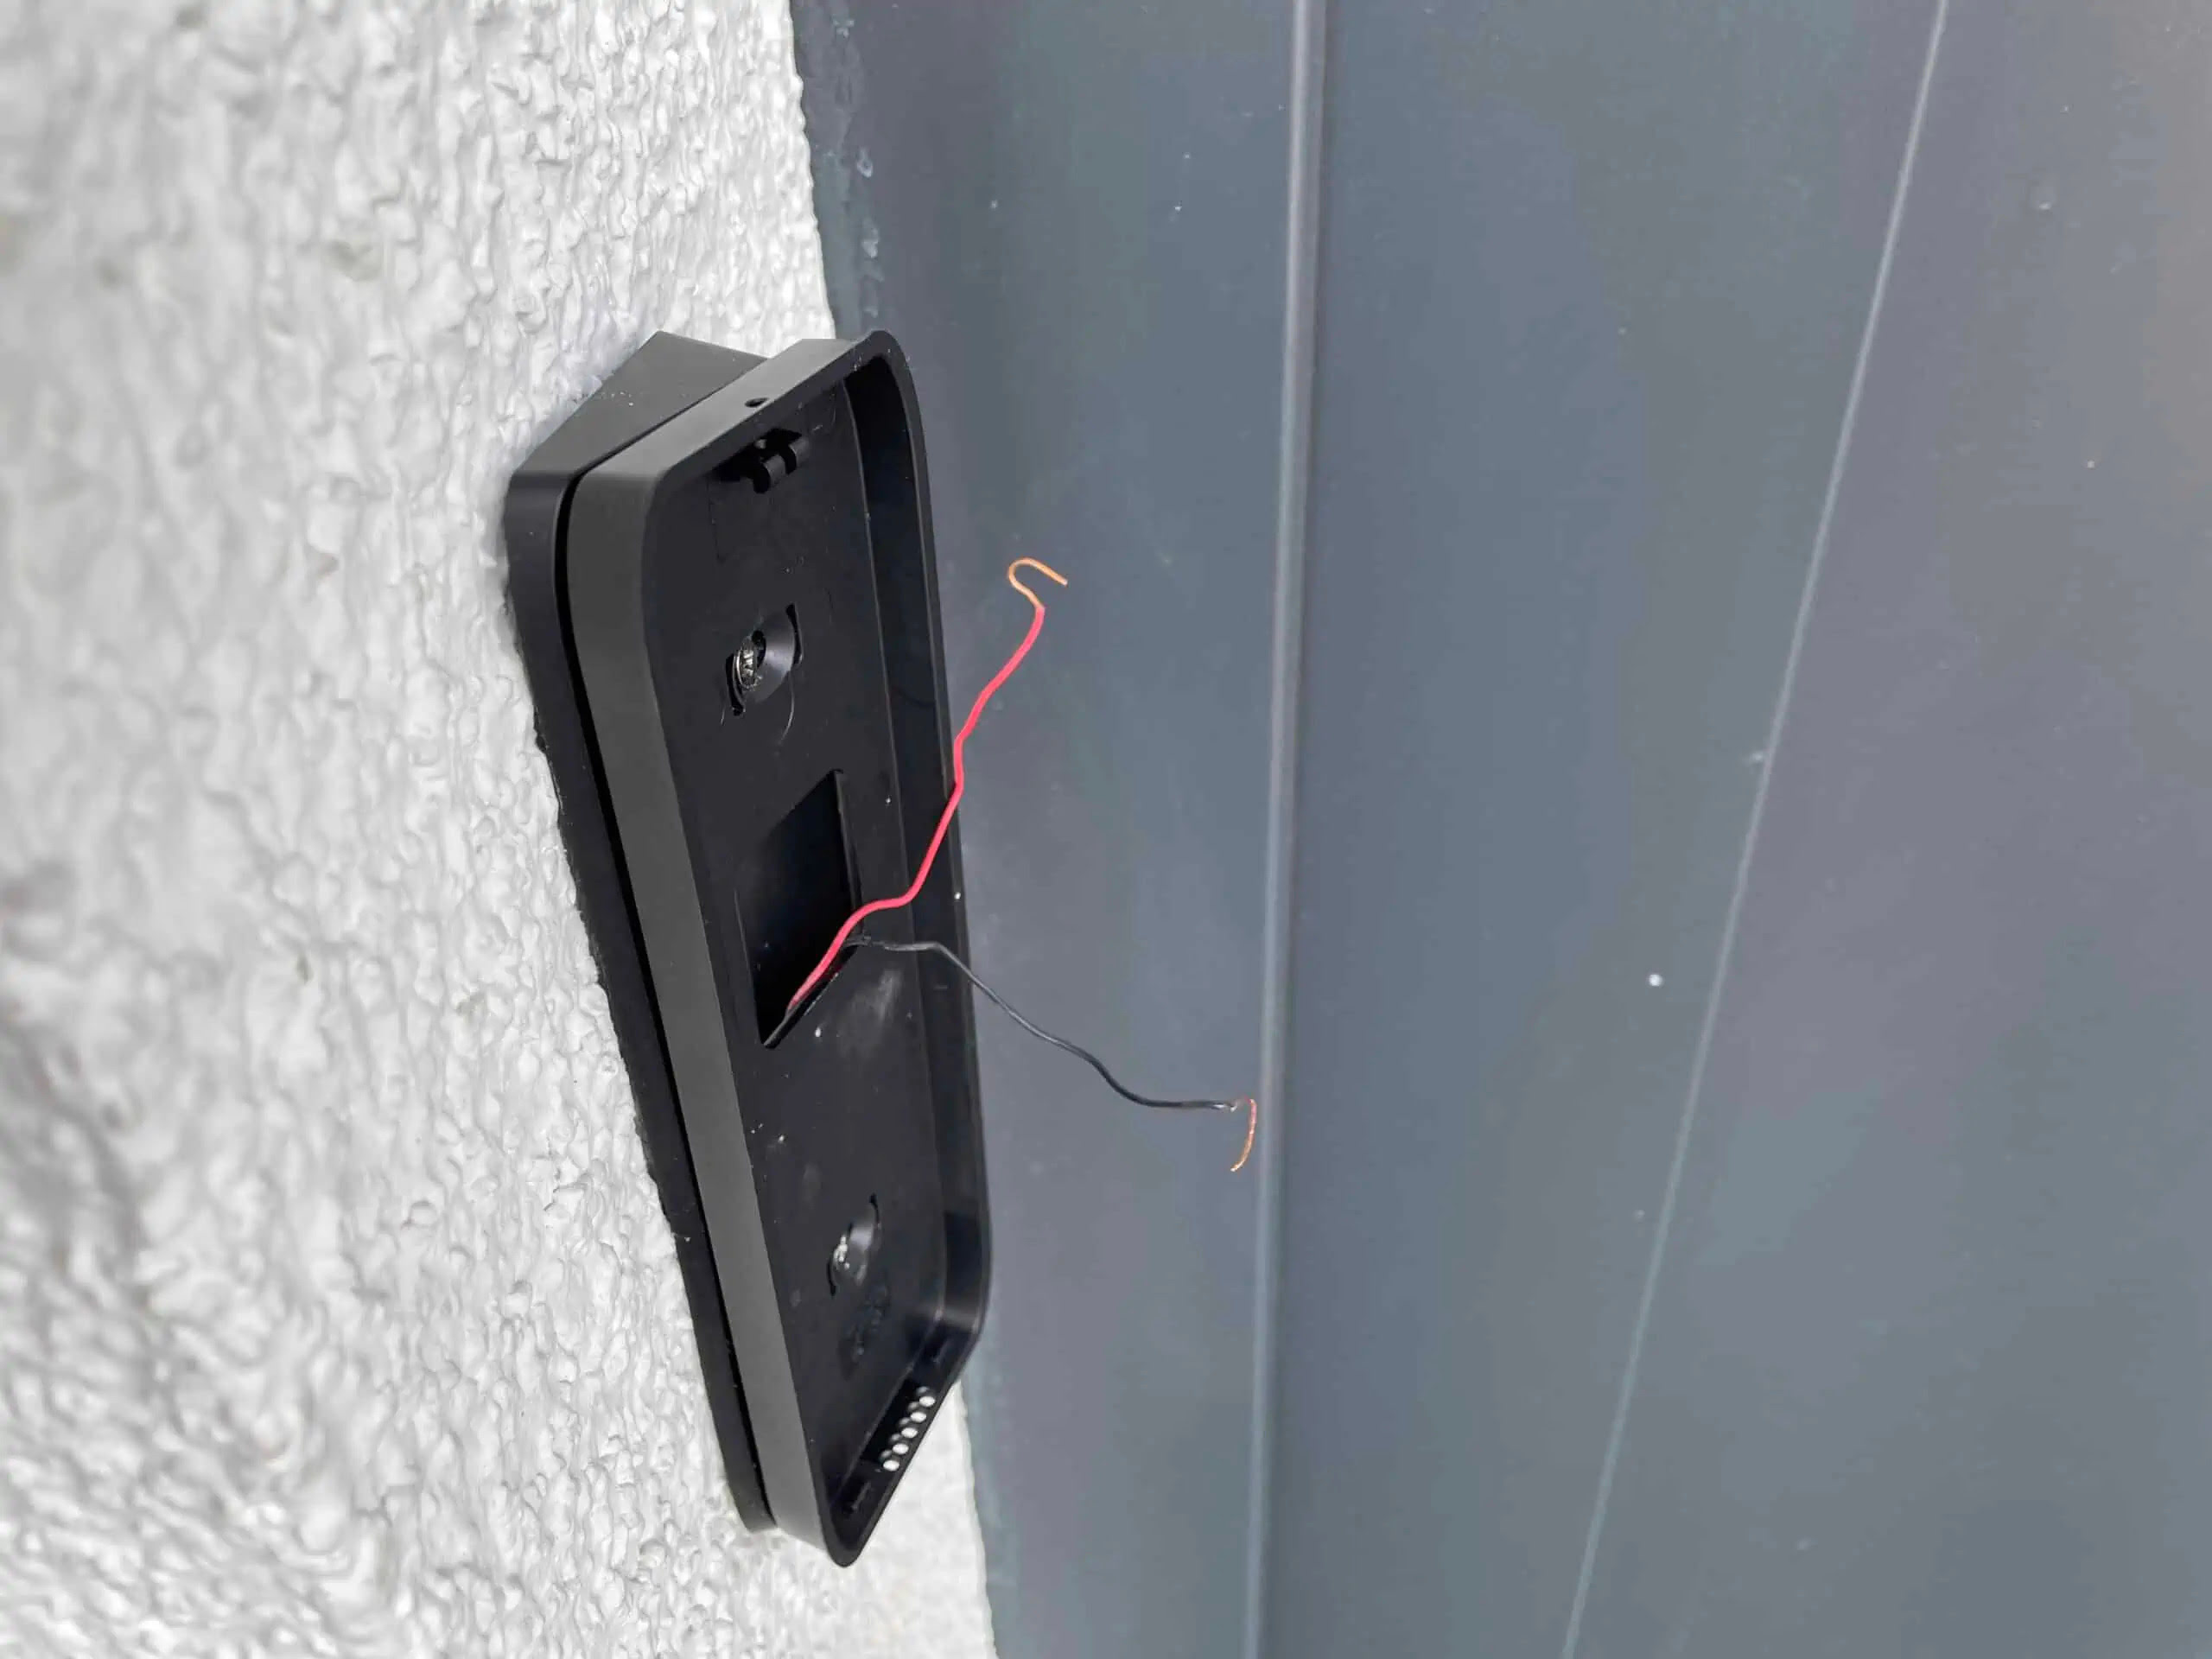
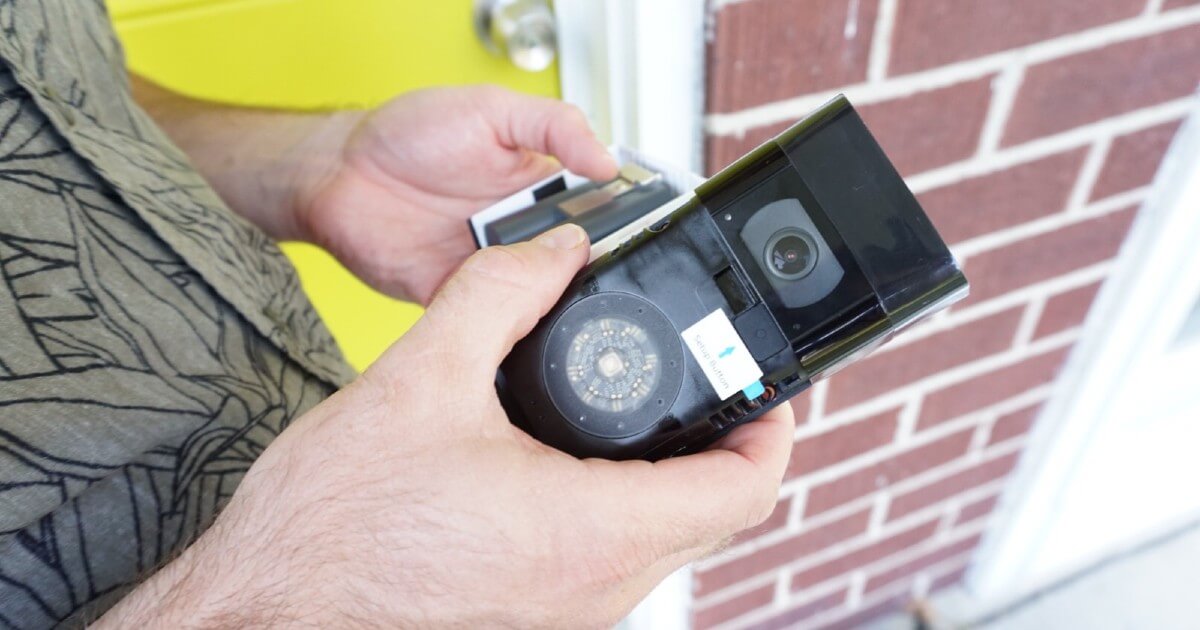
- Once the Nutone Doorbell is removed, you will see the wiring behind it. Take note of how the wires are connected to the previous doorbell for reference later.
- Disconnect the wiring from the Nutone Doorbell by unscrewing the wire nuts or loosening the terminal screws, depending on the type of connection.
- Once the wiring is disconnected, remove any screws or mounting hardware that are still attached to the wall.
- Inspect the wiring to ensure there are no signs of damage or exposed wires. If you notice any issues, it’s best to address them before proceeding with the installation of the Ring Video Doorbell 2.
With the existing Nutone Doorbell safely removed and the wiring disconnected, you’re now ready to move on to the next step – installing the provided mounting plate.
Step 3: Install the Provided Mounting Plate
With the existing Nutone Doorbell removed, it’s time to install the provided mounting plate for the Ring Video Doorbell 2. Follow these steps:
- Take the mounting plate provided with your Ring Video Doorbell 2 and hold it against the wall where you want to install your doorbell. Make sure it is level by using a level.
- Once the mounting plate is in the desired position, mark the screw holes on the wall using a pencil or masking tape.
- Using a drill and the appropriate drill bit, carefully drill pilot holes at the marked screw hole locations. Take care to use the proper drill bit size for your walls, whether they are made of wood, metal, or concrete.
- Line up the mounting plate with the pilot holes and fasten it to the wall using the provided screws.
- Ensure that the mounting plate is securely attached to the wall and check if it is level once again.
With the mounting plate installed, you’re now ready to proceed to the next step – connecting the wires to the Ring Video Doorbell 2.
Step 4: Connect the Wires to the Ring Video Doorbell 2
With the mounting plate securely installed, it’s time to connect the wires from your Nutone Doorbell to the Ring Video Doorbell 2. Follow these steps:
- Take note of how the wires were connected to the previous Nutone Doorbell. Typically, there will be two wires – one for power (usually labeled “trans”) and one for the doorbell chime (usually labeled “front” or “door”).
- Ensure that the power to the doorbell is still turned off for safety.
- Strip the ends of the wires using wire strippers, if necessary.
- Insert the wires into the corresponding terminals on the back of the Ring Video Doorbell 2. The color coding may vary, so refer to the provided instructions for guidance.
- Tighten the terminal screws to securely fasten the wires in place.
- If you have a digital chime, you may need to install a chime connector according to the manufacturer’s instructions. This will ensure compatibility with the Ring Video Doorbell 2.
Once the wires are properly connected, ensure that they are neatly tucked inside the mounting plate. This will prevent them from interfering with the installation of the Ring Video Doorbell 2.
With the wires securely connected, it’s time to move on to the next step – attaching the doorbell faceplate.
Step 5: Attach the Doorbell Faceplate
Now that the wires are connected, it’s time to attach the doorbell faceplate to the mounting plate. Follow these steps to complete this step:
- Take the doorbell faceplate that came with your Ring Video Doorbell 2.
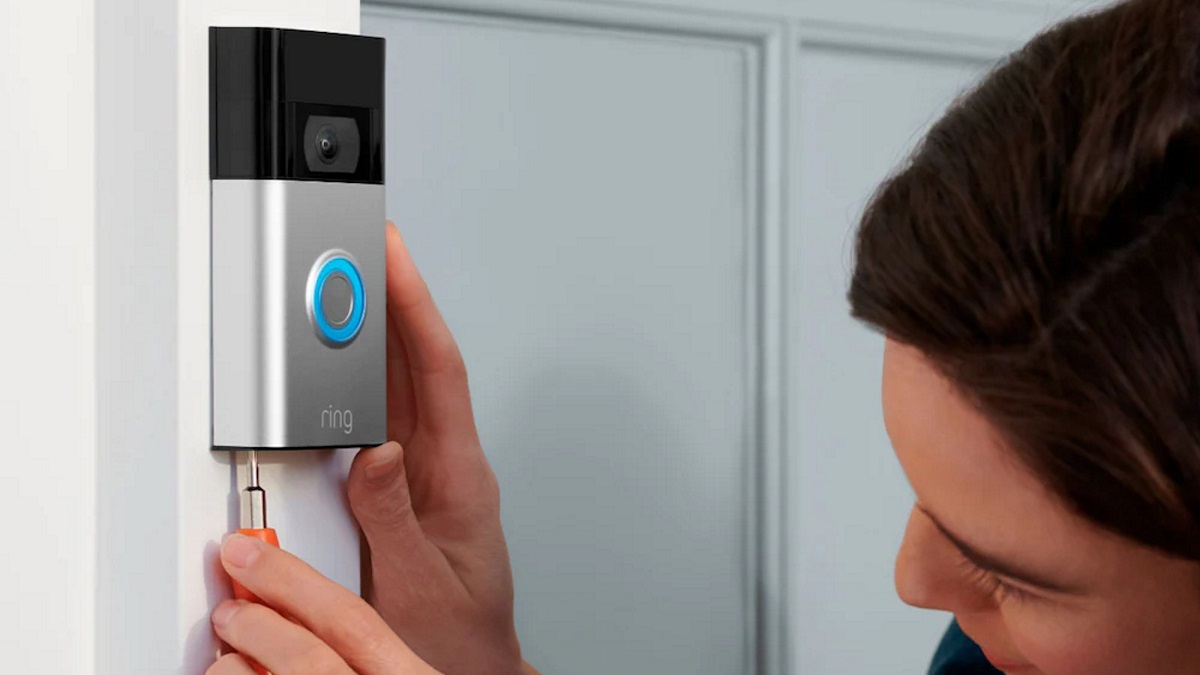
- Align the faceplate with the mounting plate, ensuring that it fits snugly and securely.
- Press the faceplate firmly into place, making sure it is level and aligned with the surroundings.
- If your doorbell faceplate has security screws, insert them into the corresponding holes and tighten them using a screwdriver.
Once the doorbell faceplate is attached, give it a gentle tug to ensure that it is securely in place.
With the doorbell faceplate attached, you’re now ready to power on the doorbell and prepare for the setup and syncing process.
Next up: Step 6 – Power on the Doorbell.
Step 6: Power on the Doorbell
Now that you have successfully attached the doorbell faceplate, it’s time to power on the Ring Video Doorbell 2. Follow these steps:
- Ensure that the power to the doorbell is still turned off.
- Locate your home’s circuit breaker or fuse box and switch on the circuit breaker or screw in the fuse that controls the power to the doorbell.
- Wait for a few moments to allow the power to properly flow to the doorbell.
- You should see the Ring Video Doorbell 2 light up and enter the setup mode, indicated by a pulsing light.
If the doorbell doesn’t light up or enter the setup mode, double-check the power connection and ensure that the circuit breaker or fuse is properly turned on.
With the doorbell powered on, you’re now ready to proceed to the next step – setting up and syncing your Ring Video Doorbell 2.
Up next: Step 7 – Set Up and Sync the Ring Video Doorbell 2.
Step 7: Set Up and Sync the Ring Video Doorbell 2
With the Ring Video Doorbell 2 powered on, it’s time to set up and sync the device with your smartphone or tablet. Follow these steps to complete the setup process:
- Download and install the Ring app on your smartphone or tablet from the App Store or Google Play Store.
- Open the Ring app and create an account if you don’t already have one. Otherwise, log in to your existing account.
- Follow the on-screen prompts to add a new device. Select “Set Up a Device” and then select “Video Doorbells” from the list of available devices.
- The Ring app will guide you through the setup process, including connecting your Ring Video Doorbell 2 to your home Wi-Fi network.
- During the setup process, you may be prompted to enter the serial number of your Ring Video Doorbell 2. This can usually be found on the device itself or in the product packaging.
- Once your Ring Video Doorbell 2 is successfully connected to your home Wi-Fi network, the app will prompt you to perform a test to ensure that everything is working correctly.
- Follow the instructions on the app to perform the test, which may include testing the doorbell button, motion detection, and live video streaming.
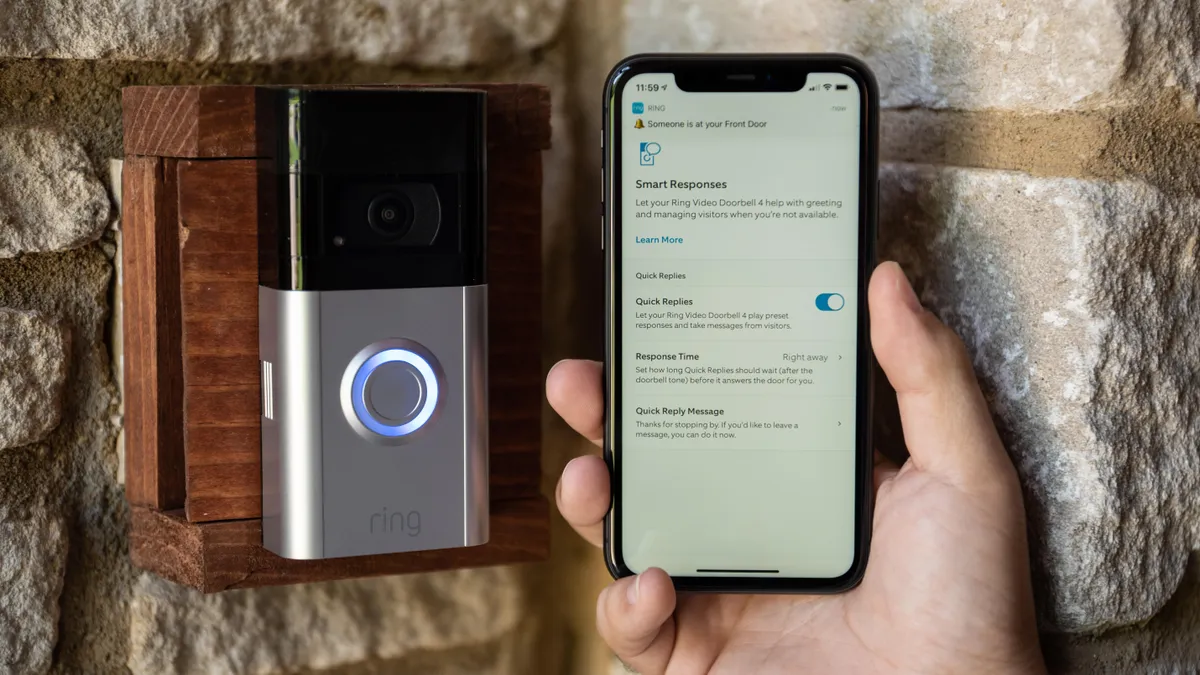
- Once the test is complete and everything is functioning properly, you can customize various settings within the Ring app, such as motion sensitivity, notification preferences, and more.
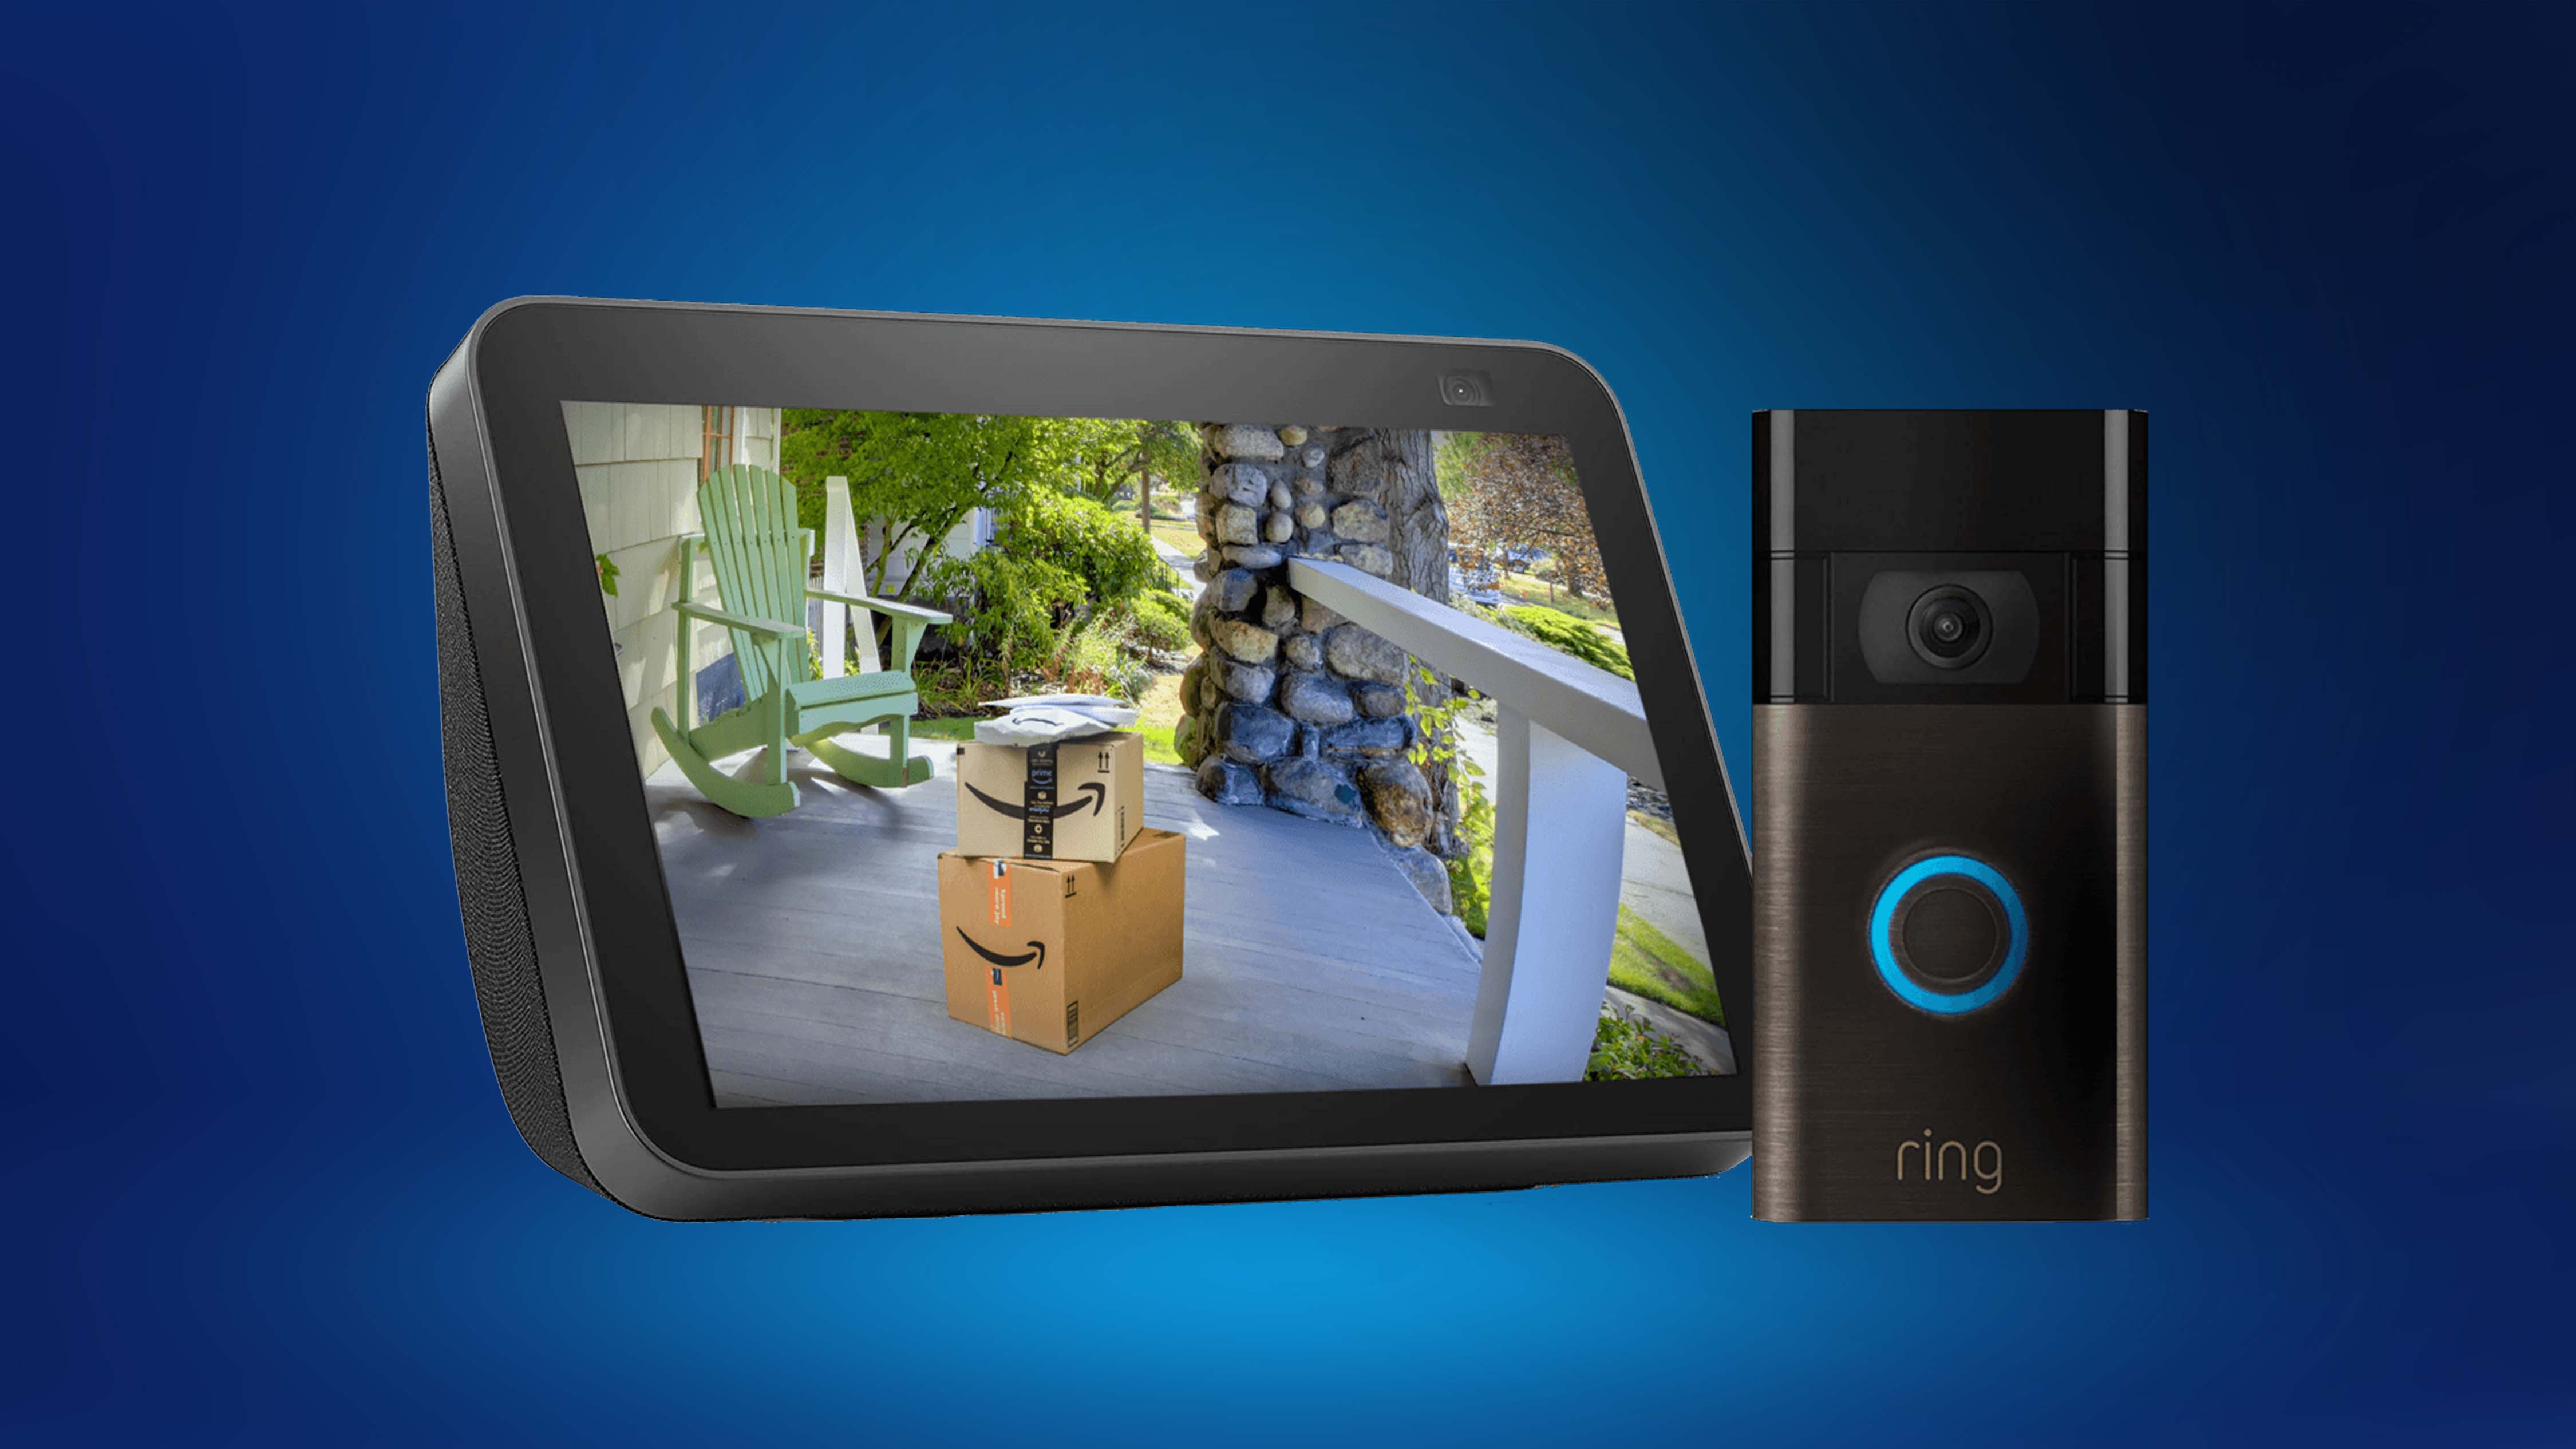
With the Ring Video Doorbell 2 set up and synced with your smartphone or tablet, you can now enjoy the convenience and security it provides. Receive alerts and notifications when someone is at your door, interact with visitors through two-way audio, and access live video footage from anywhere at any time.
Congratulations! You have successfully completed the installation and setup process for your Ring Video Doorbell 2 with a Nutone Doorbell. Enjoy the added security and peace of mind that this smart doorbell brings to your home.
Conclusion
Installing the Ring Video Doorbell 2 with a Nutone Doorbell may seem like a complex task, but with the right tools and guidance, it can be accomplished with ease. By following the step-by-step process outlined in this guide, you can safely and successfully install your new doorbell.
Remember to start by turning off the power to ensure your safety throughout the installation process. Remove the existing Nutone Doorbell and install the provided mounting plate securely. Connect the wiring properly to the Ring Video Doorbell 2, ensuring a strong and secure connection.
After attaching the doorbell faceplate, power on the device and proceed to set up and sync your Ring Video Doorbell 2 with your smartphone or tablet using the Ring app. Perform tests to ensure that everything is functioning correctly, and customize the settings according to your preferences.
Once your Ring Video Doorbell 2 is up and running, you can enjoy the added security and convenience it brings to your home. Receive alerts for visitors, interact with them through two-way audio, and access live video footage from anywhere using your smartphone or tablet.
If you encounter any difficulties during the installation process or need further assistance, it’s always best to consult the provided instructions or seek help from a professional electrician who can ensure a smooth and successful installation.
With your Ring Video Doorbell 2 fully installed and set up, you can now enjoy enhanced home security and peace of mind knowing that you have an advanced and reliable doorbell solution in place.