Introduction
Welcome to our guide on how to install the Ring Video Doorbell with no wire! With the advancement of technology, home security has become more accessible and convenient for homeowners. The Ring Video Doorbell is a popular choice among many, as it offers a smart and efficient way to monitor and protect your home.
Installing the Ring Video Doorbell without a wire can seem daunting at first, but with the right tools and a little guidance, it can be a successful DIY project. Whether you live in an apartment, rental property, or simply don’t have the option to run wires, this guide will walk you through the steps to install the doorbell hassle-free.
By opting for a wire-free installation, you can avoid the need for drilling holes, running cables, or dealing with complex wiring setups. This makes it an ideal solution for those who have limited electrical knowledge or are looking for a non-permanent installation.
In this guide, we’ll cover the step-by-step process to activate and install the Ring Video Doorbell without any wires. From choosing the right location for optimal coverage to adjusting the doorbell position, we’ll provide you with all the information you need to ensure a successful installation. So, let’s get started and make your home smarter and more secure!
Preparing for Installation
Before you begin the installation process, there are a few essential steps you need to take to prepare your home for the installation of the Ring Video Doorbell. These steps will ensure a smooth and successful installation process:
- Check your Wi-Fi signal strength: The Ring Video Doorbell relies on a stable Wi-Fi connection to function properly. Before installation, check the Wi-Fi signal strength in the chosen location to ensure a strong and reliable connection. You can use your smartphone or a Wi-Fi analyzer tool to check the signal strength.
- Download the Ring app: The Ring Video Doorbell is managed through the Ring app, available for download on iOS and Android devices. Make sure to download the app and create an account to set up and manage your doorbell system.
- Charge the doorbell battery: The Ring Video Doorbell comes with a rechargeable battery. Before installation, fully charge the battery using the provided USB charging cable. This will ensure that the doorbell has enough power during the installation process and beyond.
- Gather the necessary tools and materials: To complete the installation, you will need a few basic tools and materials. These include a screwdriver, drill (if necessary), screws, and a level. Make sure to have these items on hand before starting the installation.
- Check local regulations: Some areas may have specific regulations or restrictions regarding the installation of video doorbells. Check with your local authorities or homeowner’s association to ensure compliance with any guidelines or restrictions.
By following these preparatory steps, you will set yourself up for a successful installation of the Ring Video Doorbell without any wires. Once you have completed these steps, you’re ready to move on to the next phase of the installation process: choosing the ideal location for your doorbell.
Tools and Materials Needed
Before you begin the installation process for your Ring Video Doorbell, it is essential to gather the necessary tools and materials. Having everything ready beforehand will save you time and ensure a smooth installation. Here are the tools and materials you will need:
- Screwdriver: A screwdriver is required to loosen and tighten screws during the installation process. Make sure to have a screwdriver with the appropriate head size for the screws provided with the doorbell.
- Drill (if necessary): Depending on the type of surface you will be mounting the doorbell on, you may need a drill. If you are mounting the doorbell on a wooden surface, a drill may not be necessary. However, if you are mounting it on concrete or brick, a drill will be required to create pilot holes for the screws.
- Screws: The Ring Video Doorbell typically comes with screws specifically designed for its installation. These screws are high-quality and durable to ensure the doorbell is securely mounted. Make sure to have the screws provided or obtain suitable alternatives if necessary.
- Level: A level is used to ensure that the doorbell is mounted straight and level. This will provide an aesthetically pleasing result and optimal functionality.
- Wi-Fi Analyzer: While not exactly a tool, a Wi-Fi analyzer app on your smartphone can be extremely helpful during the installation process. It allows you to identify the best location for the doorbell by checking the strength of the Wi-Fi signal in specific areas of your home.
- USB Charging Cable: The Ring Video Doorbell comes with a rechargeable battery. In case the battery is not fully charged, having a USB charging cable on hand will allow you to charge it during the installation process.
By gathering these tools and materials before you begin the installation, you will ensure that you have everything you need to successfully install your Ring Video Doorbell without any unexpected delays.
Step 1: Activate the Ring Video Doorbell
Before you can proceed with the installation of your Ring Video Doorbell, you need to activate it. Activating the doorbell involves setting up an account on the Ring app and connecting the doorbell to your Wi-Fi network. Follow these steps to activate your Ring Video Doorbell:
- Download and open the Ring app: Start by downloading the Ring app from the App Store or Google Play Store. Once downloaded, open the app on your smartphone.
- Create an account: If you already have a Ring account, log in using your credentials. Otherwise, select the option to create a new account. Follow the on-screen instructions to complete the account setup.
- Click on “Set Up a Device”: Once you have logged in or created an account, click on the “Set Up a Device” option within the app. Select “Video Doorbells” from the list of available devices.
- Scan the QR code: The Ring Video Doorbell packaging includes a QR code that needs to be scanned. Use your smartphone’s camera to scan the code, which will automatically add the doorbell to your Ring account.
- Connect to your Wi-Fi network: The app will then guide you through the process of connecting the doorbell to your Wi-Fi network. Make sure you have the correct Wi-Fi credentials handy. Select your network from the list of available networks and enter the password when prompted.
- Follow the in-app instructions: Once the doorbell is connected to your Wi-Fi, the app will provide further instructions on setting up motion detection, notifications, and other customizable features. Follow these instructions to personalize your Ring Video Doorbell settings.
- Test the doorbell functionality: Before proceeding with the physical installation, it is recommended to test the doorbell functionality within the app. This will ensure that the connection to your Wi-Fi network is stable and that you can receive notifications and live video feeds on your smartphone.
By following these steps, you will activate your Ring Video Doorbell and have it ready for the physical installation process. Once the doorbell is activated, you can proceed to choose the ideal location for installation.
Step 2: Choosing the Location
Choosing the right location for your Ring Video Doorbell is crucial to ensure optimal functionality and coverage. The location should provide a clear view of the entrance and allow for easy interaction with visitors. Follow these guidelines to select the ideal location for your doorbell:
- Consider the field of view: The doorbell should be positioned in a way that provides a wide field of view, capturing a clear view of the area you want to monitor. Ideally, it should provide coverage of the entire entrance and surrounding areas.
- Ensure proper height and angle: Mount the doorbell at a height that allows for easy interaction with visitors. Typically, a height of 48 inches (approximately 121 cm) is recommended. Additionally, tilt the doorbell slightly downward to improve the viewing angle and reduce false motion alerts.
- Ensure adequate lighting: Consider the lighting conditions in the chosen location. It is ideal to install the doorbell in an area with sufficient lighting during both day and night. This will ensure clear and detailed video footage.
- Consider Wi-Fi signal strength: The location you choose should have a strong Wi-Fi signal strength to ensure a reliable connection. Remember to consider the distance from the router and any potential sources of interference.
- Check for obstructions: Ensure that there are no obstructions, such as trees, large plants, or other objects, blocking the view of the entrance. These can interfere with the motion detection and video recording capabilities of the doorbell.
- Consider weather conditions: If possible, choose a location that provides some protection from extreme weather conditions, such as rain or direct sunlight. While the Ring Video Doorbell is designed to withstand outdoor conditions, minimizing exposure to harsh weather can prolong its lifespan.
- Accessibility for installation: Lastly, consider the accessibility of the chosen location for the installation process. Ensure that you can easily mount the doorbell and provide a power source if necessary.
By considering these factors and selecting the right location, you can ensure that your Ring Video Doorbell has an optimal vantage point and can effectively monitor your entrance. Once you have chosen the location, you are ready to proceed with installing the mounting bracket.
Step 3: Installing the Mounting Bracket
Installing the mounting bracket is an important step in the installation process of your Ring Video Doorbell. The mounting bracket provides a secure and stable base for attaching the doorbell. Follow these steps to install the mounting bracket:
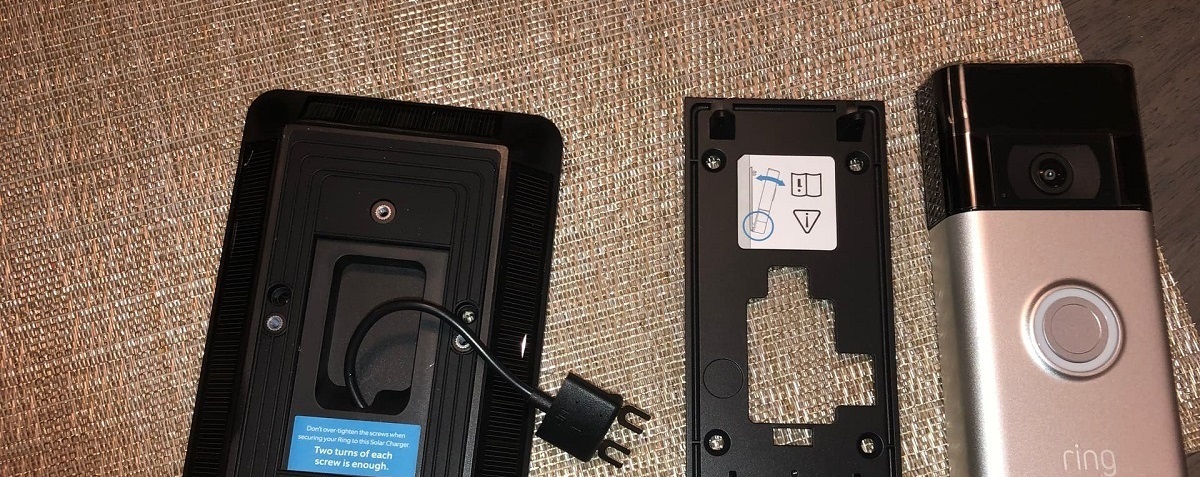
- Choose the proper bracket: The Ring Video Doorbell typically comes with multiple mounting bracket options to accommodate different installation scenarios. Select the bracket that best suits your needs, ensuring it matches the doorbell model you have.
- Position the bracket: Hold the mounting bracket against the chosen installation surface in the desired location. Ensure that it is level and aligns with any existing mounting holes or marks.
- Mark the holes: Using a pencil or marker, mark the positions of the screw holes on the installation surface through the holes in the mounting bracket. Double-check the alignment and make any necessary adjustments before proceeding.
- Pre-drill pilot holes (if necessary): Depending on the type of installation surface, you may need to pre-drill pilot holes for the screws. This is typically required for mounting on concrete, brick, or other hard surfaces that may crack or split without pre-drilling.
- Attach the bracket: Align the mounting bracket with the marked screw holes and secure it to the installation surface using the provided screws or appropriate alternatives. Use a screwdriver or drill with the appropriate head to tighten the screws securely.
- Check the stability: Once the bracket is attached, give it a gentle shake to ensure it is securely mounted and stable. If it appears loose or unstable, double-check the screws to ensure they are tightened properly.
By following these steps, you will successfully install the mounting bracket for your Ring Video Doorbell. The bracket provides a solid foundation for the doorbell, ensuring that it stays securely in place while you proceed with the remaining installation steps.
Step 4: Wiring the Ring Video Doorbell
Wiring the Ring Video Doorbell is an essential step to ensure its proper functionality. Although the Ring Video Doorbell is designed for wireless operation, it still requires a power source. Depending on the model you have, the doorbell can be powered by battery, existing doorbell wiring, or solar panels. Follow these steps to wire your Ring Video Doorbell:
- Battery-powered: If you are using the battery-powered option, skip this step and proceed to the next step. Ensure that the battery is fully charged before proceeding.
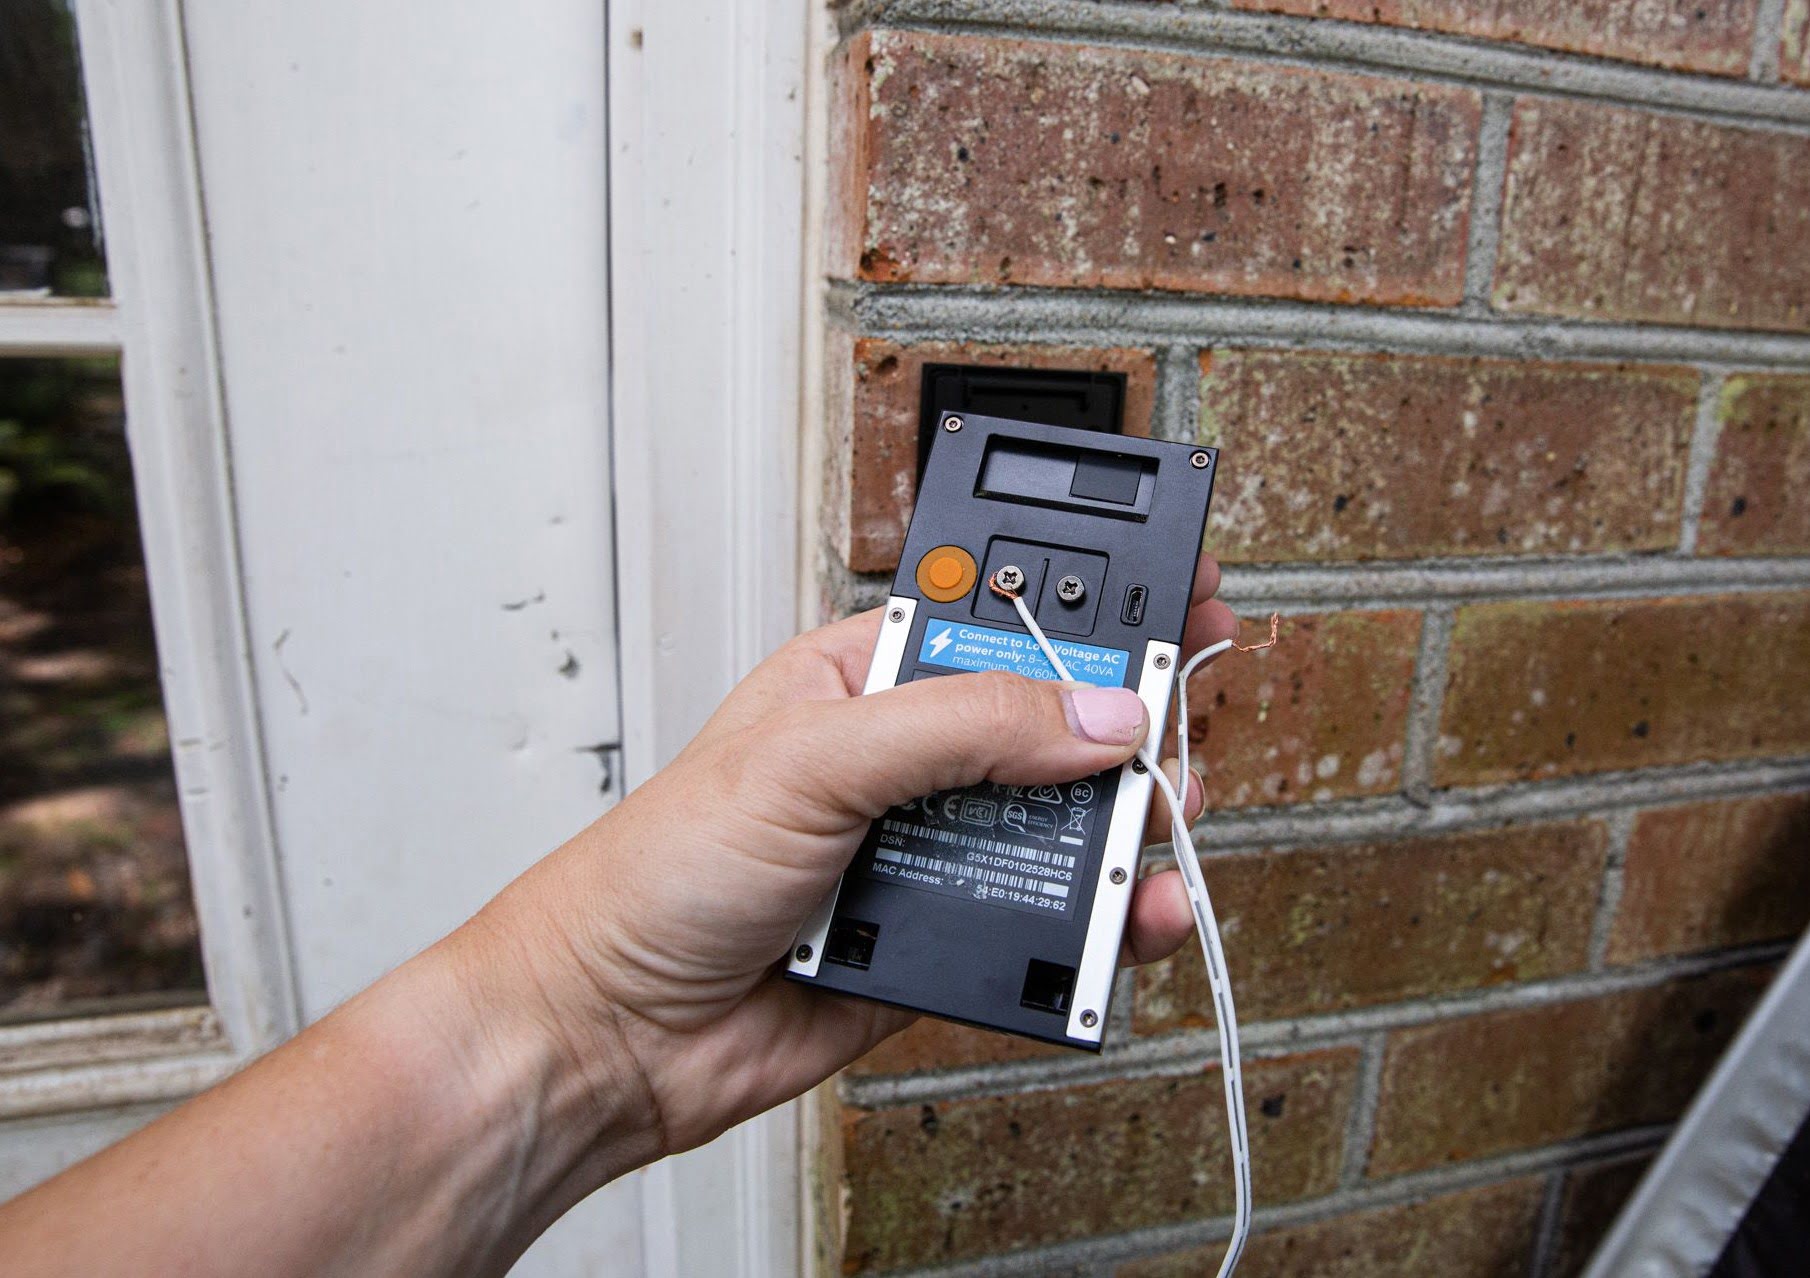
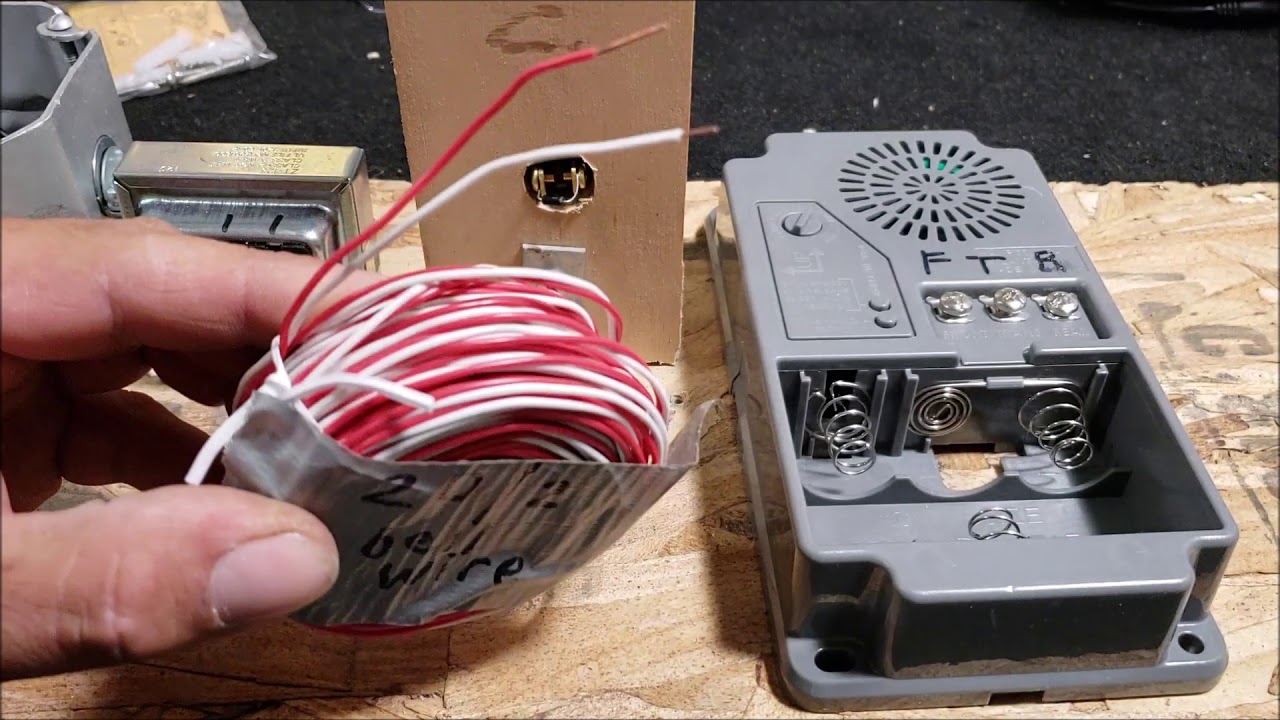
- Existing doorbell wiring: If you have existing doorbell wiring, you can connect the Ring Video Doorbell to it for constant power. Start by turning off the power to the existing doorbell at your home’s circuit breaker.
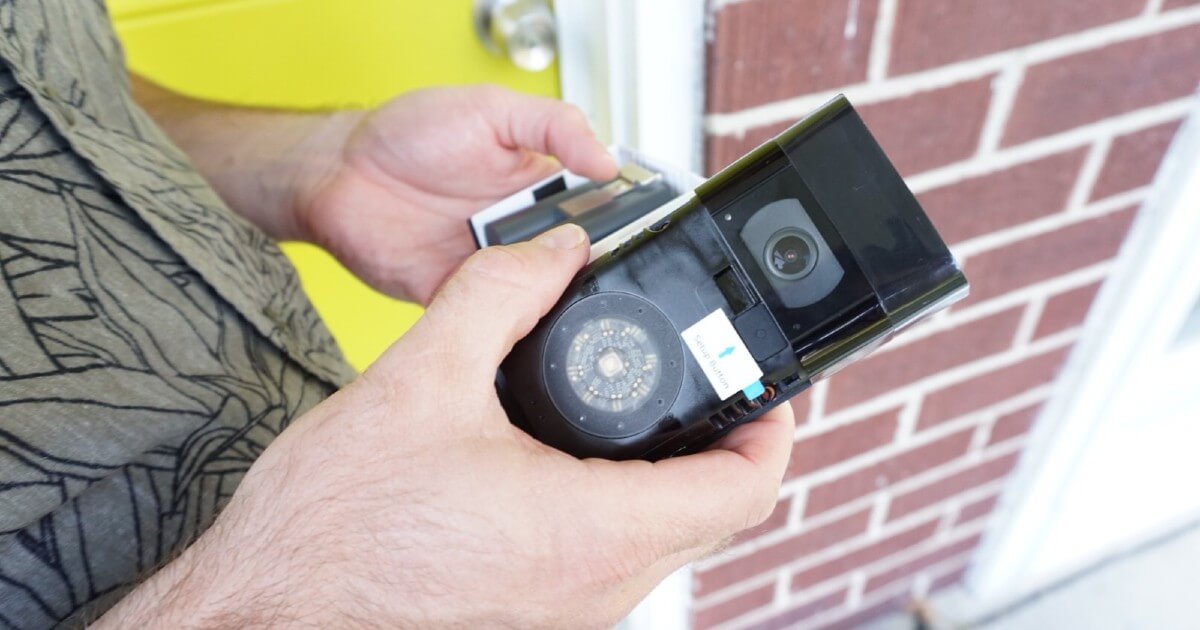
- Remove the existing doorbell: Unscrew the existing doorbell from its mounting location and gently disconnect the wires from the back of the doorbell. Take note of which wire is connected to which terminal (typically labeled “F” for front and “T” for transformer).
- Connect the wires to the Ring doorbell: Strip the ends of the wires if necessary and connect them to the corresponding terminals on the back of the Ring Video Doorbell. Ensure a secure and proper connection.
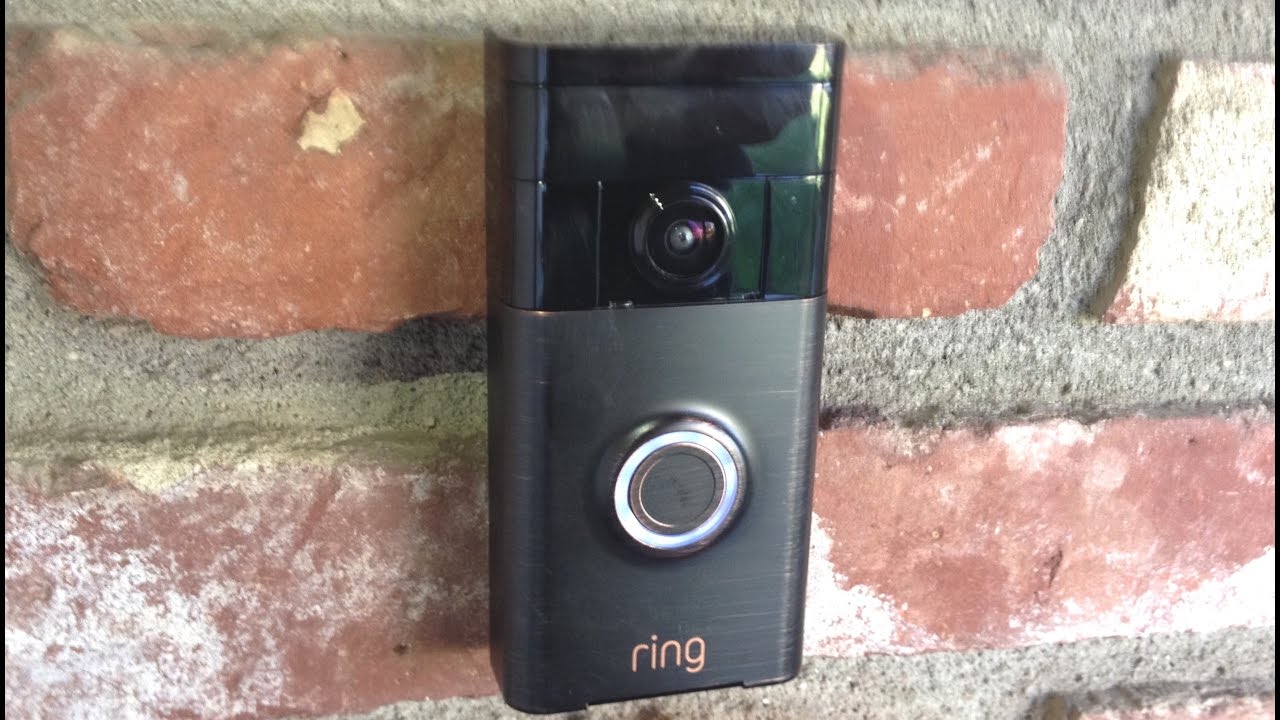
- Mount the doorbell: With the wiring complete, align the Ring Video Doorbell with the mounting bracket and gently push it into place. It should snap securely onto the bracket.
- Turn on the power: Return to your home’s circuit breaker and switch on the power to the doorbell circuit. This will provide power to the Ring Video Doorbell and allow it to function.
- Check the doorbell’s power status: Within the Ring app, navigate to the device settings for your Ring Video Doorbell. Check the power status and ensure that it indicates that the doorbell is well powered.
By following these steps, you will successfully wire your Ring Video Doorbell, either through battery power or existing doorbell wiring. This ensures that your doorbell has a reliable power source and is ready for use. Once the doorbell is wired, you can proceed to attach it to the mounting bracket.
Step 5: Attaching the Doorbell to the Bracket
Attaching the Ring Video Doorbell to the mounting bracket is a straightforward process that will securely position the doorbell in place. Follow these steps to attach the doorbell to the bracket:
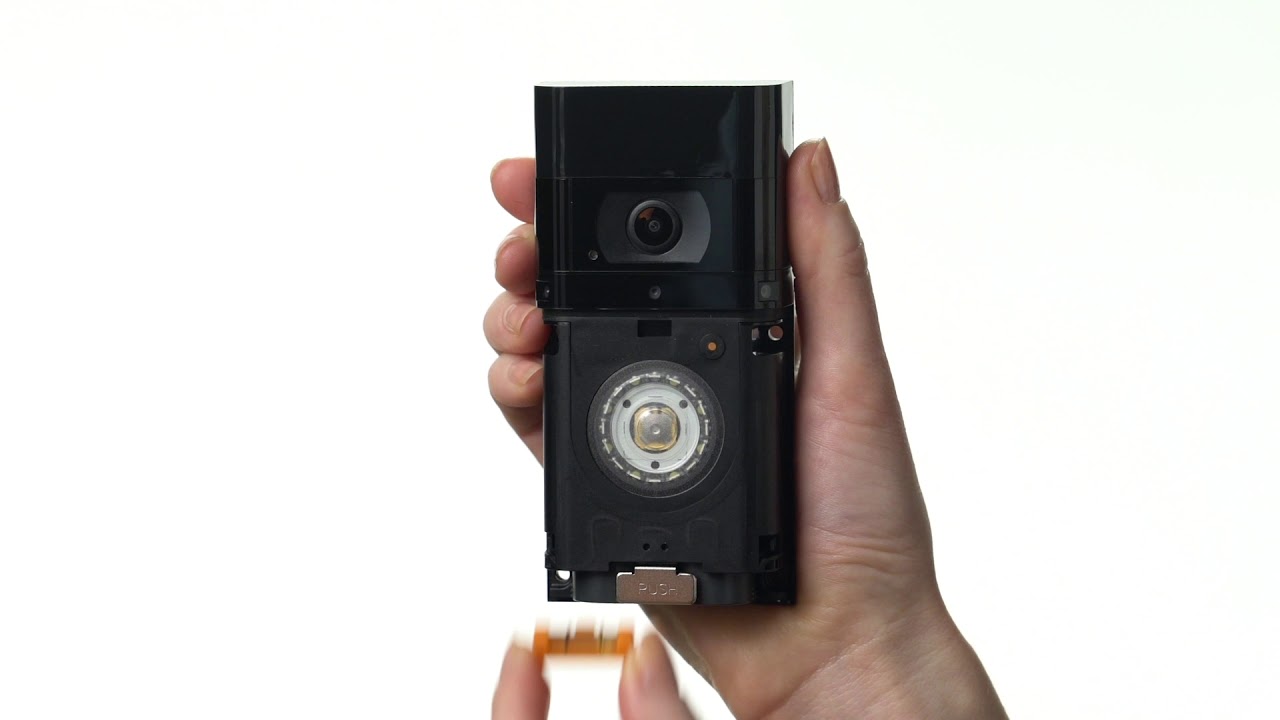
- Align the doorbell: Hold the Ring Video Doorbell in a horizontal position with the front facing towards you. Align the back of the doorbell with the mounting bracket.
- Slide the doorbell onto the bracket: Slide the doorbell onto the mounting bracket, making sure the screw holes on the back of the doorbell align with the screw holes on the bracket. Apply steady and even pressure to ensure a secure fit.
- Secure the doorbell: Using the provided security screws or appropriate alternatives, tighten the screws into the screw holes on the doorbell. Ensure that the doorbell is securely fastened to the mounting bracket, but be careful not to overtighten the screws.
- Check the stability: After securing the doorbell, give it a gentle shake to ensure that it is stable and firmly attached to the mounting bracket. This step will help confirm that the doorbell is securely in place before proceeding.
By following these steps, you will successfully attach the Ring Video Doorbell to the mounting bracket. Ensure that the doorbell is securely fastened to provide stability and proper functionality. With the doorbell securely attached, you are ready to proceed to the next step of adjusting the position of the doorbell.
Step 6: Adjusting the Doorbell Position
Adjusting the position of your Ring Video Doorbell is crucial to ensure optimal functionality and coverage. This step allows you to fine-tune the doorbell’s field of view and angle for better monitoring and interaction with visitors. Follow these steps to adjust the position of your doorbell:
- Observe the current view: Stand back and observe the current view captured by the doorbell. Pay attention to any blind spots or areas that may need adjustment.
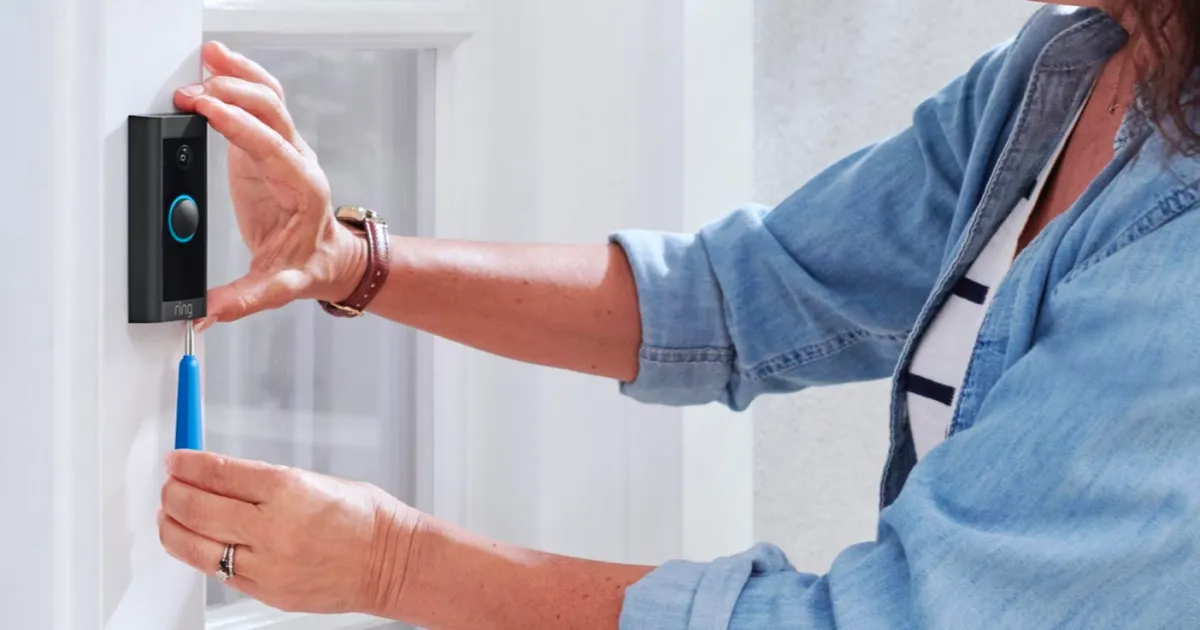
- Loosen the doorbell screws: Use the provided screwdriver or a suitable tool to loosen the security screws at the bottom of the doorbell. This will allow you to adjust the position of the doorbell.
- Rotate or tilt the doorbell: Gently rotate or tilt the doorbell to adjust its position. This will help achieve a more optimal view of the entrance and surrounding areas. Use the doorbell’s field of vision as a guide to ensure the important areas are clearly captured.
- Tighten the doorbell screws: Once you have adjusted the position, use the screwdriver or tool to tighten the security screws at the bottom of the doorbell. Ensure that the doorbell is securely fastened to maintain the desired position.
- Test the view: After tightening the screws, test the view by standing in various positions near the doorbell. Check if the important areas are well covered and if any adjustments need to be made.
- Make further adjustments if needed: If you find that the current position still does not provide the desired view or if there are blind spots, repeat steps 2 to 5 to make further adjustments. It may take a few attempts to find the optimal position.
By following these steps and adjusting the position of your Ring Video Doorbell, you can achieve the best possible view of your entrance and surrounding areas. Take the time to find the ideal position to maximize the doorbell’s functionality and ensure effective monitoring. Once you are satisfied with the position, you can move on to the final step: testing the doorbell’s functionality.
Step 7: Testing the Doorbell
Testing your Ring Video Doorbell is the final step in the installation process. This step ensures that the doorbell is properly configured, connected to your Wi-Fi network, and functioning as expected. Follow these steps to test the functionality of your doorbell:
- Open the Ring app: Open the Ring app on your smartphone or tablet.
- Select your doorbell: Select your Ring Video Doorbell from the list of devices within the app. This will open the live view screen.
- Test the live video feed: Tap on the live video feed to initiate a video call to your doorbell. Verify that you can see and hear the live view from the doorbell’s camera.
- Test motion detection: Walk in front of the doorbell to trigger the motion detection feature. Verify that you receive a notification on your smartphone and that the doorbell records the motion event.
- Test two-way audio: Initiate a two-way audio communication with the doorbell by tapping on the microphone icon within the app. Speak into your smartphone and ensure that the sound is transmitted to the doorbell’s speaker.
- Adjust settings if necessary: Within the Ring app, explore the settings and customize features such as motion sensitivity, notification preferences, and video recording options according to your preferences.
- Perform additional tests: If desired, you can perform additional tests, such as adjusting various settings to suit your specific needs or testing the night vision capability of the doorbell.
By following these steps and thoroughly testing your Ring Video Doorbell, you can confirm that it is working properly and that you are receiving notifications, live video feed, and two-way audio communication as intended. If you encounter any issues, refer to the Ring support resources or reach out to their customer support for further assistance.
Conclusion
Congratulations! You have successfully installed and set up your Ring Video Doorbell without any wires. By following the step-by-step instructions in this guide, you have enhanced the security and convenience of your home. The Ring Video Doorbell offers a wide range of features, including live video feed, motion detection, two-way audio, and more, all accessible through the Ring app on your smartphone.
Throughout the installation process, you learned how to prepare for installation, gather the necessary tools and materials, activate the doorbell, choose the ideal location, install the mounting bracket, wire the doorbell (if necessary), attach it to the bracket, adjust its position, and test its functionality. These steps ensure that your Ring Video Doorbell is properly installed and ready to protect your home.
Remember to regularly maintain your Ring Video Doorbell by keeping it clean and free from debris. Additionally, ensure that your Wi-Fi network is stable and has a strong signal strength to maintain reliable connectivity with the doorbell and receive timely notifications.
By installing the Ring Video Doorbell, you have taken a significant step towards enhancing the security and monitoring capabilities of your home. With its advanced features and convenience, you can now monitor your entrance, communicate with visitors, and have peace of mind, no matter where you are.
Enjoy the benefits and convenience that the Ring Video Doorbell brings, and feel secure knowing that you have taken proactive measures to protect your home and loved ones.