Introduction
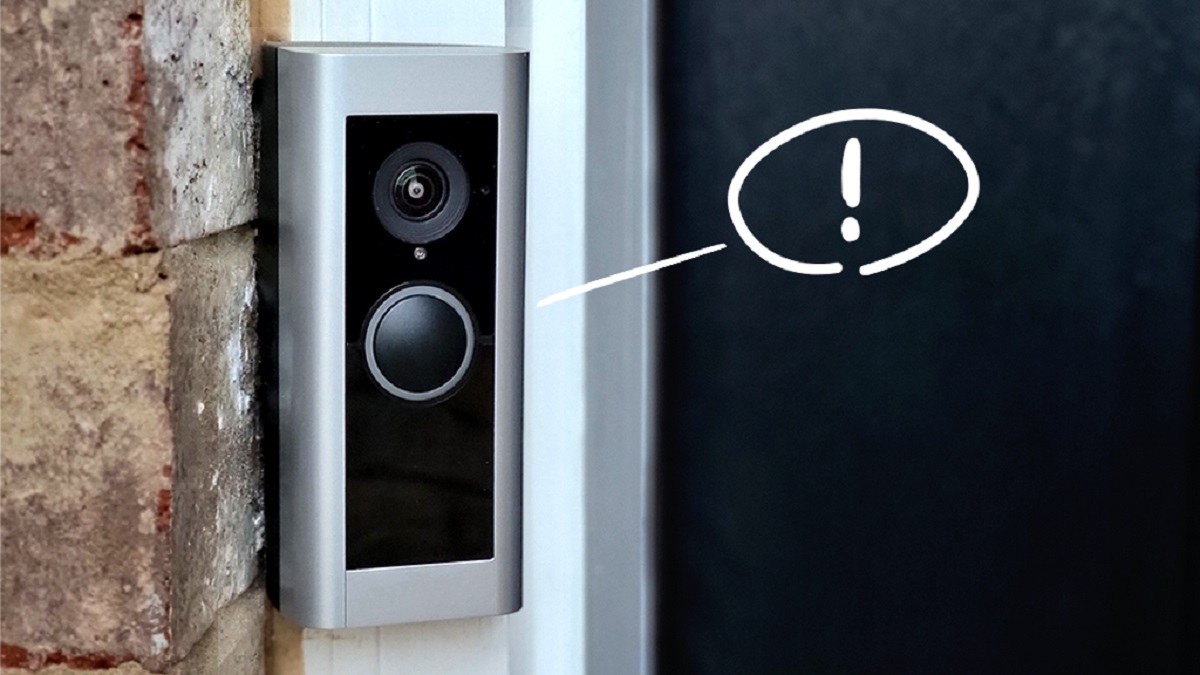
Welcome to our guide on how to replace your existing wired doorbell with the Ring Video Doorbell – a smart and innovative device that brings convenience and security to your home. Gone are the days of missing important visitors or package deliveries at your doorstep. With the Ring Video Doorbell, you can see, hear, and interact with anyone at your front door, whether you’re at home or away.
The installation process may seem daunting, but fear not! This comprehensive step-by-step guide will walk you through the process, ensuring a successful and seamless transition. Before you know it, you’ll be enjoying the benefits of a modern and efficient doorbell system.
By replacing your existing wired doorbell with the Ring Video Doorbell, you gain a plethora of features that will enhance your home security. You’ll receive instant notifications on your smartphone whenever someone rings the doorbell or triggers the motion sensors. The built-in HD camera provides a crisp and clear view of your doorstep, allowing you to see who’s there in real-time or review recordings later. You can even communicate with visitors through the two-way audio feature, perfect for instructing delivery drivers or deterring potential intruders.
Furthermore, the Ring Video Doorbell is compatible with other smart home devices, such as voice assistants and security systems, giving you even more control and integration with your home ecosystem. With all these benefits at your fingertips, there’s no reason not to swap out your outdated doorbell and embrace the future of home security.
Now that you understand the exciting possibilities that await you, let’s dive into the step-by-step process of replacing your existing wired doorbell with the Ring Video Doorbell. Don’t worry if you’re not a DIY expert – our user-friendly instructions will make the installation process simple and hassle-free. So, grab your tools, prepare for an upgrade, and let’s get started!
Step 1: Gather the necessary tools and materials
Before you begin the installation process, it’s important to gather all the tools and materials you’ll need. Having everything prepared in advance will make the installation smoother and more efficient. Here’s a list of what you’ll need:
- Screwdriver
- Drill
- Level
- Tape measure
- Wire stripper
- Electrical tape
- Ring Video Doorbell
- Mounting bracket
- Screws and anchors
- Doorbell wiring
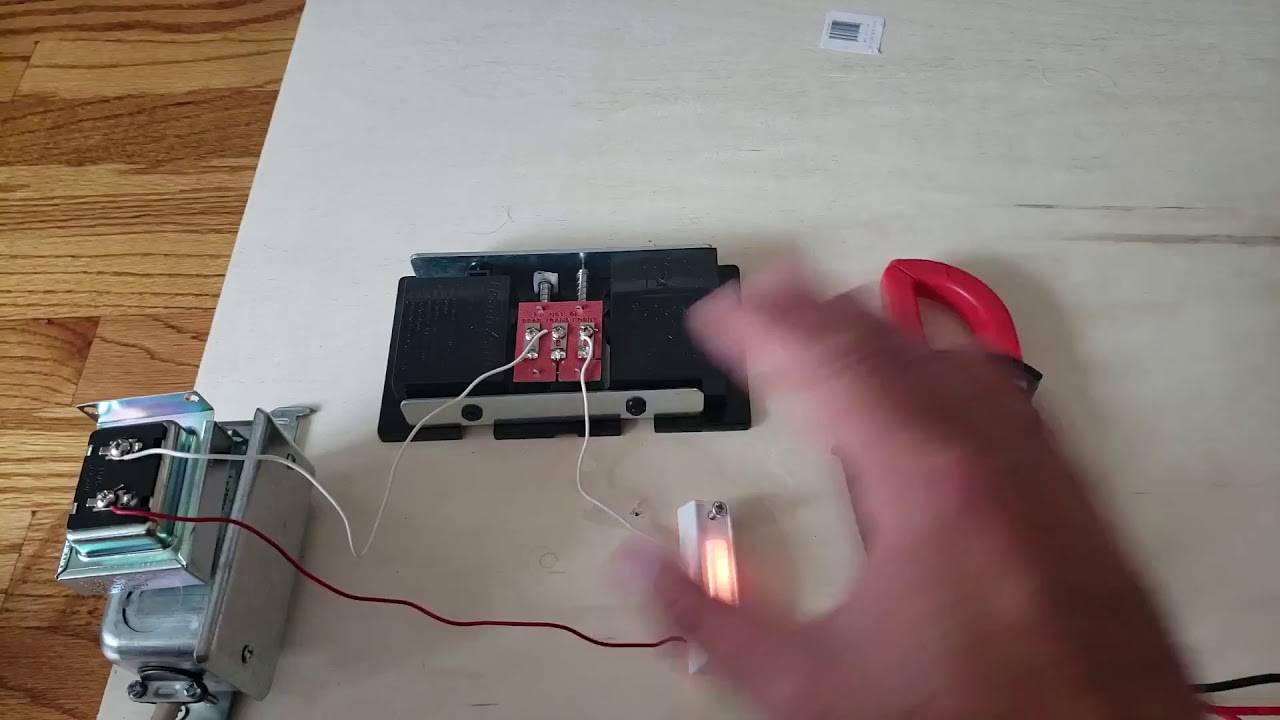
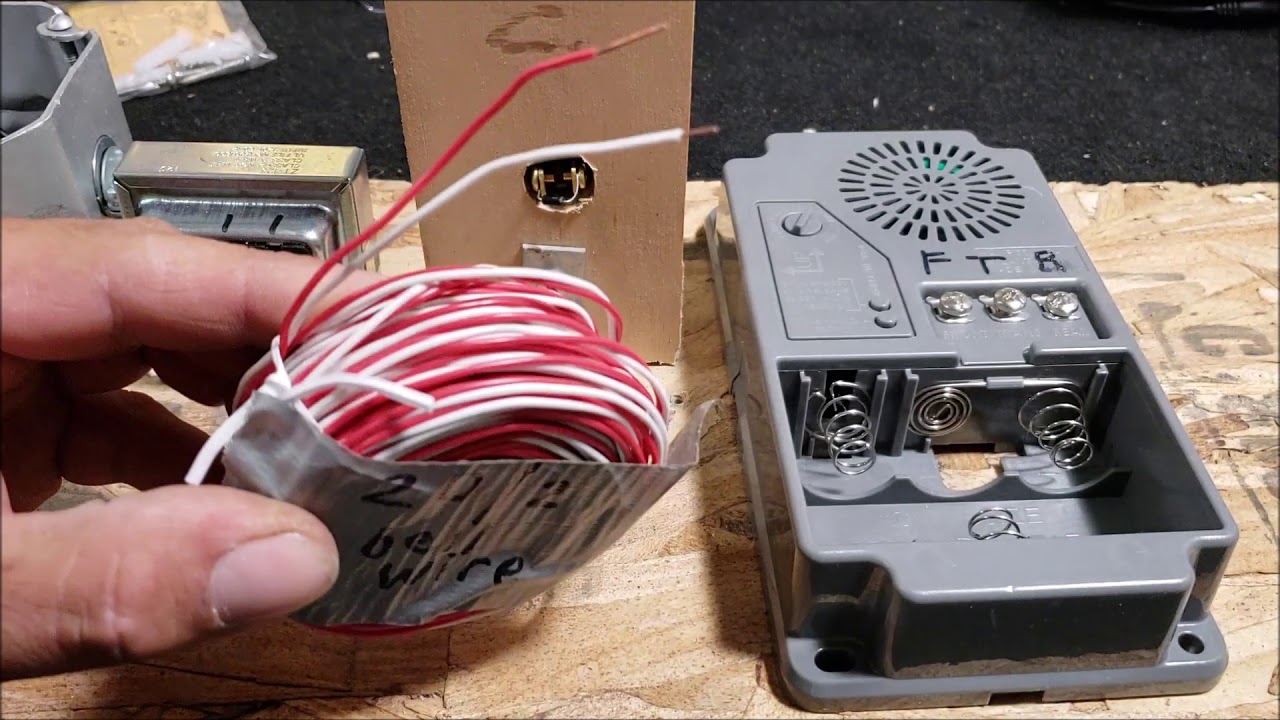
- Power source (transformer)
- Smartphone or tablet
Ensure that you have the appropriate size screwdriver and drill bits for the mounting bracket and any necessary electrical work. Your doorbell wiring should be compatible with the Ring Video Doorbell. If you’re unsure, consult the Ring website or contact their customer support for guidance.
It’s crucial to turn off the power to your existing doorbell before you start the installation process. Locate the correct circuit breaker in your electrical panel and turn it off to ensure your safety. You can verify if the power is off by testing the doorbell and ensuring it doesn’t ring.
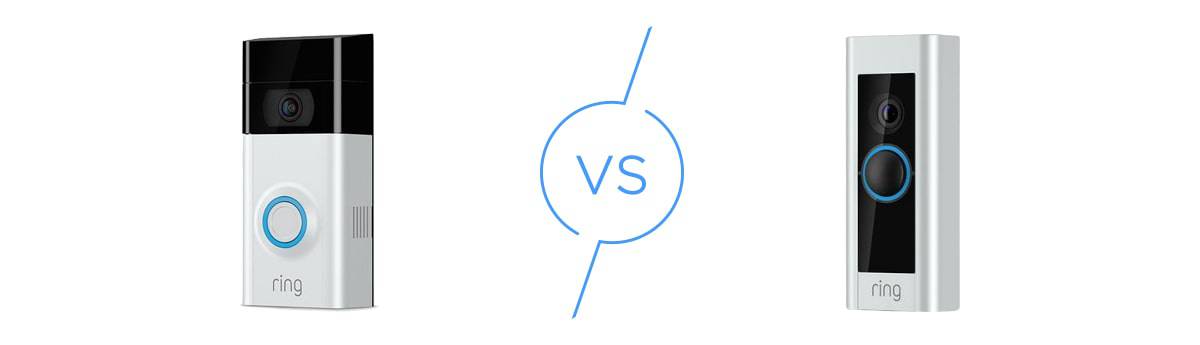
Take a moment to familiarize yourself with the Ring Video Doorbell and its components. The mounting bracket is crucial for securing the device, while the doorbell wiring will connect it to the power source. Refer to the instruction manual included with your Ring Video Doorbell for any specific details or requirements.
With all the necessary tools and materials at your disposal, you’re now ready to proceed to the next step: turning off the power to your existing doorbell.
Step 2: Turn off the power to your existing doorbell
Before you begin working on your existing wired doorbell, it’s crucial to turn off the power to ensure your safety. Here’s how you can do it:
- Find the electrical panel in your home – this is usually located in the basement, utility room, or garage.
- Open the electrical panel door and locate the circuit breaker labeled for your doorbell. It may be labeled as “doorbell” or “front door.”
- Flip the switch to the “off” position to cut off the power supply to your doorbell. You can verify if the power is off by testing the doorbell and ensuring it doesn’t ring.
- For added safety, place a small piece of electrical tape over the circuit breaker switch to prevent anyone from accidentally turning it on while you’re working.
It’s essential to follow these steps to prevent any accidents or electrical shocks during the installation process. Remember, safety should always be your top priority when working with electrical systems.
Once you have successfully turned off the power, you can proceed to the next step, which involves removing the old wired doorbell.
Step 3: Remove the old wired doorbell
With the power turned off, it’s time to remove the existing wired doorbell. Follow these steps:
- Inspect the doorbell for any visible screws or clips that are holding it in place. Depending on the model, you may need to remove a cover plate or housing.
- Using a screwdriver, carefully remove the screws securing the old doorbell to the wall or doorframe.
- Once the screws are removed, gently pull the doorbell unit away from the wall, exposing the wiring behind it.
- Take note of how the wiring is connected to the doorbell. This will help you when you connect the wiring to the Ring Video Doorbell later.
- If there are any wire nuts or connectors holding the wiring together, carefully detach and separate them.
- Unscrew or unclip the wiring from the terminals of the old doorbell, ensuring that the wires do not touch each other.
- Once the wiring is disconnected, remove the old doorbell unit entirely.
It’s essential to handle the wiring with care to prevent any damage or accidental contact with live electrical wires. Take your time and be cautious during this step.
With the old wired doorbell removed, you’re now ready to proceed to the next step – installing the Ring Video Doorbell mounting bracket.
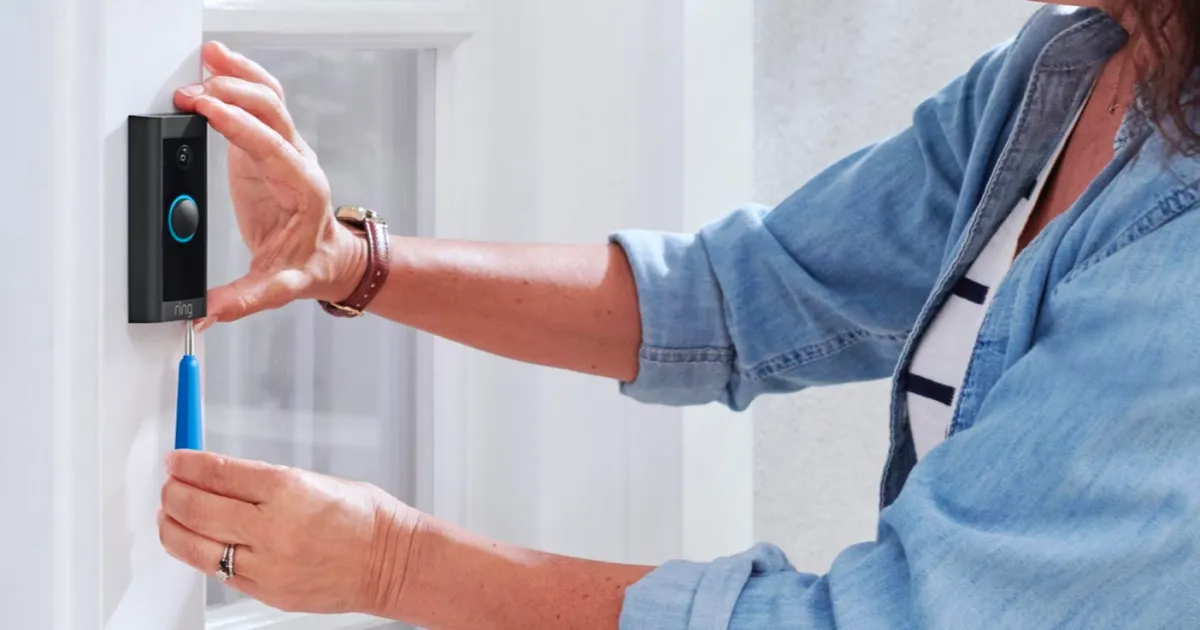
Step 4: Install the Ring Video Doorbell mounting bracket
Now that you have removed the old wired doorbell, it’s time to install the mounting bracket for your Ring Video Doorbell. Follow these steps:
- Take the mounting bracket provided with your Ring Video Doorbell and place it against the wall or doorframe where you want to install the device.
- Using a level, ensure that the bracket is straight and aligned.
- Once the bracket is positioned correctly, mark the screw holes with a pencil or marker.
- Using a drill, create pilot holes for the screws. Make sure the drill bit size matches the size of the screws provided.
- Insert the plastic anchors (if included) into the pilot holes to provide added stability.
- Align the screw holes on the mounting bracket with the pilot holes and anchors, then secure the bracket to the wall using the provided screws.
- Double-check that the bracket is securely attached and level.
By installing the mounting bracket, you’re ensuring a stable and secure base for your Ring Video Doorbell. Taking the time to align and level the bracket will help ensure that the device is positioned accurately, allowing for optimal functionality.
With the mounting bracket securely in place, you’re now ready to move on to the next step – connecting the wiring to the Ring Video Doorbell.
Step 5: Connect the wiring to the Ring Video Doorbell
Now that the mounting bracket is securely installed, it’s time to connect the wiring to your Ring Video Doorbell. Follow these steps:
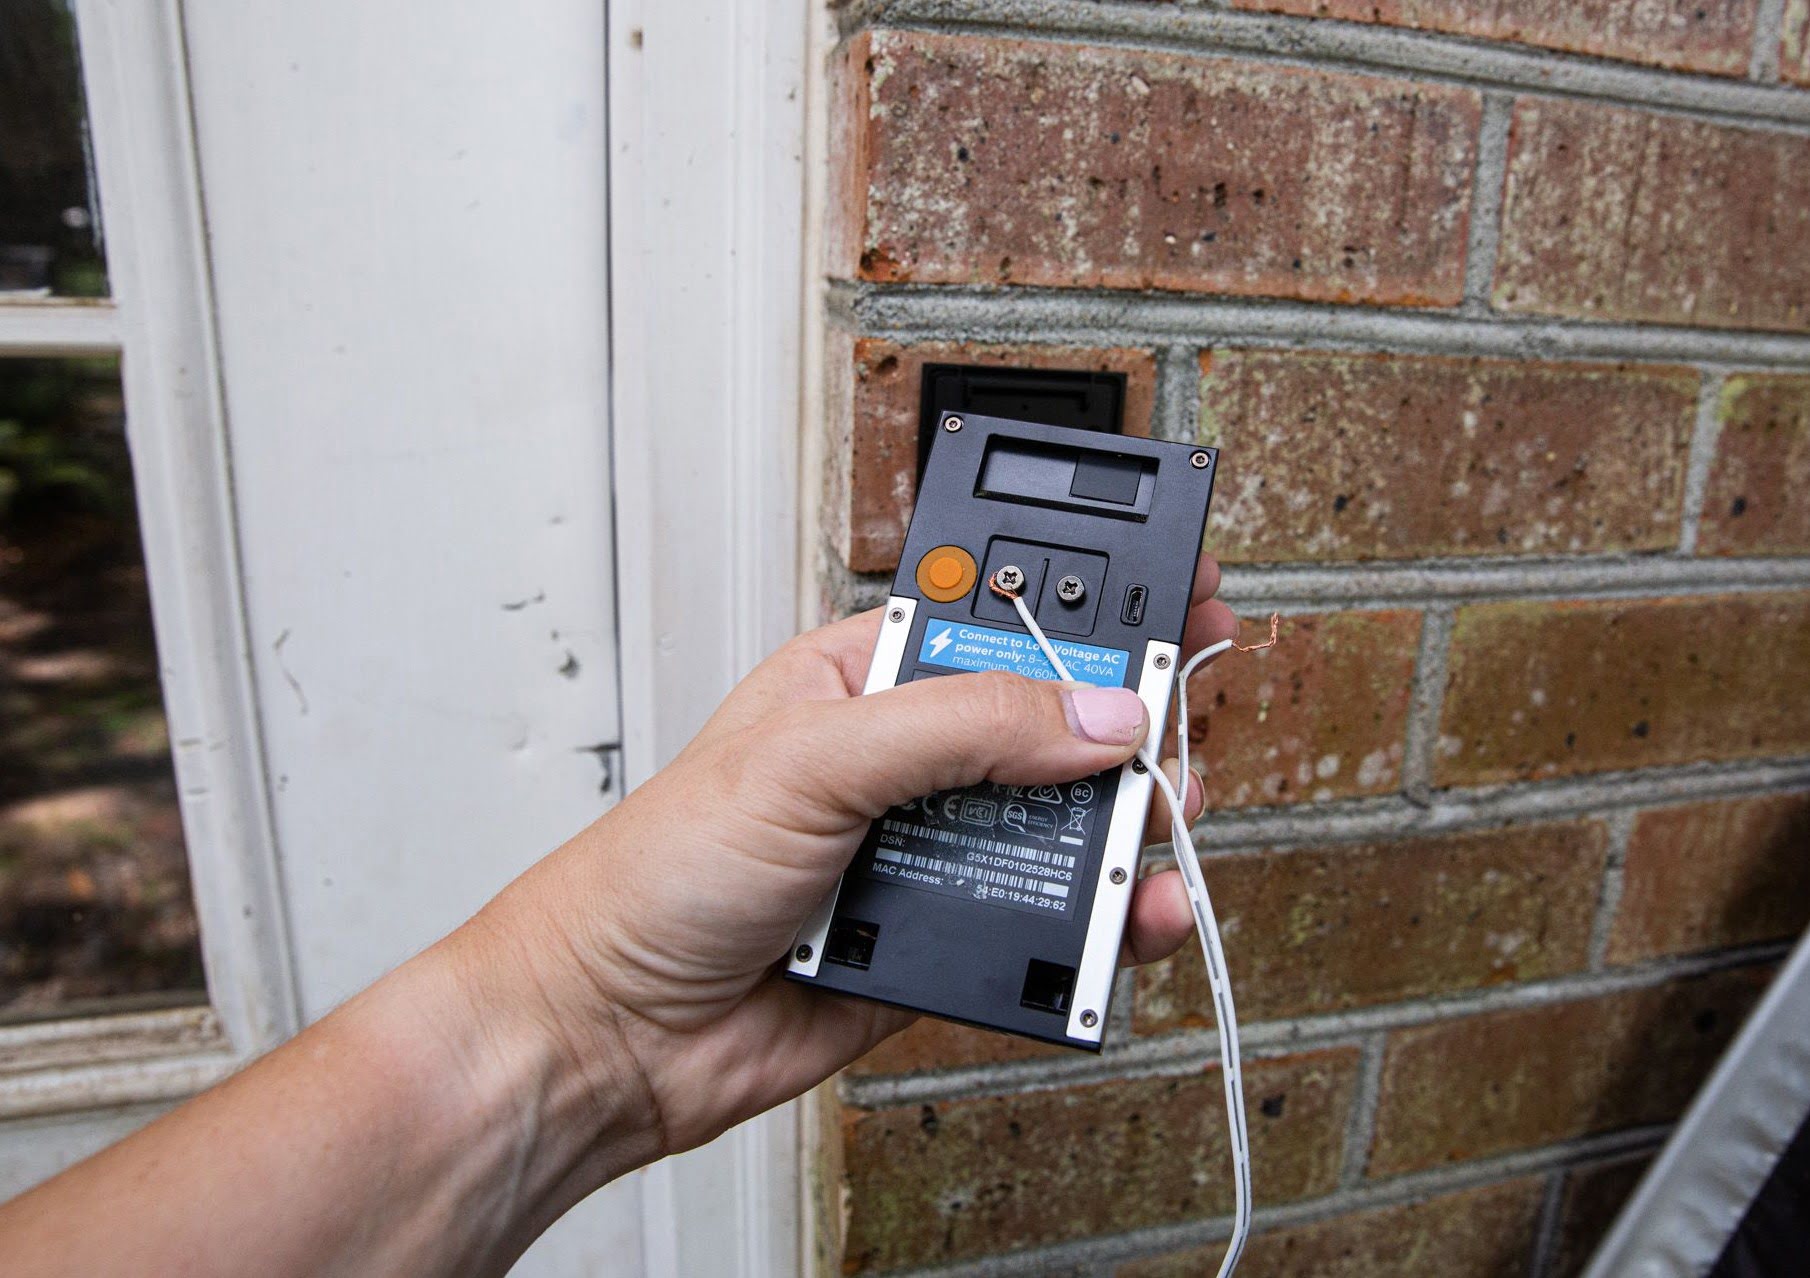
- Take the wiring that was connected to your old doorbell and thread it through the mounting bracket.
- If necessary, use a wire stripper to strip about 1/2 inch of insulation from the ends of the wires to expose the bare copper.
- Refer to the instruction manual provided with your Ring Video Doorbell to identify the correct terminals for connecting the wiring.
- Loosen the screws or clips on the terminals of the Ring Video Doorbell.
- Attach the appropriate wires to their corresponding terminals, making sure they are securely tightened.
- If there are multiple wires, use wire nuts or connectors to join them together and ensure a secure connection.
- Tuck any excess wiring back into the opening of the mounting bracket.
- Once the wiring is connected, double-check that all connections are secure and there is no exposed wiring.
It’s important to ensure that the wiring is connected correctly to the Ring Video Doorbell to guarantee proper functionality. Take your time and double-check that all connections are secure and tight to avoid any issues later on.
With the wiring successfully connected to the Ring Video Doorbell, you’re now ready to move on to the next step – attaching the doorbell to the mounting bracket.
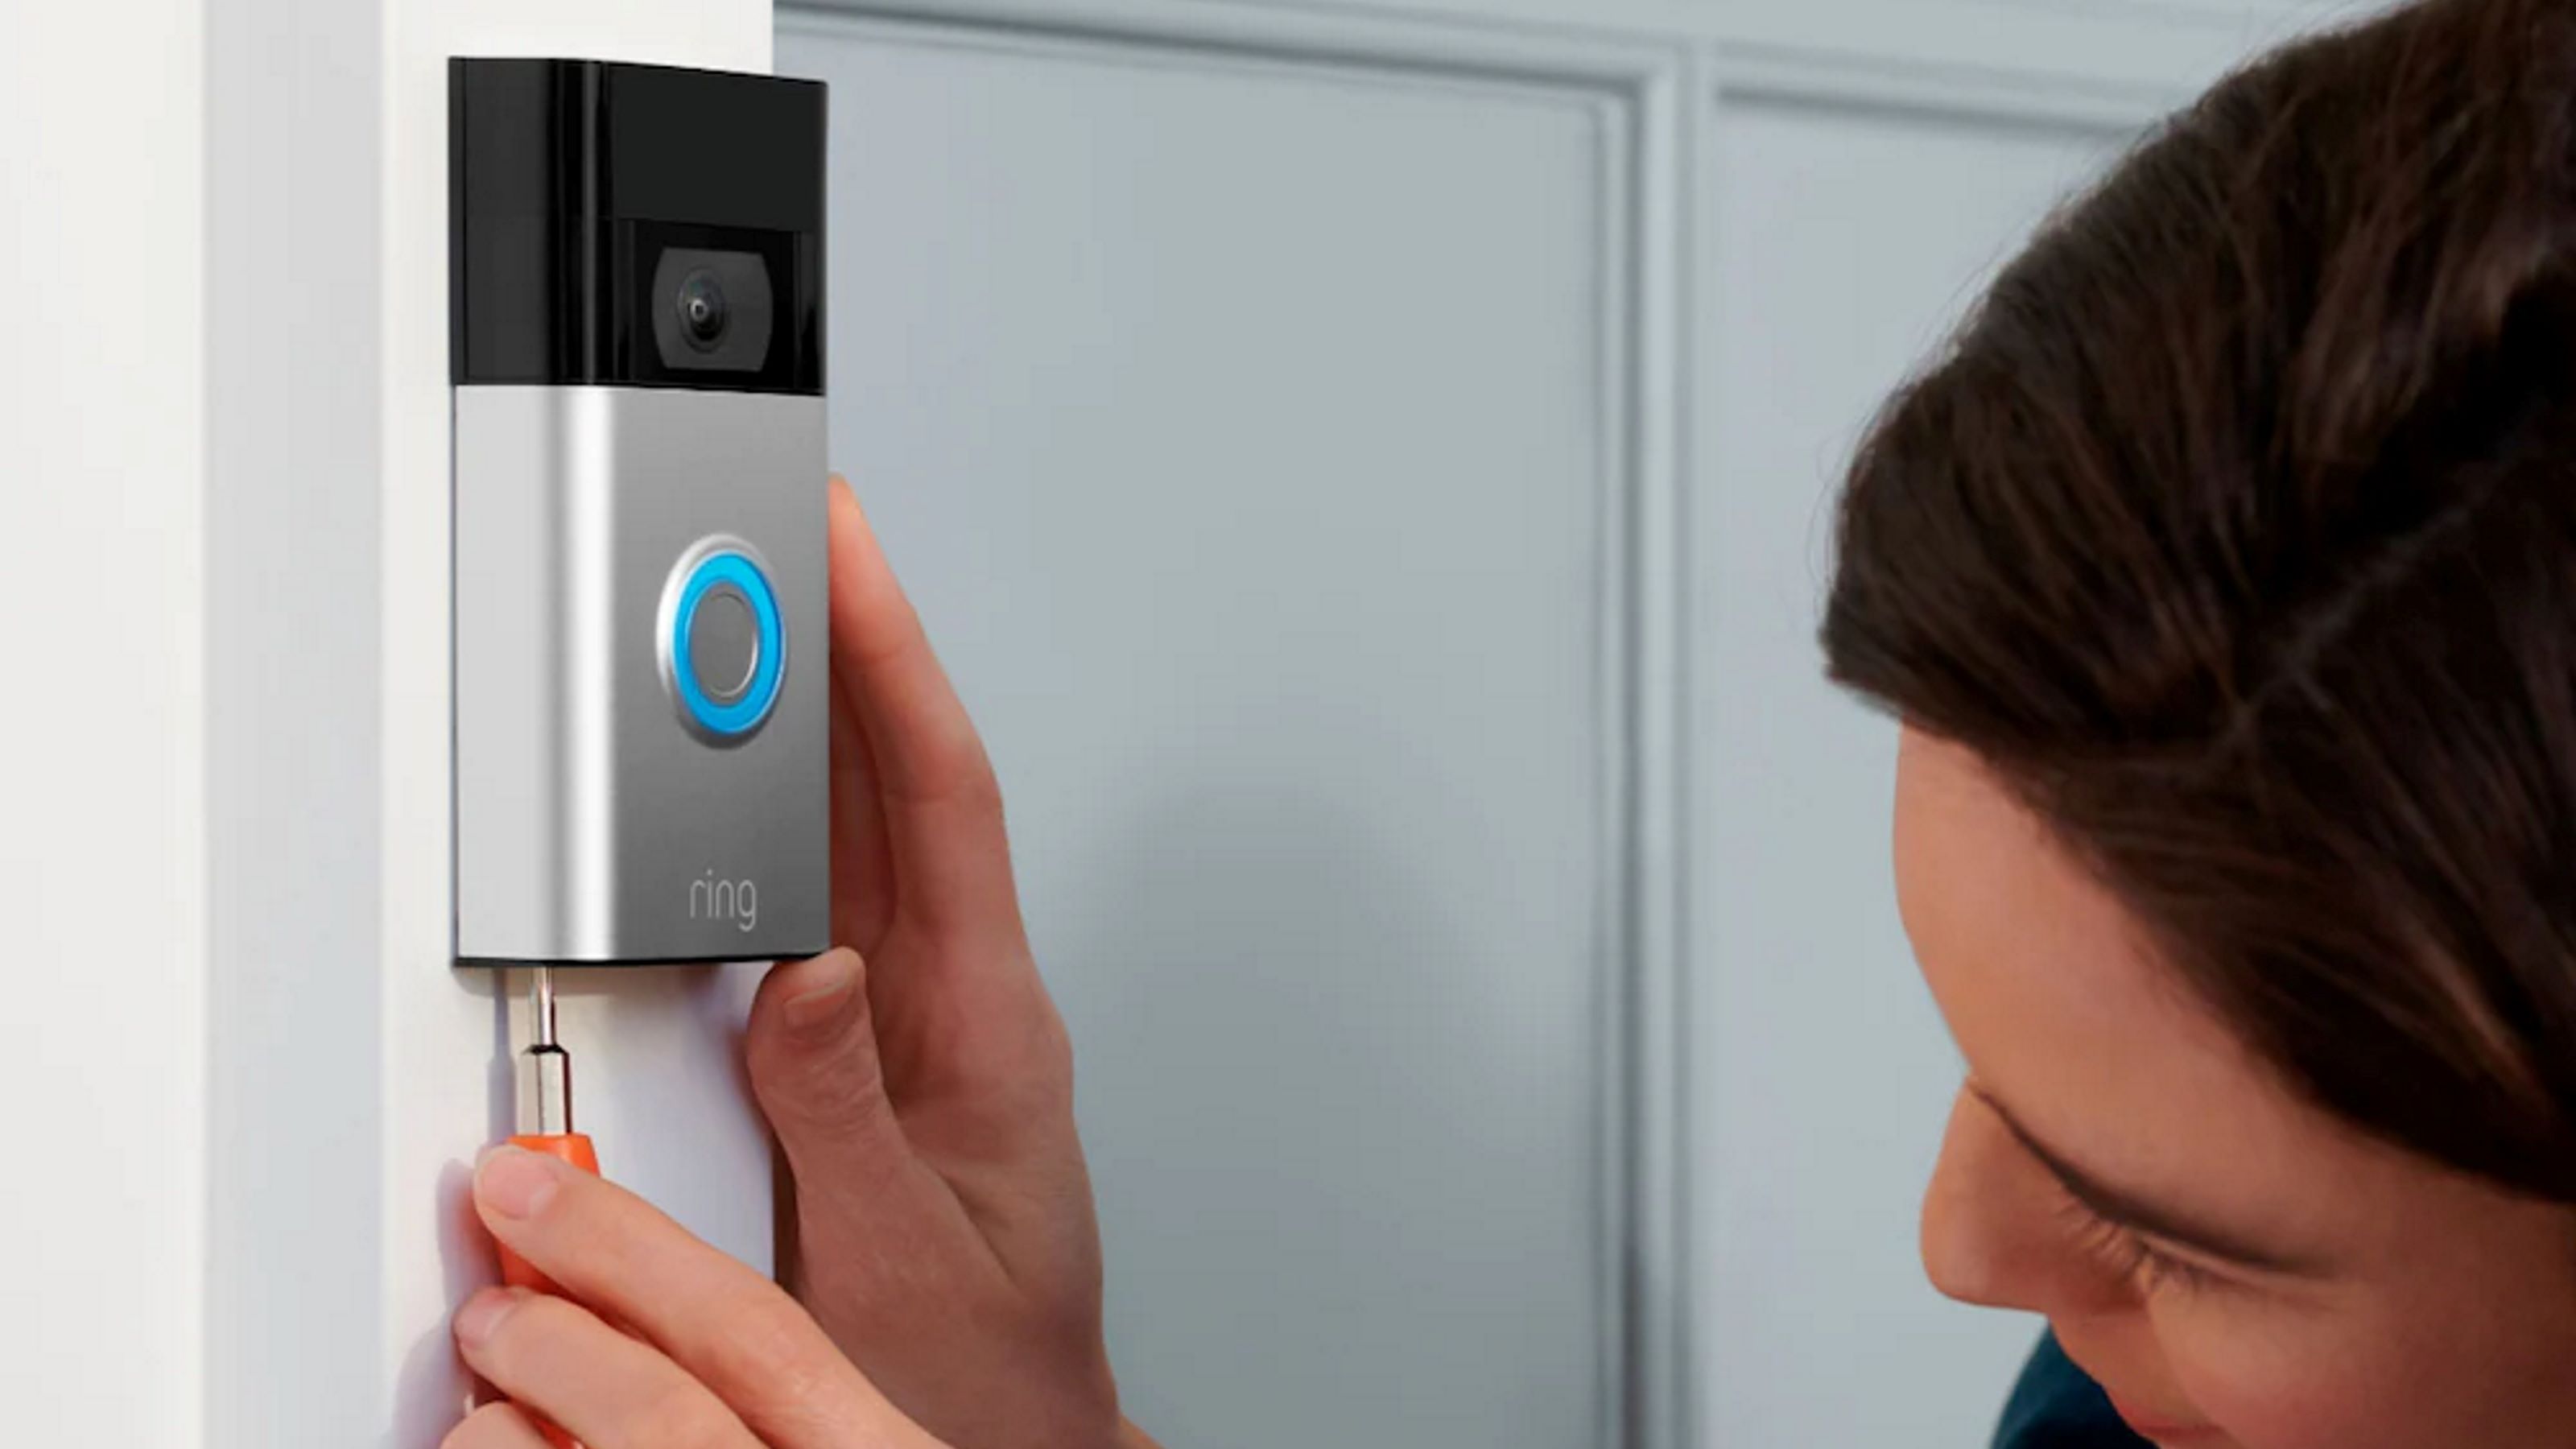
Step 6: Attach the Ring Video Doorbell to the mounting bracket
With the wiring properly connected, it’s time to attach your Ring Video Doorbell to the mounting bracket. Follow these steps:
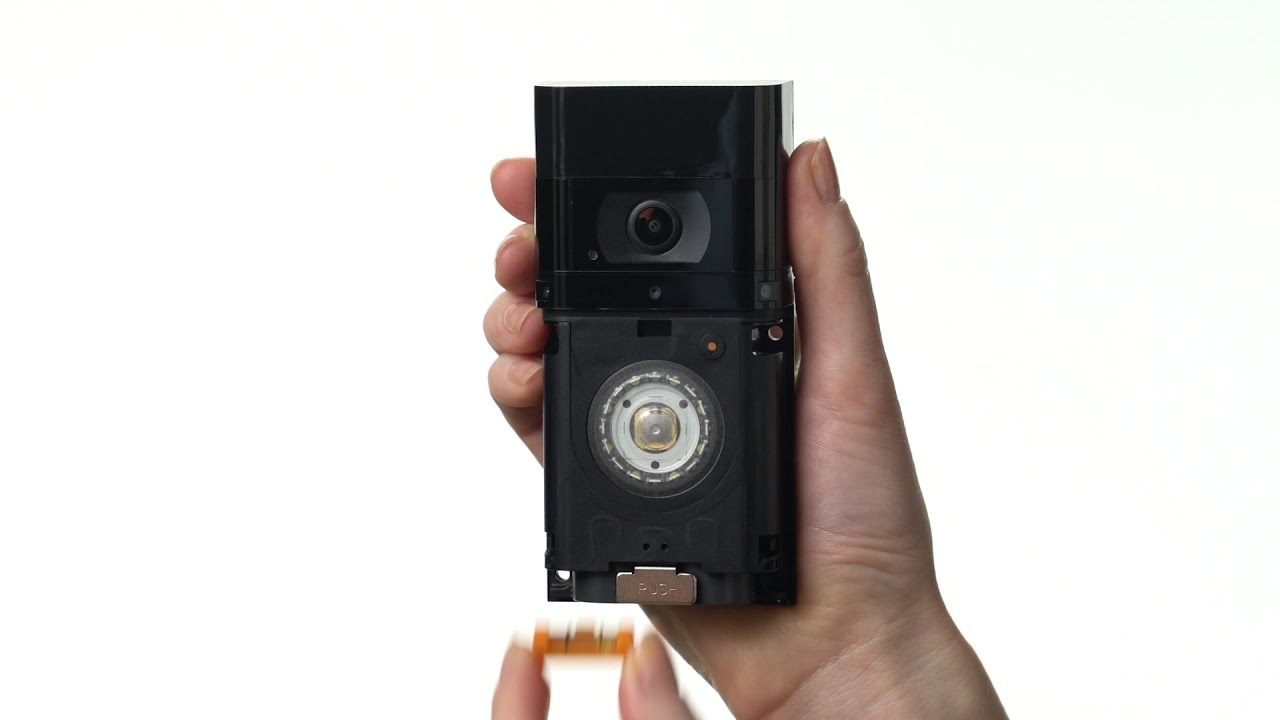
- Align the back of the Ring Video Doorbell with the mounting bracket.
- Gently slide the doorbell down onto the bracket until it clicks into place.
- Give the doorbell a firm but careful tug to ensure it’s securely attached.
- If your Ring Video Doorbell model has a removable faceplate, snap it into place now.
- Step back and check that the doorbell is level and aligned properly.
Attaching the Ring Video Doorbell to the mounting bracket is a straightforward process. Ensure that it clicks into place and performs a snug fit to avoid any movement or instability. Double-check that the device is level and aligned correctly for optimal performance and aesthetic appeal.
Once you have attached the Ring Video Doorbell to the mounting bracket, you’re now ready to move on to the next step – turning on the power and setting up the doorbell.
Step 7: Turn on the power and set up the Ring Video Doorbell
With the Ring Video Doorbell securely attached, it’s time to turn on the power and set up the device. Follow these steps:
- Go back to your electrical panel and locate the circuit breaker that controls the power to your doorbell.
- Flip the switch to the “on” position to restore power to your Ring Video Doorbell.
- Wait for a few moments to allow the doorbell to power up and initialize.
- On your smartphone or tablet, download and install the Ring app from the respective app store.
- Open the Ring app and create a new account or log in to your existing one.
- Follow the on-screen prompts to set up your Ring Video Doorbell, including connecting it to your Wi-Fi network.
- Once the Ring app detects your doorbell, follow the instructions to complete the setup process.
- Customize your settings, such as motion detection sensitivity and notification preferences, according to your preferences.
By turning on the power and setting up your Ring Video Doorbell, you’re unlocking its full potential. The Ring app allows you to access various features and customize the device to suit your needs. Take your time during the setup process to ensure that everything is configured correctly.
With the Ring Video Doorbell powered up and successfully set up, you’re now ready to move on to the final step – testing the functionality of your new doorbell.
Step 8: Test the Ring Video Doorbell functionality
With the Ring Video Doorbell fully set up, it’s crucial to test its functionality to ensure everything is working correctly. Follow these steps to perform a thorough test:
- Stand outside your front door and press the doorbell button to simulate a visitor ringing the bell.
- Observe if your smartphone or tablet receives a real-time notification from the Ring app.
- Open the Ring app and check if you can see a live video feed of your doorstep on your device.
- Try engaging in a conversation using the two-way audio feature to communicate with the simulated visitor.
- Walk around the detection zone and ensure that the motion sensors trigger notifications on your device.
- Review the recorded video footage in the Ring app to verify its quality and playback functionality.
- Adjust any settings, such as motion detection sensitivity or notification preferences, as necessary.
Testing the functionality of your Ring Video Doorbell is essential to ensure that it meets your expectations and operates smoothly. By performing these tests, you can be confident that you’ll be alerted to visitors, deliveries, or any suspicious activity at your doorstep.
If you encounter any issues during the testing process, consult the Ring app’s help section or contact their customer support for assistance. They will be able to guide you through troubleshooting steps or provide further instructions specific to your device.
Once you have confirmed that the Ring Video Doorbell is working correctly, congratulations! You have successfully replaced your existing wired doorbell with a cutting-edge and feature-rich device.
Conclusion
Congratulations on successfully replacing your existing wired doorbell with the Ring Video Doorbell! By following the step-by-step instructions in this guide, you have transformed your doorbell system into a modern and convenient smart home device.
The Ring Video Doorbell offers numerous benefits, including real-time notifications, two-way audio communication, and high-definition video recording. You can now monitor your front door from anywhere using your smartphone or tablet, providing you with peace of mind and added security.
Remember to regularly check the Ring app for software updates and new features that further enhance the functionality of your Video Doorbell. By staying up to date, you can take advantage of the latest advancements and improvements that Ring offers.
If you have any further questions or need additional guidance, don’t hesitate to consult the Ring app’s help section or reach out to their customer support. They are there to assist you and ensure that you have the best experience with your Ring Video Doorbell.
Enjoy the convenience, security, and peace of mind that the Ring Video Doorbell brings to your home. Welcome to the world of smart and connected doorbell systems!