Introduction
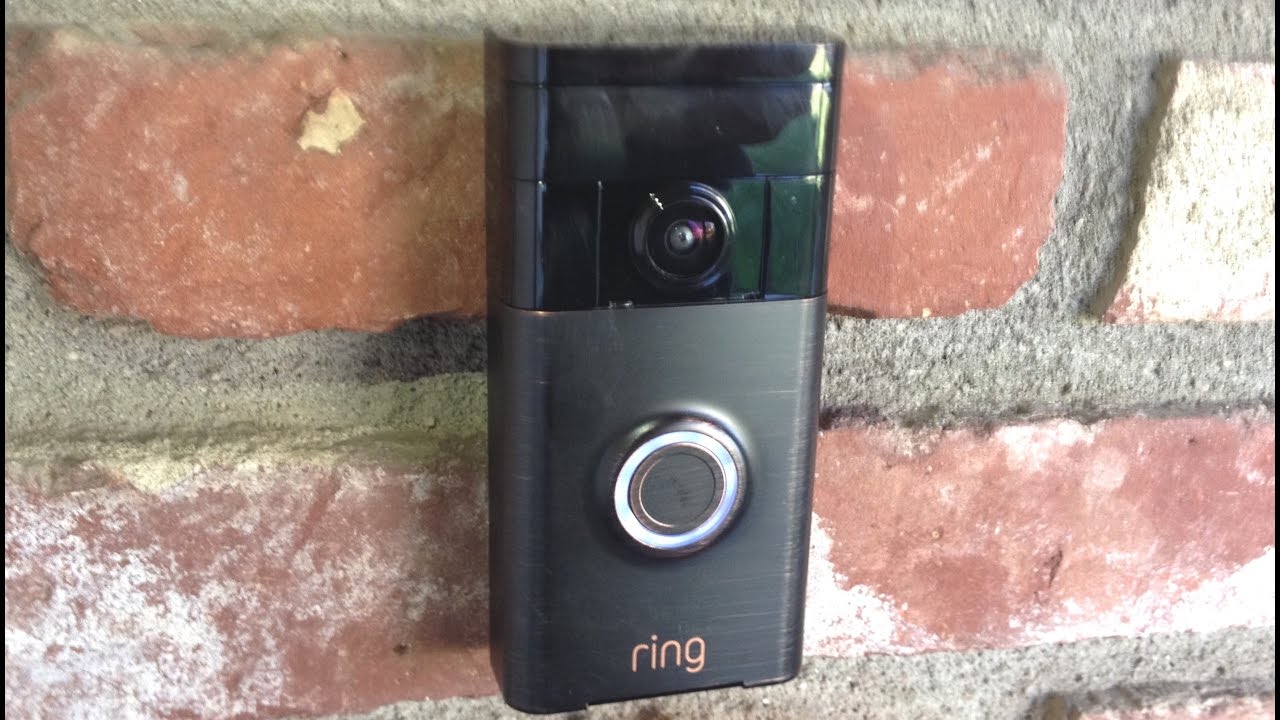
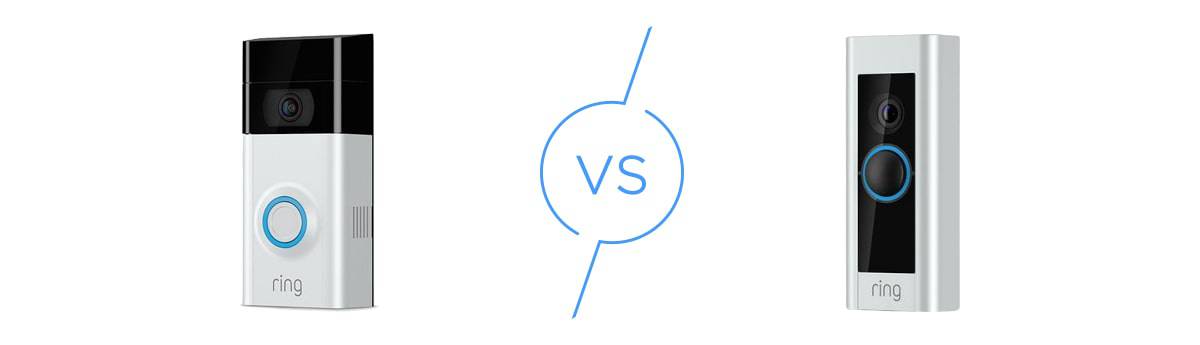
Welcome to our step-by-step guide on how to install the Ring Video Doorbell 2 on stucco. The Ring Video Doorbell 2 is a fantastic home security device that allows you to see, hear, and speak to anyone at your door from your smartphone, tablet, or computer. With its easy installation process, you can have peace of mind knowing that you can monitor and communicate with visitors whether you’re at home or away.
Installing the Ring Video Doorbell 2 on stucco can be a bit trickier compared to other surfaces, but with the right tools and techniques, it can be done effectively. In this guide, we will take you through each step of the installation process, ensuring that your Ring Video Doorbell 2 is securely mounted on your stucco surface.
Before we begin, it’s important to gather all the necessary tools and materials for the installation. Having everything prepared will make the process smoother and more efficient. So, let’s dive in and get started on installing your Ring Video Doorbell 2 on stucco!
Tools and Materials Needed
Before you get started with the installation process, it’s important to gather all the necessary tools and materials. Here’s a list of items you will need:
- Ring Video Doorbell 2
- Stucco anchor mounts
- Drill
- Drill bit suitable for stucco (usually masonry or carbide tipped)
- Screwdriver (Phillips head)
- Level
- Pencil
- Tape measure
- Stud finder (optional, but recommended)
- Wi-Fi enabled device (smartphone, tablet, or computer) for setup
- Internet connection
Make sure you have all of these tools and materials on hand before you begin the installation process. Having everything prepared will help save time and ensure a smooth installation.
Step 1: Measure and Mark
The first step in installing the Ring Video Doorbell 2 on stucco is to measure and mark the exact placement for the doorbell. Take your time with this step as it will determine the positioning of the doorbell on your stucco surface.
Start by positioning the Ring Video Doorbell 2 on the desired location of your stucco surface. Make sure to consider factors such as accessibility, visibility, and wiring requirements. Once you have found the perfect spot, use a pencil to mark the top and bottom screw hole positions on the stucco.
Next, use a level to ensure that your markings are straight and properly aligned. Adjust the placement if needed and make any necessary adjustments to ensure that the doorbell will be properly mounted.
Before drilling any holes, double-check the placement to ensure that it meets your preferences and requirements. It’s better to spend some extra time on this step to avoid any issues later on.
Once you’re satisfied with the measurements and markings, move on to the next step, which is drilling pilot holes for the doorbell’s anchor mounts. We’ll cover that in the next section.
Step 2: Drill Pilot Holes
After measuring and marking the placement for the Ring Video Doorbell 2 on your stucco surface, it’s time to drill pilot holes. These pilot holes will serve as a guide for installing the anchor mounts.
To begin, select a drill bit that is suitable for stucco, such as a masonry or carbide tipped bit. The size of the drill bit should match the size of the anchor mounts included with your Ring Video Doorbell 2. Refer to the manufacturer’s instructions for the recommended size.
Once you have the appropriate drill bit, set it in your drill and carefully drill pilot holes at the marked positions on the stucco surface. Be sure to hold the drill steady and apply gentle, even pressure. Avoid applying too much force, as it can cause damage to the stucco.
While drilling, periodically stop and remove any accumulated debris from the hole to maintain a clean workspace. This will prevent the accumulation of dust and debris that could affect the installation process.
After drilling the pilot holes, gently blow away any remaining dust or debris from the holes and the surrounding area. This will ensure a clean surface for installing the anchor mounts.
With the pilot holes drilled, you’re ready to move on to the next step: installing the anchor mounts to securely mount the Ring Video Doorbell 2 onto your stucco surface.
Step 3: Install Anchors
After drilling the pilot holes for the Ring Video Doorbell 2 on your stucco surface, the next step is to install the anchor mounts. These anchor mounts will provide a secure foundation for mounting the doorbell.
Start by inserting the anchor mounts into the pilot holes you drilled. Gently tap them into place using a hammer or a rubber mallet. Ensure that they are inserted fully and sit flush against the stucco surface.
Once the anchor mounts are in place, you can use a screwdriver to twist them clockwise. This action will lock the anchors into the stucco, making them secure and stable. Keep turning until the anchors feel tight and are firmly embedded in the stucco.
Take care not to over-tighten the anchors, as this could lead to damage or weakening of the stucco surface. Tighten them just enough to securely hold the Ring Video Doorbell 2 in place.
Double-check that the anchors are level and aligned properly. Adjust them if necessary to ensure that they are straight and in the correct position to accommodate the doorbell.
With the anchor mounts installed securely, you’re now ready to move on to the next step: mounting the Ring Video Doorbell 2 onto the stucco surface and connecting the wires. We’ll cover that in the following section.
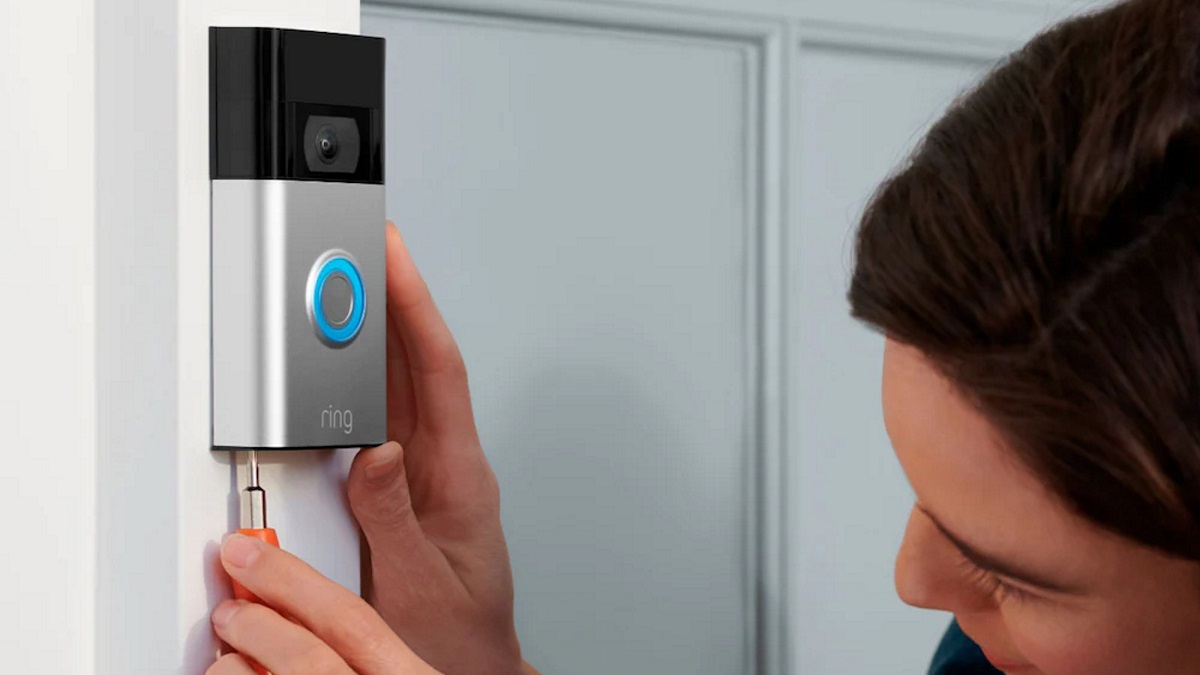
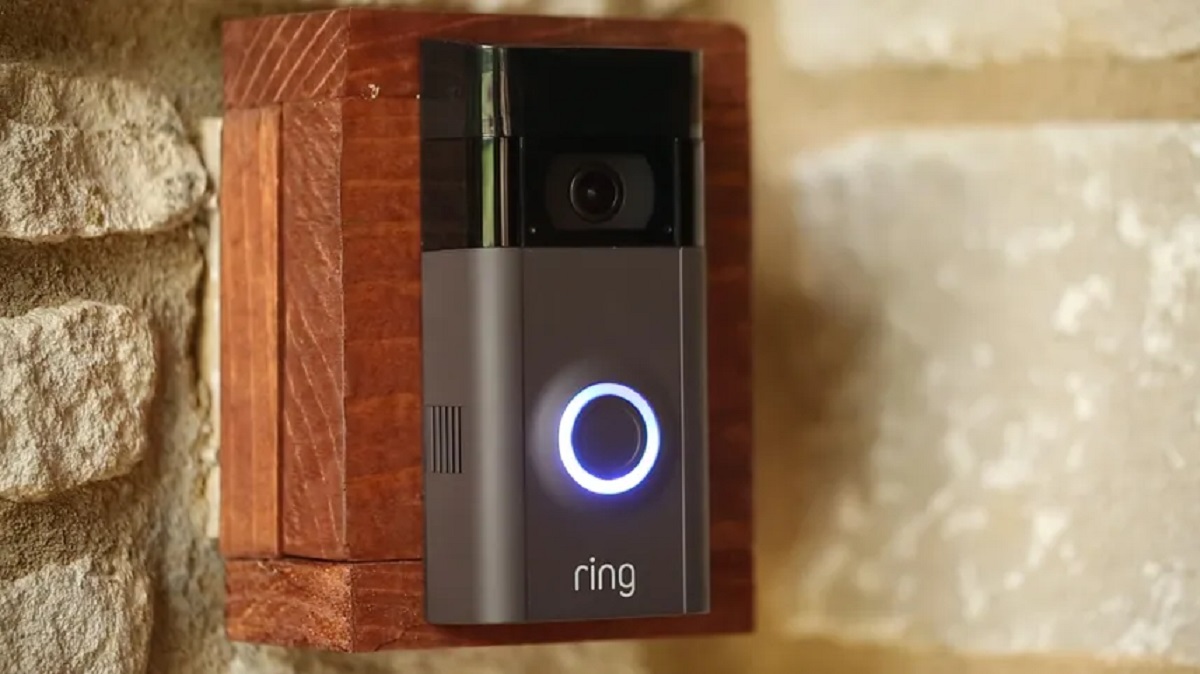
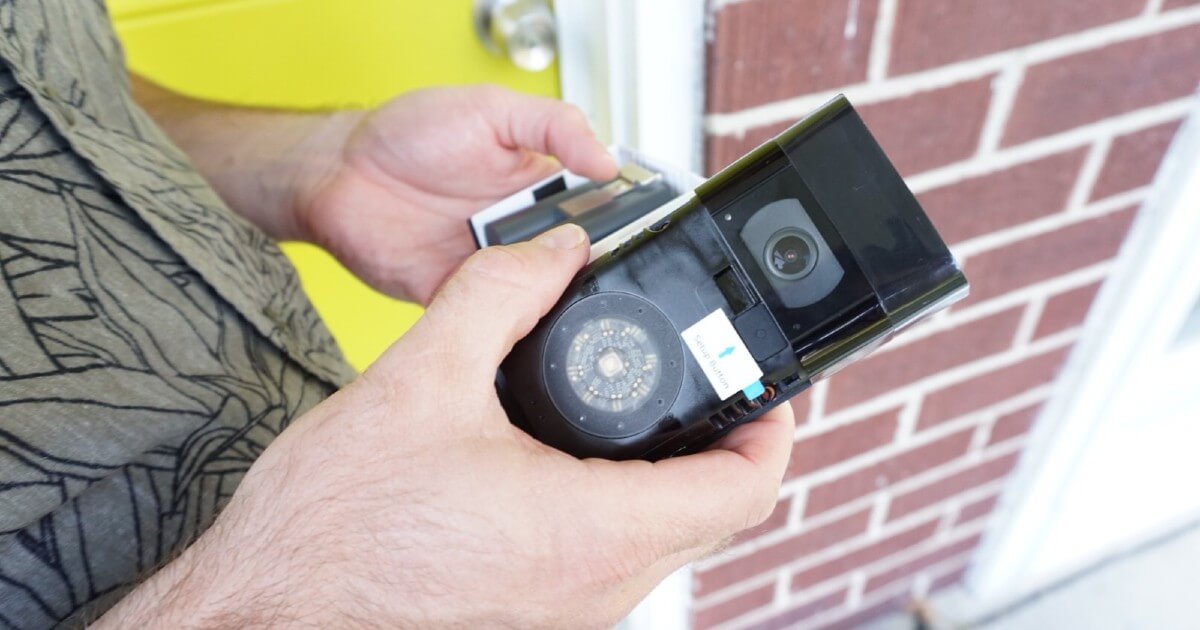
Step 4: Mount the Ring Video Doorbell 2
With the anchor mounts securely installed on your stucco surface, it’s time to mount the Ring Video Doorbell 2. This step involves attaching the doorbell to the anchor mounts and ensuring a stable and secure fit.
Start by aligning the back of the Ring Video Doorbell 2 with the anchor mounts. Carefully slide the doorbell onto the anchors, making sure that it sits flush against the stucco surface and the screw holes line up with the anchor mounts.
Once the doorbell is in position, use the provided screws to attach it to the anchor mounts. Insert the screws through the screw holes on the Ring Video Doorbell 2 and into the anchor mounts. Using a screwdriver, turn the screws clockwise until they are snug and secure. Avoid over-tightening, as it could damage the doorbell or the stucco surface.
After fastening the screws, double-check that the Ring Video Doorbell 2 is level and aligned properly. Use a level to ensure that the doorbell is straight and not tilted. Adjust if necessary to achieve the desired positioning.
Take a step back and visually inspect the mounted doorbell from different angles. Ensure that it is securely attached to the anchor mounts and that there is no wobbling or instability. A stable and properly mounted doorbell will ensure its functionality and longevity.
Now that the Ring Video Doorbell 2 is securely mounted on your stucco surface, you’re one step closer to enhancing the security of your home. The next step is to connect the wires and prepare the doorbell for use, which we’ll cover in the following section.
Step 5: Connect the Wires
Now that the Ring Video Doorbell 2 is securely mounted on your stucco surface, it’s time to connect the wires. The wiring process is essential for powering your doorbell and ensuring its functionality.
Start by identifying the wires coming from your previous doorbell or the power source. If you’re replacing an existing doorbell, you can use the existing wiring. If this is a new installation or you’re not utilizing the existing wiring, refer to the Ring Video Doorbell 2’s manual for specific wiring instructions.
Strip the ends of the wires to expose a small section of the copper conductor. This will allow for the proper connection to the doorbell. Depending on your setup, you may need to twist the wires together or use wire nuts to secure the connections.
Once the wires are prepared, locate the corresponding terminals on the back of the Ring Video Doorbell 2. The terminals should be labeled with letters or symbols indicating which wire goes where. Follow the manufacturer’s instructions to correctly connect the wires to the corresponding terminals.
Gently insert the stripped ends of the wires into their respective terminals and tighten the screws to hold them in place. Ensure that the connections are secure and there is no exposed wire. Exposed wires can lead to electrical hazards or affect the functionality of the doorbell.
When the wiring is complete, carefully tuck and conceal the wires behind the Ring Video Doorbell 2. This will create a neater appearance and protect the wires from potential damage.
Before moving on to the next step, test the wiring by activating the doorbell. Ensure that the Ring Video Doorbell 2 powers on and functions properly. If there are any issues, double-check the wiring connections and consult the troubleshooting section of the manual if necessary.
With the wires connected and successfully tested, you’re ready to move on to the next step: attaching the faceplate to complete the installation process. We’ll cover that in the following section.
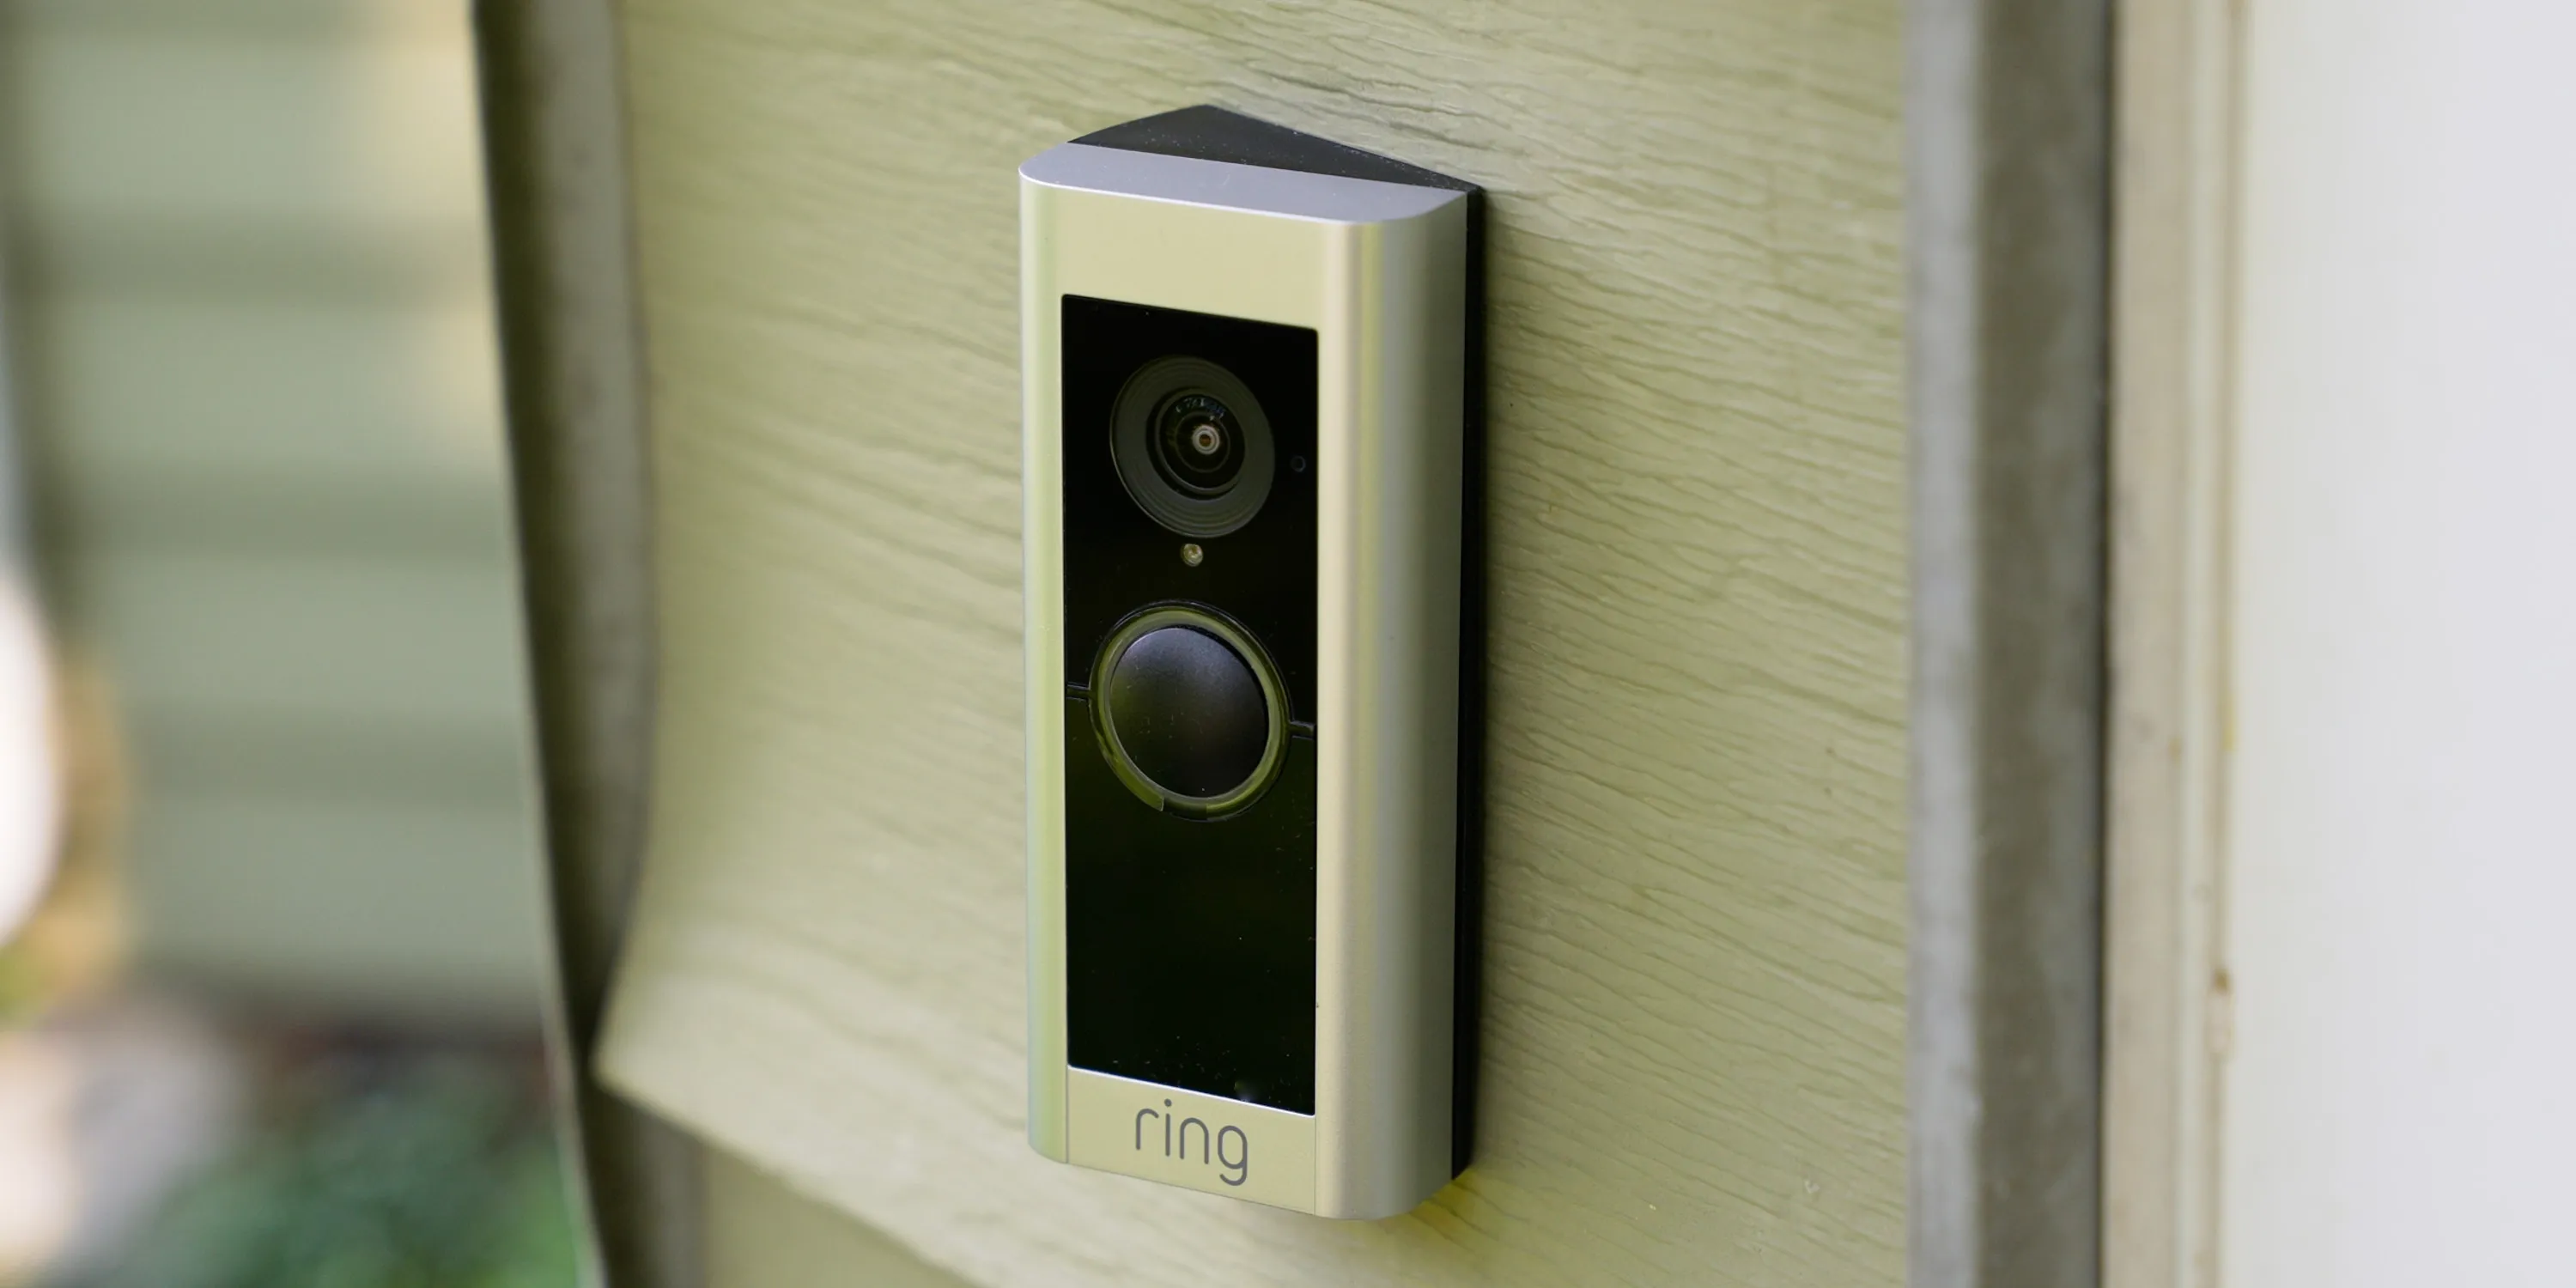
Step 6: Attach Faceplate
After connecting the wires and ensuring the functionality of the Ring Video Doorbell 2, the next step is to attach the faceplate. The faceplate not only adds a finishing touch to the installation but also helps protect the doorbell from the elements.
Start by locating the faceplate that came with your Ring Video Doorbell 2. It should have a designated slot or area on the front of the doorbell where it can be attached.
Align the faceplate with the front of the Ring Video Doorbell 2, making sure that any buttons or sensors on the doorbell are properly aligned with their corresponding openings on the faceplate.
Once aligned, firmly press the faceplate onto the doorbell, ensuring that it snaps into place. You should hear a satisfying click, indicating that the faceplate is securely attached.
After attaching the faceplate, take a moment to inspect the Ring Video Doorbell 2 for any gaps or misalignment. Make sure that the faceplate is flush with the doorbell and there are no visible gaps between the two.
If you notice any issues, gently remove the faceplate and reattach it, ensuring proper alignment and a secure fit. Take your time with this step to ensure a professional and aesthetically pleasing finish.
Now that the faceplate is attached, step back and admire your newly installed Ring Video Doorbell 2 on your stucco surface. It’s time to move on to the final step: testing and setting up the doorbell for use, which we’ll cover in the next section.
Step 7: Test and Set Up
Congratulations on successfully installing the Ring Video Doorbell 2 on your stucco surface! The final step is to test and set up the doorbell to ensure it is functioning correctly and to customize its settings to your preferences.
Start by activating the Ring Video Doorbell 2 and checking if it turns on. The doorbell should light up, indicating that it has power and is ready for use. If the doorbell does not turn on, retrace your steps and double-check the wiring connections.
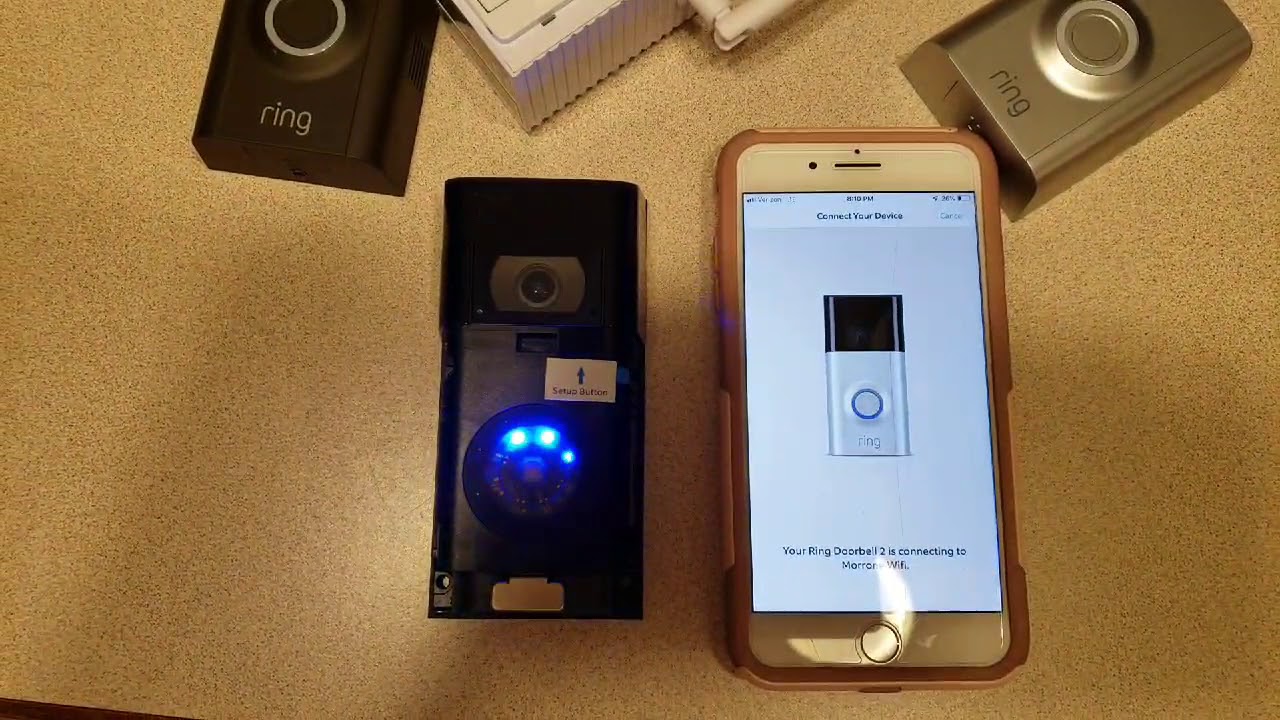
Once the doorbell is powered on, use your smartphone, tablet, or computer to download and open the Ring app. Follow the app’s instructions to set up a new device and connect it to your Wi-Fi network. This step will allow you to access the doorbell’s features and receive notifications on your device when someone rings the doorbell or triggers motion detection.
During the setup process, you’ll have the opportunity to customize various settings, such as sensitivity levels for motion detection and notification preferences. Take your time to personalize these settings according to your preferences to optimize the performance of the Ring Video Doorbell 2.
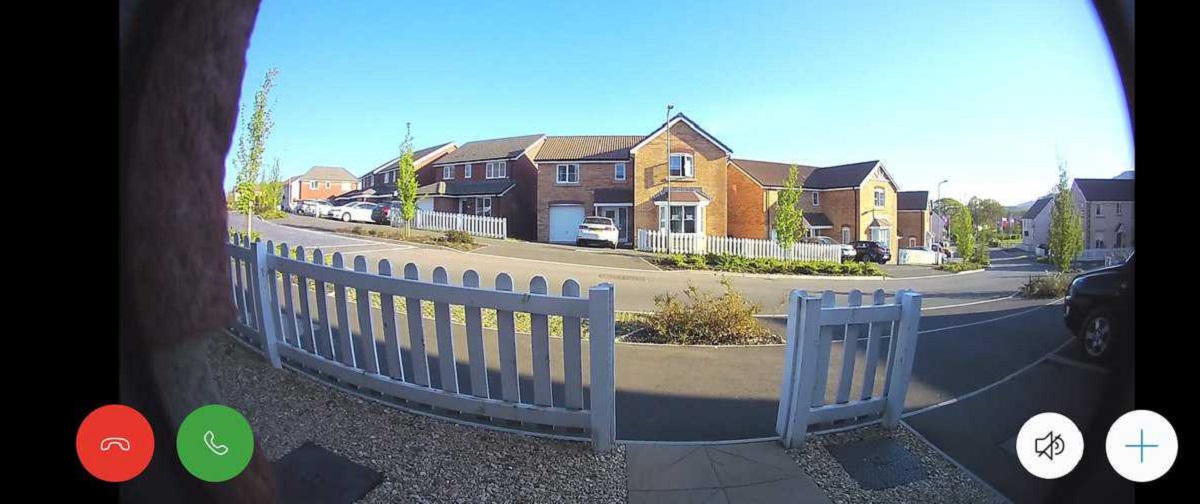
Once the setup is complete, it’s important to conduct a test by ringing the doorbell or triggering the motion detection. Verify that you receive a notification on your device and that the live video feed is accessible through the Ring app.
Additionally, consider testing the two-way audio feature by speaking through the app and ensuring that your voice is transmitted clearly through the Ring Video Doorbell 2.
If any issues arise during the testing process, refer to the troubleshooting section of the Ring app or contact Ring customer support for assistance. They will be able to provide guidance and resolve any problems you may encounter.
With the Ring Video Doorbell 2 successfully tested and set up, you can now enjoy the enhanced security and convenience it brings to your home. Feel free to explore the additional features of the Ring app and make any necessary adjustments to the settings to further personalize your experience.
Conclusion
Installing the Ring Video Doorbell 2 on stucco may require some additional steps and precautions, but with the right tools and techniques, it can be accomplished successfully. By following the step-by-step guide in this article, you have learned how to measure and mark the placement, drill pilot holes, install anchors, mount the doorbell, connect the wires, attach the faceplate, and test and set up the device.
Remember to gather all the necessary tools and materials before beginning the installation process. Taking accurate measurements and using a level to ensure proper alignment will result in a secure and visually appealing installation. Additionally, following the wiring instructions and adjusting the sensitivity settings can optimize the functionality of your Ring Video Doorbell 2.
By installing the Ring Video Doorbell 2 on your stucco surface, you have taken a significant step towards enhancing the security of your home. With the ability to see, hear, and communicate with visitors remotely, you can have peace of mind knowing that you are always aware of who is at your door.
Don’t forget to regularly check and maintain the functionality of your Ring Video Doorbell 2, such as cleaning the lens and checking for any loose screws or connections. This will ensure its continued performance and longevity as a reliable home security device.
Enjoy the convenience and peace of mind that the Ring Video Doorbell 2 brings to your home. Stay vigilant and take advantage of its features to keep your property safe. With proper installation and regular maintenance, you can enjoy the benefits of this powerful home security solution for years to come.