Introduction
Installing a Ring Video Doorbell 2 on a brick surface can be a daunting task for many homeowners. However, with the right tools and a step-by-step guide, you can easily complete the installation process and enjoy the convenience and security that this smart doorbell has to offer.
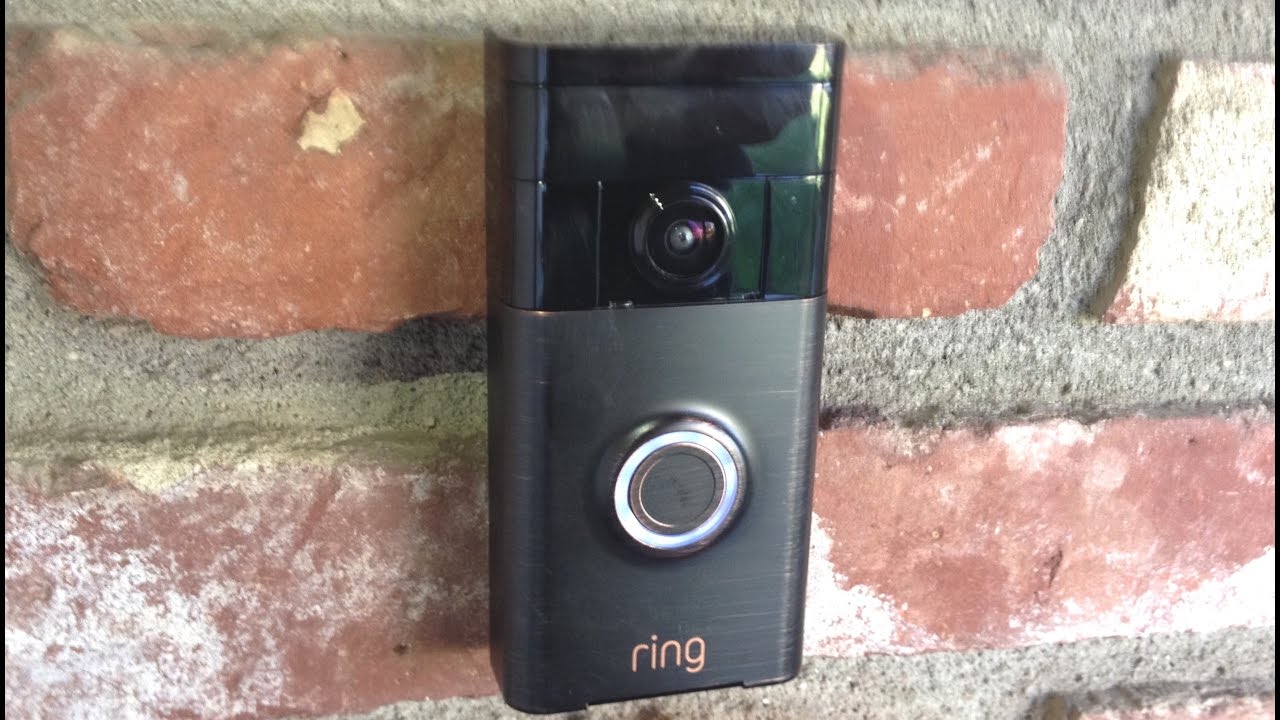
The Ring Video Doorbell 2 is a popular choice for homeowners who want to enhance their home security. With its advanced features, such as live video streaming, motion detection, and two-way audio communication, this device provides peace of mind and allows you to monitor your front door from anywhere using your smartphone.
Mounting the Ring Video Doorbell 2 on a brick surface requires some additional steps compared to installing it on other types of materials. The primary challenge is drilling holes into the sturdy brick surface and securing the doorbell bracket firmly. In this guide, we will walk you through the process, step by step, ensuring a successful installation.
Before you begin, it’s essential to gather the necessary tools and materials to complete the installation smoothly. The following list outlines the items you’ll need:
- Ring Video Doorbell 2
- Drill
- Masonry bit
- Screwdriver
- Mounting bracket
- Plastic anchors
- Screws
- Wiring
- Charger
With these tools and materials at hand, you’re ready to begin the installation process. Let’s move on to the first step: preparing the doorbell for installation.
Tools and Materials Needed
Before you start installing your Ring Video Doorbell 2 on a brick surface, it’s important to gather all the necessary tools and materials. Here is a list of what you’ll need:
- Ring Video Doorbell 2: The main component of the installation, which will provide you with the smart features of a video doorbell.
- Drill: You’ll need a power drill to make holes in the brick surface.
- Masonry bit: To drill holes in the tough brick material, you’ll need a masonry bit specifically designed for this purpose.
- Screwdriver: A Phillips head screwdriver will be required to tighten the screws during the installation process.
- Mounting bracket: This is the component that will hold the doorbell in place on the brick surface.
- Plastic anchors: These anchors will provide stability and support when attaching the mounting bracket to the brick.
- Screws: The screws are used to secure the mounting bracket and the doorbell to the brick surface.
- Wiring: Depending on your existing doorbell setup, you may need wiring to connect the doorbell to your home’s electrical system.
- Charger: The Ring Video Doorbell 2 comes with a rechargeable battery, so you’ll need a charger to keep it powered up.
Having all these tools and materials ready before starting the installation process will save you time and ensure that you can complete the installation smoothly. It’s also a good idea to double-check that you have everything you need, so you don’t encounter any delays or complications along the way.
Now that you have all the necessary tools and materials, let’s move on to the step-by-step guide for installing your Ring Video Doorbell 2 on a brick surface.
Step 1: Preparing the Doorbell
Before you begin the installation process, it’s important to properly prepare the Ring Video Doorbell 2 for mounting on the brick surface. Follow these steps:
- Charge the doorbell battery: If you haven’t already done so, charge the doorbell battery using the supplied charger. This will ensure that you have enough power to complete the installation.
- Download the Ring app: While the battery is charging, download the Ring app on your smartphone. This app will allow you to set up and control your Ring Video Doorbell 2.
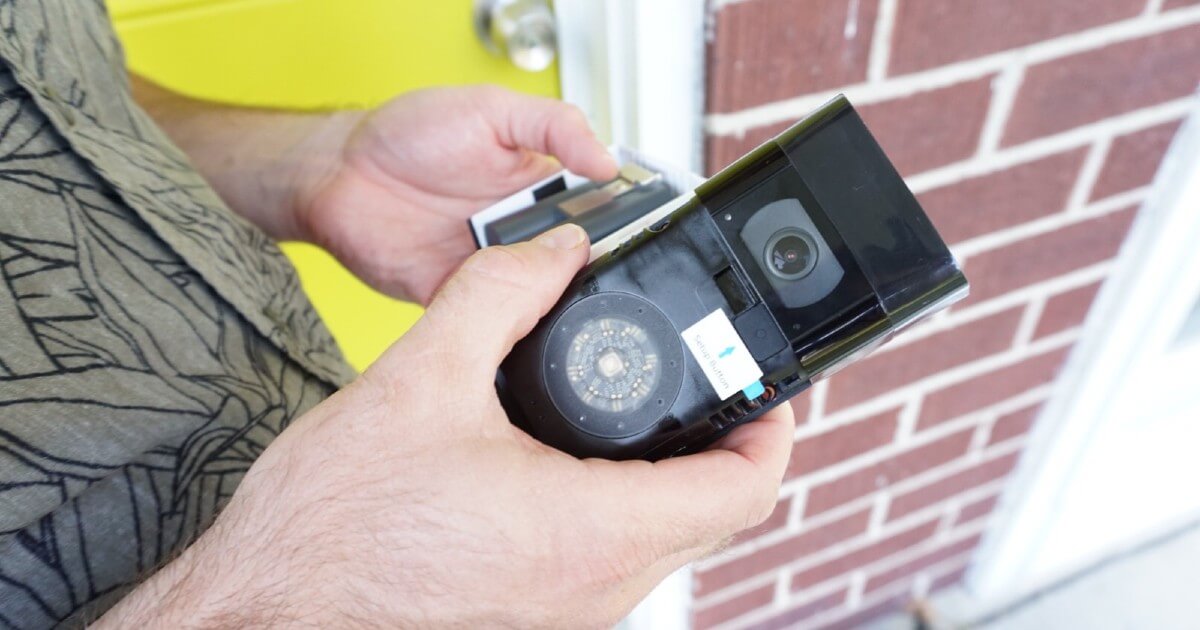
- Remove the existing doorbell: If you have an existing doorbell, you’ll need to remove it before installing the Ring Video Doorbell 2. Follow the manufacturer’s instructions or consult a professional if you’re unsure how to do this.
- Identify the mounting location: Choose the ideal location to mount your Ring Video Doorbell 2. It should provide a clear view of the entryway and be within reach of your home’s Wi-Fi signal. Additionally, make sure there’s enough space for the doorbell and the mounting bracket.
- Check the Wi-Fi signal strength: While still inside your home, open the Ring app and check the Wi-Fi signal strength at the chosen mounting location. If the signal is weak, consider installing a Wi-Fi range extender to ensure a reliable connection.
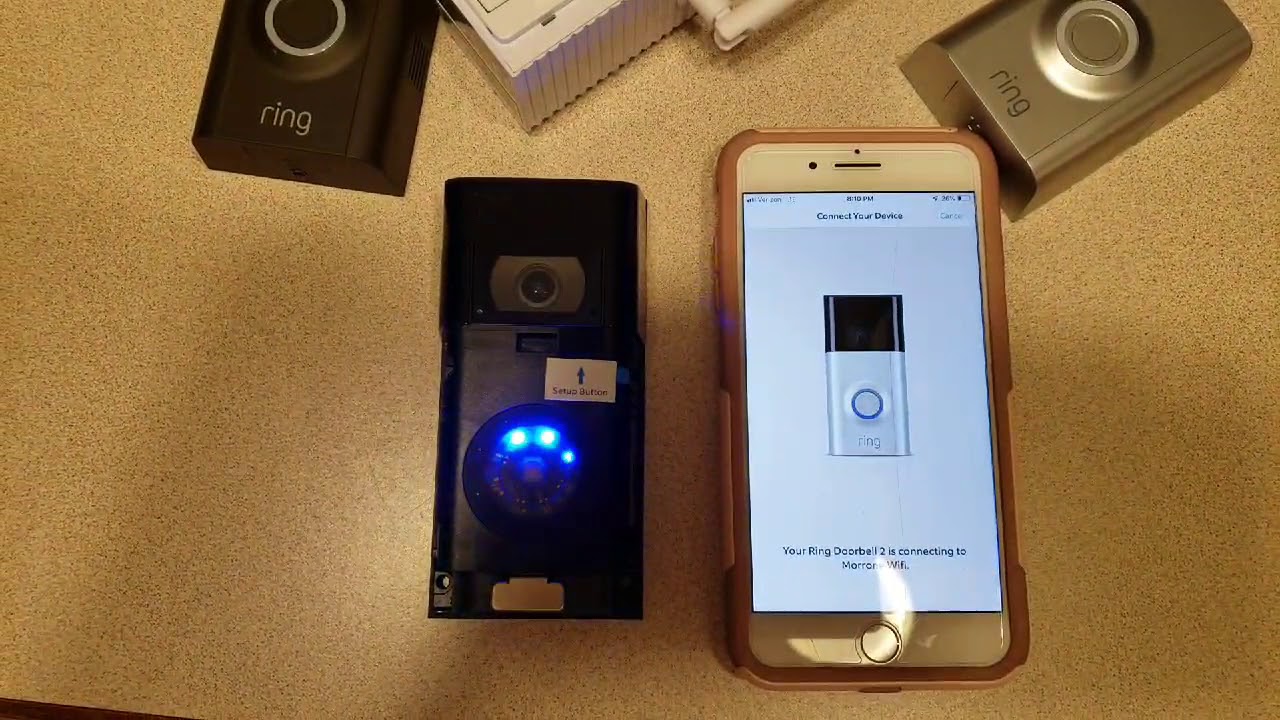
- Perform a test setup: Before drilling any holes or mounting the bracket, perform a test setup of the Ring Video Doorbell 2 to make sure it’s working properly. Follow the instructions in the Ring app to connect the doorbell to your smartphone and test its features.
By properly preparing the doorbell and conducting a test setup, you’ll ensure that the installation process goes smoothly and that the Ring Video Doorbell 2 is ready for mounting on the brick surface.
Once you’ve completed this step, you’re ready to move on to the next step: mounting the bracket.
Step 2: Mounting the Bracket
Now that you have prepared the Ring Video Doorbell 2, it’s time to mount the bracket onto the brick surface. Follow these steps:
- Position the bracket: Hold the mounting bracket against the brick surface at the chosen location. Make sure it is level and aligned with the desired angle for the doorbell.
- Mark the hole locations: Once the bracket is positioned correctly, mark the hole locations on the brick using a pencil or marker. These marks will serve as a guide when drilling the holes.
- Remove the bracket: Take down the bracket from the wall and set it aside for now. This step will ensure a clean and unobstructed surface for drilling.
- Put on safety gear: Before drilling, put on safety glasses and gloves to protect yourself from any debris that may be produced during the process.
- Drill the holes: Using a drill fitted with a masonry bit, carefully drill the marked holes on the brick surface. Start with a smaller size bit and gradually increase to the desired diameter, typically specified in the manufacturer’s instructions.
- Clean the holes: Once the holes are drilled, use a brush or compressed air to clean out any dust or debris that may have accumulated inside the holes. This step will ensure a proper fit for the plastic anchors.
By following these steps, you will have successfully mounted the bracket onto the brick surface. The bracket serves as the foundation for securing the Ring Video Doorbell 2 and ensures its stability on the wall. Now that the bracket is in place, you are ready to move on to the next step: drilling holes in the brick.
Step 3: Drilling Holes in the Brick
With the bracket securely mounted on the brick surface, it’s time to drill holes that will provide the necessary anchor points for attaching the bracket. Here’s how to proceed:
- Choose the appropriate drill bit size: Refer to the manufacturer’s instructions or the recommendations provided with the mounting bracket to determine the correct drill bit size for your specific installation. It’s crucial to choose a bit that matches the size of the plastic anchors or wall plugs you’ll be using.
- Secure the drill bit: Insert the appropriate drill bit into your drill, ensuring it is securely tightened. Make sure to use a masonry bit designed for drilling into brick or masonry surfaces.
- Mark the drilling depth: Use a piece of tape wrapped around the drill bit to mark the depth you want to reach when drilling. This will prevent you from drilling too deep or not deep enough into the brick.
- Apply light pressure: Place the drill bit onto the mark you made on the brick and apply light pressure to start the drilling process. Use a slow and steady motion while drilling to prevent the bit from slipping or damaging the brick.
- Clear the holes: As you drill, periodically pull the bit out to clear away debris and dust. This will help maintain a clear path for the bit and prevent clogs that could affect the hole’s depth or quality.
- Repeat the process: Repeat the drilling process for each marked hole, ensuring that the depth and alignment are consistent.
By following these steps, you will have successfully drilled the necessary holes in the brick surface. These holes will provide secure anchor points for attaching the plastic anchors or wall plugs, which will ultimately hold the bracket firmly in place. Now that the holes are drilled, you are ready to move on to the next step: anchoring the bracket.
Step 4: Anchoring the Bracket
With the holes drilled into the brick surface, it’s time to anchor the bracket securely. This step will ensure that the Ring Video Doorbell 2 remains stable and firmly attached to the wall. Follow these steps:
- Insert the plastic anchors: Take the plastic anchors provided with the mounting bracket and insert them into the drilled holes. Ensure they are flush with the surface of the brick.
- Align the bracket: Place the bracket over the plastic anchors, aligning the screw holes with the anchors.
- Drive in the screws: Using a screwdriver or a drill with the appropriate screwdriver bit, drive screws through the bracket and into the plastic anchors. Start by lightly tightening the screws and ensure the bracket remains level. Once aligned, fully tighten the screws to securely anchor the bracket to the brick surface. Take care not to overtighten as it may damage the plastic anchors or the brick.
- Double-check the stability: After anchoring the bracket, give it a gentle tug to ensure that it remains securely attached to the wall. If there is any wobbling or instability, recheck the screws and tighten them as needed.
By following these steps, you will have successfully anchored the mounting bracket onto the brick surface. This step is crucial to ensure the stability and durability of the installation. Now that the bracket is securely anchored, you are ready to move on to the next step: attaching the Ring Video Doorbell 2 to the bracket.
Step 5: Attaching the Doorbell
Now that the bracket is securely anchored to the brick surface, it’s time to attach the Ring Video Doorbell 2. Follow these steps:
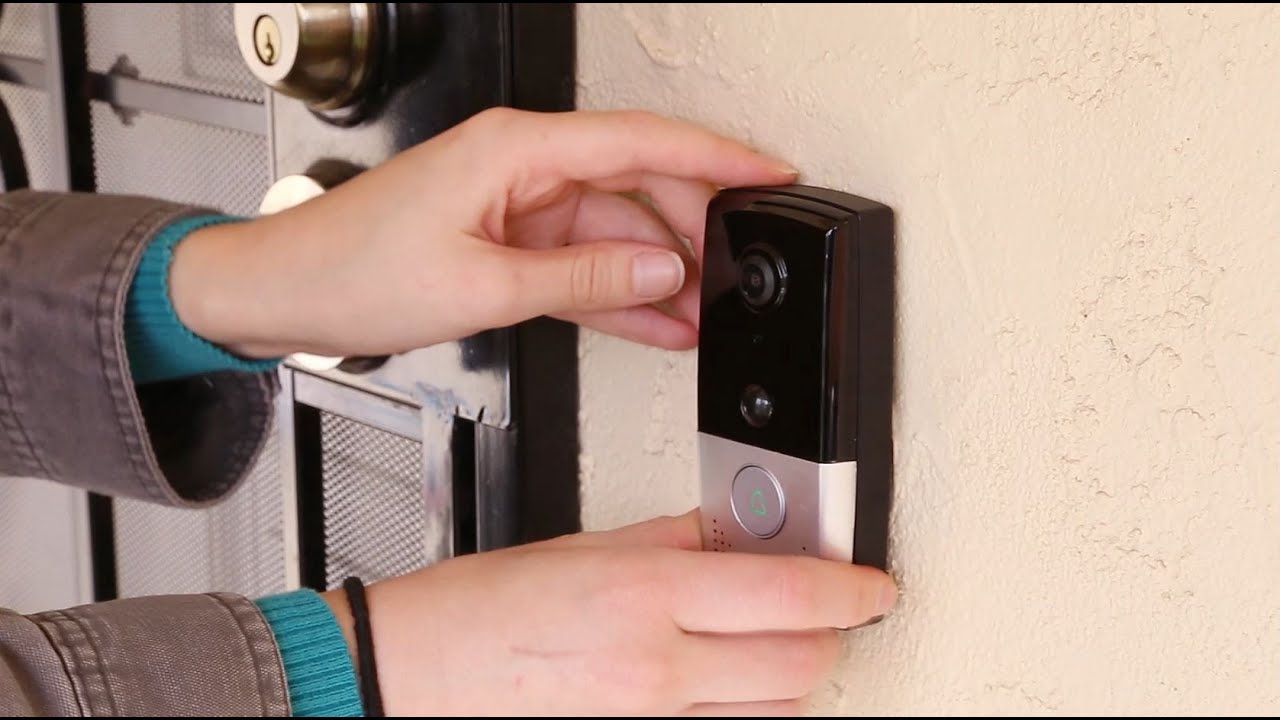
- Align the doorbell: Position the Ring Video Doorbell 2 onto the mounting bracket, ensuring that the screw holes on the doorbell align with the holes on the bracket.
- Insert the screws: Insert the screws provided with the doorbell into the screw holes on the bracket and thread them into the doorbell until they are snugly tightened. Take care not to overtighten the screws as it may damage the doorbell or the bracket.
- Check the alignment: Once the doorbell is attached, check that it is level and aligned with the desired angle. Adjust as necessary by loosening the screws slightly and repositioning the doorbell.
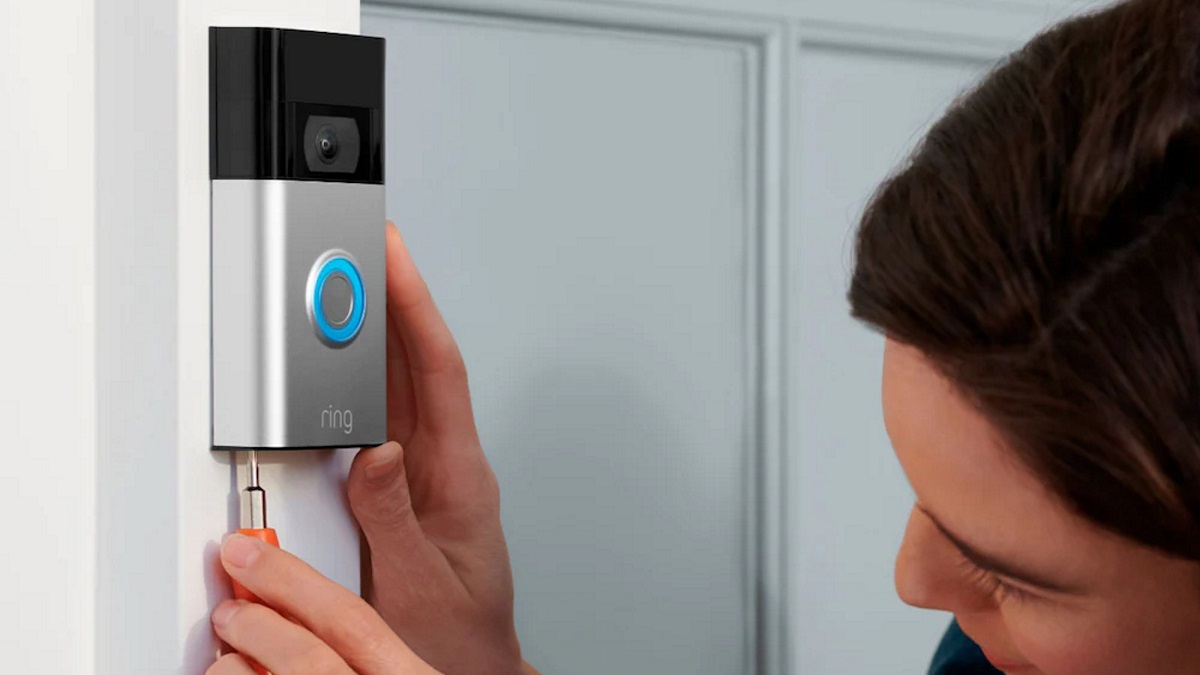
- Secure the doorbell: Once the doorbell is aligned properly, fully tighten the screws to secure it to the mounting bracket. Again, be cautious not to overtighten and risk damaging the device.
By following these steps, you will have successfully attached the Ring Video Doorbell 2 to the mounting bracket. Ensure that the doorbell is securely fastened and doesn’t have any wobbling or loose parts. This step is crucial to maintain the stability and functionality of the doorbell. Now that the doorbell is attached, you are ready to move on to the next step: connecting the wiring (if applicable).
Step 6: Connecting the Wiring
If your home has existing doorbell wiring, you can connect it to the Ring Video Doorbell 2 for a continuous power supply. Follow these steps to connect the wiring:
- Turn off power: Locate the circuit breaker or fuse that controls the power to your existing doorbell and turn it off. This step is essential to ensure your safety while working with electrical connections.
- Remove the old doorbell: Remove the cover plate of your old doorbell and disconnect the wires attached to it. Take note of the wire colors and their corresponding terminals.
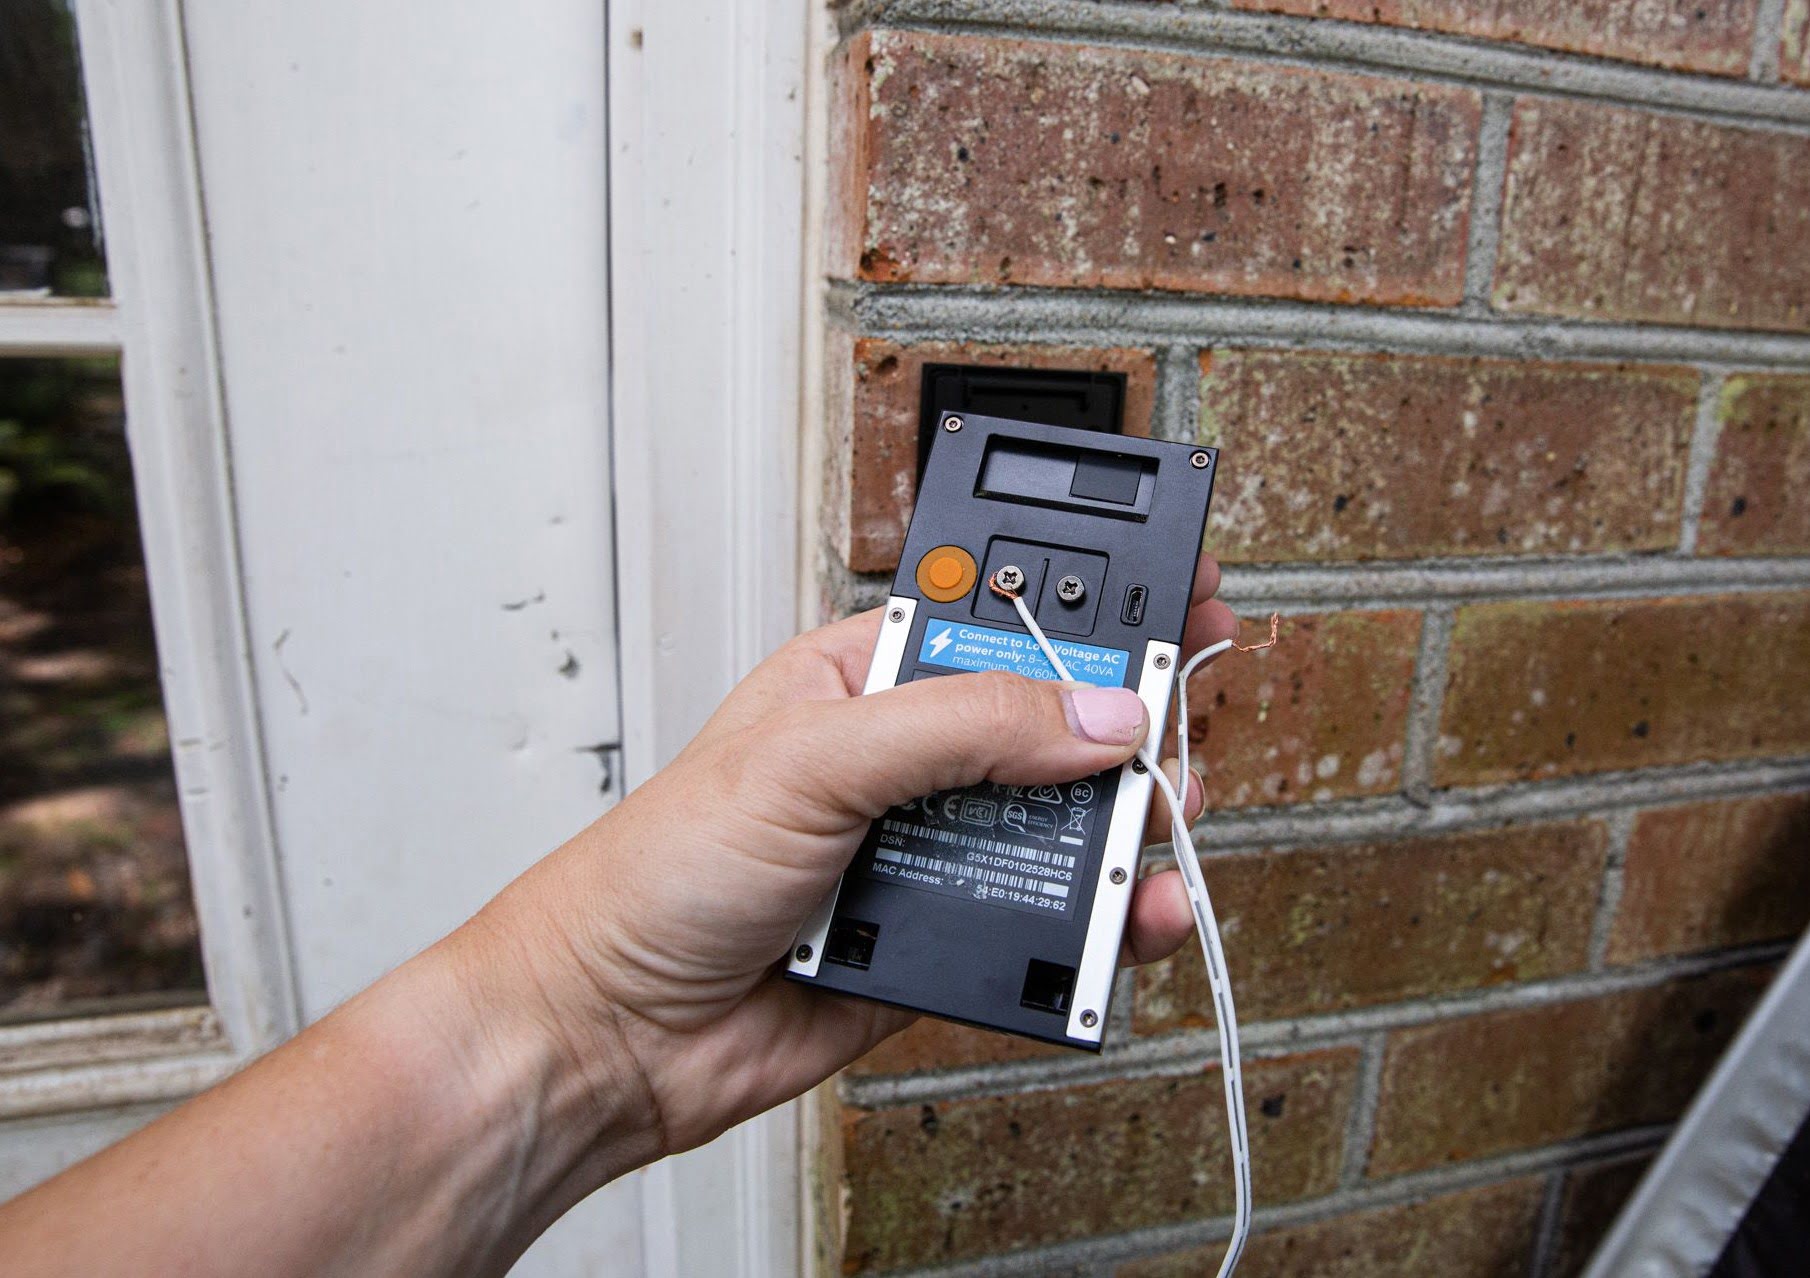
- Connect the wires: Take the wires from your old doorbell and connect them to the corresponding terminal screws on the Ring Video Doorbell 2. The most common wire colors are red (positive) and white (negative/neutral), but it’s important to refer to your doorbell’s manual or consult a professional if you’re unsure.
- Secure the connections: Once the wires are properly connected, tighten the terminal screws to secure the connections. Ensure that the wires are firmly held in place and there is no loose wiring.
- Turn on power: Go back to the circuit breaker or fuse box and switch on the power to your doorbell circuit. This will provide power to the Ring Video Doorbell 2. It’s a good idea to test the doorbell at this stage to confirm that it’s functioning correctly.
By following these steps, you will have successfully connected the wiring for continuous power supply to your Ring Video Doorbell 2. Keep in mind that if you don’t have existing doorbell wiring or prefer not to connect it, you can still use the Ring Video Doorbell 2 with its rechargeable battery. Now that the wiring is connected, you are ready to move on to the final step: adjusting the angle and testing the doorbell.
Step 7: Adjusting the Angle and Testing the Doorbell
Once your Ring Video Doorbell 2 is securely mounted and the wiring, if applicable, is connected, it’s time to adjust the angle and test the doorbell. Follow these steps:
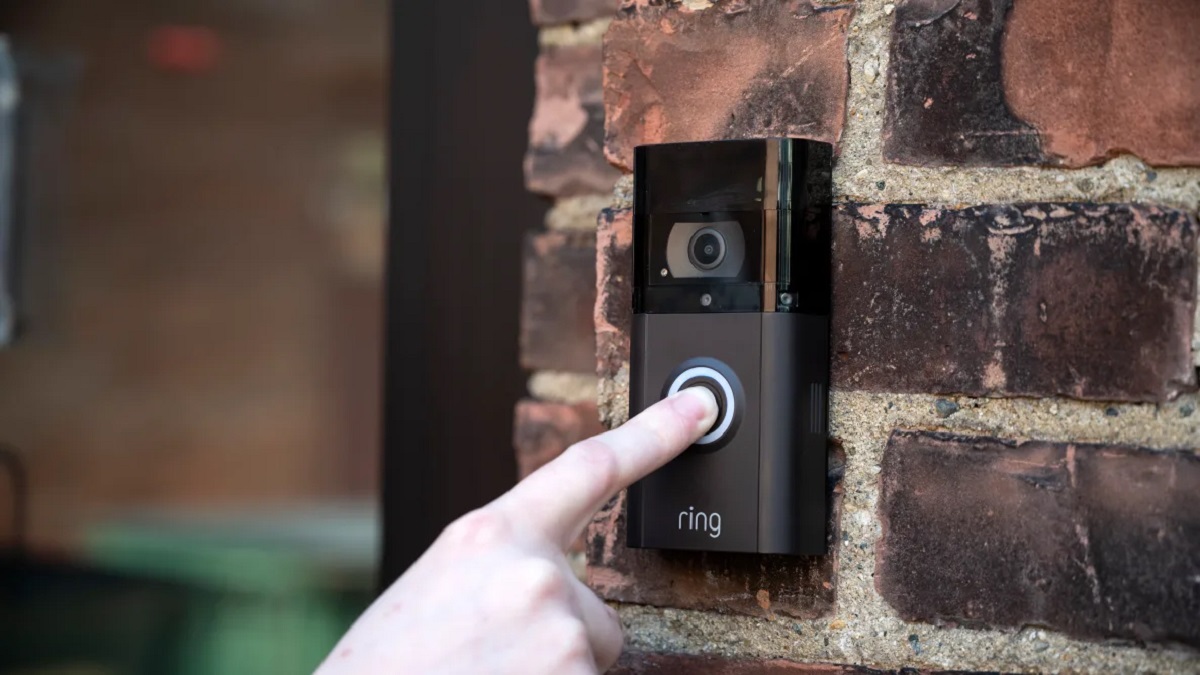
- Verify the doorbell angle: Stand back and observe the doorbell from various angles to ensure that it is positioned correctly. Adjust the angle of the doorbell on the bracket if necessary to optimize the field of view and ensure proper coverage of the desired area.
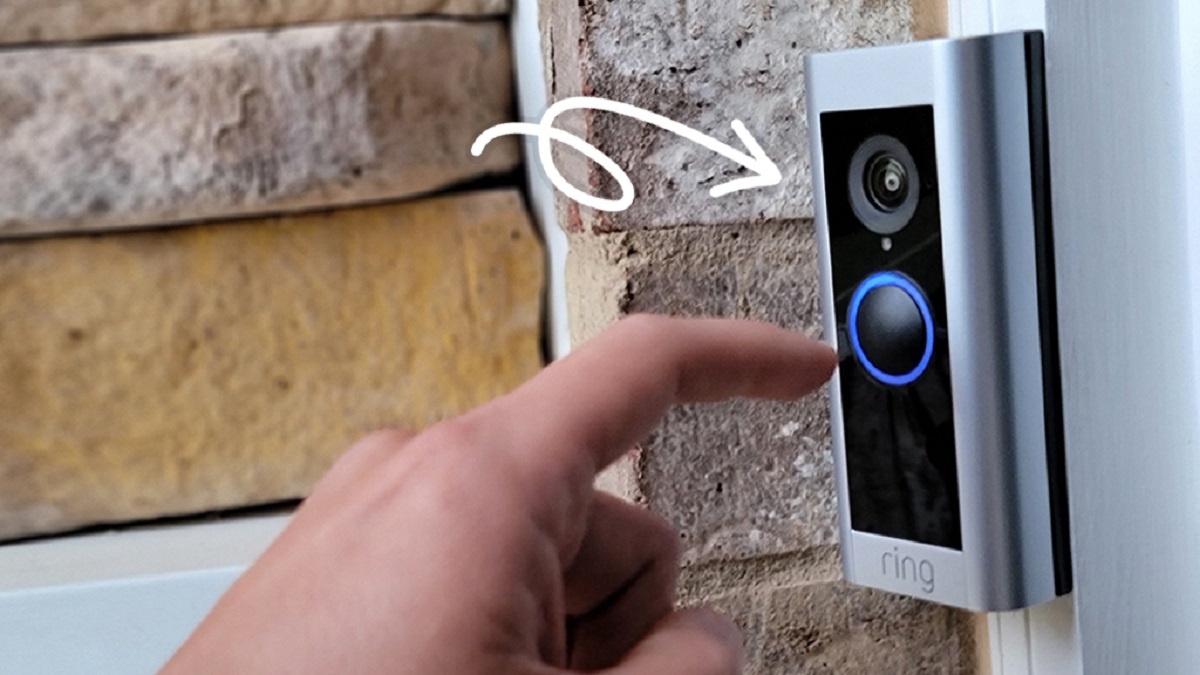
- Test the doorbell functionality: Use the Ring app or press the doorbell button to test the functionality of the Ring Video Doorbell 2. Check if the live video stream appears on your smartphone and if you receive notifications for motion detection or when the doorbell button is pressed.
- Adjust motion sensitivity and zones: Use the Ring app to customize the motion sensitivity and define specific motion zones. This will help reduce false alerts and ensure that you’re only notified when it matters.
- Explore advanced features: Take some time to explore the advanced features of the Ring Video Doorbell 2, such as two-way audio communication, cloud storage for recorded videos, and integration with other smart home devices. Familiarize yourself with these features to make the most out of your Ring device.
By following these steps, you will have successfully adjusted the angle of the doorbell and tested its functionality. It’s essential to ensure proper positioning and functionality to maximize the effectiveness of the Ring Video Doorbell 2. Now that you’ve completed the installation process, you can enjoy the convenience and security provided by your new smart doorbell.
Conclusion
Installing the Ring Video Doorbell 2 on a brick surface may initially seem like a daunting task, but with the right tools and step-by-step guidance, it can be accomplished smoothly and effectively. By following the installation process outlined in this guide, you can enjoy the convenience and enhanced security that the Ring Video Doorbell 2 brings to your home.
Throughout the installation process, we covered important steps such as preparing the doorbell, mounting the bracket on the brick surface, drilling holes, anchoring the bracket, attaching the doorbell, connecting the wiring (if applicable), and adjusting the angle and testing the doorbell. Each step is crucial to ensure a secure and functional installation.
Remember to gather all the necessary tools and materials, download the Ring app, and charge the doorbell battery before you begin. Take your time to properly mount the bracket, drill holes in the brick, anchor the bracket securely, attach the doorbell, and connect the wiring if you have it available.
Once installed, take advantage of the Ring Video Doorbell 2’s features, such as live video streaming, motion detection, and two-way communication, to enhance your home security and monitor your front door from anywhere using your smartphone. Adjust the angle, customize motion sensitivity, and explore advanced features to optimize the functionality of your Ring device to fit your needs.
By following these steps and taking advantage of all the features offered by the Ring Video Doorbell 2, you can enjoy peace of mind, convenience, and control over your home’s security. Now that you’ve successfully installed and set up your new smart doorbell, sit back, relax, and enjoy the added safety and convenience it brings to your daily life.