Introduction
Welcome to the world of smart home technology! The Ring Video Doorbell is a revolutionary device that brings convenience and security right to your doorstep. With its advanced features and seamless integration with your smartphone, the Ring Video Doorbell gives you the power to see, hear, and speak to anyone who comes to your front door, no matter where you are.
In this comprehensive guide, we will walk you through the step-by-step process of setting up your Ring Video Doorbell. Whether you’re a tech-savvy individual or a beginner, you’ll find the instructions easy to follow and manageable.
Before we dive into the details, it’s important to note that the Ring Video Doorbell comes in different models, each with its own unique features. The installation process may vary slightly depending on the model you have. However, the general principles remain the same, and we’ll cover the key steps to get your doorbell up and running.
Setting up a Ring Video Doorbell involves unboxing the device, downloading the Ring app, creating an account, mounting and wiring the doorbell, adjusting the settings, and testing the functionality. Throughout this guide, we’ll provide tips and troubleshooting advice to help you overcome any potential challenges along the way.
By the end of this guide, you’ll be able to confidently install and configure your Ring Video Doorbell, adding an extra layer of protection and convenience to your home. So, let’s get started!
Step 1: Unboxing and Package Contents
When your Ring Video Doorbell arrives, the first step is to carefully unbox it and familiarize yourself with the package contents. This will ensure that you have everything you need to proceed with the installation process smoothly. Here’s what you can expect to find in the box:
- The Ring Video Doorbell: This is the main device that will be installed on your front door. It comes with built-in cameras, microphones, and speakers for video and audio communication.
- Mounting Bracket: The mounting bracket is used to securely attach the doorbell to your wall or door frame. It is usually adjustable to fit different surfaces and angles.
- Screws and Anchors: These are provided to secure the mounting bracket onto your desired surface. Make sure to choose the appropriate screws and anchors based on the material of your wall or door frame.
- Screwdriver: In most cases, a screwdriver will be included in the package. However, it’s always a good idea to have your own set of tools ready, including a drill, in case you need them.
- Security Sticker: The package may include a sticker that you can place near your front door to deter potential intruders.
- User Manual: This booklet contains detailed instructions on how to set up and use your Ring Video Doorbell. It’s important to read through the manual before starting the installation process.
- USB Charging Cable: Depending on the model, your Ring Video Doorbell may come with a USB charging cable for easy recharging of the device’s battery.
Take a moment to review all the package contents and ensure that nothing is missing or damaged. If anything is missing or damaged, contact Ring customer support for assistance.
Once you have confirmed that you have all the necessary items, you’re ready to move on to the next step: downloading and installing the Ring app on your smartphone or tablet.
Step 2: Download and Install the Ring App
The Ring Video Doorbell is controlled and managed through the Ring app, which can be downloaded and installed on your smartphone or tablet. The app is available for both iOS and Android devices and can be found in the respective app stores.
Follow these steps to download and install the Ring app:
- Open the App Store on your iOS device or the Google Play Store on your Android device.
- Search for “Ring” in the search bar.
- Select the official Ring app from the search results.
- Tap the “Install” or “Get” button to start the download process. Depending on your internet connection speed, this may take a few moments.
- Once the app is downloaded, tap the “Open” button to launch it.
After opening the Ring app for the first time, you’ll be prompted to create a Ring account. This account is necessary to access and control your Ring Video Doorbell from anywhere. Follow the on-screen instructions to set up your account, including providing your email address and creating a secure password.
If you already have a Ring account, simply log in using your existing credentials.
Once you have successfully logged in, the Ring app will guide you through the process of setting up your Ring Video Doorbell. Make sure your smartphone or tablet is connected to a stable Wi-Fi network before proceeding.
The Ring app will ask for permission to access your device’s location and send you notifications. Granting these permissions will enhance the functionality of the Ring Video Doorbell, allowing you to receive motion alerts and communicate with visitors in real-time.
Once the initial setup is complete, you’ll be ready to move on to the next step: creating a Ring account.
Step 3: Create a Ring Account
In order to access the full functionality of your Ring Video Doorbell and receive alerts and notifications, you will need to create a Ring account. Creating an account is a simple process that can be done directly through the Ring app. Follow these steps:
- Open the Ring app on your smartphone or tablet.
- If you already have a Ring account, tap on the “Log In” button and enter your credentials. If you don’t have an account, tap on the “Sign Up” button to create a new account.
- Fill out the required information, including your email address and a secure password.
- Agree to the terms of service and privacy policy.
- Tap on the “Create Account” button to complete the registration process.
Once your account is created, you will receive a confirmation email. Open the email and click on the verification link to activate your account. If you don’t see the email in your inbox, check your spam or junk folder.
After verifying your email, return to the Ring app and log in using your newly created credentials. You’ll be prompted to set up your location and customize your device settings. Follow the on-screen instructions to complete the setup process.
Creating a Ring account allows you to manage multiple Ring devices, access video recordings, receive alerts, and customize your preferences. Make sure to choose a strong password and enable two-factor authentication for added security.
Now that your Ring account is set up, you can proceed to the next step: mounting the Ring Video Doorbell.
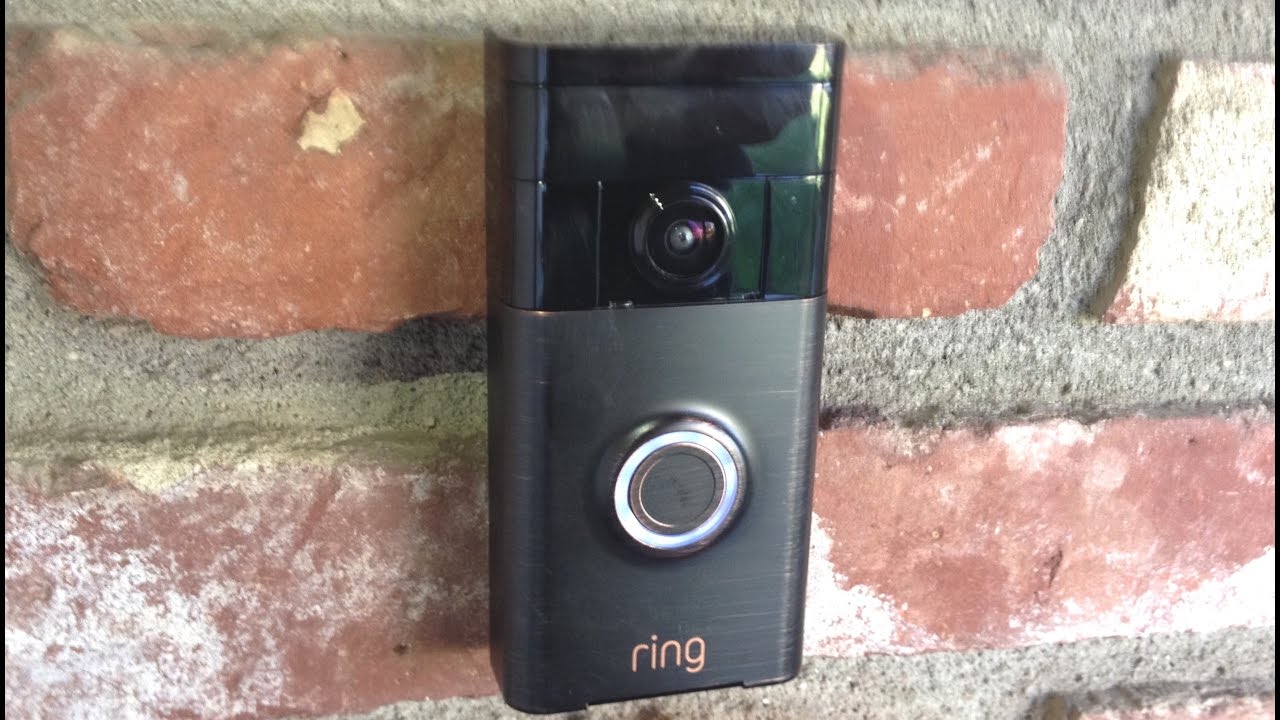
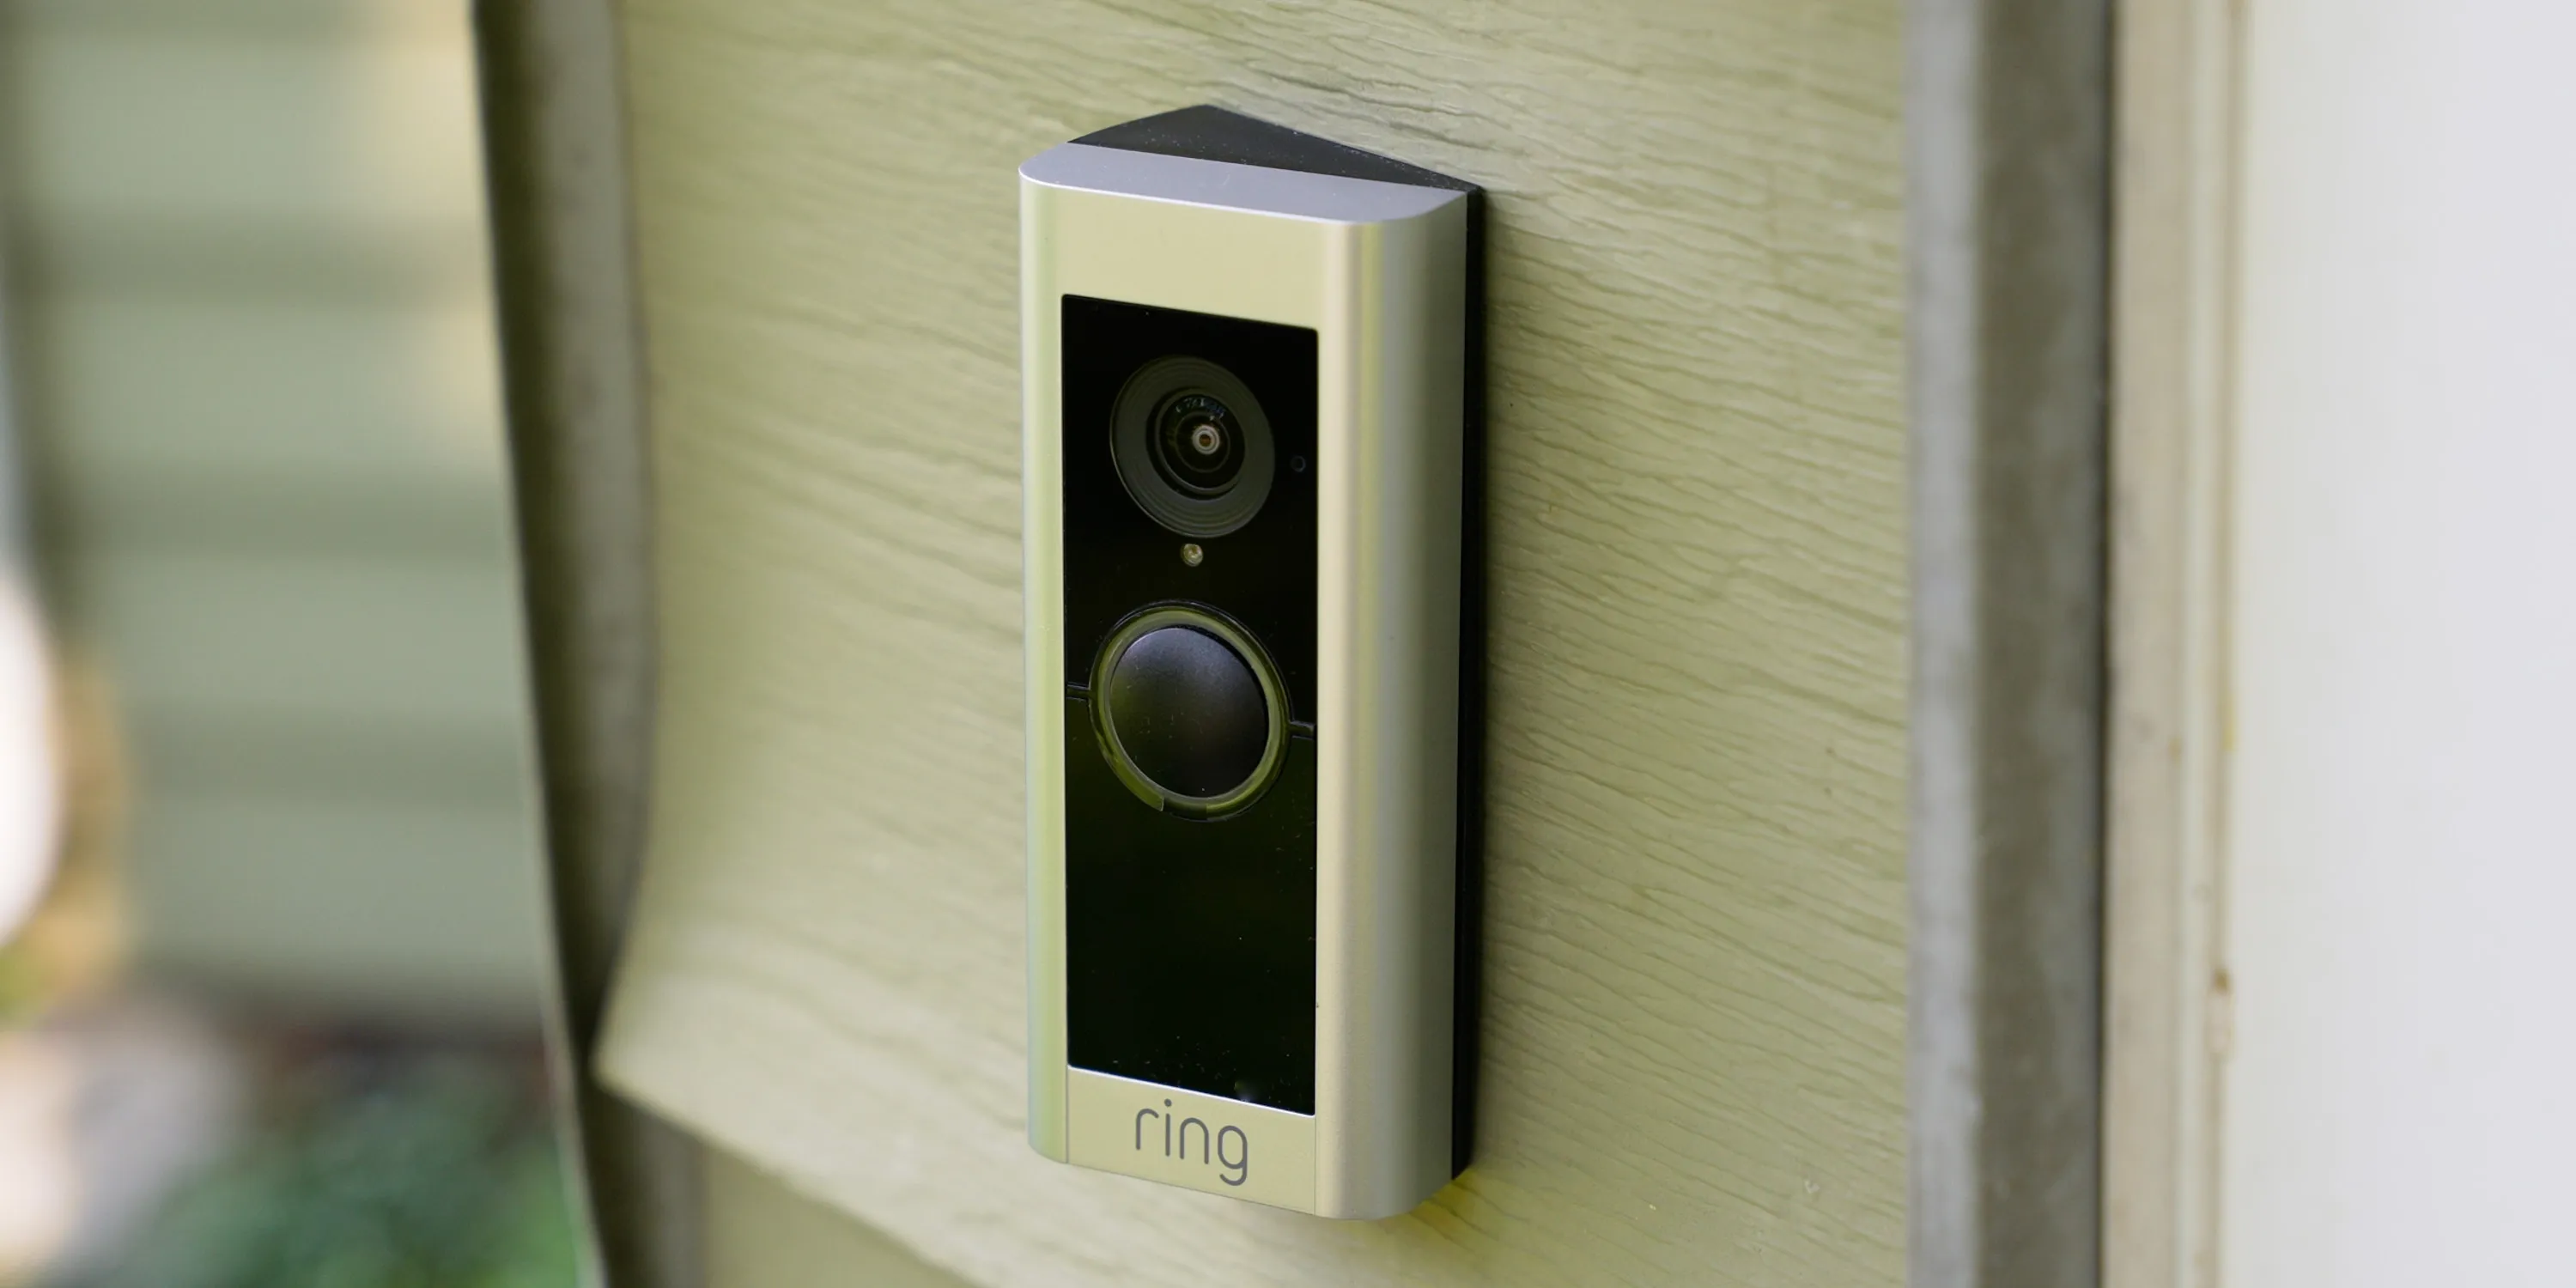
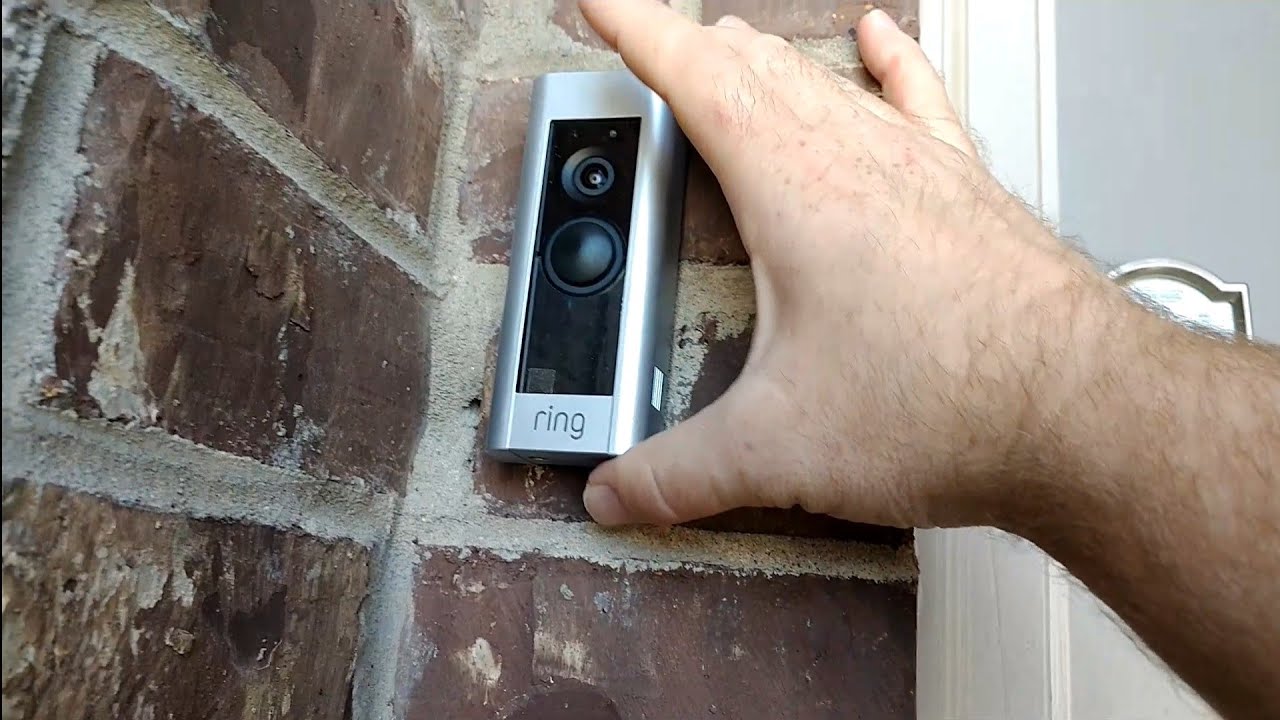
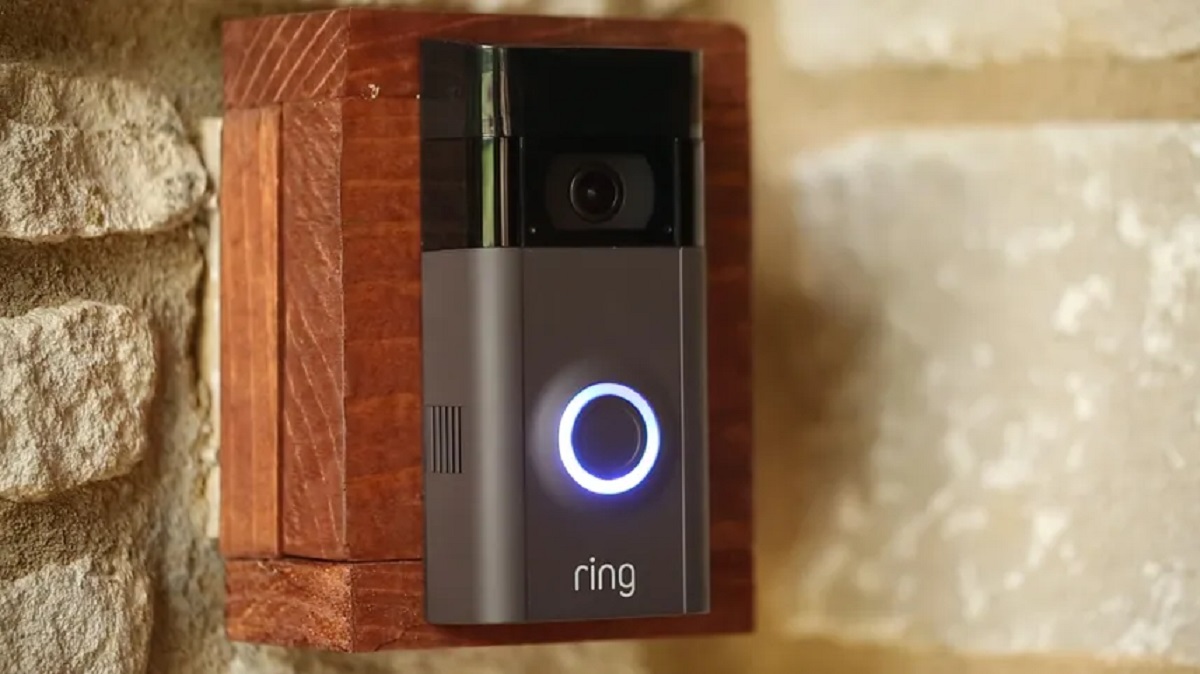
Step 4: Mounting the Video Doorbell
Mounting the Ring Video Doorbell is a crucial step in the installation process as it ensures the doorbell is securely attached to your front door or wall. Before proceeding, make sure to read the instructions provided in the user manual for your specific Ring Video Doorbell model. Here are the general steps to follow:
- Select the desired location: Choose a location near your front door that provides a clear view of the surrounding area. The ideal position is at eye level, allowing the camera to capture the best footage. Consider the visibility and accessibility for visitors, as well as the power source options.
- Prepare the mounting bracket: If your Ring Video Doorbell model includes a mounting bracket, attach it to the back of the doorbell using the provided screws. Ensure it is securely fastened.
- Identify the installation surface: Depending on whether you have a wooden door or a different type of surface, there are different installation methods available. For wooden doors, you can use the provided screws directly. For other surfaces, such as brick or stucco, you may need to use anchors or drilling templates.
- Mark the drilling points: Hold the doorbell against the desired location and use a pencil or marker to mark the spots where the screws or anchors will be inserted.
- Drill pilot holes: Using an appropriate drill bit, carefully drill pilot holes at the marked points. Make sure the holes are straight and aligned to ensure a proper fit.
- Secure the mounting bracket: Align the mounting bracket with the drilled pilot holes and use the provided screws or anchors to secure it onto the surface. Tighten the screws firmly, but avoid over-tightening to prevent damage.
- Attach the Ring Video Doorbell: Align the doorbell with the mounting bracket and slide it into place. It should fit snugly and lock into position. Give it a gentle tug to ensure it is securely mounted.
Once the Ring Video Doorbell is mounted, it should be firmly in place and not wobble or move when touched. Take a step back and double-check the positioning to ensure it provides a clear view of the area you want to monitor.
In the next step, we will explore the different wiring and power options available for your Ring Video Doorbell.
Step 5: Wiring and Power Options
Before proceeding with the wiring and power options for your Ring Video Doorbell, it’s important to consult the user manual that comes with your specific model. The wiring and power requirements may vary depending on the device you have. Here are the general guidelines:
Battery-Powered:
If your Ring Video Doorbell is battery-powered, it’s a convenient option that allows for easy installation and flexibility in placement. Follow these steps:
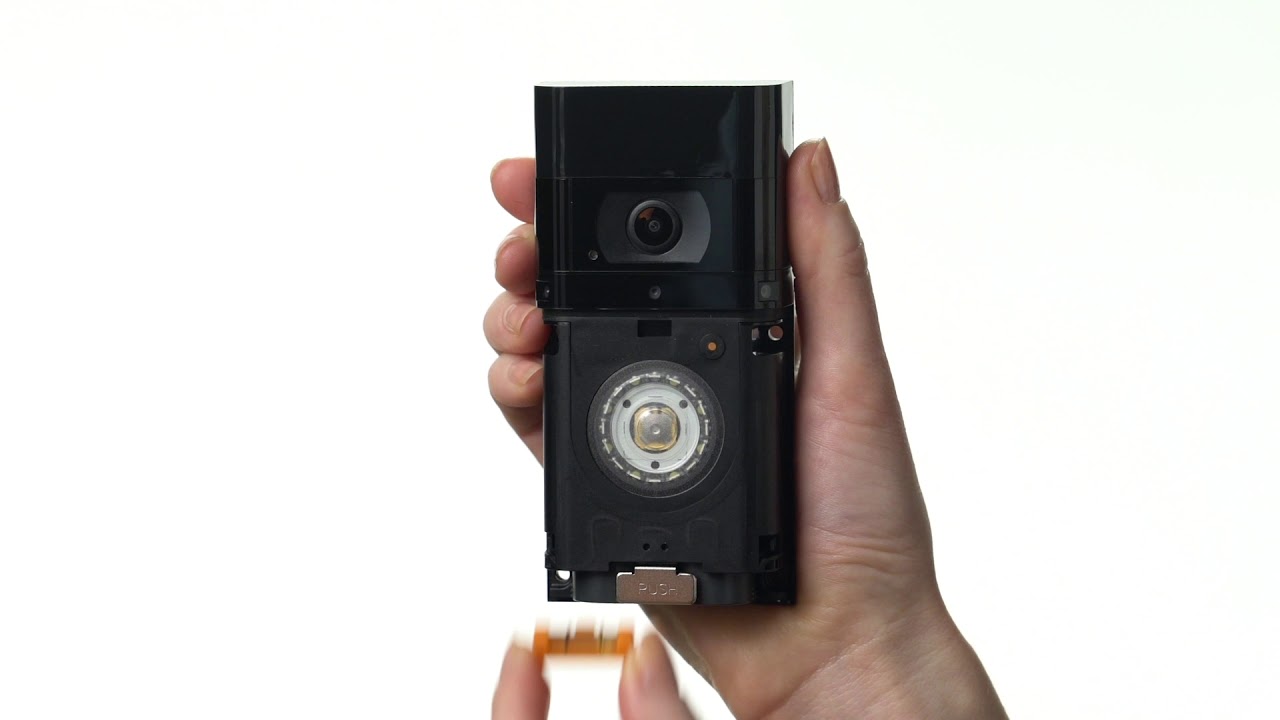
- Remove the battery cover on the back of the doorbell.
- Insert the provided rechargeable battery into the compartment and ensure it is securely in place.
- Replace the battery cover and ensure it is properly sealed.
- Once the battery is installed, your Ring Video Doorbell is ready to be set up and connected to the Ring app.
- Keep in mind that the battery will need to be recharged periodically. Monitor the battery level through the Ring app and recharge as needed using the provided USB charging cable.
Hardwired:
If you prefer a continuous power supply without the need for recharging batteries, you can hardwire your Ring Video Doorbell. Follow these steps:
- Ensure that power to your front door area is turned off to avoid electrical shock.
- Locate your existing doorbell wiring behind your doorbell button.
- Disconnect the wires from your existing doorbell.
- Connect the wires from your Ring Video Doorbell to the existing doorbell wires. Follow the labeled instructions provided in the user manual.
- Secure the connections by twisting them together or using wire connectors.
- If necessary, use the included wire extensions to ensure proper reach and connection.
- Once the connections are secure, restore power to the front door area.
- Your Ring Video Doorbell will now be powered by the existing doorbell wiring.
In cases where there is no existing doorbell wiring or you prefer not to use it, there are additional power options available, such as solar chargers and plug-in adapters. Please refer to the user manual for specific instructions related to these power options.
With the power options in place, you can move on to the next step: connecting your Ring Video Doorbell to the Ring app and adjusting the settings.
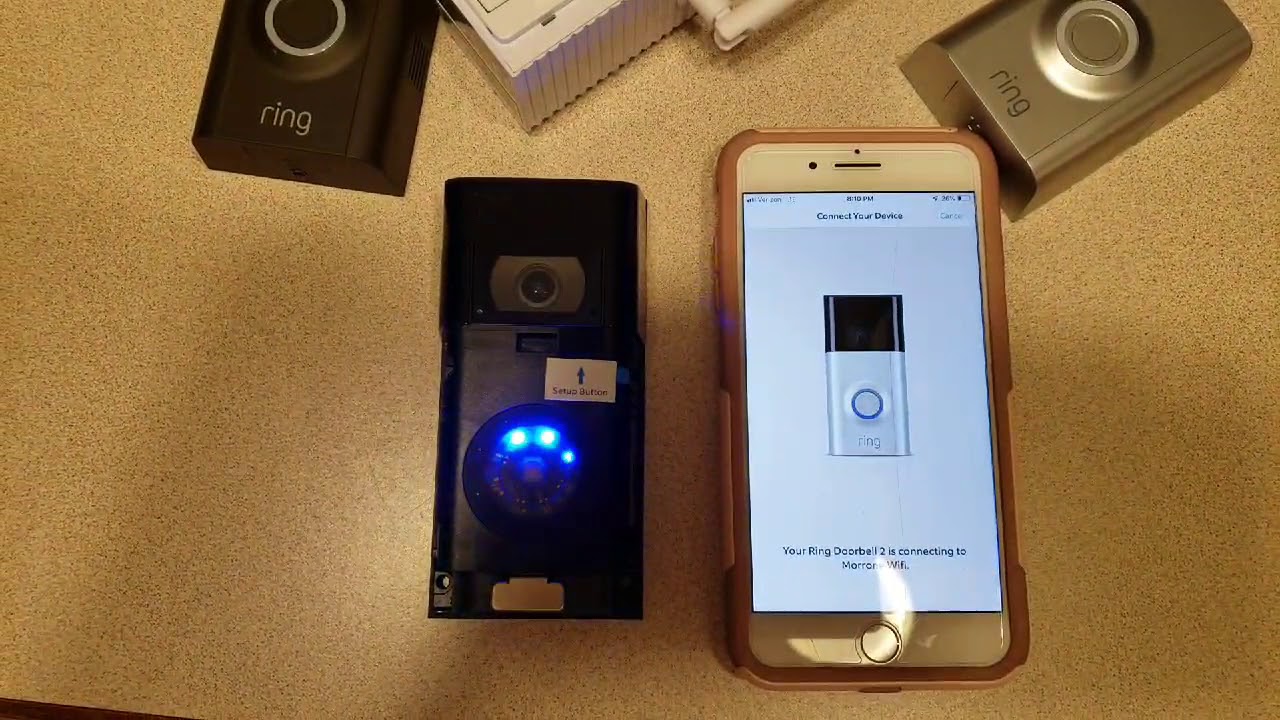
Step 6: Connecting the Ring Doorbell
Now that you have mounted your Ring Video Doorbell and determined the power source, it’s time to connect the doorbell to the Ring app. Follow these steps to complete the connection:
- Open the Ring app on your smartphone or tablet.
- Ensure that your device is connected to a stable Wi-Fi network.
- Tap on the “Set Up Device” button or the “+” icon to add a new device.
- Select “Video Doorbell” from the list of available devices.
- The app will guide you through the Wi-Fi setup process. Make sure your Ring Video Doorbell is in setup mode by pressing and releasing the small reset button on the back of the device.
- Once the app detects your Ring Video Doorbell, select your Wi-Fi network from the list and enter your Wi-Fi password when prompted.
- The app will attempt to connect your Ring Video Doorbell to your Wi-Fi network. This may take a few moments. Ensure that your Wi-Fi signal is strong and stable during this process.
- Once the connection is established, you will be asked to name your Ring Video Doorbell and provide an address for the device.
- Follow any additional on-screen prompts to personalize the settings, such as motion detection sensitivity and notification preferences.
- The Ring app will confirm the successful connection to your Ring Video Doorbell.
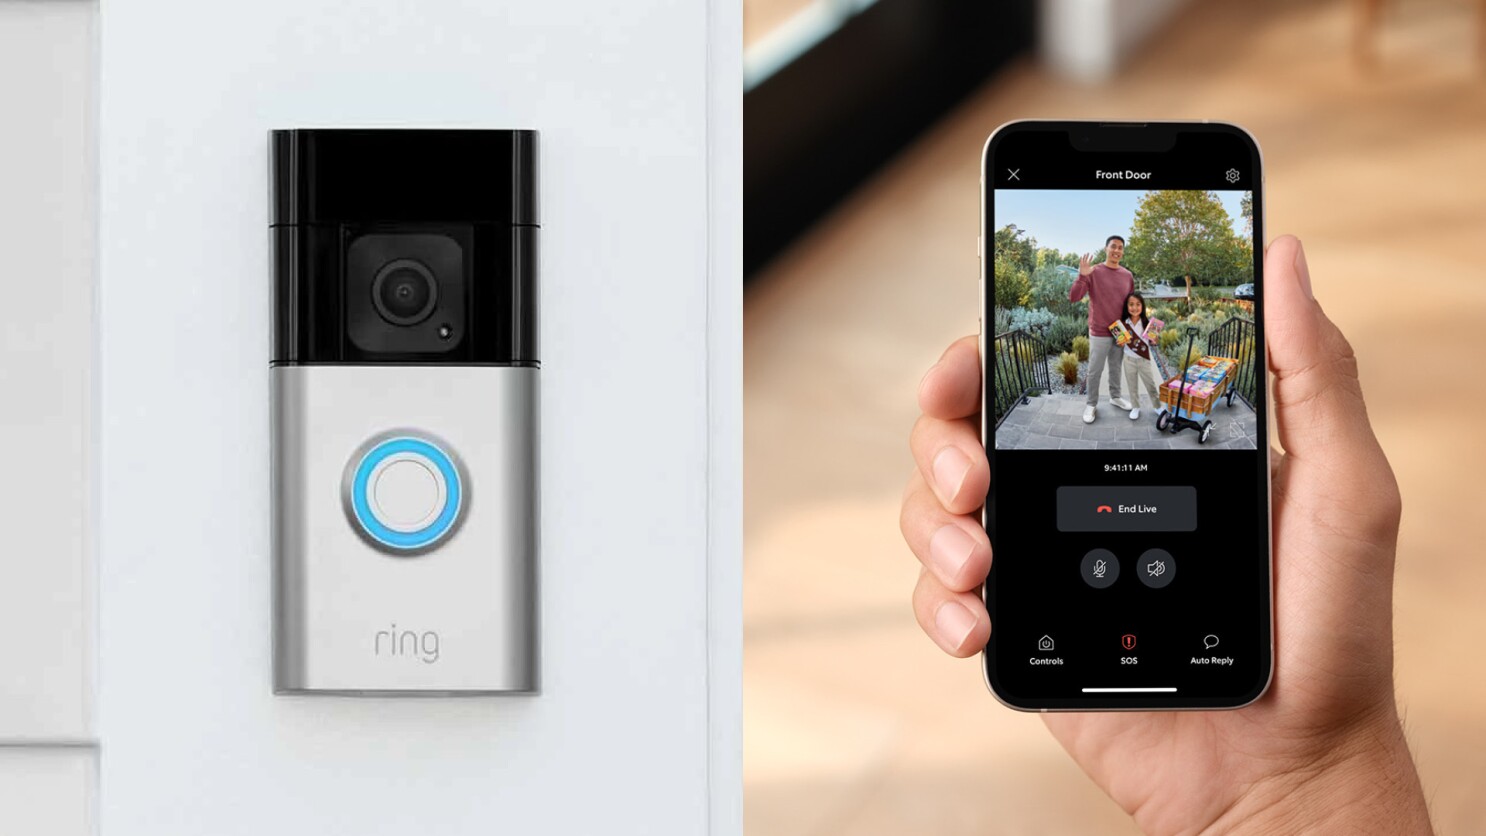
Once the connection is established, you’ll be able to receive real-time notifications on your smartphone or tablet when someone rings your doorbell or when motion is detected. You can also view the live video feed, answer the door, and communicate with visitors using the two-way audio feature.
It’s important to note that the Ring Video Doorbell requires a reliable internet connection for optimal performance. If you experience any connection issues, try moving your Wi-Fi router closer to the doorbell or adding a Wi-Fi extender to improve the signal strength.
In the next step, we’ll explore how you can adjust the doorbell settings to customize the functionality of your Ring Video Doorbell.
Step 7: Adjusting the Doorbell Settings
After successfully connecting your Ring Video Doorbell to the Ring app, it’s time to fine-tune the settings to suit your preferences. Adjusting the doorbell settings allows you to customize the functionality and enhance the overall user experience. Here’s how you can do it:
- Open the Ring app on your smartphone or tablet.
- Select your Ring Video Doorbell from the list of devices.
- Tap on the “Device Settings” or “Settings” option to access the doorbell settings.
- Explore the various settings available and adjust them to your liking.
- Notifications: Customize the notification settings to decide how and when you receive alerts for doorbell rings, motion detection, and other events. You can choose to receive push notifications, emails, or both.
- Motion Detection: Adjust the motion detection sensitivity and motion zones to reduce false alerts or capture specific areas of interest. You can also set a schedule for when motion detection is enabled or disable it completely.
- Live View: Enable or disable the live view feature, which allows you to access the real-time video feed from your doorbell at any time.
- Video Recording: Depending on your Ring subscription plan, you may have access to video recording options. Adjust the recording settings, such as video length and cloud storage duration, to suit your needs.
- Two-Way Audio: Test and adjust the volume settings for the two-way audio feature, which enables you to communicate with visitors through your Ring Video Doorbell.
- Shared Users: If you want to grant access to other family members or trusted individuals, you can add them as shared users in the Ring app. This allows them to receive notifications and access the doorbell’s features.
- Device Health: Monitor the health of your Ring Video Doorbell, including battery status (if applicable), Wi-Fi signal strength, and firmware updates. Address any issues that arise to ensure optimal performance.
Take some time to explore the available settings and customize them according to your preferences. Every household is unique, and adjusting the settings allows you to tailor the Ring Video Doorbell’s functionality to suit your specific needs and requirements.
Now that you have adjusted the doorbell settings, it’s time to proceed to the final step: testing and troubleshooting your Ring Video Doorbell.
Step 8: Testing and Troubleshooting
Once you have completed the setup and adjusted the settings of your Ring Video Doorbell, it’s important to test its functionality and troubleshoot any potential issues that may arise. Here’s what you need to do:
- Test the Doorbell: Press the doorbell button or ask a friend or family member to ring the doorbell to ensure the notification system is working properly. Check if the app sends you a notification and if you can see and communicate with the visitor through the app.
- Test Motion Detection: Trigger the motion detection feature by walking within the specified motion zones. Verify if the app notifies you of the detected motion and if you can view the recorded footage or live video feed.
- Check Video Quality: Access the live video feed and check the quality of the video. Ensure that the camera captures clear and crisp footage both during the day and at night, thanks to the built-in night vision feature.
- Check Audio Quality: Test the two-way audio feature by speaking through the app and ensuring that the sound is clear and audible from both ends.
- Monitor Battery Life (if applicable): Keep an eye on the battery life of your Ring Video Doorbell and make sure the battery is charging as expected. If the battery drains quickly or does not charge properly, troubleshoot the issue by checking the wiring or the power source.
- Resolve Connectivity Issues: If you experience connectivity issues, such as a weak Wi-Fi signal or delayed notifications, try moving your Wi-Fi router closer to the doorbell or adding a Wi-Fi extender to improve signal strength. Also, ensure that the app is up to date and check for any firmware updates for your Ring Video Doorbell.
- Contact Customer Support: If you encounter any persistent issues or need further assistance, reach out to Ring’s customer support. They can provide expert guidance and troubleshooting steps to resolve any technical difficulties you may encounter.
By thoroughly testing your Ring Video Doorbell and addressing any issues or concerns, you can ensure that your device is functioning optimally, giving you peace of mind and enhancing the security of your home.
Congratulations on successfully setting up your Ring Video Doorbell! You can now enjoy the convenience and security it offers, knowing that you can see, hear, and speak to anyone at your front door, no matter where you are.
Conclusion
Setting up a Ring Video Doorbell may seem intimidating at first, but by following the step-by-step instructions outlined in this guide, you can easily install, configure, and enjoy the benefits of this innovative smart home device.
Throughout the setup process, we covered essential steps such as unboxing and familiarizing yourself with the package contents, downloading and installing the Ring app, creating a Ring account, mounting the video doorbell, selecting the appropriate wiring and power options, connecting the device, adjusting the doorbell settings, and finally, testing and troubleshooting any potential issues.
By completing these steps, you have taken an important step towards enhancing the security and convenience of your home. The Ring Video Doorbell allows you to monitor your front door, communicate with visitors, and receive instant alerts even when you’re not at home.
Remember to periodically check the device health, ensure the battery is charged if applicable, and stay updated with the latest firmware and app versions to ensure optimal performance.
If you encounter any difficulties or have further questions, don’t hesitate to reach out to Ring’s customer support. They are there to assist you and provide solutions to any issues that may arise.
With your Ring Video Doorbell up and running, you can enjoy peace of mind, knowing you have an extra layer of security and convenience right at your front door. Welcome to the world of smart home technology!