Introduction
Welcome to this guide on how to connect the Ring Video Doorbell 2. If you’ve recently purchased a Ring Video Doorbell 2 and are excited to set it up at your home, you’ve come to the right place. In this article, we will walk you through the step-by-step process of unboxing, charging, installing the Ring app, connecting it to your Wi-Fi, mounting the doorbell, adjusting motion settings, and finally, testing the doorbell’s functionality. By the end of this guide, you’ll have a fully functional Ring Video Doorbell 2 ready to keep your home secure.
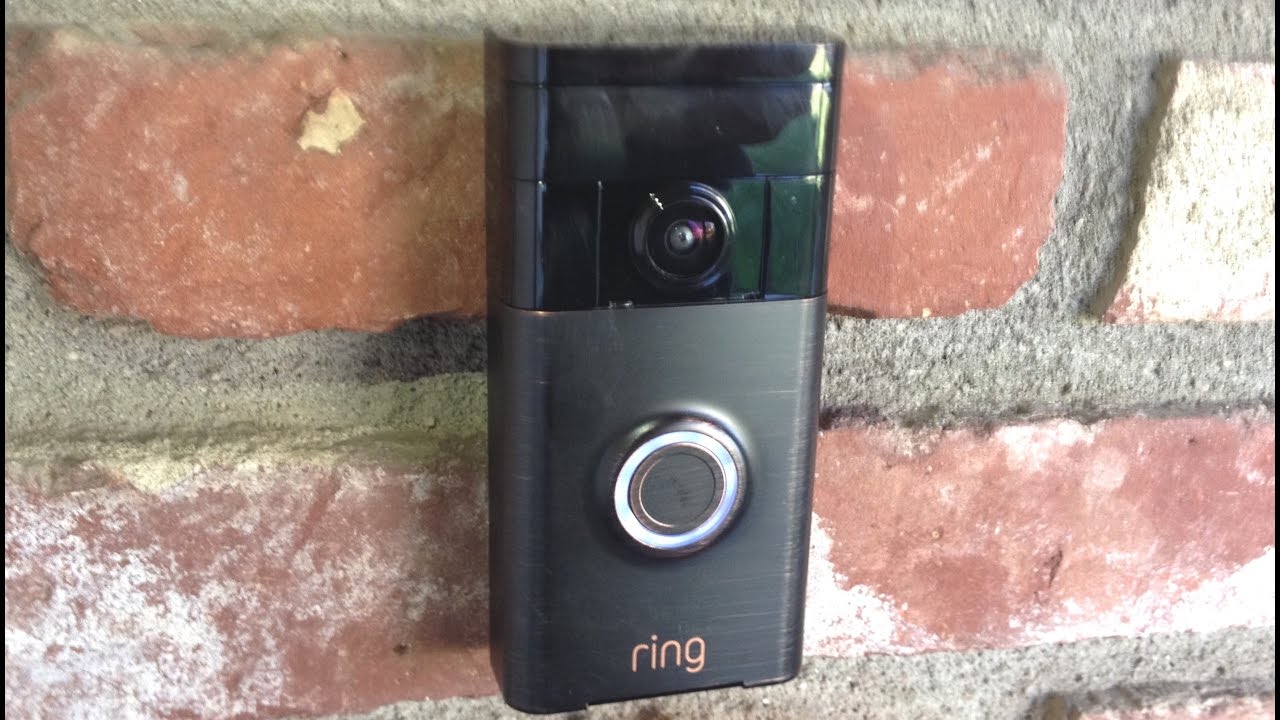
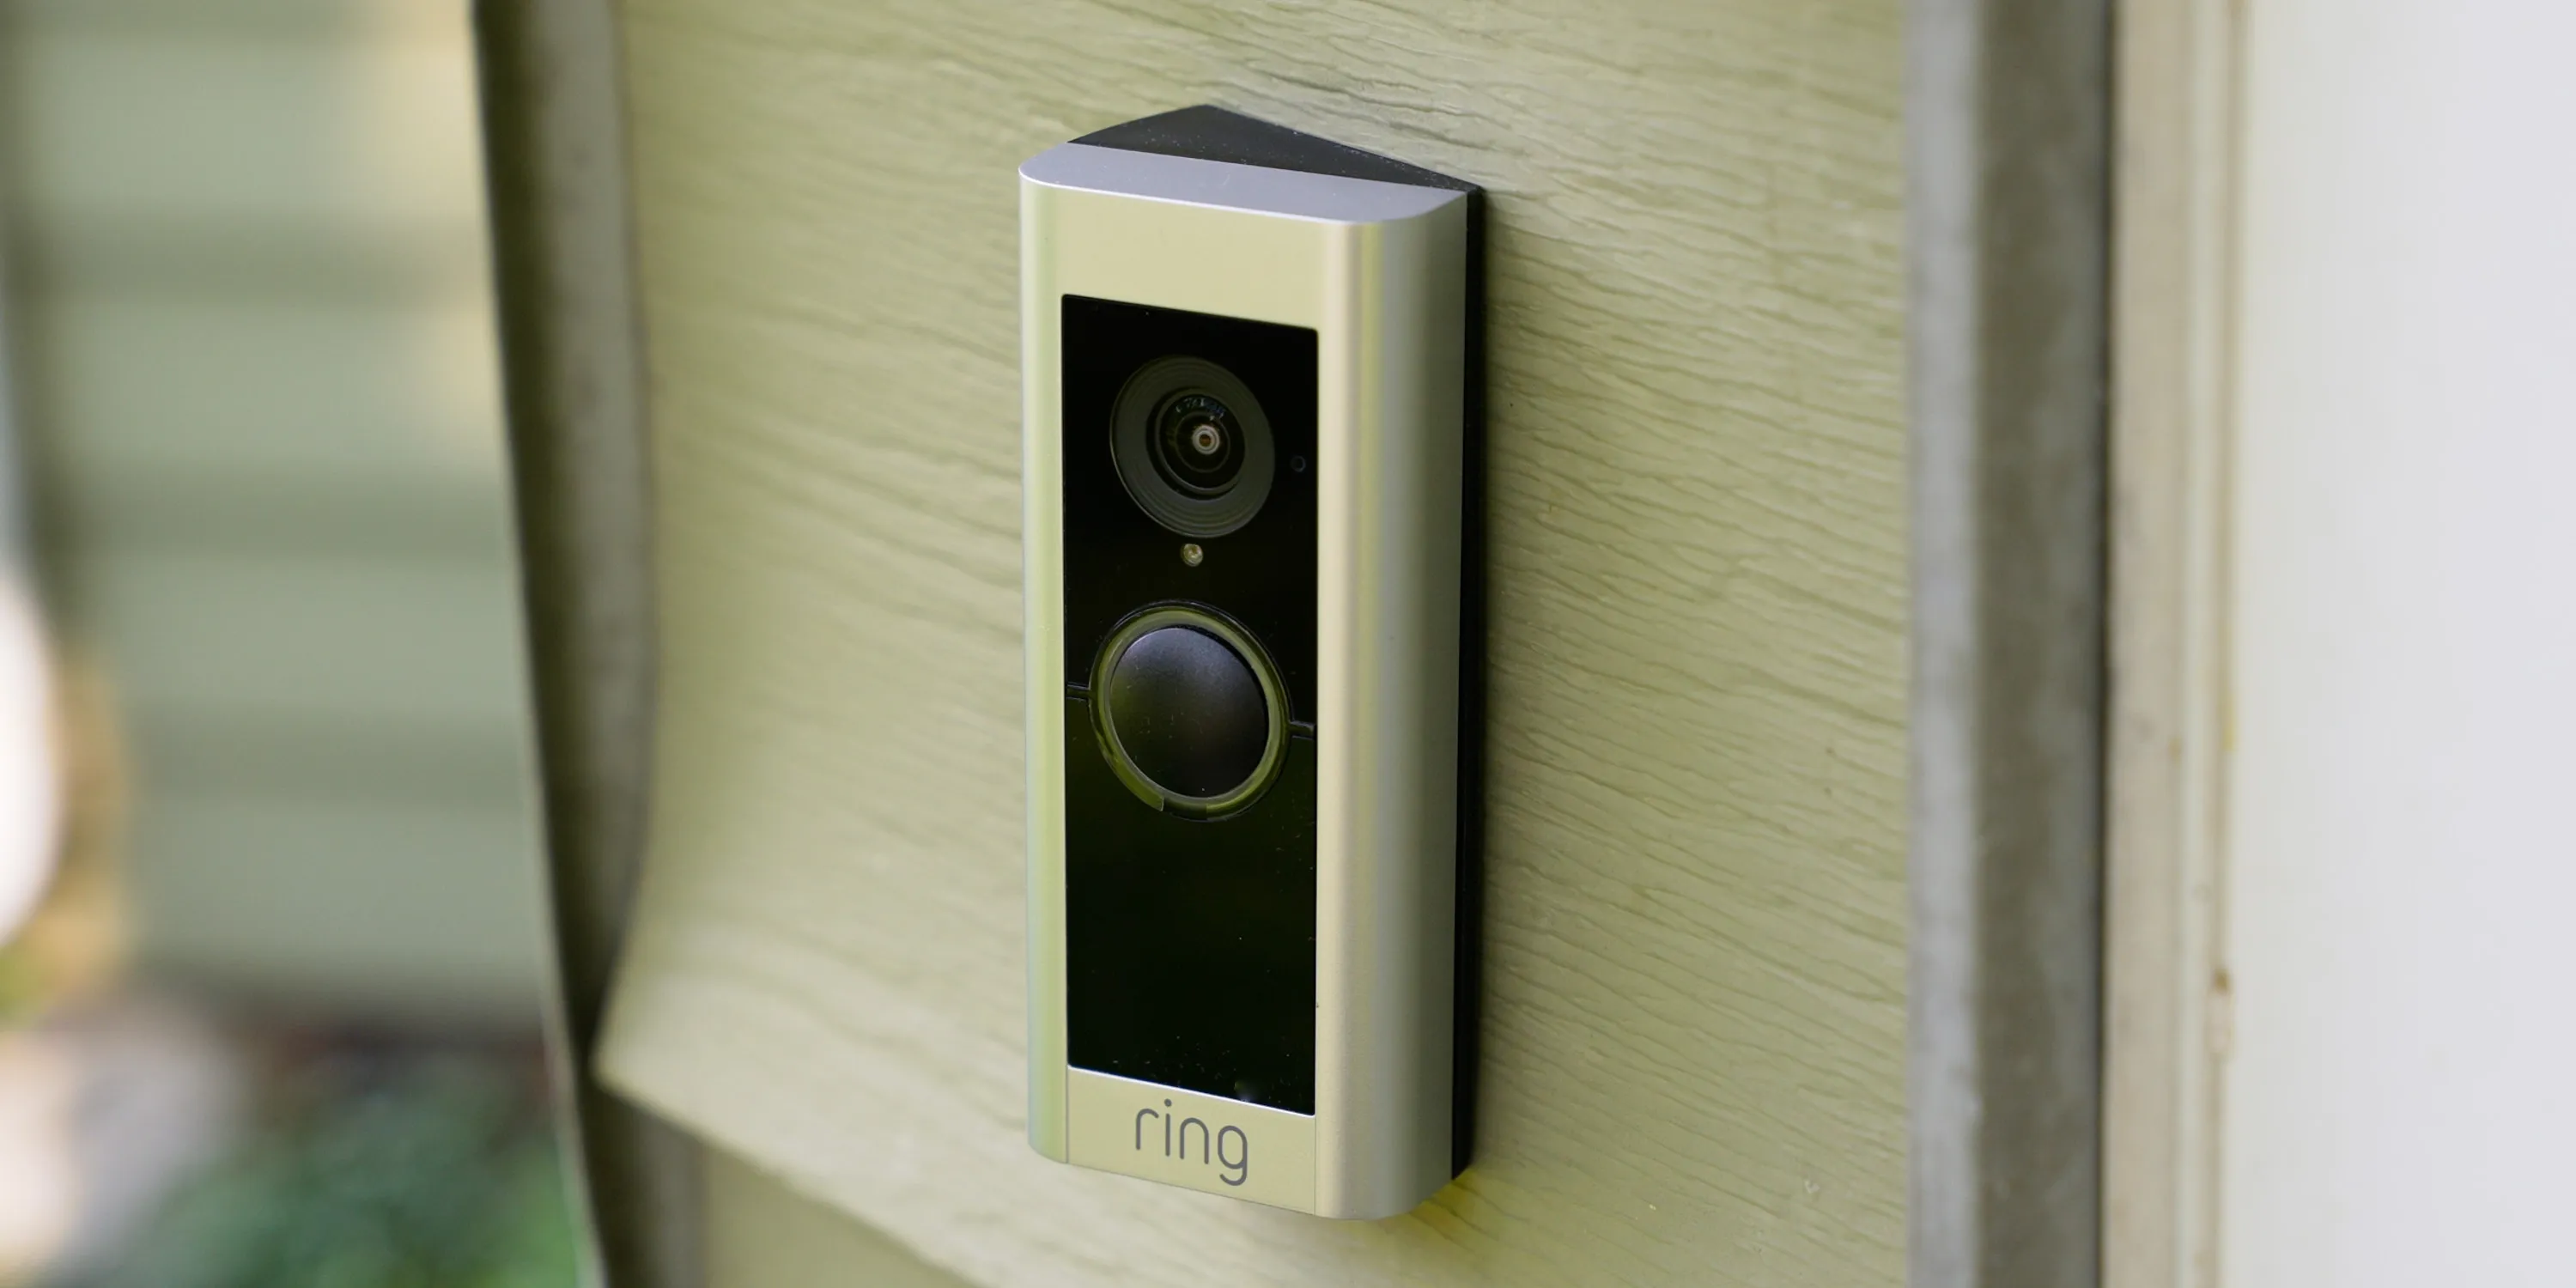
The Ring Video Doorbell 2 is a sleek and powerful device that allows you to see, hear, and speak to anyone at your doorstep from your smartphone, tablet, or computer. With its motion detection feature and built-in camera, you’ll always know who’s at your door, whether you’re at home or away. Plus, the two-way communication capability enables you to have real-time conversations with visitors, delivery personnel, or even potential intruders.
Setting up the Ring Video Doorbell 2 may seem like a daunting task, especially if you’re not tech-savvy. However, fear not! This guide will break down each step into simple, easy-to-follow instructions. Whether you’re a first-time user or familiar with the Ring ecosystem, we’ve got you covered. So, let’s get started and make your home safer and more convenient with the Ring Video Doorbell 2.
Step 1: Unboxing the Ring Video Doorbell 2
The first step in connecting the Ring Video Doorbell 2 is to unbox the device. When you receive your package, ensure that all the components are included:
- The Ring Video Doorbell 2
- A rechargeable battery pack
- A micro-USB charging cable
- A mounting bracket
- Screws and anchors
- Screwdriver
- A security screw
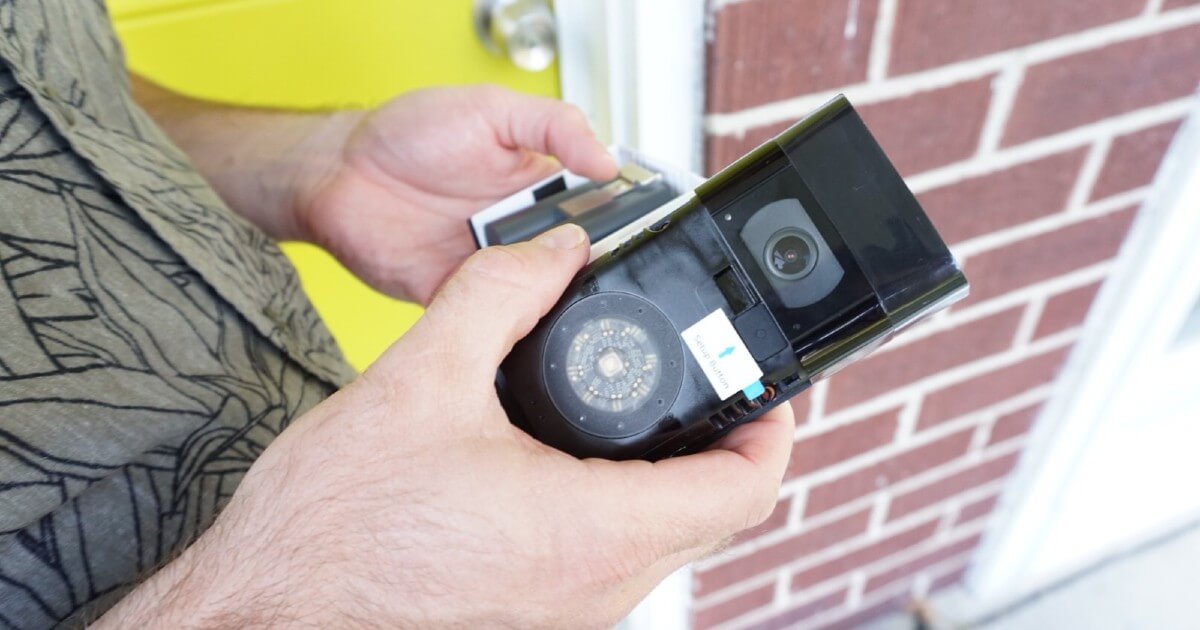
Once you’ve confirmed that all the components are present, carefully remove the Ring Video Doorbell 2 from its packaging. Take a moment to examine the device and familiarize yourself with its features. You’ll notice the camera lens, the built-in microphone and speaker, the LED indicator lights, and the motion sensor located at the bottom of the doorbell.
Next, locate the rechargeable battery pack. Slide the battery release tab and remove the battery. Connect one end of the micro-USB charging cable to the battery and the other end to a power source, such as a USB port on your computer or a wall adapter. Wait for the battery to charge fully before proceeding to the next step.
While the battery is charging, you can start preparing your smartphone or tablet for the installation process. The Ring Video Doorbell 2 is compatible with both iOS and Android devices. Go to the respective app store for your device and search for the “Ring” app. Download and install the app on your device, then create a Ring account if you don’t have one already.
Once the battery is charged and your smartphone or tablet is ready, you’re all set to move on to the next step: installing the Ring app. This app will serve as your gateway to connect and manage your Ring Video Doorbell 2, so it’s essential to have it installed and ready to go.
Step 2: Charging the Battery
Now that you have unboxed the Ring Video Doorbell 2 and familiarized yourself with its components, it’s time to charge the battery. The rechargeable battery pack provides the power for your doorbell’s operation, and it’s important to ensure that it is fully charged before proceeding.
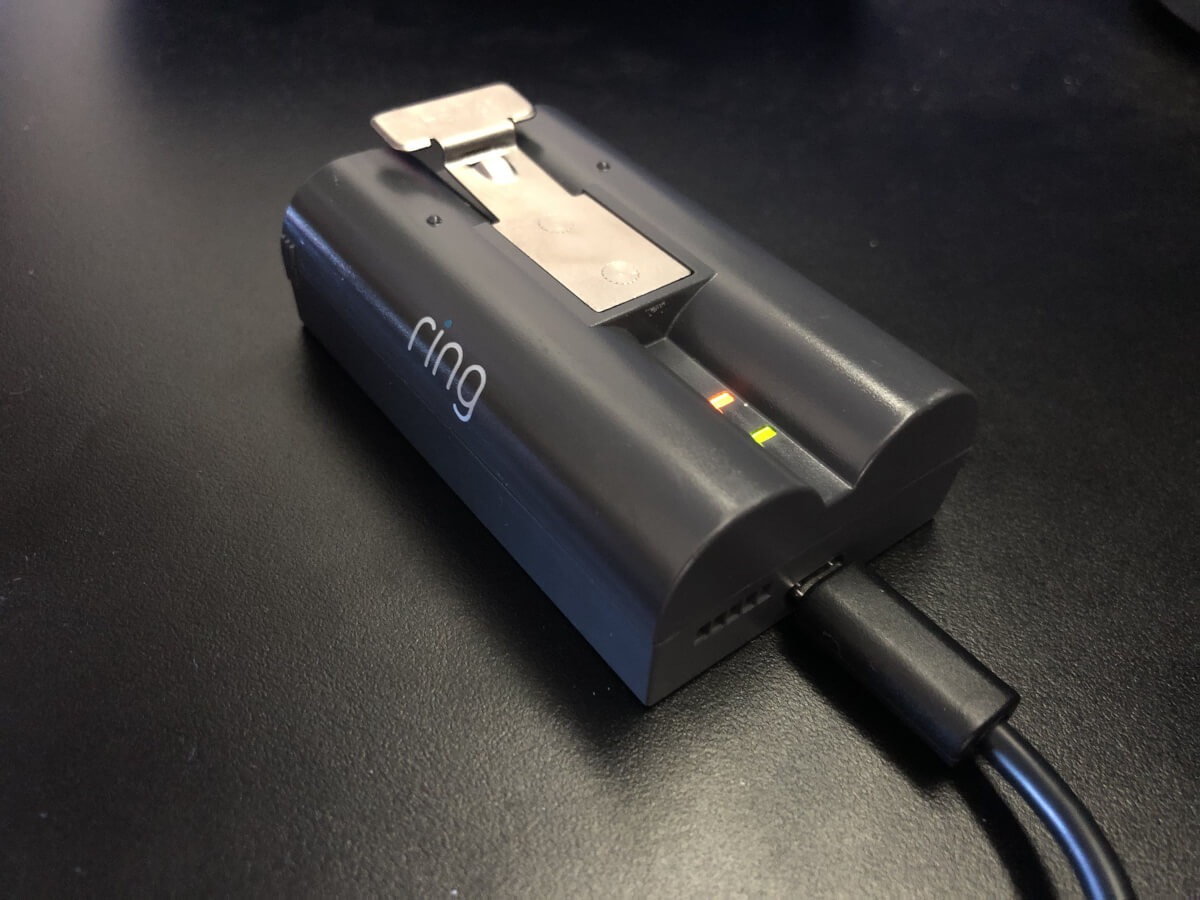
To charge the battery, take the micro-USB charging cable that came with the Ring Video Doorbell 2 and connect one end to the battery pack. Then, plug the other end of the cable into a power source, such as a USB port on your computer or a wall adapter. Make sure the connection is secure.
Once connected, the battery’s LED indicator lights will start flashing to indicate that it is charging. The lights will gradually illuminate and turn solid as the battery charges. It typically takes several hours for the battery to reach a full charge, so be patient during this process.
While the battery is charging, it’s a good time to download and install the Ring app on your smartphone or tablet if you haven’t done so already. Head to the app store for your device, search for the “Ring” app, and follow the prompts to install it. Once installed, open the app and sign in to your Ring account or create a new one if needed.
Keep an eye on the battery’s LED indicator lights while it charges. When all the lights turn solid blue, the battery is fully charged and ready to be installed in the Ring Video Doorbell 2. Disconnect the micro-USB charging cable from the battery and set it aside for future use.
It’s important to note that the Ring Video Doorbell 2 can also be hardwired to an existing doorbell system. In this case, the battery will act as a backup power source in the event of a power outage. If you choose to connect your doorbell using the hardwiring method, you can skip the battery charging step.
With the battery fully charged, you’re now ready to proceed to the next step: installing the Ring app on your smartphone or tablet. The app will be your primary tool for connecting and managing your Ring Video Doorbell 2, so make sure it’s installed and ready to go before moving forward.
Step 3: Installing the Ring App
Once you’ve charged the battery for your Ring Video Doorbell 2, it’s time to install the Ring app on your smartphone or tablet. The Ring app is essential for connecting and managing your doorbell, as well as accessing its features and settings. Follow the steps below to install the app:
- Open the app store on your device. If you are using an iOS device, go to the App Store. If you are using an Android device, go to the Google Play Store.
- Search for “Ring” in the app store’s search bar.
- Locate the Ring app from Ring.com, and select it.
- Tap on the “Install” or “Get” button to begin the installation process.
- Wait for the app to download and install on your device. The progress will be displayed on your screen.
- Once the installation is complete, tap on the “Open” button to launch the Ring app.
- If you already have a Ring account, sign in using your credentials. If not, tap on the “Create Account” option and follow the prompts to create a new account.
Once you’ve installed the Ring app and signed in to your Ring account, you’ll be greeted with a welcome screen. This screen will provide you with information about the app’s features and capabilities. Take a moment to read through the information to familiarize yourself with what the Ring app can do.
Upon completing the introductory screens, the app will guide you through the process of adding your Ring Video Doorbell 2 to your account. This process involves scanning a QR code located on the device or its packaging. Follow the on-screen instructions to complete the setup process.
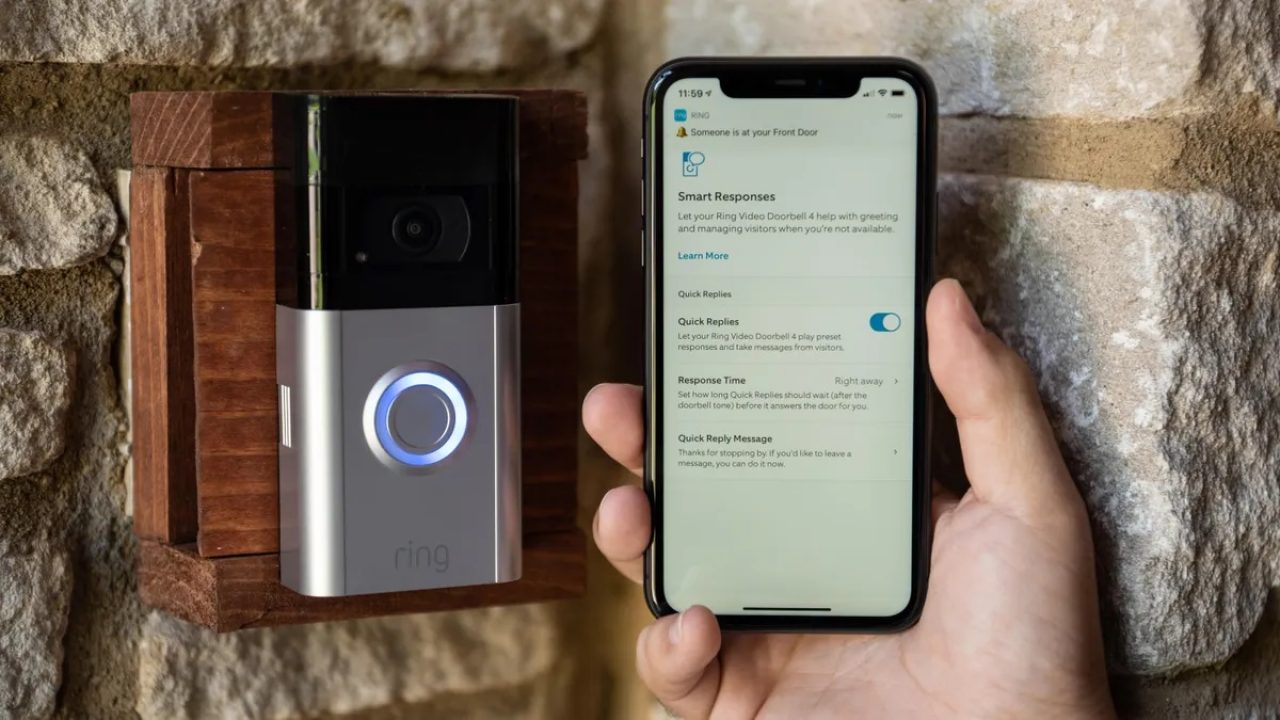
After successfully adding the Ring Video Doorbell 2 to your account, you’ll be able to access a range of features and settings through the app. These include adjusting motion detection settings, setting up notifications, and managing other aspects of your doorbell’s functionality. The app also allows you to view live video feeds and recorded footage from your doorbell’s camera.
By installing the Ring app on your smartphone or tablet, you’re ready to move on to the next step: connecting your Ring Video Doorbell 2 to your Wi-Fi network. This step is crucial for enabling the doorbell’s functionality and establishing a secure connection between the device and your mobile device.
Step 4: Connecting the Ring Video Doorbell 2 to Wi-Fi
Now that you have installed the Ring app on your smartphone or tablet, it’s time to connect your Ring Video Doorbell 2 to your Wi-Fi network. Establishing a stable and secure connection is essential for the doorbell to function properly and enable features such as live video streaming and remote access. Follow these steps to connect your device to Wi-Fi:
- Open the Ring app on your device and sign in to your Ring account, if you haven’t already.
- From the app’s main screen, tap on the menu icon located in the upper-left corner.
- Select “Devices” from the menu options to view a list of your connected Ring devices.
- Tap on the Ring Video Doorbell 2 from the list to access its settings.
- In the doorbell’s settings, tap on “Device Health.”
- Under the “Device Health” section, locate the Wi-Fi network option and tap on it.
- The app will guide you through a step-by-step process to connect your Ring Video Doorbell 2 to your Wi-Fi network.
- Choose your Wi-Fi network from the available options and enter the network password when prompted.
- Once you have entered the correct Wi-Fi credentials, the doorbell will attempt to connect to the network.
- Wait for the connection process to complete. The app will notify you once the connection is successful.
It’s important to ensure that you have a stable Wi-Fi signal in the area where you plan to mount your Ring Video Doorbell 2. A weak or unreliable Wi-Fi connection can lead to intermittent functionality or poor video quality. If you experience any connectivity issues during the setup process, try moving closer to your router or consider installing a Wi-Fi extender.
Once your Ring Video Doorbell 2 is connected to your Wi-Fi network, it’s time to move on to the next step: mounting the doorbell. Properly mounting the device will ensure optimal positioning, enabling it to capture clear video footage and detect motion accurately.
Step 5: Mounting the Doorbell
Now that you have successfully connected your Ring Video Doorbell 2 to your Wi-Fi network, it’s time to mount the doorbell in its final location. Properly mounting the doorbell is crucial for ensuring optimal functionality and performance. Follow these steps to mount your device:
- Choose the location where you want to install your Ring Video Doorbell 2. Consider a location that provides a clear view of your doorstep and allows for easy access to the device for maintenance or battery replacement.
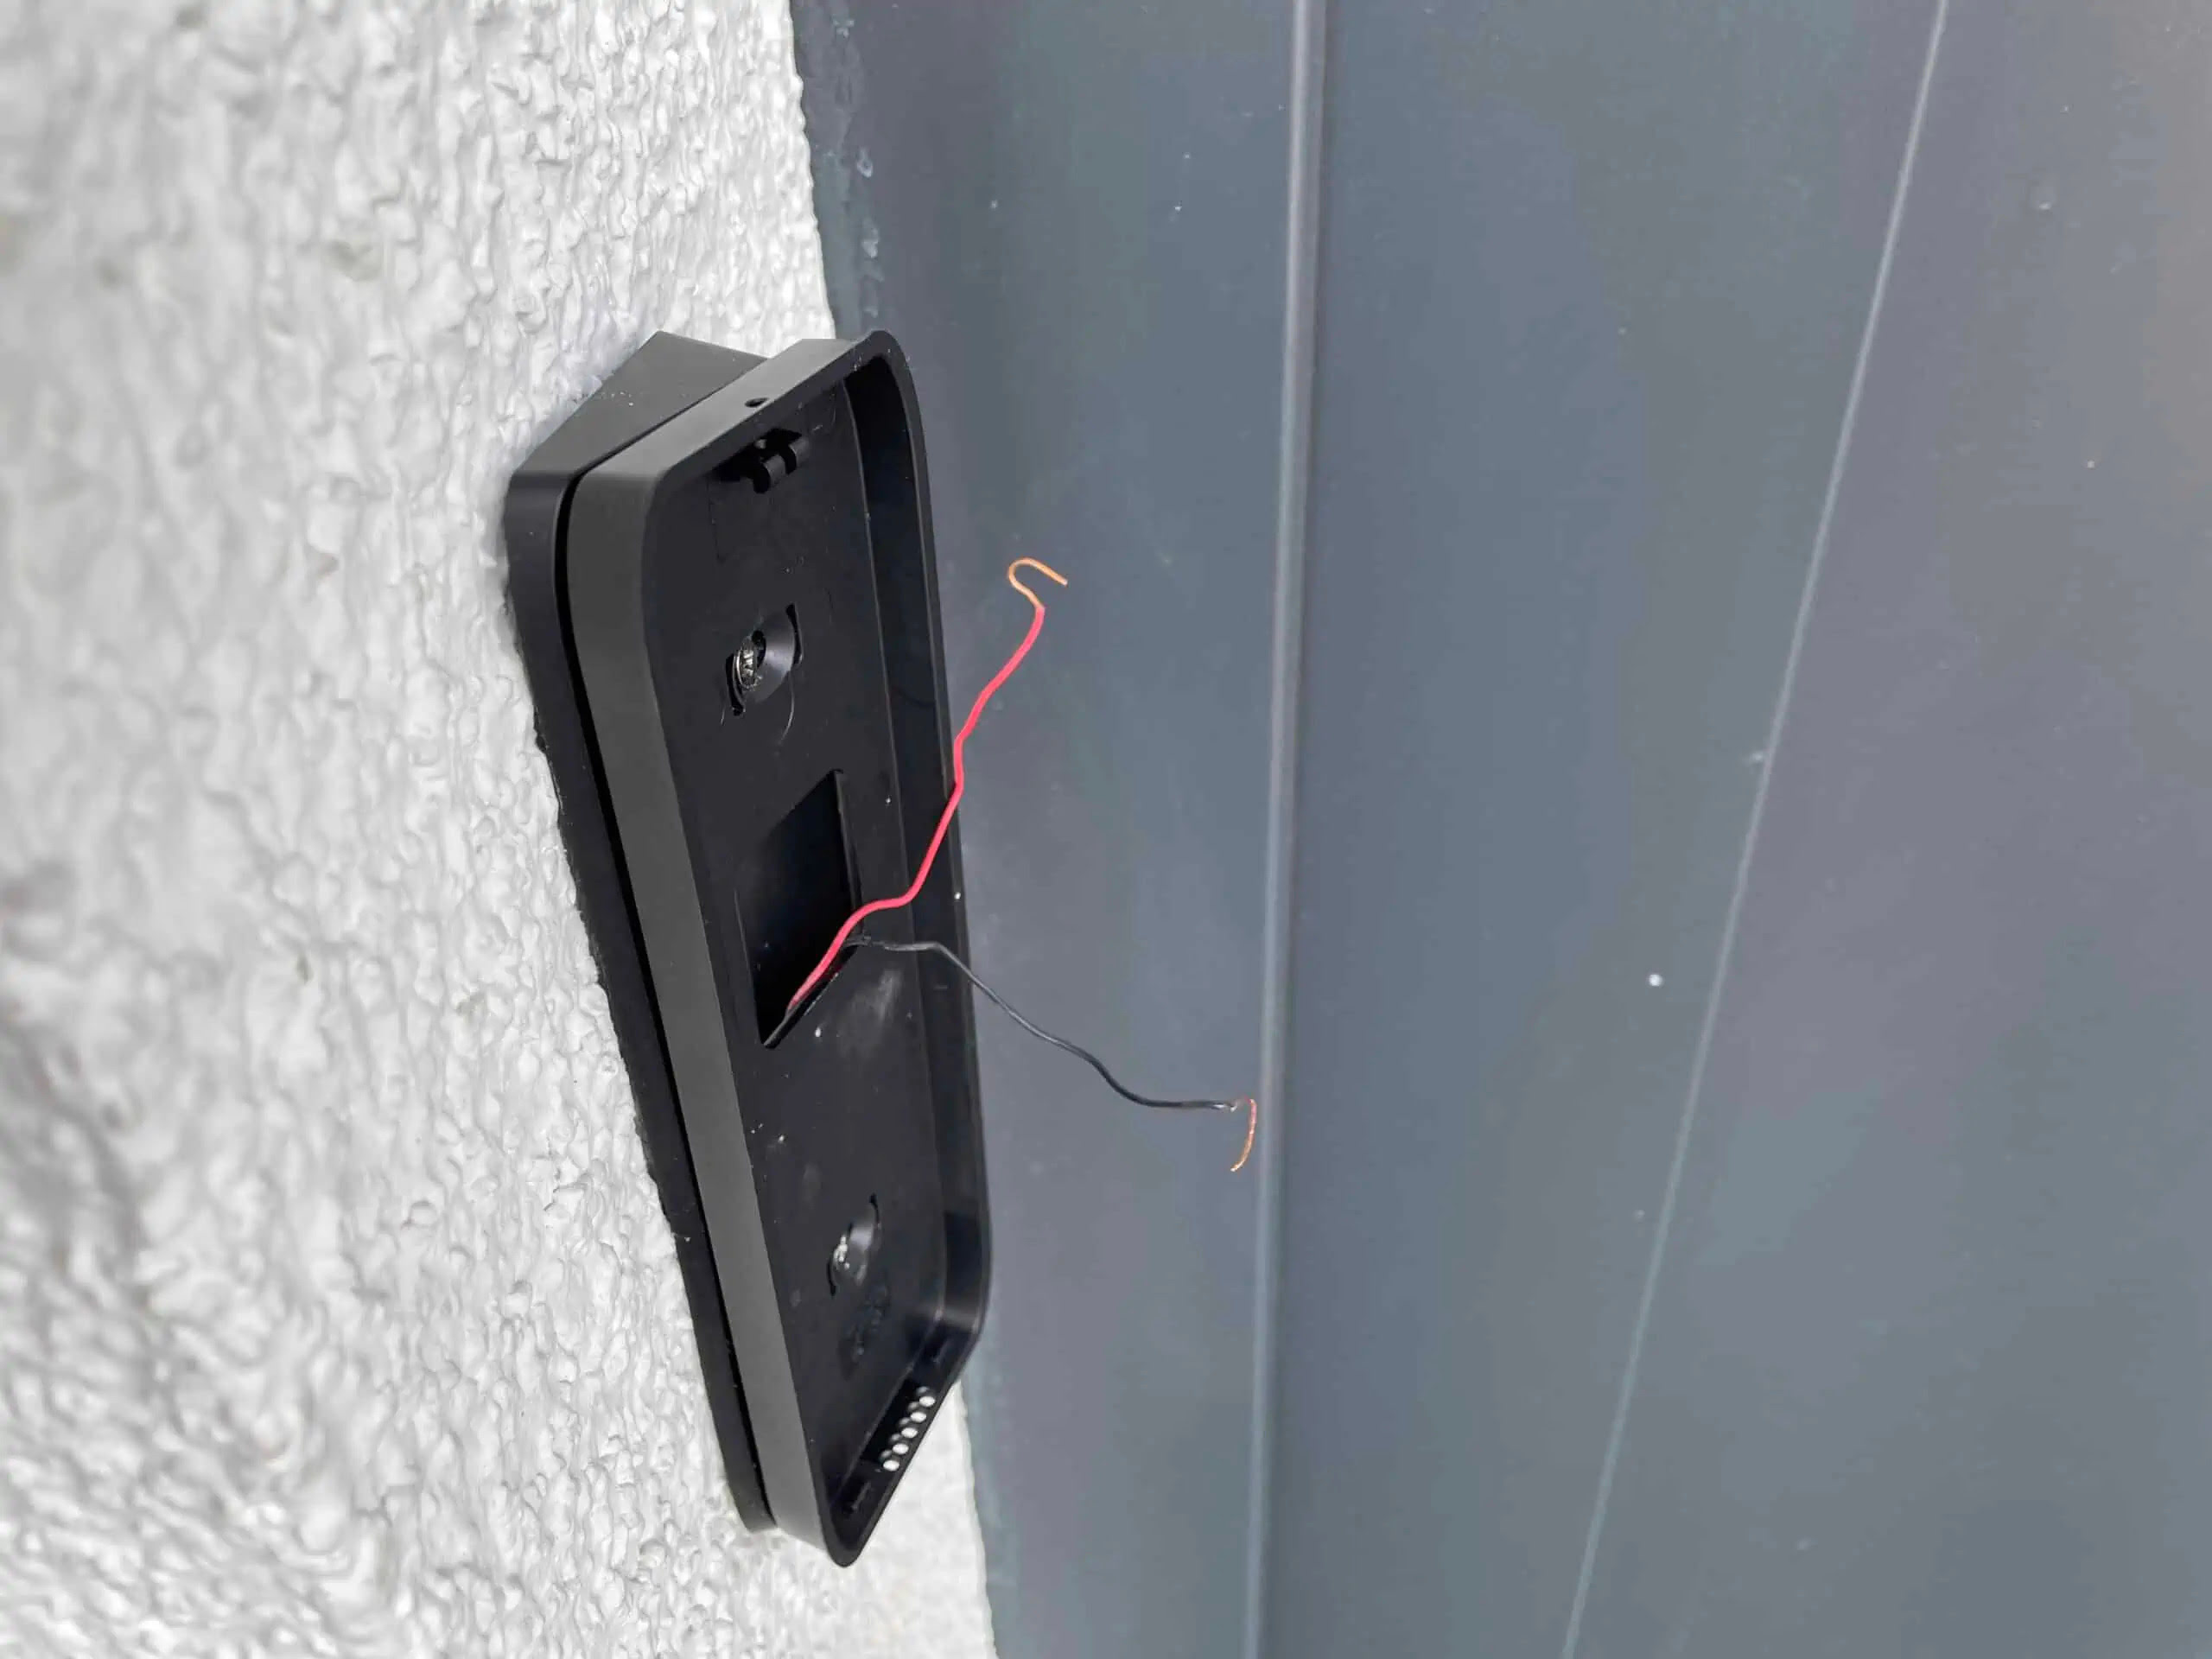
- Using the mounting bracket provided, mark the installation holes on the wall or door frame using a pencil or marker. Make sure the bracket is level before marking the holes.
- Once the holes are marked, drill pilot holes into the wall or door frame at the marked locations. Use an appropriate drill bit size for the screws and anchors provided with your Ring Video Doorbell 2.
- If necessary, insert the provided anchors into the pilot holes to ensure a secure attachment to the wall or door frame.
- Align the mounting bracket with the pilot holes and secure it into place using the provided screws.
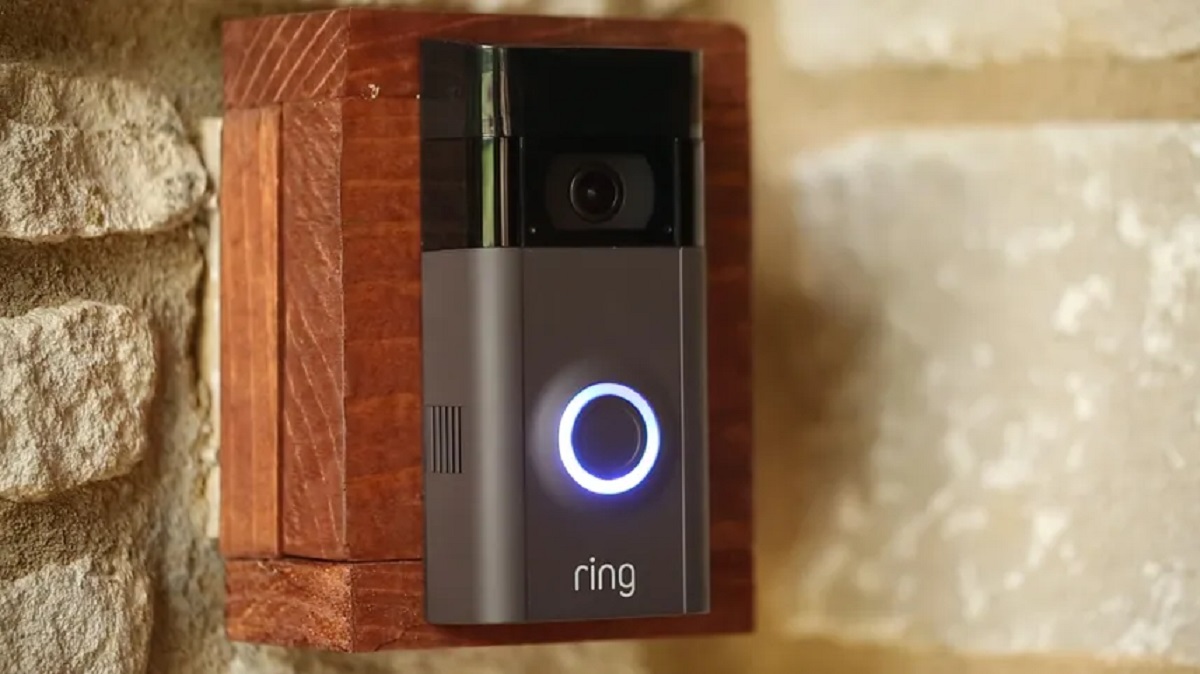
- Once the mounting bracket is securely attached, connect the Ring Video Doorbell 2 to the bracket using the designated slots or clips. Make sure the doorbell is aligned properly and sits flush against the bracket.
- If required, tighten the security screw located at the bottom of the doorbell to prevent unauthorized removal.
- With the doorbell mounted, double-check the positioning and stability. Give it a gentle tug to ensure it is securely attached to the mounting bracket.
It’s important to mention that the Ring Video Doorbell 2 can be mounted using screws or adhesive tape, depending on your preference and the available mounting options. Follow the manufacturer’s instructions and recommendations for your specific mounting method.
Once the doorbell is securely mounted, make sure to adjust the viewing angle of the camera to capture the desired area. You can do this by manually tilting or rotating the doorbell within the mounting bracket.
With the doorbell properly mounted and positioned, it’s time to move on to the next step: adjusting the motion settings. Fine-tuning the motion detection settings will ensure that you receive accurate alerts and notifications when activity is detected near your front doorstep.
Step 6: Adjusting the Motion Settings
Now that your Ring Video Doorbell 2 is mounted and ready for action, it’s crucial to adjust the motion settings to ensure accurate and reliable detection of activity around your front doorstep. By customizing the motion settings, you can minimize false alerts and fine-tune the sensitivity to your desired level. Follow these steps to adjust the motion settings:
- Open the Ring app on your smartphone or tablet.
- Sign in to your Ring account if prompted.
- Tap on the menu icon located in the upper-left corner of the app’s main screen.
- Select “Devices” from the menu options to view your connected Ring devices.
- Tap on the Ring Video Doorbell 2 from the list of devices.
- In the doorbell’s settings, look for the “Motion Settings” option and tap on it.
- Adjust the motion detection range by using the slider provided. Moving the slider to the left decreases the detection range, while moving it to the right increases the range.
- If desired, you can also adjust the motion sensitivity level. Higher sensitivity levels will detect even subtle movements, while lower sensitivity levels may ignore small movements.
- Make sure to take note of any other customizable options, such as motion zones or advanced settings, that can further refine the motion detection capabilities of your doorbell.
- Once you have made the desired adjustments, tap on the “Save” or “Apply” button to save your changes and exit the motion settings.
It’s important to periodically review and adjust the motion settings based on your specific needs and the environment in which your Ring Video Doorbell 2 is installed. Factors such as nearby road traffic, pets, and vegetation can all influence the motion detection performance. Fine-tuning the settings will help ensure that you receive accurate alerts for relevant activity and minimize false notifications.
With the motion settings adjusted to your preference, it’s time to test the functionality of your Ring Video Doorbell 2 and ensure that it is working correctly. This will be the final step in the setup process before you can fully enjoy the convenience and security offered by your doorbell.
Step 7: Testing the Doorbell
After completing all the previous steps to connect, mount, and adjust the settings of your Ring Video Doorbell 2, it’s time to test the functionality and ensure that everything is working as expected. Testing the doorbell will allow you to verify that you can receive notifications, view live video, and interact with visitors. Follow these steps to test your doorbell:
- Position yourself near your front door and ensure that your smartphone or tablet is connected to the same Wi-Fi network as your Ring Video Doorbell 2.
- Ask a family member or friend to stand in front of the doorbell as if they were a visitor.
- From your smartphone or tablet, open the Ring app and go to the live view of your Ring Video Doorbell 2.
- Observe the live video feed to see if the person in front of the doorbell is visible.
- Initiate a two-way conversation with the person at the doorbell by tapping the microphone icon on the app’s interface.
- Listen for audio from the doorbell to ensure that the two-way communication is working correctly.
- If motion is detected, check to see if you receive a notification on your smartphone or tablet.
- Respond to the notification and interact with any visitors by using the app’s features, such as speaking to them through the doorbell or initiating a recording.
- Repeat the testing process multiple times, ensuring that you can consistently receive notifications and view live video whenever the doorbell detects activity.
During the testing process, pay attention to any delays in the live video feed, audio quality, or issues with notifications. If you encounter any problems, double-check your Wi-Fi connection and the placement of your router to ensure strong Wi-Fi signal coverage near your doorbell. Additionally, ensure that your smartphone or tablet has the latest version of the Ring app installed.
By thoroughly testing your Ring Video Doorbell 2, you can address any potential issues or fine-tune settings for optimal performance. Once you are satisfied with the testing results, you can consider the installation process complete, and your doorbell is ready to keep your home secure and provide convenient monitoring of your front doorstep.
Conclusion
Congratulations! You have successfully connected, mounted, and tested your Ring Video Doorbell 2. By following the steps outlined in this guide, you have set up a powerful and convenient device that will enhance the security and convenience of your home.
The Ring Video Doorbell 2 allows you to see, hear, and speak to visitors from anywhere using your smartphone or tablet. With its motion detection capabilities, you’ll receive instant notifications whenever there is activity at your doorstep. Whether you’re at home or away, you can easily monitor and communicate with anyone who comes to your door.
Remember to periodically check and adjust the motion settings to ensure the doorbell’s performance aligns with your preferences. Fine-tuning the range and sensitivity will help minimize false alerts and ensure that you receive relevant notifications when someone approaches your front door. Additionally, keep an eye on the battery level to ensure that your doorbell always has enough power for uninterrupted functionality.
With the Ring Video Doorbell 2 installed, you can enjoy peace of mind knowing that you have an extra layer of security for your home. Whether it’s monitoring package deliveries, deterring potential intruders, or simply monitoring who visits your home, the Ring Video Doorbell 2 provides a convenient and efficient solution.
Thank you for following this guide, and we hope that your experience with the Ring Video Doorbell 2 exceeds your expectations. If you have any further questions or need assistance, refer to the official Ring support resources or consult their customer service. Stay safe, connected, and enjoy the benefits of your Ring Video Doorbell 2!