Introduction
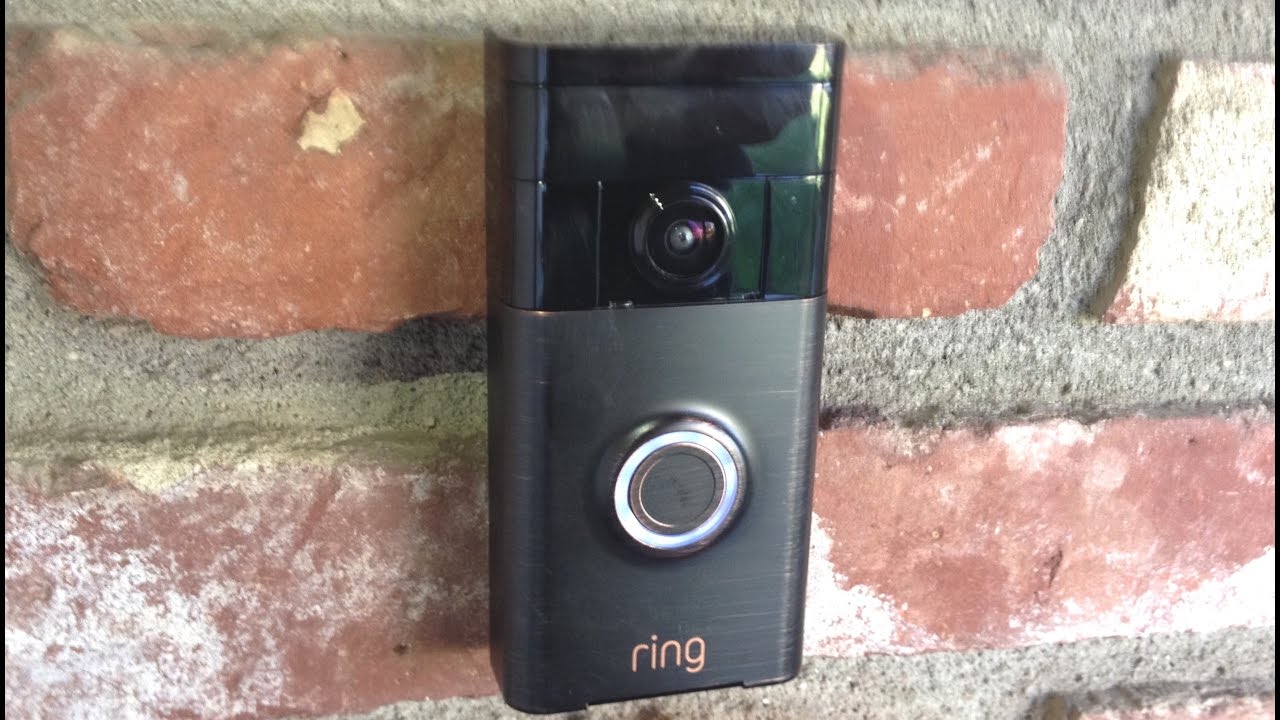
The Ring Video Doorbell is a popular home security device that allows you to monitor and respond to visitors at your front door from anywhere using your smartphone or computer. However, there may come a time when you need to remove the doorbell, whether it’s for maintenance, replacement, or if you’re moving to a new home. In this guide, we will walk you through the step-by-step process of removing your Ring Video Doorbell.
Before you begin, it’s crucial to ensure your safety. Always turn off the power to the doorbell before working on it to prevent any electrical accidents. If you are unsure about any part of the process, consult a professional electrician for assistance.
In the following sections, we will outline the tools and steps required to successfully remove your Ring Video Doorbell. Whether you’re a DIY enthusiast or a homeowner looking to save some money on installation costs, this guide will help you accomplish the task with ease.
So, grab your tools and get ready to learn how to remove your Ring Video Doorbell step-by-step!
What You Will Need
Before you start removing your Ring Video Doorbell, it’s essential to gather the necessary tools and materials. Having these items on hand will make the process smoother and more efficient. Here’s a list of what you will need:
- Flathead screwdriver: This tool will be used to remove the faceplate and disconnect the wires.
- Power drill (optional): If the doorbell is mounted with screws, a power drill can speed up the process of unscrewing them.
- Wire strippers (optional): If needed, wire strippers will help you remove the insulation from the wires more easily.
- Electrical tape: This will come in handy for securing the wires and protecting them from any potential damage.
- Safety goggles: To ensure your safety, wear safety goggles to protect your eyes from any debris or flying particles.
- Gloves: It’s always a good idea to wear gloves to protect your hands while working with electricity and power tools.
- Covering materials (optional): If you plan to fill and cover the holes left by the doorbell, gather any necessary materials such as putty or paint to complete the task.
By having these tools and materials ready, you’ll be well-prepared to tackle the task of removing your Ring Video Doorbell. It’s important to ensure you have everything you need before you begin to avoid any unnecessary interruptions or delays.
Step 1: Turn off the Power
Before you begin removing your Ring Video Doorbell, it’s crucial to ensure your safety by turning off the power to the device. Here’s how you can do it:
- Locate the circuit breaker or fuse box in your home. This is usually found in a basement, garage, or utility room.
- Identify the circuit that supplies power to your doorbell. Look for any labels or indicators that might indicate the correct circuit.
- Flip the switch or remove the fuse that corresponds to the doorbell circuit. This will cut off power supply to the device.
- To double-check that the power is off, attempt to ring the doorbell from outside your home. If it doesn’t ring or make any sound, the power is successfully turned off.
Turning off the power is an essential safety precaution to prevent any electrical accidents while you work on removing the doorbell. Always take the time to ensure the power is off before proceeding to the next steps.
Keep in mind that if you have a battery-operated Ring Video Doorbell model, you may simply remove the battery and skip this step. However, if your device is hardwired, follow the steps outlined above to turn off the power.
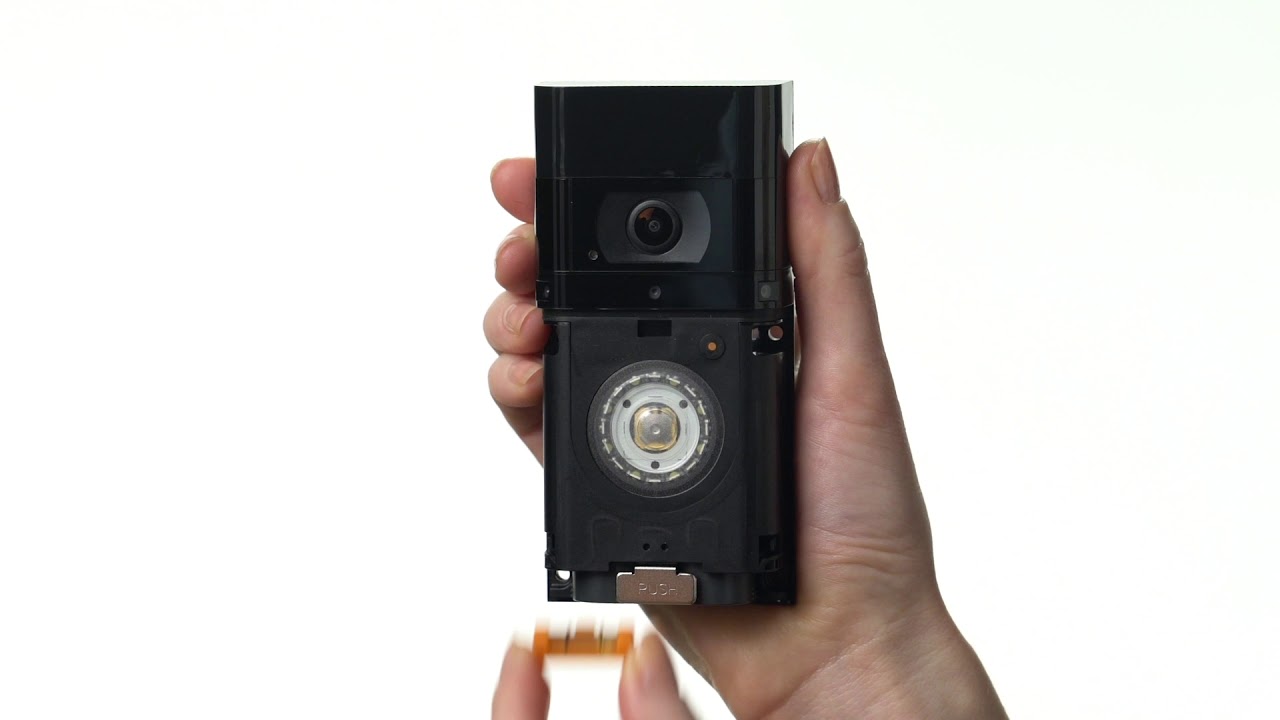
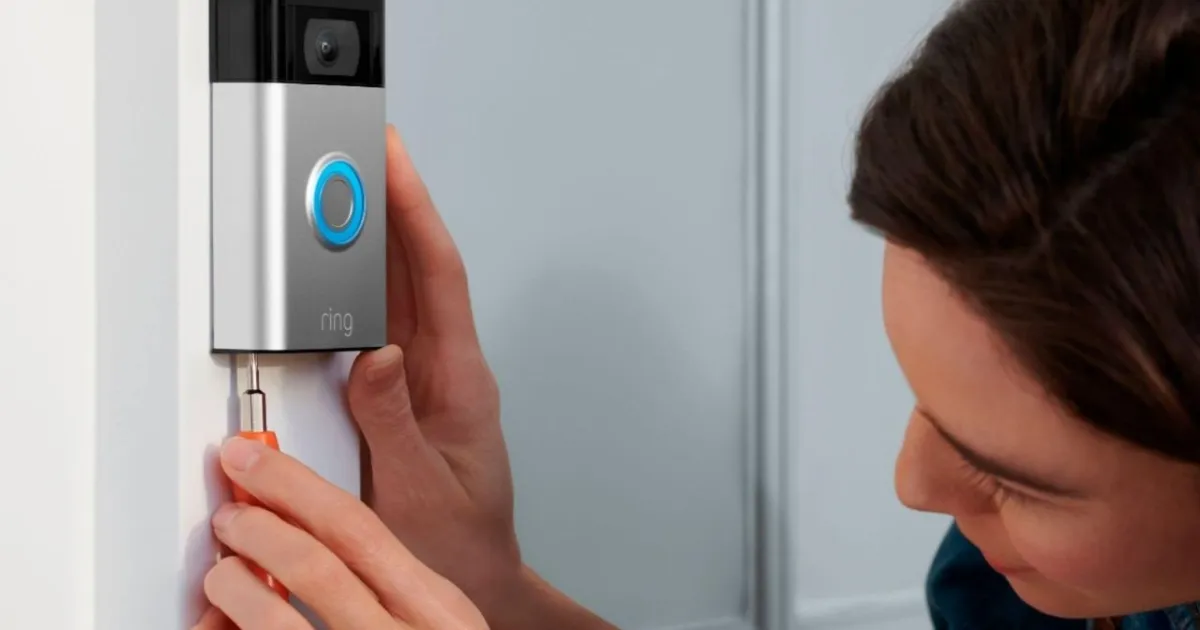
Step 2: Remove the Faceplate
Once you have ensured that the power to your Ring Video Doorbell is turned off, you can proceed to remove the faceplate. Follow these steps:
- Take a flathead screwdriver and insert it into the small slot located at the bottom of the faceplate.
- Gently pry the faceplate away from the mounting bracket by applying even pressure. Be careful not to use excessive force to avoid damaging the faceplate or the device.
- Slowly lift the faceplate away from the mounting bracket until it comes off completely.
By removing the faceplate, you will be able to access the wires and mounting bracket more easily in the next steps.
If your Ring Video Doorbell has a rechargeable battery, you may need to remove the battery before attempting to remove the faceplate. Refer to the user manual for instructions on how to remove the battery, if necessary.
Keep the faceplate in a safe place during the removal process to prevent any damage or loss. Once you have removed the faceplate, you’re ready to move on to the next step of disconnecting the wires.
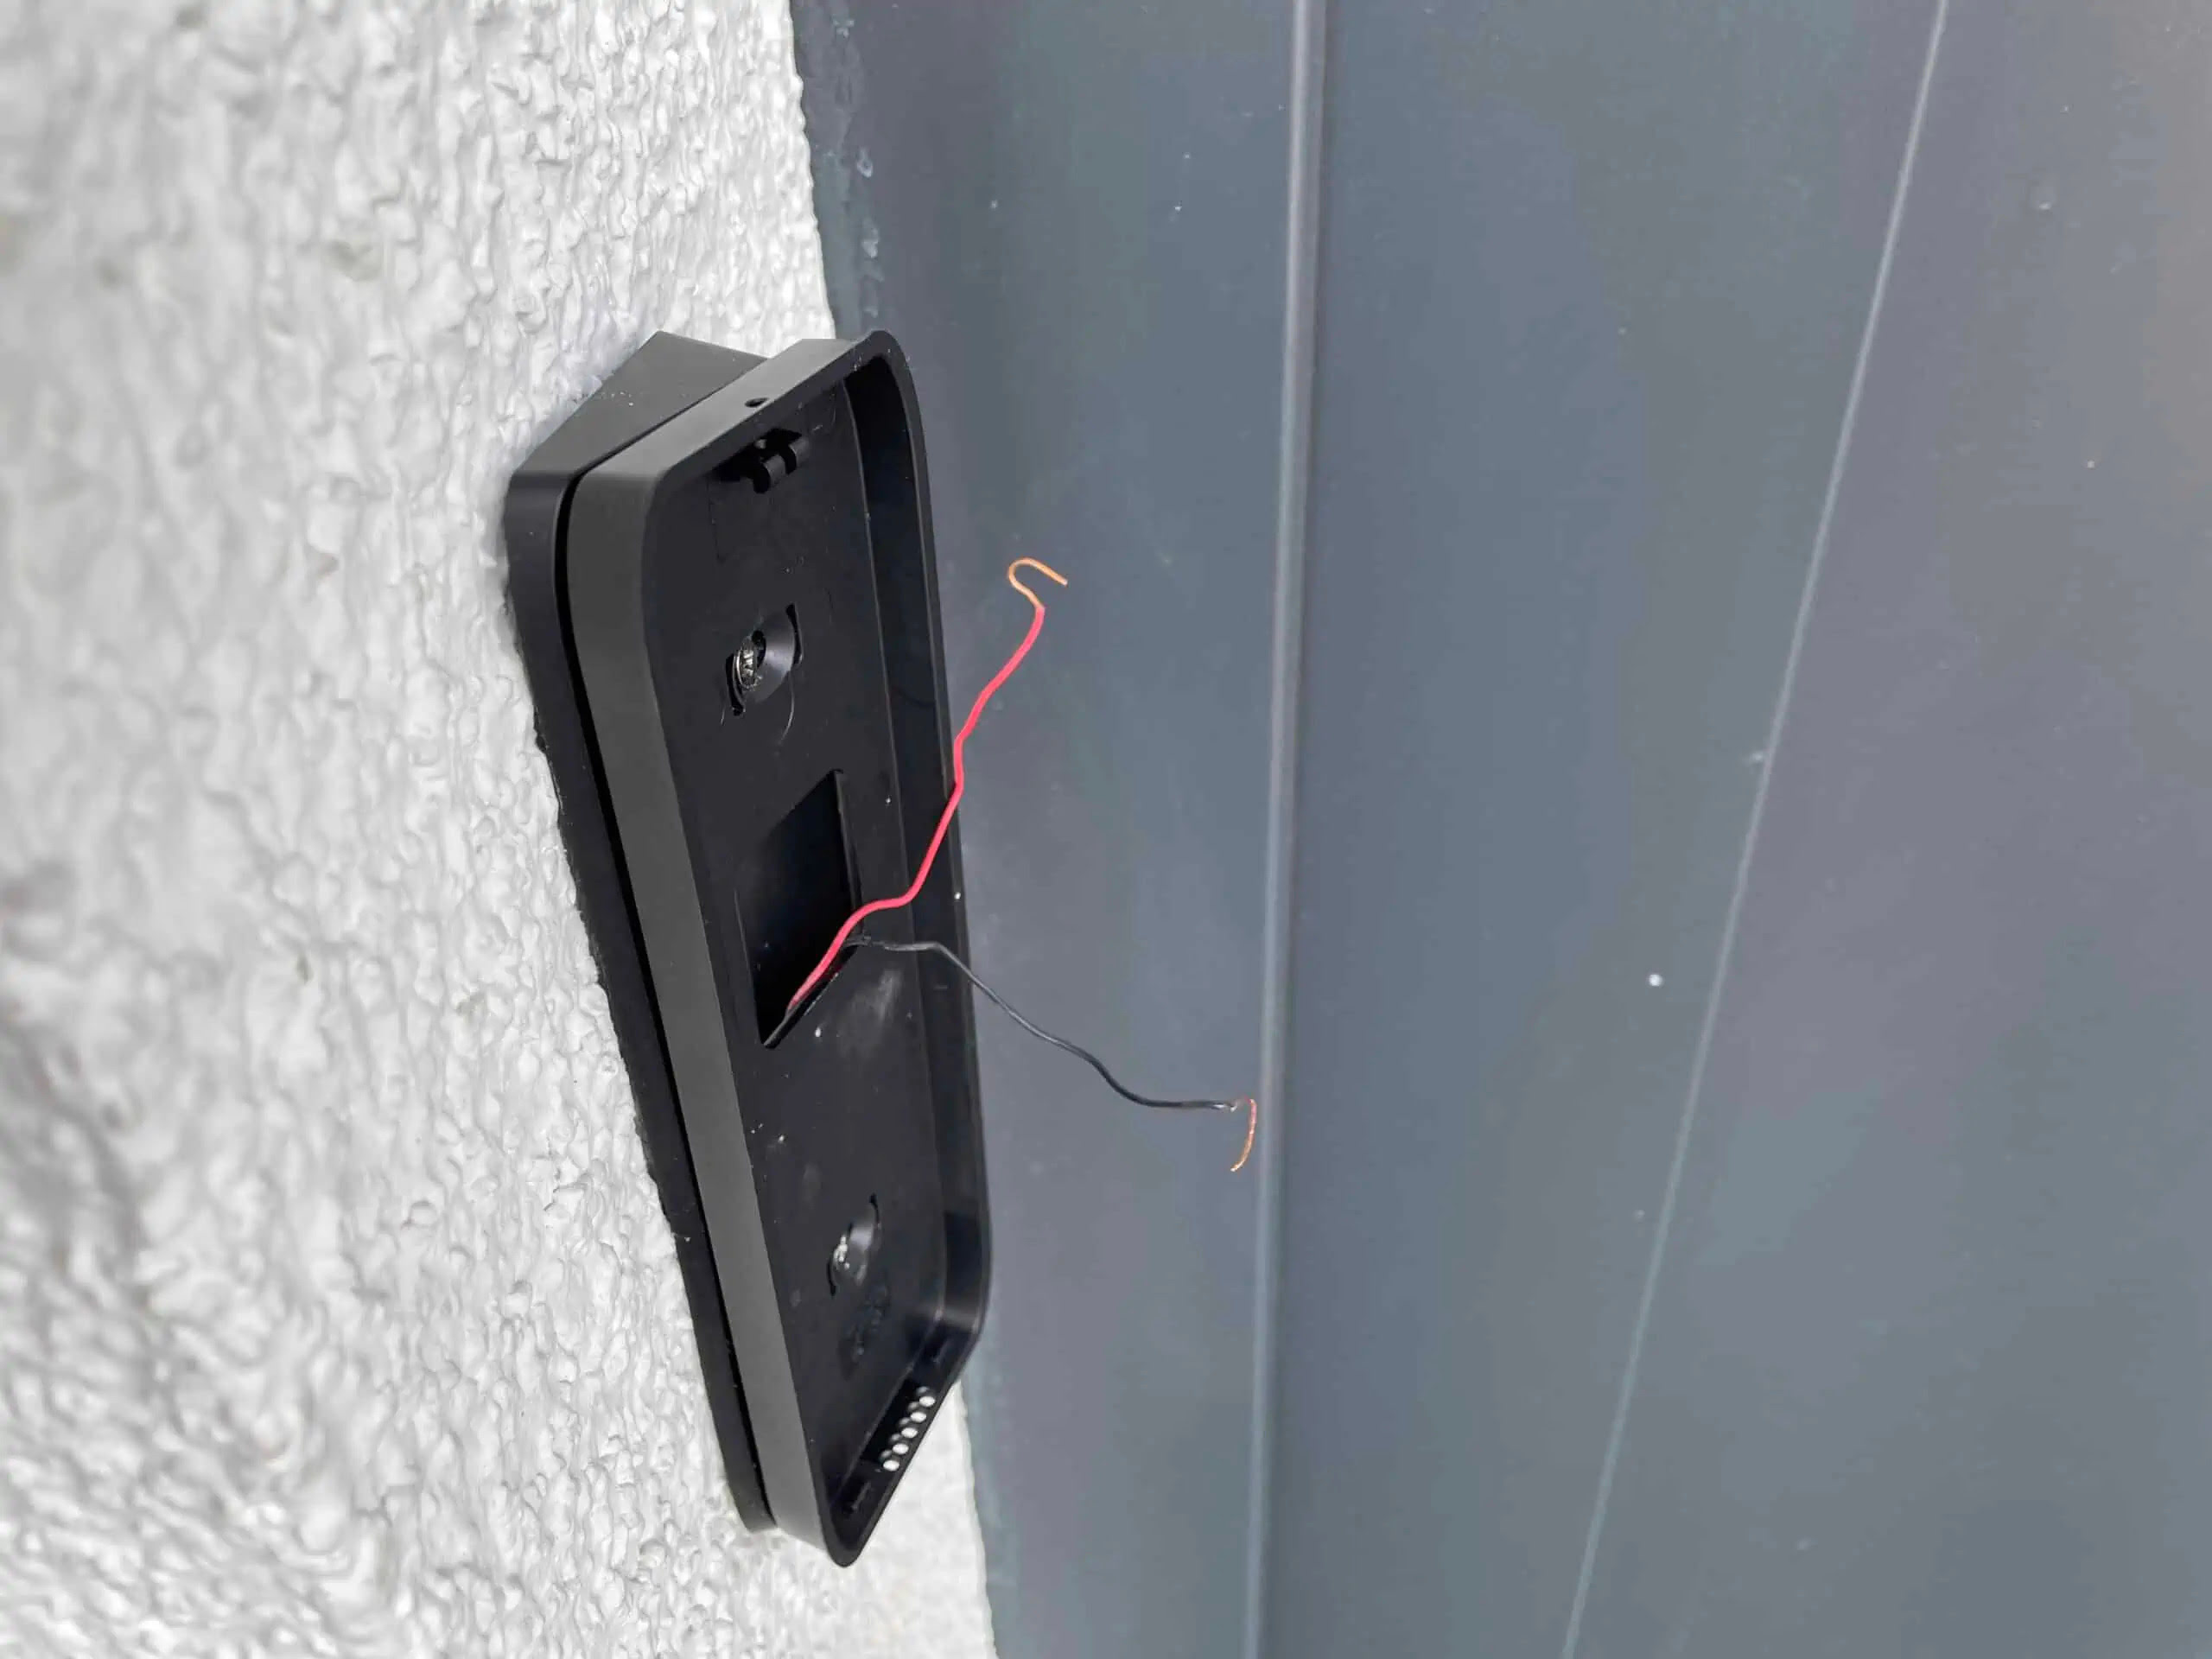
Step 3: Disconnect the Wires
With the faceplate removed, you can now proceed to disconnect the wires from your Ring Video Doorbell. Follow these steps:
- Locate the wire connectors that are connecting the doorbell wires to the mounting bracket. These connectors are typically found at the back of the mounting bracket.
- Using a flathead screwdriver, gently loosen the wire connectors by turning them counterclockwise. This will release the grip on the wires.
- Once the connectors are loose, carefully pull the wires from the connectors. You may need to use some gentle tugging to disconnect them completely.
- Take note of the wire colors and their corresponding labels (if any) to ensure proper reinstallation or for reference if needed.
- If the wires have any insulation tape around them, remove the tape and set it aside for later use.
It’s important to handle the wires with care to avoid any damage or accidental electrical contact. Take your time when disconnecting the wires, ensuring that they are fully detached from the mounting bracket.
Labeling the wires or taking a photo of the configuration before disconnecting them can be helpful when reinstalling the Ring Video Doorbell or if you need to refer to them in the future.
Once you have successfully disconnected the wires, you can proceed to the next step of unscrewing the mounting bracket from the wall or door frame.
Step 4: Unscrew the Mounting Bracket
Now that you have disconnected the wires, it’s time to remove the mounting bracket of your Ring Video Doorbell. Follow these steps:
- Inspect the mounting bracket and identify the screws that are securing it to the wall or door frame.
- Using a screwdriver or a power drill with the appropriate screwdriver bit, slowly and carefully unscrew the mounting screws.
- As you remove each screw, hold onto the mounting bracket to prevent it from falling or becoming loose prematurely.
- Once all the screws are removed, gently pull the mounting bracket away from the wall or door frame.
It’s important to be cautious when removing the mounting bracket to avoid causing any damage to the surrounding area or the doorbell itself.
If you are planning to reinstall the Ring Video Doorbell or if you need to cover the holes left by the mounting bracket, it’s a good idea to keep the screws and the mounting bracket in a safe place for future use.
With the mounting bracket removed, you’re now ready to proceed to the next step of actually removing the Ring Video Doorbell from the mounting bracket.
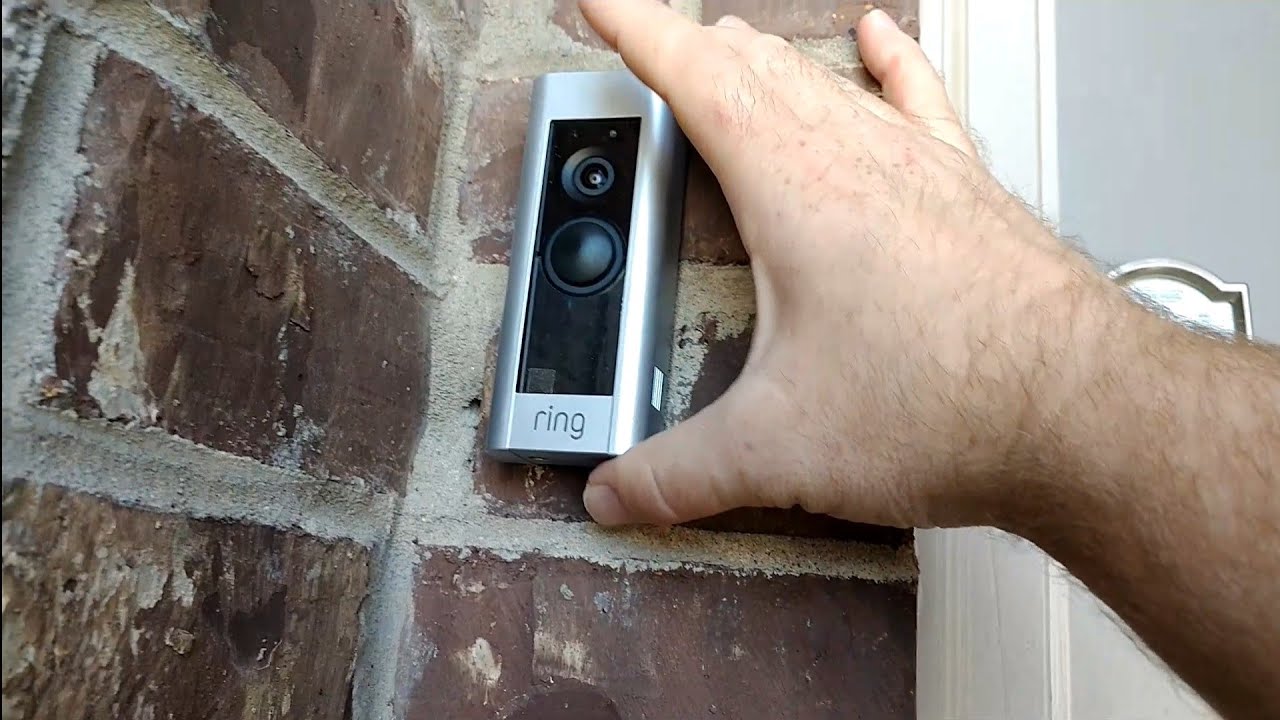
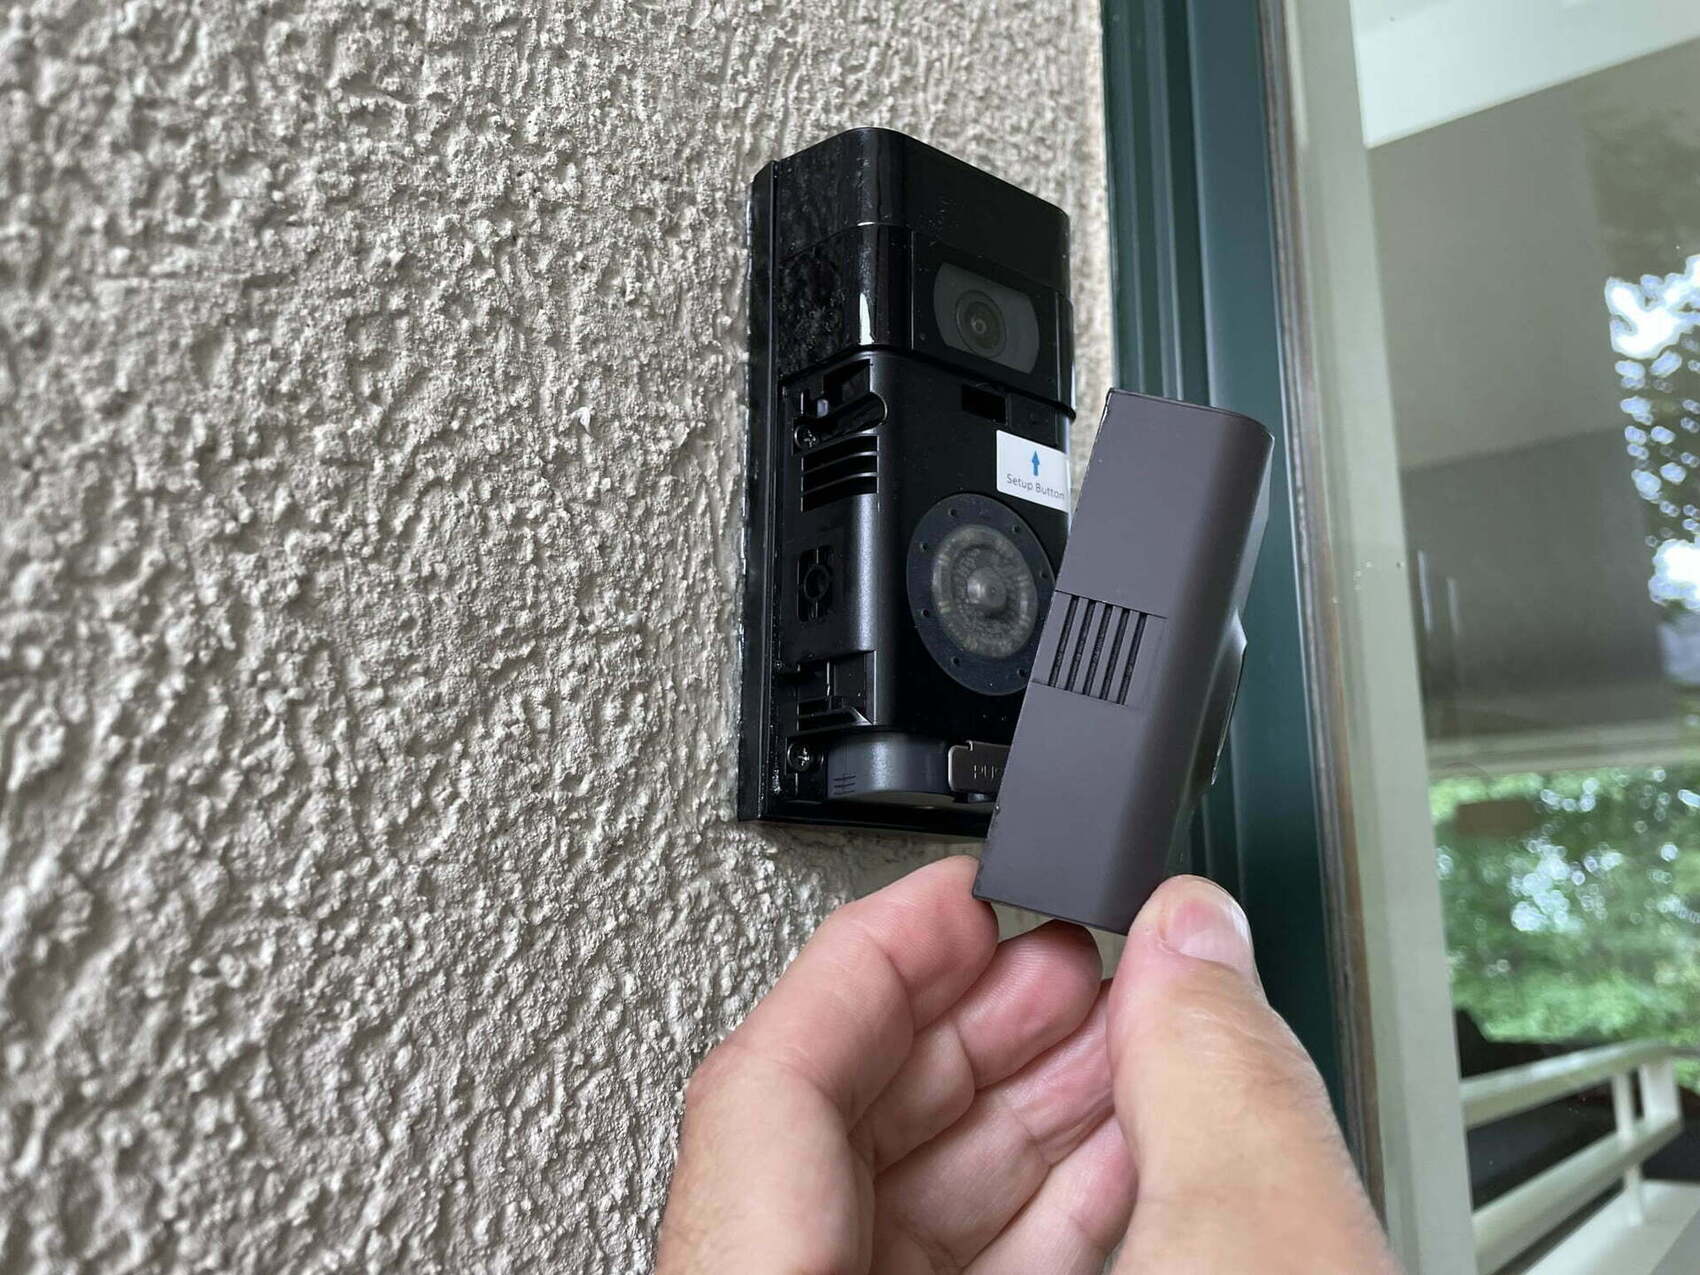
Step 5: Remove the Doorbell
With the mounting bracket detached from the wall or door frame, you can now proceed to remove the Ring Video Doorbell itself. Follow these steps:
- Gently pull the Ring Video Doorbell away from the mounting bracket.
- Ensure that you firmly hold the doorbell as you remove it to prevent it from accidentally falling or being damaged.
- If there are any clips or securing mechanisms holding the doorbell in place, carefully release them to fully remove the device.
- Inspect the back of the doorbell to ensure that no wires are still connected to it. If any wires are still attached, gently disconnect them.
- Set the Ring Video Doorbell aside in a safe place to protect it from any potential damage.
By removing the doorbell from the mounting bracket, you have successfully disconnected it from your home’s wiring and prepared it for further action, such as maintenance, replacement, or relocation.
If you plan to reinstall the same Ring Video Doorbell or install a new one, keep the removed device in a secure location until you are ready to proceed. If you are replacing the device, follow the manufacturer’s instructions on how to dispose of or recycle the old one.
With the Ring Video Doorbell removed, you can now move on to the optional steps of filling and covering any holes left by the device.
Step 6: Fill and Cover Holes (Optional)
If you have decided to remove your Ring Video Doorbell permanently or if you want to give your wall or door frame a clean and finished look, you can choose to fill and cover the holes left by the device. Here’s how:
- Inspect the holes left by the screws that were used to secure the mounting bracket.
- If the holes are small, you can use a putty knife or a small spatula to apply a wall patching compound or spackle. Fill the holes with the compound, ensuring a smooth and even application.
- If the holes are larger, a stronger adhesive may be needed. Consider using a wall repair patch or an adhesive filler specifically designed for larger holes.
- Once the compound or adhesive has dried, use sandpaper to smooth out the patched area. Start with a coarse-grit sandpaper and gradually move to a finer-grit for a seamless finish.
- If necessary, apply a primer to the patched area to prepare it for painting.
- Once the primer has dried, you can paint over the patched area to match your wall or door frame. Use a small brush or a mini roller for precision.
- If you prefer not to paint, you can use a peel-and-stick wallpaper or a decorative wall decal to cover the patched area.
By filling and covering the holes left by the Ring Video Doorbell, you can restore the appearance of your wall or door frame and ensure a clean and finished look.
Keep in mind that these steps are optional, and you can skip them if you plan to reinstall the doorbell or if you are not concerned about the appearance of the holes. The choice is entirely up to you.
With the holes filled and covered (if desired), you have completed the optional step of ensuring a polished look after removing your Ring Video Doorbell.
Step 7: Reinstall the Faceplate (Optional)
If you plan on reinstalling your Ring Video Doorbell or if you want to maintain the aesthetic of your front entrance, you can choose to reinstall the faceplate. Follow these steps:
- Take the faceplate of your Ring Video Doorbell and align it with the mounting bracket.
- Gently press the faceplate against the mounting bracket, ensuring that it is properly aligned and securely attached.
- If your doorbell has a snap-on design, you should hear a click or feel it snap into place. If it has screws, use a screwdriver to secure it.
- Double-check that the faceplate is tightly and securely attached to the mounting bracket.
By reinstalling the faceplate, you can restore the visual appeal of your front entrance and maintain the functionality of your Ring Video Doorbell.
It’s important to note that reinstalling the faceplate is an optional step. If you do not wish to reinstall it or if you plan on replacing your Ring Video Doorbell with a different model, you can skip this step.
With the faceplate reinstalled (if desired), you have completed the process of removing and potentially reinstalling your Ring Video Doorbell.
Conclusion
Removing your Ring Video Doorbell may seem like a daunting task, but by following the step-by-step process outlined in this guide, you can successfully complete the removal with ease. Whether you’re conducting maintenance, replacing the device, or moving to a new home, the steps provided will help you navigate the process effectively.
Remember to always prioritize safety by turning off the power before starting any work and exercising caution when handling electrical components. If you feel unsure or uncomfortable at any point during the removal process, it’s best to consult a professional electrician for assistance.
Additionally, while the guide includes optional steps to fill and cover holes or reinstall the faceplate, these choices depend on your preferences and specific circumstances. You have the flexibility to skip these steps or modify them to suit your needs.
By removing and potentially reinstalling your Ring Video Doorbell correctly, you can maintain the security of your home and ensure the smooth functioning of your doorbell device.
We hope this guide has been helpful in guiding you through the process of removing your Ring Video Doorbell. Remember to keep the necessary tools and materials handy, follow the safety precautions, and take your time to complete each step carefully. With these actions, you can confidently remove your Ring Video Doorbell and proceed with any necessary maintenance or changes.