Introduction
Welcome to this step-by-step guide on how to remove the faceplate from your Ring Video Doorbell 2. The faceplate is the outer cover of the doorbell, and there may be various reasons why you would want to remove it. Whether you need to clean it, replace it, or perform any maintenance, this guide will help you accomplish the task easily and safely.
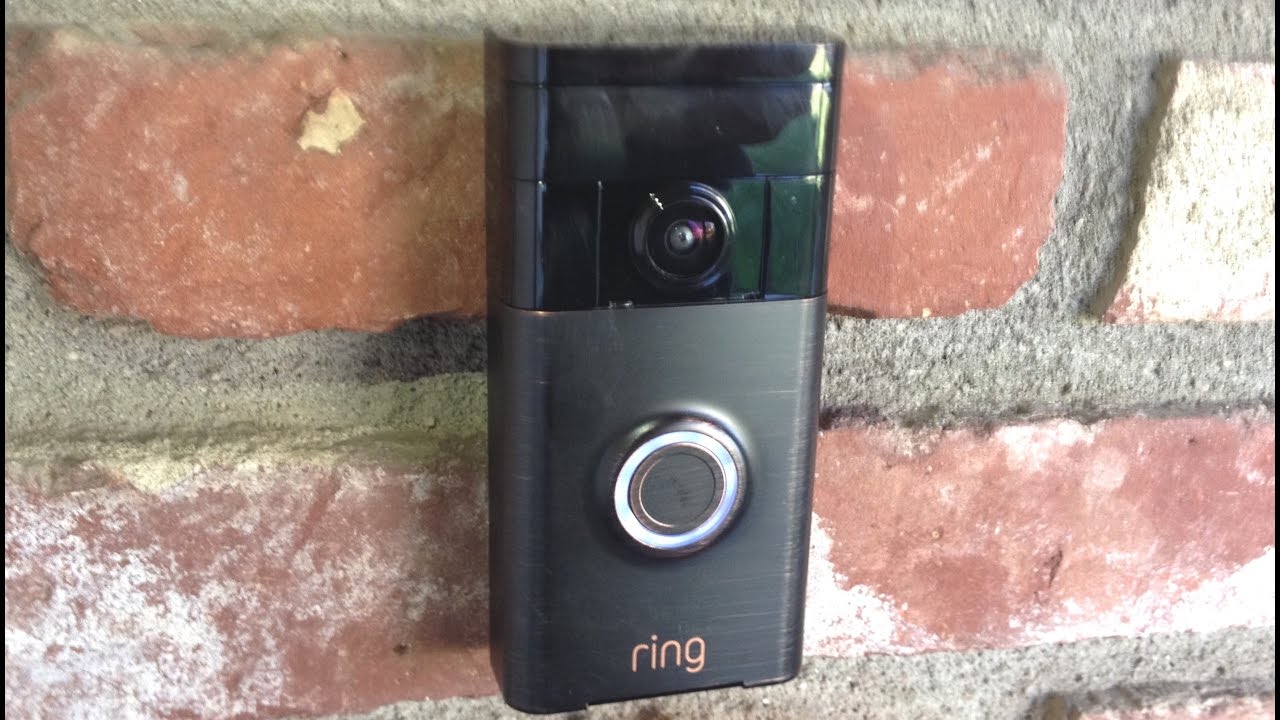
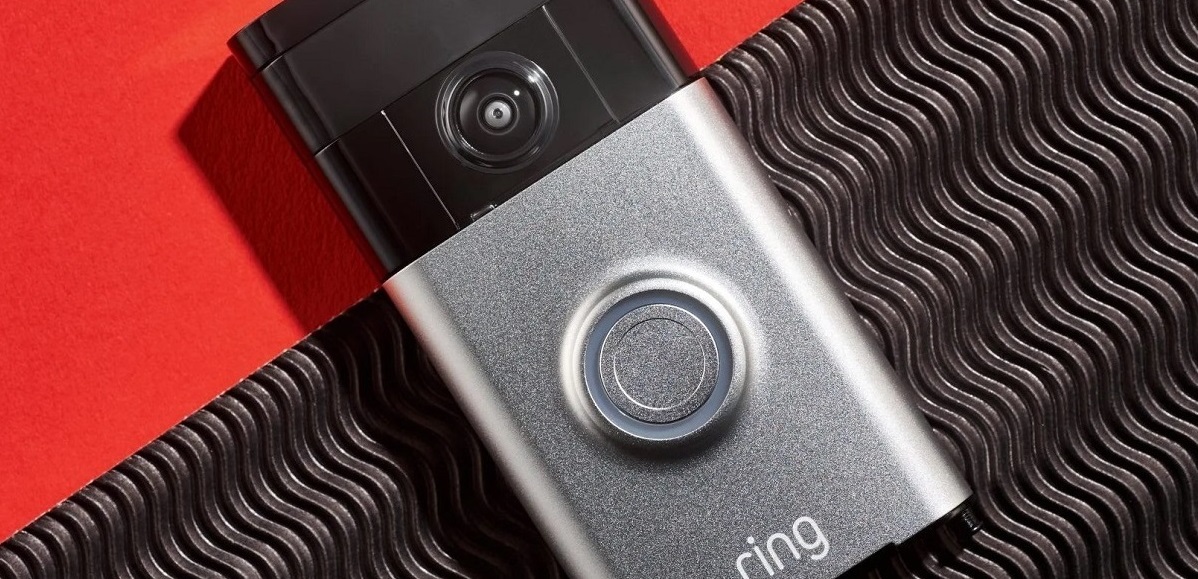
The Ring Video Doorbell 2 is a popular and innovative device that provides enhanced security and convenience for homeowners. It allows you to see, hear, and speak to anyone at your door, even when you’re not at home. However, there can be instances where you need to access the internals of the doorbell, and removing the faceplate is the first step in doing so.
Before we dive into the process, it’s essential to understand that the Ring Video Doorbell 2 operates using electricity. Therefore, it’s crucial to follow the instructions carefully to ensure your safety during the faceplate removal. It’s also important to note that this guide is specifically for the Ring Video Doorbell 2 and may not be applicable to other models.
Now, let’s get started with the necessary tools you’ll need for the faceplate removal process.
Why Remove the Faceplate?
There are several reasons why you might need to remove the faceplate from your Ring Video Doorbell 2.
Firstly, you may want to clean the faceplate to maintain the doorbell’s appearance. Over time, dust, dirt, and grime can accumulate on the faceplate, making it look dull and less appealing. By removing the faceplate, you can effectively clean it using a soft cloth and mild soapy water, ensuring that your doorbell continues to look its best.
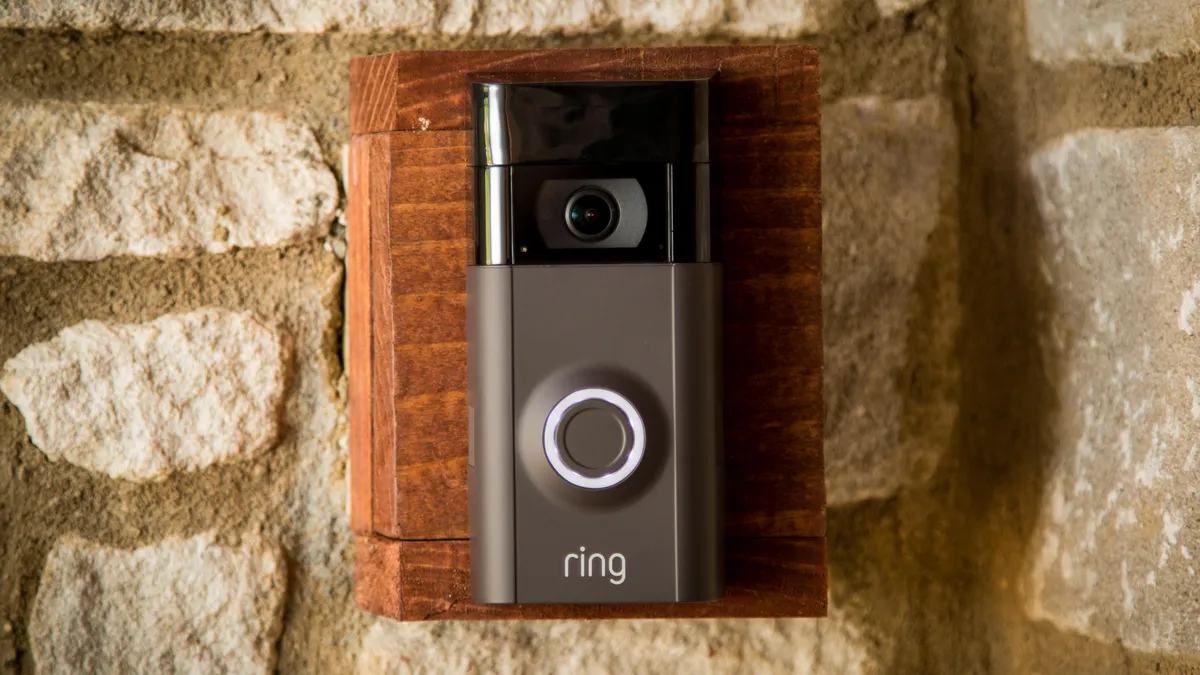
Secondly, you may need to replace the faceplate due to damage or wear and tear. If the faceplate of your Ring Video Doorbell 2 has become cracked, scratched, or faded, removing it will allow you to install a new one easily. This is particularly useful if you’ve recently redecorated your home or if you simply want to change the color or style of the faceplate to match your preferences or the seasons.
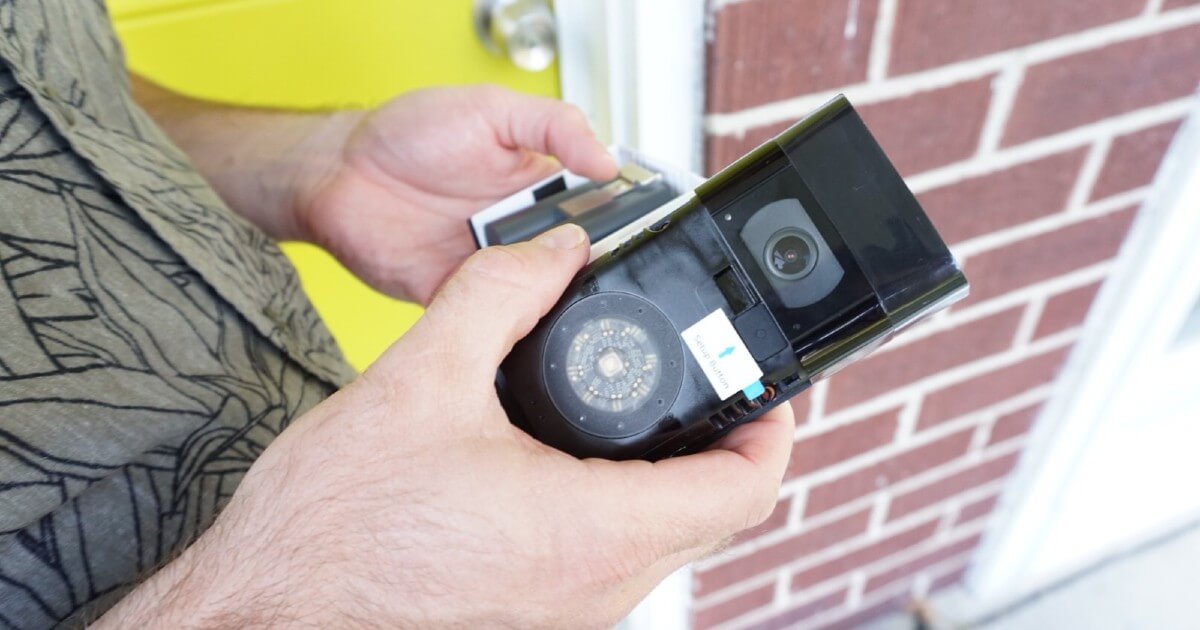
Thirdly, removing the faceplate may be necessary if you’re experiencing technical issues with your Ring Video Doorbell 2. In some cases, certain components or connections may require inspection or troubleshooting. By removing the faceplate, you can access the internal parts more easily and perform any necessary maintenance or repairs.
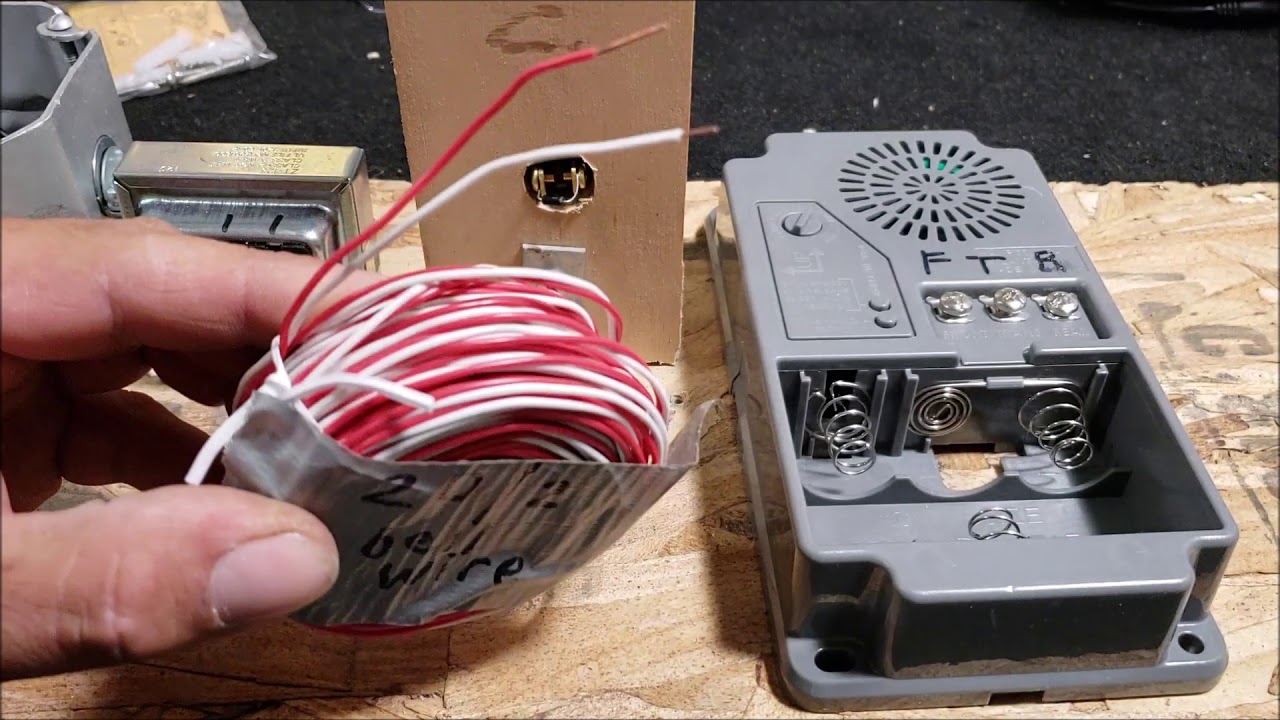
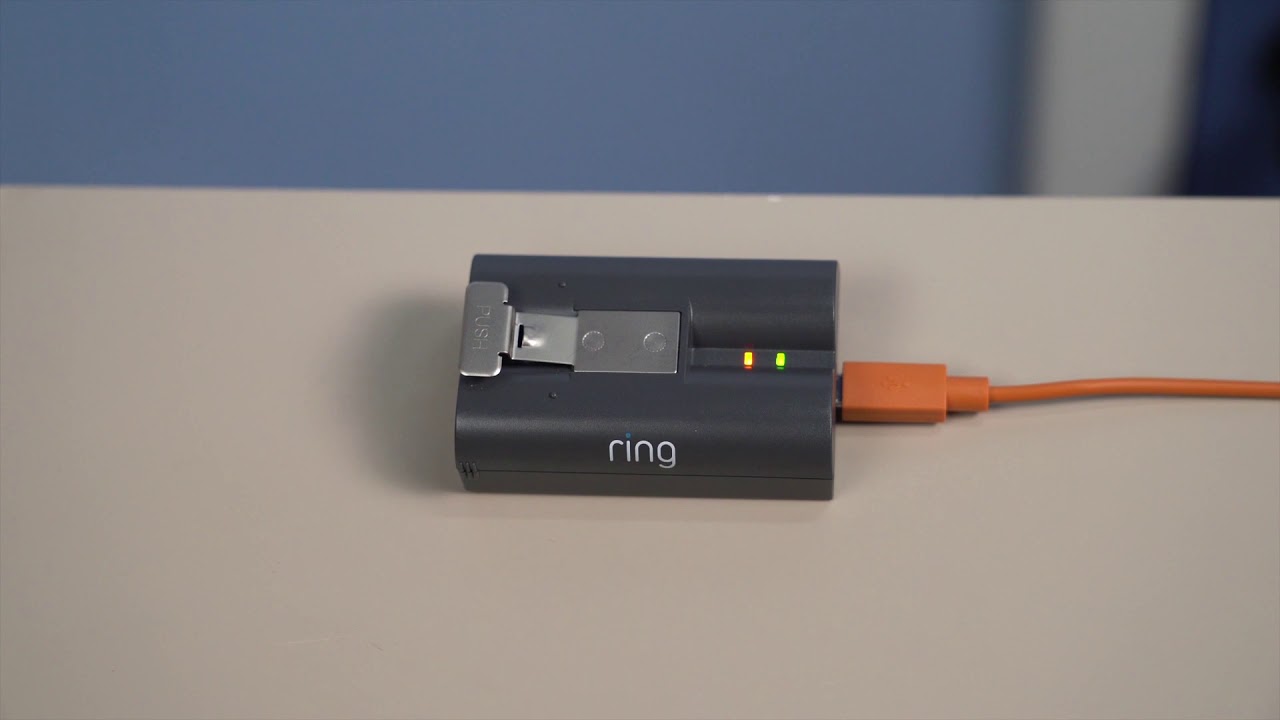
Lastly, removing the faceplate can provide access to additional features or accessories. Some homeowners may want to connect auxiliary devices, such as a power booster or a separate chime, to enhance the functionality of their Ring Video Doorbell 2. Removing the faceplate allows you to make the necessary connections and modifications.
Now that you know the various reasons for removing the faceplate, let’s move on to the tools you’ll need for the process.
Tools Needed
Before you begin the process of removing the faceplate from your Ring Video Doorbell 2, there are a few essential tools that you’ll need. Having these tools on hand will ensure a smooth and hassle-free removal process. Here’s a list of the tools you’ll need:
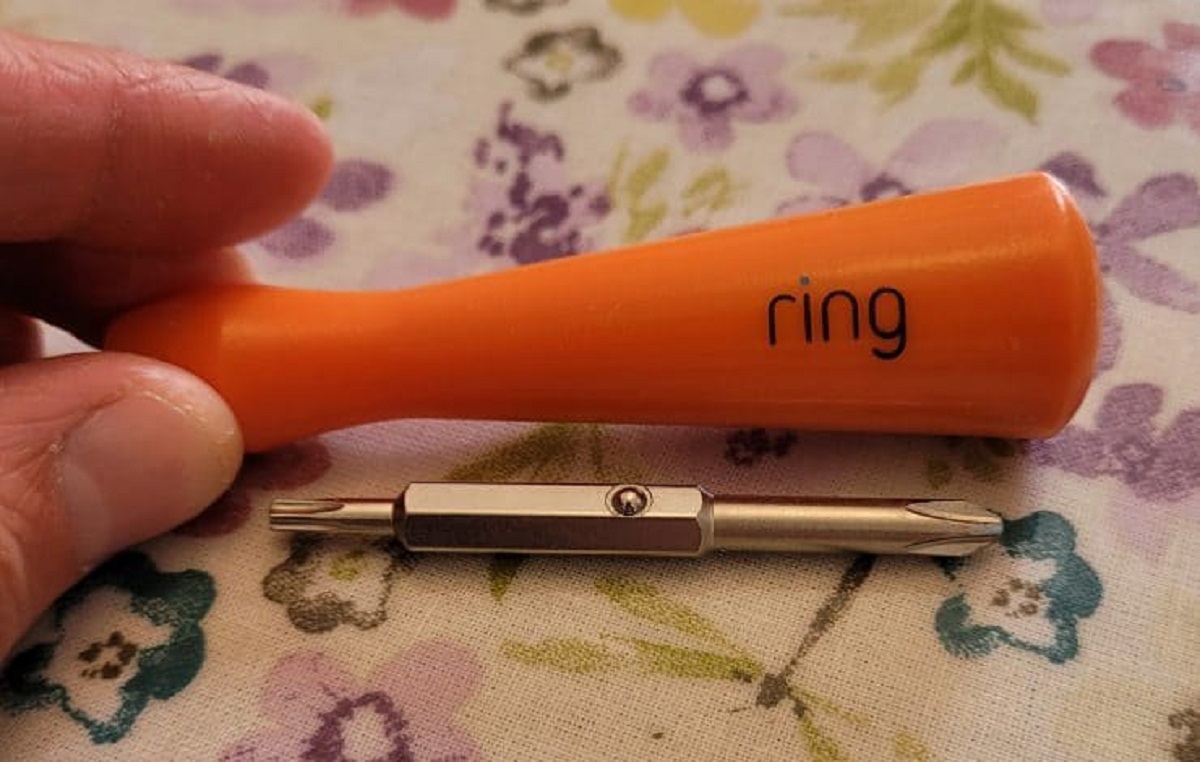
- Phillips-head screwdriver: This tool will be used to remove the security screws that hold the faceplate in place.
- Soft cloth: You will need a soft cloth to clean the faceplate if necessary.
- Mild soapy water: In case the faceplate needs cleaning, you can use a mild soapy water solution along with the soft cloth.
It’s important to make sure that you have these tools readily available before you proceed with the faceplate removal. This will save you time and effort, and ensure that you have everything you need to complete the task successfully.
Now that you have the necessary tools, let’s move on to the step-by-step process of removing the faceplate from your Ring Video Doorbell 2.
Step 1: Power off the Doorbell
Before you begin removing the faceplate from your Ring Video Doorbell 2, it’s crucial to ensure that the doorbell is powered off. This step is crucial to avoid any electrical mishaps or injuries during the process.
To power off the doorbell, follow these simple steps:
- Locate the electrical circuit breaker or fuse box in your home.
- Identify the circuit or fuse that controls the power supply to your doorbell.
- Switch off the circuit breaker or remove the fuse to cut off the power supply.
By cutting off the power supply to the doorbell, you eliminate the risk of electric shock while working on the faceplate removal.
It’s important to note that if your Ring Video Doorbell 2 is hardwired, the power supply may come from your existing doorbell wiring. In this case, you may need to locate and switch off the breaker that controls the doorbell circuit in your home’s electrical panel.
Once you have successfully powered off the doorbell, you can proceed with the subsequent steps of removing the faceplate. Remember, safety should always be the top priority.
Step 2: Remove Security Screws
With the doorbell power turned off, it’s time to remove the security screws that hold the faceplate in place. Removing these screws will allow you to detach the faceplate and access the internal components of your Ring Video Doorbell 2.
To remove the security screws, follow these step-by-step instructions:
- Locate the two security screws on the bottom of the doorbell. These screws are designed to deter tampering and secure the faceplate.
- Using a Phillips-head screwdriver, insert the screwdriver into one of the security screws.
- Turn the screwdriver counterclockwise to loosen the security screw. Repeat this process for the second security screw.
- Once the screws are sufficiently loosened, carefully remove them from the doorbell. Set them aside in a safe place to prevent misplacement.
It’s important to note that the security screws may be small and tightly secured. Take your time and ensure you have a firm grip on the screwdriver to avoid any slippage or damage to the screws or the doorbell.
After removing the security screws, you are now ready to proceed to the next step of detaching the faceplate from the Ring Video Doorbell 2.
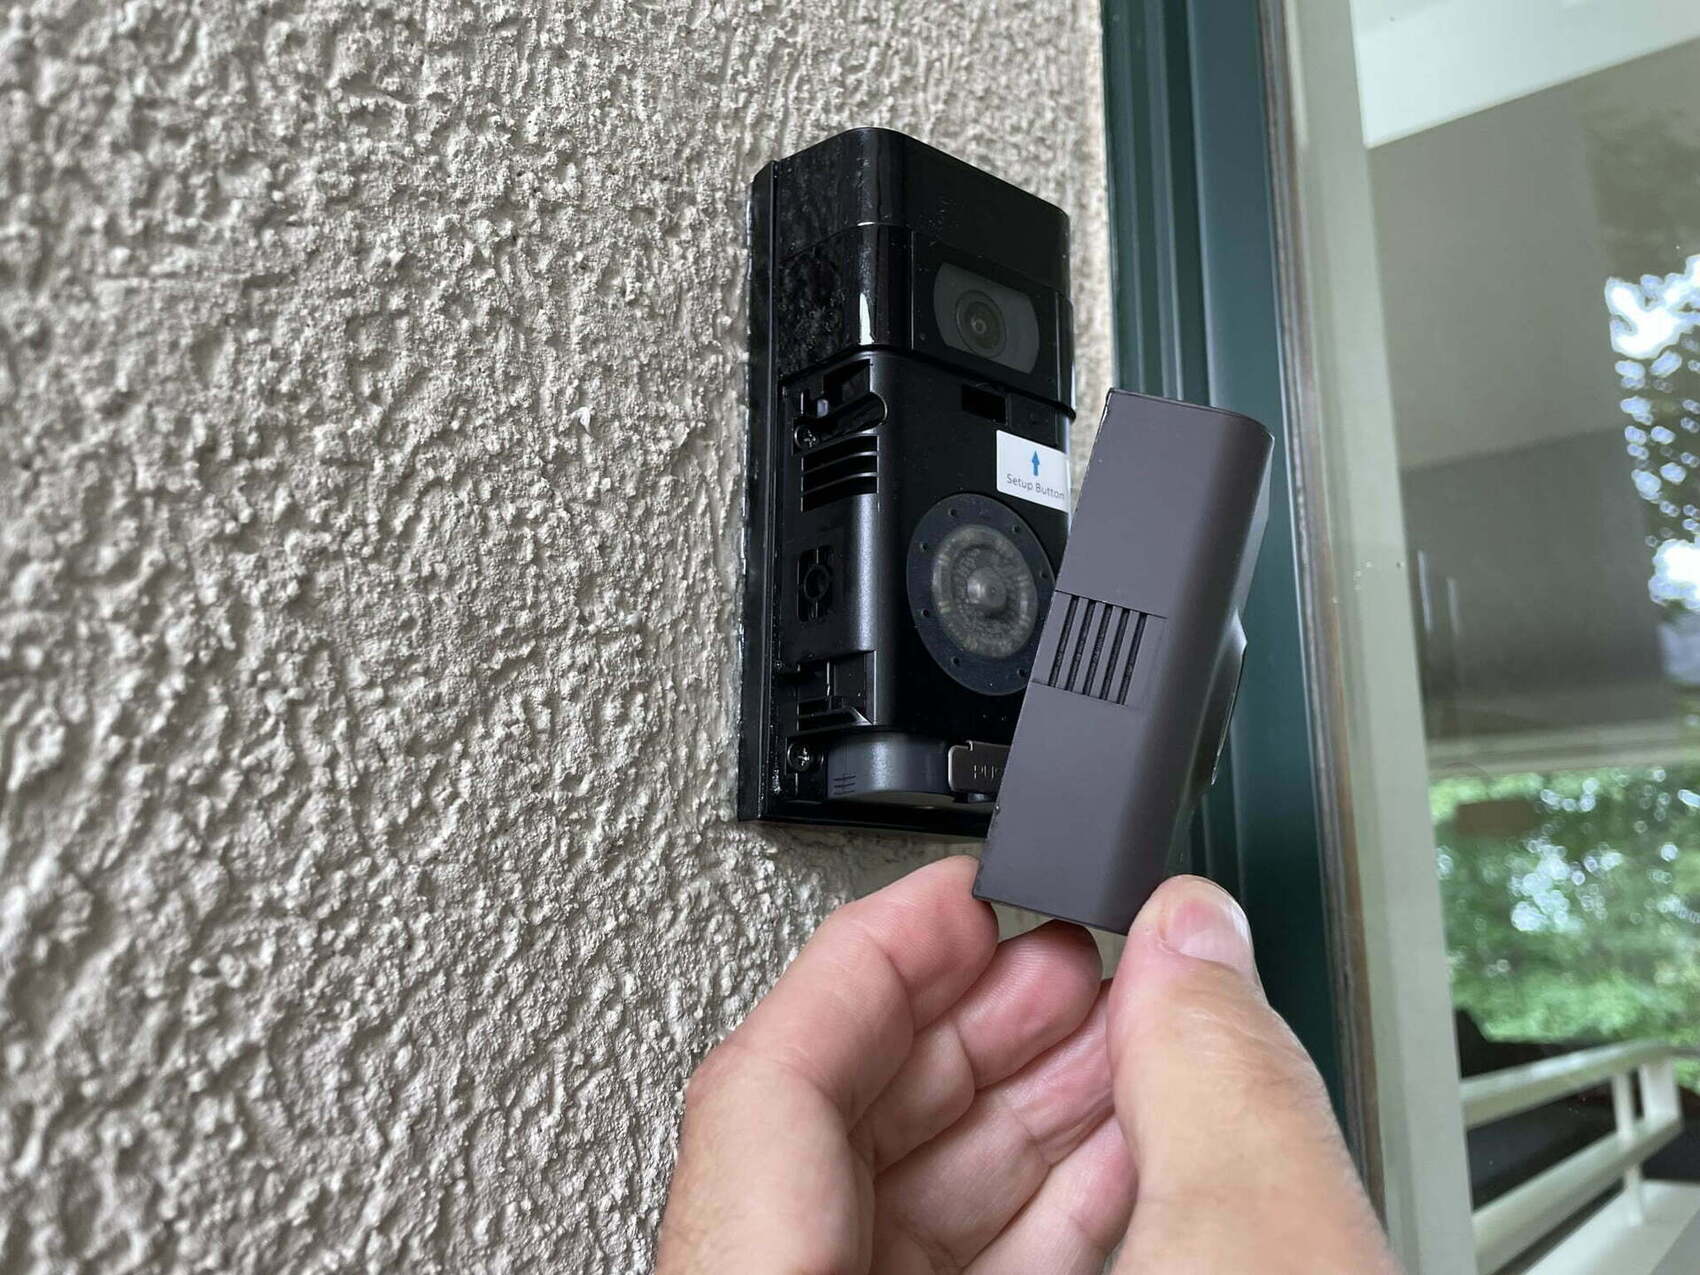
Step 3: Detach the Faceplate
Now that the security screws have been removed, it’s time to detach the faceplate from your Ring Video Doorbell 2. By following these step-by-step instructions, you’ll be able to safely and easily remove the faceplate:
- Gently grip the bottom edge of the faceplate, near the security screw holes.
- While holding the bottom edge, tilt the faceplate forward to unlock it from the top edge of the doorbell.
- Slowly lift the faceplate upward to detach it completely from the Ring Video Doorbell 2.
It’s important to maintain a steady grip on the faceplate and avoid excessive force. The faceplate should come off smoothly, without any resistance.
If you’re experiencing difficulty in detaching the faceplate, double-check that the security screws have been fully removed. Sometimes, tight or stubborn screws can prevent the faceplate from being released.
Once the faceplate is detached, you can proceed with any cleaning, replacement, or maintenance tasks that are required. If you’re simply cleaning the faceplate, use a soft cloth and mild soapy water to gently wipe away any dirt or grime.
With the faceplate removed, you have successfully completed this step. Now, if necessary, you can move on to the optional step of reattaching the faceplate.
Step 4: Reattach the Faceplate (Optional)
After you have completed any cleaning, replacement, or maintenance tasks required, it’s time to reattach the faceplate to your Ring Video Doorbell 2. Reattaching the faceplate is an optional step, but it is necessary if you want to restore the doorbell’s appearance or if you’ve made any modifications to the device.
Follow these step-by-step instructions to reattach the faceplate:
- Align the top edge of the faceplate with the corresponding grooves on the Ring Video Doorbell 2.
- Gently tilt the faceplate forward, ensuring that the bottom edge rests securely in place.
- Press down on the faceplate to lock it into position.
While reattaching the faceplate, make sure to do so carefully to avoid any accidental damage to the doorbell or the faceplate itself.
If you had removed the security screws during the previous steps, ensure that you have them ready for reinstallation. Insert them into the designated screw holes at the bottom of the faceplate and use a screwdriver to tighten them clockwise.
Once the faceplate is securely attached and the security screws are tightened, give it a gentle tug to ensure it is firmly in place. If it doesn’t move or come loose, then you have successfully reattached the faceplate to your Ring Video Doorbell 2.
Congratulations! You have completed the optional step of reattaching the faceplate. Now you can proceed to power on the doorbell and enjoy its functionality and security.
Conclusion
Removing the faceplate from your Ring Video Doorbell 2 is a simple process that allows you to clean, replace, or perform maintenance on the doorbell. By following the steps outlined in this guide and using the necessary tools, you can safely detach the faceplate and access the internal components of the device.
Whether you’re cleaning away dirt and grime, replacing a damaged faceplate, or making modifications to enhance its functionality, removing the faceplate is an essential step. It provides you with the opportunity to maintain your doorbell’s appearance, troubleshoot technical issues, or make necessary adjustments.
Remember, before starting the faceplate removal process, always power off the doorbell to ensure your safety. Use a Phillips-head screwdriver to remove the security screws, gently detach the faceplate, and if required, reattach it securely. Taking these steps will help you accomplish the task efficiently and without any difficulties.
We hope this guide has been helpful in guiding you through the process of removing the faceplate from your Ring Video Doorbell 2. If you have any further questions or need assistance, refer to the Ring website or contact their customer support for additional guidance.
Now you can confidently proceed with the faceplate removal process and enjoy a clean, well-maintained, and fully functional Ring Video Doorbell 2.