Introduction
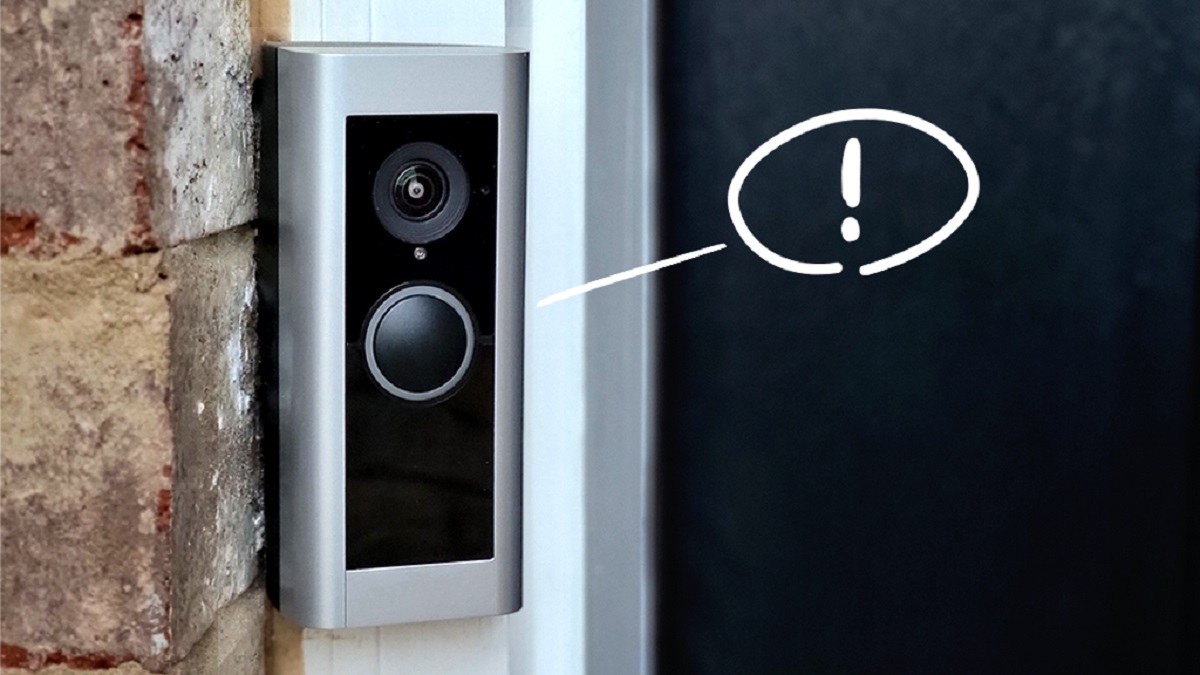
Welcome to this step-by-step guide on how to install the Ring Video Doorbell with a diode. The Ring Video Doorbell is a popular choice for homeowners looking to enhance their home’s security and enjoy the convenience of a smart doorbell system. Adding a diode to the installation process helps to prevent issues with compatibility and ensures the optimal functionality of your Ring Video Doorbell.
Installing a Ring Video Doorbell can seem like a daunting task, especially if you’re not familiar with electrical work. But don’t worry, we’ve got you covered with this comprehensive guide. In just a few simple steps, you’ll have your Ring Video Doorbell up and running, providing you with a reliable and convenient home security solution. So, let’s dive right in and get started!
Before we begin, let’s take a quick look at what you’ll need to complete this installation:
- Ring Video Doorbell
- Mounting bracket and screws
- Screwdriver
- Wire cutters
- Drill and drill bits
- Diode (supplied with your Ring Video Doorbell)
This installation guide is specifically tailored for those who already have an existing doorbell system in place. If you don’t have an existing doorbell, don’t worry – we’ll still cover the basic steps you need to follow to get your Ring Video Doorbell up and running.
Now that we have everything we need, let’s ensure the compatibility of your existing doorbell system before we proceed to the installation process.
Step 1: Gather the Necessary Tools and Equipment
Before you begin the installation process for your Ring Video Doorbell with a diode, it’s important to gather all the necessary tools and equipment. Having everything you need on hand will help ensure a smooth and efficient installation. Here are the tools and equipment you’ll need:
- Ring Video Doorbell: Make sure you have the doorbell unit itself, as well as any accompanying accessories.
- Mounting bracket and screws: These are typically included with your Ring Video Doorbell. The mounting bracket helps secure the doorbell to your wall or door frame, and the screws are used to attach the bracket.
- Screwdriver: You’ll need a screwdriver to tighten the screws and secure the mounting bracket.
- Wire cutters: These will come in handy if you need to trim or adjust any wiring during the installation process.
- Drill and drill bits: Depending on your doorbell’s location, you may need a drill and the appropriate drill bits to create holes for the mounting bracket.
- Diode: The diode is a crucial component of this installation process. It is typically included with your Ring Video Doorbell and is used to prevent issues with compatibility.
By ensuring you have all the necessary tools and equipment beforehand, you can save time and avoid any unnecessary delays during the installation process. It’s always a good idea to double-check that you have everything you need before getting started.
Once you have gathered all the tools and equipment, you are ready to move on to the next step: ensuring the compatibility of your existing doorbell system. This step is crucial to ensure a successful installation and optimal performance of your Ring Video Doorbell. Stay tuned for step 2!
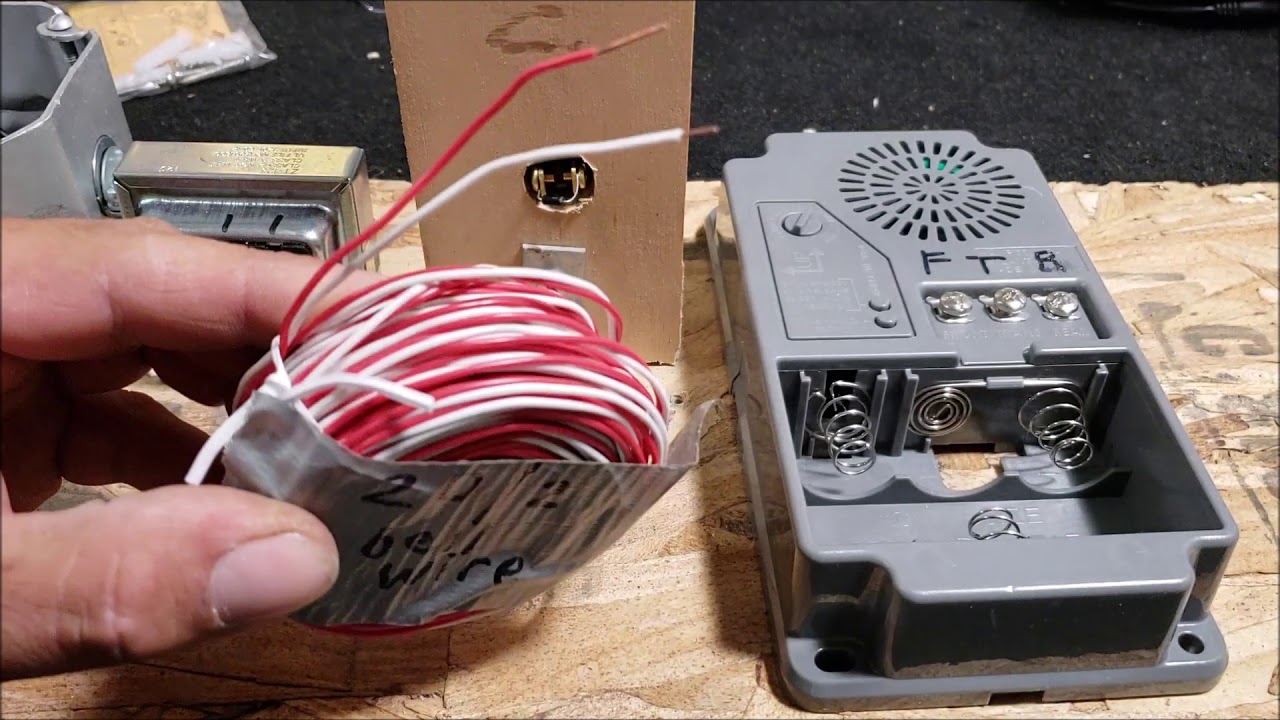
Step 2: Ensure the Doorbell’s Compatibility
Before proceeding with the installation of your Ring Video Doorbell, it’s important to ensure that your existing doorbell system is compatible. Compatibility is crucial to ensure that the Ring Video Doorbell functions properly and integrates seamlessly with your home’s wiring. Here’s what you need to do to ensure compatibility:
1. Check your existing doorbell voltage: The Ring Video Doorbell requires a voltage of 8-24 volts AC for proper operation. Most traditional doorbells meet this requirement. To check the voltage of your existing doorbell, you can use a multimeter or consult the manufacturer’s specifications.
2. Verify the wiring setup: Look at your existing doorbell’s wiring setup and confirm that you have a transformer, chime, and doorbell button. The transformer is responsible for supplying power to your doorbell system, while the chime produces the sound when the doorbell is pressed. The doorbell button serves as the switch that triggers the chime. Make sure all these components are present and in good working condition.
3. Check for a digital chime: If you have a digital chime, it may not be compatible with the Ring Video Doorbell. Digital chimes often require more power than what the Ring Video Doorbell can provide. In such cases, you may need to install a separate compatible chime kit provided by Ring to ensure functionality.
4. Verify transformer compatibility: It’s important to ensure that your existing transformer is compatible with the Ring Video Doorbell. The transformer should be rated for a voltage between 8-24 volts AC. If your transformer doesn’t meet this requirement, you may need to replace it with a compatible one.
5. Consult Ring’s compatibility guide: To further verify compatibility and get specific details for your doorbell system, you can consult Ring’s compatibility guide on their website. The guide provides a list of compatible doorbell systems, transformers, and chime kits, making it easier for you to determine if your setup meets the requirements.
By ensuring the compatibility of your existing doorbell system, you can be confident that the installation of your Ring Video Doorbell will go smoothly. In the next step, we will guide you on how to safely turn off the power to your existing doorbell before proceeding with the installation process.
Step 3: Turn Off the Power to the Existing Doorbell
Before you start removing the existing doorbell, it’s crucial to ensure your safety by turning off the power to the doorbell system. This step will protect you from any electrical hazards while you work on the installation. Follow these steps to safely turn off the power:
1. Locate the circuit breaker: Find the circuit breaker panel in your home. It’s usually located in a basement, utility room, or garage. If you’re unsure of its location, consult your home’s electrical plan or ask a professional electrician for assistance.
2. Identify the doorbell circuit: Look for the circuit breaker that controls the power to your existing doorbell. It’s usually labeled as “doorbell” or “chime” on the panel. If it’s not labeled, you can identify it by turning off each circuit breaker one by one and checking if the doorbell stops functioning.
3. Switch off the circuit breaker: Once you’ve identified the doorbell circuit, switch off the corresponding circuit breaker by flipping it to the “off” position. This will cut off the power supply to the doorbell system, ensuring your safety during the installation.
4. Test the doorbell: To confirm that the power is indeed switched off, press the doorbell button and check if it doesn’t produce any sound or vibration. If the doorbell still rings, you may have switched off the wrong circuit breaker. Double-check and switch off the correct one.
By following these steps to turn off the power to your existing doorbell, you’ve taken an important safety precaution. Now you can proceed to the next step, which involves removing the existing doorbell from its mounting location.
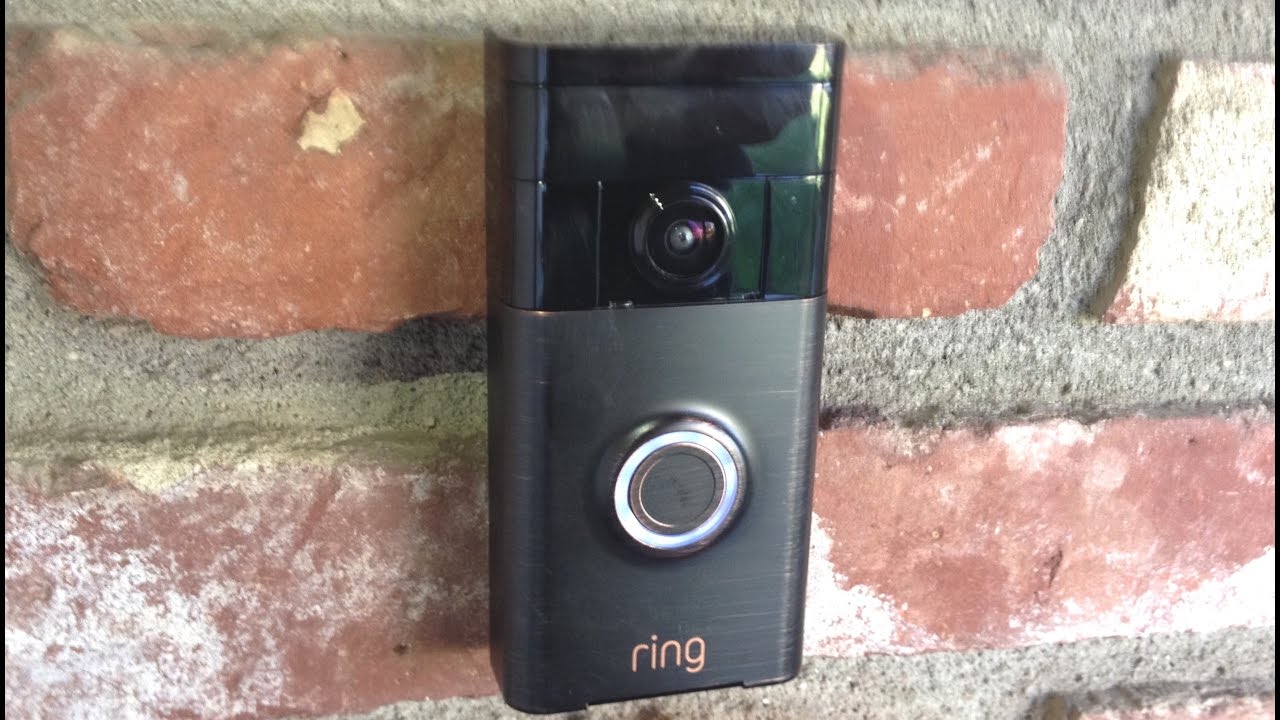
Step 4: Remove the Existing Doorbell
Now that you have safely turned off the power to your existing doorbell system, it’s time to remove the old doorbell from its mounting location. Follow these steps to remove the existing doorbell:
1. Inspect the doorbell: Take a close look at the existing doorbell to identify any screws, clips, or other mechanisms that hold it in place. Note the mounting style and any specific instructions provided by the manufacturer.
2. Remove the faceplate: Carefully remove the faceplate or cover of the existing doorbell by either unscrewing it or gently prying it off. Set the faceplate aside in a safe location, as you may need to reuse it for the Ring Video Doorbell.
3. Disconnect the wiring: With the faceplate removed, you’ll see the wiring behind it. Carefully disconnect the wires from the terminals of the existing doorbell. Take note of which wire corresponds to each terminal and use a small piece of tape or label to mark them for reference later.
4. Remove any mounting hardware: If there are screws or other fasteners holding the existing doorbell in place, use a screwdriver or appropriate tool to remove them. Set the mounting hardware aside for now.
5. Detach the existing doorbell: Once the mounting hardware is removed, gently pull the existing doorbell away from the mounting location. Be cautious not to damage any wiring or surrounding surfaces in the process.
6. Inspect the wiring: Take a moment to inspect the wiring behind the old doorbell. Check for any signs of damage or fraying. If you notice any issues, you may need to repair or replace the wiring before proceeding with the installation of the Ring Video Doorbell.
By following these steps, you have successfully removed the existing doorbell from its mounting location. Proceed to the next step to learn how to install the diode, an essential component for the proper functioning of your Ring Video Doorbell.
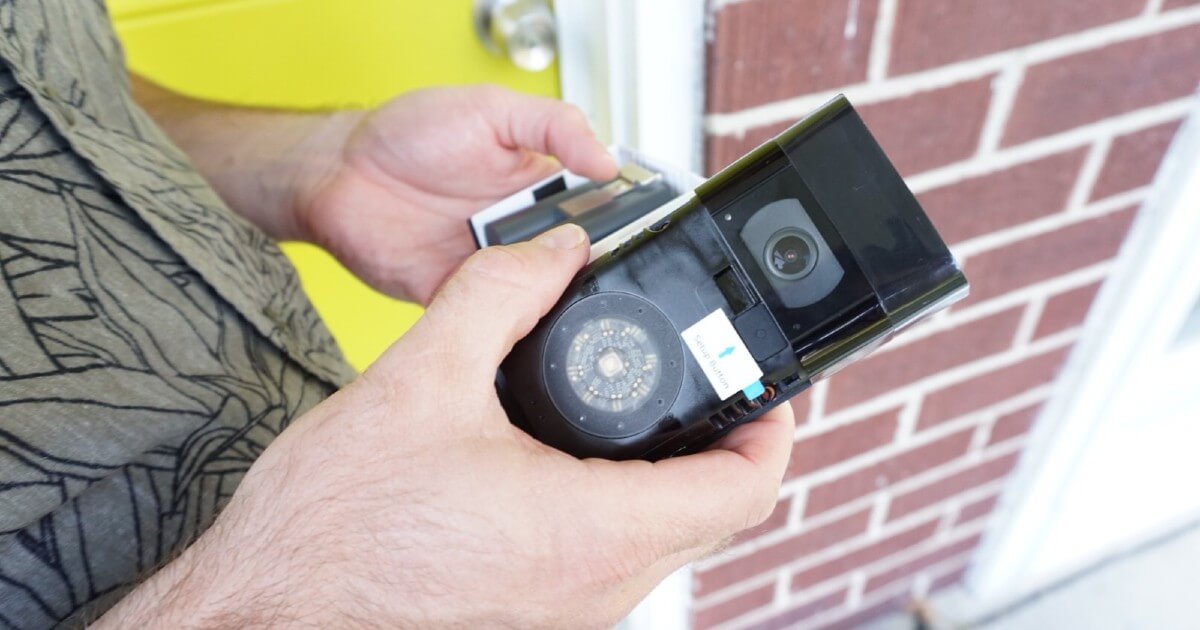
Step 5: Install the Diode
Now that you have removed the existing doorbell, it’s time to install the diode. The diode is a crucial component that helps prevent compatibility issues and ensures the optimal functioning of your Ring Video Doorbell. Follow these steps to install the diode:
1. Locate the diode: In the packaging of your Ring Video Doorbell, you’ll find a diode. Locate the diode and ensure it is in good condition with no visible damage.
2. Identify the doorbell terminal: On the back of your Ring Video Doorbell, locate the terminal marked “TRANS”. This is where you’ll connect the diode.
3. Connect the diode: Take one end of the diode and connect it to the “TRANS” terminal on the Ring Video Doorbell. Make sure the connection is secure and the diode is firmly attached.
4. Connect the other end: Take the other end of the diode and connect it to the wire that was previously attached to the “TRANS” terminal of the old doorbell. Use wire connectors or twist the ends of the wires together, ensuring a secure connection.
5. Insulate the connections: Once the diode is connected, it’s important to insulate the connections to protect them from damage and ensure safety. You can use electrical tape or heat shrink tubing to cover the exposed ends of the wires and secure them in place.
6. Verify the diode installation: Double-check the connections to ensure the diode is securely installed. Confirm that there are no loose wires or exposed connections that could cause any issues during the installation process.
By following these steps, you have successfully installed the diode for your Ring Video Doorbell. The diode plays a vital role in ensuring compatibility and proper functioning of the doorbell system. Now, it’s time for the next step: mounting your Ring Video Doorbell to its designated location.
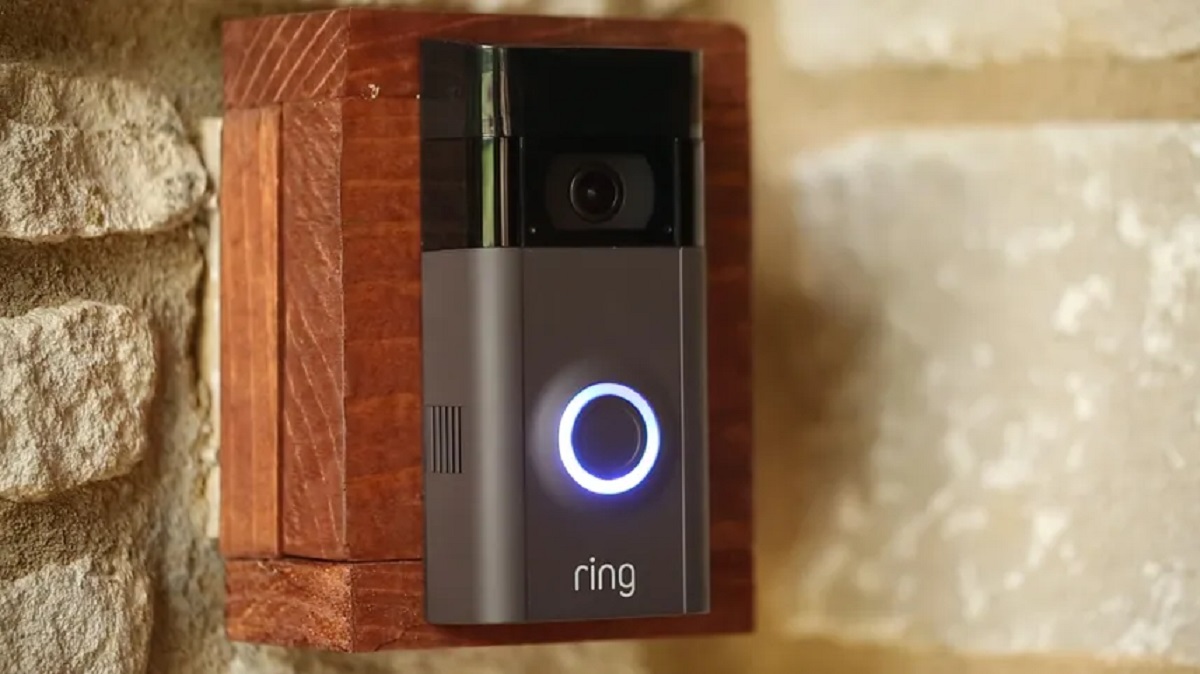
Step 6: Mount the Ring Video Doorbell
With the diode installed, it’s time to mount your Ring Video Doorbell to its designated location. Proper mounting is essential to ensure stability and optimal performance of the doorbell. Follow these steps to mount your Ring Video Doorbell:
1. Choose a suitable location: Select a location near your front door that provides a clear view of the entryway. Ensure that the mounting location is flat and has a solid surface for secure installation.
2. Position the mounting bracket: Take the mounting bracket that came with your Ring Video Doorbell and align it with the chosen mounting location. Ensure that the small screw holes on the bracket align with the holes or anchor points on the wall or door frame.
3. Mark the screw hole locations: Once the mounting bracket is properly aligned, use a pencil or marker to mark the screw hole locations on the wall or door frame. This will serve as a guide for drilling pilot holes.
4. Drill pilot holes: Using an appropriate drill bit, carefully drill pilot holes at the marked locations. Make sure the pilot holes are slightly smaller in diameter than the screws that came with the Ring Video Doorbell.
5. Attach the mounting bracket: Line up the mounting bracket’s screw holes with the pilot holes you drilled. Place the bracket over the holes and use the screws provided to secure it tightly to the wall or door frame.
6. Verify the mounting stability: Once the mounting bracket is securely attached, give it a gentle tug to ensure it is stable and properly mounted. You want to ensure that the bracket is firmly in place before proceeding to the next step.
7. Attach the Ring Video Doorbell to the bracket: With the mounting bracket in place, align the slots on the back of the Ring Video Doorbell with the tabs on the mounting bracket. Slide the doorbell onto the bracket until it clicks into place.
8. Test the doorbell placement: Gently press the faceplate of the Ring Video Doorbell to ensure that it is securely attached and functioning properly. Confirm that the doorbell is positioned correctly and is easily accessible for visitors to press.
By following these steps, you have successfully mounted your Ring Video Doorbell to its designated location. The doorbell should now be securely attached to the wall or door frame, ready for the next step of connecting the wires.
Step 7: Connect the Wires
With your Ring Video Doorbell securely mounted, it’s time to connect the wires and establish the electrical connection. Properly connecting the wires is vital for the functionality of your doorbell. Follow these steps to connect the wires:
1. Locate the doorbell wires: Look for the wires that were previously connected to the terminals of your old doorbell system. These wires are typically labeled “front” or “door” and “trans” (short for transformer).
2. Strip the wire ends: Using wire cutters or strippers, carefully strip approximately 1/4 inch of insulation from the ends of the wires. Ensure that the bare wire ends are clean and free from any frayed strands or damage.
3. Connect the wires to the terminals: Identify the appropriate terminals on your Ring Video Doorbell. Typically, there will be two terminals labeled “front” or “door” and “trans”. Connect the wire previously labeled as “front” or “door” to the corresponding terminal on the Ring Video Doorbell. Repeat this process for the wire labeled “trans”.
4. Secure the wire connections: Once the wires are properly connected to the terminals, secure them in place. If your Ring Video Doorbell has screw terminals, tighten the screws to ensure a firm connection. If your doorbell has push terminals, use a small tool, such as a flat-head screwdriver, to push the wires firmly into the terminals.
5. Double-check the wire connections: Take a moment to double-check the wire connections to ensure they are secure and properly attached to the terminals. Gently tug on the wires to ensure they are tightly connected and won’t come loose during operation.
6. Insulate the connections: To protect the wire connections and ensure safety, it’s important to insulate them. Use electrical tape or small wire nuts to cover the exposed wire ends and secure them in place. This will minimize the risk of any accidental contact or short circuits.
By following these steps, you have successfully connected the wires to your Ring Video Doorbell. The electrical connection is established, allowing your doorbell to receive power and function properly. Next, we’ll move on to the final step of attaching the doorbell faceplate.
Step 8: Attach the Doorbell Faceplate
Now that the wires are properly connected, it’s time to attach the doorbell faceplate to complete the installation of your Ring Video Doorbell. The faceplate not only adds a sleek and finished look to your doorbell but also provides additional protection against the elements. Follow these steps to attach the doorbell faceplate:
1. Align the faceplate: Take the doorbell faceplate provided with your Ring Video Doorbell and align it with the front of the doorbell unit. Ensure that the screw holes on the faceplate match up with the holes on the doorbell.
2. Secure the faceplate: Once the faceplate is lined up, use the provided screws or any necessary attachments, such as security screws or brackets, to secure the faceplate to the doorbell unit. Ensure that the screws are tightened securely but not overly tightened, as this may damage the faceplate or doorbell.
3. Verify proper alignment and fit: After securing the faceplate, visually inspect the doorbell to ensure that the faceplate is properly aligned and fits snugly. Check for any gaps or misalignment that may affect the doorbell’s appearance or functionality.
4. Test the doorbell functionality: With the faceplate attached, press the doorbell button and listen for a chime or sound from the Ring Video Doorbell. This test will confirm that the doorbell is installed correctly and operating as expected.
5. Adjust if necessary: If the doorbell does not function properly or if you notice any issues with the alignment or fit of the faceplate, carefully remove the faceplate and make any necessary adjustments. Reattach the faceplate and perform another test to ensure everything is working correctly.
By following these steps, you have successfully attached the doorbell faceplate, completing the installation of your Ring Video Doorbell. The faceplate not only adds a polished look to your doorbell but also protects it from various elements. In the next step, we’ll cover turning the power back on and configuring your Ring Video Doorbell.
Step 9: Turn the Power Back On
Now that the installation of your Ring Video Doorbell is complete, it’s time to turn the power back on to restore the functionality of your doorbell system. Follow these steps to safely restore power:
1. Locate the circuit breaker panel: Find the circuit breaker panel in your home where you previously turned off the power to the doorbell system.
2. Identify the doorbell circuit breaker: Refer to the labels on the circuit breaker panel and locate the circuit breaker that controls the power to your doorbell. It should be the same one you turned off earlier.
3. Switch on the circuit breaker: Flip the doorbell circuit breaker back to the “on” position. This will restore power to the doorbell system.
4. Test the Ring Video Doorbell: Wait for a few moments for the doorbell system to receive power. Then, press the button on the Ring Video Doorbell to test its functionality. You should hear a chime or see an indicator light, indicating that the doorbell is working correctly.
5. Check the doorbell’s features: Take the time to explore the features and settings of your Ring Video Doorbell. This may include customizing the chime sound, adjusting motion detection settings, or connecting the doorbell to a smartphone app for remote access and notifications.
6. Monitor the doorbell’s performance: After turning the power back on, keep an eye on your Ring Video Doorbell to ensure that it functions properly. Test it regularly to confirm its reliability and responsiveness.
By following these steps, you have successfully turned the power back on to your Ring Video Doorbell. Now it’s time to configure and set up your doorbell to personalize it to your preferences and enjoy the enhanced home security and convenience it offers.
Step 10: Configure and Set Up the Ring Video Doorbell
With the Ring Video Doorbell installed and the power restored, it’s time to configure and set up your doorbell. This step will involve connecting the doorbell to your home’s Wi-Fi network, customizing settings, and exploring additional features. Follow these steps to configure and set up your Ring Video Doorbell:
1. Download the Ring app: Start by downloading the Ring app from the App Store or Google Play Store onto your smartphone or tablet. Create a Ring account or log in to your existing account if you already have one.
2. Set up the device: Open the Ring app and follow the prompts to add a new device. Select “Set Up a Device” and choose “Video Doorbells” from the list of available devices. Follow the on-screen instructions to complete the setup process.
3. Connect to Wi-Fi: During the setup process, you will be prompted to connect your Ring Video Doorbell to your home’s Wi-Fi network. Enter the network name (SSID) and password as requested and wait for the doorbell to establish a connection.
4. Customize settings: Once connected, you can customize various settings to enhance your doorbell’s functionality. This may include adjusting motion detection sensitivity, setting up motion zones, enabling two-way talk, and configuring notifications to suit your preferences.
5. Explore additional features: Take the time to explore the additional features and options provided by the Ring app. This might include accessing recorded footage, setting up guest access, integrating other smart home devices, or subscribing to additional Ring features like cloud storage or professional monitoring.
6. Test the doorbell and ensure functionality: After configuring the settings and exploring the app features, test your Ring Video Doorbell to ensure it functions properly. Press the doorbell button to check if the chime sound or notification is received on your smartphone or tablet as expected.
7. Troubleshoot, if necessary: If you encounter any issues or have questions during the setup or configuration process, refer to the Ring app’s Help section or visit the Ring website for troubleshooting guides and support.
By following these steps, you have successfully configured and set up your Ring Video Doorbell. Take the time to familiarize yourself with the app’s features and settings to maximize the benefits of your Ring Video Doorbell’s security and convenience.
Conclusion
Congratulations on successfully installing and setting up your Ring Video Doorbell with a diode! By following the step-by-step guide, you have enhanced the security and convenience of your home. The Ring Video Doorbell offers peace of mind by allowing you to monitor and interact with visitors at your front door, even when you’re away.
Throughout the installation process, you learned how to gather the necessary tools and equipment, ensure compatibility with your existing doorbell system, turn off the power safely, remove the old doorbell, install the diode, mount the Ring Video Doorbell, connect the wires, attach the doorbell faceplate, turn the power back on, and configure and set up the device.
Remember to regularly test your Ring Video Doorbell and keep an eye on its performance. Make any necessary adjustments to the settings based on your preferences. The Ring app provides you with features like motion detection settings, two-way talk, and the ability to integrate other smart home devices, allowing you to create a customized and comprehensive home security solution.
If you encounter any issues or have further questions, don’t hesitate to refer to the Ring app’s Help section, visit the Ring website, or reach out to their customer support team for assistance.
Enjoy the added security and convenience that your Ring Video Doorbell brings to your home. Now you can answer the door from anywhere, keep an eye on package deliveries, and have a greater sense of security knowing you can monitor and control access to your front door. Stay safe and enjoy your new Ring Video Doorbell!