Introduction
Welcome to our comprehensive guide on how to set up the Simplisafe Video Doorbell Pro. With its advanced features and sleek design, this video doorbell is a great addition to any home security system. By following these step-by-step instructions, you’ll be able to install and configure the doorbell quickly and easily.
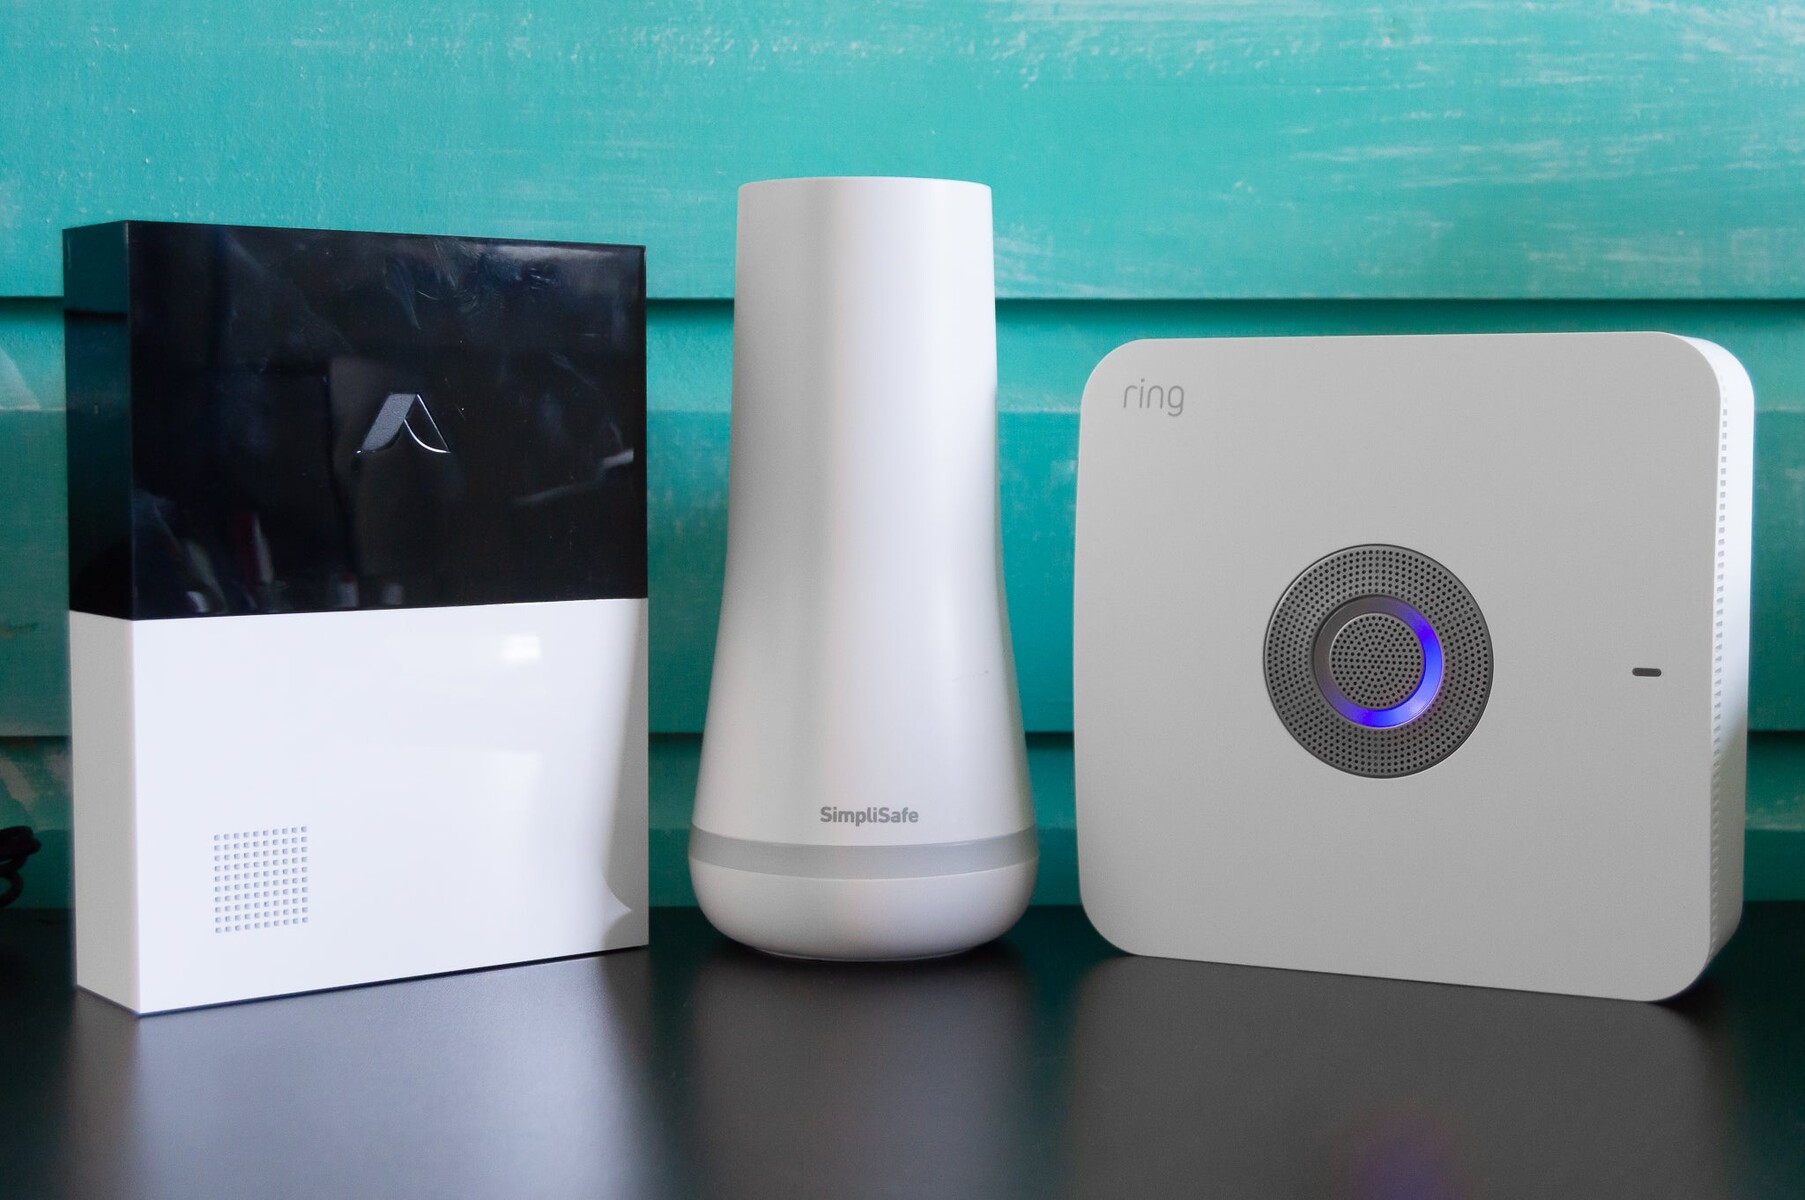
The Simplisafe Video Doorbell Pro offers a wide range of benefits, including high-resolution video streaming, two-way audio communication, and customizable motion detection. Whether you’re concerned about package deliveries or simply want to keep an eye on your front door, this doorbell is the perfect solution.
Before we dive into the installation process, it’s important to ensure that you have all the necessary tools and equipment. You’ll need a screwdriver, a level, wire strippers, and a power drill, among other basic household tools. Additionally, make sure you have a stable Wi-Fi connection and the Simplisafe app installed on your smartphone or tablet.
Setting up the Simplisafe Video Doorbell Pro involves several steps, but don’t worry – we’ll walk you through each one. From unboxing the device to adjusting the doorbell’s angle, our guide covers every aspect of the installation process. By following these instructions carefully, you’ll have your video doorbell up and running smoothly in no time.
Please note that these instructions may vary slightly depending on your specific situation or version of the Simplisafe Video Doorbell Pro. Always refer to the official product manual or contact Simplisafe’s customer support for any specific troubleshooting or clarification.
Step 1: Unboxing and Contents
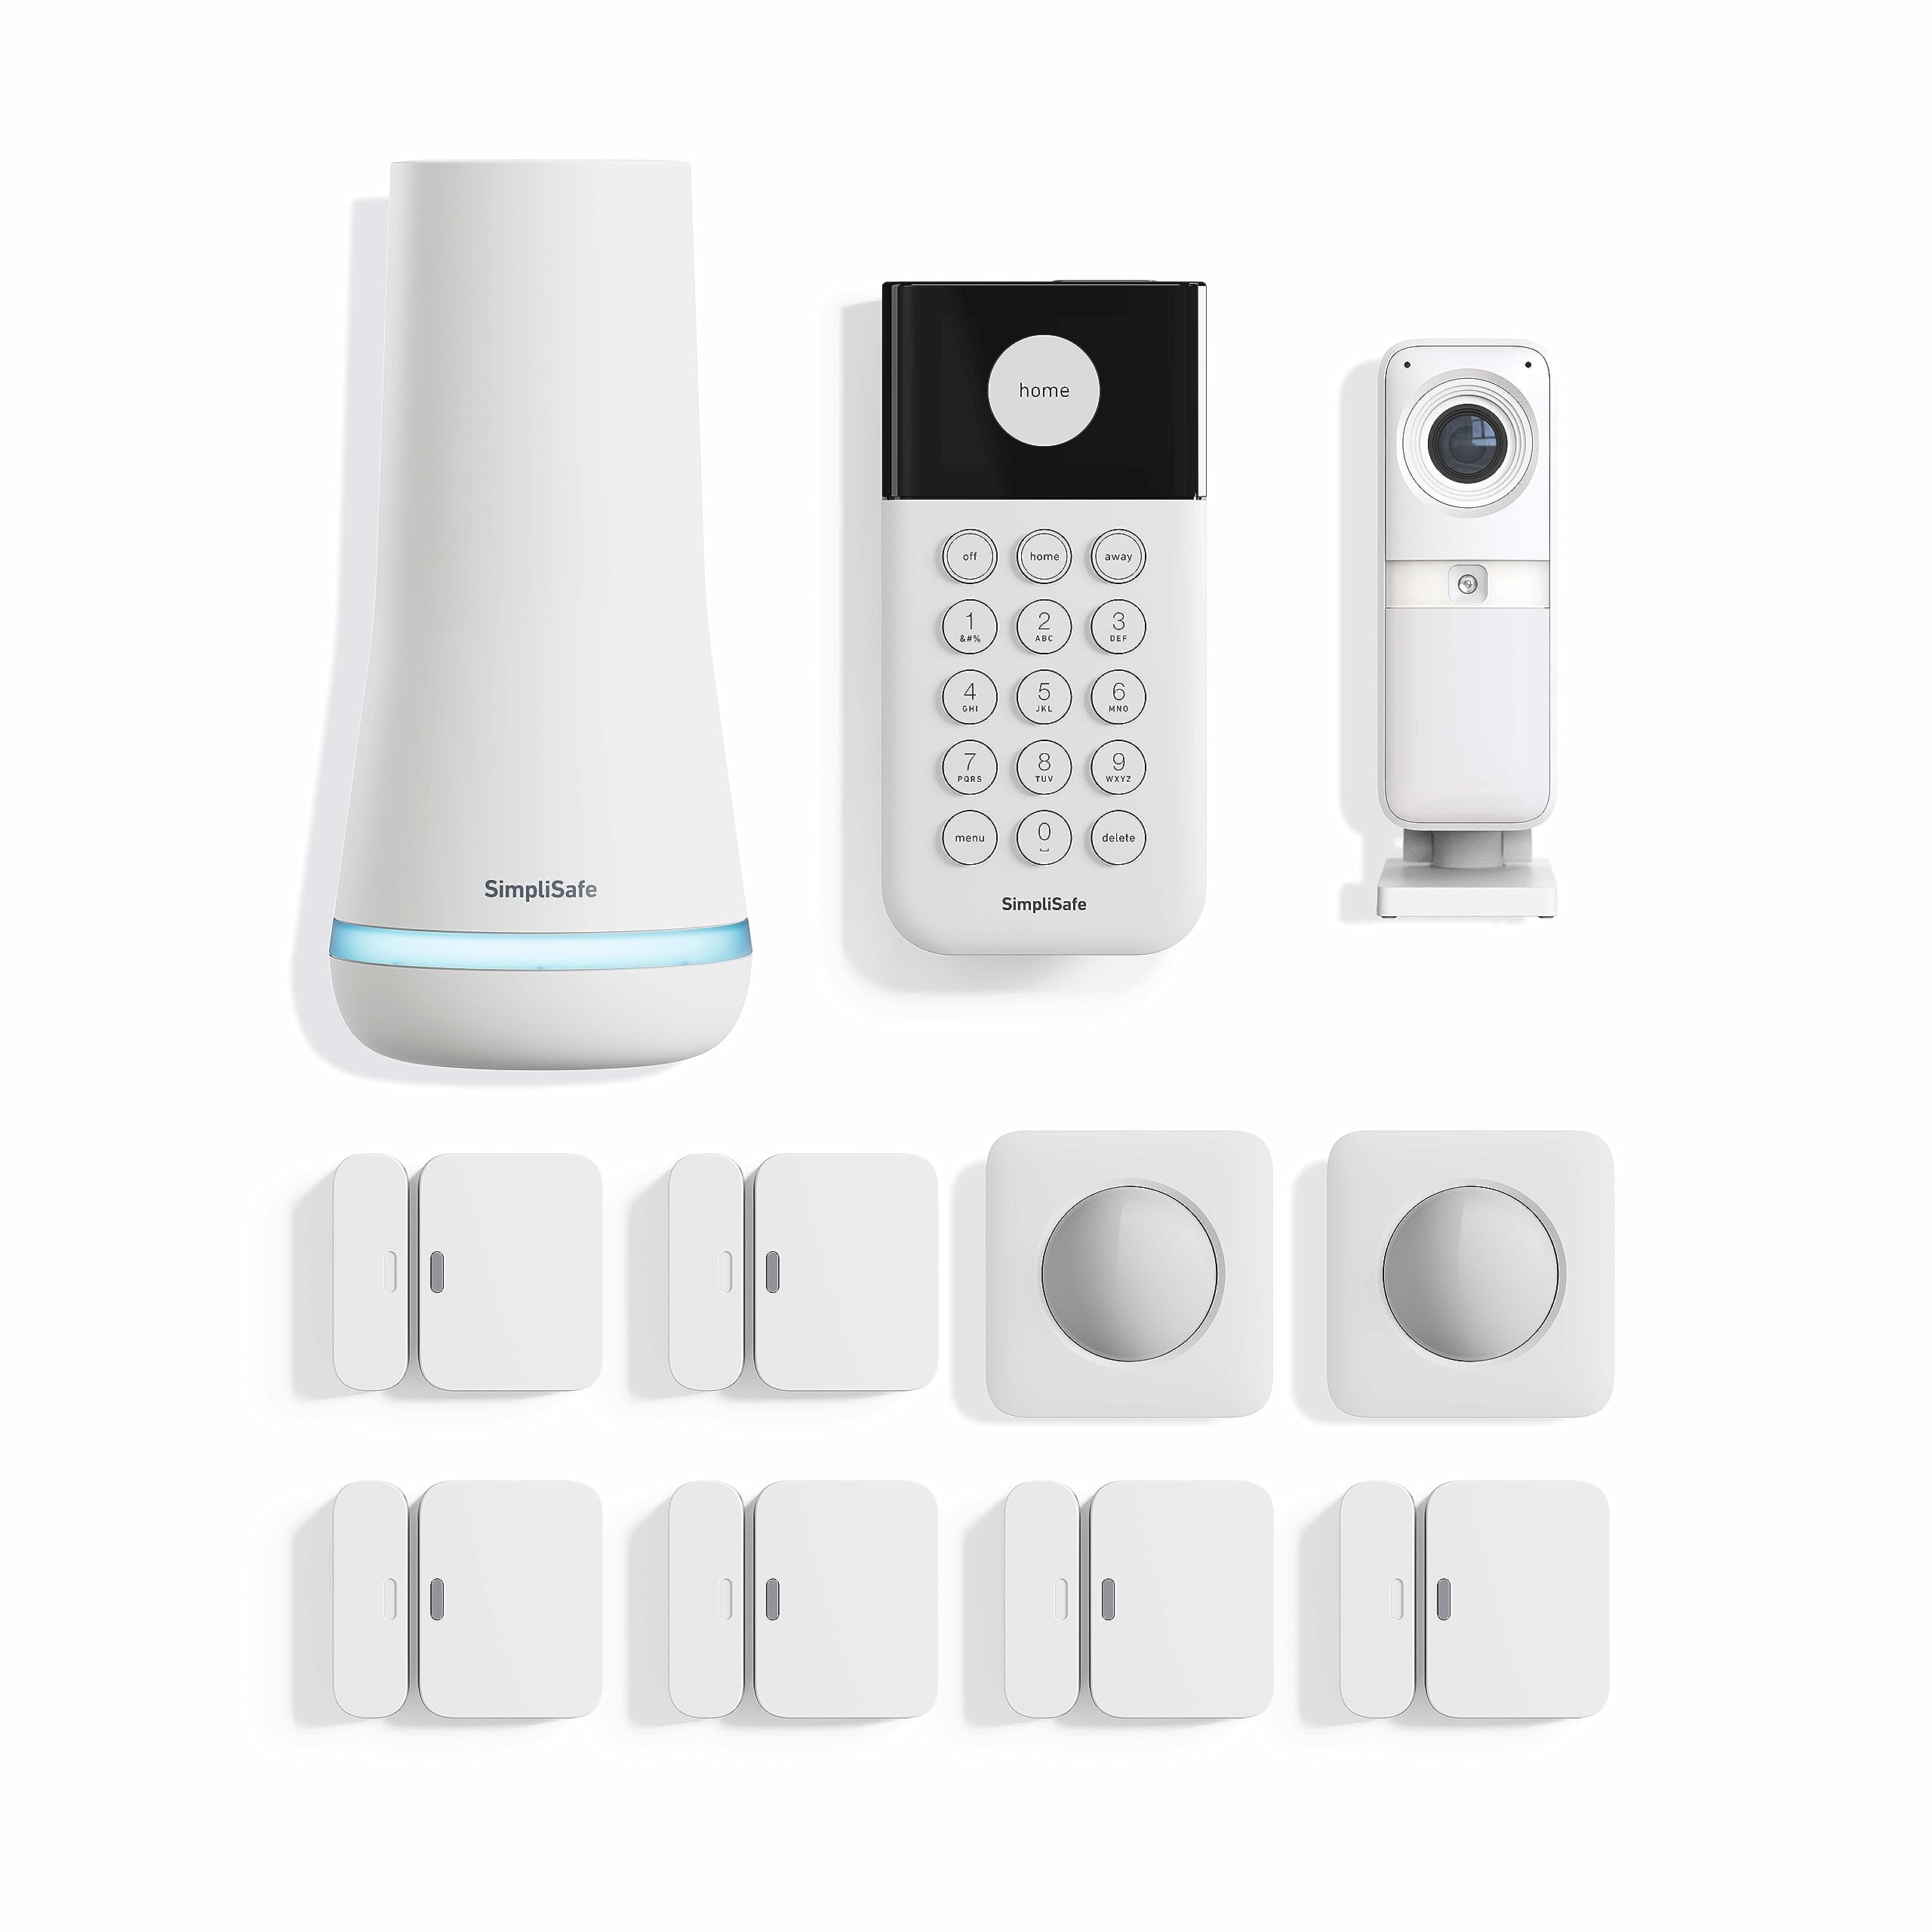
The first step in setting up your Simplisafe Video Doorbell Pro is unboxing the device and familiarizing yourself with its contents. The package should include:
- Simplisafe Video Doorbell Pro
- Baseplate
- Chime
- Screws and Wall Anchors
- Wiring Harness
- Mounting Bracket
- Power Kit
- User Manual and Installation Guide
Once you have everything laid out, carefully inspect each item to ensure there are no damages or missing parts. This will help avoid any issues during the installation process.
Take a few moments to review the user manual and installation guide provided. These documents contain detailed instructions, illustrations, and important safety information that will assist you throughout the setup process.
Before proceeding to the next step, ensure that you have all the necessary tools and equipment mentioned earlier, as they may be required in the following steps.
By completing this first step, you are now prepared and equipped with all the necessary items and information to move on to the next phase of setting up your Simplisafe Video Doorbell Pro.
Step 2: Checking System Requirements
Before proceeding with the installation of your Simplisafe Video Doorbell Pro, it is essential to ensure that your home meets the necessary system requirements. This step will help determine if your existing setup is compatible with the doorbell and avoid any potential issues down the line.
The Simplisafe Video Doorbell Pro requires a stable Wi-Fi connection with a minimum upload speed of 2 Mbps. To check your Wi-Fi speed, you can use any online speed test tool on your smartphone or computer. If your upload speed falls below the required minimum, consider upgrading your internet plan to ensure reliable video streaming and communication.
Another important consideration is the compatibility of your existing doorbell wiring. The Simplisafe Video Doorbell Pro requires an existing wired doorbell system, with a voltage range of 8-24 volts AC and a transformer rated for 10 VA (volt-amps) or higher. If you do not have an existing wired doorbell, you may need to consult an electrician to install a compatible transformer and wiring.
It’s also crucial to ensure that your home’s door area has a strong and stable Wi-Fi signal. If your Wi-Fi router is located far from the doorbell’s installation location, you may experience connectivity issues. Consider using a Wi-Fi extender or moving your router closer to improve the signal strength.
Additionally, check if your smartphone or tablet meets the system requirements for the Simplisafe app. The app is compatible with both iOS (version 12.0 or higher) and Android (version 6.0 or higher) devices. Make sure your device has enough storage space to install and run the app smoothly.
By performing these system requirement checks, you can ensure a smooth and successful installation of your Simplisafe Video Doorbell Pro. If you encounter any issues during this step, refer to the user manual or contact Simplisafe’s customer support for assistance.
Step 3: Preparing Door Area for Installation
Before installing your Simplisafe Video Doorbell Pro, it’s important to prepare the door area to ensure a secure and proper installation. This step involves assessing the doorbell’s location, removing the existing doorbell, and ensuring a clean and stable mounting surface.
Start by identifying the ideal location for your doorbell. Ensure that the chosen spot provides a clear view of the front door and allows for easy access to the wiring. Consider factors such as visibility, reachability, and proximity to both the existing doorbell wiring and your Wi-Fi router. It’s also a good idea to check the door’s material and construction to ensure it can support the weight of the doorbell.
If there is an existing doorbell installed, carefully remove it by loosening the screws or clips that hold it in place. Disconnect the wires from the back of the doorbell, ensuring to note the polarity of the wires for future reference. If there is no existing doorbell, skip this step and proceed to the next one.
Before mounting the Simplisafe Video Doorbell Pro, clean the area where the doorbell will be installed. Remove any dirt, dust, or debris from the surface to ensure a strong and reliable bond between the mounting bracket and the door. Use a mild cleaning solution and a cloth to wipe down the area, then let it dry completely.
Next, check the stability of the mounting surface. If the door surface is uneven or porous, consider using additional mounting accessories such as foam pads or adhesive strips to provide extra support and stability. This will help prevent any shifting or movement of the doorbell once installed.
By following these preparation steps, you will ensure that your Simplisafe Video Doorbell Pro has a secure, clean, and stable foundation for optimal performance. With the door area prepared, you’re now ready to proceed with the installation process in the next steps.
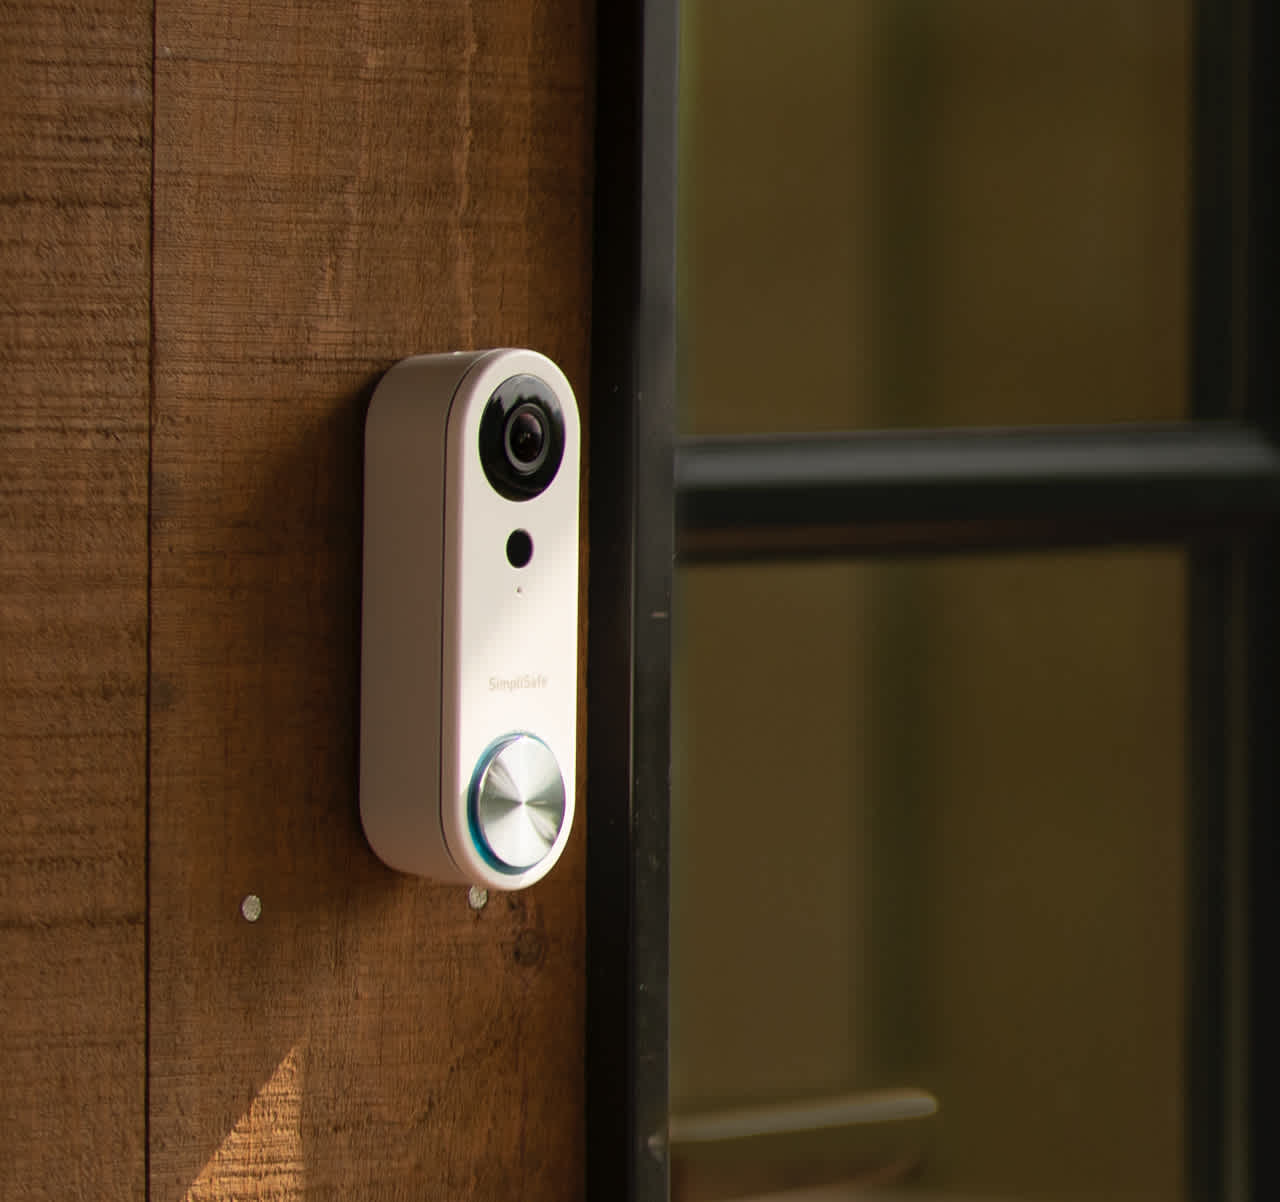
Step 4: Installing the Baseplate
Now that you’ve prepared the door area, it’s time to install the baseplate of your Simplisafe Video Doorbell Pro. The baseplate serves as the foundation for mounting the doorbell securely.
Start by locating the baseplate in the package. It is a rectangular-shaped piece with screw holes and an opening for the wiring. Hold the baseplate against the prepared mounting surface and align it with the desired position. Ensure that it is level and straight using a bubble level.
Once you have the baseplate in position, use a pencil or a marker to mark the screw hole locations on the wall or door. This will serve as a guide for drilling or screwing in the baseplate later. Keep in mind that the baseplate should be mounted securely to prevent any movement or wobbling of the doorbell.
If you are installing the baseplate on a wooden surface, use the included screws to secure it in place. For other surfaces, such as metal or masonry, you may need to use wall anchors and screws for a more secure installation. Ensure that the screws or wall anchors are tightly fastened to provide a stable base for the video doorbell.
Before moving on to the next step, double-check that the baseplate is securely mounted and level. It should be able to withstand any pressure or movement when installing the doorbell and during its regular use.
By completing this step, you have successfully installed the baseplate of your Simplisafe Video Doorbell Pro. This sets the stage for the next steps, where you’ll wire the doorbell, set up the chime, and connect the doorbell to your Wi-Fi network. Stay tuned for the following instructions to continue the installation process smoothly.
Step 5: Wiring the Doorbell
With the baseplate securely installed, it’s time to wire your Simplisafe Video Doorbell Pro. The wiring process ensures that the doorbell receives power and enables it to function properly.
Start by locating the wiring harness included in the package. The wiring harness consists of two wires, typically red and white or black and white. These wires are used to connect the doorbell to your existing doorbell wiring.
If you had an existing doorbell, you’ll need to disconnect the wires from the previous doorbell. Loosen the screw terminals on the back of the doorbell or gently pull apart any wire connectors. Take note of which wire is connected to which terminal for future reference. If you don’t have an existing wired doorbell, skip this step and proceed to the next one.
Once the wires are disconnected, match the colors of the doorbell’s wiring harness to the corresponding wires from your existing doorbell wiring. Connect the red wire to the wire with the same color, and do the same with the white or black wire. Make sure the connections are secure by tightening the screw terminals or securely fastening wire connectors.
After wiring the doorbell, tuck the excess wires neatly into the mounting surface or use wire clips to keep them organized. This will prevent any interference or accidental disconnection of the wires in the future.
Before moving on to the next step, it’s important to test the wiring connections. Use the doorbell’s user manual or the Simplisafe app to check if the doorbell receives power and is functioning properly. Ensure that the doorbell rings and transmits notifications to your smartphone or tablet when the doorbell button is pressed.
By completing this step, you have successfully wired your Simplisafe Video Doorbell Pro. The doorbell is now ready to be connected to the chime and your Wi-Fi network, which we’ll cover in the next steps. Stick with us as we continue the installation process smoothly.
Step 6: Setting Up the Chime
Now that you have wired your Simplisafe Video Doorbell Pro, it’s time to set up the chime. The chime acts as an audible notification device inside your home, alerting you when someone rings the doorbell.
Start by locating the chime unit included in the package. The chime is a small device that plugs into a standard power outlet and connects wirelessly with your video doorbell.
Choose a suitable location for the chime near an available power outlet. It’s recommended to place it in a central area of your home where the sound can be easily heard. Once you have decided on a location, plug the power cord of the chime into the power outlet.
Next, open the Simplisafe app on your smartphone or tablet and navigate to the doorbell settings. Follow the in-app instructions to pair the video doorbell with the chime. This process typically involves pressing a button on the chime unit while the app scans for nearby devices. Once the chime and doorbell are successfully paired, you should hear a confirmation sound from the chime unit.
After the pairing process is complete, you can customize the chime’s settings through the app. This includes adjusting the volume, selecting different chime sounds, and enabling or disabling certain features such as motion alerts. Take some time to explore the app and configure the chime to your preference.
Once the chime is set up, test it by pressing the doorbell button or using the app’s test feature. You should hear the chime sound inside your home, indicating that the connection and settings are working correctly.
With the chime successfully set up, you now have a complete audio-visual system with your Simplisafe Video Doorbell Pro. In the next step, we’ll guide you through the process of connecting the doorbell to your Wi-Fi network. Stay tuned as we continue the installation process smoothly.
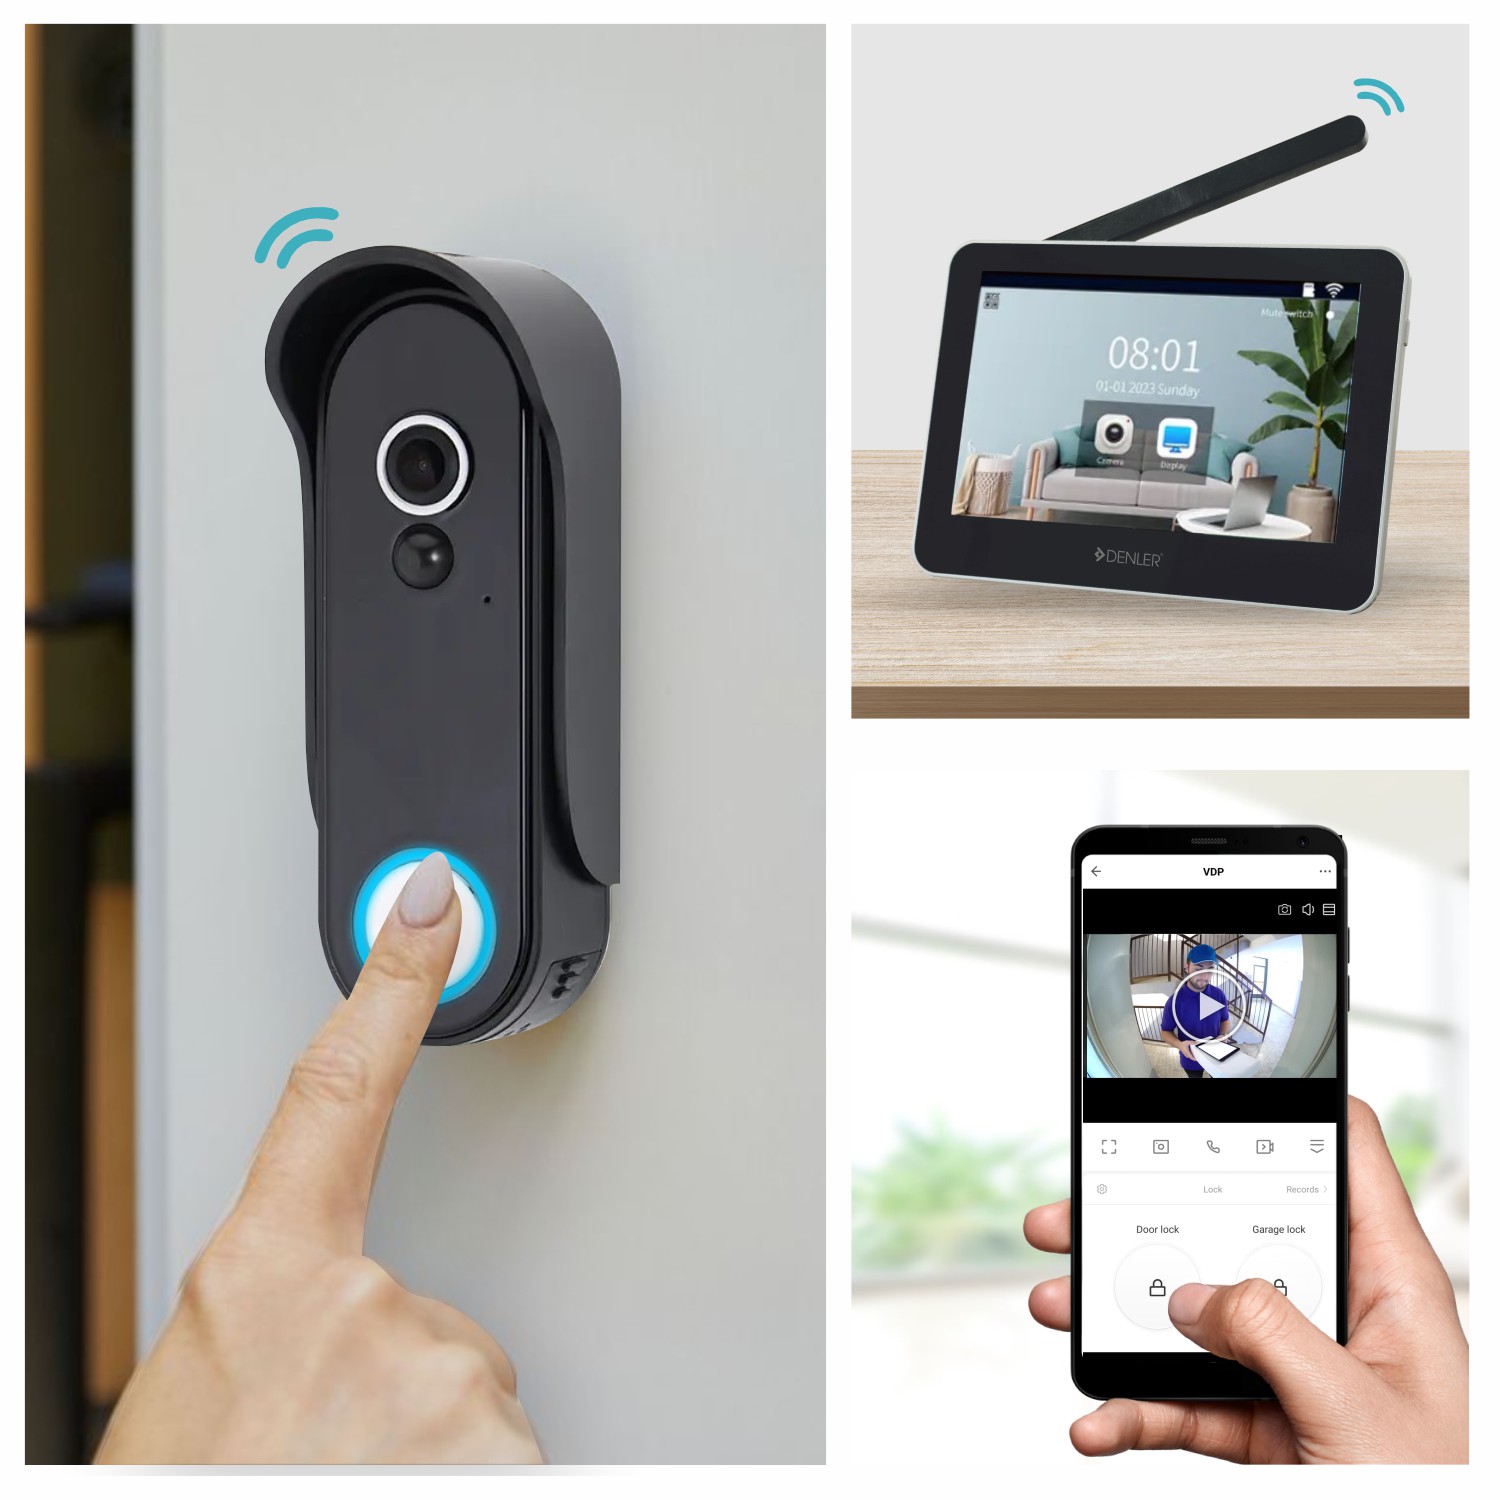
Step 7: Connecting the Video Doorbell Pro to Wi-Fi
Once the chime is set up, the next step is to connect your Simplisafe Video Doorbell Pro to your Wi-Fi network. This will allow you to access the doorbell’s live video feed, receive motion alerts, and interact with visitors through the Simplisafe app on your smartphone or tablet.
Start by ensuring that your smartphone or tablet is connected to the same Wi-Fi network that you want to connect the doorbell to. This will facilitate the setup process and ensure a seamless connection.
Open the Simplisafe app and navigate to the doorbell settings. Look for the option to connect or add a new device. Follow the on-screen instructions to guide you through the Wi-Fi setup process.
During the setup, you will be prompted to enter your Wi-Fi network name (SSID) and password. Make sure to enter the correct information to establish a secure and stable connection between the doorbell and your Wi-Fi network.
Once the doorbell is connected to your Wi-Fi network, the app will display a confirmation message or notification. This indicates that the setup was successful, and your doorbell is ready to use.
To ensure a reliable connection, it’s recommended to place your Wi-Fi router within a reasonable range of the doorbell’s installation location. This will minimize any potential signal interference and provide a strong connection for video streaming and communication.
If you encounter any issues during the Wi-Fi setup process, double-check the entered Wi-Fi credentials, ensure that your smartphone or tablet has a stable internet connection, and verify that you are within the range of your Wi-Fi network.
With the Simplisafe Video Doorbell Pro successfully connected to your Wi-Fi network, you can now enjoy the full functionality of the doorbell through the Simplisafe app. Stay with us as we proceed to the next steps, where we’ll guide you through mounting the doorbell and adjusting its angle and height.
Step 8: Mounting the Doorbell to the Baseplate
With the baseplate securely installed and the doorbell wired and connected to Wi-Fi, it’s time to mount the Simplisafe Video Doorbell Pro onto the baseplate. This step will ensure that the doorbell is properly attached and positioned for optimal performance.
Start by carefully aligning the doorbell with the baseplate. The doorbell should slide easily onto the baseplate and fit snugly. Take note of the alignment markers or guides on both the doorbell and baseplate to ensure proper positioning.
Once aligned, secure the doorbell to the baseplate using the provided screws. Carefully insert the screws into the designated holes on the sides or bottom of the doorbell and use a screwdriver to tighten them. Ensure that the screws are tight enough to hold the doorbell securely in place, but avoid over-tightening to prevent damage to the device.
After mounting the doorbell, give it a gentle tug or shake to ensure that it is firmly attached to the baseplate. If there is any movement or wobbling, double-check the screws to ensure they are tightened correctly.
Take a step back and visually inspect the doorbell’s position. Ensure that it is level and aligned with the door frame or the desired viewpoint. Adjust as needed by slightly loosening the screws and repositioning the doorbell, then tighten the screws again to secure it in the new position.
By completing this step, you have successfully mounted the Simplisafe Video Doorbell Pro onto the baseplate. The doorbell is now securely attached and ready for use. In the next step, we’ll guide you through adjusting the doorbell’s angle and height to ensure optimal visibility and coverage.
Step 9: Adjusting Doorbell Angle and Height
Now that your Simplisafe Video Doorbell Pro is mounted on the baseplate, it’s time to adjust its angle and height for optimal visibility and coverage. This step ensures that the doorbell captures the desired viewing area and provides accurate motion detection.
Start by standing in front of your door and observing the current angle and height of the doorbell. Take note of any obstructions or blind spots that may affect the camera’s field of view.
To adjust the doorbell’s angle, loosen the screws on the baseplate slightly. Carefully tilt the doorbell up or down to achieve the desired angle. Make sure to maintain a level position using a bubble level or visually ensuring that the doorbell appears straight.
Once you have adjusted the angle, tighten the screws on the baseplate to secure the doorbell in the new position. Give the doorbell a gentle shake or tug to ensure that it is securely attached and properly aligned.
Next, assess the height of the doorbell. Consider factors such as the door’s height, the visibility of the doorstep, and the distance between the doorbell and the ground. Adjust the doorbell’s height by loosening the screws on the baseplate and sliding it up or down as needed. Once you have achieved the desired height, tighten the screws to secure the doorbell in place.
After adjusting the angle and height, step back and evaluate the doorbell’s position. Ensure that it provides a clear view of the desired area and captures the necessary field of view. Make any additional adjustments as needed until you are satisfied with the doorbell’s position.
By completing this step, you have successfully adjusted the angle and height of your Simplisafe Video Doorbell Pro. This ensures optimal visibility, motion detection, and coverage of your front door area. In the next step, we’ll guide you through testing the doorbell functionality to ensure it is working correctly.
Step 10: Testing the Video Doorbell Pro
Now that the Simplisafe Video Doorbell Pro is installed, wired, and properly adjusted, it’s time to test its functionality to ensure that everything is working as expected. By conducting thorough testing, you can identify and address any issues before relying on the doorbell for your home security needs.
Start by using the Simplisafe app on your smartphone or tablet to check the live video feed from the doorbell. Ensure that the camera’s view is clear, and the image quality is satisfactory. If the image appears blurry or distorted, adjusting the angle or height of the doorbell may be necessary.
Next, test the two-way audio feature by trying to have a conversation through the doorbell. Speak into your smartphone or tablet’s microphone and listen for the sound to come through the doorbell’s speaker. If there are any issues with sound quality or communication, check your device’s microphone and speaker settings.
Trigger the doorbell’s motion detection by walking in front of the door area. Verify that the doorbell notifies you through the Simplisafe app and captures accurate motion events. Adjust the motion detection sensitivity settings through the app, if necessary, to minimize any false alarms or missed events.
Press the doorbell button and ensure that the chime inside your home rings and alerts you to someone at the door. If you have multiple chimes set up, make sure that all of them ring simultaneously. If the chime does not ring, double-check the chime’s connection and settings in the Simplisafe app.
Test the doorbell’s night vision capabilities by turning off the lights in the area and checking the clarity of the recorded video. If the night vision appears grainy or unclear, consider adjusting the lighting in the area or adding additional exterior lighting to improve visibility.
Lastly, review the recorded video clips or snapshots captured by the doorbell’s motion detection. Ensure that they are saved properly and can be accessed through the Simplisafe app’s cloud storage. If you encounter any issues with storage or accessing the recorded footage, check your subscription plan and ensure that you have sufficient storage space available.
By thoroughly testing the Simplisafe Video Doorbell Pro’s features and functionality, you can have confidence in its performance and reliability for your home security needs. If you encounter any issues during the testing process, refer to the user manual or contact Simplisafe’s customer support for further assistance.
Conclusion
Congratulations! You have successfully completed the installation and setup process for your Simplisafe Video Doorbell Pro. By following the step-by-step instructions in this guide, you have ensured that your doorbell is securely mounted, connected to Wi-Fi, and functioning optimally.
The Simplisafe Video Doorbell Pro offers a range of features that enhance your home security, including high-resolution video streaming, two-way audio communication, and customizable motion detection. With its sleek design and advanced technology, this video doorbell provides peace of mind and convenience for you and your family.
Remember to periodically check the doorbell’s functionality, adjust the settings as needed, and stay up to date with any firmware updates or app upgrades from Simplisafe. Regular maintenance and testing will help ensure that your video doorbell continues to perform reliably and effectively.
If you encounter any difficulties during the installation process or have ongoing issues with your Simplisafe Video Doorbell Pro, don’t hesitate to reach out to Simplisafe’s customer support for further assistance. They have a dedicated team of experts who can provide guidance and troubleshooting solutions.
Thank you for choosing Simplisafe and investing in the security of your home with the Video Doorbell Pro. Enjoy the convenience and peace of mind that comes with having a smart and reliable doorbell system.