Introduction
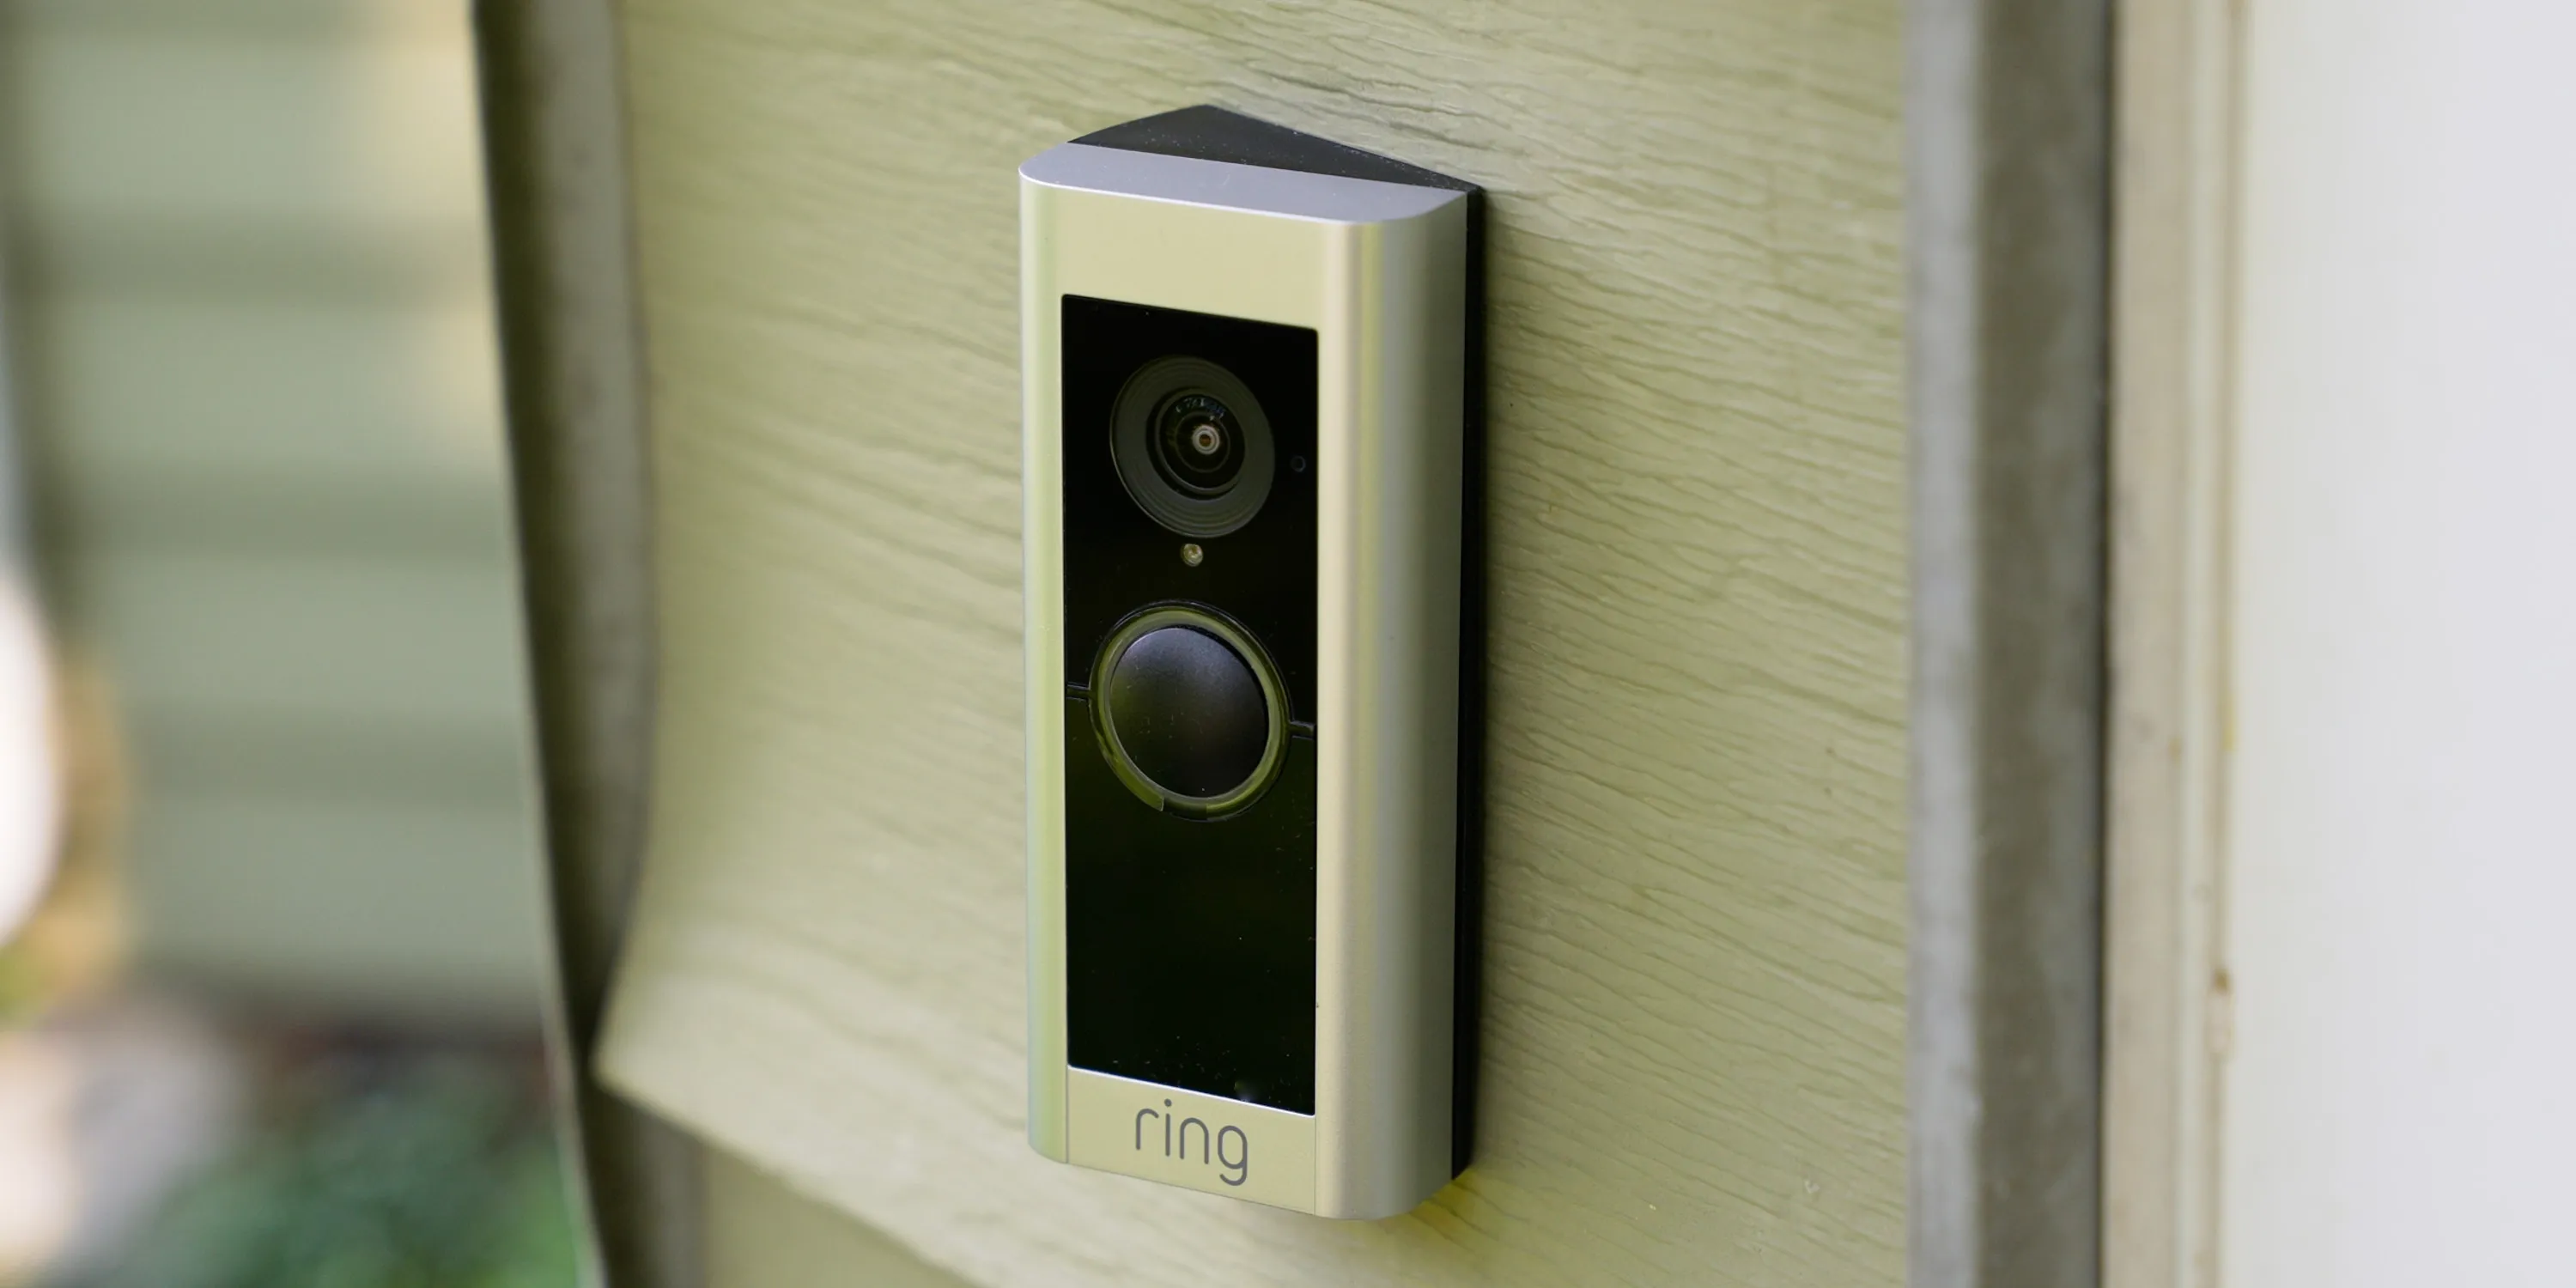
Are you ready to upgrade your home security with a Ring Video Doorbell Pro? This advanced doorbell offers a plethora of features, including high-definition video, motion detection, and two-way audio communication. In this comprehensive guide, you will learn how to install the Ring Video Doorbell Pro with ease, providing an added layer of security and convenience to your home.
The installation process may seem daunting at first, but with the right tools and a clear understanding of the steps involved, you can successfully set up your Ring Video Doorbell Pro in no time. By following this step-by-step guide, you will gain the knowledge and confidence needed to tackle this project and enjoy the benefits of enhanced home security.
Before diving into the installation process, it's essential to gather the necessary tools and materials. This ensures that you have everything on hand to complete the installation efficiently. Once you have the required items, you can proceed with turning off the power to your existing doorbell and removing it from its location. With the old doorbell out of the way, you can then install the mounting bracket and connect the wires to the Ring Video Doorbell Pro. Finally, you'll attach the doorbell to the mounting bracket, power it on, and complete the setup process.
With this guide, you'll be well-equipped to install the Ring Video Doorbell Pro and enjoy the peace of mind that comes with enhanced home security. Let's get started on this exciting home improvement project.
Step 1: Gather the Necessary Tools and Materials
Before embarking on the installation of your Ring Video Doorbell Pro, it’s crucial to gather all the essential tools and materials. Having these items at your disposal will streamline the installation process and ensure that you can complete the task without interruptions. Here’s a comprehensive list of what you’ll need:
- Screwdriver: A Phillips-head screwdriver will be required to remove your existing doorbell and install the mounting bracket for the Ring Video Doorbell Pro.
- Power Drill: If necessary, a power drill can be used to create new holes for the mounting bracket or to secure it firmly in place.
- Level: To ensure that the mounting bracket is installed perfectly straight, a level will come in handy for achieving optimal alignment.
- Wire Cutters and Wire Strippers: These tools will be essential for preparing the existing doorbell wires and connecting them to the Ring Video Doorbell Pro.
- Smartphone or Tablet: You’ll need a smartphone or tablet to download the Ring app, which is essential for setting up and configuring the Ring Video Doorbell Pro.
- Existing Doorbell Chime Compatibility Kit (if required): Depending on your existing doorbell setup, you may need a compatibility kit to ensure seamless integration with the Ring Video Doorbell Pro.
- Ring Video Doorbell Pro: Of course, you’ll need the Ring Video Doorbell Pro itself, complete with its mounting bracket and associated components.
By gathering these tools and materials before starting the installation process, you’ll be well-prepared to tackle each step with confidence and efficiency. With everything at your fingertips, you can proceed seamlessly to the next phase of the installation, ensuring that you have a smooth and uninterrupted experience.
Step 2: Turn Off the Power to Your Existing Doorbell
Prior to removing your existing doorbell, it’s crucial to ensure that the power supply to the doorbell is completely shut off. This step is essential for your safety and prevents any electrical mishaps during the installation process. Follow these steps to safely turn off the power to your existing doorbell:
- Locate the Circuit Breaker: Identify the circuit breaker in your home’s electrical panel that controls the power supply to the doorbell. The circuit breaker should be clearly labeled for easy identification.
- Switch Off the Circuit: Once you’ve located the correct circuit breaker, switch it off to cut the power supply to the doorbell. It’s advisable to double-check that the power has been successfully turned off by testing the doorbell to ensure it no longer functions.
- Secure the Circuit Breaker: For added safety, you can place a small piece of tape over the circuit breaker switch to prevent anyone from accidentally turning it back on while you’re working on the doorbell.
By following these steps, you can confidently proceed with the installation knowing that the power to your existing doorbell has been safely turned off. This precautionary measure minimizes the risk of electrical hazards and allows you to work on the doorbell without any concerns about live electrical currents. With the power off, you’re ready to move on to the next steps in the installation process.
Step 3: Remove Your Existing Doorbell
With the power supply to your existing doorbell safely turned off, you can proceed to remove the old doorbell from its mounting location. Follow these steps to ensure a smooth and hassle-free removal process:
- Remove the Faceplate: Begin by carefully prying off the faceplate of your existing doorbell. This may involve unscrewing the faceplate or gently releasing it from its clips, depending on the design of your doorbell.
- Disconnect the Wires: Once the faceplate is removed, you’ll gain access to the internal components of the doorbell. Take note of the wire connections and their respective terminals. Using a screwdriver, carefully loosen the terminal screws and disconnect the wires from the doorbell. It’s essential to handle the wires with care and avoid letting them fall back into the wall cavity.
- Remove the Mounting Bracket: After disconnecting the wires, you can proceed to remove the mounting bracket or backplate that secures the doorbell to the wall. Unscrew any screws or fasteners holding the bracket in place and gently detach it from the wall.
- Inspect the Wiring: With the old doorbell and mounting bracket removed, take a moment to inspect the wiring and wall cavity. Ensure that the wires are in good condition and free from any damage. If necessary, make any repairs or adjustments to the wiring before proceeding with the installation of the Ring Video Doorbell Pro.
By carefully following these steps, you can safely remove your existing doorbell and prepare the mounting location for the installation of the Ring Video Doorbell Pro. With the old doorbell out of the way, you’re ready to move on to the next phase of the installation process and begin setting up the new doorbell.
Step 4: Install the Mounting Bracket
With the old doorbell removed, it’s time to install the mounting bracket for the Ring Video Doorbell Pro. This essential component provides a secure and stable base for mounting the new doorbell. Follow these steps to ensure a successful installation of the mounting bracket:
- Select the Mounting Location: Choose a suitable location near your entryway to install the mounting bracket. Ensure that the location provides a clear view of the area in front of your door for optimal video coverage.
- Position the Bracket: Hold the mounting bracket against the wall or door frame in the chosen location. Use a level to ensure that the bracket is perfectly straight and aligned to your preference. Mark the positions of the screw holes on the wall using a pencil or marker.
- Drill Pilot Holes: If necessary, use a power drill to create pilot holes at the marked positions on the wall. Pilot holes make it easier to drive the screws into place and prevent the wall from splitting or cracking during installation.
- Secure the Bracket: Align the mounting bracket with the pilot holes and use the provided screws to secure it firmly to the wall or door frame. Ensure that the bracket is securely attached and does not wobble or shift when pressure is applied.
By following these steps, you can effectively install the mounting bracket for the Ring Video Doorbell Pro, providing a solid foundation for mounting the doorbell. With the bracket securely in place, you’re ready to proceed with connecting the wires and attaching the Ring Video Doorbell Pro to its designated location.
Step 5: Connect the Wires to the Ring Video Doorbell Pro
With the mounting bracket securely installed, the next crucial step in the installation process is to connect the existing doorbell wires to the Ring Video Doorbell Pro. This step ensures that the doorbell receives power and enables its functionality. Follow these steps to successfully connect the wires:
- Prepare the Wires: If the existing doorbell wires have excess insulation, carefully strip away a small portion to expose the bare wire. Use wire cutters and strippers to remove the insulation, ensuring that the copper wire is clean and free from any damage.
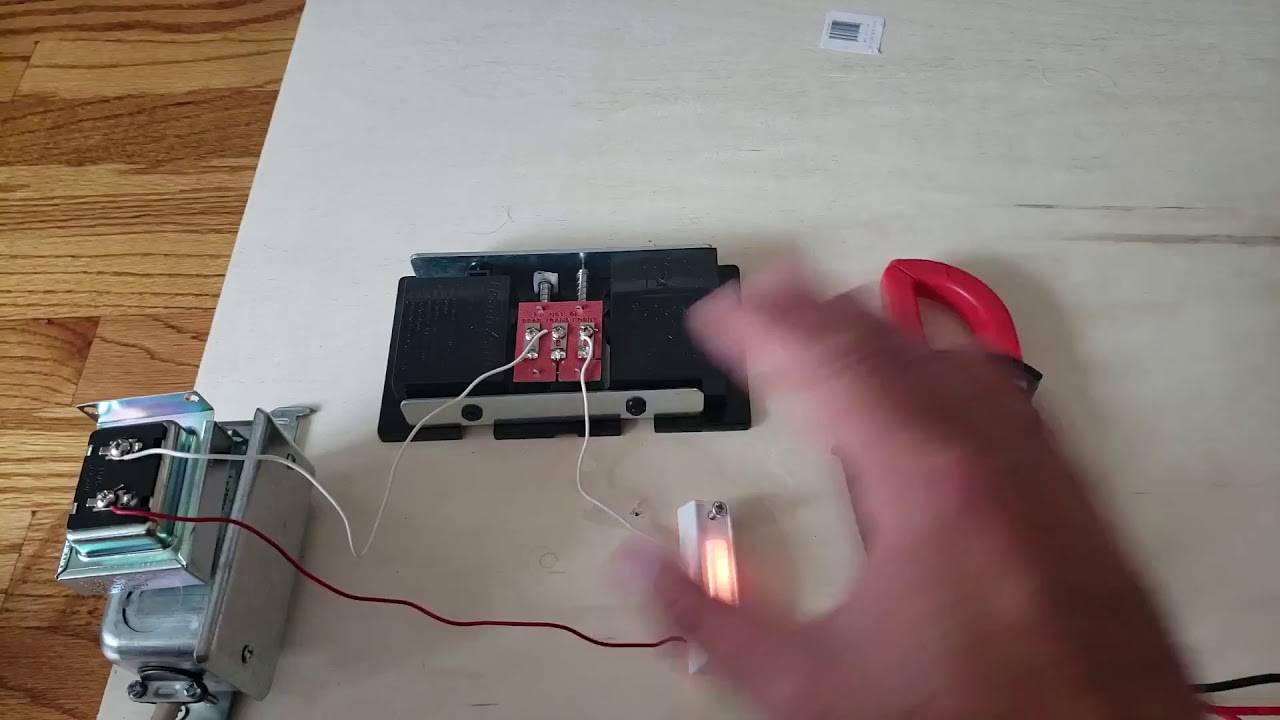
- Identify the Terminal Screws: The Ring Video Doorbell Pro is equipped with terminal screws labeled “Front” and “Trans.” Match the wires from your existing doorbell to the corresponding terminals on the Ring Video Doorbell Pro. Typically, the front wire connects to the “Front” terminal, while the transformer wire connects to the “Trans” terminal.
- Secure the Connections: Loosen the terminal screws on the Ring Video Doorbell Pro and insert the prepared wires into the designated terminals. Ensure that the wires are inserted securely and make proper contact with the terminal screws. Tighten the screws to secure the connections, taking care not to over-tighten and risk damaging the wires.
- Tuck in the Excess Wires: Once the connections are secure, carefully tuck any excess wire back into the wall cavity. This helps prevent the wires from interfering with the installation of the doorbell and ensures a neat and tidy appearance.
By carefully following these steps, you can effectively connect the existing doorbell wires to the Ring Video Doorbell Pro, setting the stage for the final phase of the installation process. With the wires securely connected, you’re ready to proceed with attaching the doorbell to the mounting bracket and powering it on for setup.
Step 6: Attach the Ring Video Doorbell Pro to the Mounting Bracket
With the wiring successfully connected, the next step in the installation process is to attach the Ring Video Doorbell Pro to the mounting bracket. This pivotal step secures the doorbell in place and ensures proper functionality. Follow these steps to effectively attach the doorbell:
- Align the Doorbell: Position the Ring Video Doorbell Pro in alignment with the mounting bracket. Ensure that the screw holes on the doorbell align with the holes on the bracket for a proper fit.
- Secure the Doorbell: Using the provided screws, carefully secure the Ring Video Doorbell Pro to the mounting bracket. Ensure that the doorbell is firmly attached and does not wobble or shift when touched.
- Adjust the Position: Once the doorbell is attached, make any necessary adjustments to its position to ensure that it is level and aligned according to your preference. A level can be used to verify that the doorbell is perfectly straight.
- Test the Stability: Apply gentle pressure to the doorbell to ensure that it is securely attached to the mounting bracket. Verify that the doorbell remains stable and does not move or come loose after installation.
By following these steps, you can effectively attach the Ring Video Doorbell Pro to the mounting bracket, completing the physical installation of the doorbell. With the doorbell securely in place, you’re ready to power it on and proceed with the setup and configuration process using the Ring app.
Step 7: Power on the Doorbell and Complete the Setup
With the Ring Video Doorbell Pro securely attached to the mounting bracket, the final step in the installation process is to power on the doorbell and complete the setup using the Ring app. Follow these crucial steps to ensure a successful activation and configuration:
- Restore Power: Return to your home’s electrical panel and switch on the circuit breaker that controls the power supply to the doorbell. This restores power to the Ring Video Doorbell Pro, allowing it to initialize and begin the setup process.
- Download the Ring App: Using your smartphone or tablet, download the Ring app from the App Store or Google Play Store. The app is essential for setting up and configuring the Ring Video Doorbell Pro, providing access to its features and settings.
- Follow the In-App Instructions: Launch the Ring app and follow the on-screen instructions to add the Ring Video Doorbell Pro to your Ring account. This typically involves creating an account, scanning the device’s QR code, and connecting it to your Wi-Fi network.
- Adjust Settings and Preferences: Once the doorbell is successfully added to your Ring account, take the time to customize its settings and preferences within the app. This may include adjusting motion detection zones, setting up notifications, and configuring other features to suit your specific needs.
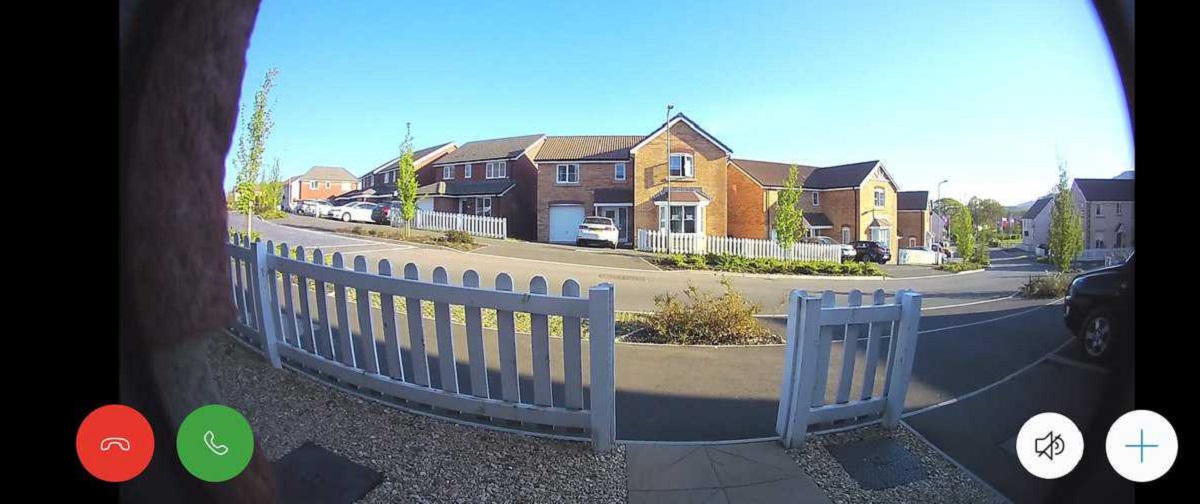
- Test the Doorbell: With the setup completed, test the functionality of the Ring Video Doorbell Pro to ensure that it’s working as expected. Verify that you can receive alerts, view live video feeds, and communicate through the two-way audio feature.
By following these steps, you can successfully power on the Ring Video Doorbell Pro and complete the setup process using the Ring app. With the doorbell fully activated and configured, you can enjoy the benefits of enhanced home security, convenient monitoring, and seamless communication at your doorstep.
Conclusion
Congratulations! You have successfully completed the installation of the Ring Video Doorbell Pro, enhancing the security and convenience of your home. By following the step-by-step guide provided in this tutorial, you have gained the knowledge and confidence to tackle this home improvement project with ease.
With the Ring Video Doorbell Pro in place, you now have access to advanced features such as high-definition video, motion detection, and two-way audio communication. This innovative device offers peace of mind, allowing you to monitor your doorstep, communicate with visitors, and receive alerts directly on your smartphone or tablet.
By carefully gathering the necessary tools and materials, turning off the power to your existing doorbell, removing the old doorbell, installing the mounting bracket, connecting the wires, attaching the Ring Video Doorbell Pro, and completing the setup process, you have successfully transformed your home security system.
It’s important to take the time to familiarize yourself with the features and settings of the Ring Video Doorbell Pro, customizing it to suit your specific needs. Whether it’s adjusting motion detection zones, setting up notifications, or exploring the full range of capabilities offered by the Ring app, you now have the power to tailor your home security experience.
With the Ring Video Doorbell Pro installed, you can enjoy the convenience of remote monitoring, the assurance of enhanced security, and the ability to communicate with visitors from anywhere. This valuable addition to your home not only provides a sense of security but also adds a touch of modern technology to your everyday life.
Thank you for taking the initiative to install the Ring Video Doorbell Pro. We hope this guide has been helpful, and we wish you many years of reliable performance and peace of mind with your new home security solution.