Introduction
So, you’ve decided to uninstall your video doorbell or replace it with a new one and you’re wondering how to get that mounting bracket off. Don’t worry, we’ve got you covered!
The mounting bracket is an essential part of your video doorbell installation. It securely holds the doorbell in place and ensures proper functionality. Removing the mounting bracket may seem intimidating at first, but with the right tools and steps, it can be a straightforward process.
In this guide, we’ll walk you through the step-by-step process of removing the mounting bracket from your video doorbell. Whether you’re updating your video doorbell system or troubleshooting an issue, these instructions will help you get the job done safely and efficiently.
We’ll cover everything from disconnecting the power supply to removing the bracket itself. If your video doorbell is wired, we’ll also guide you through disconnecting the wires properly. By the end of this guide, you’ll have a clear understanding of how to remove the mounting bracket and confidently proceed with your video doorbell project.
Before we dive into the steps, let’s take a moment to understand the mounting bracket itself and the tools you’ll need for the task ahead.
Understanding the Mounting Bracket
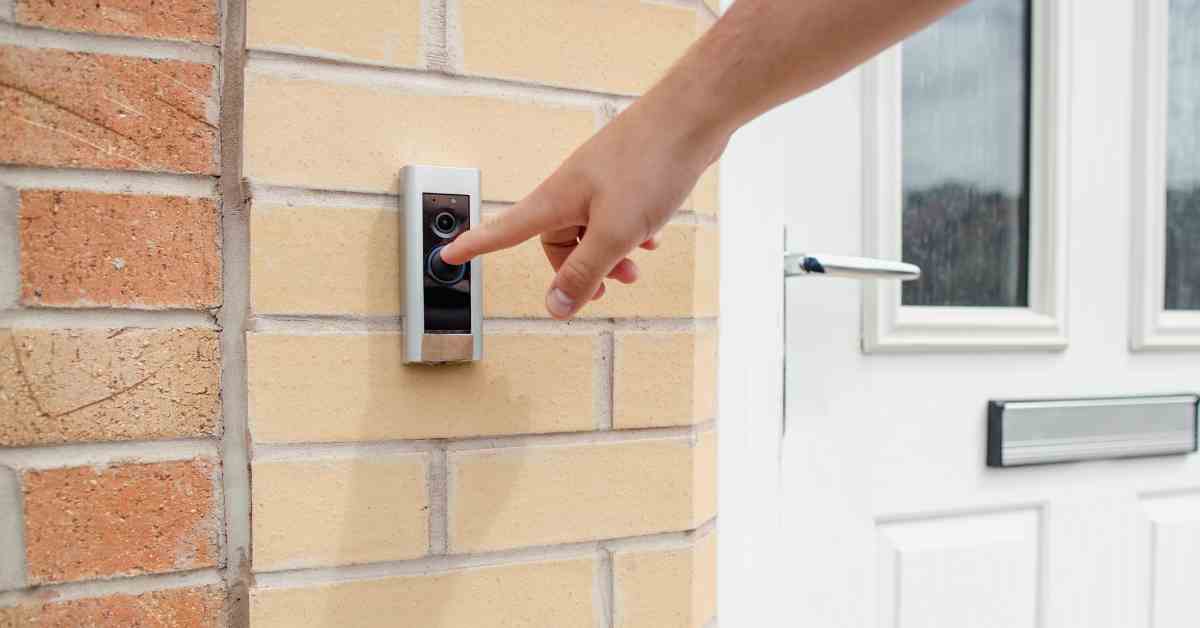
The mounting bracket is a critical component of your video doorbell system. It serves as the anchor that holds the doorbell securely in place, ensuring proper alignment and stability. Understanding how the mounting bracket works will aid you in safely removing it.
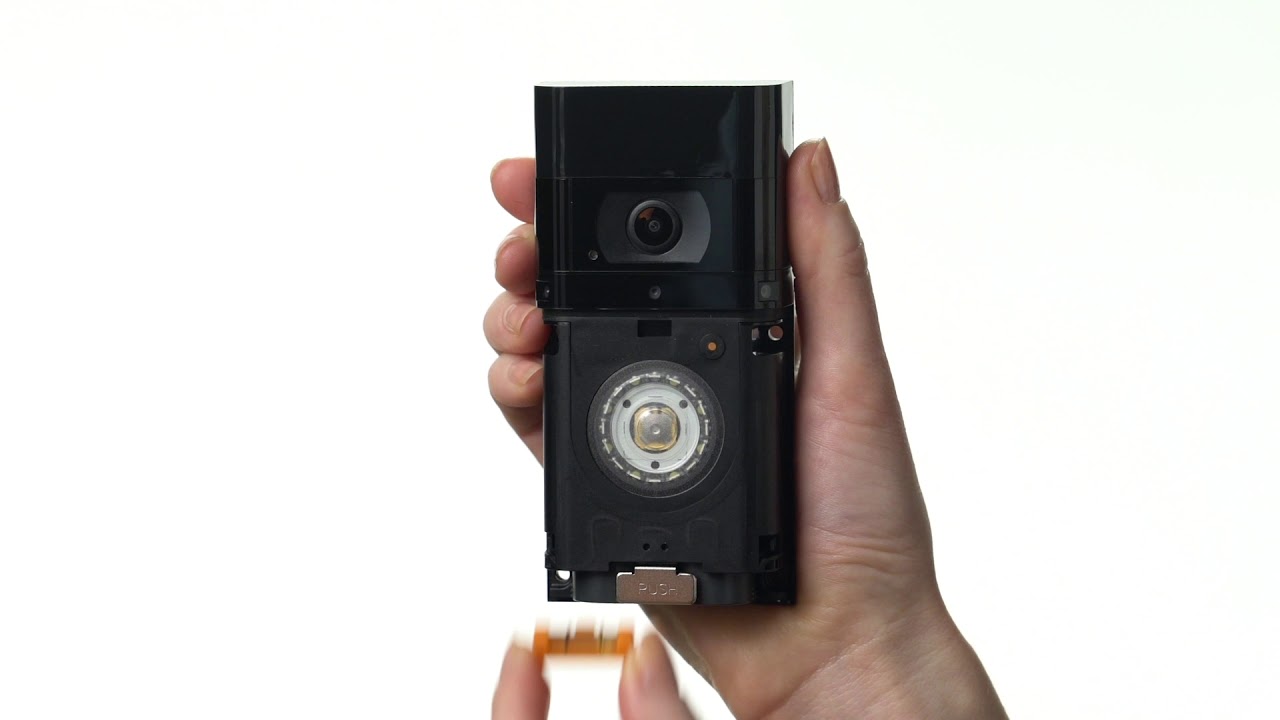
Most video doorbell mounting brackets consist of two main parts: the base plate and the bracket arm. The base plate is attached to the wall or mounting surface, while the bracket arm extends outward to hold the actual doorbell device. The doorbell is typically attached to the bracket arm using screws or a locking mechanism.
It’s important to note that different video doorbell models may have variations in their mounting brackets. While the general principles remain the same, it’s always a good idea to consult the user manual or manufacturer’s guide for your specific doorbell model to ensure you fully understand its unique mounting mechanism.
Before attempting to remove the mounting bracket, take a close look at its design and any locking or securing mechanisms. Look for any visible screws, clips, or levers that may be holding the bracket in place. This will give you a better idea of how to proceed.
Additionally, make sure to have a firm grasp of the size and weight of your video doorbell as this can influence the stability and installation requirements of the mounting bracket. Some doorbells come with adjustable bracket arms to accommodate different door frames or angles, so be aware of any adjustable features that may impact the removal process.
Now that you have a basic understanding of the mounting bracket, let’s gather the necessary tools for removing it in the next section.
Tools Needed
Before you begin removing the mounting bracket from your video doorbell, it’s important to gather the right tools. Having the appropriate tools on hand will make the process smoother and help you avoid potential difficulties. Here are the essential tools you’ll need:
- Screwdriver: A screwdriver is the primary tool you’ll need for removing the mounting bracket. The type of screwdriver required depends on the screws holding the bracket in place. Common types include Phillips-head and flat-head screwdrivers. Check your video doorbell’s user manual or visually inspect the screws to determine the appropriate screwdriver type.
- Power supply: If your video doorbell is hardwired, make sure to turn off the power supply at the circuit breaker or fuse box before starting the removal process. This step is crucial for your safety.
- Small wire strippers (if applicable): If your video doorbell is wired and you need to disconnect the wires, having small wire strippers will make the task easier. These tools allow you to cleanly strip the insulation off the wires, making it simpler to disconnect them from the bracket.
- Pliers (if applicable): In some cases, you may need pliers to assist with removing stubborn screws or manipulating small components. Having a pair of pliers on hand can be helpful, particularly if there are any additional securing mechanisms in place.
- Protective gloves: While not necessarily a tool, wearing protective gloves during the removal process can prevent accidental cuts or injuries. They also provide a better grip when handling screws or other small parts.
By having these tools readily available, you’ll be prepared to remove the mounting bracket from your video doorbell safely and efficiently.
Step 1: Disconnect the Power Supply
Before you begin removing the mounting bracket from your video doorbell, it’s crucial to ensure your safety by disconnecting the power supply. This step is particularly important if your video doorbell is hardwired to an electrical circuit. Here’s how to do it:
- Locate the circuit breaker or fuse box that controls the power supply to your video doorbell. It’s usually labeled with the corresponding room or device name.
- Switch off the circuit breaker or remove the fuse that controls the power to your video doorbell. This will cut off the electricity supply and prevent any potential accidents during the removal process.
- Double-check that the power is indeed disconnected by trying to ring the doorbell or using a voltage tester to ensure there’s no electrical current.
By disconnecting the power supply, you eliminate the risk of electric shocks or short circuits while working on the video doorbell mounting bracket.
Now that you’ve taken the necessary safety precautions, you’re ready to proceed to the next step: loosening the screws holding the mounting bracket in place.
Step 2: Loosen the Screws
Once you’ve disconnected the power supply, it’s time to loosen the screws that secure the mounting bracket in place. The number and location of the screws may vary depending on your specific video doorbell model, but the general process remains the same. Here’s how to do it:
- Locate the screws that attach the mounting bracket to the wall or mounting surface. Typically, there will be two or more screws that hold the bracket in place.
- Using the appropriate screwdriver, begin loosening the screws by turning them counterclockwise. Apply steady pressure to avoid stripping the screws or damaging the bracket.
- Continue loosening the screws until they are fully disengaged from the wall or mounting surface. Place them in a secure location to prevent misplacement.
During this step, it’s important to note that some video doorbell models may have additional locking mechanisms or clips that need to be released before the bracket can be fully removed. If you encounter any of these additional components, follow the manufacturer’s instructions or consult the user manual to release them properly.
Once all the screws are loosened and any additional locking mechanisms or clips have been disengaged, you’re ready to move on to the next step: removing the mounting bracket from your video doorbell.
Step 3: Remove the Mounting Bracket
With the screws loosened, it’s time to remove the mounting bracket from your video doorbell. Follow these steps to safely detach the bracket:
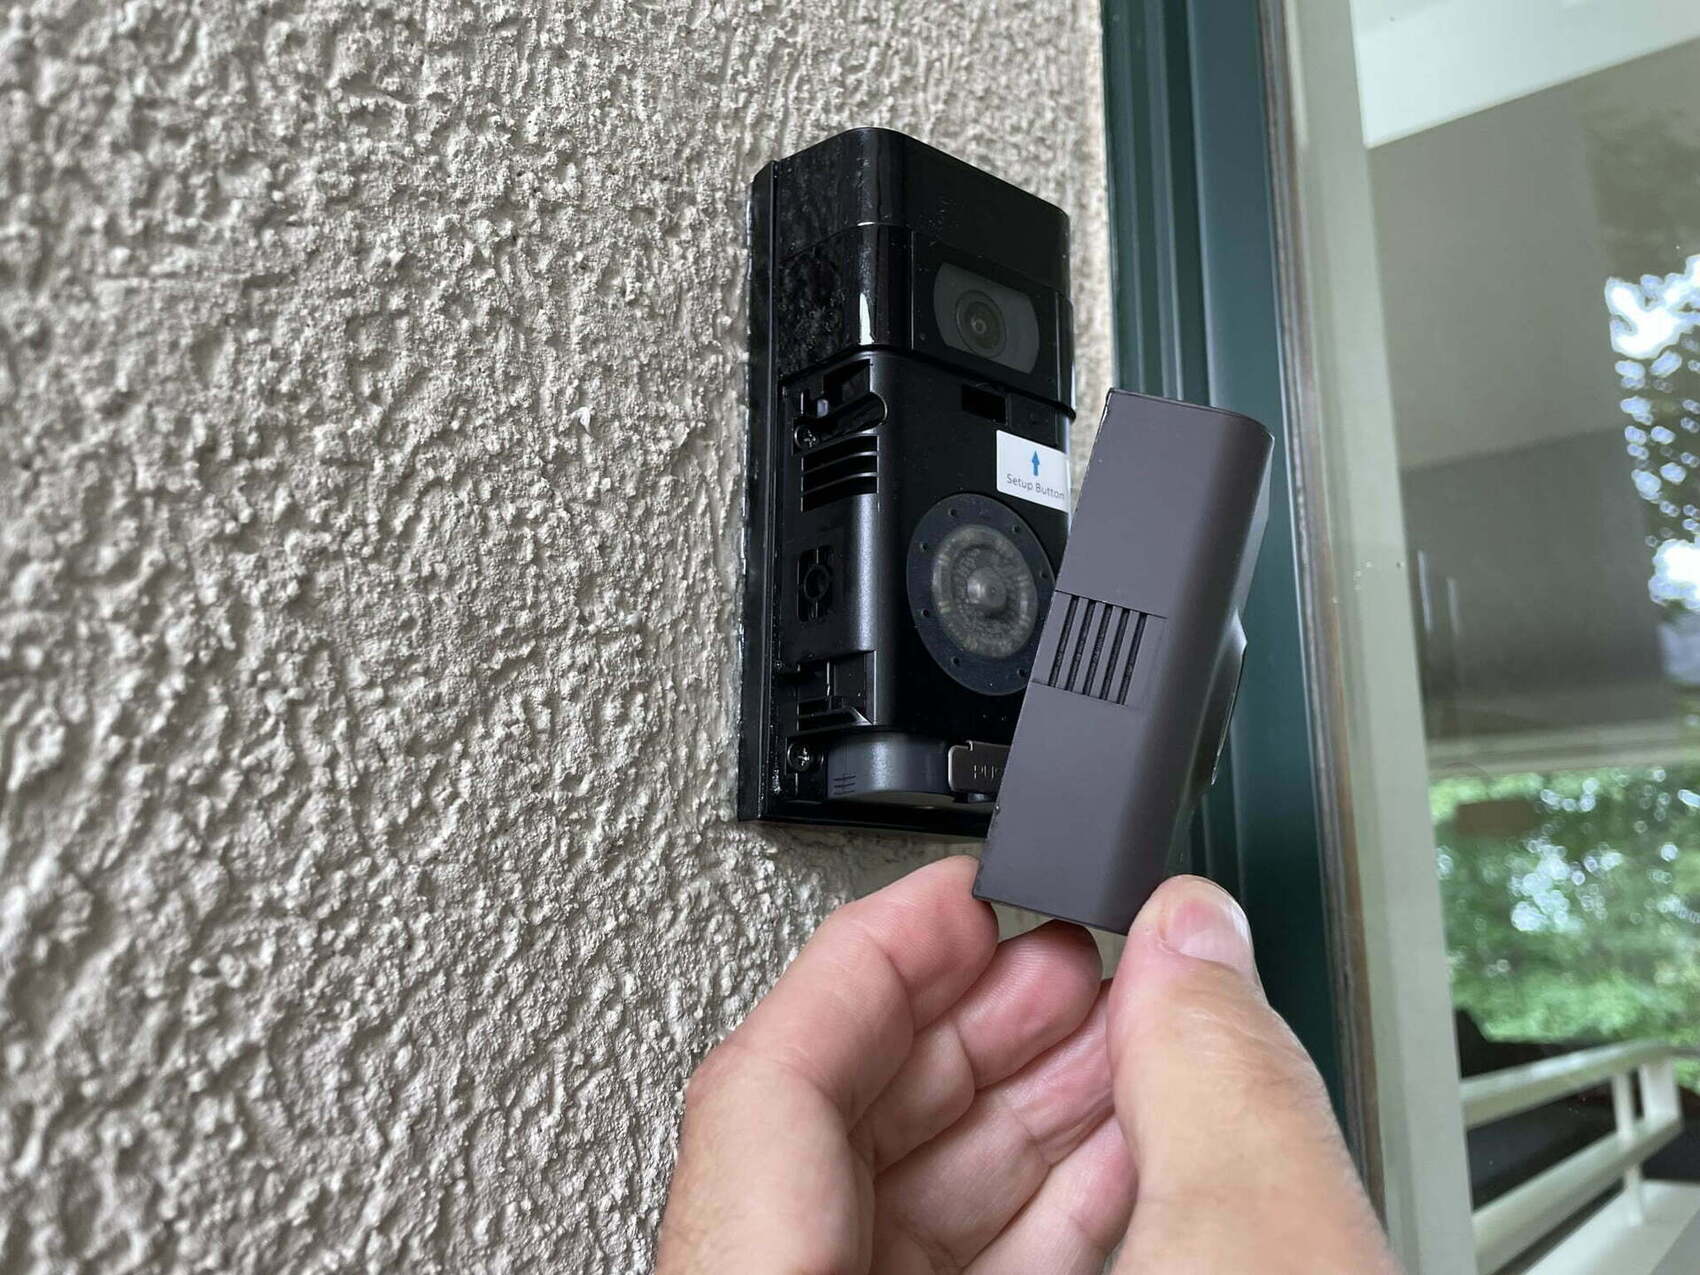
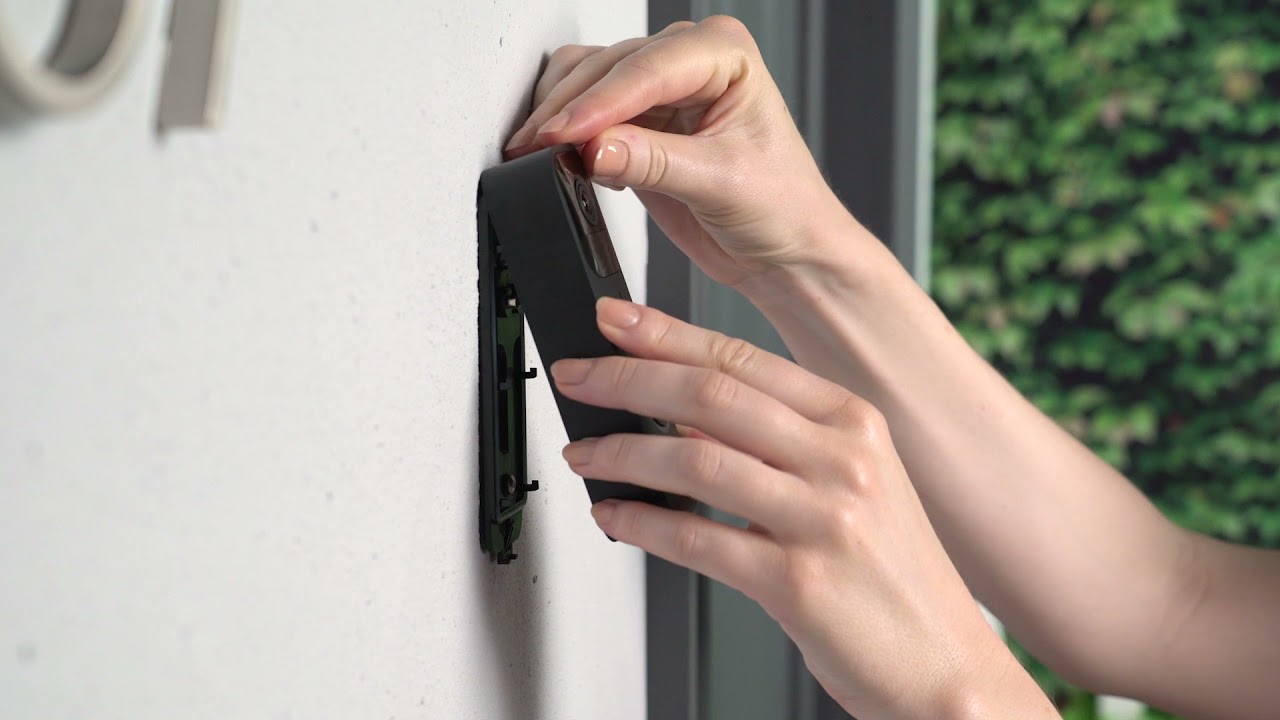
- Gently pull the video doorbell away from the wall or mounting surface, ensuring that you have a firm grip on the device.
- As you pull the doorbell forward, you may feel some resistance. This is normal and occurs due to the bracket’s snug fit.
- With a steady and controlled motion, continue pulling the doorbell away from the wall or mounting surface until you completely detach it from the bracket.
Be cautious not to pull too forcefully or abruptly, as this can damage the wiring or other sensitive components of the video doorbell. Take your time and exercise patience during this step.
Once the video doorbell is detached from the mounting bracket, set it aside in a safe place. The bracket should now be free and separate from the device.
Inspect the bracket for any damage or signs of wear. If you’re replacing your video doorbell, you may choose to reuse the bracket if it’s still in good condition. Otherwise, if you’re permanently removing the doorbell, you can discard the bracket or store it for future use.
Congratulations! You’ve successfully removed the mounting bracket from your video doorbell. If your video doorbell is wired, there’s an additional step for disconnecting the wires, which we’ll cover in the next section.
Step 4: Disconnect the Wires (If Applicable)
If your video doorbell is wired, you’ll need to disconnect the wires from the mounting bracket before fully removing it. Follow these steps to safely disconnect the wires:
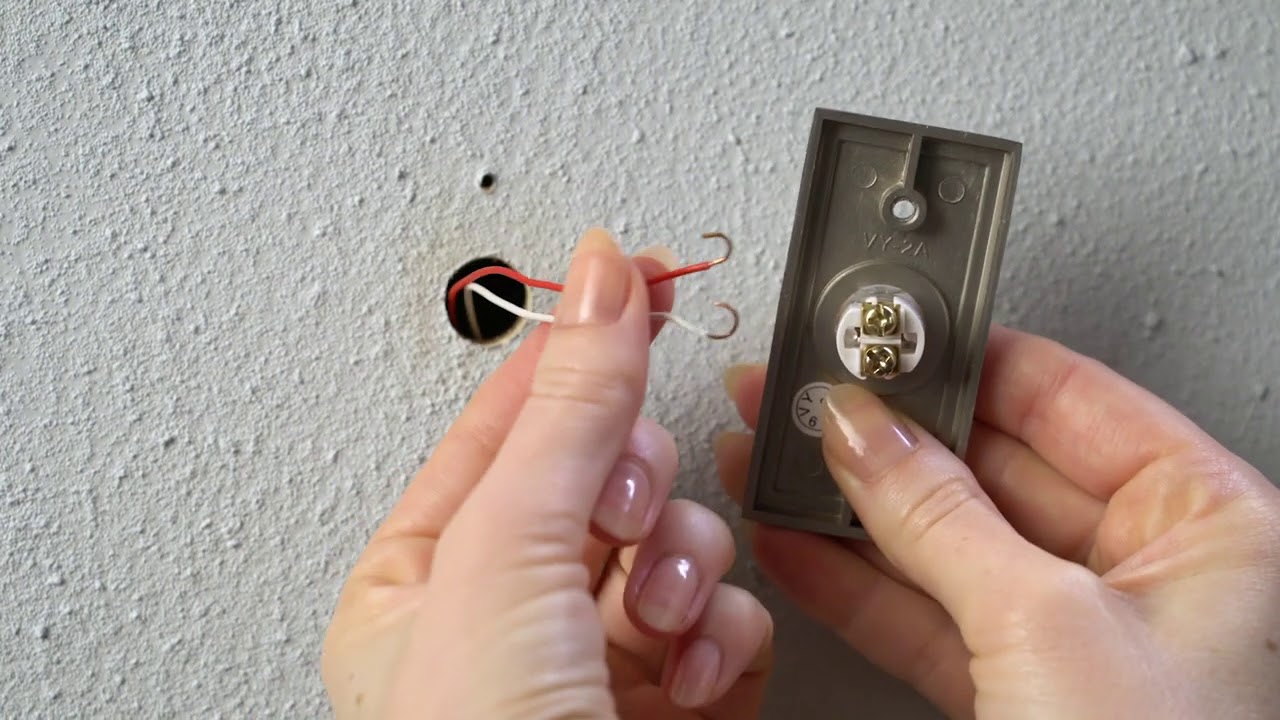
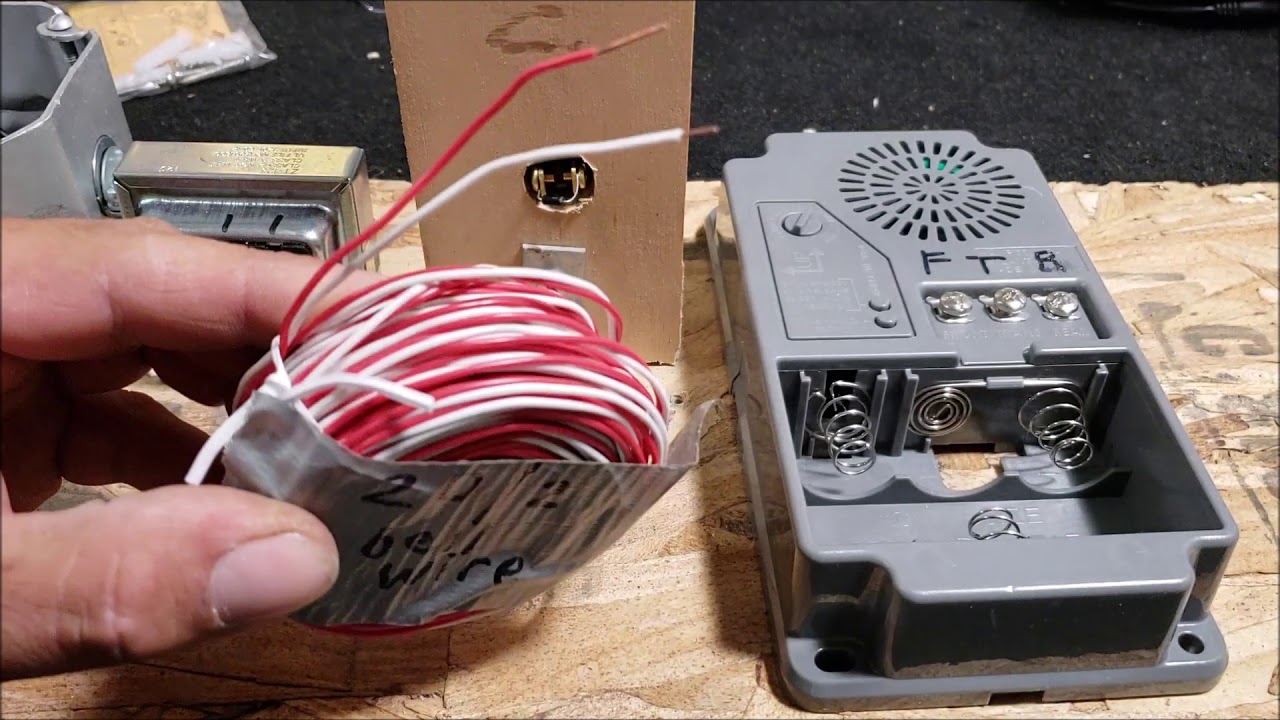
- Inspect the wiring connections on the back of the video doorbell. Depending on your specific model, there may be screw terminals, wire connectors, or other types of connections.
- Using a small screwdriver or a pair of wire strippers, carefully loosen the screws or connectors holding the wires in place. If there are multiple wires, ensure that you keep track of which wire corresponds to each terminal or connection.
- Gently pull the wires out of their respective terminals or connectors. Take care not to pull on the wires themselves but rather on the connector or terminal to avoid any damage.
- Once the wires are disconnected, securely wrap the exposed ends with electrical tape to prevent any accidental contact or short circuits. This step is essential for safety.
If you plan to install a new video doorbell, you can now proceed with connecting the wires to the appropriate terminals on the new device. Consult the user manual or follow the manufacturer’s instructions for proper wiring.
If you’re permanently removing the video doorbell and will not be installing a replacement, you can securely cap the wires with wire nuts or electrical tape and tuck them back into the wall or conduit.
With the wires disconnected and properly secured, you’ve completed the final step of removing the mounting bracket from your video doorbell. You can now proceed with any further installation or replacement tasks as needed.
Conclusion
Removing the mounting bracket from your video doorbell may seem like a daunting task, but with the right knowledge and tools, it can be a straightforward process. By following the steps outlined in this guide, you can safely and efficiently remove the mounting bracket from your video doorbell.
Remember to always prioritize safety by disconnecting the power supply before starting the removal process. Additionally, gather the necessary tools, such as a screwdriver, wire strippers (if applicable), and pliers (if necessary), to assist with the removal.
Understanding the design and components of the mounting bracket is crucial for a successful removal. Take note of any additional locking mechanisms or clips and consult the manufacturer’s instructions if needed.
Loosening the screws that secure the mounting bracket is the next step. Be sure to turn them counterclockwise and remove any additional securing mechanisms before attempting to detach the bracket.
If your video doorbell is wired, you’ll need to disconnect the wires from the bracket following the proper procedures. Take care to label the wires and securely wrap the exposed ends to prevent any accidents.
With the mounting bracket removed, you can proceed with installing a new video doorbell or completing any other necessary tasks. Alternatively, if you no longer require a video doorbell, you can safely discard or store the mounting bracket for future use.
We hope this guide has been helpful in assisting you with removing the mounting bracket from your video doorbell. Should you have any further questions or need additional assistance, don’t hesitate to consult the user manual or reach out to the manufacturer for guidance.