Introduction
Welcome to the ultimate guide on how to install the Blink Video Doorbell! Are you ready to enhance the security of your home and have peace of mind knowing who’s at your doorstep? Look no further, as we will take you through each step of the installation process, ensuring that you can enjoy the benefits of this innovative device in no time.
Whether you’re a tech-savvy individual or a beginner with little knowledge of electronic installations, fear not! This guide is designed to be user-friendly and comprehensive, providing you with clear instructions along the way.
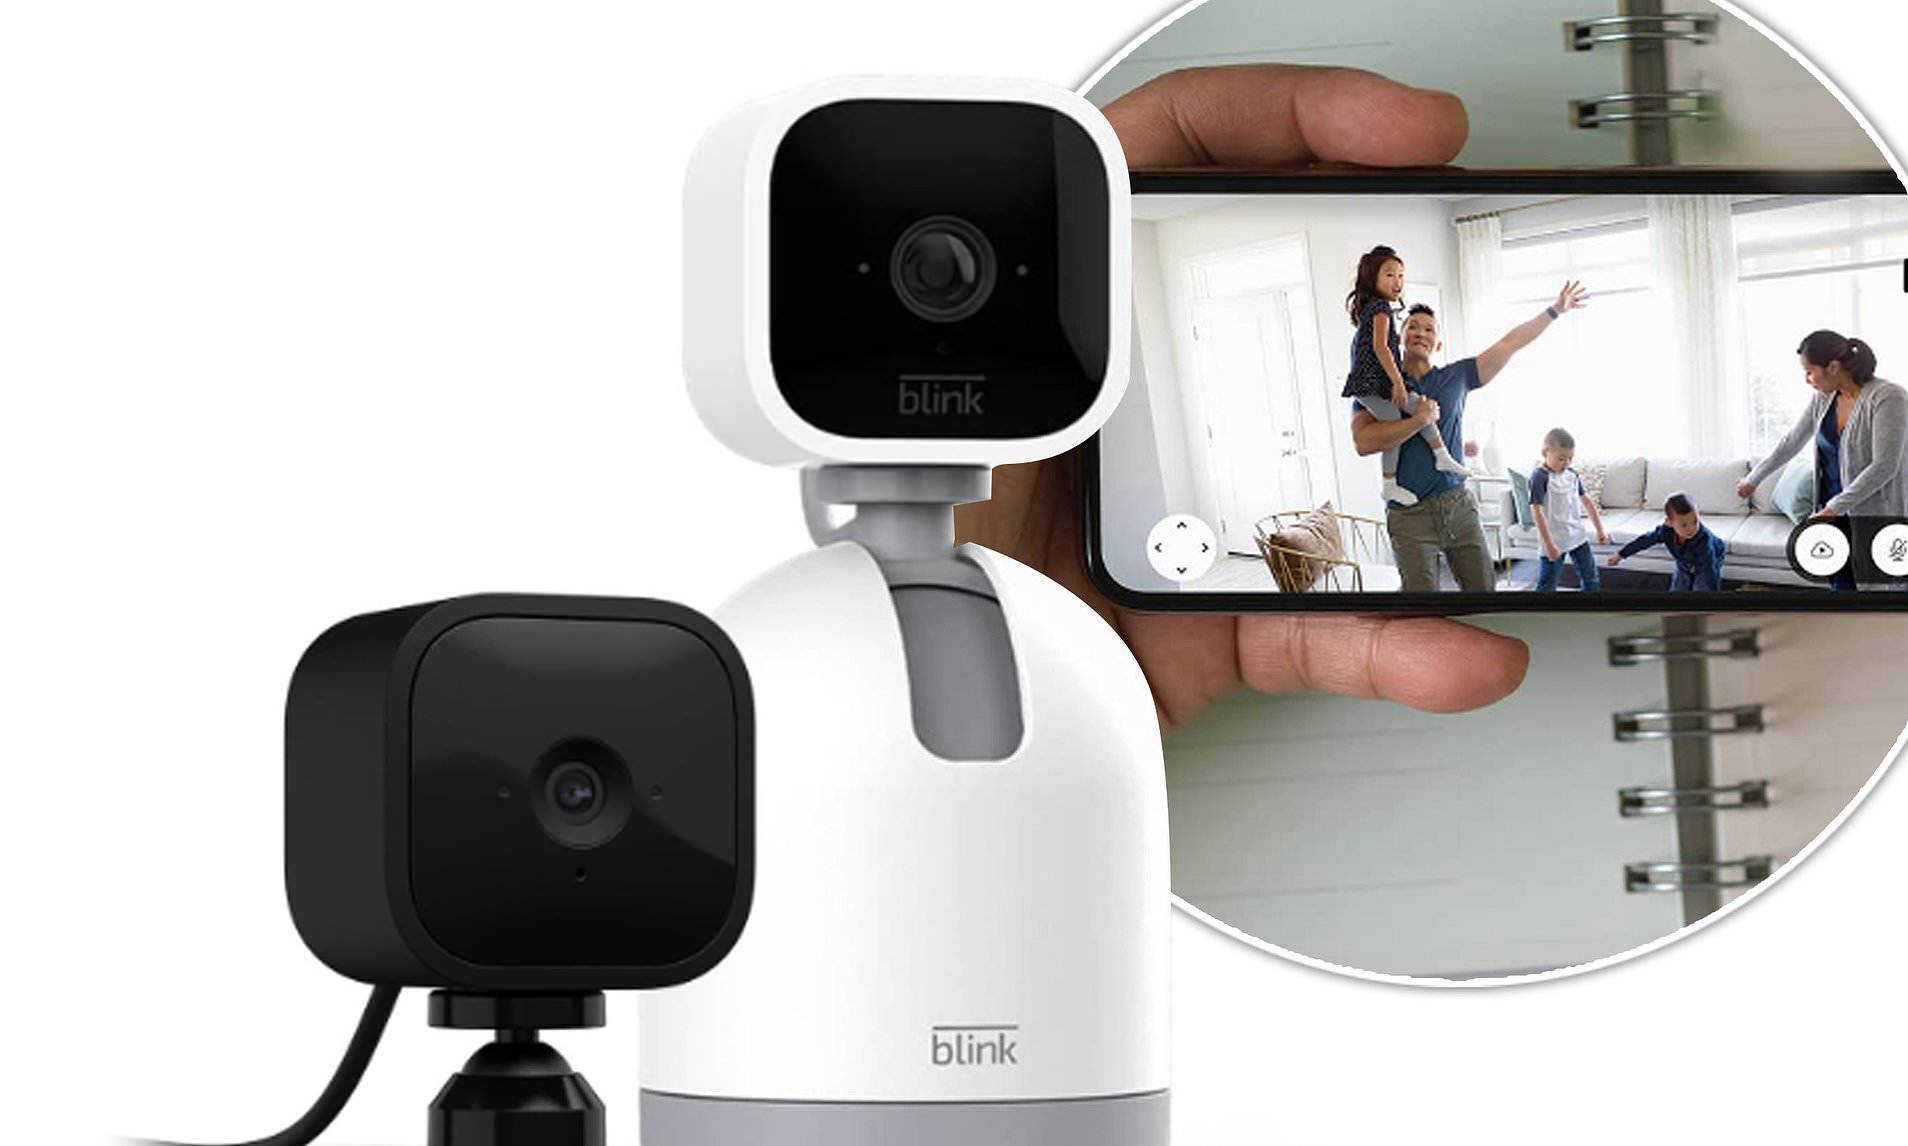
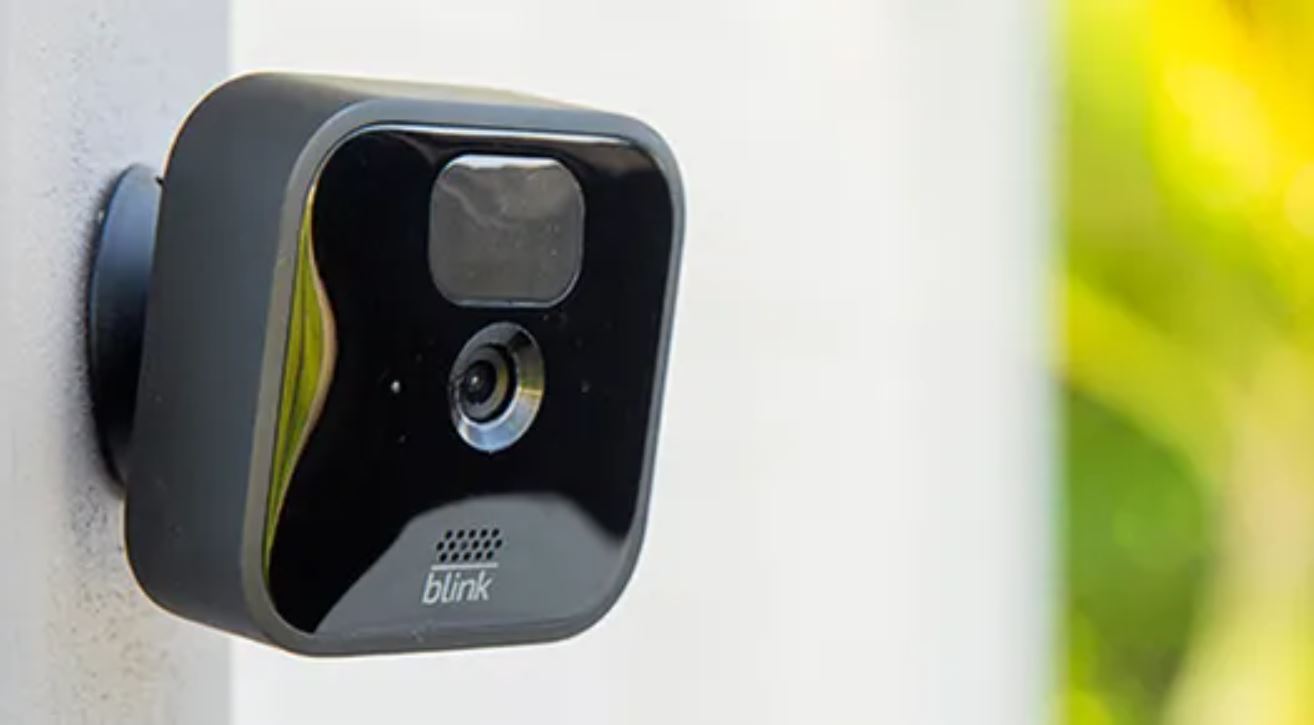
The Blink Video Doorbell combines convenience and security by allowing you to monitor your front door from anywhere using your smartphone. With features like motion detection, two-way audio, and a high-definition camera, you’ll never miss a visitor or a package delivery again.
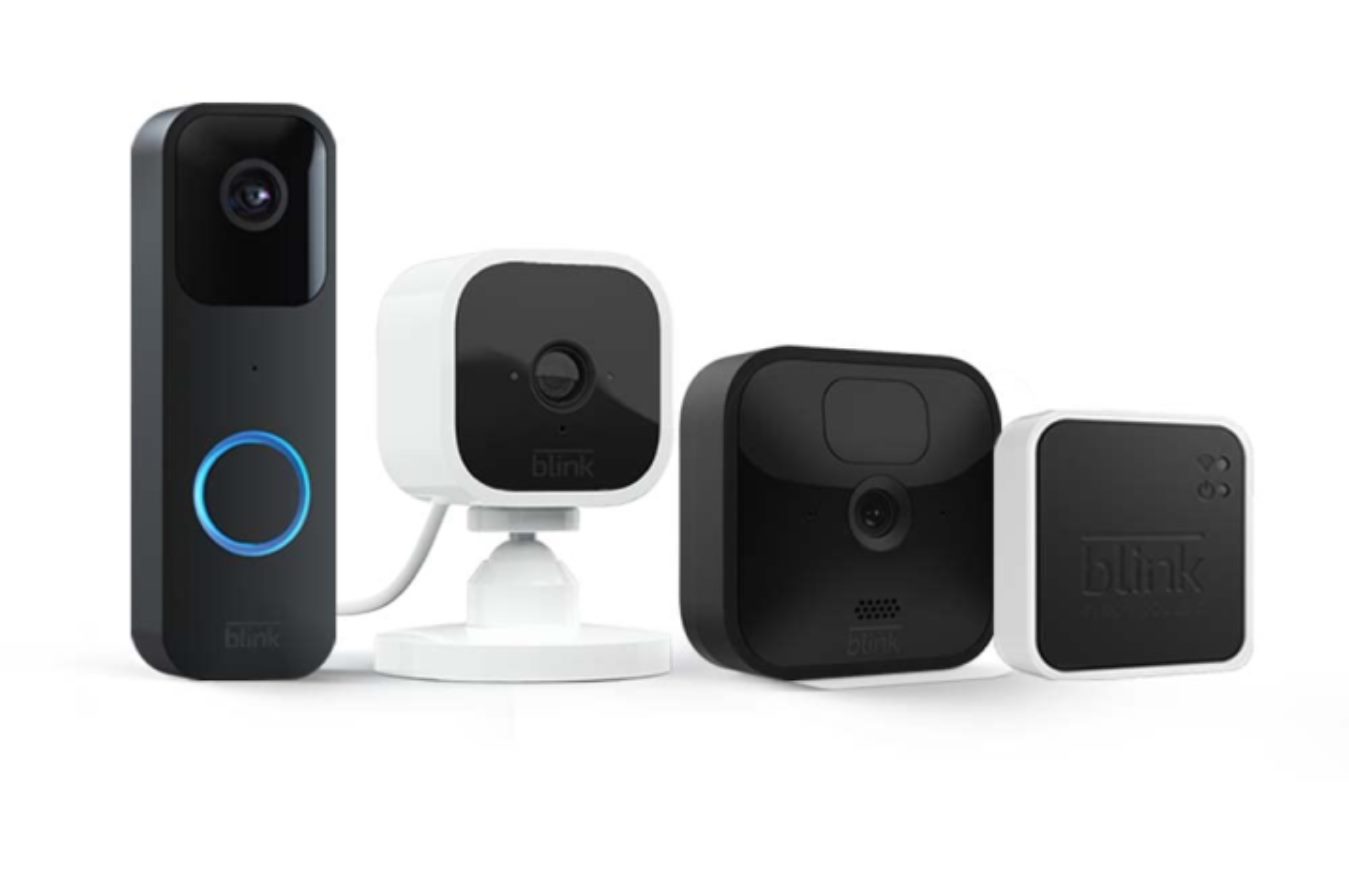
Before we dive into the installation process, let’s first gather the necessary tools and familiarize ourselves with the components that come with the Blink Video Doorbell.
Tools Needed
Before getting started with the installation process, it’s important to have the following tools on hand:
- Drill: You’ll need a drill with the appropriate-sized drill bit to create holes for mounting the doorbell and wiring.
- Screwdriver: A screwdriver will be necessary for securing the mounting bracket and attaching the doorbell to it.
- Wire cutters/strippers: These tools are essential for cutting and stripping the wires during the installation process.
- Tape measure: Use a tape measure to ensure accurate placement of the mounting bracket and doorbell.
- Level: A level is helpful for ensuring that the mounting bracket is installed straight and level.
- Pencil: Have a pencil handy for marking the mounting hole locations on the wall.
- Power drill and bits: Depending on the type of surface you’re mounting the bracket on, you may need a power drill with the appropriate drill bits.
- Safety glasses: It’s always a good idea to protect your eyes during any installation process.
Having these tools readily available will make the installation process smoother and more efficient. Now that you’re equipped with the necessary tools, let’s proceed to the next step: unboxing the Blink Video Doorbell.
Step 1: Unboxing the Blink Video Doorbell
Before we dive into the installation process, let’s begin with unboxing the Blink Video Doorbell and familiarizing ourselves with its components. Follow these steps:
- Locate the package containing the Blink Video Doorbell. Open it carefully to avoid damaging any of the contents.
- Inside the package, you will find the Blink Video Doorbell itself, a mounting bracket, a set of screws, a USB charging cable, and any additional accessories that may have been included.
- Take a few moments to inspect each item and ensure that everything is included and undamaged.
- Read through the user manual or quick-start guide provided. Familiarize yourself with the features and specifications of the doorbell.
- Connect the USB charging cable to the Blink Video Doorbell. This will allow you to charge the device in the following steps.
Unboxing the Blink Video Doorbell is a straightforward process that sets the stage for the installation. By inspecting the components and charging the device, you’ll be ready to proceed to the next step: charging the battery.
Step 2: Charging the Battery
Now that you’ve unboxed the Blink Video Doorbell, it’s time to charge the battery. The battery powering the doorbell will ensure consistent functionality and allow you to use the device wirelessly. Follow these steps to charge the battery:
- Ensure that the USB charging cable is securely connected to the Blink Video Doorbell.
- Plug the other end of the charging cable into a power source, such as a USB wall adapter or a computer’s USB port.
- The LED indicator on the doorbell will start flashing, indicating that the battery is charging.
- Leave the doorbell connected to the power source until the LED indicator remains solid, indicating that the battery is fully charged. This typically takes a few hours.
- Once the battery is fully charged, unplug the charging cable from the doorbell and the power source.
It’s important to fully charge the battery before proceeding to the next steps of the installation process. This ensures that you can enjoy uninterrupted operation and full functionality from the Blink Video Doorbell.
With the battery fully charged, you’re now ready to download the Blink app and move on to the next step in the installation process.
Step 3: Downloading the Blink App
With the Blink Video Doorbell battery fully charged, the next step is to download the Blink app onto your smartphone. The Blink app is available for both iOS and Android devices and will serve as the central hub for managing and controlling your Blink Video Doorbell. Follow these steps to download the app:
- Unlock your smartphone and navigate to the App Store (for iOS) or Google Play Store (for Android).
- Search for “Blink Home Monitor” in the search bar of the respective app store.
- Select the Blink app from the search results. Look for the official Blink app and ensure it has good reviews and ratings.
- Tap the “Download” or “Get” button to begin the app installation process.
- Wait for the app to download and install on your smartphone. This may take a few moments depending on your internet connection speed.
- Once the installation is complete, locate the Blink app on your smartphone’s home screen or app drawer and tap on it to open.
Now that you have the Blink app successfully installed on your smartphone, you’re ready to create an account and pair your Blink Video Doorbell with the app. This will allow you to fully utilize the features and functionalities of your doorbell.
Next, we’ll guide you through the process of creating an account within the Blink app.
Step 4: Creating an Account
Before you can start using the Blink Video Doorbell and accessing its features through the Blink app, you’ll need to create an account. Follow these steps to create your Blink account:
- Launch the Blink app on your smartphone by tapping on the app icon.
- On the app’s home screen, locate and tap on the “Sign Up” or “Create Account” button.
- Enter your email address in the designated field. Make sure to use a valid email address that you have access to.
- Create a strong and unique password for your Blink account. Ensure that it meets the minimum password requirements.
- Tap on the “Next” or “Create Account” button to proceed.
- Depending on the app’s interface, you may be required to enter additional information for your account, such as your name, phone number, or address. Follow the prompts and provide the necessary details.
- Review the terms and conditions or privacy policy, if prompted, and agree to them by checking the respective box.
- Tap on the “Sign Up” or “Create Account” button to finalize the account creation process.
- You will receive a verification email in your provided email address. Open the email and click on the verification link to complete the account creation.
By successfully creating a Blink account, you have set the foundation for managing and controlling your Blink Video Doorbell. Now, it’s time to pair your doorbell with the app and start enjoying its features.
In the next step, we’ll guide you through the process of pairing the Blink Video Doorbell with the Blink app.
Step 5: Pairing the Doorbell with the App
Now that you’ve created your Blink account, it’s time to pair your Blink Video Doorbell with the Blink app. This process allows you to establish a connection between the doorbell and your smartphone, enabling you to receive notifications and access the doorbell’s features. Follow these steps to pair the doorbell:
- Open the Blink app on your smartphone by tapping on the app icon.
- Log in to your Blink account using the email address and password you provided during the account creation.
- On the app’s home screen, tap on the “+” symbol or the “Add Device” button to start the pairing process.
- Follow the on-screen instructions to put your Blink Video Doorbell in pairing mode. This typically involves holding down a button on the doorbell or following the instructions provided in the app.
- The app will scan for nearby Blink devices. Once your doorbell is detected, select it from the list of available devices.
- Provide a name for your doorbell, such as “Front Door” or “Main Entrance,” to easily identify it within the app.
- Enter any additional details or settings as prompted by the app.
- Wait for the pairing process to complete. This may take a few moments.
- Once the pairing is successful, you will receive a notification or message confirming the connection between the Blink Video Doorbell and the Blink app.
Congratulations! You’ve successfully paired your Blink Video Doorbell with the Blink app. Now it’s time to proceed to the next steps of the installation process, which involve physically installing the doorbell.
In the next step, we’ll guide you through the process of installing the mounting bracket for your Blink Video Doorbell.
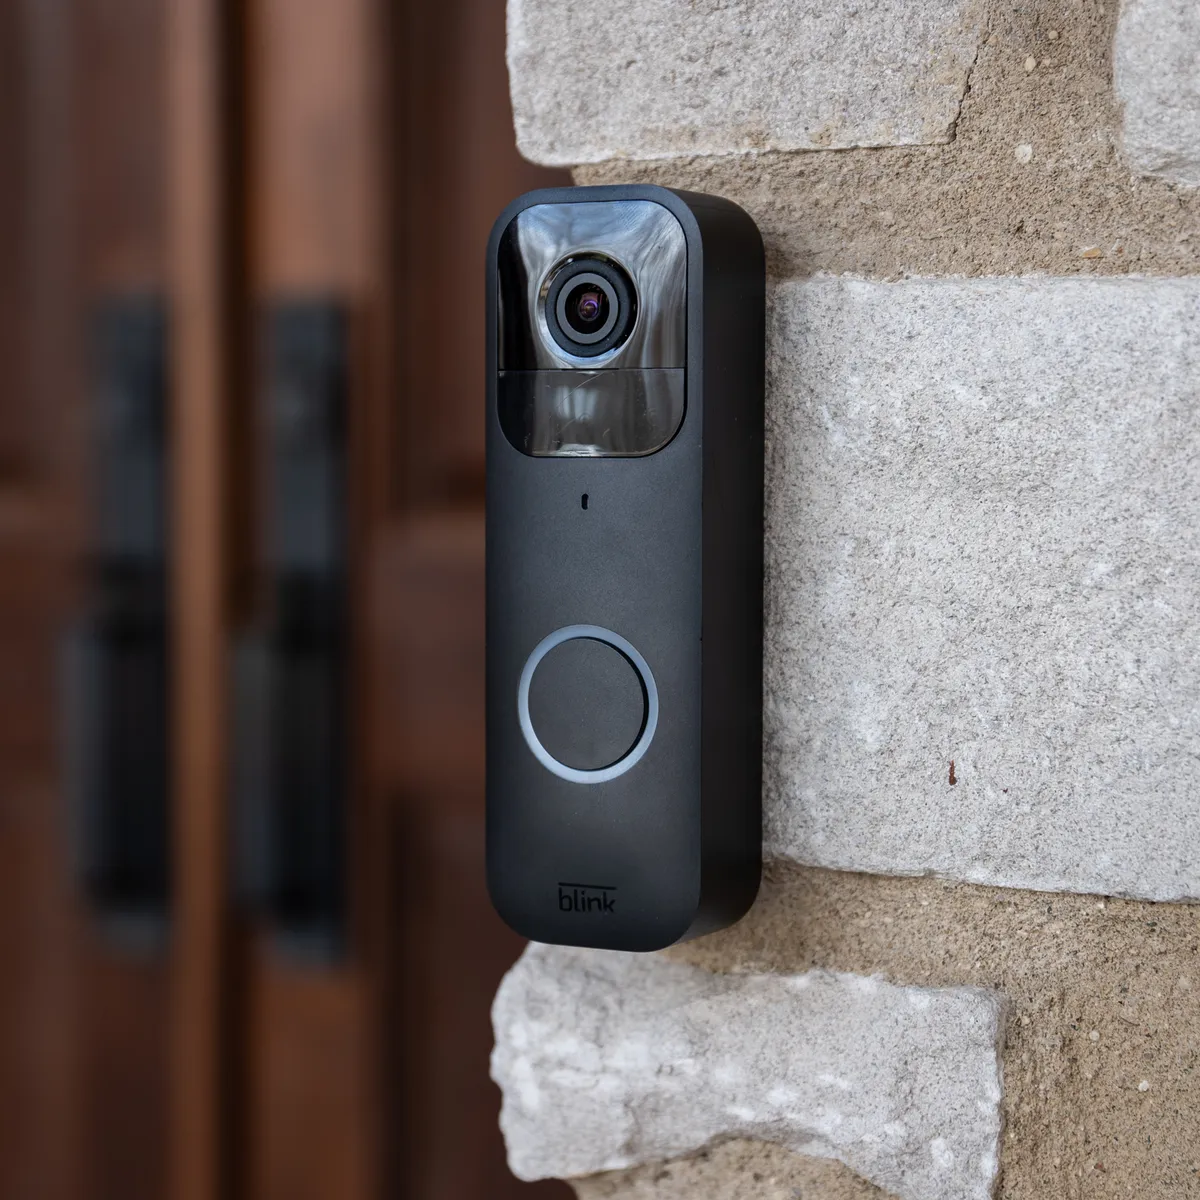
Step 6: Installing the Mounting Bracket
With the Blink Video Doorbell paired with the app, it’s time to install the mounting bracket. The mounting bracket serves as the foundation for attaching your doorbell securely to your desired location. Follow these steps to install the mounting bracket:
- Select the location where you want to install your Blink Video Doorbell. Ensure that it provides a clear view of the area you want to monitor and is easily accessible for maintenance and adjustments.
- Hold the mounting bracket against the chosen surface and use a pencil to mark the locations for the mounting holes. Ensure that the bracket is level and aligned properly.
- If you’re installing the bracket on a wooden or similarly soft surface, you can use the provided mounting screws to secure the bracket. Pre-drill small pilot holes at the marked locations, then attach the bracket using the screws.
- If you’re installing the bracket on a harder surface such as brick or concrete, use a power drill with the appropriate drill bit to create holes at the marked locations. Insert wall anchors into the drilled holes to provide stability. Then attach the mounting bracket using the provided screws.
- After attaching the mounting bracket, check that it is secure and stable. Use a level to ensure that it is straight.
- Once the mounting bracket is securely installed, you’re now ready to proceed to the next step of the installation process: wiring the doorbell.
By successfully installing the mounting bracket, you have prepared the groundwork for attaching your Blink Video Doorbell. Take a moment to ensure that the bracket is secure and level before moving on to the next step.
In the next step, we’ll guide you through the process of wiring the Blink Video Doorbell.
Step 7: Wiring the Doorbell
With the mounting bracket installed, it’s time to wire your Blink Video Doorbell. Wiring the doorbell ensures that it receives a power supply and allows it to function properly. Here’s what you need to do:
- Locate the wiring terminals on the back of your Blink Video Doorbell.
- If you have an existing doorbell, you’ll need to disconnect the wires connected to it. Use wire cutters or strippers to remove the insulation from the ends of the wires.
- Connect the positive (typically red) wire to the appropriate terminal on the Blink Video Doorbell. Insert the exposed end of the wire into the terminal and secure it in place.
- Connect the negative (typically white) wire to the corresponding terminal on the doorbell, making sure it is securely fastened.
- The doorbell should now be properly wired and ready for installation.
- If you do not have an existing doorbell, you can use the provided mounting plate with a built-in power connector. Connect the positive and negative wires from the power source to the appropriate terminals on the plate.
It’s essential to ensure that the wiring is properly connected and securely fastened. Check for any loose connections or exposed wires. If necessary, use electrical tape to insulate and protect the wires.
By successfully wiring the Blink Video Doorbell, you’ve completed a crucial step in the installation process. Now, let’s move on to attaching the doorbell to the mounting bracket.
In the next step, we will guide you through the process of attaching the doorbell to the mounting bracket.
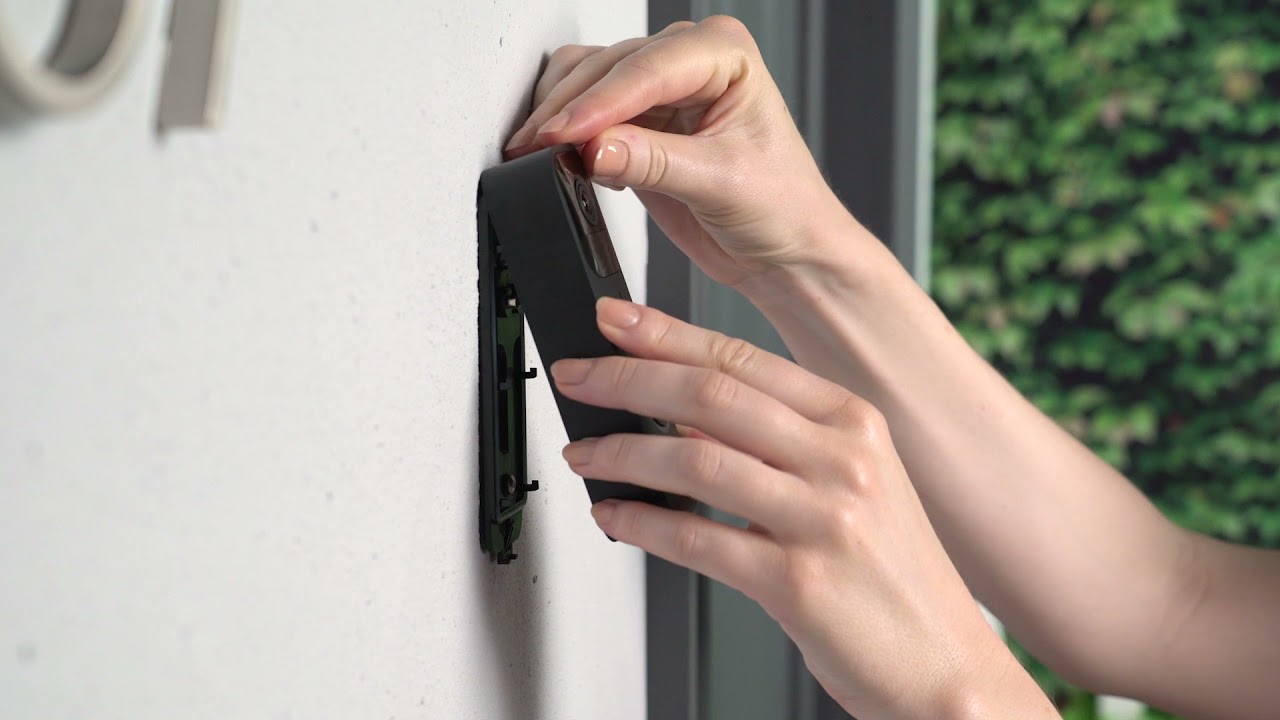
Step 8: Attaching the Doorbell to the Mounting Bracket
With the Blink Video Doorbell properly wired, it’s time to attach it to the mounting bracket. Attaching the doorbell securely will ensure that it is stable and correctly positioned for optimal performance. Follow these steps to attach the doorbell to the mounting bracket:
- Hold the Blink Video Doorbell in one hand and align it with the mounting bracket. Ensure that the doorbell is level and properly positioned.
- Slide the doorbell onto the mounting bracket, making sure that it clicks into place.
- Give the doorbell a gentle tug to confirm that it is securely attached to the mounting bracket.
- Step back and carefully inspect the doorbell from various angles to ensure that it is straight and aligned to your satisfaction.
It’s crucial to double-check the alignment and stability of the doorbell on the mounting bracket. This will ensure that it provides an optimal view of the area you want to monitor and that it functions correctly.
With the doorbell securely attached to the mounting bracket, you’ve successfully completed the physical installation. However, there are a few more steps to finalize the setup and maximize the functionality of your Blink Video Doorbell.
In the next step, we’ll guide you through the process of adjusting the settings of your doorbell.
Step 9: Adjusting the Settings
Now that your Blink Video Doorbell is securely attached to the mounting bracket, it’s time to adjust the settings to suit your preferences and maximize its functionality. With the Blink app, you can customize various aspects of your doorbell’s behavior and notifications. Follow these steps to adjust the settings:
- Open the Blink app on your smartphone and log in to your Blink account if necessary.
- Locate the camera view for your Blink Video Doorbell within the app.
- Tap on the settings icon or menu option associated with your doorbell.
- Explore the available settings, which may include options such as motion detection sensitivity, recording duration, notifications, and more.
- Adjust each setting according to your preferences. For example, you can set the motion detection sensitivity to high or low, depending on your needs.
- Take some time to review and select the appropriate options for features like two-way audio, night vision, and video quality.
- Experiment with different settings to find the perfect balance for your specific requirements.
By adjusting the settings of your Blink Video Doorbell, you can personalize its functionality to match your preferences and needs. It’s important to take some time to explore and fine-tune these settings to optimize your experience with the doorbell.
Once you’ve adjusted the settings to your satisfaction, you’re almost ready to start using your Blink Video Doorbell. However, there’s one more essential step to complete: testing the doorbell.
In the next step, we’ll guide you through the process of testing your Blink Video Doorbell to ensure that everything is working correctly.
Step 10: Testing the Doorbell
With the Blink Video Doorbell installed and the settings adjusted to your liking, it’s time to test the functionality of your doorbell. Testing allows you to ensure that everything is working correctly and that you’re receiving notifications and video feed as expected. Follow these steps to test your Blink Video Doorbell:
- Stand in front of your Blink Video Doorbell and make sure you’re within the motion detection range.
- Activate the motion sensor by walking or waving your hand within the detection zone.
- Observe the Blink app on your smartphone. You should receive a notification indicating that motion has been detected.
- Tap on the notification to open the app and view the live video feed from the doorbell’s camera.
- Test the two-way audio feature by speaking into your smartphone and checking if you can hear the sound from the doorbell’s speaker.
- Verify the quality of the video feed, night vision capability, and any other features you’ve enabled.
- Repeat the process a few times from different angles and distances to ensure consistent performance.
During the testing phase, pay attention to any delays, connectivity issues, or technical difficulties. If you encounter any problems, refer to the troubleshooting section in the user manual or reach out to Blink customer support for assistance.
By thoroughly testing your Blink Video Doorbell, you can have confidence that it is fully operational and ready to serve its purpose of enhancing your home security. Now, you can enjoy the convenience of monitoring your front door from anywhere!
Conclusion
Congratulations on successfully installing and setting up your Blink Video Doorbell! With its advanced features and seamless integration with the Blink app, you can now enjoy enhanced security and convenience in monitoring your front door. By following the step-by-step instructions in this guide, you’ve learned how to unbox the doorbell, charge the battery, download the app, create an account, pair the doorbell with the app, install the mounting bracket, wire the doorbell, attach it to the bracket, adjust the settings, and test its functionality.
Remember to regularly check the Blink app for any firmware updates to keep your doorbell up to date with the latest enhancements and features. Additionally, make sure to properly maintain and clean your Blink Video Doorbell to ensure its optimal performance over time.
Now that you’ve completed the installation, take some time to explore the various features of your Blink Video Doorbell such as motion detection, two-way audio, and night vision. These features provide you with added security and control over your home’s entrance.
If you have any questions or encounter any issues, please refer to the user manual or reach out to Blink customer support for assistance. They’ll be happy to help you resolve any concerns.
Thank you for choosing the Blink Video Doorbell. Stay vigilant and enjoy the peace of mind that comes with knowing who’s at your doorstep, no matter where you are!