Introduction
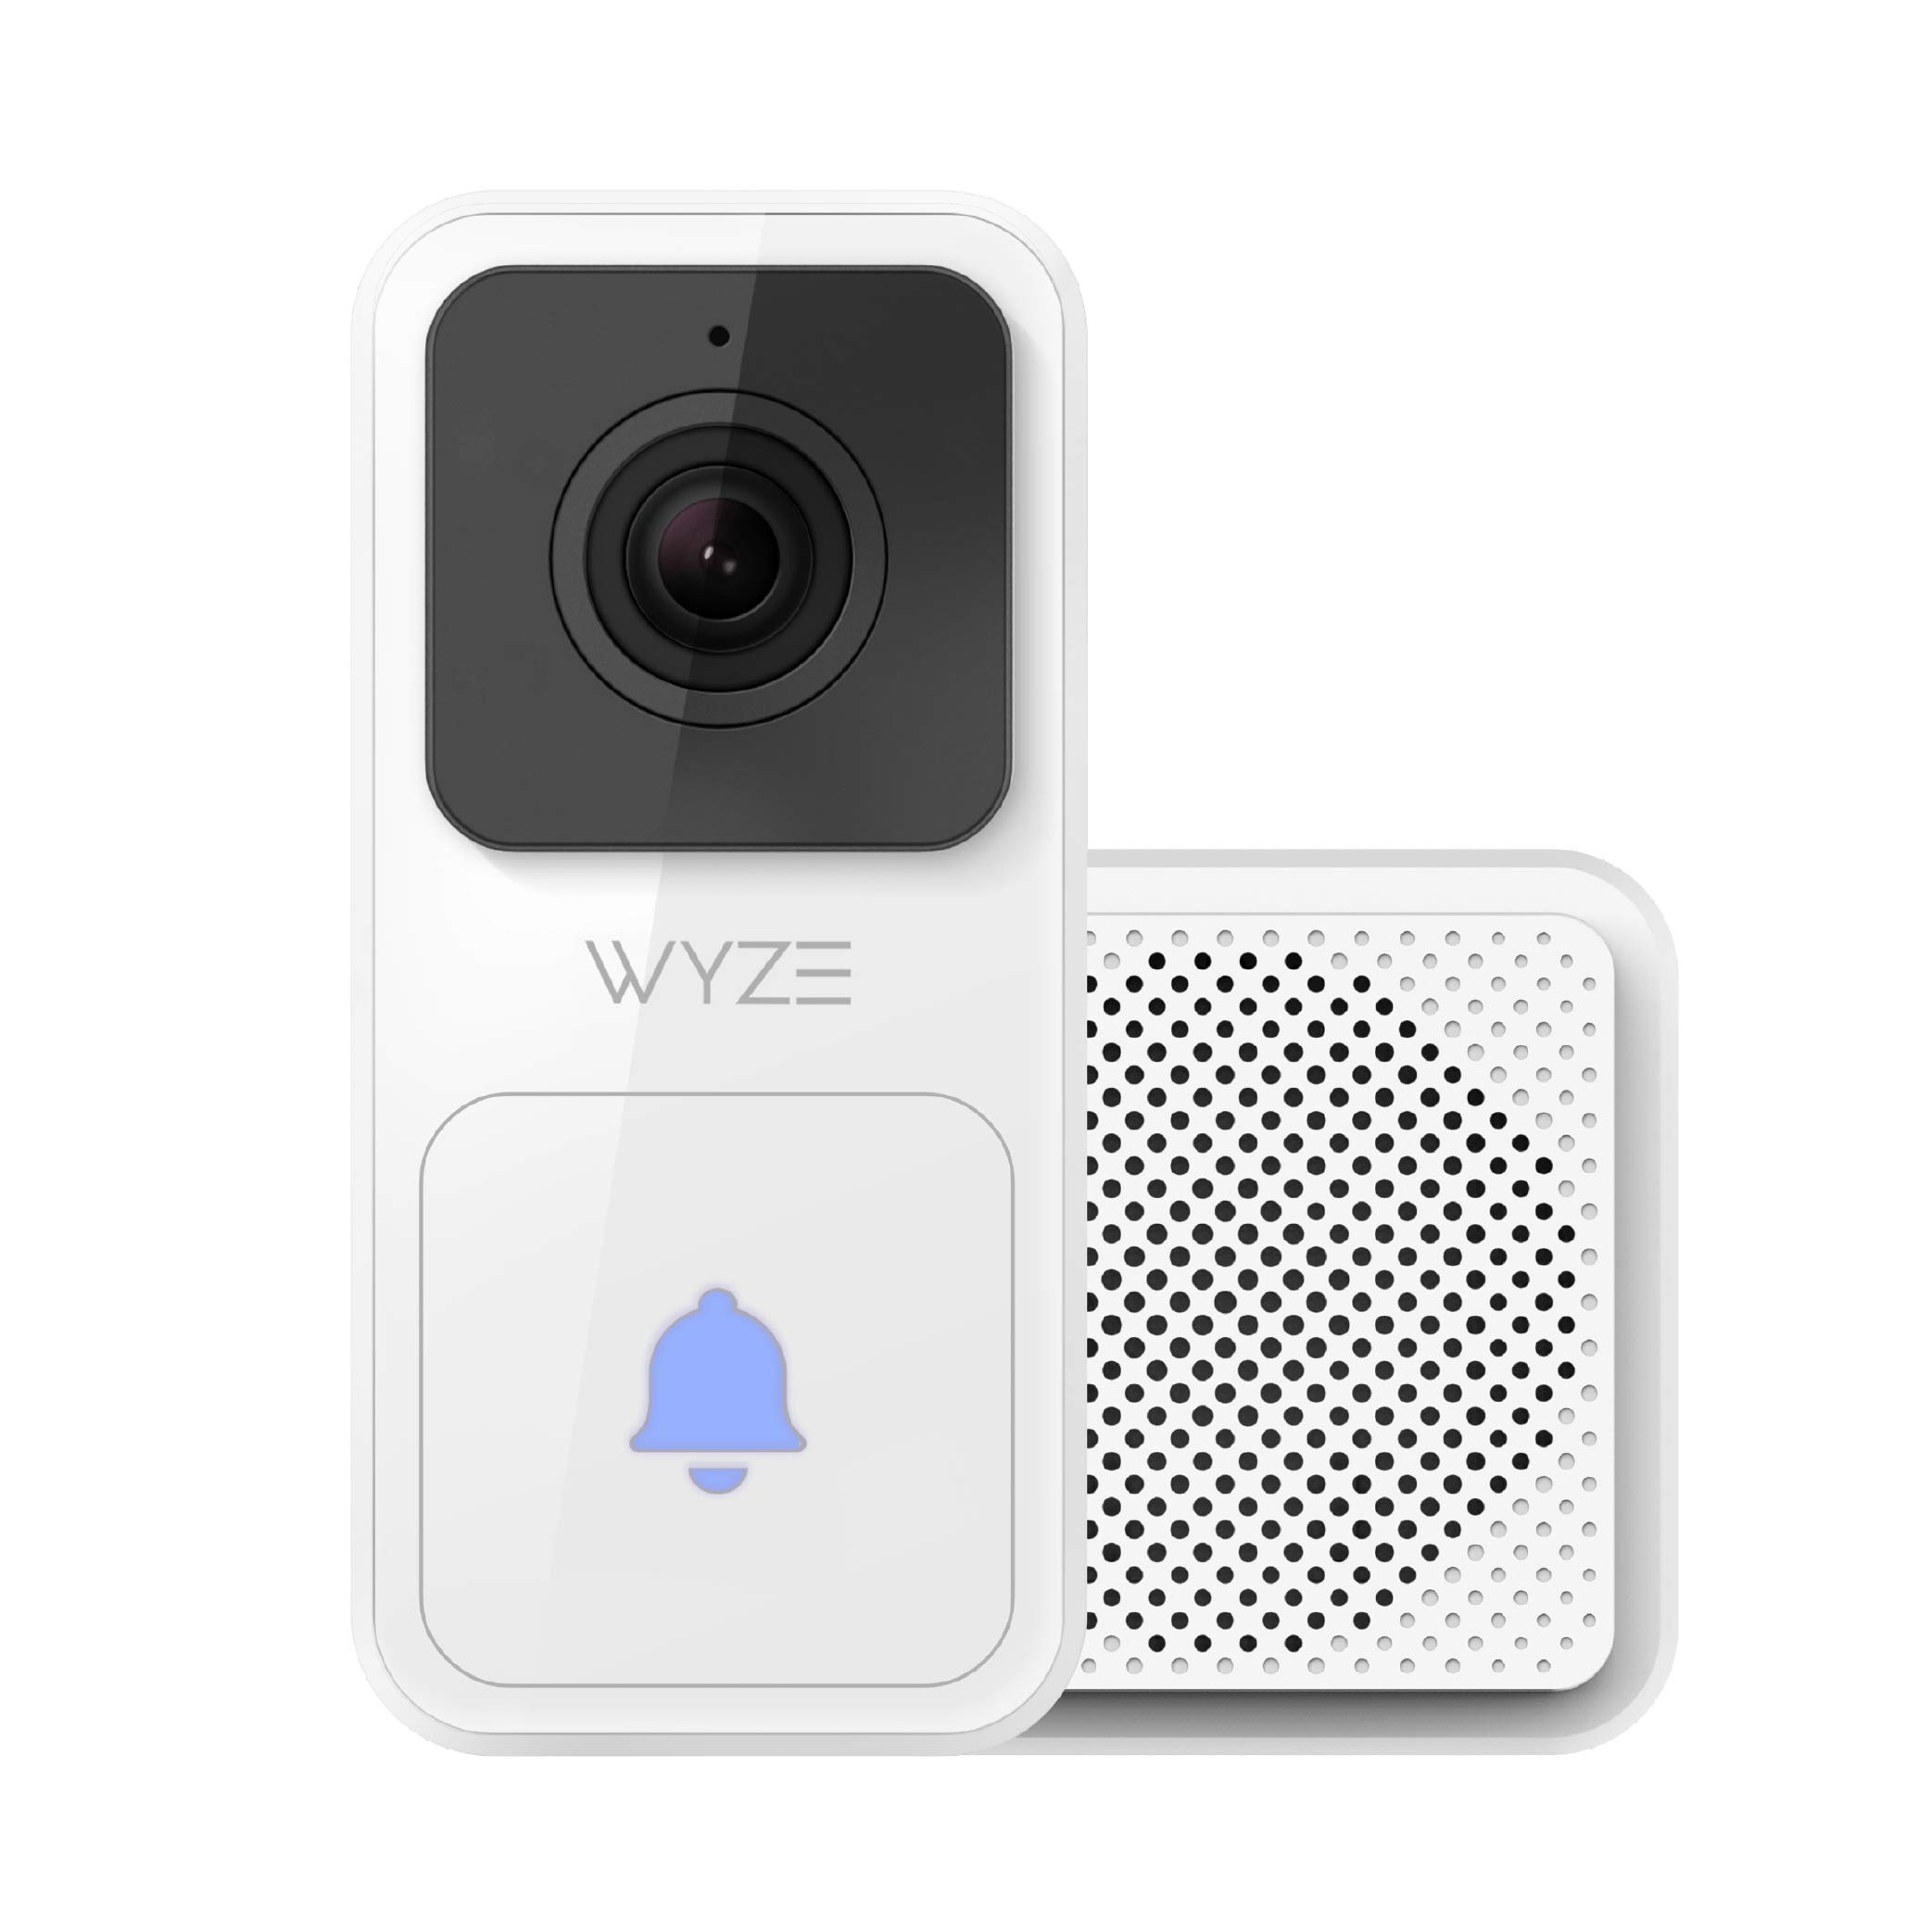
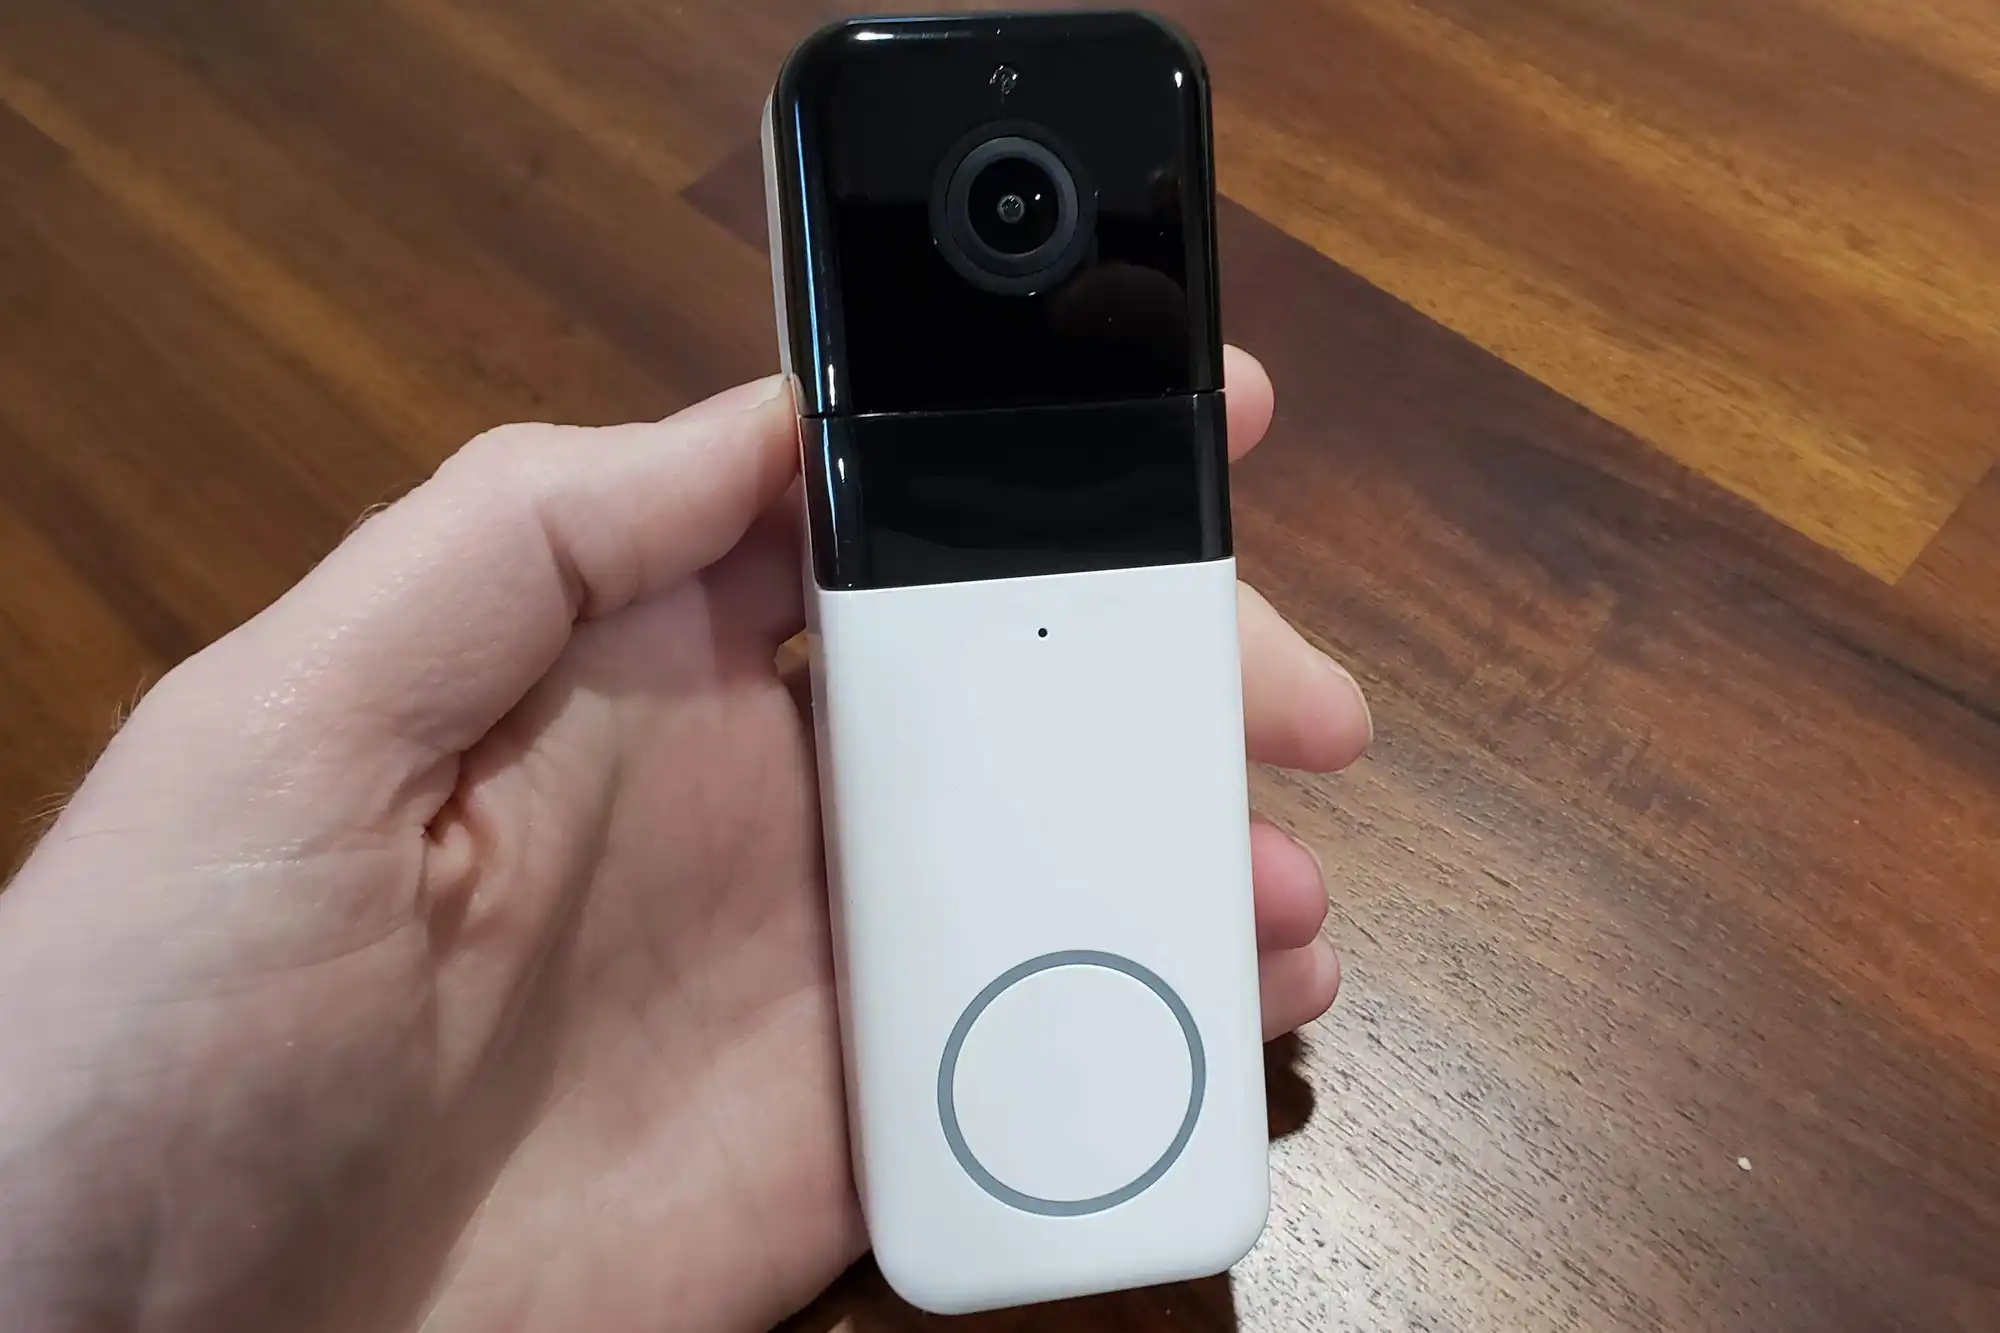
Welcome to the ultimate guide on how to install a Wyze Video Doorbell! The Wyze Video Doorbell is a state-of-the-art smart home device that allows you to see and interact with visitors at your front door, regardless of your location. Whether you’re expecting a package or just want to keep an eye on your porch, this doorbell provides a convenient and secure solution.
Installing the Wyze Video Doorbell may seem intimidating at first, but fear not! We will walk you through each step with clear and concise instructions. From unboxing the doorbell to adjusting the angle, we’ll cover it all. By the end of this guide, you’ll have your Wyze Video Doorbell up and running like a pro.
Before we dive into the installation process, it’s essential to note that safety should always come first. Make sure to turn off the power to your existing doorbell and follow all safety precautions mentioned in the Wyze Video Doorbell’s user manual. If you’re not comfortable working with electricity, it’s best to consult a professional electrician.
Now that we’ve covered the basics, let’s get started on installing your Wyze Video Doorbell step by step. Get ready to enhance your home security and make your life more convenient with this innovative smart home device! Ready? Let’s go!
Step 1: Unboxing the Wyze Video Doorbell
The first step in installing your Wyze Video Doorbell is unboxing the package and familiarizing yourself with its contents. Here are the items you should find inside:
- Wyze Video Doorbell
- Mounting bracket
- Screwdriver
- Masonry drill bit (for optional masonry anchors)
- Screws and anchors
- Chime connector
- Installation guide
Take a moment to inspect each item, ensuring that everything is included and in good condition. If you notice any missing or damaged parts, contact Wyze customer support for assistance.
Next, locate your existing doorbell chime and transformer. Check if they are compatible with the Wyze Video Doorbell by referring to the installation guide or the Wyze website. If your doorbell chime and transformer meet the requirements, you’re ready to proceed to the next step.
Unboxing the Wyze Video Doorbell is an exciting moment as you get one step closer to improving your home security and convenience. Once you’ve confirmed that all the necessary components are present, you’re ready to move on to the installation process.
Remember, safety is paramount throughout the installation process. Ensure the power to your existing doorbell is turned off before proceeding with any further steps. If you are unsure of how to do this, consult a qualified electrician to ensure your safety.
Now that we’re all set, let’s move on to Step 2: Preparing for Installation.
Step 2: Preparing for Installation
Before you start installing your Wyze Video Doorbell, it’s important to ensure that you have all the necessary tools and equipment on hand. This will make the installation process smoother and more efficient. Here’s what you’ll need:
- Power drill
- Drill bits (appropriate for your door or wall material)
- Screwdriver
- Wire connectors
- Wire stripper
- Tape measure
- Pencil or marker
Take a moment to gather all the tools and equipment listed above. Having everything readily available will save you time and ensure a hassle-free installation process.
Next, check the wireless network in your home. It’s crucial to have a stable Wi-Fi connection near the installation area to ensure that your Wyze Video Doorbell can function properly. If you have a weak signal in that area, consider extending your Wi-Fi range using Wi-Fi extenders or access points.
Additionally, you may need to have your smartphone or tablet nearby. You’ll be using the Wyze app to set up and configure your Video Doorbell, so make sure your device is charged and ready to go.
Lastly, prepare the doorbell’s location by ensuring it is clean and free from any debris. This will help with the installation and ensure proper attachment to the mounting bracket.
Now that you have all the necessary tools and equipment and your installation area is prepped, you’re ready to move on to the next step: installing the mounting bracket. Let’s dive in!
Step 3: Installing the Mounting Bracket
Now that you’ve gathered all the necessary tools and prepared the installation area, it’s time to install the mounting bracket for your Wyze Video Doorbell. The mounting bracket serves as a secure base for the doorbell and provides stability during operation. Follow these steps to install it:
- Choose the location: Select a suitable location for your Wyze Video Doorbell. It should be near your front door and at a height that allows for clear visibility of your visitors. Use a pencil or marker to mark the screw holes on the wall or door frame where the mounting bracket will be installed.
- Drill pilot holes: Using an appropriately sized drill bit, carefully drill pilot holes at the marked positions. If you’re mounting the bracket on concrete or another hard material, use a masonry drill bit.
- Attach the mounting bracket: Align the mounting bracket with the drilled pilot holes and secure it in place using the provided screws. Make sure the bracket is level and tightly fastened, as this will ensure the stability of your Wyze Video Doorbell.
- Double-check the alignment: Take a moment to verify that the mounting bracket is properly aligned and securely attached. Check that it is level and sits flush against the wall or door frame.
Once you’ve completed these steps, the mounting bracket should be firmly in place, ready to support your Wyze Video Doorbell. Take a moment to admire your progress so far!
In the next step, we will move on to wiring the doorbell. This is a crucial part of the installation process, so be sure to follow the instructions carefully. Let’s continue to Step 4!
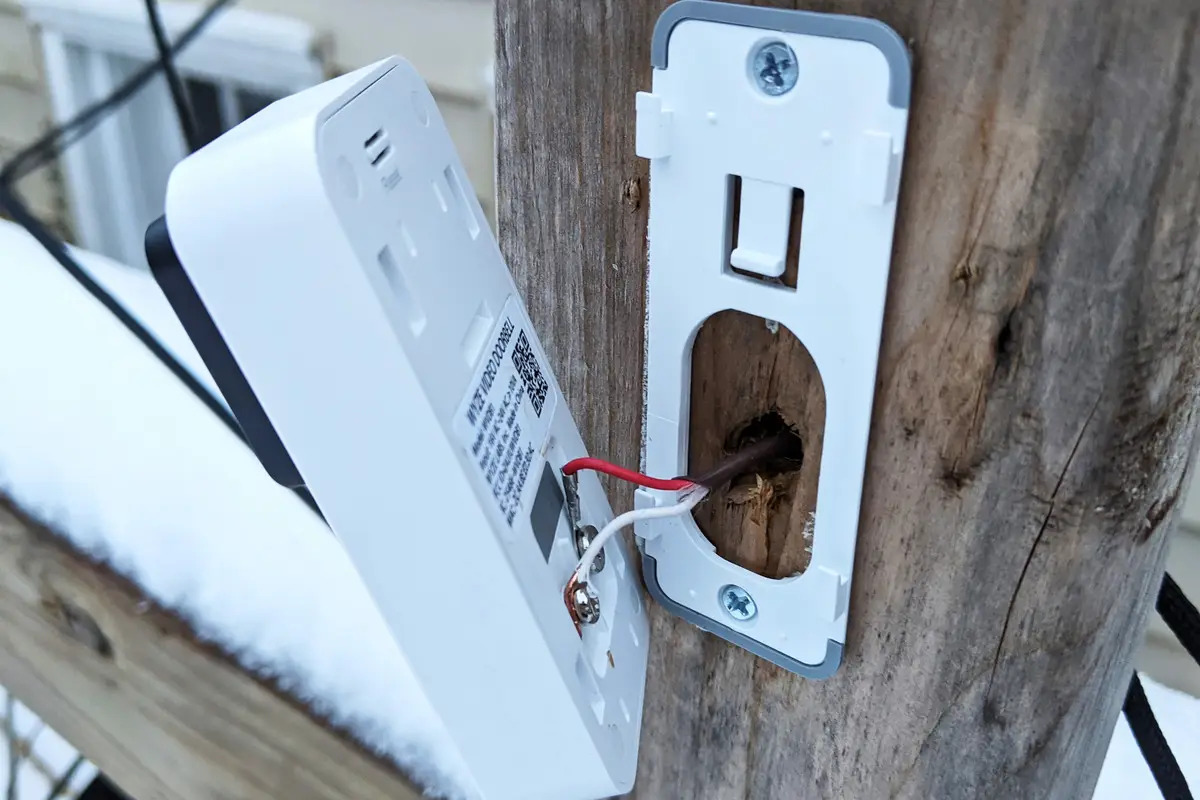
Step 4: Wiring the Doorbell
Now that the mounting bracket is securely installed, it’s time to wire your Wyze Video Doorbell. This step involves connecting the doorbell to your existing doorbell wiring to ensure that it receives power. Follow these instructions to wire your doorbell:
- Locate your existing doorbell wires: Locate the wires connected to your current doorbell chime. These wires are usually located inside your existing doorbell’s electrical box.
- Disconnect the existing doorbell: Carefully disconnect the wires from your existing doorbell. Make sure to note which wire connects to the front and rear terminals, as this information will be necessary when connecting your Wyze Video Doorbell.
- Prepare the wires: Strip the ends of the doorbell wires to expose the copper strands. Make sure to remove enough insulation to ensure a secure and reliable connection.
- Connect the wires: Connect the doorbell wires to the Wyze Video Doorbell using the provided wire connectors. Attach the wire from the front terminal of the doorbell chime to the “front” terminal of the Video Doorbell, and do the same with the rear terminal wire.
- Tighten the wire connectors: Once the wires are securely connected, tighten the wire connectors to ensure a firm and reliable connection. It’s essential to have a tight connection to prevent any future issues.
Once you’ve completed these steps, your Wyze Video Doorbell should be successfully wired to your existing doorbell system. Take a moment to double-check the connections and ensure everything is properly secured.
In the next step, we’ll guide you through connecting your Wyze Video Doorbell to Wi-Fi and setting up the Wyze app. This will enable you to access the full range of features and functionalities offered by the doorbell. Let’s move on to Step 5!
Step 5: Connecting to Wi-Fi and Setting up the App
Now that you’ve successfully wired your Wyze Video Doorbell, it’s time to connect it to your Wi-Fi network and set up the Wyze app. This will allow you to remotely access and control your doorbell’s features. Follow these steps to complete the Wi-Fi connection and app setup:
- Download and install the Wyze app: Open the app store on your smartphone or tablet and search for the Wyze app. Download and install the app onto your device.
- Create a Wyze account: Open the Wyze app and create a new account. If you already have an account, simply log in using your existing credentials.
- Add a device: Once you’re logged in, tap on the “+” button in the top-left corner of the app to add a new device. Select “Wyze Video Doorbell” from the list of available devices.
- Follow the app’s instructions: The app will guide you through the process of connecting your Wyze Video Doorbell to your Wi-Fi network. Ensure that your smartphone or tablet is connected to the same Wi-Fi network that you want to connect your doorbell to.
- Scan the QR code: The app will prompt you to scan the QR code located on the back of your Wyze Video Doorbell. Use your device’s camera to scan the code and establish the connection.
- Name your doorbell: Assign a name to your Wyze Video Doorbell for easy identification within the app. This could be something like “Front Door” or “Main Entrance.”
- Configure settings: The app will provide a range of settings and options for your doorbell. Take the time to configure these settings according to your preferences and needs. This may include motion detection sensitivity, notification preferences, and more.
Once you’ve completed these steps, your Wyze Video Doorbell will be successfully connected to your Wi-Fi network, and the Wyze app will be set up for use. Take a moment to explore the app and familiarize yourself with its features and capabilities.
In the next step, we’ll guide you through the process of mounting your Wyze Video Doorbell onto the installed bracket. Let’s move on to Step 6!
Step 6: Mounting the Doorbell
With your Wyze Video Doorbell successfully connected to Wi-Fi and the app set up, it’s time to mount the doorbell onto the installed bracket. Follow these steps to securely mount your Wyze Video Doorbell:
- Align the doorbell: Hold the Wyze Video Doorbell in front of the mounting bracket, making sure that the screw holes on the doorbell align with the holes on the bracket.
- Secure the doorbell: Once the alignment is correct, use the provided screws to secure the Wyze Video Doorbell onto the mounting bracket. Carefully tighten the screws until the doorbell is firmly attached.
- Double-check the mounting: Take a moment to ensure that the doorbell is securely mounted and properly aligned. Gently give the doorbell a slight tug to confirm that it is firmly in place.
- Turn on the power: Now that the doorbell is mounted, turn the power back on to your existing doorbell system. This will provide the necessary power to the Wyze Video Doorbell.
- Check the doorbell status: Open the Wyze app and ensure that the doorbell is showing as connected and online. You should be able to view a live video feed from your Wyze Video Doorbell on your smartphone or tablet.
Once you’ve completed these steps, your Wyze Video Doorbell should be successfully mounted and operational. Take a moment to test the doorbell to make sure it’s functioning correctly, both from a visual and audio perspective.
In the next step, we’ll walk you through adjusting the angle of your Wyze Video Doorbell for optimal viewing and coverage. Let’s move on to Step 7!
Step 7: Adjusting the Doorbell Angle
With your Wyze Video Doorbell securely mounted, the next step is to adjust its angle to ensure optimal viewing and coverage. Follow these steps to adjust the doorbell angle:
- Open the Wyze app: Open the Wyze app on your smartphone or tablet and navigate to the settings for your Wyze Video Doorbell.
- Select “Device Settings”: Within the settings menu, find and select “Device Settings” for your doorbell.
- Choose “Adjust Angle”: Look for the option to “Adjust Angle” within the device settings. Tap on it to access the adjustment controls.
- Preview the live video feed: The app will display a live video feed from your Wyze Video Doorbell. Use this preview to adjust the angle of the doorbell to your preferred position.
- Rotate the doorbell: Depending on the model of your Wyze Video Doorbell, there may be a physical adjustment ring or a digital control within the app. Rotate or adjust the doorbell until you achieve the desired viewing angle.
- Test the angle: Once you’ve made the adjustments, test the angle by having someone stand at your front door and trigger the doorbell. Observe the video feed in the app to ensure that the view is clear and captures the intended area.
- Make necessary fine-tuning: If you find that the angle needs further adjustment, repeat the process by accessing the “Adjust Angle” option in the Wyze app and making subtle changes until you are satisfied.
Remember, the goal is to have a clear view of your front door area and any visitors who come to your doorstep. Taking the time to fine-tune the angle will ensure that you capture the best footage and have an optimal user experience.
In the next step, we’ll cover testing and troubleshooting your Wyze Video Doorbell to ensure everything is functioning as it should. Let’s move on to Step 8!
Step 8: Testing and Troubleshooting
After completing the installation of your Wyze Video Doorbell and adjusting the angle, it’s important to test its functionality and troubleshoot any potential issues. Follow these steps to test your doorbell and address any problems that may arise:
- Test the doorbell button: Ask a friend or family member to press the doorbell button to simulate a visitor. Verify that you receive a notification on your smartphone or tablet. Open the Wyze app and check if the live video feed displays properly.
- Check the audio: During the test, listen for any audio feedback or distortion when communicating with the person at the door. Adjust the microphone and speaker levels in the Wyze app if necessary.
- Review motion detection: Walk past your front door to trigger the motion detection feature of the Wyze Video Doorbell. Confirm that you receive a notification and that the camera captures the motion as expected.
- Address connectivity issues: If you encounter any connectivity issues, such as a weak Wi-Fi signal or intermittent disconnection, consider moving your Wi-Fi router closer to the doorbell or installing a Wi-Fi extender to strengthen the signal. Alternatively, consult the Wyze troubleshooting guide or contact customer support for assistance.
- Ensure sufficient power: If you notice any power-related issues, such as the doorbell continuously shutting down or not functioning properly, check that your existing doorbell transformer provides the correct voltage. It may be necessary to upgrade to a higher-powered transformer.
- Consult the Wyze support resources: If you encounter any other issues or have questions, refer to the Wyze support resources, including their website, community forum, and customer support. These resources are valuable in troubleshooting specific problems and obtaining additional guidance.
Testing and troubleshooting are essential steps to ensure that your Wyze Video Doorbell is functioning optimally. By addressing any potential issues early on, you can enjoy a seamless and reliable experience with your smart doorbell.
Now that you’ve completed the testing and troubleshooting stage, you can sit back and enjoy the convenience and security of your Wyze Video Doorbell. Should you encounter any future concerns, you now have the knowledge and resources to resolve them efficiently.
Conclusion
Congratulations on successfully installing your Wyze Video Doorbell! By following the step-by-step guide outlined in this article, you have transformed your home security and convenience. Now, you can see and interact with visitors at your front door, even when you’re not at home.
Throughout the installation process, we covered unboxing the doorbell, preparing for installation, installing the mounting bracket, wiring the doorbell, connecting to Wi-Fi and setting up the app, mounting the doorbell, adjusting the doorbell angle, and testing and troubleshooting. Each step was crucial in ensuring a seamless installation and the optimal performance of your Wyze Video Doorbell.
With its advanced features like motion detection, two-way audio communication, and live video streaming, your Wyze Video Doorbell provides enhanced security and peace of mind. You can now monitor your front porch, receive instant notifications, and communicate with visitors, all from the convenience of your smartphone or tablet.
Remember to periodically check the app for any firmware updates or new features released by Wyze. This will ensure that your Wyze Video Doorbell stays up to date and continues to provide you with the best user experience possible.
If you encounter any difficulties during the installation or the use of your Wyze Video Doorbell, don’t hesitate to consult the Wyze support resources, including their website and customer support. They are there to assist you and address any concerns you may have.
Once again, thank you for choosing Wyze and investing in the security and convenience of your home. Enjoy the benefits of your new Wyze Video Doorbell and the peace of mind it brings!