Introduction
Welcome to the world of Nutone intercom systems with video doorbell functionality. If you’re in the market for a new Nutone intercom system with a video doorbell, you’re probably wondering what kind of cable you need to buy to ensure a seamless installation. In this article, we will guide you through the different types of cables required and provide valuable insights into the wiring configuration that will help you set up your new Nutone intercom system with ease.
Nutone intercom systems have become increasingly popular due to their convenience, security, and ability to enhance communication within homes or buildings. With the added video doorbell feature, you can not only communicate with people at your door but also see them, whether you’re at home or away. This innovative technology provides an extra layer of security and gives you peace of mind.
However, to make the most of your Nutone intercom system with video doorbell, you need to ensure that you have the right cables for proper connectivity. Without the correct cables, you may experience disruptions in audio and video quality, or even encounter installation difficulties. In the following sections, we will walk you through the different types of cables you need, their functions, and how to wire them correctly to enjoy crystal-clear video and audio, and a hassle-free installation process.
Understanding the Nutone Intercom System
Before we delve into the different cables required for the Nutone intercom system with video doorbell, it’s essential to have a clear understanding of how this system works. The Nutone intercom system is a communication system that allows you to communicate with individuals in different areas of your home or building, without the need to physically be in the same room. It provides a convenient way to relay messages, enhance security, and streamline communication among family members or colleagues.
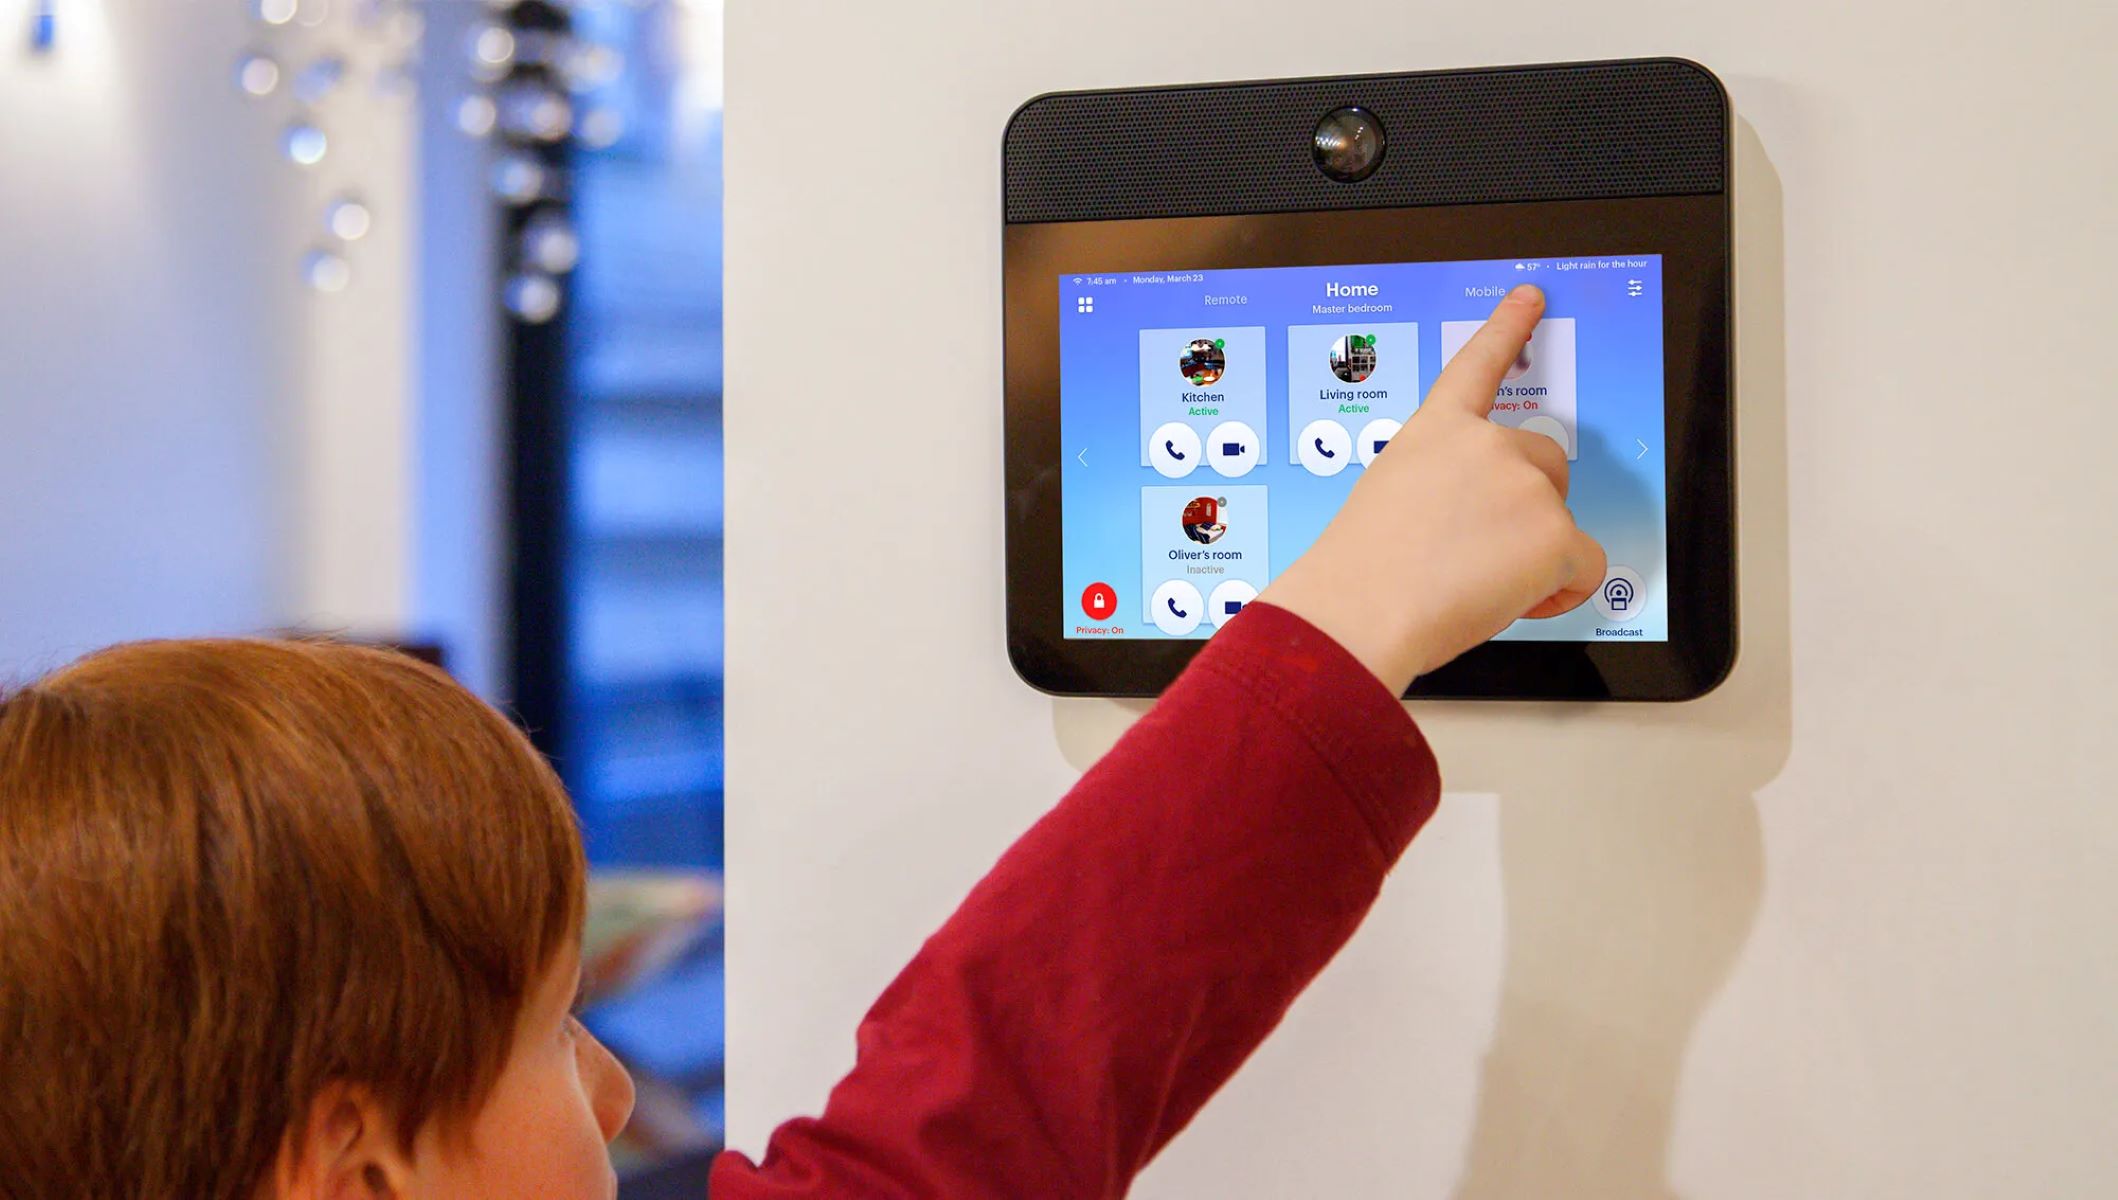
The Nutone intercom system typically consists of multiple intercom stations strategically placed throughout the premises. These stations can be wall-mounted or countertop units and are equipped with speakers, microphones, and interface buttons. With the push of a button, you can initiate communication with any other connected station within the system.
The integration of a video doorbell feature in the Nutone intercom system takes it to the next level. The video doorbell allows you to see and communicate with visitors at your doorstep directly from the intercom stations or remotely through a smartphone app. This feature enhances security and provides you with the convenience of screening visitors before granting them access to your home.
Understanding the basic functionality of the Nutone intercom system is crucial in selecting the appropriate cables for a seamless installation. In the following sections, we will discuss the different types of cables you need to consider, their functions, and how to wire them correctly to ensure optimal performance.
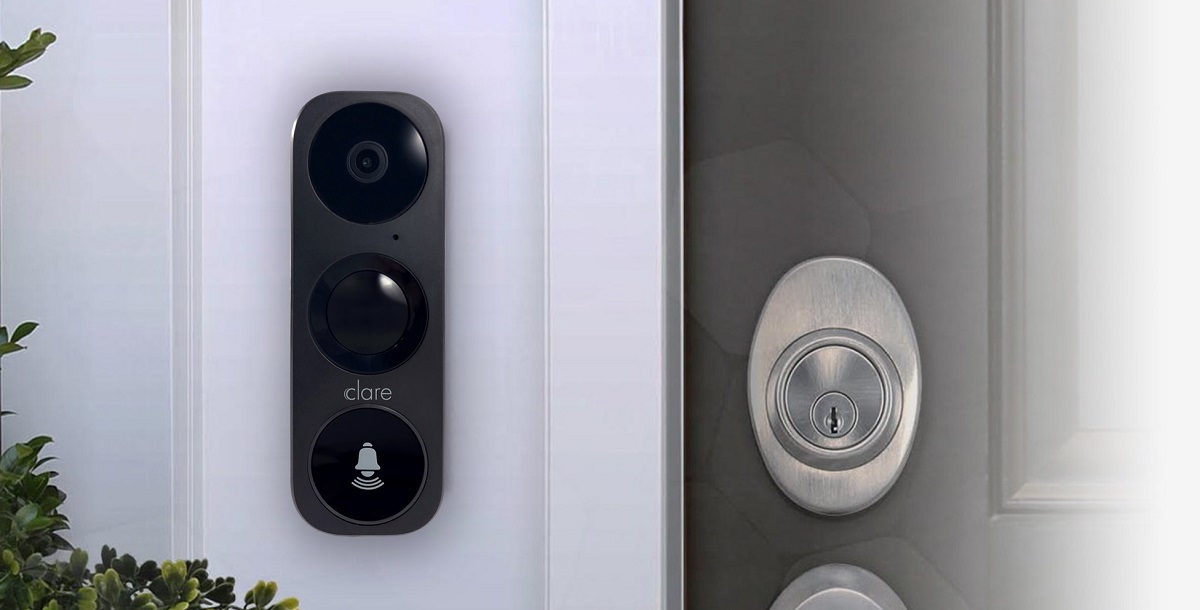
Video Doorbell Feature
The video doorbell feature in the Nutone intercom system adds an extra layer of convenience and security to your home. With this feature, you can see and communicate with anyone at your doorstep, whether you’re at home or away.
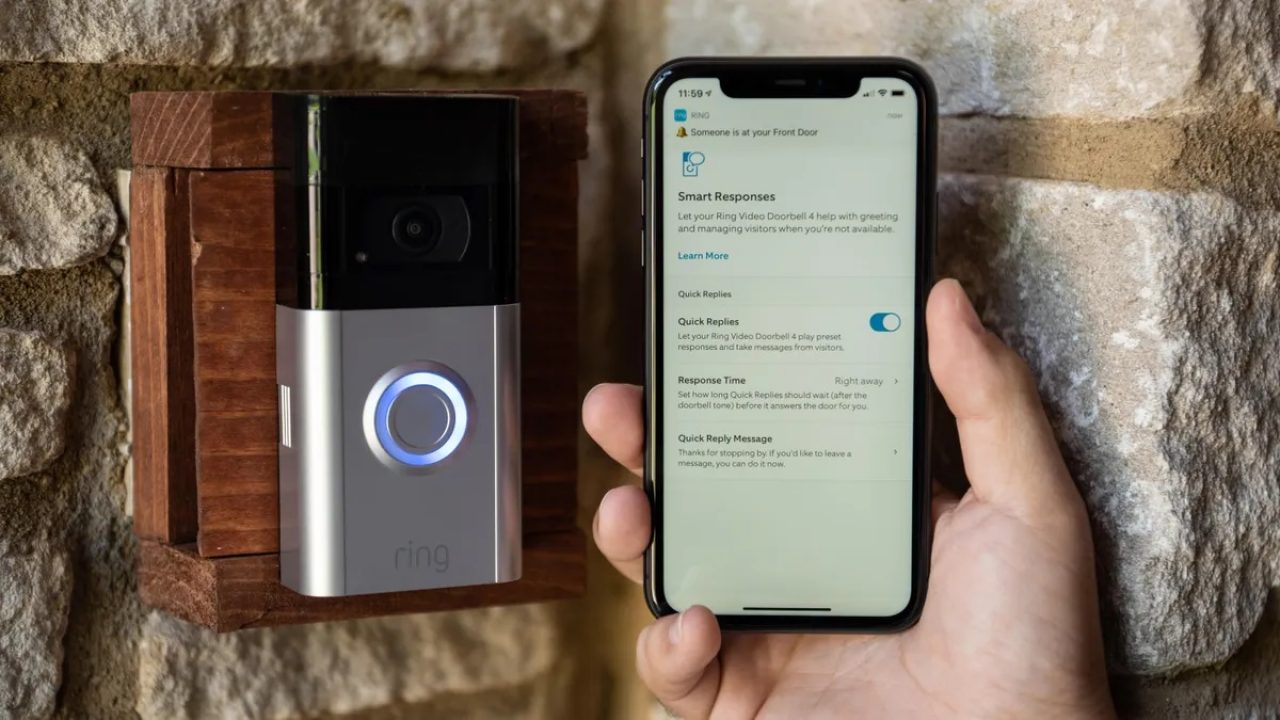
The video doorbell is typically equipped with a high-resolution camera that captures clear video footage of visitors. It also has a built-in microphone and speaker, allowing for two-way communication. When someone rings the doorbell, you will receive a notification on your intercom stations or smartphone, enabling you to see and talk to the visitor in real-time.
This feature offers several benefits. Firstly, it provides you with the ability to screen visitors before opening the door. Whether you’re expecting a package delivery or just want to ensure your safety, you can use the video doorbell to see who is at the door and engage in a conversation without physically opening the door.
Secondly, the video doorbell enhances the security of your home. You can monitor activities at your doorstep, keeping an eye out for any suspicious individuals or potential threats. The recorded video footage can also serve as evidence in the event of a security incident.
Lastly, the video doorbell feature allows you to remotely interact with visitors, even when you’re not at home. With the convenience of a smartphone app, you can receive notifications, view live video feeds, and have conversations with visitors from anywhere in the world. This is particularly useful when you’re expecting deliveries or when you want to provide instructions to someone at your door.
By understanding the capabilities and benefits of the video doorbell feature in the Nutone intercom system, you can make an informed decision about the necessary cables and wiring configuration required to set up this feature effectively.
Types of Cables Needed for the Nutone Intercom System with Video Doorbell
When it comes to installing a Nutone intercom system with a video doorbell, several types of cables are essential for proper connectivity and functionality. Let’s take a closer look at each of these cables:
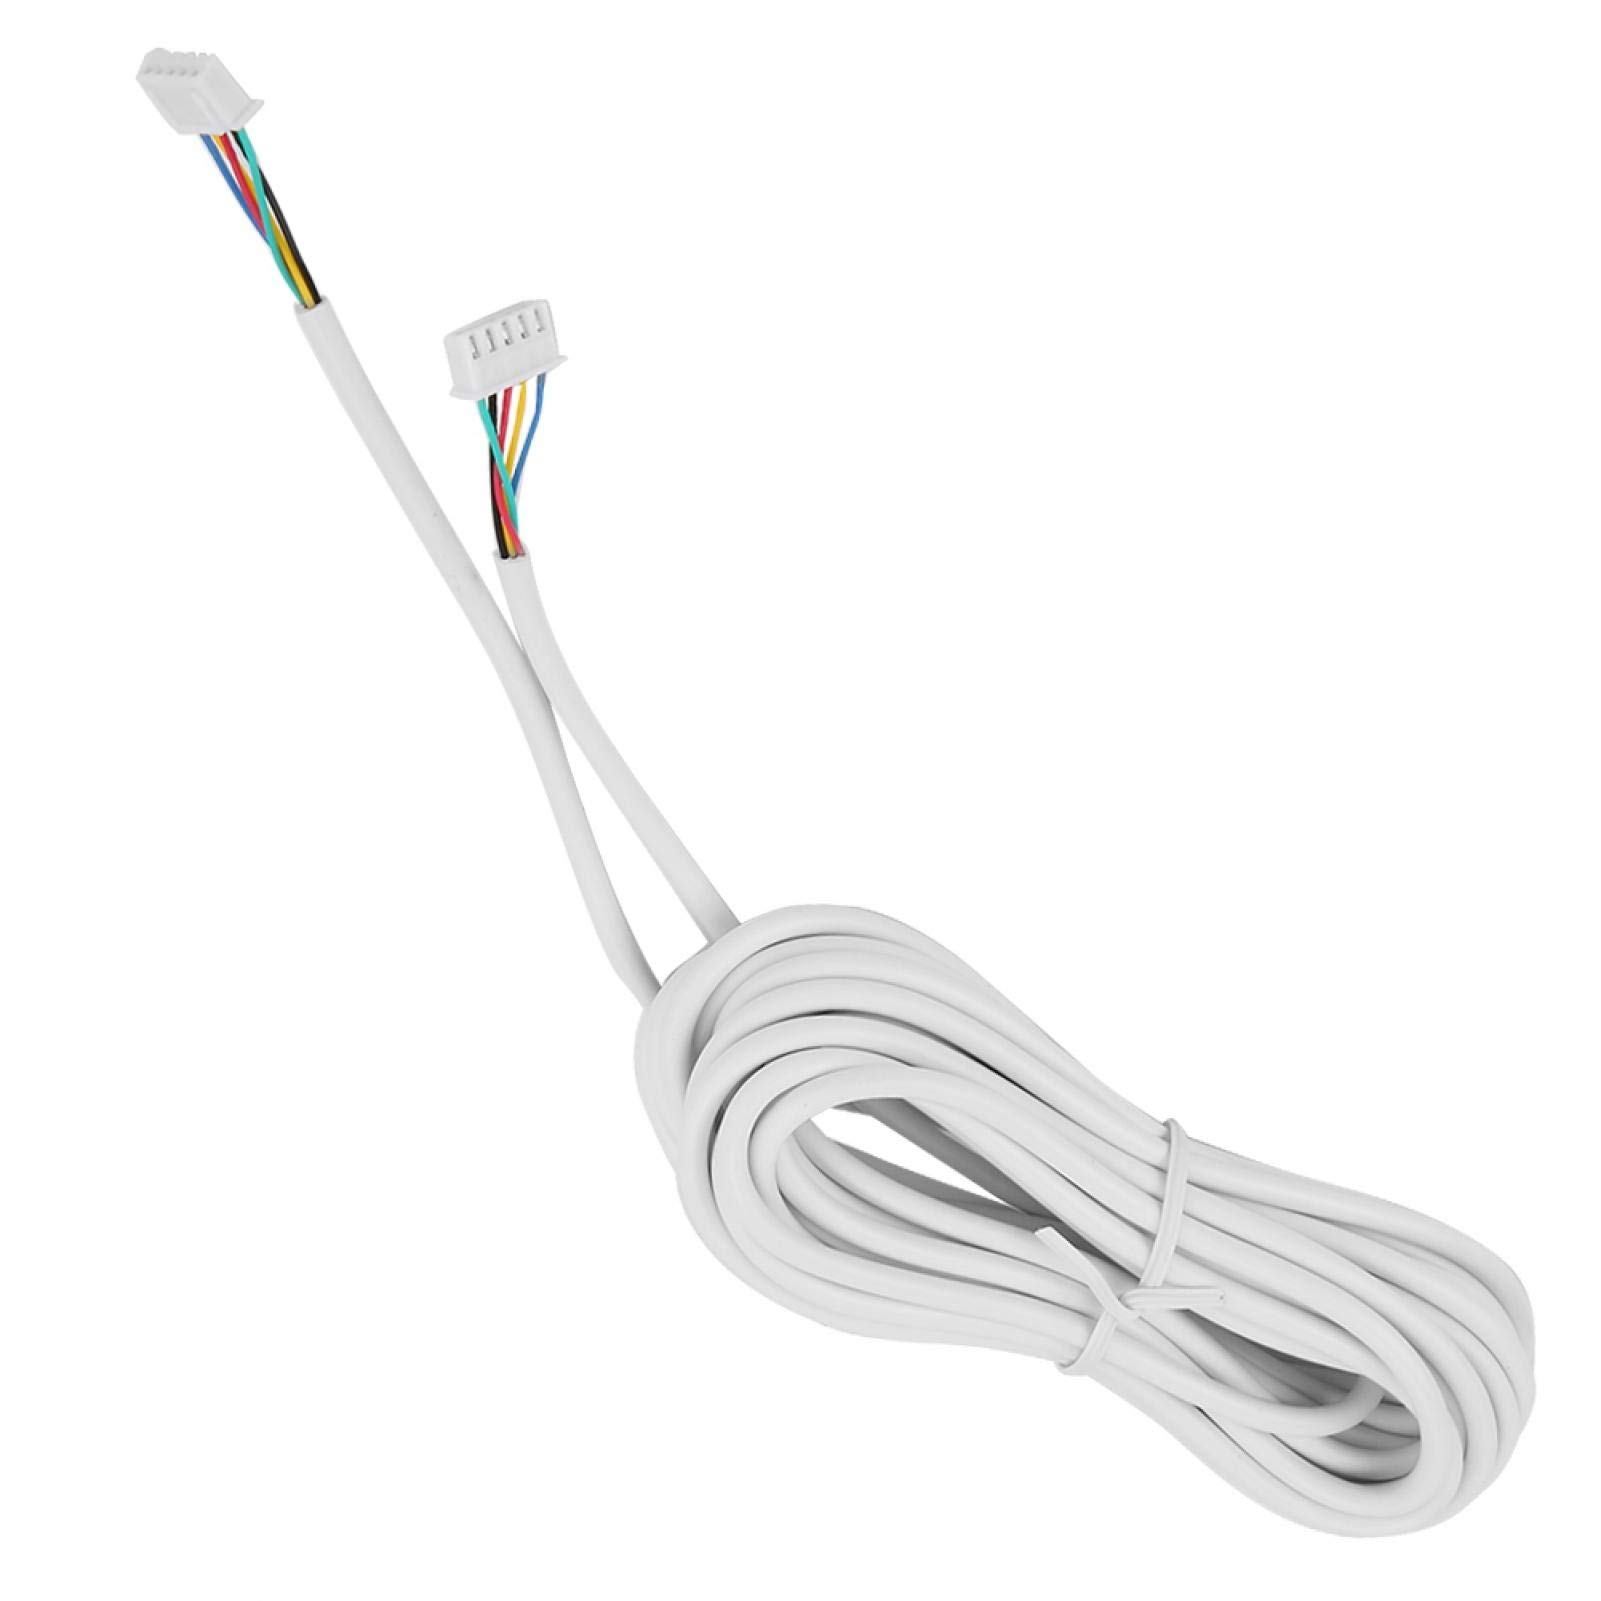
- Power Cable: The power cable is responsible for supplying electricity to the intercom system and video doorbell. It is typically a low-voltage cable that connects the system to a power source, such as an electrical outlet or a transformer. Make sure to choose a cable with the appropriate gauge and length to ensure proper power distribution throughout the system.
- Ethernet Cable: An Ethernet cable is needed to connect the intercom system and video doorbell to your home’s network. This allows for communication between the devices, as well as remote access and control through a smartphone app. Choose an Ethernet cable that supports fast data transfer speeds and has the necessary length to reach the desired connection point.
- Coaxial Cable: The coaxial cable is used to transmit video signals from the video doorbell to the intercom stations or other display devices. This cable ensures high-quality video transmission with minimal interference. Consider the distance between the video doorbell and the intercom stations when selecting the length of the coaxial cable, and opt for a cable with appropriate shielding to minimize signal loss.
- Audio Cable: An audio cable is used to transmit audio signals between the intercom stations and the video doorbell. This enables clear two-way communication. Choose a high-quality audio cable that provides balanced audio transmission and has the necessary length to reach the desired connection point.
These are the main types of cables needed for a Nutone intercom system with a video doorbell. Each cable plays a crucial role in ensuring seamless communication, video transmission, and power distribution throughout the system. It’s important to choose cables of appropriate quality and length to ensure optimal performance and reliability.
Power Cable
The power cable is a vital component of the Nutone intercom system with a video doorbell as it provides the necessary electrical power to the system. Proper power supply ensures the functionality of the intercom stations and video doorbell, allowing you to communicate and monitor your doorstep effectively.
When selecting a power cable for your Nutone intercom system, it’s crucial to consider the voltage requirements and the distance between the system and the power source. The power cable should have the appropriate gauge to handle the electrical load and maintain a steady power supply. Choosing a cable with insufficient gauge can result in voltage drops and may lead to performance issues or even system malfunctions.
The length of the power cable is another important consideration. Measure the distance between the Nutone intercom system and the power source, whether it’s an electrical outlet or a transformer. Ensure that the power cable is long enough to reach the power source without any stretching or tension, as this can damage the cable and affect its functionality.
It’s also crucial to ensure proper insulation and safety features when selecting a power cable. Look for cables that comply with safety standards and have built-in protection against electrical surges or overheating. This will help prevent any potential hazards and ensure the longevity of your Nutone intercom system.
Once you have chosen the appropriate power cable, the installation process typically involves connecting one end of the cable to the power source and the other end to the designated power input on the intercom system. Make sure to follow the manufacturer’s instructions and any specific wiring diagrams provided for your Nutone intercom system model.
Remember, the proper installation of the power cable is crucial for the reliable operation of the Nutone intercom system with a video doorbell. Be sure to consult with a qualified electrician if you are unsure or uncomfortable with handling electrical connections.
Ethernet Cable
An Ethernet cable is an essential component for connecting your Nutone intercom system with a video doorbell to your home’s network. This cable allows for communication between the devices, enabling remote access and control through a smartphone app, as well as integration with other smart home devices.
When choosing an Ethernet cable for your Nutone intercom system, consider the required data transfer speeds and the length needed to reach the desired connection point. Ethernet cables come in different categories, such as Cat 5e, Cat 6, and Cat 6a, each with varying capabilities in terms of speed and bandwidth. Selecting a cable that supports the required speed ensures optimal performance and responsiveness of your intercom system and video doorbell.
Additionally, the length of the Ethernet cable is an important consideration. Measure the distance between the intercom system and your home’s network router or switch. Make sure to choose a cable that is long enough to connect the devices comfortably without any strain. It’s recommended to avoid excessive cable lengths, as longer cables can result in signal degradation and reduced performance.
When installing the Ethernet cable, ensure that it is properly connected to both the Nutone intercom system and the network router or switch. Plug one end of the cable into the Ethernet port on the intercom system, usually labeled as “LAN” or “Ethernet.” Connect the other end to an available Ethernet port on your network router or switch. It’s important to make sure that the connections are secure to maintain a stable network connection.
If your home network setup does not have an available Ethernet port near the intercom system’s location, you can use network extenders or powerline adapters to extend the Ethernet connection. These devices allow you to leverage your home’s existing electrical wiring to transmit the network signal to the desired location.
Keep in mind that proper wiring and cable management are important for maintaining a neat and organized installation. Use cable clips or cable management solutions to secure and organize the Ethernet cable along the desired path, minimizing any potential tripping hazards or tangling.
By choosing the right Ethernet cable and ensuring a proper connection to your home’s network, you can take full advantage of the remote access and smart integration features offered by your Nutone intercom system with a video doorbell.
Coaxial Cable
A coaxial cable is an essential component for transmitting video signals from the video doorbell to the intercom stations or other display devices in your Nutone intercom system. This cable ensures high-quality video transmission with minimal interference, allowing you to see clear and detailed visuals of your doorstep.
When selecting a coaxial cable for your Nutone intercom system, consider the distance between the video doorbell and the intercom stations. The length of the coaxial cable needed will depend on this distance. It’s important to choose a cable that is long enough to reach the desired connection point without putting strain on the cable. Opt for a cable with appropriate shielding and signal quality to maintain optimal video performance.
Coaxial cables come in different types and specifications, such as RG6 and RG59. These cables have varying capabilities in terms of signal loss, attenuation, and frequency range. To ensure optimal video quality, choose a coaxial cable that meets the specifications recommended by the Nutone intercom system manufacturer.
When it comes to installation, connect one end of the coaxial cable to the video doorbell’s video output port and the other end to the designated input port on the intercom station or display device. Ensure a secure connection by tightening the connectors properly. It’s important to follow the manufacturer’s instructions and any specific wiring diagrams provided to ensure the correct configuration.
Proper cable management is also crucial when installing the coaxial cable. Use cable clips or cable management solutions to secure the cable along the desired path and minimize any potential tripping hazards or tangling.
During the installation process, be cautious not to bend or kink the coaxial cable excessively, as this can cause signal degradation or damage to the cable. Avoid running the coaxial cable parallel to or in close proximity to electrical cables to reduce the risk of interference.
By selecting the right coaxial cable and ensuring proper installation, you can enjoy high-quality video transmission from your Nutone video doorbell to the intercom stations or display devices, allowing you to monitor your doorstep with clarity and precision.
Audio Cable
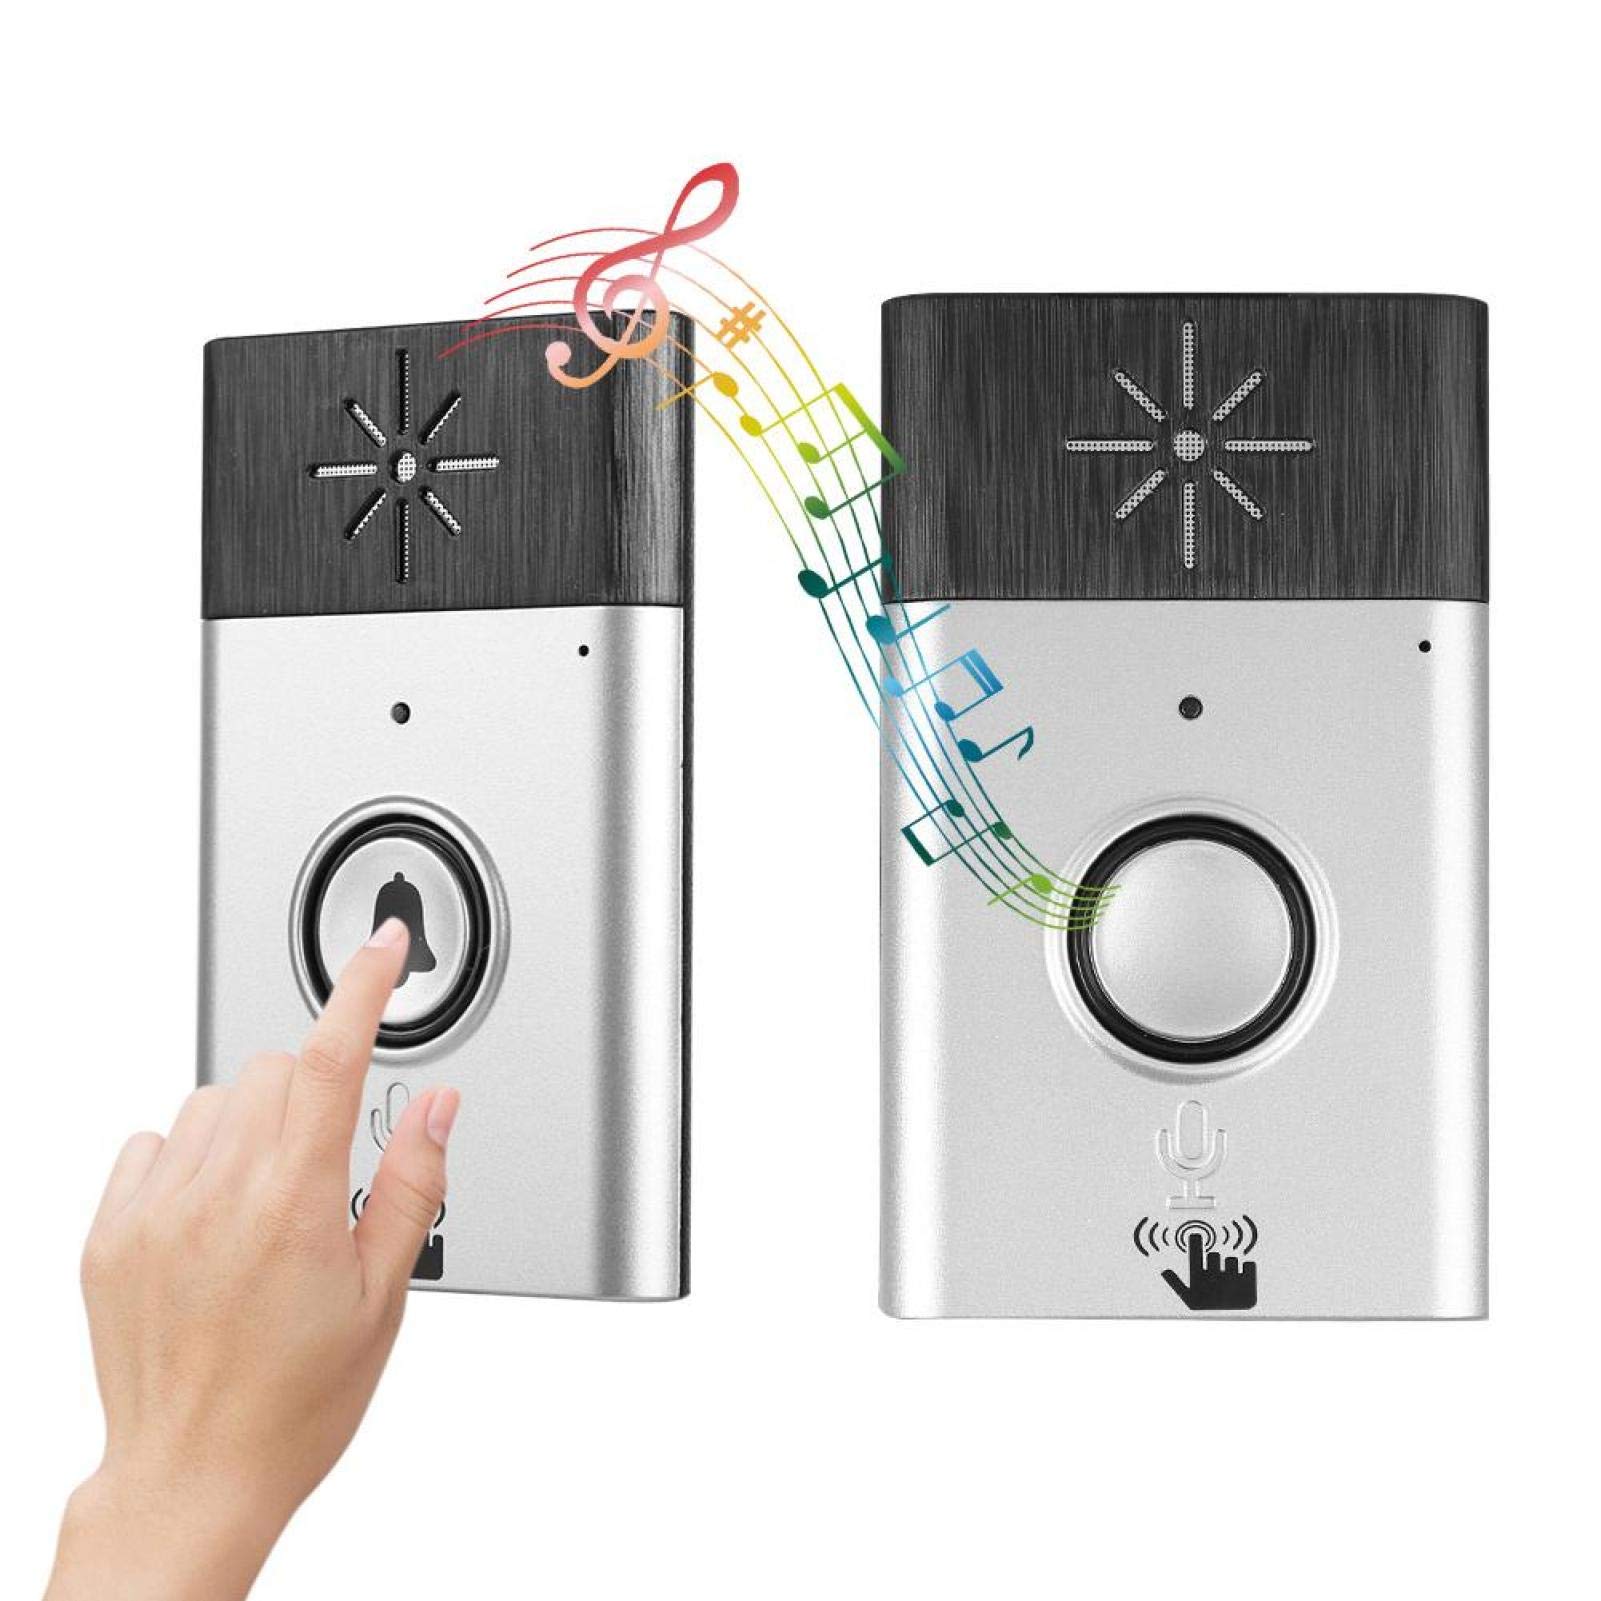
An audio cable is a crucial component for transmitting audio signals between the intercom stations and the video doorbell in your Nutone intercom system. This cable enables clear two-way communication, allowing you to hear and respond to visitors at your doorstep.
When selecting an audio cable for your Nutone intercom system, consider the length needed to connect the intercom stations with the video doorbell. Measure the distance between these devices to ensure you choose a cable that is long enough to reach the desired connection point without any tension or stretching. Opt for a high-quality audio cable that provides balanced audio transmission with minimal signal loss.
Audio cables come in various types, such as twisted pair cables or shielded audio cables. Twisted pair cables are designed to reduce electromagnetic interference, while shielded audio cables provide additional protection against noise and signal degradation. Choose the type of audio cable that best suits your specific requirements and the recommendations of the Nutone intercom system manufacturer.
During installation, connect one end of the audio cable to the designated audio output port of the video doorbell and the other end to the corresponding input port on the intercom station. Ensure a secure and snug connection to prevent any audio loss or distortion. Follow the manufacturer’s instructions and any provided wiring diagrams for the correct configuration.
As with other cables, proper cable management is essential for the audio cable. Secure the cable using cable clips or cable management solutions, and route it in a way that minimizes tangling and potential tripping hazards.
When installing the audio cable, avoid running it parallel to or in close proximity to electrical cables. Electrical interference can cause unwanted noise or distortion in the audio signals. If routing the cables together cannot be avoided, ensure proper separation and use shielded cables to minimize the impact of interference.
By selecting an appropriate audio cable and installing it correctly, you can enjoy clear and reliable audio communication with visitors at your doorstep through your Nutone intercom system. The audio cable plays a crucial role in ensuring that your conversations are heard with clarity and without any disruptions.
Wiring Configuration for the Nutone Intercom System with Video Doorbell
The proper wiring configuration is crucial for the effective functioning of your Nutone intercom system with a video doorbell. Following the correct wiring setup ensures that all components are interconnected and able to communicate seamlessly. Let’s explore the typical wiring configuration for this system:
1. Power Connection: Connect the power cable from the power source to the designated power input on the intercom system. Ensure a secure and proper connection to provide the necessary electrical power for the system to operate.
2. Video Doorbell: Connect the video doorbell to the intercom system using the appropriate cables. Typically, a coaxial cable transmits video signals from the doorbell to the intercom stations or other display devices. Follow the manufacturer’s instructions for the correct wiring sequence and ensure a secure connection at both the video doorbell and the intercom station ends.
3. Audio Communication: Connect the audio cable between the intercom stations and the video doorbell to enable clear two-way communication. Connect one end of the audio cable to the designated audio output port on the doorbell and the other end to the corresponding audio input port on the intercom station.
4. Ethernet Connection: Connect the Nutone intercom system to your home’s network using an Ethernet cable. Plug one end of the Ethernet cable into the network port on the intercom system and the other end into an available Ethernet port on your network router or switch. This allows for remote access and control of the intercom system through a smartphone app or integration with other smart home devices.
When wiring the system, it’s important to follow the specific instructions provided by the Nutone intercom system manufacturer. They may include wiring diagrams, color-coded connections, or specific labeling on the system’s ports to guide you through the process. Ensure all connections are secure and properly tightened to prevent any signal loss or disruptions in communication.
If you’re unsure about the wiring configuration or need assistance, consult a qualified electrician or a professional installer who has experience with Nutone intercom systems. They can ensure that the system is wired correctly and functioning optimally.
By adhering to the recommended wiring configuration for your Nutone intercom system with a video doorbell, you can enjoy seamless communication, clear video feeds, and convenient remote access to your system.
Installation Process
The installation process of a Nutone intercom system with a video doorbell may seem complex, but with the right approach and the necessary tools, you can successfully set up your system. Here is a step-by-step guide to help you through the installation process:
1. Plan the Installation: Before beginning the installation, plan out the placement of the intercom stations, video doorbell, and other components. Consider factors such as the distance between the devices, proximity to power sources and the network router, and optimal locations for clear communication and video monitoring.
2. Mount the Intercom Stations: Install the intercom stations in the desired locations. Ensure the stations are securely mounted and positioned at appropriate heights for easy access. Use wall-mounting brackets or follow the manufacturer’s instructions for countertop installations.
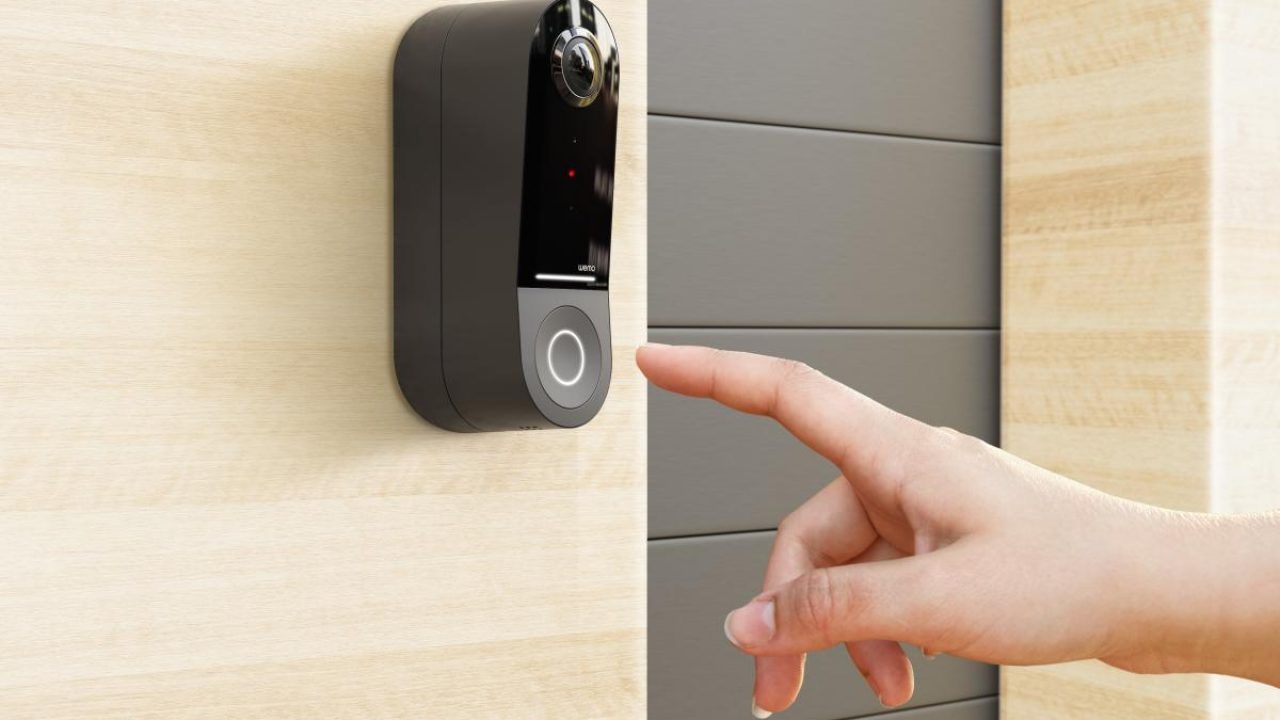
3. Mount the Video Doorbell: Mount the video doorbell near your front door or desired entry point. Follow the manufacturer’s instructions for proper positioning and mounting. Ensure that the video doorbell is securely attached and has a clear view of the area you want to monitor.
4. Connect Power and Ethernet Cables: Connect the power cable from the power source to the intercom system and the video doorbell. Use Ethernet cables to connect the intercom system to your home’s network router or switch. Follow the appropriate instructions and ensure secure connections for both power and Ethernet cables.
5. Wire the Video and Audio Connections: Connect the coaxial cable from the video doorbell to the intercom stations or display devices. Additionally, connect the audio cable for clear two-way communication. Follow the manufacturer’s wiring diagrams and instructions for correct connections and ensure proper cable management.
6. Test and Configure the System: Once all the connections are made, power on the intercom system and test the video and audio functionality. Configure any necessary settings, such as connecting the system to a smartphone app or integrating it with other smart home devices, according to the manufacturer’s instructions.
7. Troubleshoot if Needed: If you encounter any issues during or after the installation, refer to the troubleshooting section of the user manual or contact the Nutone support team for assistance. They can help you identify and resolve any problems you may be facing.
8. Enjoy Your Nutone Intercom System: Once the installation is complete and everything is functioning correctly, you can enjoy the convenience and security offered by your Nutone intercom system with a video doorbell. Communicate with visitors at your doorstep, monitor your surroundings, and remotely access your system for added peace of mind.
Remember, if you’re unsure about any aspect of the installation process, it’s recommended to consult a professional installer or a qualified electrician. They can provide guidance and ensure a safe and proper installation of your Nutone intercom system with a video doorbell.
Troubleshooting Tips
While installing and using your Nutone intercom system with a video doorbell, you may encounter some common issues or challenges. Here are a few troubleshooting tips to help you resolve these problems:
1. No Power: If your intercom system or video doorbell is not receiving power, check the power connections. Ensure that the power cable is securely plugged into a power source and connected to the correct input on the intercom system. Also, verify that the power source is functioning properly.
2. Poor Audio Quality: If you experience poor audio quality during conversations, check the audio connections. Ensure that the audio cables between the intercom stations and the video doorbell are securely connected. Also, make sure that the volume levels on both the intercom stations and the video doorbell are appropriately adjusted.
3. Video Signal Loss: If you are experiencing video signal loss or a poor video feed, check the coaxial cable connections. Ensure that the coaxial cable from the video doorbell is securely connected to the intercom stations or display devices. Also, examine the cable for any signs of damage or interference, and replace or reposition it as necessary.
4. Network Connection Issues: If you’re having trouble connecting your Nutone intercom system to your home’s network, check the Ethernet cable connection. Ensure that the Ethernet cable is properly plugged into the intercom system and the network router or switch. Verify that the network connection is active and functioning correctly.
5. App Connectivity Problems: If you’re unable to connect to your intercom system through the associated smartphone app, check your Wi-Fi network connectivity and settings. Make sure your smartphone is connected to the same network as the intercom system. Restart the app or your smartphone if necessary, and verify that you have entered the correct login credentials for remote access.
6. Interference or Noise: If you experience interference or noise in the audio or video signals, check for sources of electromagnetic interference. Keep the coaxial and audio cables away from sources of electrical interference, such as power cables, appliances, or wireless devices. Position the cables and devices to minimize any potential interference for optimal signal quality.
7. Software or Firmware Updates: Regularly check for software or firmware updates for your Nutone intercom system and video doorbell. Manufacturers often release updates to address any bugs, improve performance, or provide new features. Stay up to date with the latest updates by visiting the manufacturer’s website or using their dedicated software or app.
8. Refer to the User Manual: If you exhaust all troubleshooting options and still face issues, carefully review the user manual provided with your Nutone intercom system and video doorbell. The troubleshooting section should provide solutions for common problems and may offer additional guidance for specific issues you may encounter.
If you are unable to resolve the issues on your own, don’t hesitate to reach out to Nutone customer support for further assistance. They have the expertise to guide you through troubleshooting steps or provide further solutions to ensure the proper functioning of your Nutone intercom system with a video doorbell.
Conclusion
Installing a Nutone intercom system with a video doorbell can greatly enhance the convenience, security, and communication within your home or building. By understanding the different types of cables needed and following the correct wiring configuration, you can ensure a smooth and successful installation process.
The power cable provides the necessary electrical power for the system to operate, while the Ethernet cable enables network connectivity and remote access capabilities. The coaxial cable transmits high-quality video signals, allowing you to monitor your doorstep with clarity. The audio cable facilitates clear two-way communication with visitors at your door.
During the installation process, proper planning, cable management, and secure connections are essential. Following the manufacturer’s instructions and consulting professionals, when needed, can help ensure an optimal setup and performance of your Nutone intercom system with a video doorbell.
If you encounter any issues, refer to the troubleshooting tips provided to help identify and resolve common problems. Remember to check power connections, audio and video signal quality, network connectivity, and potential sources of interference. Utilize software or firmware updates and consult the user manual for further guidance.
By taking these steps and following the recommended practices, you can enjoy the benefits of your Nutone intercom system with a video doorbell – clear communication, secure monitoring, and the convenience of remote access.