Introduction
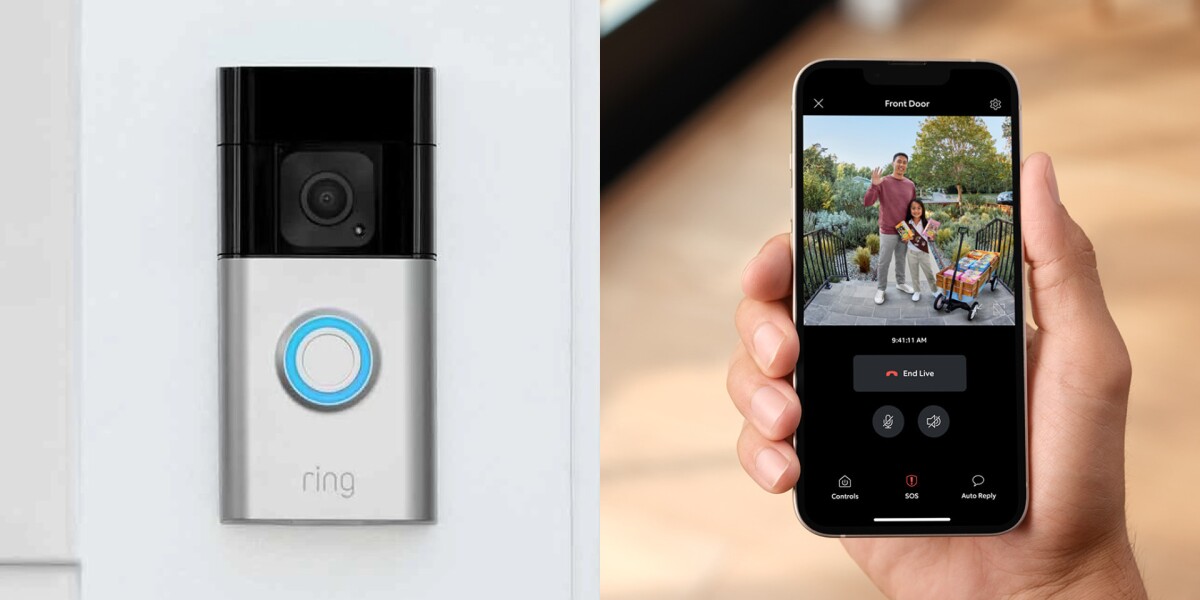
Welcome to the world of smart home security! The Ring Video Doorbell has become increasingly popular, thanks to its ability to provide homeowners with a sense of security and peace of mind. However, there may come a time when you need to delete all the data and settings associated with your Ring Video Doorbell. Whether you’re moving to a new home or simply want a fresh start, this guide will walk you through the steps to delete all your Ring Video Doorbell data.
By following the steps outlined in this article, you will be able to disconnect the Ring Video Doorbell from your network, remove it from the Ring app, delete any recorded videos on the Ring cloud, and reset it to its factory settings, effectively erasing all traces of your personal information.
Before we dive in, it’s essential to note that deleting all the data from your Ring Video Doorbell is a permanent action. Once deleted, you won’t be able to recover any of the information, recordings, or settings. Therefore, it’s crucial to back up any data you want to keep before proceeding with the deletion process.
Now, let’s get started with the step-by-step process of disconnecting and deleting all your Ring Video Doorbell data.
Step 1: Disconnect the Ring Video Doorbell from the network
The first step in deleting all your Ring Video Doorbell data is to disconnect it from your network. This action will ensure that the device is no longer connected to the internet and won’t continue sending or receiving any data.
To disconnect your Ring Video Doorbell, follow these simple steps:
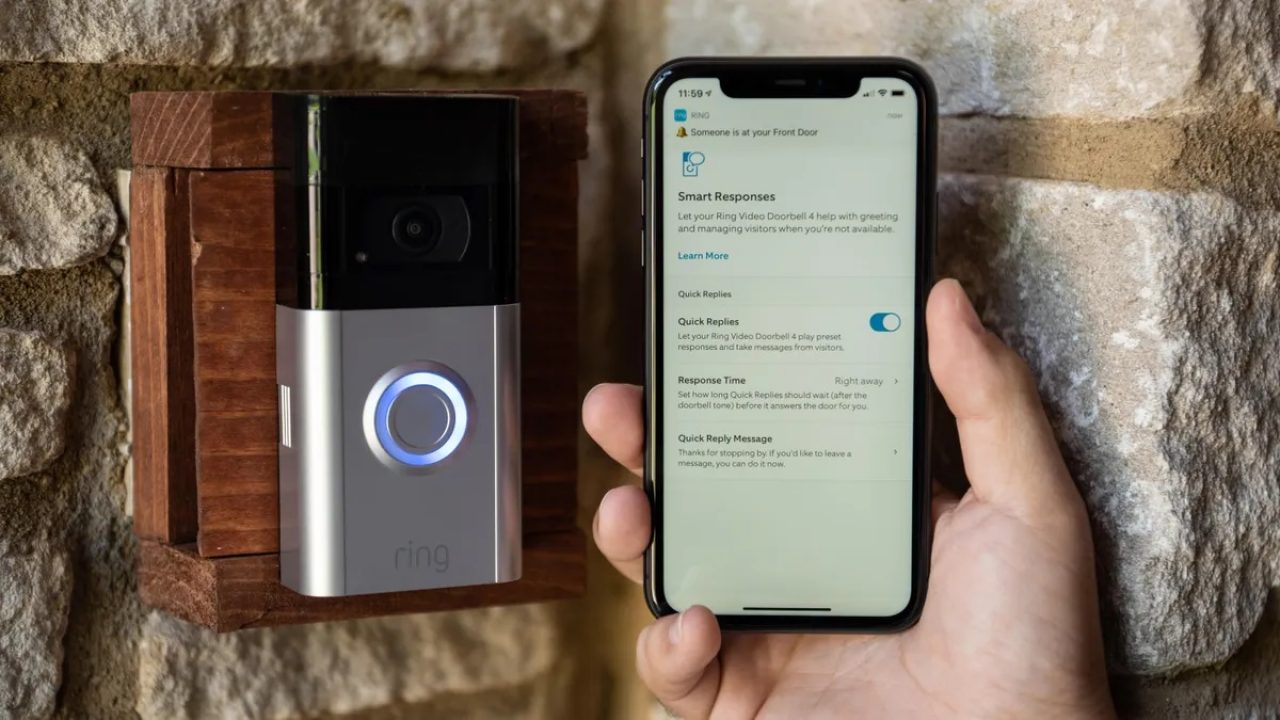
- Open the Ring app on your smartphone and navigate to the Ring Doorbell device.
- Select the “Device Settings” option.
- Scroll down and tap on the “Remove Device” button.
- Confirm the deletion by selecting “Yes” when prompted.
Once you’ve completed these steps, your Ring Video Doorbell will be disconnected from your network. This means it won’t be able to communicate with the Ring cloud or any connected devices.
It’s important to note that disconnecting the Ring Video Doorbell from the network doesn’t delete the data stored on the device, such as videos or settings. These data will still be accessible until you proceed with the remaining steps.
Now that you’ve successfully disconnected your Ring Video Doorbell from the network, let’s move on to the next step: removing it from the Ring app.
Step 2: Remove the Ring Video Doorbell from the Ring app
After disconnecting your Ring Video Doorbell from the network, the next step in deleting all your Ring Video Doorbell data is to remove it from the Ring app. This action will ensure that the device is no longer associated with your Ring account and won’t appear in your app’s device list.
To remove your Ring Video Doorbell from the Ring app, follow these easy steps:
- Launch the Ring app on your smartphone.
- Go to the “Device Settings” section.
- Select the Ring Video Doorbell you want to delete.
- Scroll down and tap on the “Remove Device” option.
- Confirm the removal by choosing “Yes” when prompted.
Once you’ve completed these steps, your Ring Video Doorbell will be removed from the Ring app. This means it won’t be visible or accessible through the app, and you won’t receive any notifications or alerts from the device.
However, it’s important to note that removing the Ring Video Doorbell from the Ring app doesn’t delete any previously recorded videos or other data associated with the device. To delete these files, you will need to proceed to the next step.
Now that you’ve successfully removed your Ring Video Doorbell from the Ring app, let’s move on to the next step: deleting recorded videos on the Ring cloud.
Step 3: Delete recorded videos on the Ring cloud
Deleting the recorded videos on the Ring cloud is an important step in completely removing all your Ring Video Doorbell data. By deleting these videos, you ensure that any recorded footage of your home is permanently erased and cannot be accessed or viewed.
To delete recorded videos on the Ring cloud, follow the steps below:
- Open the Ring app on your smartphone.
- Navigate to the main dashboard or home screen of the app.
- Select the Ring Video Doorbell you want to delete the videos from.
- In the app’s timeline or activity log, locate the recorded videos you wish to delete.
- Select the videos you want to delete, either individually or in bulk.
- Tap on the delete icon or the trash bin symbol to permanently remove the selected videos.
After completing these steps, the videos you selected will be deleted from the Ring cloud. It’s important to note that the deletion process may take some time, depending on the number and size of the videos you’re deleting.
Deleting the recorded videos ensures that any footage of your home is not accessible or recoverable. It is a critical step in maintaining your privacy and security.
Now that you’ve successfully deleted the recorded videos on the Ring cloud, let’s move on to the final step: resetting the Ring Video Doorbell to its factory settings.
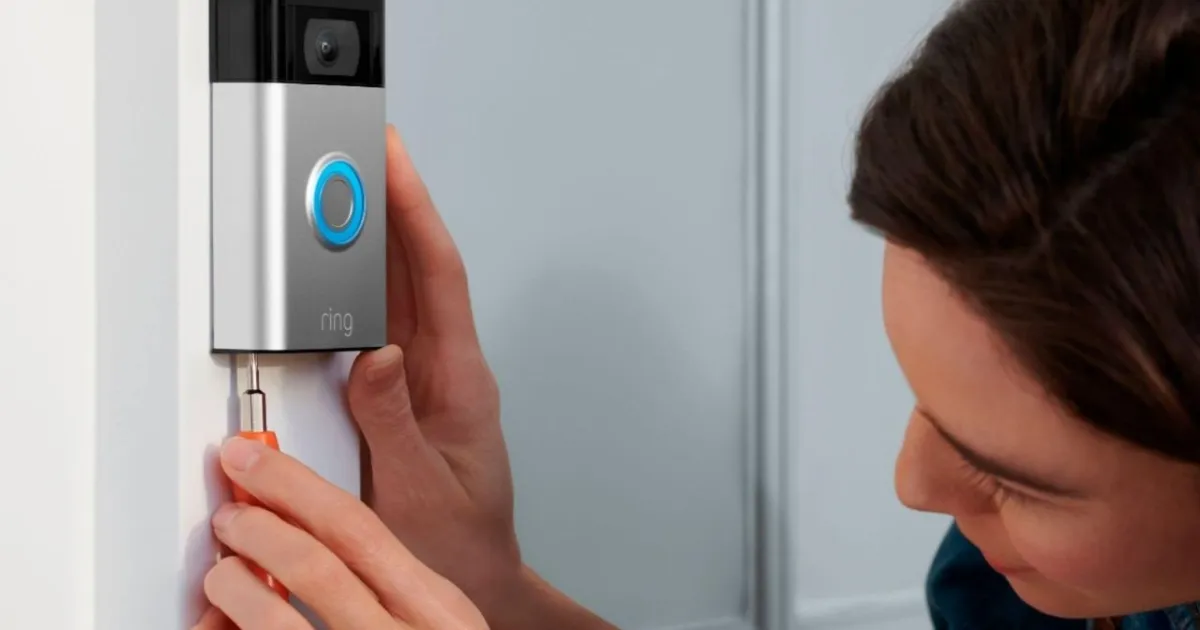
Step 4: Reset the Ring Video Doorbell to factory settings
The final step in deleting all your Ring Video Doorbell data is to reset the device to its factory settings. This action will erase all your personal settings, including your Wi-Fi network information, and restore the device to its original state as if it were brand new.
To reset the Ring Video Doorbell to factory settings, follow these simple instructions:
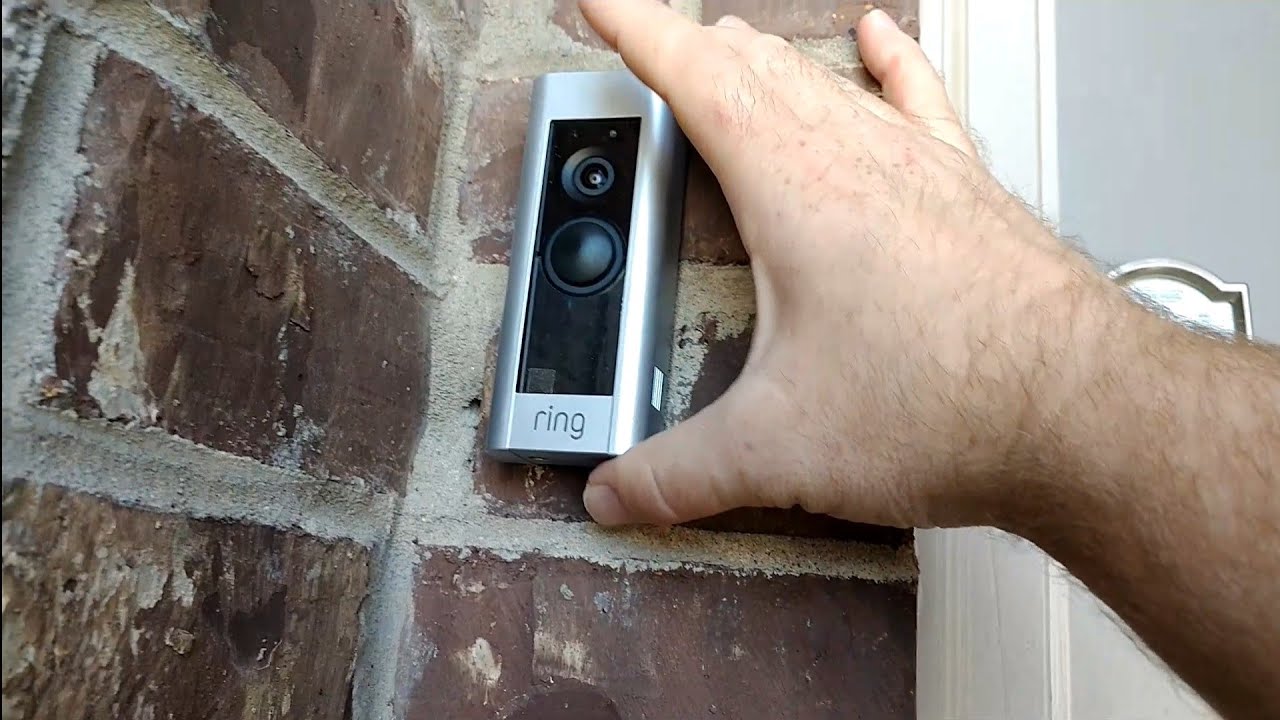
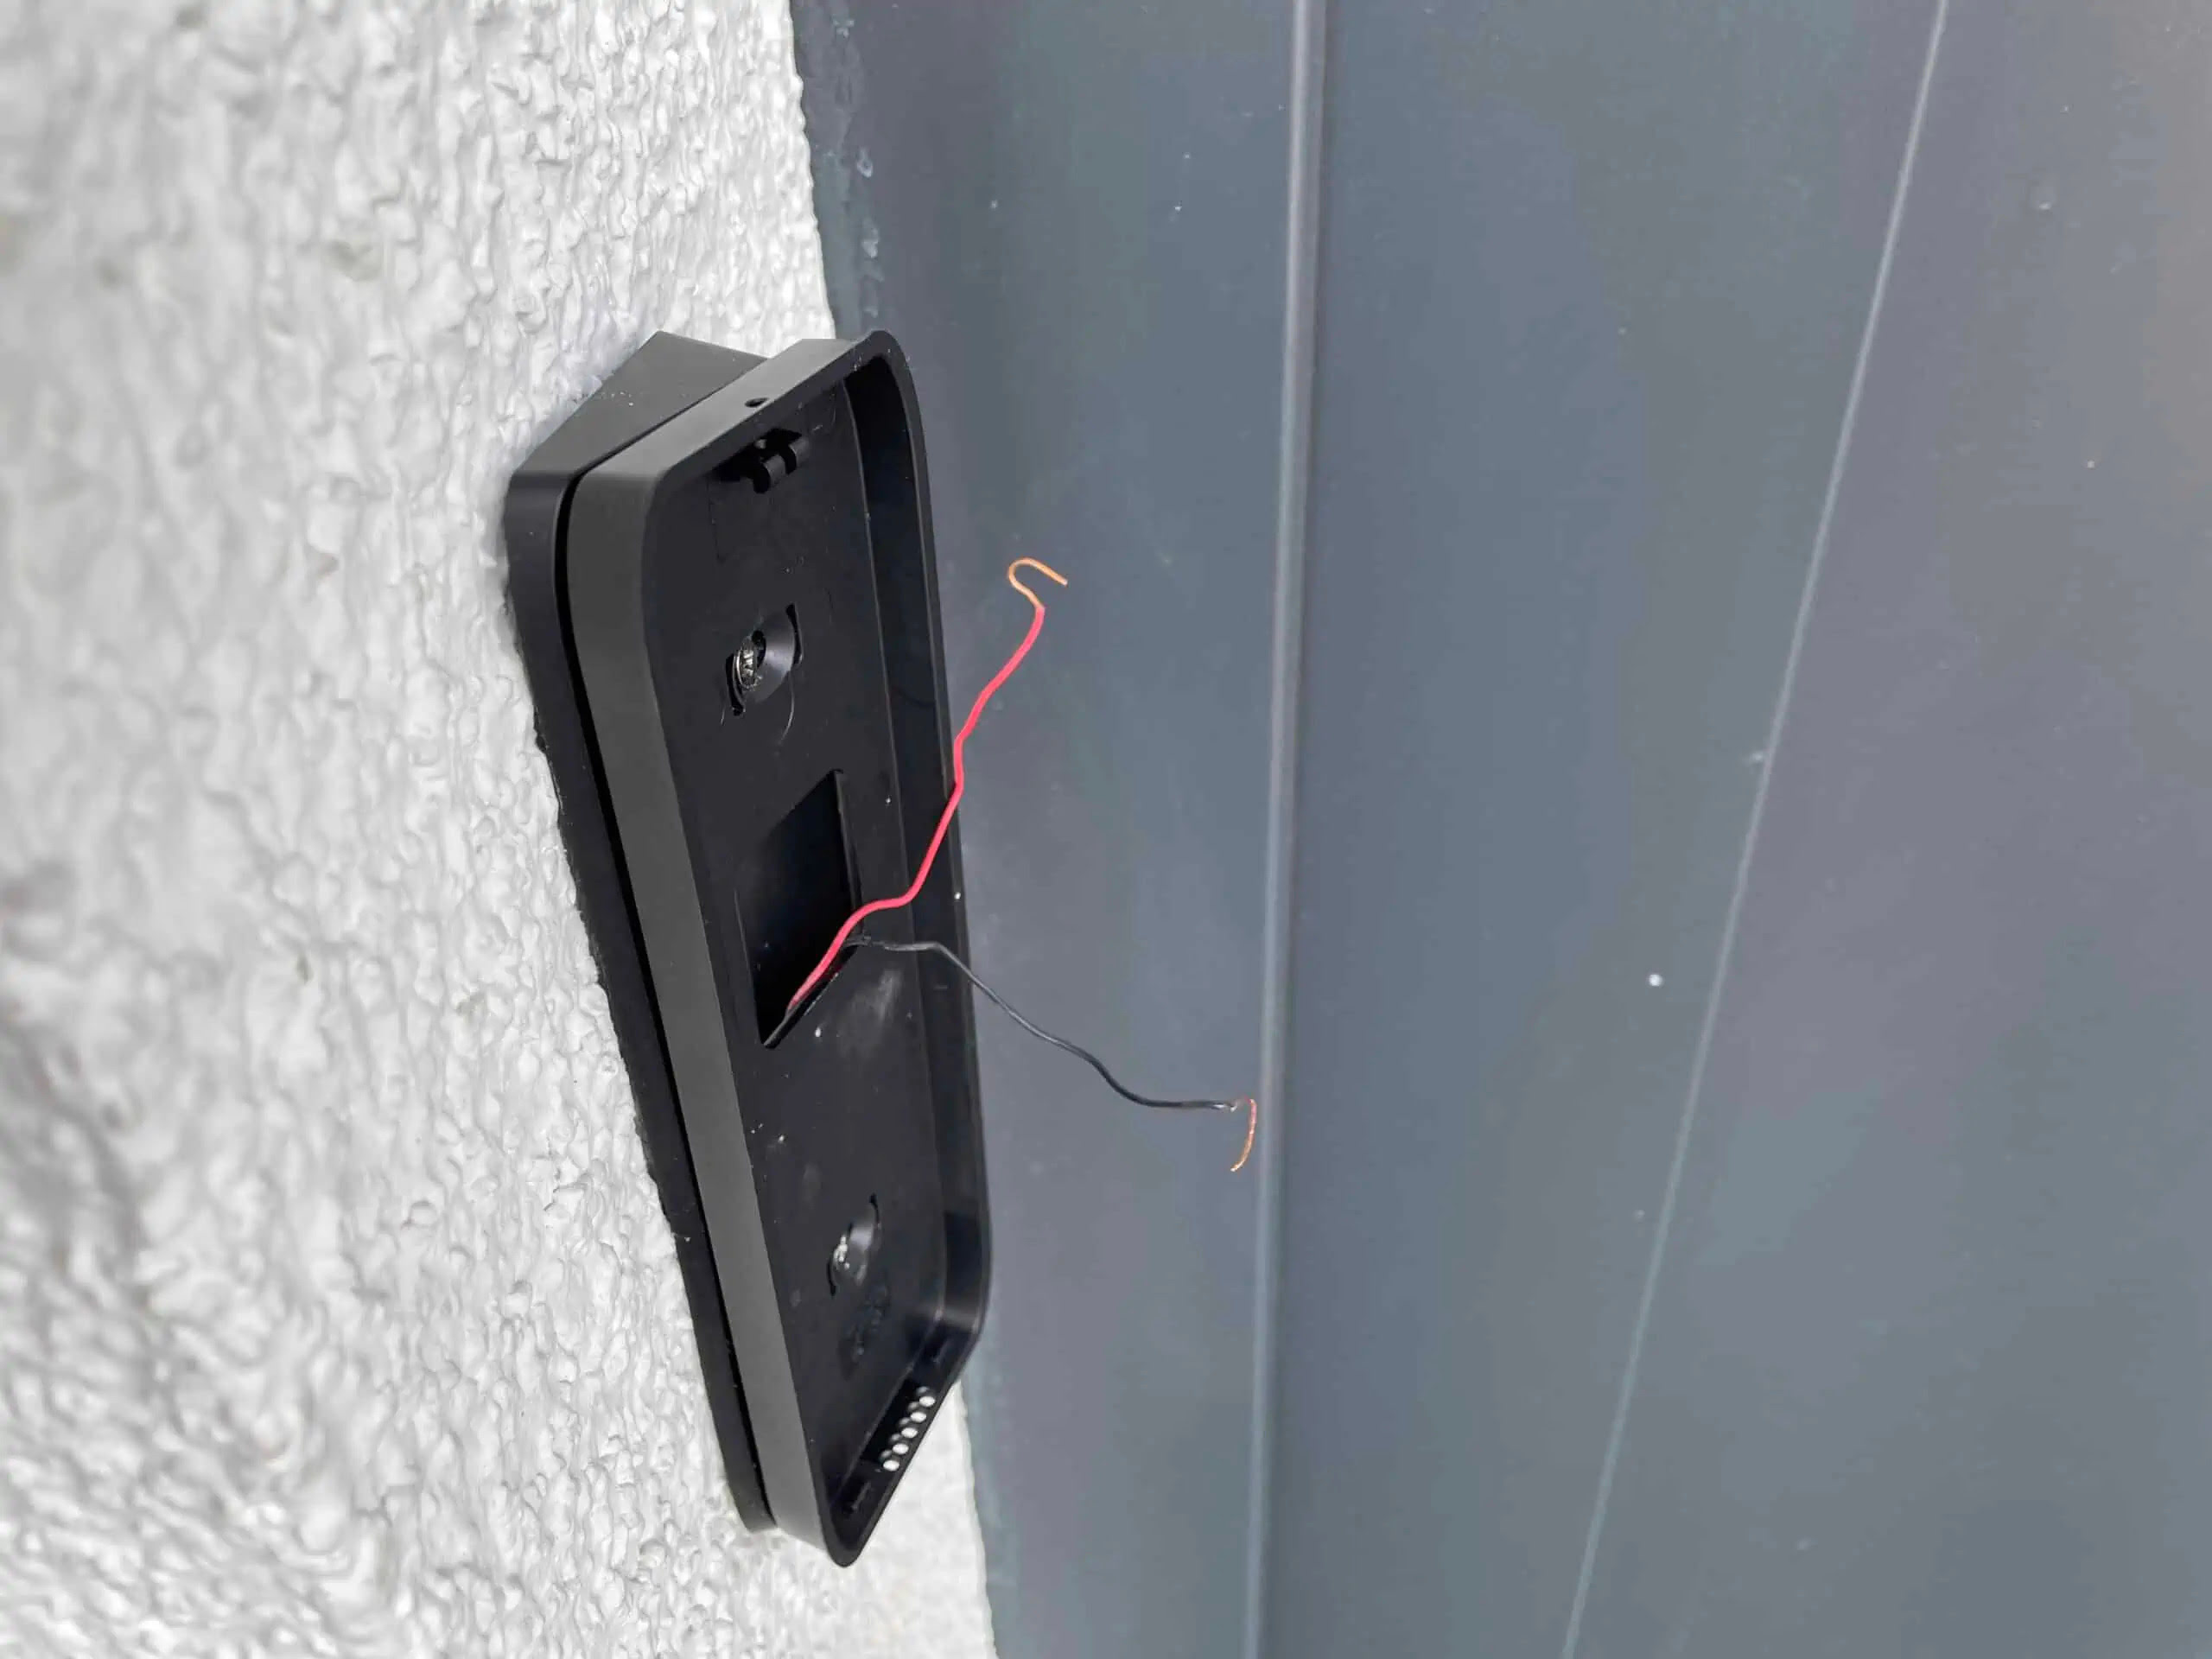
- Locate the reset button on the back of the Ring Video Doorbell.
- Press and hold the reset button for at least 15 seconds.
- Release the reset button after the LED light on the Ring Video Doorbell starts flashing.
- The Ring Video Doorbell will then reboot and return to its initial setup process.
- Follow the on-screen instructions in the Ring app to set up your Ring Video Doorbell as if it were new.
Once you’ve completed these steps, your Ring Video Doorbell will be reset to its factory settings. This means that all your personal data, settings, and configurations will be permanently erased from the device.
It’s important to note that resetting the Ring Video Doorbell to factory settings cannot be undone. This action is irreversible, so make sure you’re certain before proceeding with the reset.
Congratulations! You have successfully deleted all your Ring Video Doorbell data by disconnecting it from the network, removing it from the Ring app, deleting recorded videos on the Ring cloud, and resetting it to factory settings.
Remember, if you decide to reinstall or use the Ring Video Doorbell in the future, you will need to set it up again from scratch.
Conclusion
Congratulations! You have successfully deleted all your Ring Video Doorbell data and ensured a fresh start. By following the step-by-step process outlined in this guide, you disconnected the Ring Video Doorbell from the network, removed it from the Ring app, deleted recorded videos on the Ring cloud, and reset it to factory settings.
Deleting all your Ring Video Doorbell data is essential when you no longer need the device or are moving to a new home. It helps protect your privacy by ensuring that no personal information or recorded footage of your home is accessible to anyone.
Remember, before proceeding with the deletion process, it’s crucial to back up any data you want to keep. Once deleted, the data cannot be recovered.
If you ever decide to reinstall or use the Ring Video Doorbell in the future, you will need to set it up again from scratch. This includes connecting it to your network, adding it to the Ring app, and configuring the device to meet your preferences.
We hope this guide has been helpful in assisting you with deleting all your Ring Video Doorbell data. If you have any further questions or concerns, don’t hesitate to reach out to the Ring support team for assistance.
Thank you for choosing Ring and ensuring the privacy and security of your home!