Introduction
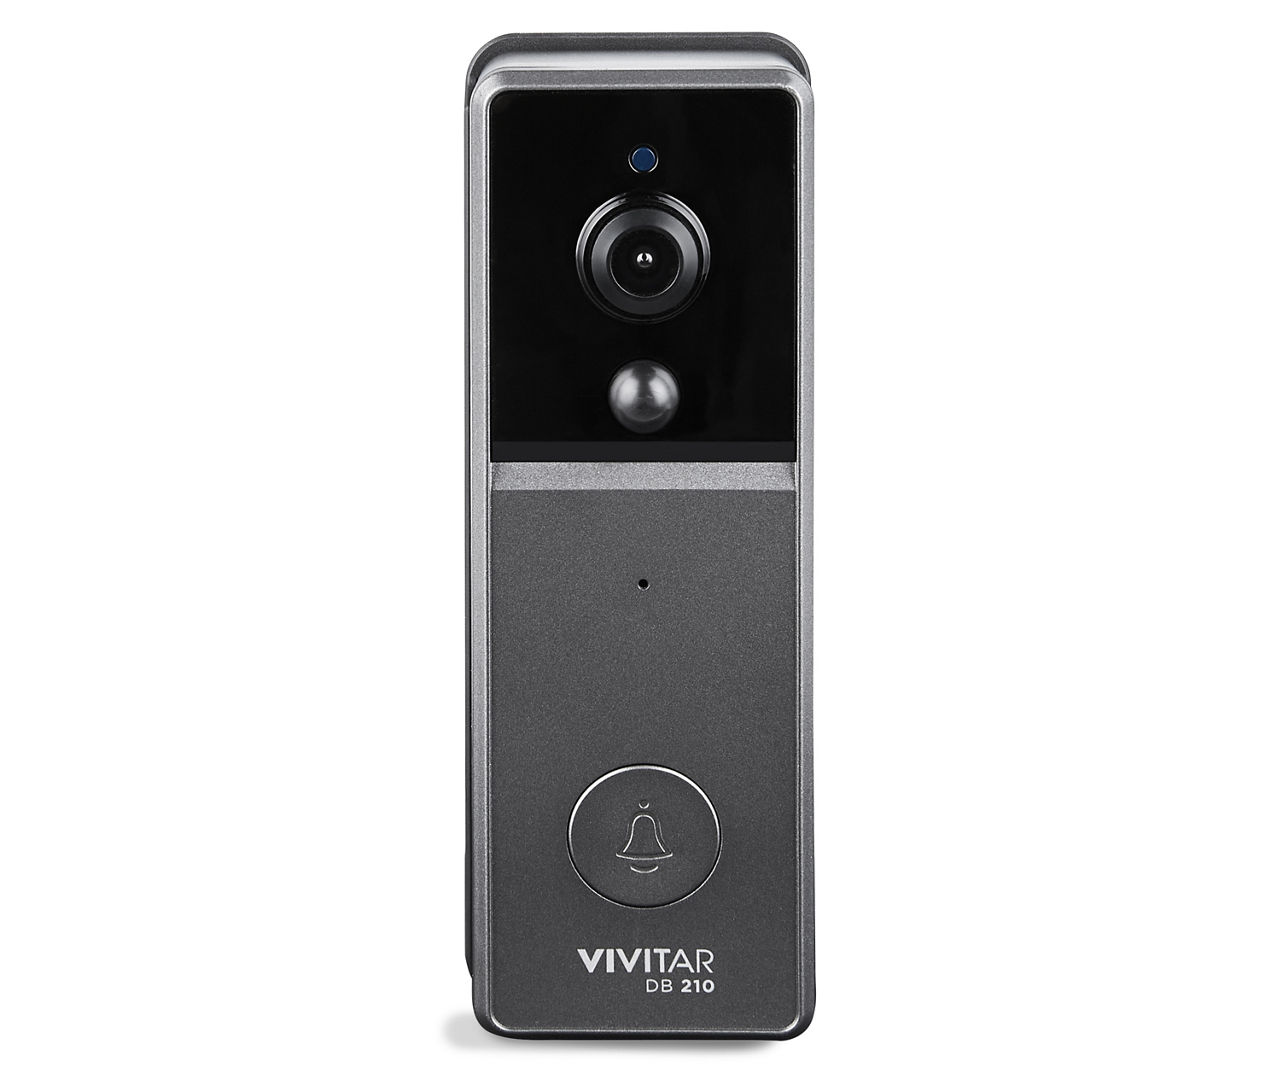
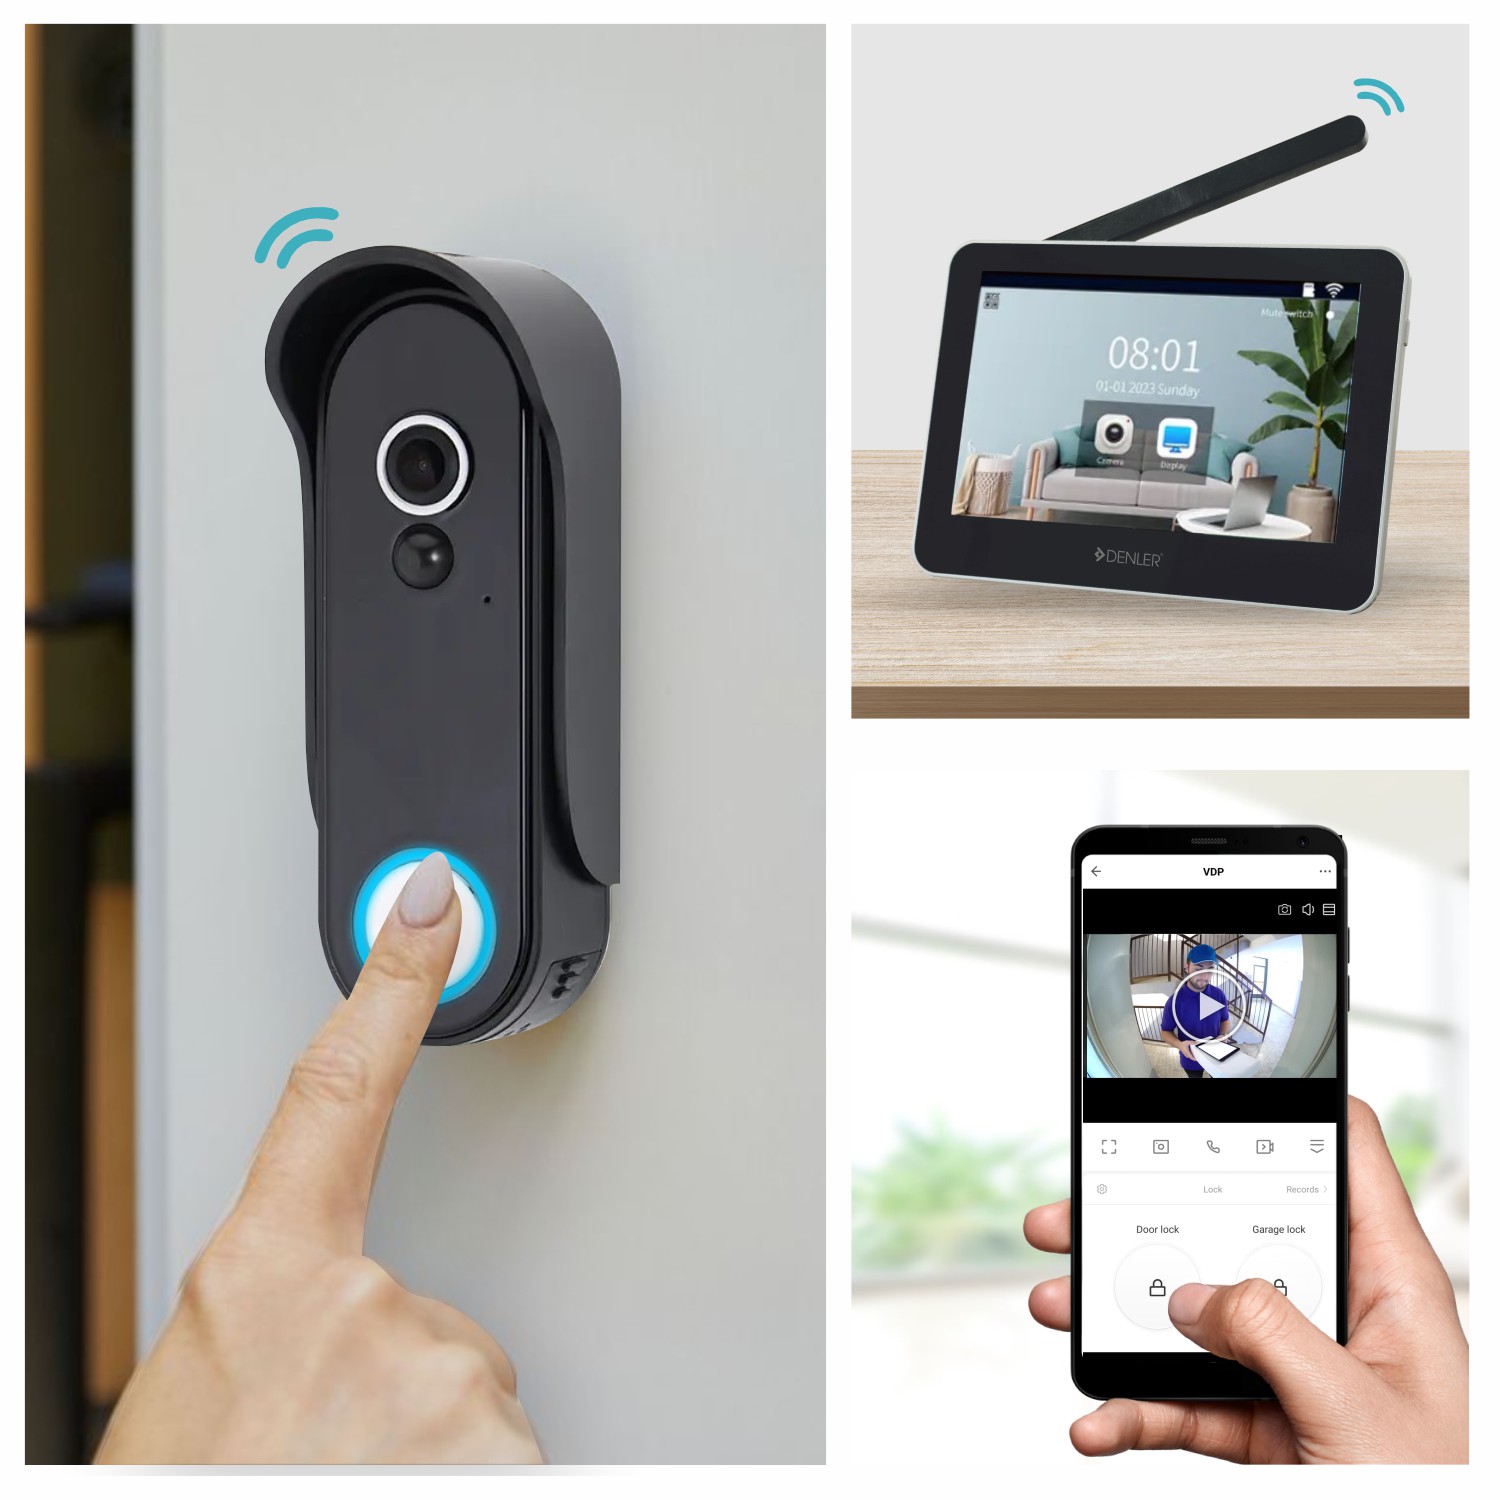
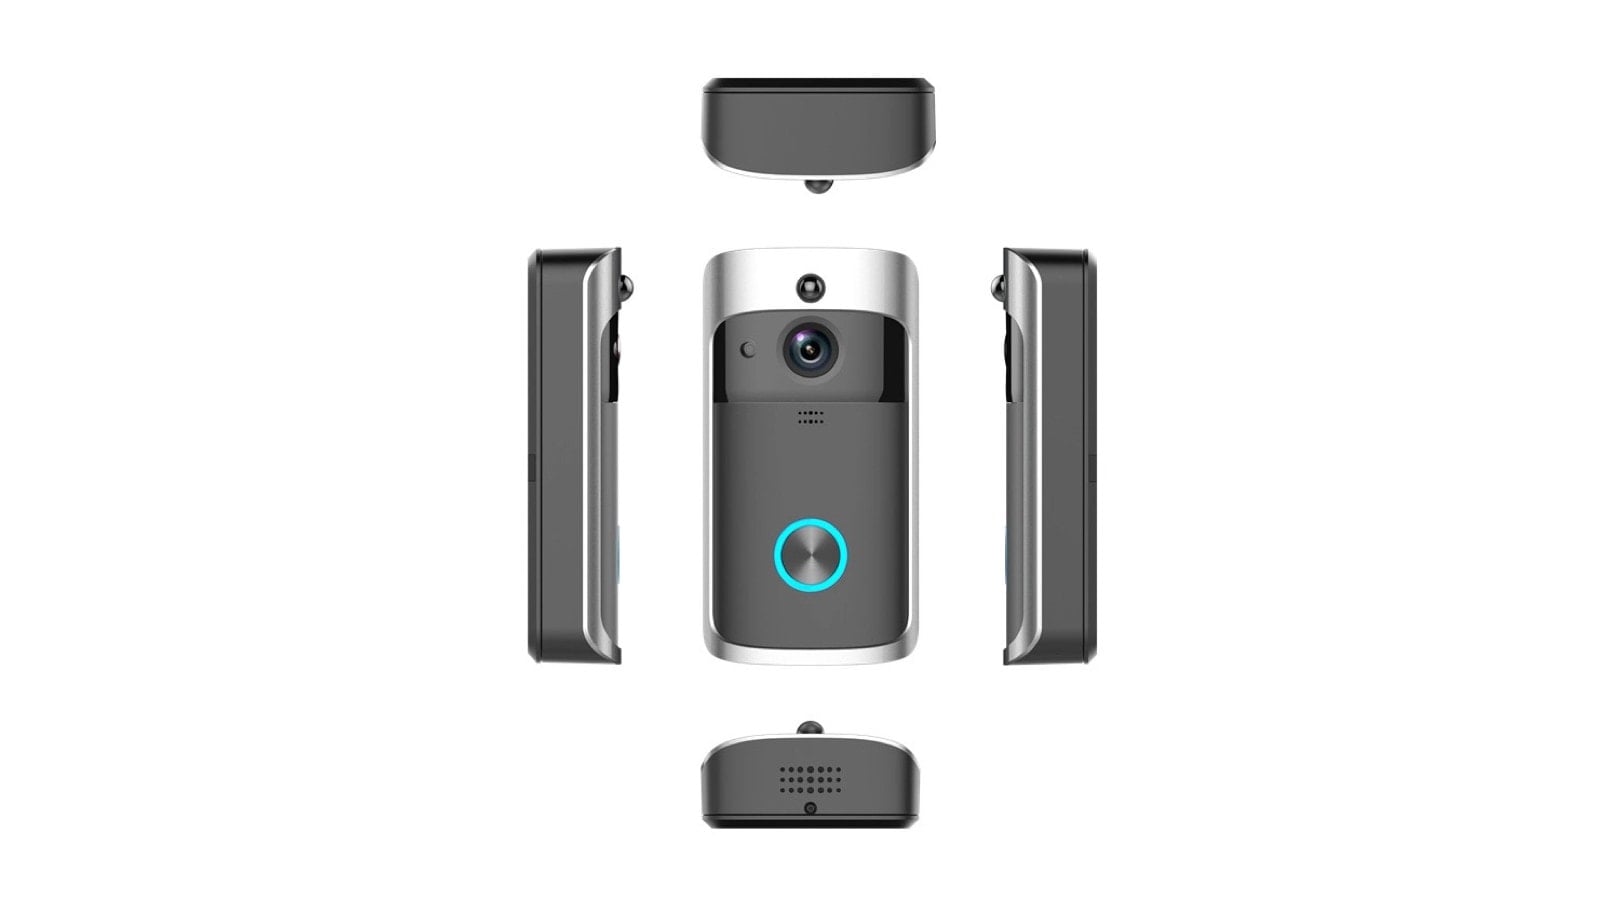
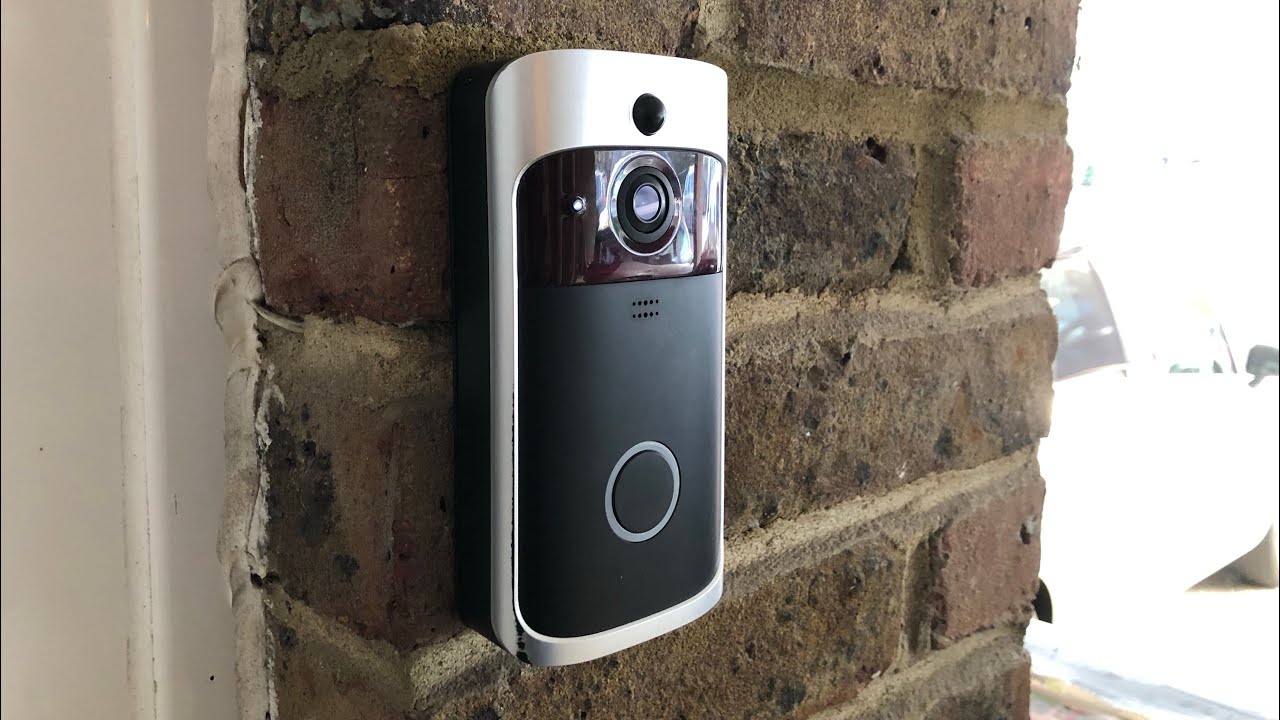
Welcome to the world of smart home security with the Vivitar Wireless Video Doorbell. This innovative device offers a convenient and reliable way to monitor and manage visitors at your front door. With its wireless connectivity and integration with your smartphone, you can always stay connected and in control, no matter where you are.
Are you tired of missing important deliveries or unexpected guests? The Vivitar Wireless Video Doorbell provides a practical solution, allowing you to see, hear, and speak to visitors at your door without even having to open it. Whether you’re at work, running errands, or simply relaxing at home, this smart doorbell ensures that you never miss a moment or compromise your security.
Setting up the Vivitar Wireless Video Doorbell is a breeze. With the included installation kit and easy-to-follow instructions, you’ll have your doorbell up and running in no time. Once installed, you can connect the doorbell to your smartphone and begin customizing the settings to suit your preferences.
Whether you’re concerned about security, want to keep an eye on your children playing outside, or simply want the convenience of remotely answering the door, the Vivitar Wireless Video Doorbell has you covered. In the following sections, we’ll guide you through the setup process, show you how to connect the doorbell to your smartphone, adjust the doorbell’s settings, and much more. By the end of this guide, you’ll be well-equipped with the knowledge and confidence to make the most of your Vivitar Wireless Video Doorbell.
Setting up the Vivitar Wireless Video Doorbell
Before you can start enjoying the benefits of the Vivitar Wireless Video Doorbell, you’ll need to set it up. Don’t worry, the process is straightforward and can be completed in just a few simple steps.
The first step is to find the perfect location for your doorbell. It should have a clear view of your front door and be within range of your Wi-Fi network. Make sure to choose a spot that is easily accessible and allows for quick and convenient installation.
Once you’ve found the ideal location, it’s time to install the doorbell. The Vivitar Wireless Video Doorbell comes with an installation kit that includes all the necessary tools and hardware. Follow the provided instructions to securely mount the doorbell on your wall or door frame.
After the physical installation is complete, it’s time to connect the doorbell to your Wi-Fi network. Open the Vivitar Smart Home Security app on your smartphone and follow the prompts to add a new device. Make sure your smartphone is connected to the same Wi-Fi network that you want the doorbell to connect to.
The app will guide you through the process of connecting the doorbell to your Wi-Fi network. This may involve scanning a QR code or entering the network credentials manually. Once the doorbell is successfully connected, you’ll be able to access its features and control it remotely using your smartphone.
It’s worth noting that the Vivitar Wireless Video Doorbell requires a stable internet connection to function properly. Ensure that your Wi-Fi signal is strong and reliable at the location where the doorbell is installed to ensure the best performance.
With the doorbell successfully connected to your Wi-Fi network, you’re now ready to customize the settings and make the most of its features. In the next section, we’ll explore how to connect the doorbell to your smartphone and take advantage of its remote monitoring capabilities. Stay tuned!
Connecting the doorbell to your smartphone
Once you’ve successfully set up the Vivitar Wireless Video Doorbell, the next step is to connect it to your smartphone. This will allow you to conveniently control and monitor your doorbell from anywhere, giving you peace of mind and enhanced security.
To begin, download and install the Vivitar Smart Home Security app from the App Store or Google Play Store. Once the app is installed, open it and create an account if you don’t already have one. You’ll need to provide some basic information and set a password to secure your account.
Once you’re logged into the app, follow the on-screen instructions to add your Vivitar Wireless Video Doorbell. The app will guide you through the process step by step, making it easy and user-friendly.
Make sure your smartphone is connected to the same Wi-Fi network as your doorbell. This will ensure a seamless connection between the devices. The app will automatically search for nearby doorbells and display them on your screen. Select the correct doorbell from the list, and the app will prompt you to scan a QR code located on the doorbell itself.
Once the QR code is scanned, the app will establish a connection with your doorbell. This process may take a few moments, so be patient. Once the connection is successful, you’ll be prompted to assign a name to your doorbell for easy identification.
At this point, you’ve successfully connected your Vivitar Wireless Video Doorbell to your smartphone. You can now access various features such as live video streaming, two-way audio communication, and doorbell settings directly from your smartphone.
The app provides a user-friendly interface that allows you to view and interact with your doorbell’s video feed. You can see who’s at your door in real-time, have a conversation with the visitor using the two-way audio feature, and even capture screenshots or record video footage for later review.
By connecting your doorbell to your smartphone, you gain the convenience and flexibility of remote access, ensuring that you’re always connected and informed about what’s happening at your front door. In the next section, we’ll explore how to adjust the settings of your Vivitar Wireless Video Doorbell to suit your preferences.
Adjusting the doorbell’s settings
Now that you have your Vivitar Wireless Video Doorbell connected to your smartphone, it’s time to customize and adjust the settings to meet your specific needs and preferences. The doorbell offers a range of options that allow you to personalize its functionality and optimize your user experience.
Start by opening the Vivitar Smart Home Security app on your smartphone and accessing the settings menu for your doorbell. Here, you’ll find a variety of options that you can adjust according to your requirements.
One important setting to consider is the motion detection sensitivity. The doorbell’s motion sensor detects movement and triggers an alert on your smartphone. Adjusting the sensitivity level ensures that you receive notifications for the desired range of motion. If you’re experiencing too many false alerts, you can decrease the sensitivity. Conversely, if you’re missing important notifications, you can increase it.
Another important setting is the notification preferences. You can decide whether you want to receive push notifications, email alerts, or both when there is activity detected at your front door. Customize the notification settings to suit your preference and ensure that you’re promptly informed about any visitors or events.
Additionally, you can set up a customized chime or ringtone for your doorbell. Choose from a range of pre-installed options, or even upload your own sound file to personalize the audio notification for when someone rings the doorbell. This allows you to give your doorbell a unique touch and match it to your personal style.
Furthermore, you can configure the night vision settings for your doorbell. Adjust the brightness and contrast levels to optimize the quality of the night vision video feed. This ensures that you have clear visibility even in low-light or nighttime conditions.
If you have multiple users or family members who need access to the doorbell’s features and notifications, you can set up user profiles within the app. This allows each individual to have their own login credentials and personalized settings.
Lastly, don’t forget to regularly update the firmware of your Vivitar Wireless Video Doorbell. Firmware updates often include bug fixes, performance improvements, and new features. Keeping your doorbell up to date ensures that you have the latest enhancements and security patches.
By adjusting the doorbell’s settings to your liking, you can tailor its functionality to suit your specific requirements and enjoy a seamless and personalized user experience. In the next section, we’ll explore how to effectively respond to visitors at your door using the Vivitar Wireless Video Doorbell.
Responding to visitors at your door
With the Vivitar Wireless Video Doorbell, you have the ability to easily and effectively respond to visitors at your door, even when you’re not physically present. The doorbell’s two-way audio feature allows for clear and seamless communication, providing a convenient and secure way to interact with anyone who rings your doorbell.
When someone rings your doorbell, you’ll receive a notification on your smartphone through the Vivitar Smart Home Security app. Simply tap the notification to instantly access the live video feed and communication options.
From the app, you can view the live video stream from your doorbell’s camera, allowing you to see and identify the person at your door in real-time. You can then choose to communicate with them using the two-way audio feature. This enables you to have a conversation with the visitor directly through your smartphone, even if you’re away from home.
Whether it’s a delivery person dropping off a package, a neighbor stopping by for a chat, or a potential intruder at your doorstep, you can effectively communicate your needs or concerns with the visitor. This feature not only offers convenience, but it also enhances your home security by allowing you to assess the situation and give directions without opening the door.
In addition to two-way audio, the Vivitar Wireless Video Doorbell also enables you to capture screenshots or record video footage of the interactions. This can be helpful for keeping a record of visitors, documenting deliveries, or providing evidence in case of any suspicious activity. Easily access and review these saved files within the app, providing you with an extra layer of security and peace of mind.
To ensure a positive and effective interaction with visitors, it’s important to consider a few tips. First, make sure you have a stable internet connection to avoid any delays or interruptions in the audio and video feed. Secondly, speak clearly and loudly to ensure that your voice is heard clearly by the visitor. Lastly, always follow your gut instincts and prioritize your safety. If you feel uncomfortable or suspicious about a visitor, it’s best to proceed with caution or contact the necessary authorities.
By utilizing the two-way audio feature and the ability to record interactions, you can confidently respond to visitors at your door, enhancing the security and convenience of your home. In the next section, we’ll explore how you can review and save video footage captured by your Vivitar Wireless Video Doorbell.
Reviewing and saving video footage
The Vivitar Wireless Video Doorbell not only allows you to live-stream and communicate with visitors at your door, but it also provides the capability to review and save video footage for later reference. This feature is incredibly useful for keeping a record of important events, monitoring activity around your home, and enhancing your overall security.
When the doorbell detects motion or when someone rings the doorbell, it automatically starts recording video footage. You can access this recorded footage through the Vivitar Smart Home Security app on your smartphone.
To review the recorded footage, open the app and navigate to the video section. Here, you’ll find a timeline of your doorbell’s video recordings. Simply select the desired video clip, and it will begin playing on your screen.
While reviewing the footage, you can take screenshots or save the video file to your smartphone’s internal storage or a cloud-based storage service, depending on the options available within the app. This allows you to save important clips, share them with others, or keep them as evidence if needed.
Reviewing the video footage can provide valuable insights into any activities or incidents that occurred at your front door. It allows you to identify delivery times, visitor interactions, or any suspicious behavior that may have occurred while you were away.
In addition, some Vivitar Wireless Video Doorbell models may offer the option to expand the storage capacity by inserting a microSD card. This allows you to store a larger volume of video footage directly on the device, eliminating the need for constant video deletion or relying solely on cloud storage.
Remember to regularly check the available storage space in the app or on the microSD card to ensure that you have sufficient space for new recordings. It’s good practice to periodically clean up and delete unneeded footage to free up space for future recordings.
By taking advantage of the ability to review and save video footage, you can have a comprehensive record of activities and maintain an extra layer of security for your home. In the next section, we’ll explore some common troubleshooting tips to address any issues you may encounter with your Vivitar Wireless Video Doorbell.
Troubleshooting common issues
While the Vivitar Wireless Video Doorbell is designed to be user-friendly and reliable, you may occasionally encounter some common issues that can be easily resolved. Here, we’ll discuss a few troubleshooting tips to help you address any potential problems and ensure that your doorbell is functioning optimally.
If you’re experiencing connectivity issues between your doorbell and your smartphone, try the following steps:
- Ensure that your smartphone and the doorbell are connected to the same Wi-Fi network.
- Check your Wi-Fi signal strength near the doorbell installation location. If the signal is weak, consider relocating your Wi-Fi router or installing a Wi-Fi extender.
- Restart your smartphone and the doorbell to refresh their connection.
- Check for firmware updates for both your smartphone and the Vivitar Smart Home Security app. Keeping both devices up to date can help resolve compatibility issues.
If your doorbell is not detecting motion or ringing properly, try these troubleshooting steps:
- Adjust the motion detection sensitivity in the app’s settings. Increase it if you’re not receiving the desired notifications or decrease it if you’re getting too many false alerts.
- Make sure that the doorbell’s doorbell chime is properly connected and functioning. Ensure that the correct wires are connected securely to the chime and that it is powered on.
- Check the positioning and angle of the doorbell’s camera. Ensure that it has a clear view of the area you want to monitor.
- Inspect the battery level of your doorbell. If the battery is low, recharge it or replace it with a fully charged one.
If the app is experiencing issues or crashing, try these troubleshooting steps:
- Close the app and relaunch it to see if that resolves the issue.
- Clear the app’s cache and data in your smartphone’s settings, then relaunch the app.
- Uninstall and reinstall the Vivitar Smart Home Security app to ensure you have the latest version.
- Restart your smartphone to refresh its system processes.
If you’ve tried the above troubleshooting steps and are still experiencing issues, consult the user manual or reach out to Vivitar’s customer support for further assistance. They will be able to provide you with specific guidance tailored to your situation.
Remember, resolving common issues often requires patience and diligence. By following these troubleshooting tips, you can quickly get your Vivitar Wireless Video Doorbell back in optimal working condition and continue enjoying its features and benefits.
Now that we’ve covered some common troubleshooting steps, let’s conclude with a final summary of what we’ve discussed in this guide.
Conclusion
The Vivitar Wireless Video Doorbell is a game-changer when it comes to home security and convenience. With its easy setup, connection to your smartphone, and array of customizable settings, it provides a seamless and reliable way to monitor and interact with visitors at your front door.
Whether you’re looking to enhance your home security, keep an eye on deliveries, or simply have the convenience of answering the door from anywhere, the Vivitar Wireless Video Doorbell has you covered. Its two-way audio communication, motion detection, and video recording capabilities enable you to stay connected and in control of your home.
Throughout this guide, we’ve covered important topics such as setting up the doorbell, connecting it to your smartphone, adjusting the settings, responding to visitors, and reviewing and saving video footage. We’ve also provided troubleshooting tips to help address common issues that may arise.
By following the step-by-step instructions and suggestions in this guide, you can make the most of your Vivitar Wireless Video Doorbell and create a secure and efficient home environment. Remember to regularly update the firmware, adjust the settings to your preferences, and maintain a strong Wi-Fi connection for optimal performance.
In summary, the Vivitar Wireless Video Doorbell offers peace of mind, convenience, and enhanced security for your home. From its seamless integration with your smartphone to its intuitive features and capabilities, it’s an essential device for modern homeowners. With its ability to connect you to your front door from anywhere, you’ll never miss a moment or compromise your security.
So, go ahead and enjoy the benefits of the Vivitar Wireless Video Doorbell. Embrace the ease of answering the door remotely and the peace of mind that comes with knowing what’s happening at your front door, all with just a few taps on your smartphone.
Upgrade your home security and experience the convenience of the Vivitar Wireless Video Doorbell today!


