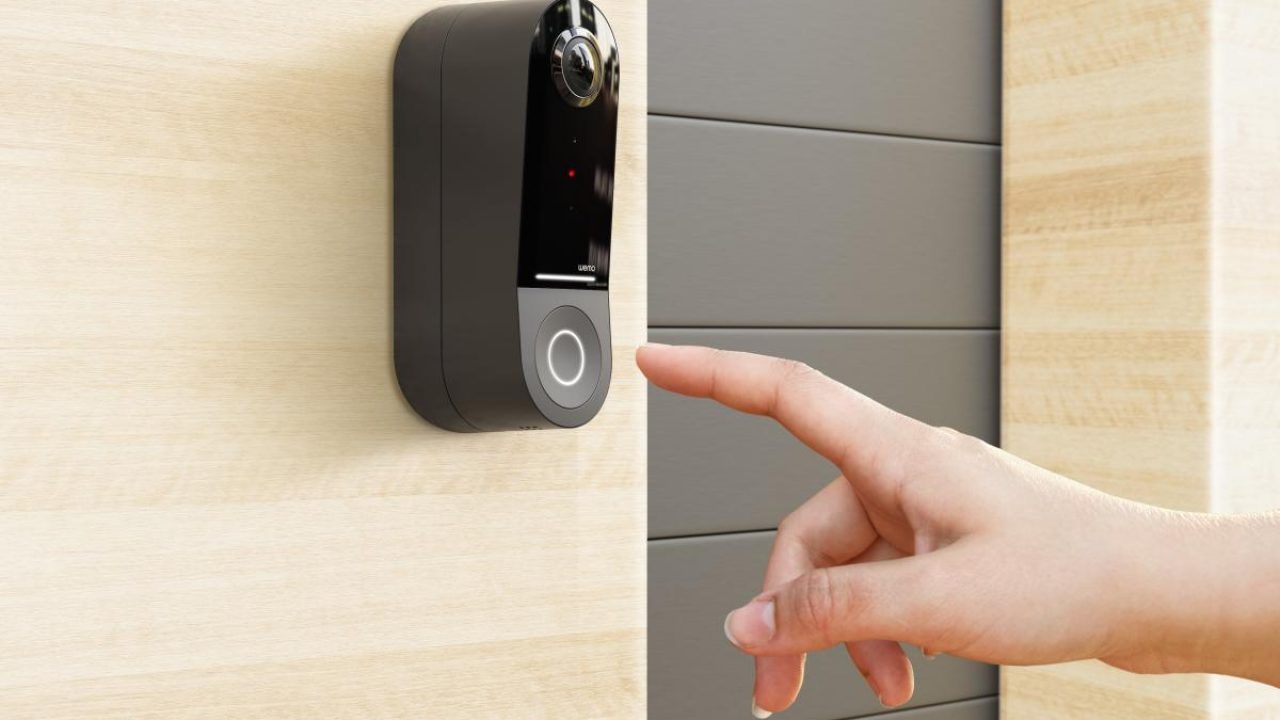
Introduction
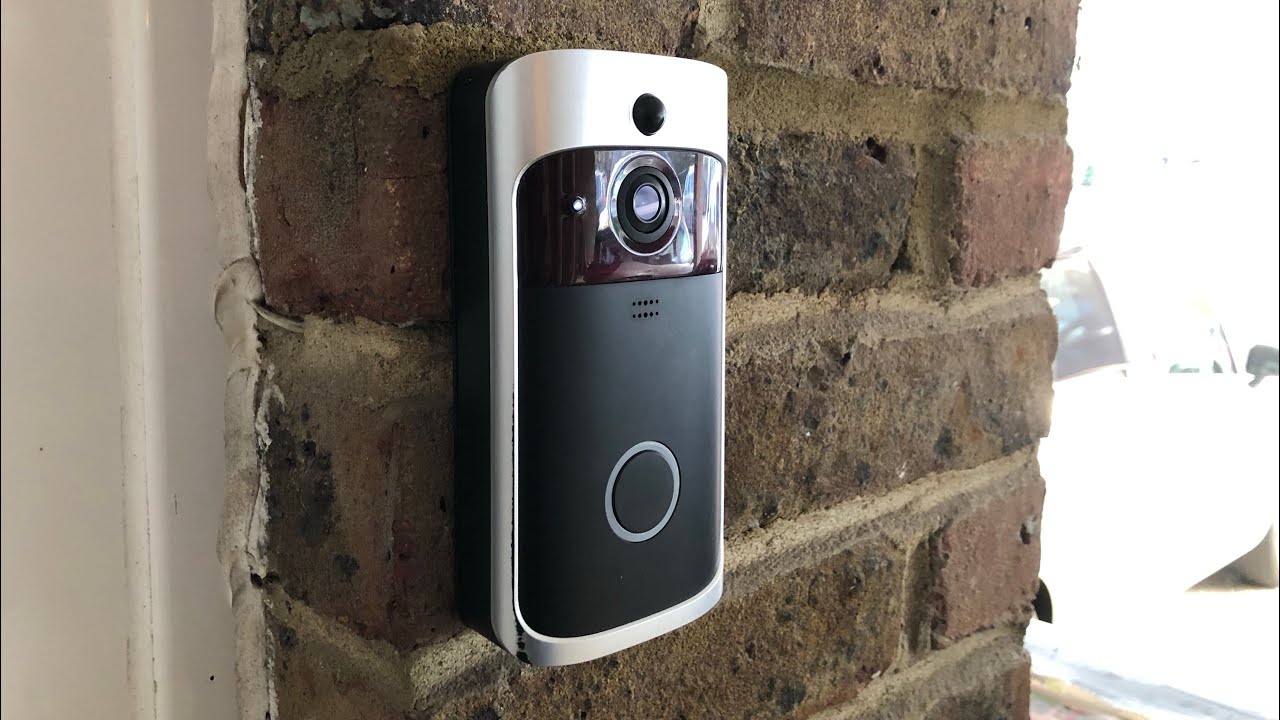
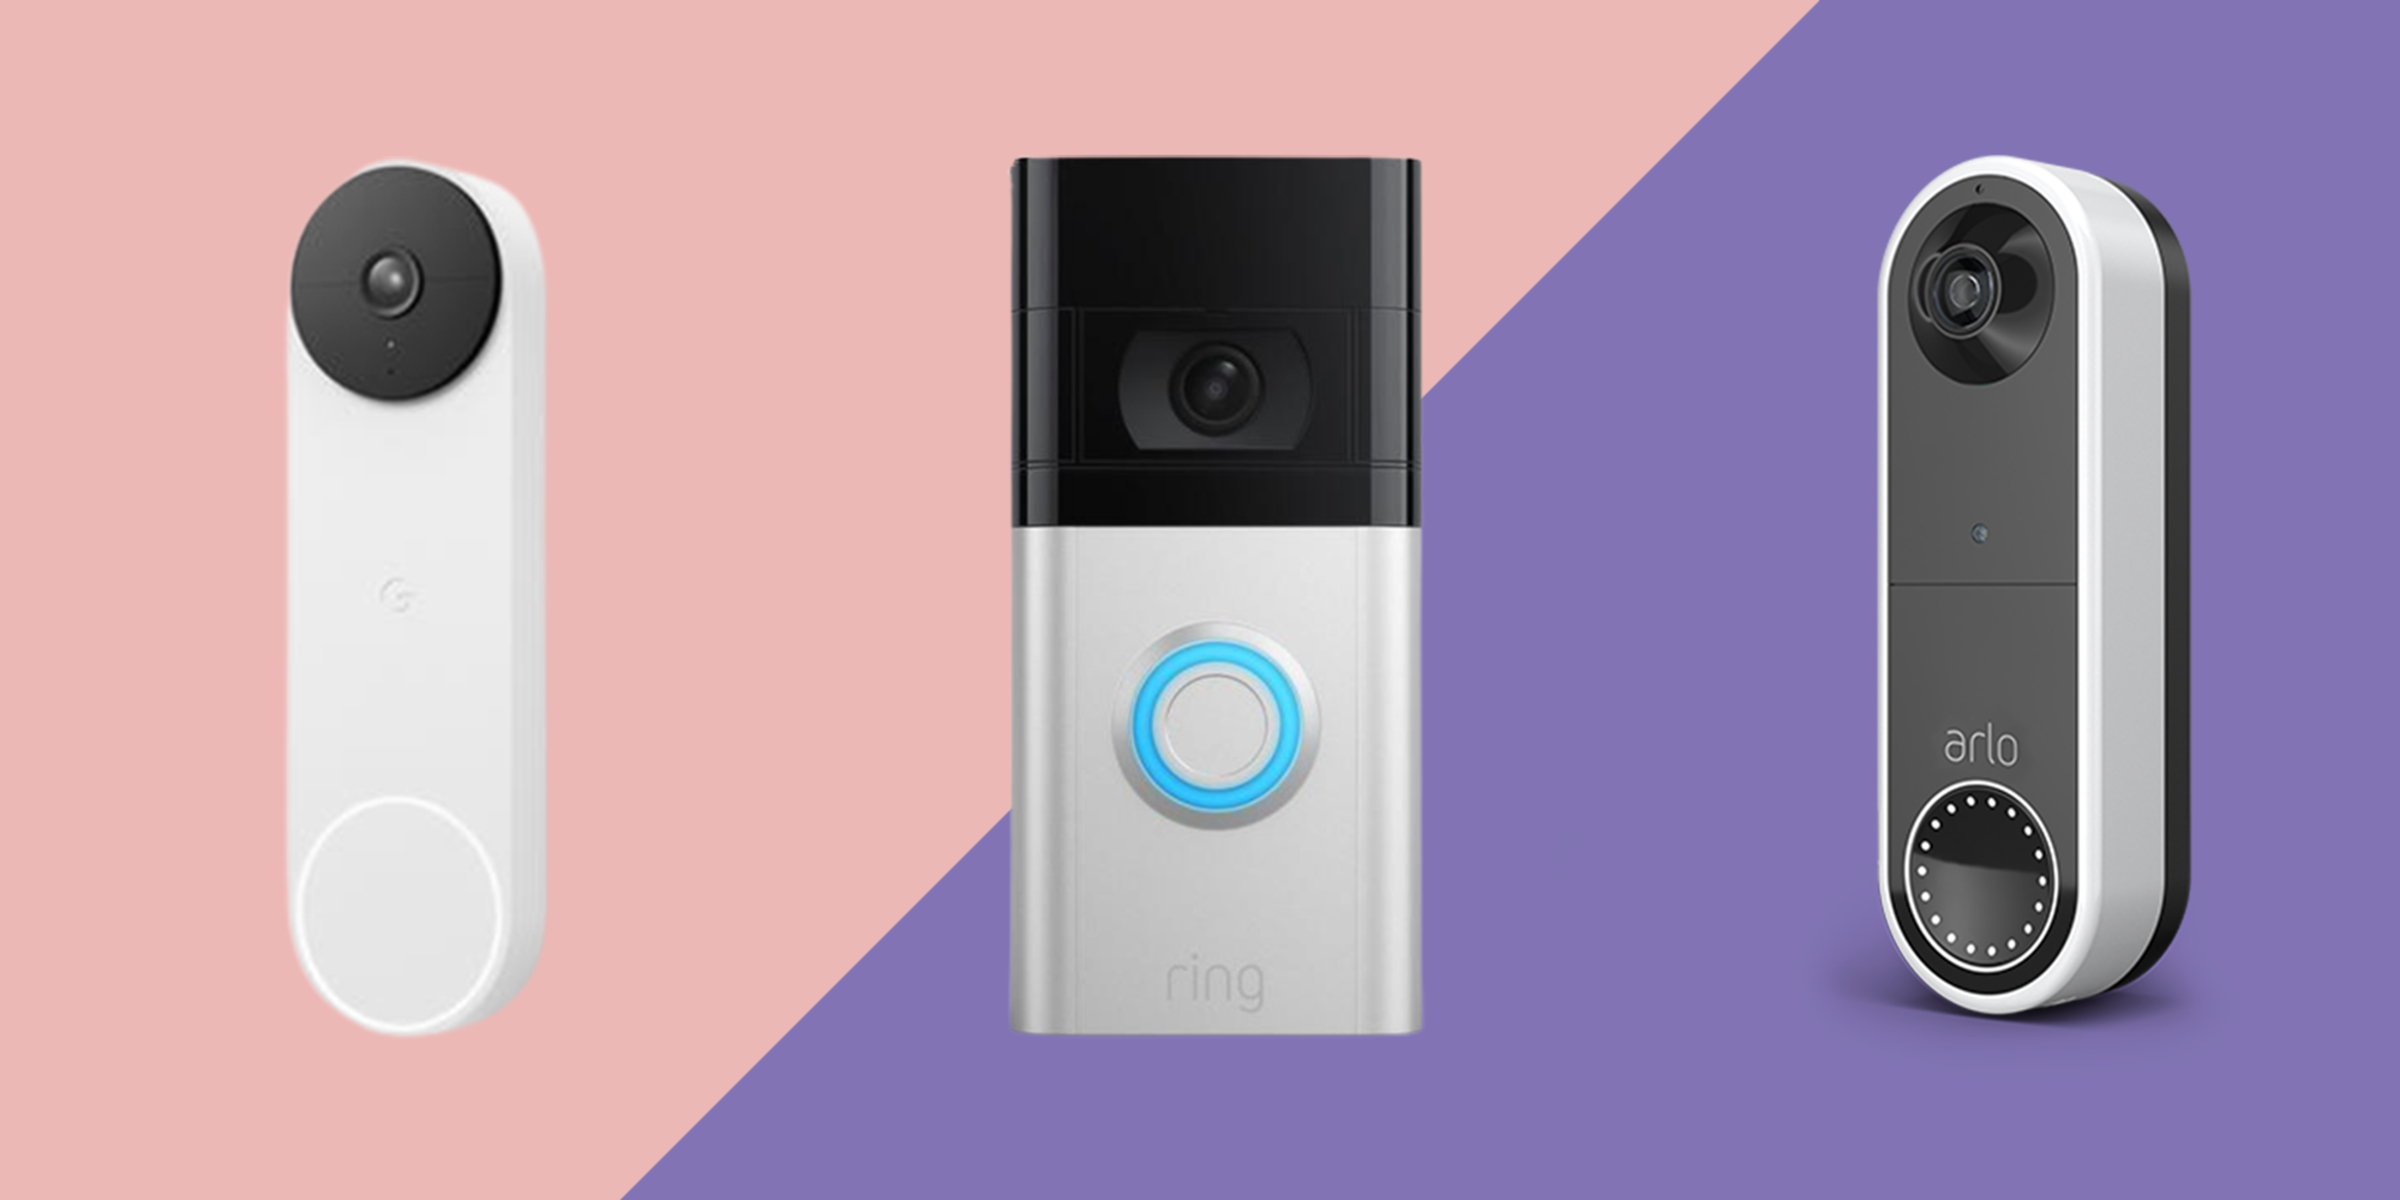
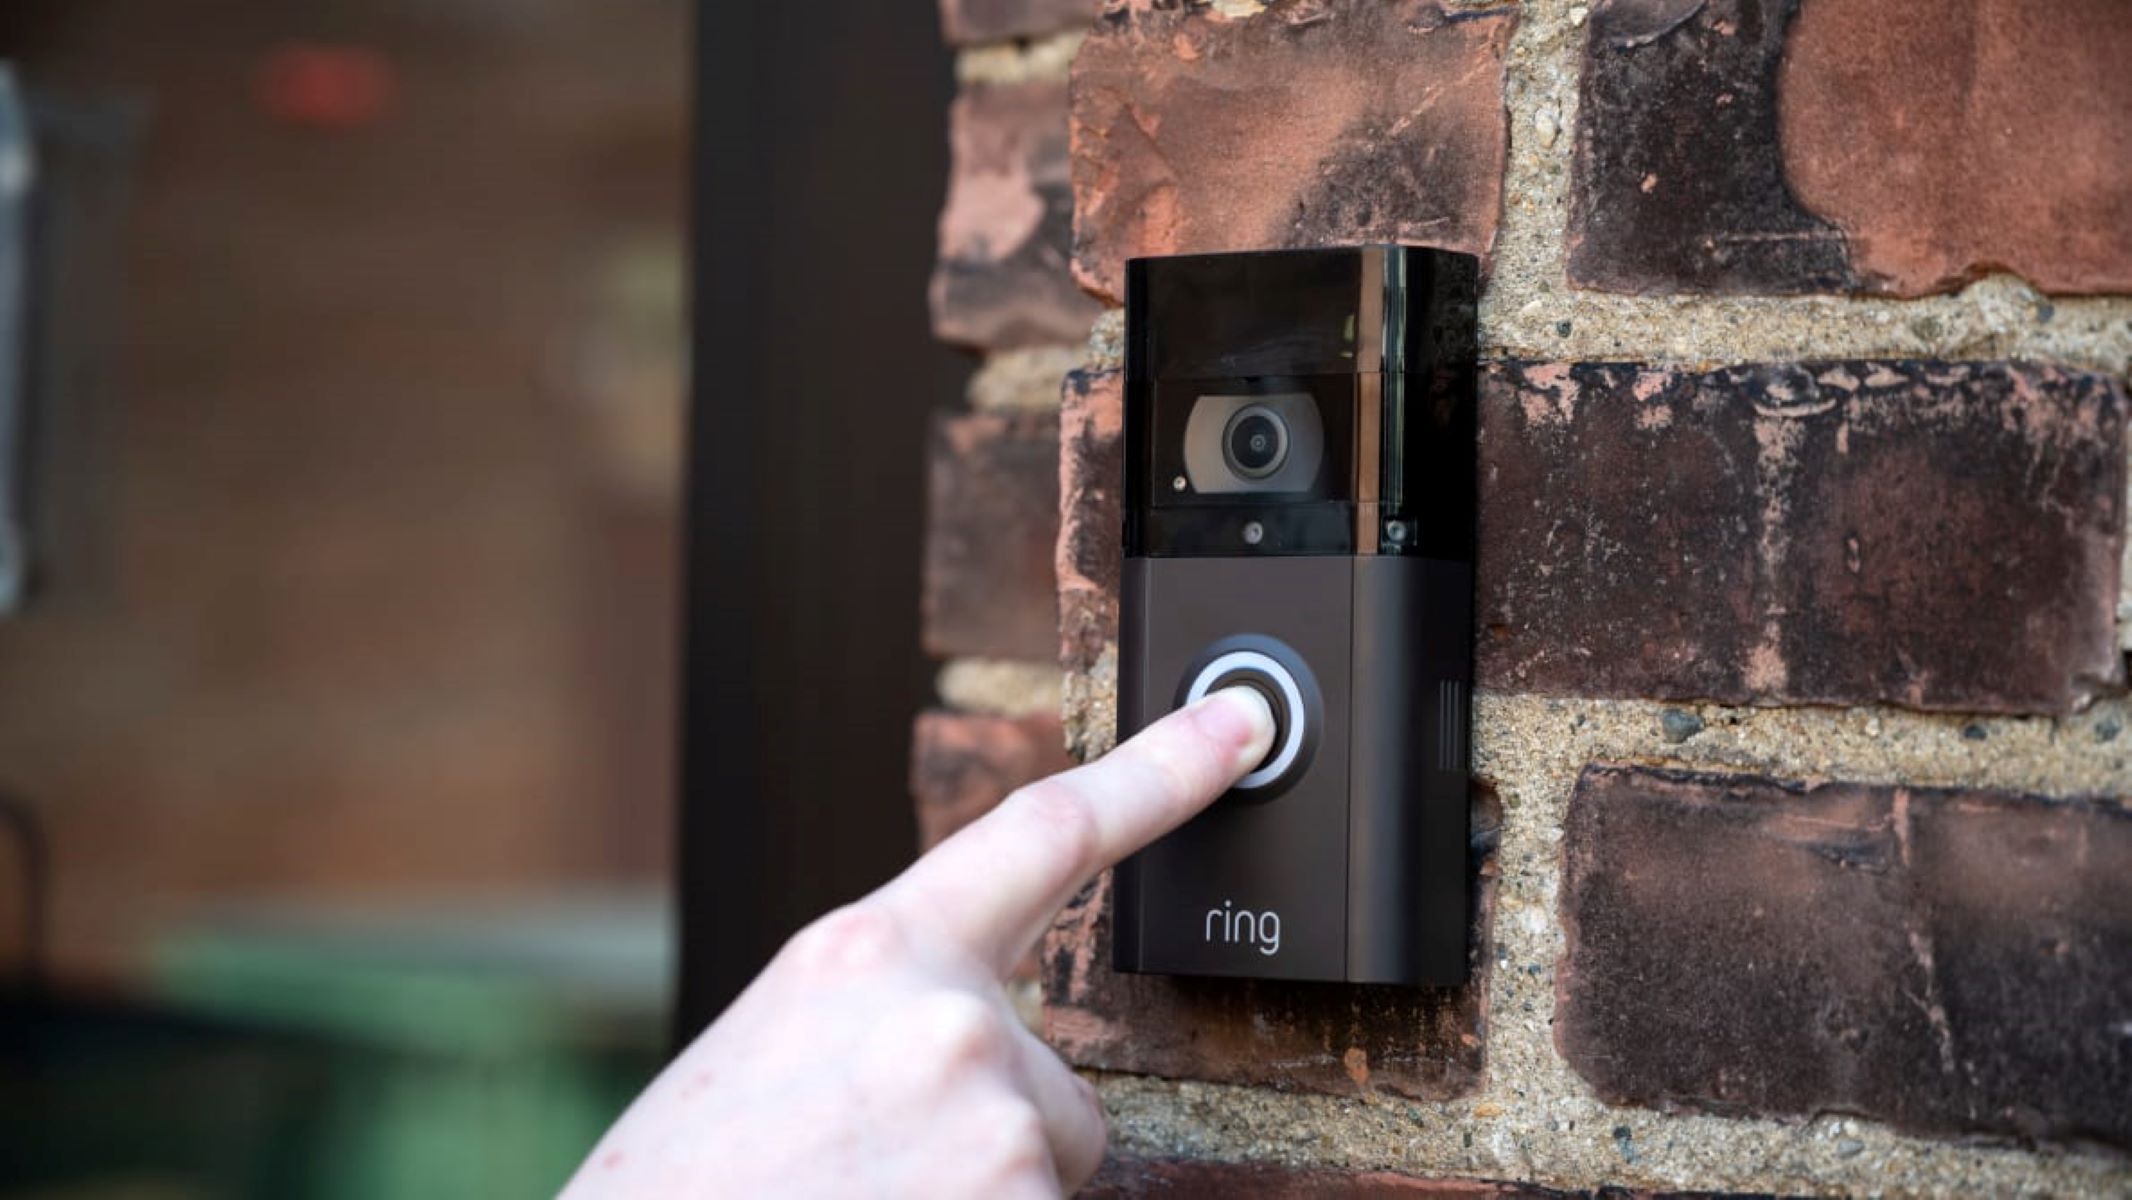
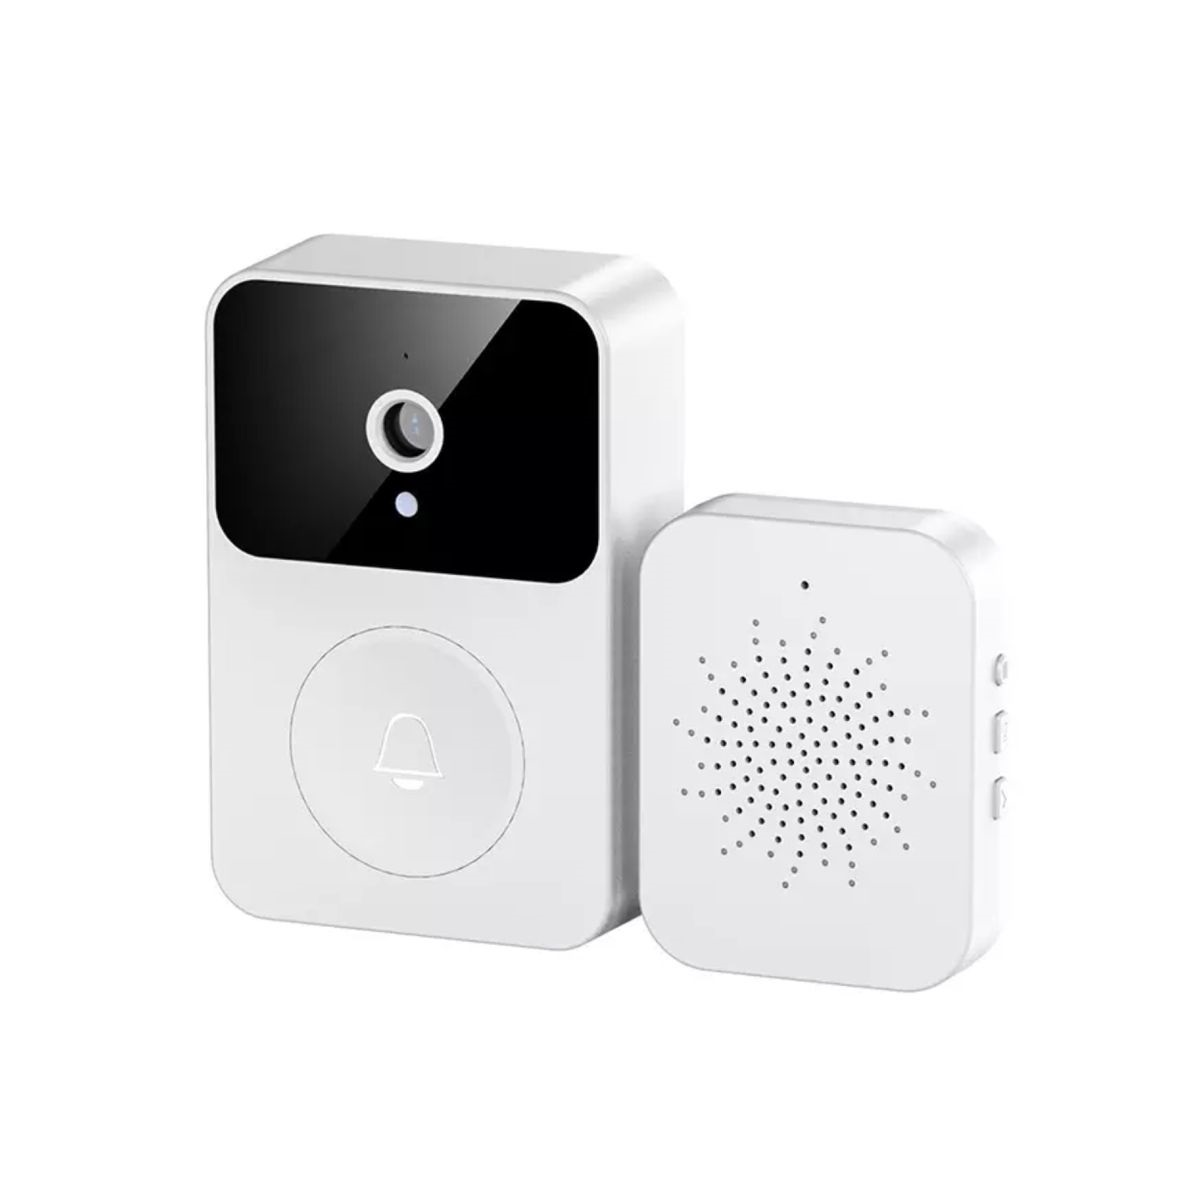
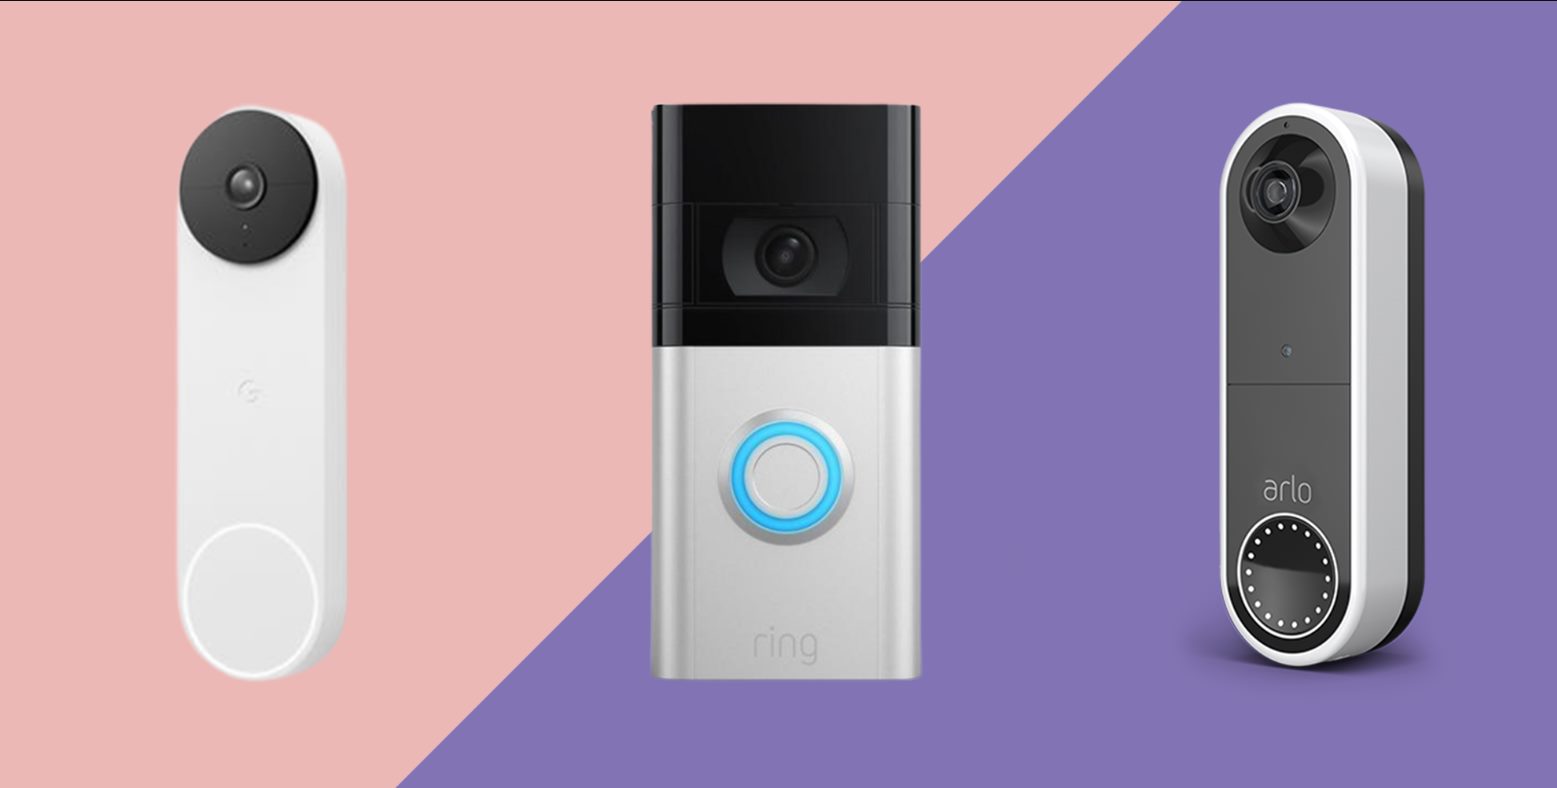
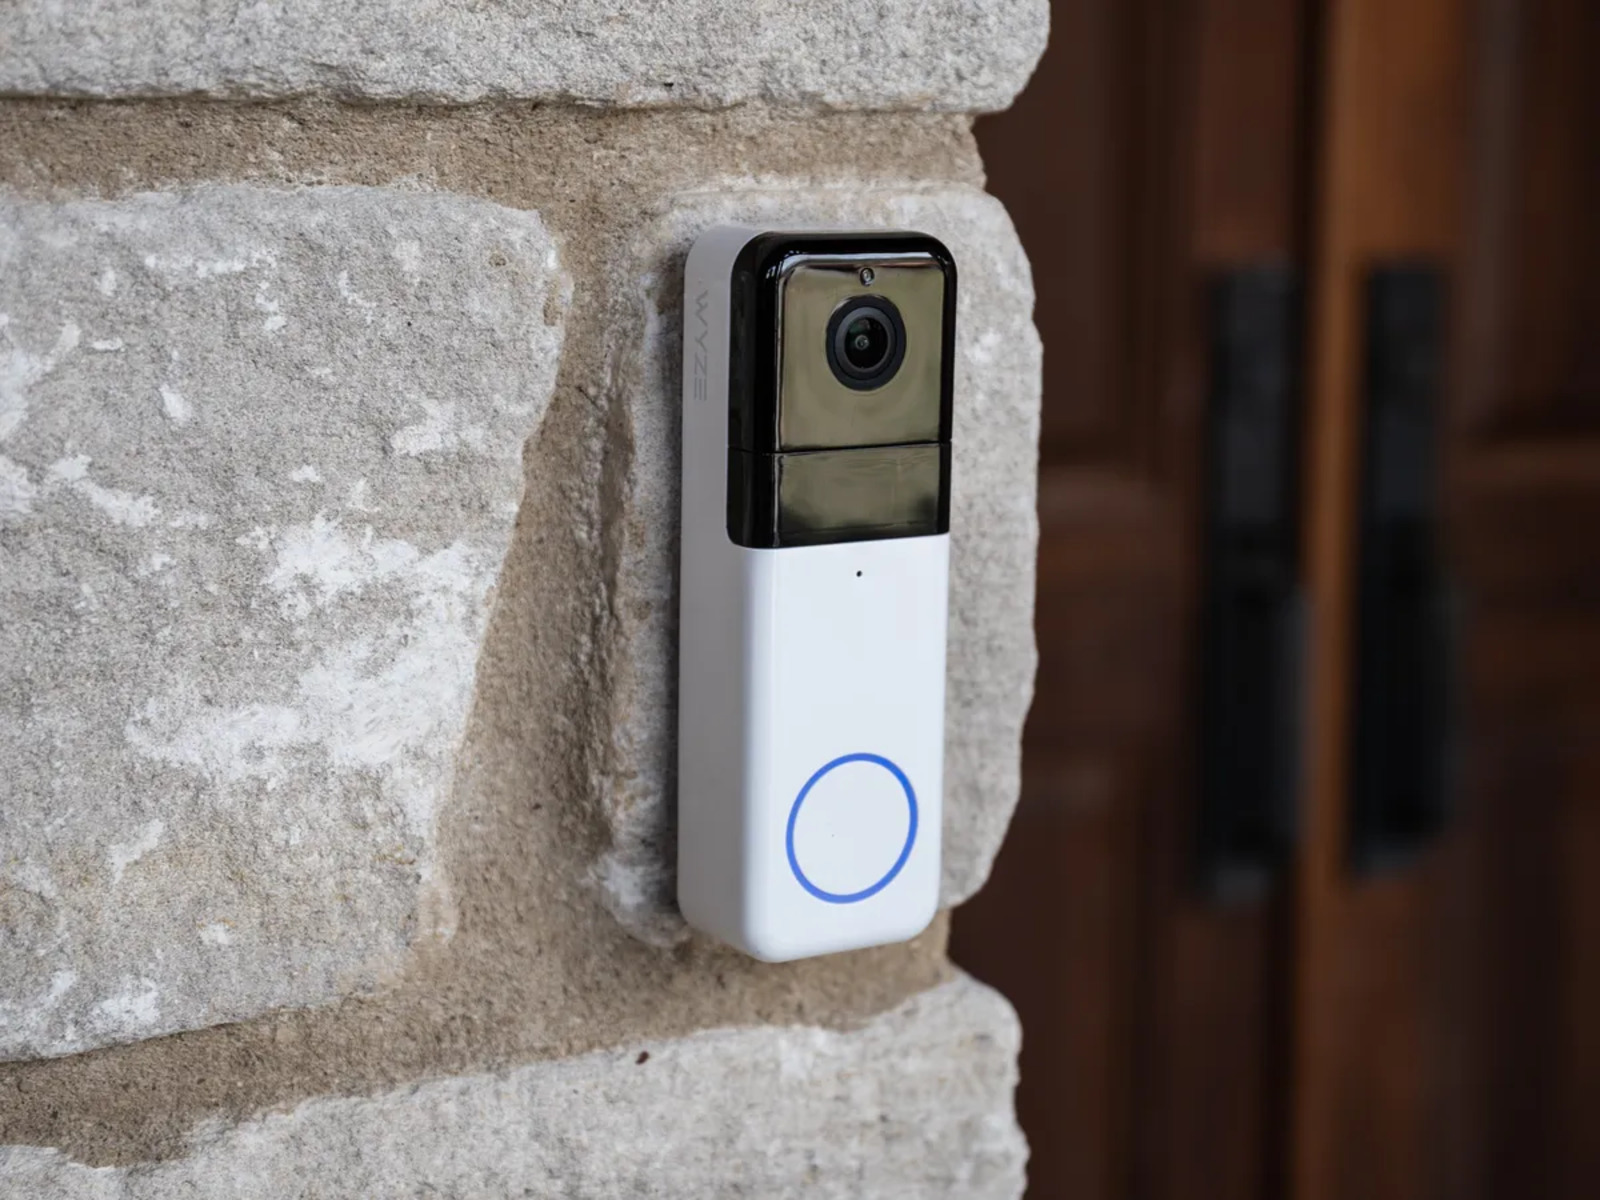
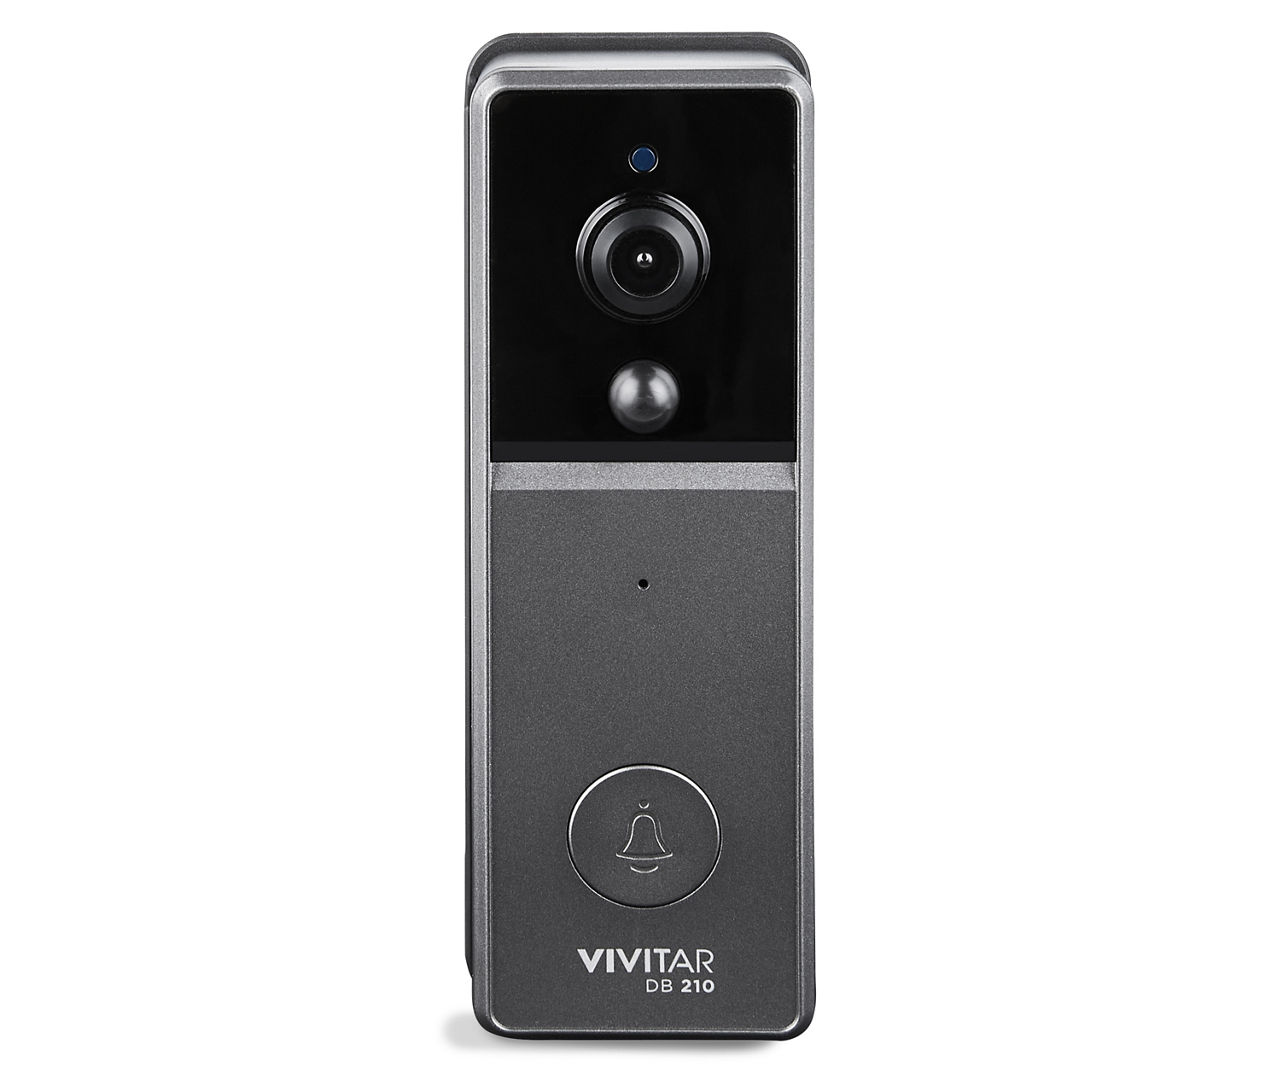
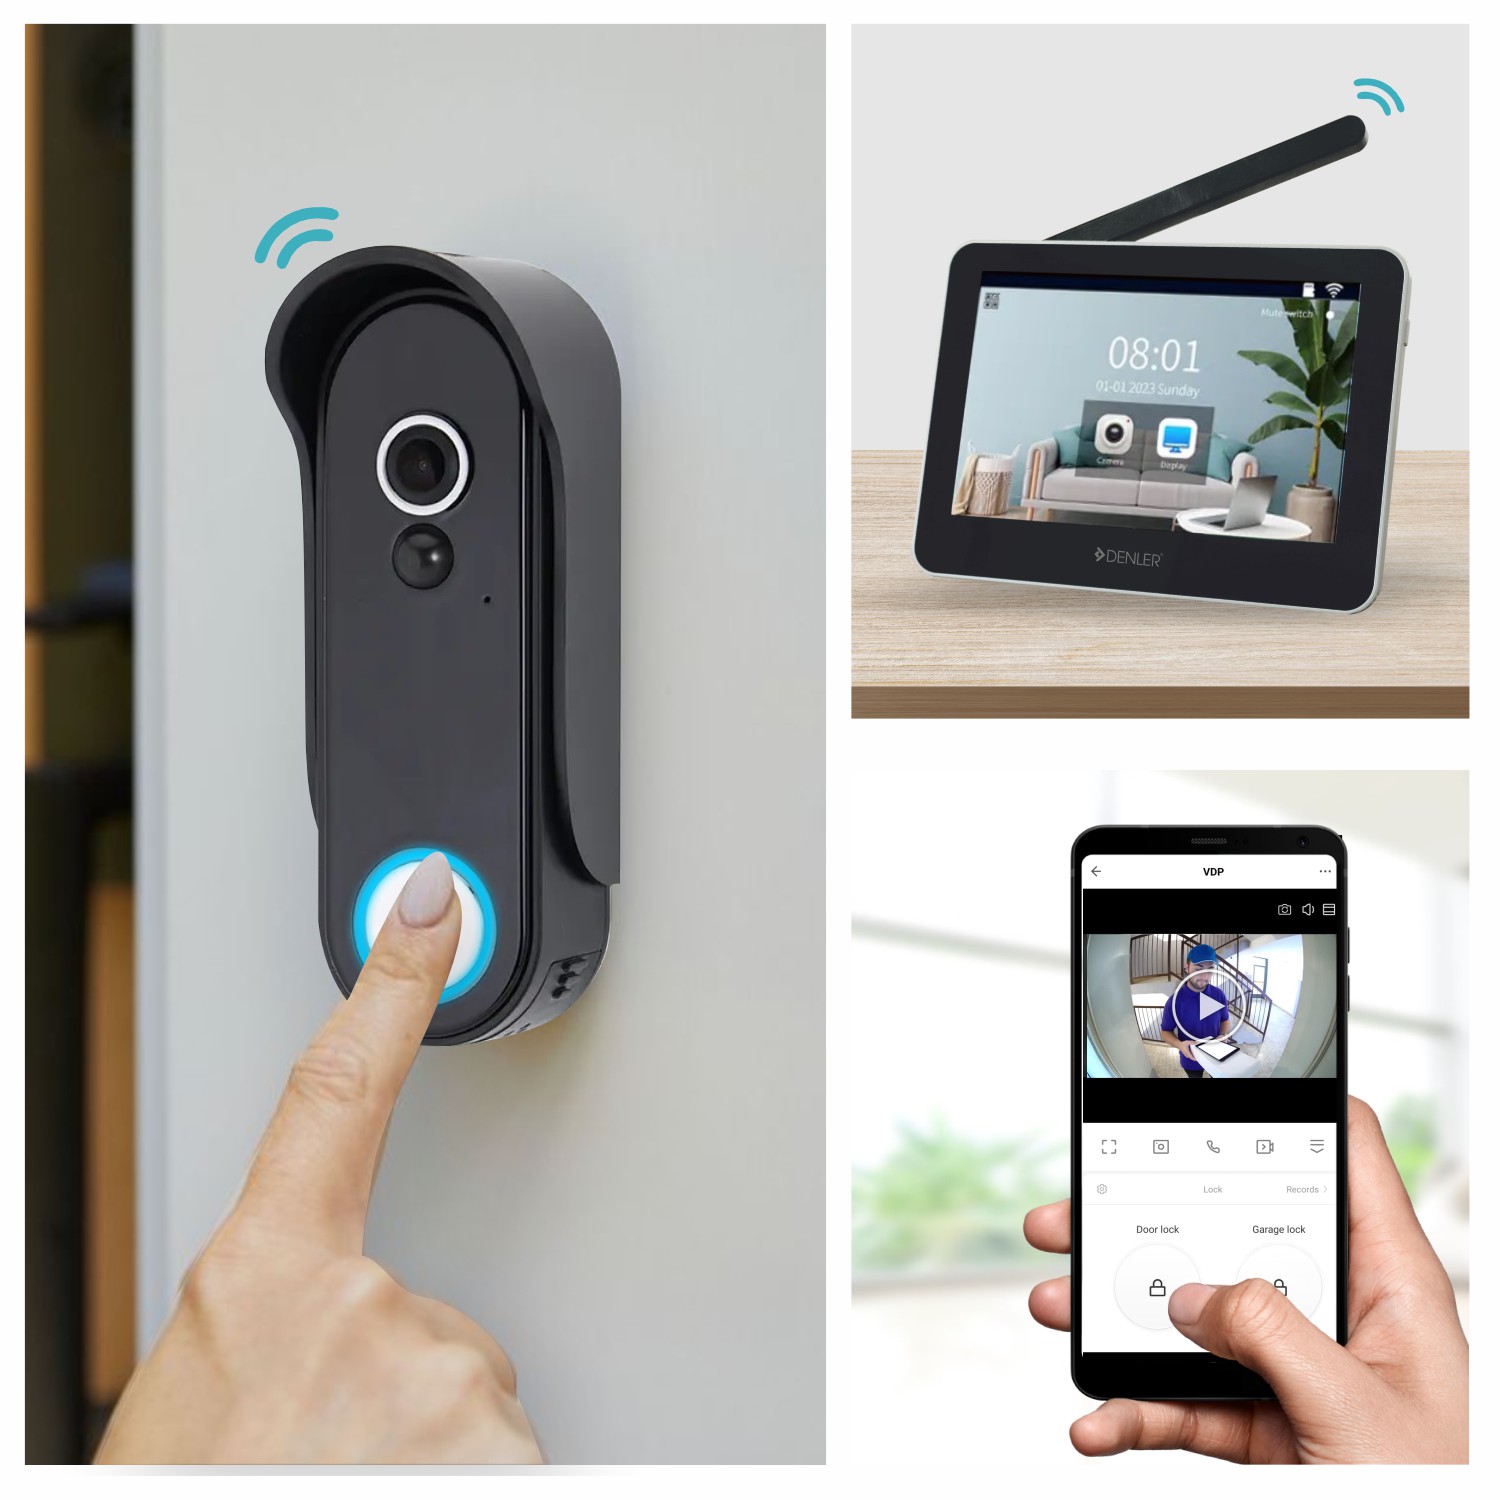
Welcome to our step-by-step guide on how to install a wireless video doorbell. A wireless video doorbell is a convenient and innovative device that allows you to monitor and communicate with visitors at your front door from the comfort of your smartphone or tablet. Whether you are concerned about home security or simply want the convenience of being able to answer the door from anywhere in your home, installing a wireless video doorbell is a great solution.
In this guide, we will walk you through the process of installing a wireless video doorbell, from gathering the necessary tools to troubleshooting common issues. You don’t need to be a skilled electrician or technologically savvy to complete this installation – just follow our instructions, and you’ll have your wireless video doorbell up and running in no time.
Before we begin, it’s important to note that each wireless video doorbell model may have slightly different installation steps. Therefore, while our guide will provide a general overview, it’s always a good idea to consult your specific product manual for any manufacturer-specific instructions or recommendations.
Now, let’s get started with Step 1: gathering the necessary tools and equipment for a successful wireless video doorbell installation.
Step 1: Gather the necessary tools and equipment
Before you begin the installation process, it’s important to gather all the necessary tools and equipment. Having everything on hand will make the installation smoother and more efficient. Here’s a list of the tools and equipment you’ll need:
- Wireless video doorbell kit (including the doorbell unit and mounting bracket)
- Power drill
- Drill bits (appropriate for the mounting screws)
- Screwdriver (varying sizes)
- Level
- Wire strippers
- Electrical tape
- Wire nuts
- Extension cables (if necessary)
- Smartphone or tablet (with the manufacturer’s app)
- Stud finder (if mounting on a wall)
Make sure to read the manufacturer’s instructions to see if there are any additional tools or equipment required for your specific wireless video doorbell model.
Once you have gathered all the tools and equipment, double-check that everything is in working condition. It’s also a good idea to have some spare screws and wire nuts on hand, just in case.
Now that you have everything you need, you’re ready to move on to Step 2: choosing the right location for your wireless video doorbell.
Step 2: Choose the right location for the doorbell
Choosing the right location for your wireless video doorbell is crucial for its optimal functionality and visibility. Here are a few factors to consider when selecting the placement:
- Visibility: Ensure that the doorbell is easily visible to visitors. It should be in a location where anyone approaching your front door can easily spot it.
- Accessibility: The doorbell should be within easy reach for the visitor to press when they arrive. Consider the height and accessibility for people of different heights, including children or individuals with mobility constraints.
- Wi-Fi Range: Check the Wi-Fi signal strength at potential locations. The doorbell requires a stable Wi-Fi connection to transmit the video feed, so choose a location where the signal is strong and consistent.
- Power Source: Consider how your doorbell will be powered. If it is battery-operated, you have more flexibility in choosing the location without worrying about electrical outlets. However, if it requires a wired connection, ensure that there is an electrical outlet nearby or plan for professional installation.
- Obstructions: Avoid placing the doorbell in locations with physical obstructions that may affect the video quality, such as trees, bushes, or awnings. Clear the area around the chosen location to ensure an unobstructed view.
Remember to check the manufacturer’s instructions for any specific recommendations regarding the ideal placement of your wireless video doorbell.
Once you have identified the perfect location, move on to Step 3: installing the mounting bracket for your doorbell.
Step 3: Install the mounting bracket
Now that you have chosen the right location for your wireless video doorbell, it’s time to install the mounting bracket. The mounting bracket provides a secure base for your doorbell unit. Follow these steps:
- Start by holding the mounting bracket against the wall or door frame in the chosen location. Ensure that it is level using a built-in level or a separate level tool.
- Once you have positioned the mounting bracket correctly, mark the screw holes using a pencil or a marker. These markings will guide you when drilling the holes.
- Double-check the marks to ensure they are accurate before proceeding. It’s crucial to align the bracket properly, as any misalignment may lead to an uneven installation.
- Using an appropriate drill bit for the mounting screws, drill the marked holes into the wall or door frame. Make sure to drill deep enough to accommodate the entire screw length.
- After drilling the holes, position the mounting bracket over the holes and align them accordingly.
- Secure the mounting bracket in place by inserting and tightening the screws. Use a screwdriver to ensure they are tightly fixed.
- Once the bracket is securely attached, give it a gentle tug to confirm its stability. If it feels loose, recheck the screws and tighten them as needed.
Remember, the exact steps may vary depending on your specific wireless video doorbell model, so make sure to refer to the manufacturer’s instructions for any specific installation guidelines.
With the mounting bracket installed, you are now ready to move on to the next step: connecting the wires and powering up your wireless video doorbell.
Step 4: Connect the wires and power up the doorbell
Once the mounting bracket is securely in place, it’s time to connect the wires and power up your wireless video doorbell. Follow these steps to ensure a successful installation:
- Start by carefully reading the manufacturer’s instructions regarding the wiring setup for your specific doorbell model. Different models may have varying wiring requirements.
- If your wireless video doorbell is battery-powered, skip the wiring steps and move on to the next section. Otherwise, continue with the following steps for a wired installation.
- Locate the wires coming from your doorbell unit. These wires will typically be labeled as “front” or “power.” If they are not labeled, consult the manufacturer’s instructions to identify the correct wires.
- Using wire strippers, carefully strip a small portion of the insulation from the ends of the wires. This will expose the copper wiring.
- Next, identify the wires connected to the power source in your home. Usually, these wires are located inside your existing doorbell wiring or behind a cover plate near your front door.
- Align the corresponding wires from the doorbell unit and the power source. Twist them together and secure them with wire nuts. Make sure the connection is secure by giving it a gentle tug.
- Once the wires are connected, wrap the exposed part of each connection with electrical tape for added safety and insulation.
- If your wireless video doorbell has extension cables, follow the manufacturer’s instructions to connect them securely to the main wiring.
- Before proceeding, ensure that the power to your existing doorbell circuit is turned off. This will prevent any electrical accidents during the installation process.
- Once everything is connected, it’s time to power up your wireless video doorbell. Restore the power to the doorbell circuit by flipping the appropriate circuit breaker or turning on the main power switch.
At this point, your wireless video doorbell should have power, and it’s ready for the next step: installing the doorbell unit.
Step 5: Install the doorbell unit
Now that the wiring is complete, it’s time to install the doorbell unit itself. Follow these steps to ensure a proper installation:
- Start by carefully reading the manufacturer’s instructions for your specific wireless video doorbell model. This will provide you with any model-specific installation steps or considerations.
- Align the doorbell unit with the mounting bracket you installed earlier. Carefully slide it onto the bracket until it clicks into place. Some models may require you to twist or turn the unit to secure it.
- Once the unit is in place, give it a gentle tug to ensure it is securely attached to the bracket. It should not move or come loose.
- If your wireless video doorbell has adjustable settings, such as angle or height adjustments, adjust them as necessary to achieve the best viewing angle and coverage.
- Ensure that the doorbell lens is clean and free of any dust or obstructions that may affect the camera’s performance.
- If your doorbell has additional features, such as motion detection or night vision, refer to the manufacturer’s instructions for setting them up according to your preferences.
- Take a moment to test the doorbell unit by pressing the doorbell button or triggering any sensors. This will ensure that it is functioning properly and that it sends the appropriate alerts to your smartphone or tablet.
Once the doorbell unit is securely installed and tested, move on to the next step: setting up the wireless connection between the doorbell and your smartphone or tablet.
Step 6: Set up the wireless connection
With the doorbell unit installed, it’s time to set up the wireless connection between the doorbell and your smartphone or tablet. Follow these steps to establish a seamless connection:
- Download the manufacturer’s app for your specific wireless video doorbell model from the App Store or Google Play Store.
- Open the app and create a new account or log in with your existing account if prompted.
- Follow the on-screen instructions to connect your smartphone or tablet to the doorbell unit. This may involve scanning a QR code or entering a numerical code provided by the app.
- Once connected, you may need to configure additional settings, such as home Wi-Fi network name and password for seamless connectivity.
- Ensure that your smartphone or tablet is connected to your home Wi-Fi network to establish a stable connection between the doorbell and your device.
- Test the connection by accessing the live video feed or triggering any available features, such as two-way audio or motion detection.
- Adjust any app settings or notifications according to your preferences. This can include enabling or disabling specific alerts or configuring motion detection sensitivity.
- Take some time to familiarize yourself with the app and its features. Explore additional settings or options that may enhance your experience with the wireless video doorbell.
Once the wireless connection is established and tested, you’re one step closer to enjoying the convenience and security of your wireless video doorbell. Now, let’s move on to Step 7: testing the doorbell and adjusting settings for optimal performance.
Step 7: Test the doorbell and adjust settings
After setting up the wireless connection, it’s important to thoroughly test your wireless video doorbell and adjust the settings to ensure optimal performance. Follow these steps to ensure everything is in working order:
- Initiate a test by pressing the doorbell button or triggering any motion sensors. Verify that you receive a prompt on your smartphone or tablet, indicating that someone is at the door.
- If your wireless video doorbell has a two-way audio feature, test it by speaking through your device and listening for clear and audible sound on both ends.
- Check the live video feed to ensure the quality of the image is clear and that it provides a reliable view of your front door area.
- If the video feed is blurry or the image quality is poor, adjust the camera angle or lighting to improve visibility. Consult the manufacturer’s instructions for any specific tips on optimizing the video quality.
- Test the sensitivity of the motion detection feature to ensure it captures any relevant activity while avoiding false alerts caused by irrelevant movements.
- Adjust the notification settings on your smartphone or tablet to receive alerts according to your preferences. This can include enabling or disabling specific types of notifications or adjusting the frequency of alerts.
- Take some time to explore the additional settings and features available in the app. Familiarize yourself with options such as cloud storage for recorded footage, customizing alert tones, or integrating the doorbell with other smart home devices if applicable.
- If you encounter any issues during the testing process, consult the troubleshooting section in the manufacturer’s instructions or their online support resources. This will help you identify and resolve any common problems.
By thoroughly testing the doorbell and adjusting the settings, you can ensure a seamless and reliable experience with your wireless video doorbell. Now that everything is in order, let’s move on to Step 8: troubleshooting common issues that may arise with your wireless video doorbell.
Step 8: Troubleshooting common issues
Even the most well-designed wireless video doorbells can encounter issues from time to time. Here are some common problems you may encounter and tips for troubleshooting them:
- Connection Issues: If you’re experiencing intermittent connectivity or a weak signal, ensure that your wireless router is within range and not obstructed by thick walls or other devices. Consider relocating the router or installing a Wi-Fi range extender for better coverage.
- Poor Video Quality: If the video feed is blurry or pixelated, check if the camera lens is clean and free of obstructions. Adjust the camera angle, lighting, or settings to improve video quality. Additionally, ensure that your internet connection speed is sufficient for streaming video.
- False Motion Alerts: If your wireless video doorbell is triggering false motion alerts, adjust the sensitivity settings in the app. Fine-tune the settings to reduce false alerts caused by factors such as moving trees, passing vehicles, or changes in lighting conditions.
- Audio Issues: If the two-way audio feature is not working correctly, check if the microphone and speaker on your smartphone or tablet are functioning properly. Ensure that you have a stable and reliable internet connection to support the audio feed.
- Battery Drain: If your wireless video doorbell uses batteries, and you notice excessive battery drain, make sure you are using high-quality batteries. Check if the camera settings, such as video quality or motion detection sensitivity, are causing increased power consumption. Consider using rechargeable batteries for a more sustainable solution.
- Device Unresponsiveness: If the doorbell unit or the app becomes unresponsive, try restarting the device or force-closing the app. Check for any available firmware or app updates and install them to ensure the latest features and bug fixes are in place.
- Professional Assistance: If you have tried troubleshooting the issue and are still encountering problems with your wireless video doorbell, contact the manufacturer’s customer support for further assistance. They can provide specific guidance based on your device model and offer solutions for more complex issues.
Remember, troubleshooting steps may vary depending on your specific wireless video doorbell model. Always refer to the manufacturer’s instructions or online support resources for model-specific troubleshooting tips.
By following these troubleshooting tips, you can address common issues and ensure the smooth and uninterrupted operation of your wireless video doorbell.
Conclusion
Congratulations! You have successfully completed the installation process for your wireless video doorbell. By following the step-by-step guide provided in this article, you have gained the knowledge and skills necessary to install, set up, and troubleshoot common issues with a wireless video doorbell.
A wireless video doorbell offers convenience, security, and peace of mind by allowing you to monitor and communicate with visitors at your front door from your smartphone or tablet. With the ability to view live video feeds, receive motion alerts, and engage in two-way audio conversations, you can stay connected and in control of your home’s security, even when you’re not physically present.
Throughout the installation process, you learned the importance of gathering the necessary tools, choosing the right location for your doorbell, installing the mounting bracket, connecting the wires, setting up the wireless connection, and adjusting the doorbell’s settings. These steps ensured a successful installation and optimal performance from your wireless video doorbell.
In the event that you encounter any issues, the troubleshooting section provides helpful tips and guidance to overcome common problems such as connection issues, poor video quality, false motion alerts, audio problems, battery drain, and device unresponsiveness. By following these troubleshooting steps, you can quickly resolve issues and maintain the functionality of your wireless video doorbell.
Remember, each wireless video doorbell model may have specific installation steps, features, and troubleshooting methods. It’s always recommended to consult the manufacturer’s instructions and support resources for your specific device to ensure accurate and detailed guidance.
Now that you have successfully installed your wireless video doorbell, enjoy the convenience, security, and peace of mind that it brings to your home. Embrace the freedom of being able to answer the door, monitor your front porch, and communicate with visitors from anywhere, at any time.
Thank you for following this guide, and we hope your wireless video doorbell enhances your home security and provides you with an added layer of comfort and convenience.


