Introduction
Welcome to the exciting world of action photography and videography with your new Vivitar Action Camera! Whether you're an adrenaline junkie capturing extreme sports or simply looking to document your outdoor adventures, this compact and versatile camera is your perfect companion. In this guide, you'll learn how to set up and make the most of your Vivitar Action Camera, from unboxing to capturing stunning footage.
The Vivitar Action Camera is designed to be rugged and easy to use, making it suitable for a wide range of activities. With its high-definition video recording capability and still image capture, you can relive your most thrilling moments with clarity and detail. This guide will walk you through the essential steps to get started with your camera, ensuring that you're ready to capture all the action.
So, if you're ready to unleash your creativity and capture breathtaking moments, let's dive into the world of adventure photography and videography with your Vivitar Action Camera. Get ready to explore the great outdoors and document your experiences like never before!
Unboxing and Assembly
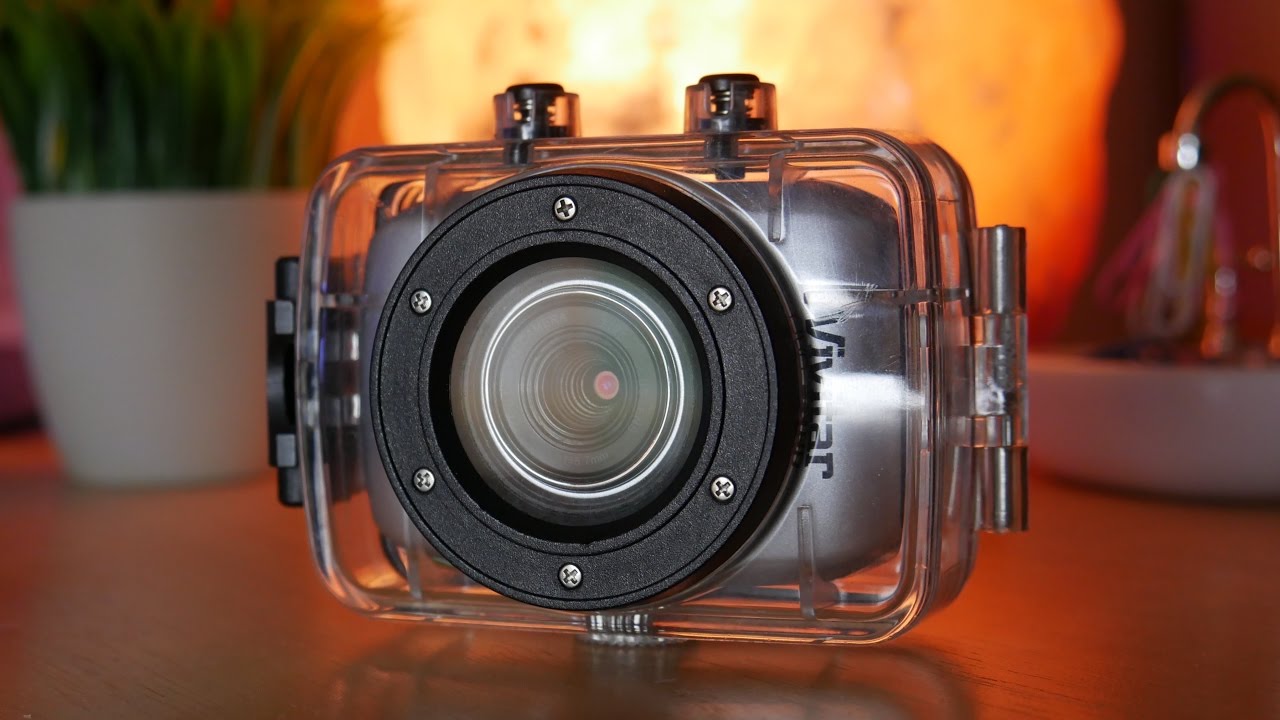
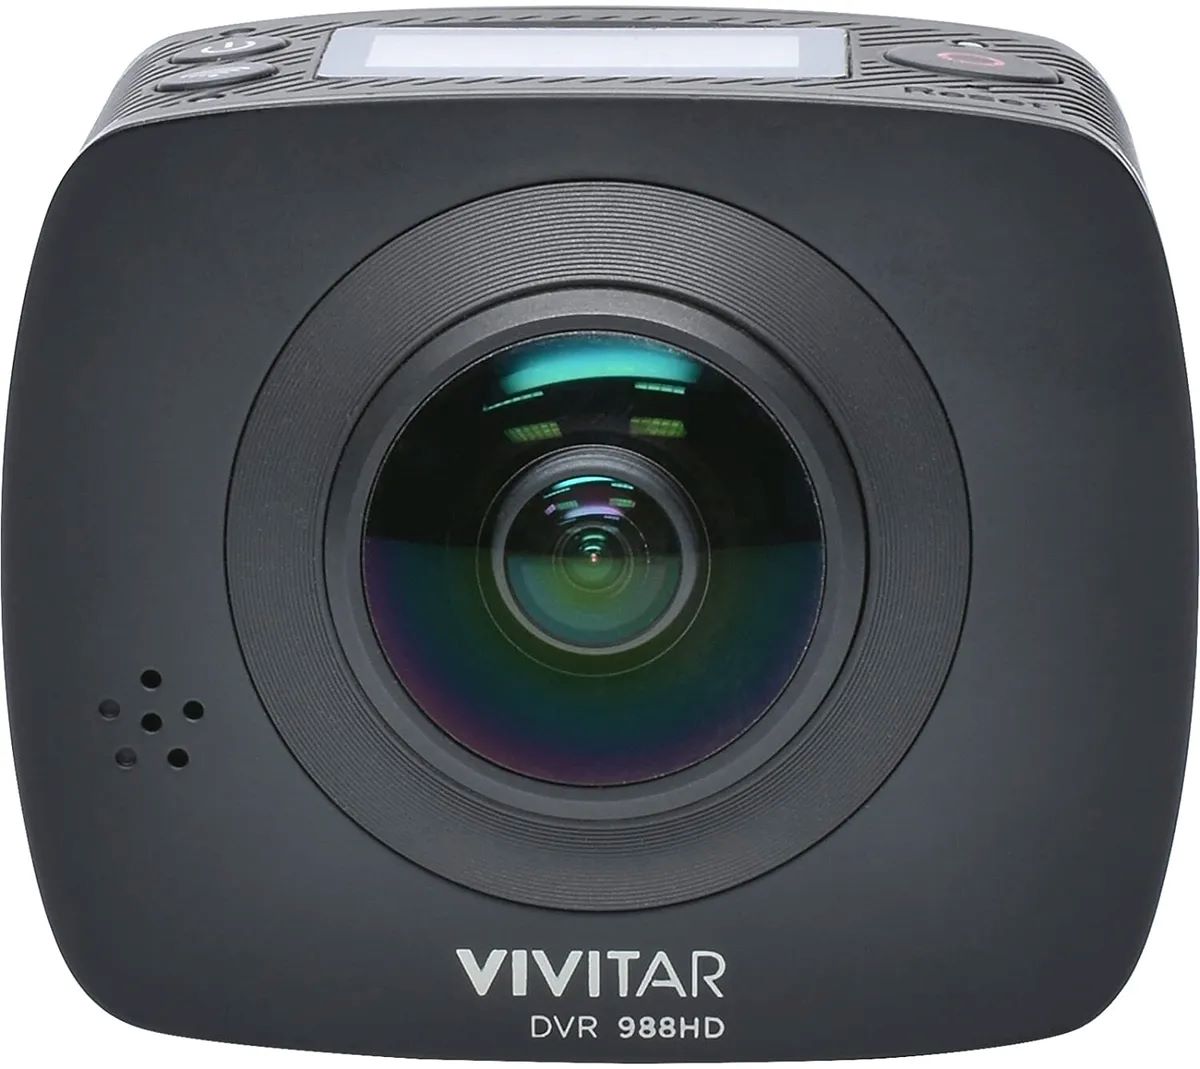
As you unbox your Vivitar Action Camera, you'll find a compact and sturdy device that is ready to accompany you on your adventures. The package typically includes the action camera, a waterproof housing, mounts for various activities, a USB cable, and a user manual. Take a moment to appreciate the sleek design and the array of accessories that come with it.
Begin by carefully removing the camera and its accessories from the packaging, ensuring that all components are present and undamaged. Familiarize yourself with the various mounts and accessories, as they will allow you to capture footage in different scenarios, whether you're biking, surfing, or hiking.
Next, assemble the camera by placing it into the waterproof housing. The housing not only protects the camera from water damage but also provides additional durability for your adventurous pursuits. Ensure that the camera is securely fitted within the housing, and take a moment to appreciate the robust build that will keep your device safe in challenging environments.
Once the camera is snugly housed, explore the different mounts included in the package. Depending on your activity, choose the appropriate mount to affix the camera securely. Whether it's a helmet mount for biking or a suction cup mount for capturing driving footage, each accessory is designed to enhance your filming experience.
With the camera assembled and ready to go, you're one step closer to capturing your thrilling moments. The unboxing and assembly process not only acquaints you with the camera and its accessories but also builds anticipation for the adventures that lie ahead. Now that your camera is ready, it's time to power it up and start exploring its features!
Charging the Camera
Before embarking on your adventures, it’s essential to ensure that your Vivitar Action Camera is fully charged and ready to capture all the action. Begin by locating the USB cable included in the package. This cable serves as the primary means of charging the camera and transferring data to your computer. The camera typically features a USB port for charging, conveniently located for easy access.
To charge the camera, insert one end of the USB cable into the camera’s charging port and the other end into a power source, such as a computer USB port or a USB wall adapter. As the camera charges, a small LED indicator will illuminate, signaling that the battery is replenishing its power reserves. Depending on the camera model and the battery capacity, the charging time may vary, so it’s advisable to consult the user manual for specific charging guidelines.
While the camera is charging, take the opportunity to review the user manual and familiarize yourself with the camera’s various features and settings. Understanding the camera’s capabilities will enable you to make the most of its functions when you’re out in the field, capturing your adventures.
Once the camera is fully charged, the LED indicator will signal that the battery is ready for action. It’s important to ensure that the camera is fully charged before heading out, as you wouldn’t want to miss out on capturing any thrilling moments due to a depleted battery. With your camera charged and the anticipation building, you’re now ready to power it on and delve into the exciting world of action photography and videography.
Turning On and Setting Up the Camera
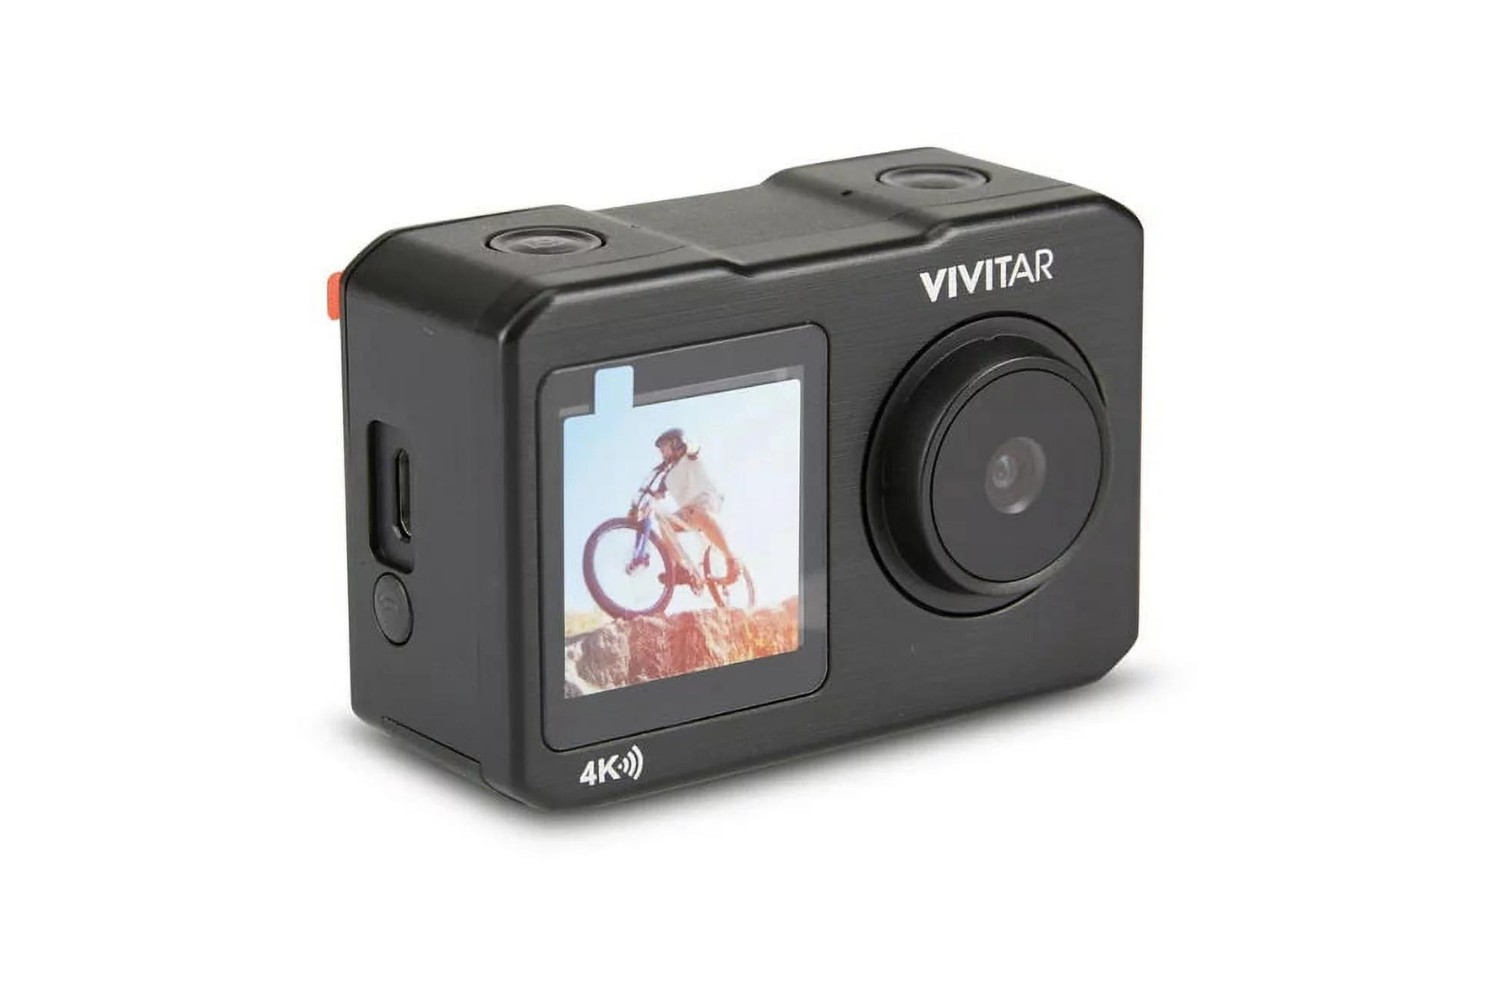
Now that your Vivitar Action Camera is charged and assembled, it’s time to power it on and configure the initial settings. Locate the power button on the camera, typically situated on the front or top, and hold it down for a few seconds to turn the device on. As the camera powers up, you’ll be greeted by the vibrant display, signaling that it’s ready to capture your adventures.
Upon turning on the camera for the first time, you may be prompted to set the date and time. This step is crucial for accurately timestamping your photos and videos, allowing you to organize and relive your memories with precision. Follow the on-screen instructions to input the correct date and time, ensuring that your footage is properly labeled for future reference.
Once the date and time are set, familiarize yourself with the camera’s menu system. Navigating through the menu will allow you to customize various settings, such as video resolution, photo capture mode, and exposure settings. Take the time to explore the menu options and adjust the settings to suit your preferences and the type of footage you intend to capture.
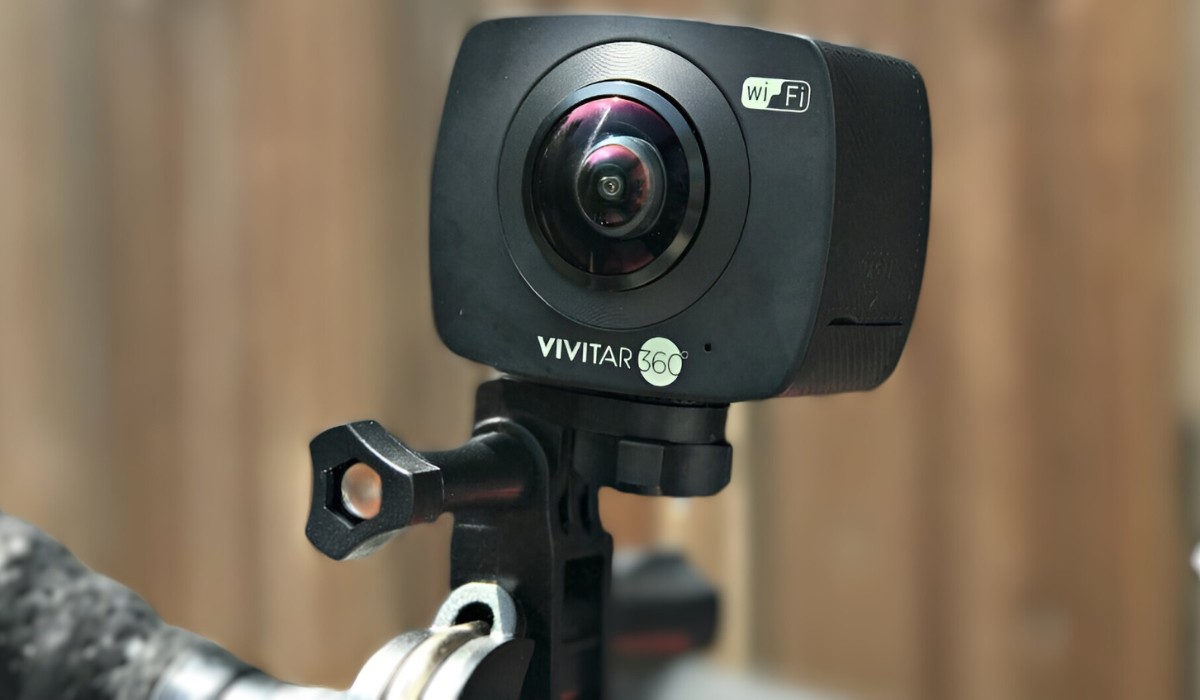
Additionally, if your camera features Wi-Fi connectivity, this is the ideal time to configure the wireless settings. Activating the Wi-Fi function enables you to connect your camera to a smartphone or tablet, providing convenient remote control and the ability to transfer files wirelessly. Refer to the user manual for specific instructions on setting up the Wi-Fi functionality, as this feature enhances the camera’s versatility and usability.
With the initial setup complete, your Vivitar Action Camera is now personalized and ready to accompany you on your adventures. By configuring the date and time, exploring the menu settings, and potentially activating the Wi-Fi function, you’ve optimized the camera for your specific needs. The next step is to mount the camera and start capturing the breathtaking moments that await!
Mounting the Camera
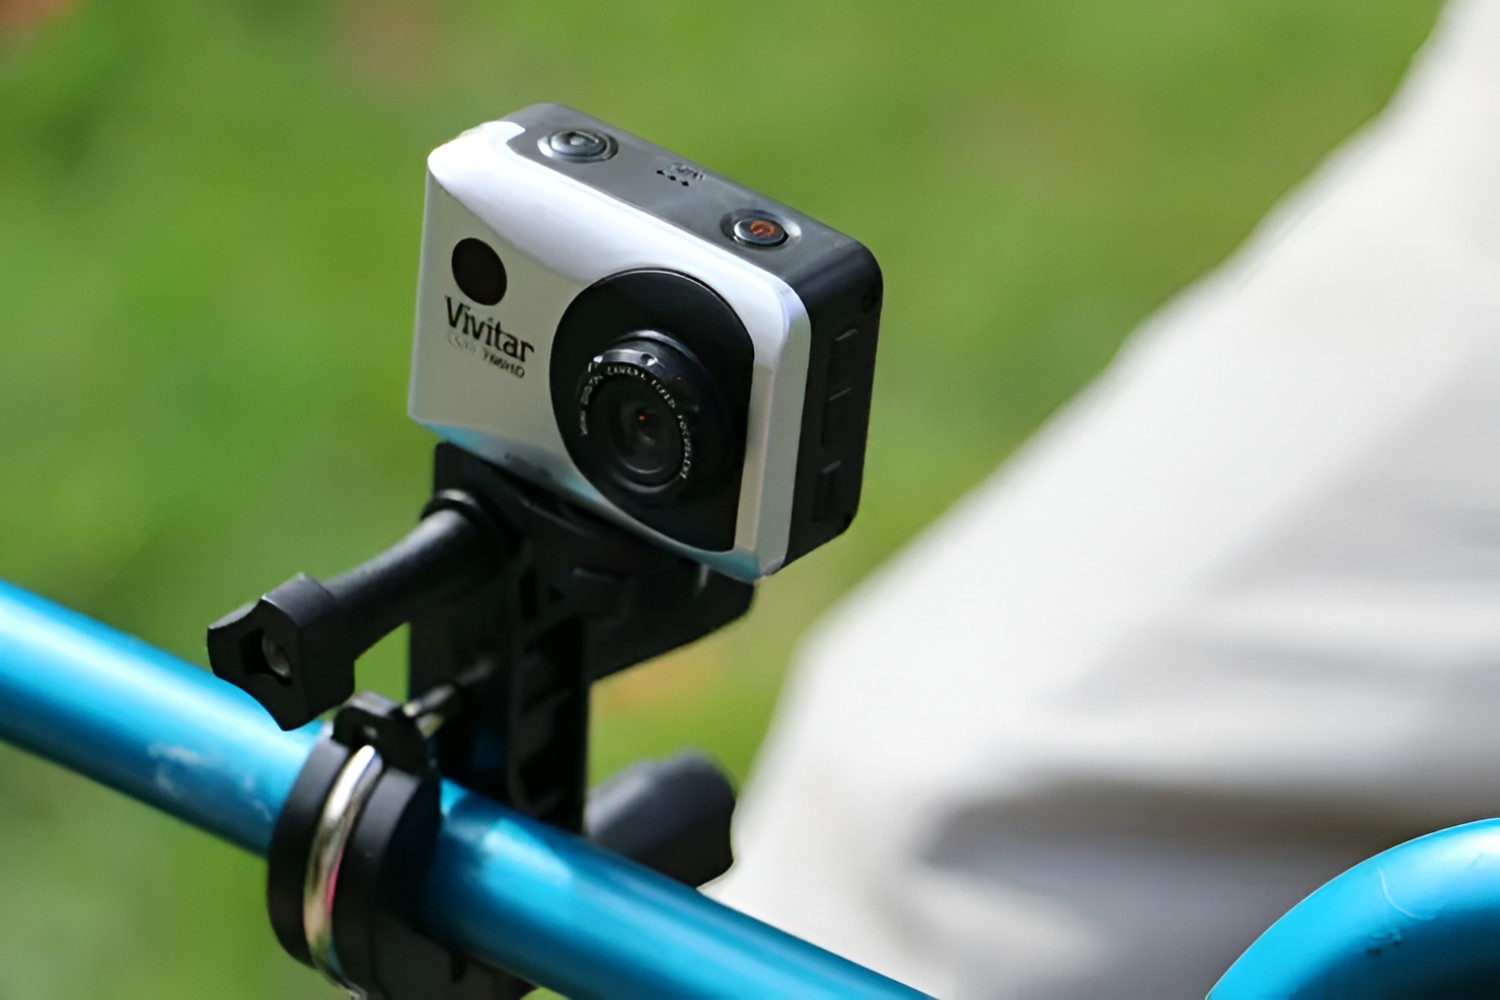
Mounting your Vivitar Action Camera is a crucial step in preparing for your adventures. The camera’s versatility is greatly enhanced by its compatibility with various mounts, allowing you to capture footage from unique perspectives and angles. Depending on your activity, whether it’s cycling, surfing, or hiking, selecting the appropriate mount is essential for achieving stunning and immersive footage.
Begin by choosing the mount that best suits your activity. For example, if you’re cycling, a handlebar mount provides a stable platform for capturing the excitement of your ride. If you’re venturing into the water for some surfing, the waterproof housing and a surfboard mount will ensure that your camera is securely attached and ready to record your thrilling moments.
Once you’ve selected the appropriate mount, securely attach the camera to it, ensuring that it is fastened tightly to prevent any movement or instability during filming. Take a moment to inspect the attachment, confirming that the camera is firmly mounted and ready to withstand the rigors of your activity.
Position the camera to achieve the desired angle and perspective for your footage. Whether you’re aiming for a first-person view or a wide-angle shot of the scenery, adjusting the camera’s position will allow you to capture the essence of your adventure with creativity and flair. Experiment with different angles to find the most captivating perspectives for your footage.
Before embarking on your activity, perform a final check to ensure that the camera is securely mounted and aligned to your specifications. This step is crucial for avoiding any disruptions during filming and ensuring that your footage is of the highest quality. With the camera securely mounted and poised to capture your adventure, you’re ready to embark on your thrilling pursuits with the confidence that every moment will be documented in stunning detail.
Capturing Photos and Videos
With your Vivitar Action Camera securely mounted and poised for action, it’s time to unleash your creativity and start capturing stunning photos and videos. Whether you’re embarking on an adrenaline-fueled adventure or simply enjoying the great outdoors, the camera’s intuitive controls and high-definition capabilities ensure that every moment is immortalized with clarity and vibrancy.
To capture photos, simply press the designated photo capture button on the camera. Depending on the camera model, this button may be distinguished by a camera icon or a specific color to differentiate it from the video recording button. Ensure that the camera is stabilized and aligned to your desired composition before pressing the capture button, allowing you to seize the perfect moments with precision and artistry.
When it comes to video recording, initiating the capture process is equally straightforward. Press the video recording button, typically indicated by a red dot or a video camera icon, to commence filming your adventure. Whether you’re hurtling down a mountain bike trail or exploring the depths of the ocean, the camera’s video recording capabilities enable you to document your experiences with cinematic fluidity and immersive detail.
Experiment with different shooting modes and settings to add variety to your footage. Many Vivitar Action Cameras offer multiple shooting modes, such as burst mode for capturing fast-paced action or time-lapse mode for creating captivating sequences of changing scenery. Familiarize yourself with these modes and explore their potential to infuse your footage with dynamism and creativity.
Throughout your adventures, take the time to review your captured photos and videos on the camera’s display. This allows you to assess the quality of your footage and make any necessary adjustments to enhance the visual impact of your content. By reviewing your captures in real-time, you can ensure that each moment is documented with the utmost precision and artistry.
As you immerse yourself in your activities, the Vivitar Action Camera empowers you to capture the essence of your adventures with unparalleled clarity and vibrancy. Whether you’re freezing a split-second of exhilaration in a photo or recording the fluid motion of your experiences in video form, the camera is your steadfast companion in preserving the magic of your journeys.
Using the Wi-Fi Function
The Wi-Fi function of your Vivitar Action Camera offers a host of convenient capabilities, allowing you to seamlessly connect the camera to your smartphone or tablet for remote control and file transfer. This wireless feature enhances the versatility and usability of the camera, providing you with greater flexibility in capturing and managing your footage.
To begin using the Wi-Fi function, refer to the user manual for specific instructions on activating and configuring the wireless connectivity. Typically, this involves accessing the camera’s settings menu and selecting the Wi-Fi option. Once activated, the camera will generate a Wi-Fi network that your smartphone or tablet can connect to, establishing a direct link between the devices.
After connecting your smartphone or tablet to the camera’s Wi-Fi network, you can utilize a dedicated app, if available, to control the camera remotely. This allows you to frame your shots, start and stop recording, and adjust settings from the convenience of your mobile device. The remote control functionality empowers you to capture footage with precision and creativity, even from a distance.
Furthermore, the Wi-Fi function facilitates the seamless transfer of files from the camera to your smartphone or tablet. Once connected, you can effortlessly browse and transfer your photos and videos to your mobile device, enabling you to review and share your captures on the go. This streamlined file transfer process eliminates the need for cumbersome cables and allows you to manage your content with ease.
When utilizing the Wi-Fi function, it’s important to consider the impact on the camera’s battery life. Wireless connectivity consumes additional power, so it’s advisable to use the Wi-Fi function judiciously and deactivate it when not in use to preserve the camera’s battery. Additionally, familiarize yourself with the security features of the Wi-Fi connection to safeguard your data and ensure a secure wireless experience.
By leveraging the Wi-Fi function of your Vivitar Action Camera, you unlock a world of convenience and creative possibilities. Whether you’re controlling the camera remotely from your smartphone or swiftly transferring files for immediate sharing, the wireless connectivity enriches your filming experience, empowering you to capture, manage, and relive your adventures with unparalleled ease.
Transferring Files to Your Computer
Transferring the captivating photos and videos captured with your Vivitar Action Camera to your computer is a seamless process that allows you to manage and further enhance your footage. Whether you’re eager to edit your content, create compilations, or simply store your memories, transferring files to your computer ensures that your adventures are preserved and ready for the next steps in your creative journey.
To initiate the file transfer, begin by connecting the camera to your computer using the provided USB cable. Once the camera is connected, your computer will detect it as an external storage device, enabling you to access the files stored on the camera’s memory. Depending on your computer’s operating system, the camera may appear as a removable drive or a device in the file explorer.
Upon accessing the camera’s files, navigate through the folders to locate your photos and videos. The files are typically organized by date or capture mode, making it convenient to browse and select the content you wish to transfer. Simply drag and drop the selected files from the camera’s storage to a folder on your computer, allowing them to be copied over for further processing and storage.
For enhanced organization and management of your footage, consider creating dedicated folders on your computer to categorize your photos and videos based on the activities or events they capture. This approach streamlines your workflow and ensures that your content is neatly arranged for easy access and future editing.
Once the files are transferred to your computer, you have the freedom to edit and enhance your footage using specialized software. Whether you’re refining the colors and composition of your photos or assembling and trimming your videos, the editing process empowers you to elevate your captures and craft compelling visual narratives that reflect the essence of your adventures.
After transferring and organizing your files, consider backing up your content to safeguard it against unforeseen data loss. Whether through cloud storage services or external hard drives, creating backups of your footage ensures that your memories are preserved and protected for the long term.
By seamlessly transferring your photos and videos from your Vivitar Action Camera to your computer, you pave the way for further exploration and expression of your creative vision. From editing and organizing your footage to safeguarding your memories through backups, the transfer process marks the beginning of a transformative journey in which your adventures are transformed into enduring visual stories.
Troubleshooting and Tips
As you embark on your journey with the Vivitar Action Camera, encountering potential challenges and seeking ways to optimize your filming experience is natural. This section provides valuable troubleshooting tips to address common issues and offers insights to enhance your utilization of the camera, ensuring that you can overcome obstacles and unleash the full potential of your device.
- Battery Life Management: To maximize your filming sessions, consider carrying spare fully charged batteries to ensure uninterrupted recording during extended adventures. Additionally, familiarize yourself with the camera’s power-saving settings to optimize battery life.
- Memory Card Compatibility: Ensure that the memory card used in the camera is compatible with the device and has sufficient capacity to accommodate your footage. Formatting the memory card within the camera before use is advisable to prevent potential compatibility issues.
- Overheating Prevention: In high-temperature environments, monitor the camera’s temperature and avoid prolonged exposure to direct sunlight, which can lead to overheating. Utilize protective housing and seek shade when necessary to prevent heat-related issues.
- Camera Freezing or Malfunction: If the camera becomes unresponsive, perform a soft reset by removing and reinserting the battery. Additionally, ensure that the camera’s firmware is updated to the latest version to address potential software-related issues.
- Optimizing Settings for Conditions: Experiment with the camera’s settings to adapt to different lighting conditions and environments. Adjusting exposure, white balance, and frame rates can significantly enhance the quality of your footage, ensuring that your captures are visually compelling.
When troubleshooting issues, consult the user manual for specific guidance tailored to your camera model. Additionally, leveraging online resources, such as forums and support communities, can provide valuable insights and solutions from experienced users, enriching your understanding of the camera and its capabilities.
Embracing these troubleshooting tips and insights will empower you to navigate potential challenges and elevate your filming experience with the Vivitar Action Camera. By optimizing battery life, ensuring memory card compatibility, preventing overheating, addressing malfunctions, and fine-tuning settings, you’ll embark on your adventures with confidence, knowing that you’re equipped to capture every moment with precision and creativity.
Conclusion
Congratulations on mastering the setup and utilization of your Vivitar Action Camera! By following this comprehensive guide, you’ve embarked on an exhilarating journey into the world of adventure photography and videography. Armed with the knowledge to unbox and assemble the camera, charge its battery, configure its settings, mount it for various activities, and capture stunning photos and videos, you’re now equipped to document your most thrilling moments with clarity and creativity.
As you venture into the great outdoors with your Vivitar Action Camera, remember to embrace the versatility and ruggedness of the device. Whether you’re capturing high-speed action, exploring serene landscapes, or immersing yourself in aquatic adventures, the camera is your steadfast companion, ready to preserve every moment with vibrancy and detail.
Utilize the Wi-Fi function to seamlessly connect the camera to your smartphone or tablet, empowering you to control the device remotely and transfer files with ease. The wireless connectivity enhances your filming experience, providing you with greater flexibility and convenience in managing your captures.
Upon transferring your photos and videos to your computer, you’ll unlock a realm of creative possibilities, from editing and organizing your footage to safeguarding your memories through backups. This transformative process marks the beginning of a new chapter in which your adventures are transformed into enduring visual stories, ready to be shared and cherished for years to come.
As you continue to explore the capabilities of your Vivitar Action Camera, remember the troubleshooting tips and insights provided in this guide. By optimizing battery life, ensuring memory card compatibility, preventing overheating, addressing malfunctions, and fine-tuning settings, you’ll navigate potential challenges with confidence, ensuring that every moment is documented with precision and artistry.
With your Vivitar Action Camera as your creative tool, the possibilities are endless. Whether you’re embarking on adrenaline-fueled pursuits or savoring tranquil moments in nature, the camera empowers you to capture the essence of your adventures with unparalleled clarity and vibrancy. Embrace the spirit of exploration and creativity, and let your Vivitar Action Camera be your trusted companion in documenting the extraordinary moments that define your journey.