Introduction
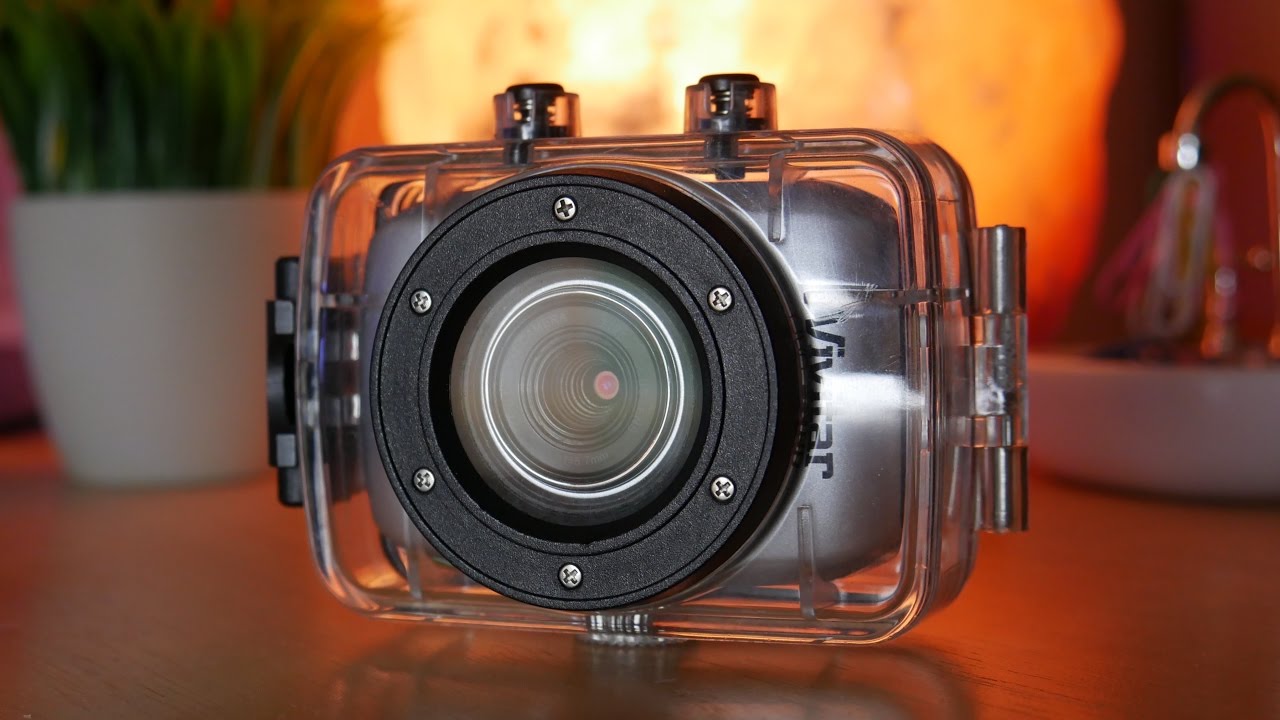
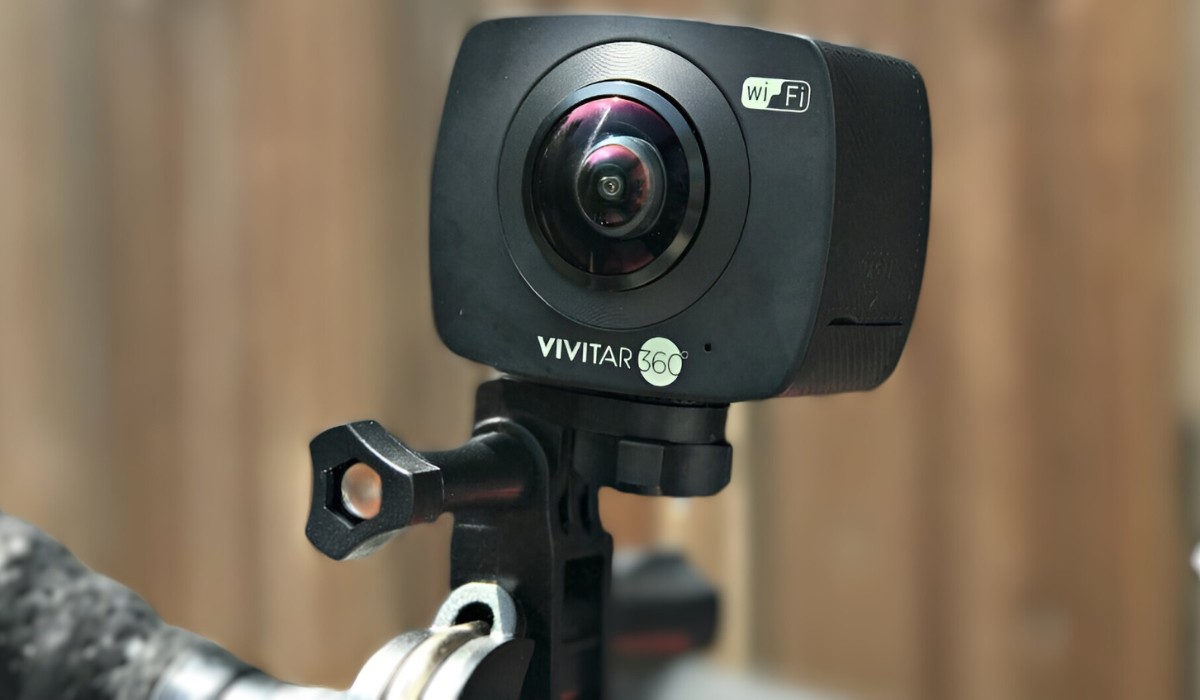
So, you've got your hands on the Vivitar 360 Action Camera, and you're eager to unleash its full potential by connecting it to Wi-Fi. Whether you want to live stream your adventures or simply transfer your footage wirelessly, connecting your camera to Wi-Fi is a crucial step. This guide will walk you through the process, ensuring that you can seamlessly link your Vivitar 360 Action Camera to a Wi-Fi network and access its full range of features.
With the ability to capture stunning 360-degree footage, the Vivitar 360 Action Camera is a versatile and powerful tool for both professional and recreational use. By connecting it to Wi-Fi, you can unlock a whole new level of functionality, enabling you to control the camera remotely, share your content instantly, and even stream live to your audience. Whether you're an adrenaline junkie, a travel enthusiast, or a content creator, the Wi-Fi connectivity of the Vivitar 360 Action Camera opens up a world of possibilities.
Throughout this guide, you'll learn how to power on the camera, access the Wi-Fi settings, connect to the camera's Wi-Fi network, and pair the camera with the Vivitar Action Cam app. With clear and concise instructions, you'll be well-equipped to navigate the process with ease, ensuring that you can make the most of your Vivitar 360 Action Camera's Wi-Fi capabilities.
So, grab your Vivitar 360 Action Camera, and let's dive into the step-by-step process of connecting it to Wi-Fi. By the end of this guide, you'll be ready to harness the full potential of your camera and elevate your content creation and sharing experience. Let's get started!
Step 1: Power On the Camera
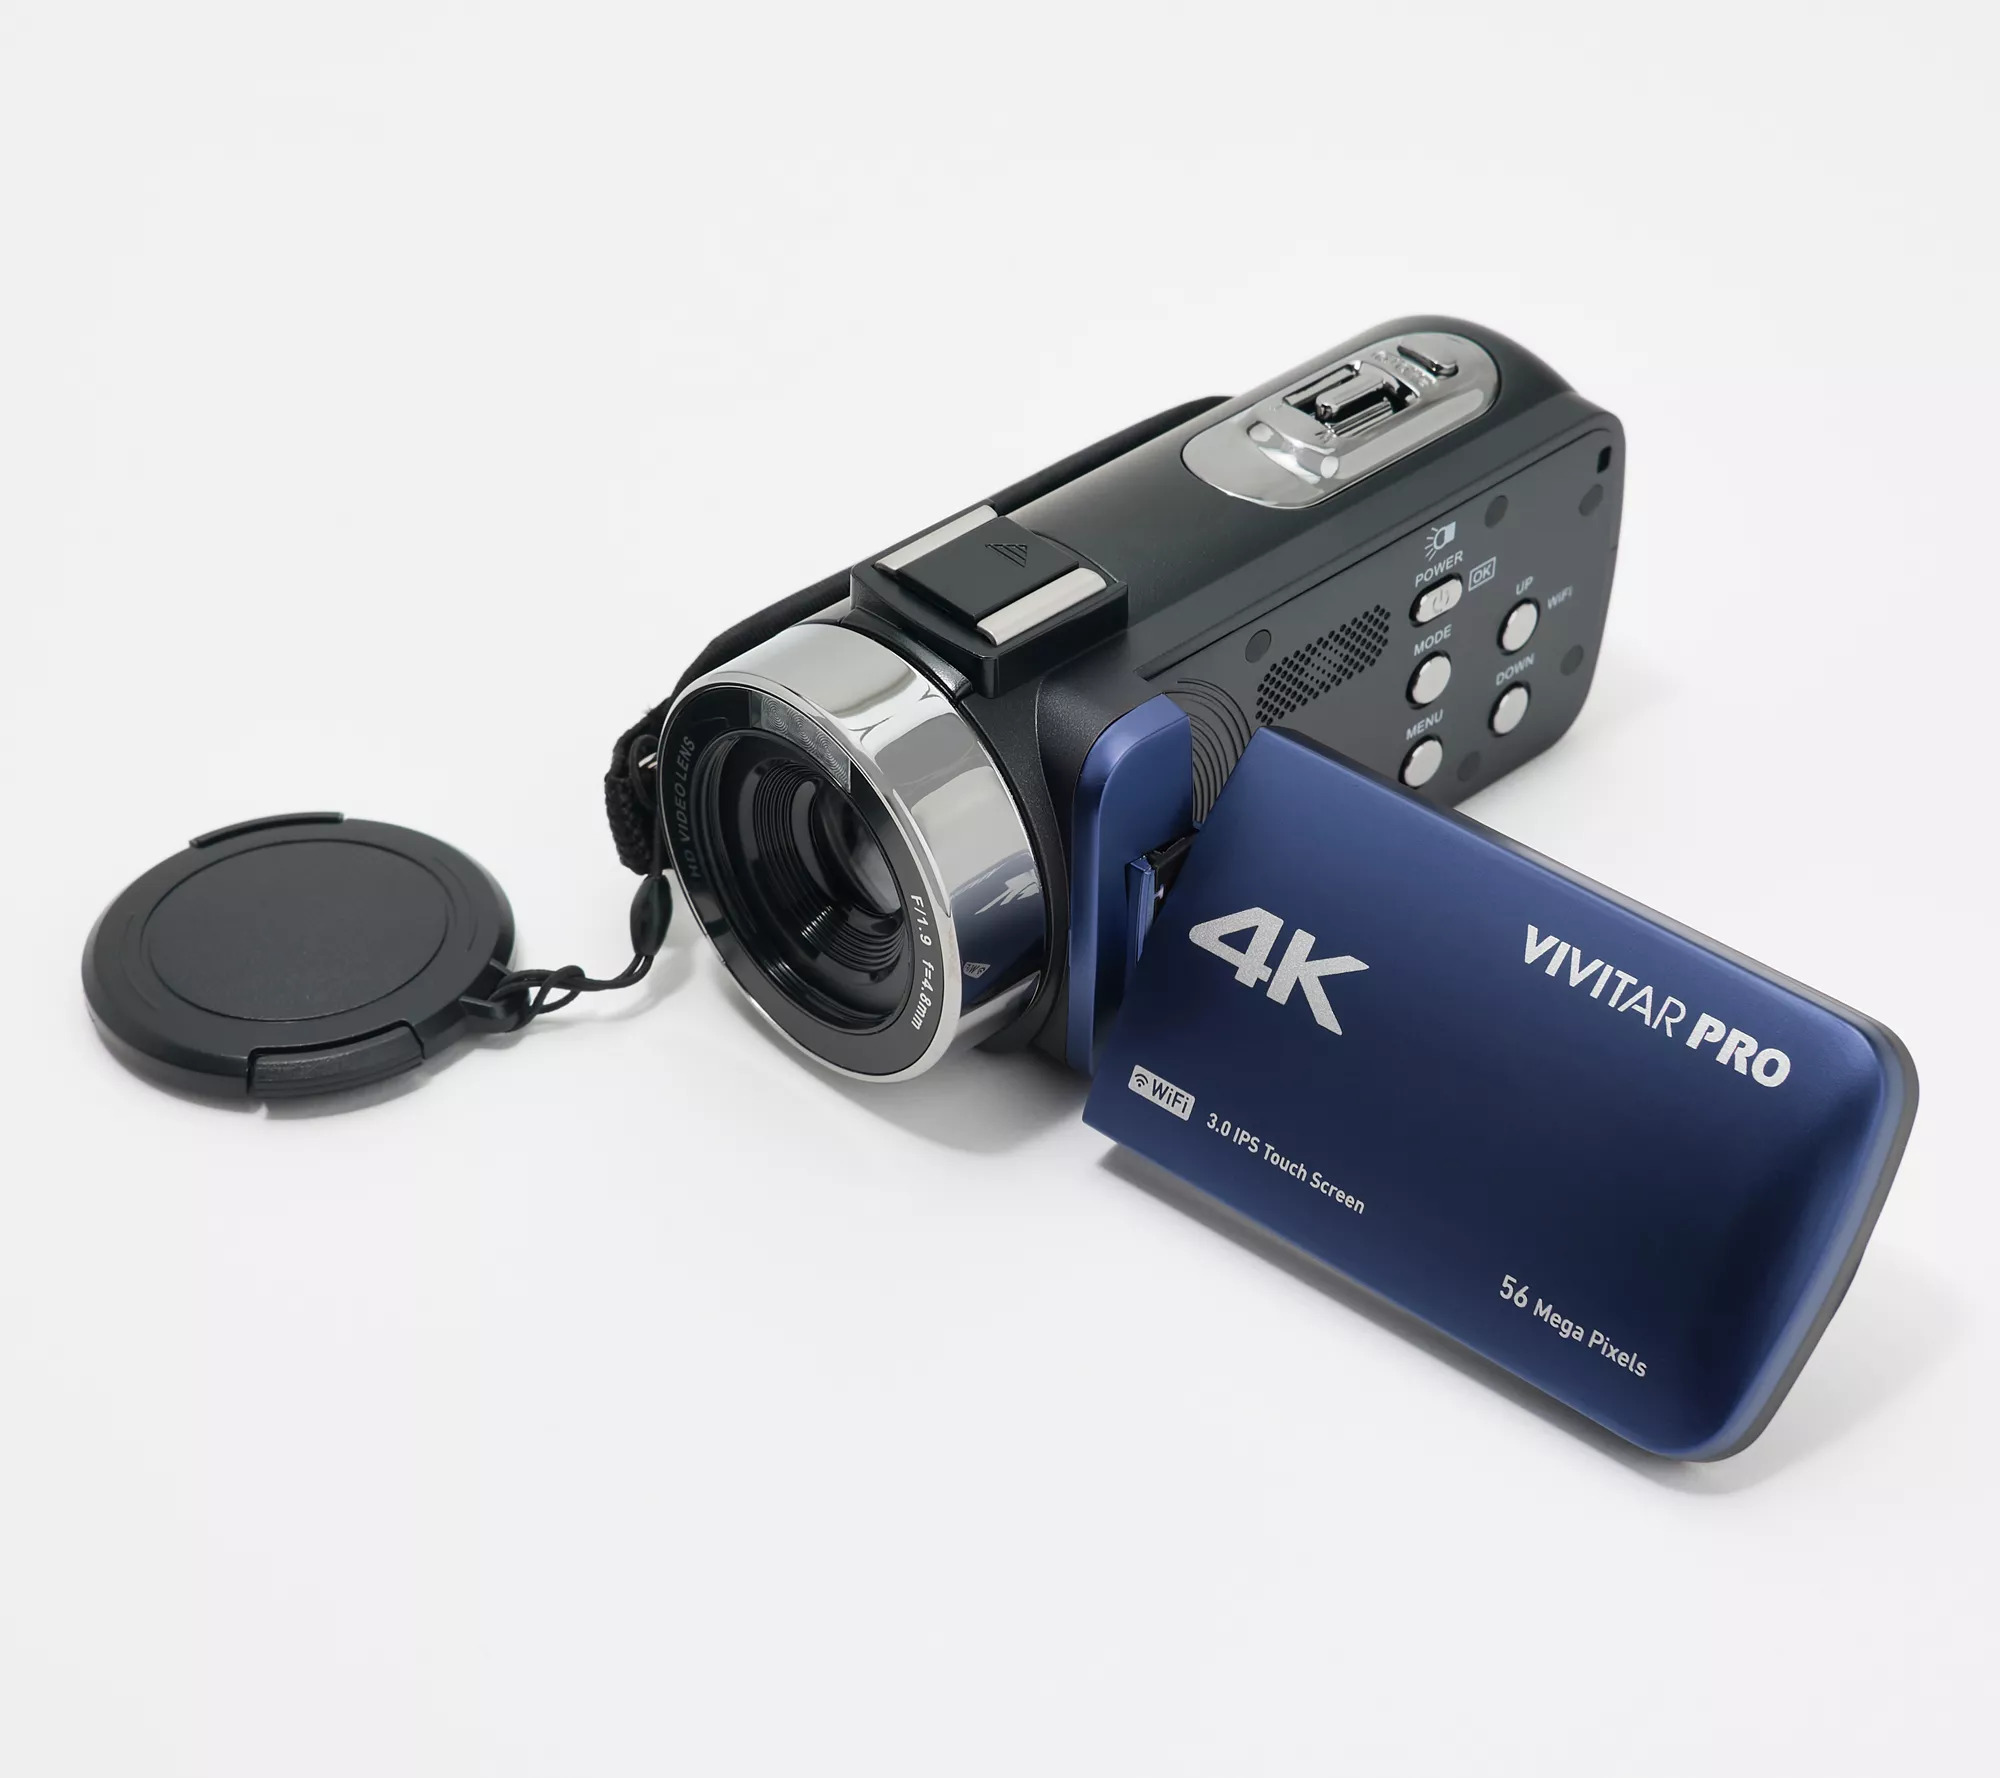
Before diving into the process of connecting your Vivitar 360 Action Camera to Wi-Fi, the first step is to power on the camera. This may seem straightforward, but it’s essential to ensure that the camera is ready to initiate the Wi-Fi connection process.
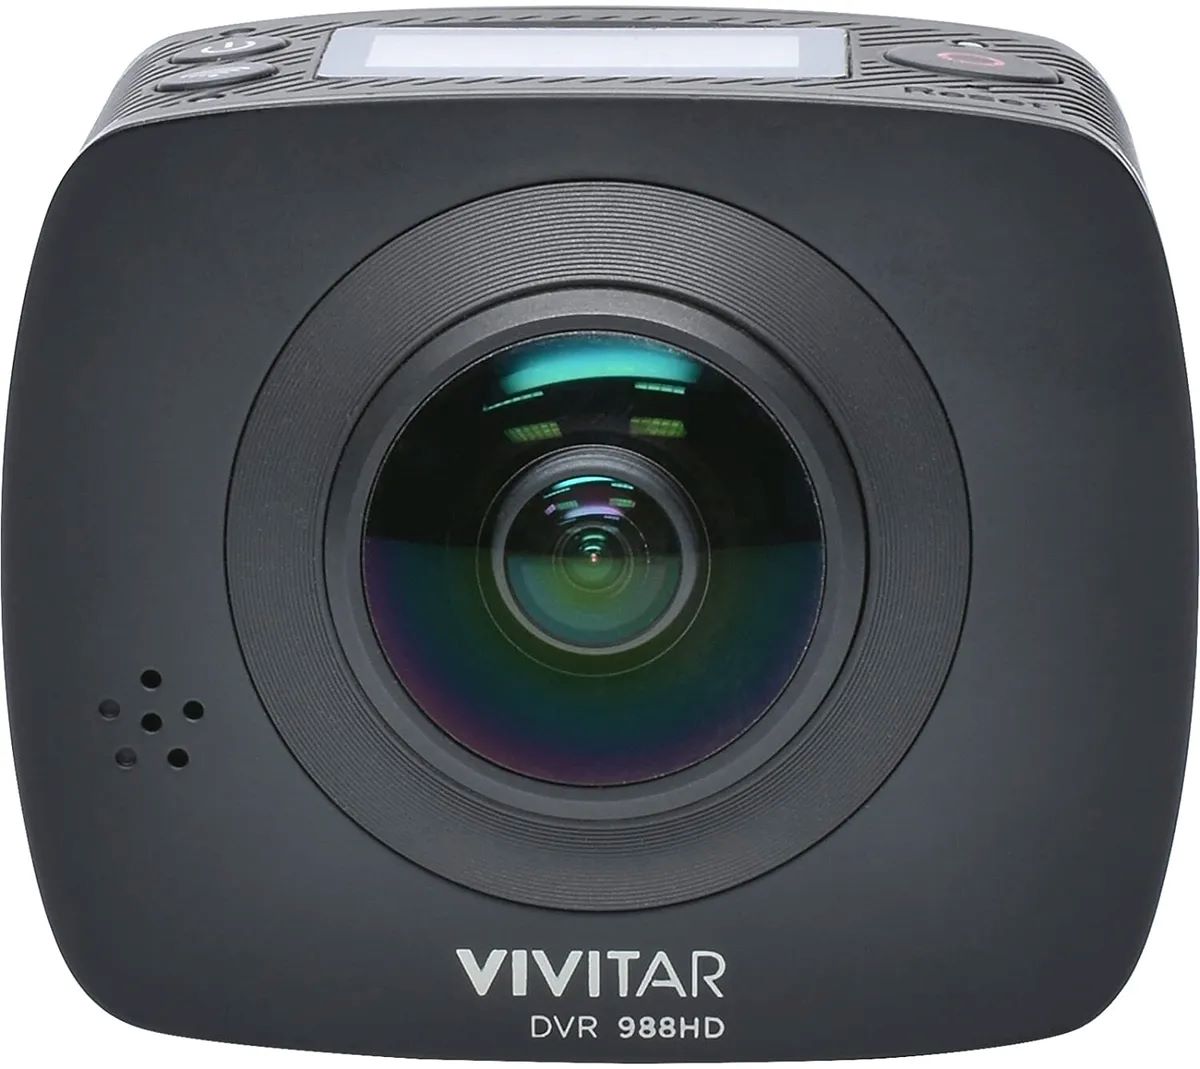
To power on your Vivitar 360 Action Camera, locate the power button, typically positioned on the front or the top of the camera. Press and hold the power button for a few seconds until the camera’s indicator lights illuminate, signaling that the camera is powering up. Depending on the specific model of your Vivitar 360 Action Camera, you may also hear a startup sound or see the camera’s display screen activate.
Once the camera is powered on, you’re ready to proceed to the next step in the process of connecting it to a Wi-Fi network. By ensuring that your camera is properly powered on, you set the stage for a seamless and successful connection to Wi-Fi, laying the groundwork for accessing a myriad of exciting features and functionalities.
With your Vivitar 360 Action Camera powered on and ready to go, you’re one step closer to unlocking its full potential. The next step will guide you through accessing the Wi-Fi settings on the camera, setting the stage for the crucial connection to a Wi-Fi network. Let’s keep the momentum going as we delve into the next phase of the process.
Step 2: Access the Wi-Fi Settings
With your Vivitar 360 Action Camera powered on, the next vital step in the process of connecting it to Wi-Fi is accessing the camera’s Wi-Fi settings. This pivotal step sets the stage for establishing a wireless connection and unleashing the full potential of your camera’s connectivity features.
Begin by navigating to the camera’s menu or settings interface. Depending on the model of your Vivitar 360 Action Camera, you may access the Wi-Fi settings through a dedicated button, a touchscreen interface, or a combination of button presses. Refer to the camera’s user manual for specific instructions on accessing the Wi-Fi settings tailored to your camera’s model.
Once you’ve located the Wi-Fi settings, you’ll typically find options to enable Wi-Fi connectivity, view available Wi-Fi networks, and enter the credentials for the network you wish to connect to. It’s essential to ensure that the camera’s Wi-Fi feature is activated and ready to search for and connect to a network.
By accessing the Wi-Fi settings on your Vivitar 360 Action Camera, you’re taking a significant stride toward integrating your camera into a wireless environment, enabling seamless communication and data transfer. This pivotal step paves the way for the next phase of the process: connecting your camera to a Wi-Fi network, unlocking a world of possibilities for remote control, content sharing, and live streaming.
With the Wi-Fi settings accessed and ready for configuration, you’re poised to embark on the next crucial step: connecting your Vivitar 360 Action Camera to a Wi-Fi network. As you navigate through this process, you’re on the brink of harnessing the full potential of your camera’s wireless capabilities. Let’s dive into the next step and continue the journey toward seamless Wi-Fi connectivity.
Step 3: Connect to the Camera’s Wi-Fi Network
Having accessed the Wi-Fi settings on your Vivitar 360 Action Camera, the next pivotal step is to connect the camera to a Wi-Fi network. This process establishes a direct link between your camera and the chosen network, enabling seamless communication and data transfer. By connecting to a Wi-Fi network, you’ll unlock a myriad of features, including remote control, content sharing, and live streaming capabilities.
Begin by selecting the option to view available Wi-Fi networks on your camera. Depending on the camera model, this may involve scanning for nearby networks or displaying a list of available networks within range. Once the available networks are displayed, locate and select the network you wish to connect to. If the network is secured with a password, you’ll be prompted to enter the Wi-Fi password to authenticate the connection.
Upon successful authentication, your Vivitar 360 Action Camera will establish a connection to the selected Wi-Fi network, indicated by on-screen confirmation or a status LED on the camera. This connection signifies that your camera is now seamlessly integrated into the wireless network, ready to leverage the myriad benefits of Wi-Fi connectivity.
By connecting your camera to a Wi-Fi network, you’re setting the stage for a seamless and dynamic user experience, empowering you to control the camera remotely, transfer content wirelessly, and engage in live streaming activities. This pivotal step marks a significant milestone in harnessing the full potential of your Vivitar 360 Action Camera’s connectivity features.
With your camera successfully connected to a Wi-Fi network, you’re now poised to embark on the next phase of the process: pairing the camera with the Vivitar Action Cam app. This step will further enhance your camera’s capabilities, enabling intuitive control and seamless content management from your mobile device. Let’s delve into the next step and continue the journey toward maximizing your camera’s wireless potential.
Step 4: Open the Vivitar Action Cam App
As you’ve successfully connected your Vivitar 360 Action Camera to a Wi-Fi network, the next crucial step is to open the Vivitar Action Cam app on your mobile device. This intuitive app serves as a gateway to a host of features, allowing you to control your camera remotely, manage your captured content, and explore additional settings and functionalities.
Begin by navigating to the app store on your mobile device, whether it’s the Apple App Store for iOS devices or the Google Play Store for Android devices. In the search bar, enter “Vivitar Action Cam” to locate and download the official app. Once the app is installed, launch it to initiate the setup process.
Upon opening the Vivitar Action Cam app, you’ll be greeted with a user-friendly interface that provides access to a range of features tailored to enhance your experience with the Vivitar 360 Action Camera. The app serves as a central hub for controlling your camera, viewing and managing captured content, and exploring additional settings and options.
By opening the Vivitar Action Cam app, you’re taking a significant step toward leveraging the full potential of your camera’s wireless connectivity. The app serves as a conduit for seamless communication between your camera and mobile device, enabling you to remotely control the camera, transfer content wirelessly, and explore a myriad of creative possibilities.
With the Vivitar Action Cam app open and ready for setup, you’re on the brink of harnessing the full spectrum of your camera’s capabilities. The next step will guide you through the process of connecting your Vivitar 360 Action Camera to the app, further enhancing your ability to control and manage your camera with ease. Let’s delve into the next phase and continue the journey toward maximizing your camera’s wireless potential.
Step 5: Connect the Camera to the App
With the Vivitar Action Cam app open on your mobile device, the final crucial step is to connect your Vivitar 360 Action Camera to the app. This pivotal connection establishes a seamless link between your camera and mobile device, empowering you to control the camera remotely, manage captured content, and explore a host of creative features and settings.
Begin by accessing the Wi-Fi settings on your mobile device and connecting to the same Wi-Fi network that your Vivitar 360 Action Camera is linked to. This ensures that your mobile device and camera are operating within the same wireless environment, laying the foundation for a successful connection.
Once your mobile device is connected to the same Wi-Fi network as your camera, navigate back to the Vivitar Action Cam app. Within the app, locate the option to connect to a camera or add a new device. Depending on the app’s interface, this may involve selecting your specific camera model or initiating a search for available devices within the network.
Upon locating your Vivitar 360 Action Camera within the app, initiate the connection process. This may involve confirming the pairing request on both your camera and mobile device, ensuring that the devices establish a secure and seamless connection. Once the connection is established, you’ll typically receive on-screen confirmation within the app, indicating that your camera is successfully linked to the app.
By connecting your Vivitar 360 Action Camera to the Vivitar Action Cam app, you’re unlocking a wealth of features and capabilities that enhance your overall user experience. From remote control and content management to live preview and settings adjustment, the app serves as a powerful companion to your camera, amplifying its functionality and creative potential.
With your camera successfully connected to the app, you’ve completed the final step in the process of harnessing the full potential of your Vivitar 360 Action Camera’s Wi-Fi capabilities. You’re now equipped to seamlessly control your camera, manage your captured content, and explore a host of innovative features and settings from the convenience of your mobile device. Let’s celebrate this achievement and embrace the endless possibilities that await with your connected Vivitar 360 Action Camera.
Conclusion
Congratulations! You’ve successfully navigated the process of connecting your Vivitar 360 Action Camera to Wi-Fi, unlocking a world of possibilities for remote control, content sharing, and live streaming. By following the step-by-step guide outlined in this article, you’ve harnessed the full potential of your camera’s wireless connectivity, paving the way for an enhanced and dynamic user experience.
From powering on the camera to accessing the Wi-Fi settings, connecting to a Wi-Fi network, and pairing the camera with the Vivitar Action Cam app, you’ve seamlessly integrated your camera into a wireless environment, empowering you to explore a myriad of creative and functional features. The ability to control your camera remotely, transfer content wirelessly, and engage in live streaming activities opens up a new realm of possibilities for capturing and sharing your adventures.
As you embark on your journey with the connected Vivitar 360 Action Camera, you’re poised to elevate your content creation and sharing experience to new heights. Whether you’re an avid traveler, a thrill-seeking adventurer, or a passionate content creator, the seamless integration of your camera with Wi-Fi and the dedicated app provides you with the tools to unleash your creativity and share your unique perspective with the world.
With the camera and app connection established, you’re now equipped to explore a wealth of features and settings, from adjusting camera parameters to managing and sharing your captured content effortlessly. The seamless communication between your camera and mobile device amplifies your ability to capture, create, and share moments that matter, all with the convenience of wireless connectivity at your fingertips.
So, as you venture forward with your connected Vivitar 360 Action Camera, embrace the freedom and flexibility that Wi-Fi connectivity affords you. Whether you’re capturing breathtaking landscapes, documenting adrenaline-pumping adventures, or sharing your creative vision with the world, your connected camera is a powerful tool that empowers you to capture and share your experiences like never before.
With Wi-Fi connectivity and the Vivitar Action Cam app at your disposal, the possibilities are endless. So, grab your camera, immerse yourself in the moment, and let your creativity soar as you embark on a journey of seamless, wireless exploration and expression with your Vivitar 360 Action Camera.