Introduction
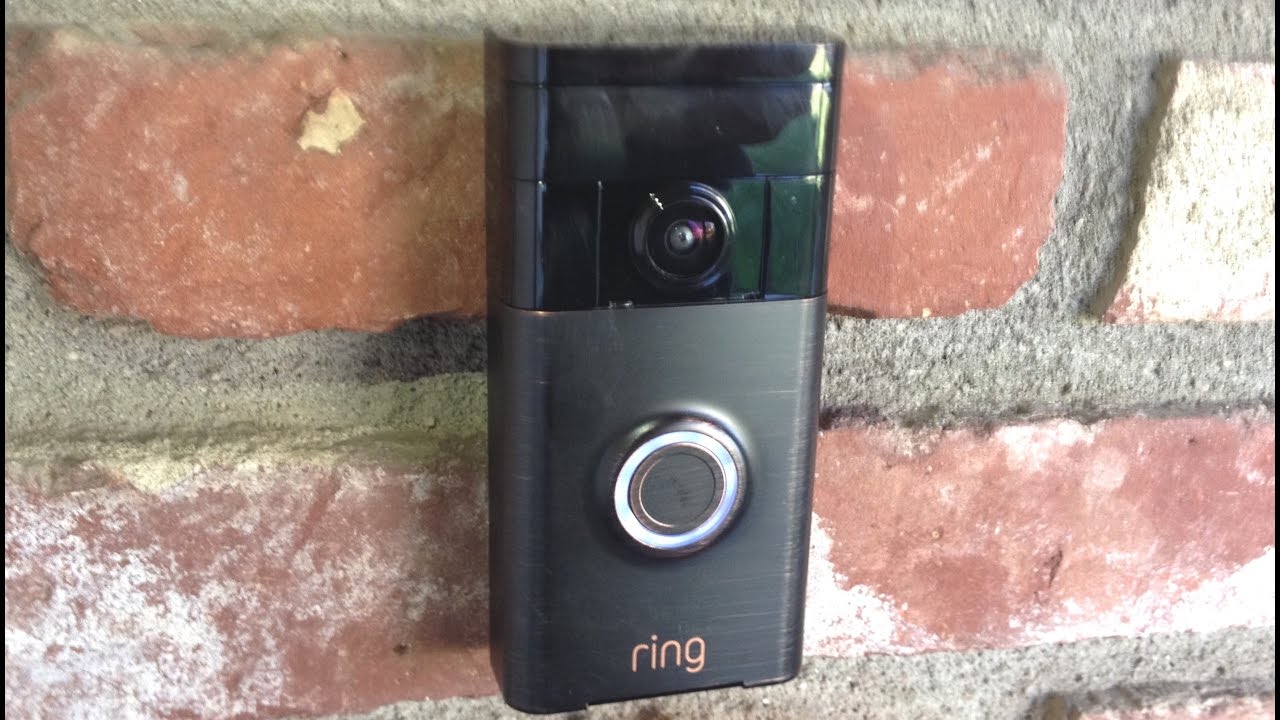
Welcome to our guide on how to install the Ring Video Doorbell 2. The Ring Video Doorbell 2 is a popular smart home device that allows you to monitor your front door from anywhere using your smartphone, tablet, or computer. Installing the Ring Video Doorbell 2 provides a convenient and secure way to protect and monitor your home.
Before we dive into the installation process, it’s important to note that this guide assumes you have a basic understanding of electrical systems and wiring. If you are unsure or uncomfortable working with electrical components, it’s always best to consult a professional to ensure a safe and successful installation.
In this guide, we will walk you through the step-by-step process of installing the Ring Video Doorbell 2. We will provide a detailed explanation of the tools and materials you will need, as well as the necessary steps to prepare your home for installation. Additionally, we will provide tips and troubleshooting advice to ensure a smooth installation process.
By the end of this guide, you will have successfully installed your Ring Video Doorbell 2 and be ready to enjoy the added convenience and security it brings to your home. So let’s get started on this exciting journey!
Tools and Materials Needed
Before you begin the installation process, make sure you have the following tools and materials on hand:
- Screwdriver – You’ll need a screwdriver to remove your existing doorbell and install the mounting bracket for the Ring Video Doorbell 2.
- Drill (optional) – If you’re installing the doorbell on a masonry or stucco surface, you may need a drill to make the necessary holes.
- Wire stripper – If you need to connect the wires from your existing doorbell, a wire stripper will come in handy.
- Level – To ensure the mounting bracket is properly aligned, use a level to check for accuracy.
- Tape measure – Measuring tape will help you determine the spacing and placement of the doorbell.
- Safety gloves – It’s always a good idea to wear safety gloves when working with electrical components.
- Ring Video Doorbell 2 – Make sure you have the actual device itself, including any included screws and hardware.
- Stud finder (optional) – If you plan to mount the doorbell on a wall, a stud finder can help locate a sturdy surface to secure the device.
Having these tools and materials ready before you begin the installation process will ensure a smoother and more efficient process. It’s always better to be prepared than to realize you’re missing a crucial tool midway through the installation!
Step 1: Verify Compatibility
Before you start the installation process, it’s important to ensure that your home’s existing wiring and doorbell system are compatible with the Ring Video Doorbell 2. Here are a few key points to consider:
Power Requirements: The Ring Video Doorbell 2 requires a minimum voltage of 8VAC and a maximum voltage of 24VAC. Make sure your existing doorbell system meets these power requirements. If you’re unsure, you can check the voltage of your current doorbell transformer or consult a professional electrician.
Compatibility with Chime: The Ring Video Doorbell 2 is compatible with most mechanical or digital doorbell chimes operating at 8-24VAC. However, some digital chimes or intercom systems may not be compatible. If you have an incompatible chime, you can purchase the Ring Chime or Ring Chime Pro, which are wireless receivers that work in conjunction with the doorbell.
Wi-Fi Connection: The Ring Video Doorbell 2 requires a stable Wi-Fi connection to function properly. Ensure that you have a strong Wi-Fi signal in the area where you plan to install the doorbell. You can use a smartphone or tablet to check the signal strength at that location.
Compatibility with Mounting Surface: The Ring Video Doorbell 2 can be installed on various surfaces, including wood, stucco, concrete, and brick. However, you may need additional tools or hardware depending on the mounting surface. It’s essential to take this into account before proceeding with the installation.
Verifying compatibility with these factors will help ensure a successful installation and avoid any potential issues down the line. If you’re unsure about any aspect of compatibility, refer to the Ring Video Doorbell 2 user manual or consult Ring’s customer support for assistance.
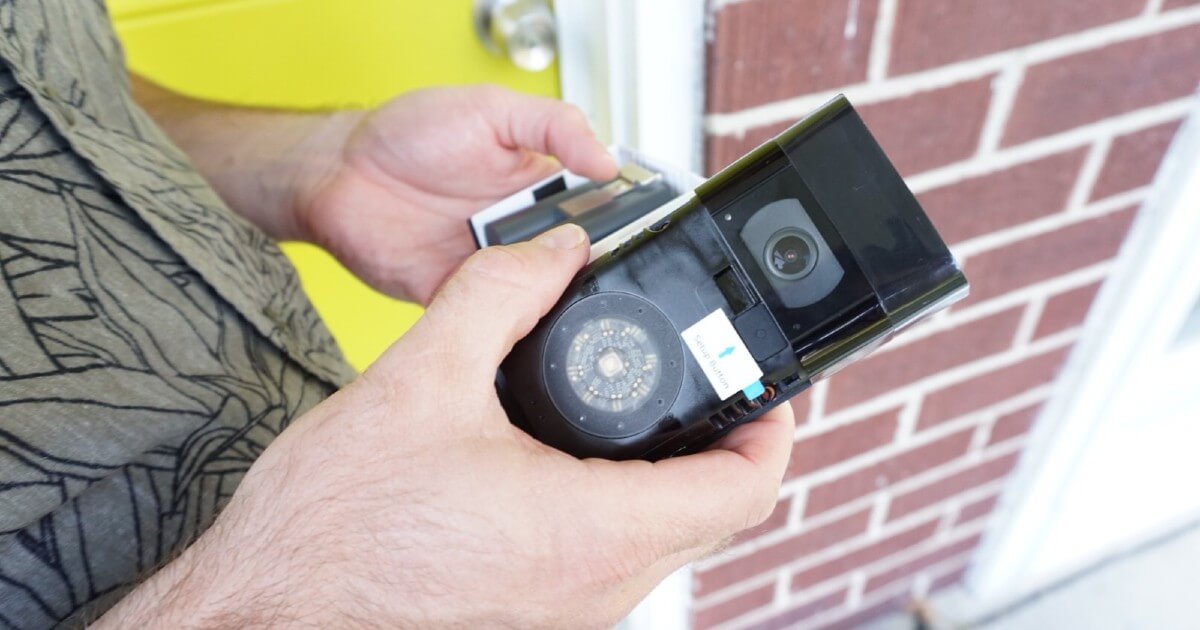
Step 2: Charge the Battery
Before installing the Ring Video Doorbell 2, it’s important to ensure that the device’s battery is fully charged. The battery provides power to the doorbell, allowing it to function wirelessly. Here’s how to charge the battery:
- Remove the faceplate: Gently press the release tab at the bottom of the doorbell and slide the faceplate upwards to remove it.
- Locate the battery release tab: On the back of the doorbell, you’ll find a small tab above the battery compartment.
- Slide and remove the battery: Press the battery release tab and simultaneously slide the battery out of the compartment.
- Charge the battery: Connect the battery to a USB charger using the provided charging cable. Ensure that the charger is plugged into a power source.
- Monitor the battery status: While charging, the LED indicator on the front of the battery will display the current charging status. A solid blue light indicates that the battery is charging, and a solid green light indicates that the battery is fully charged.
- Wait for the battery to charge: The charging process typically takes a few hours. It’s recommended to leave the battery charging until it reaches full capacity.
- Reinsert the battery: Once the battery is fully charged, slide it back into the battery compartment, making sure it clicks into place.
- Reattach the faceplate: Slide the faceplate back onto the front of the doorbell until it snaps into place.
By following these steps, you will ensure that your Ring Video Doorbell 2 has a fully charged battery, allowing it to operate efficiently. Once the battery is charged, you can proceed with the installation process, which we’ll cover in the following steps.
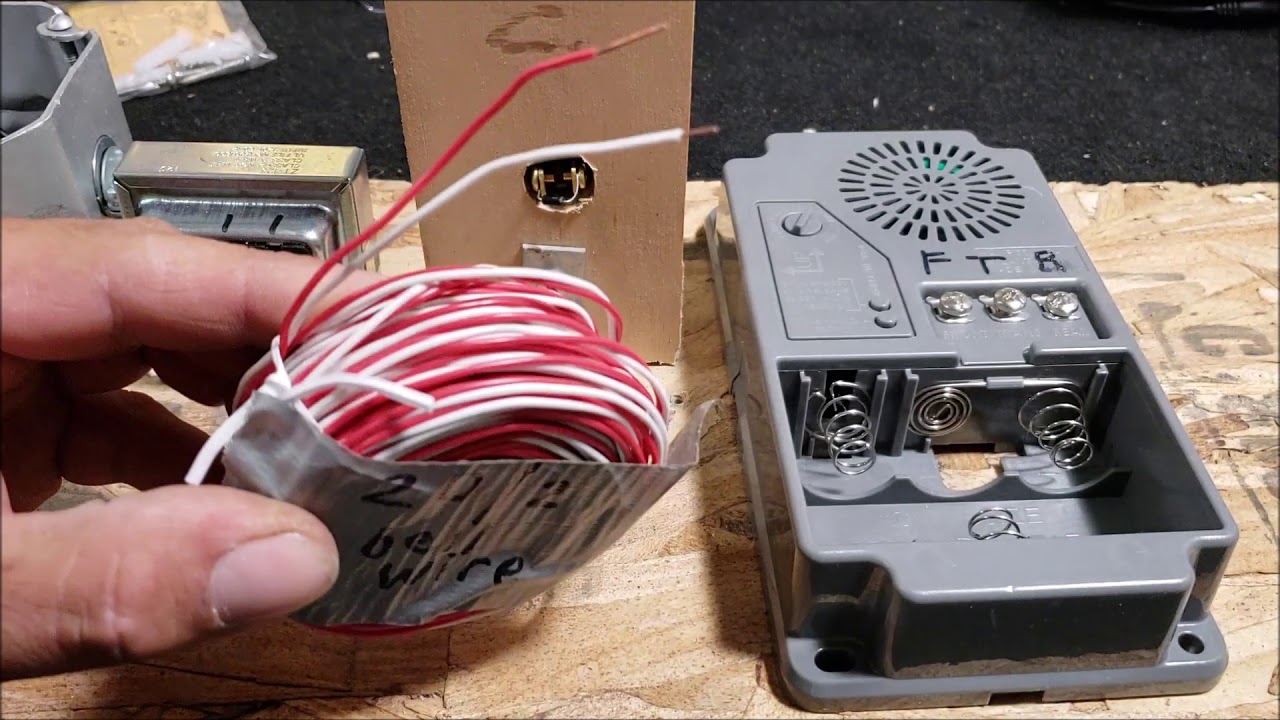
Step 3: Remove your Existing Doorbell
Before installing the Ring Video Doorbell 2, you need to remove your existing doorbell. Here are the steps to do it:
- Turn off the power: Locate the circuit breaker that controls the power supply to your existing doorbell and turn it off to ensure your safety during the removal process.
- Remove the old faceplate: Gently pry off the faceplate of your existing doorbell using a screwdriver. Be careful not to damage the wiring behind it.
- Unscrew the mounting screws: Once the faceplate is removed, you’ll likely see a couple of screws holding the doorbell in place. Use a screwdriver to loosen and remove these screws.
- Disconnect the wiring: Carefully detach the wires connecting your old doorbell to the electrical system. You may need to use a wire stripper to remove the insulation from the ends of the wires if they are not exposed.
- Label the wires: To ensure you can reconnect the wires correctly later, it’s a good practice to label each wire with the corresponding terminal it was connected to on the old doorbell. This will make the reinstallation of the Ring Video Doorbell 2 easier.
- Remove the doorbell housing: Once the wires are disconnected, you can now remove the old doorbell housing from the wall. Depending on its attachment, you may need to unscrew or pry it off.
- Check for any remaining wiring: After removing the housing, inspect the wiring hole for any remaining wires or debris. Clean out any remnants to ensure a clear installation space for the Ring Video Doorbell 2.
By completing these steps, you will have successfully removed your old doorbell and prepared the mounting location for the installation of the Ring Video Doorbell 2. Now you’re ready to move on to the next step: installing the mounting bracket.
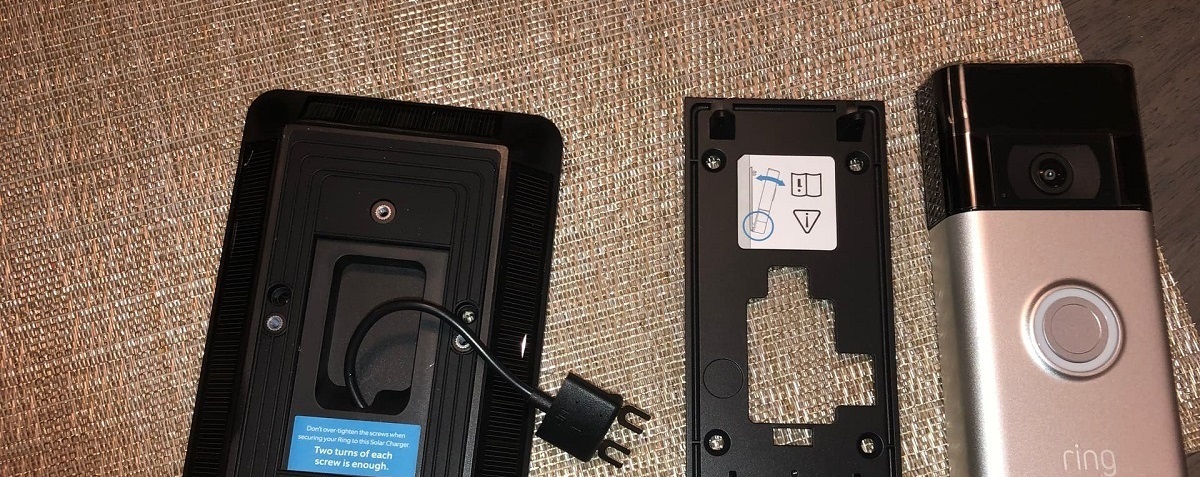
Step 4: Install Mounting Bracket
After removing your existing doorbell, the next step is to install the mounting bracket for your Ring Video Doorbell 2. The mounting bracket serves as the anchor point for your doorbell and ensures a secure and stable installation. Here’s how to install the mounting bracket:
- Hold the mounting bracket: Align the holes on the mounting bracket with the holes on your wall or door frame where your old doorbell was previously installed.
- Position and level the bracket: While holding the mounting bracket against the wall, use a level to ensure it’s straight and properly aligned. Adjust as necessary.
- Mark the screw holes: With the bracket in the desired position, use a pencil or marker to mark the screw hole locations on the wall. This will guide you during the drilling process.
- Drill pilot holes (if needed): If your mounting surface requires it, use a drill with an appropriate-sized drill bit to create pilot holes at the marked locations. This will help prevent the wall from cracking or splitting when inserting the screws.
- Secure the bracket: Line up the pilot holes on the bracket with the drilled holes (or directly with the marked holes if drilling is not needed), then use screws and a screwdriver to firmly attach the mounting bracket to the wall.
It’s important to ensure that the mounting bracket is securely attached to the wall or door frame, as this will provide a stable base for your Ring Video Doorbell 2. Take your time to position and level the bracket accurately to ensure a professional-looking installation.
Once the mounting bracket is securely installed, you’re all set to move on to the next step: connecting the wires of your Ring Video Doorbell 2.
Step 5: Connect the Wires
With the mounting bracket in place, it’s time to connect the wires for your Ring Video Doorbell 2. Properly connecting the wires will ensure that the doorbell receives power and functions correctly. Follow these steps to connect the wires:
- Identify the wires: Take a moment to locate the wires that were previously connected to your old doorbell. Typically, there will be two wires – one labeled “front” or “trans” for the transformer, and one labeled “rear” or “bell” for the doorbell chime.
- Strip the wire ends: Use a wire stripper to remove about 1/2 inch of insulation from the ends of each wire. This will expose the bare wire for easier connection.
- Terminal connections: On the back of the Ring Video Doorbell 2, you’ll find terminals labeled “front” and “rear.” Attach the corresponding wires to these terminals. If your doorbell system has additional wires for functions like a rear doorbell or intercom, consult the Ring Video Doorbell 2 user manual for the appropriate connections.
- Secure the wire connections: Once the wires are attached to the terminals, tighten the screws on the terminal block to secure the connections. Ensure that the wires are securely in place and make good contact with the terminals.
Double-checking your wire connections is crucial to ensure that the Ring Video Doorbell 2 receives the necessary power and operates correctly. Improperly connected wires can lead to performance issues or failure of the device.
If you are unsure about the wiring configuration or need assistance, it’s recommended to consult a professional electrician or refer to the Ring Video Doorbell 2 user manual for specific instructions based on your doorbell system.
Once the wires are properly connected, you’re ready to move on to the next step: attaching the Ring Video Doorbell 2 to the mounting bracket.
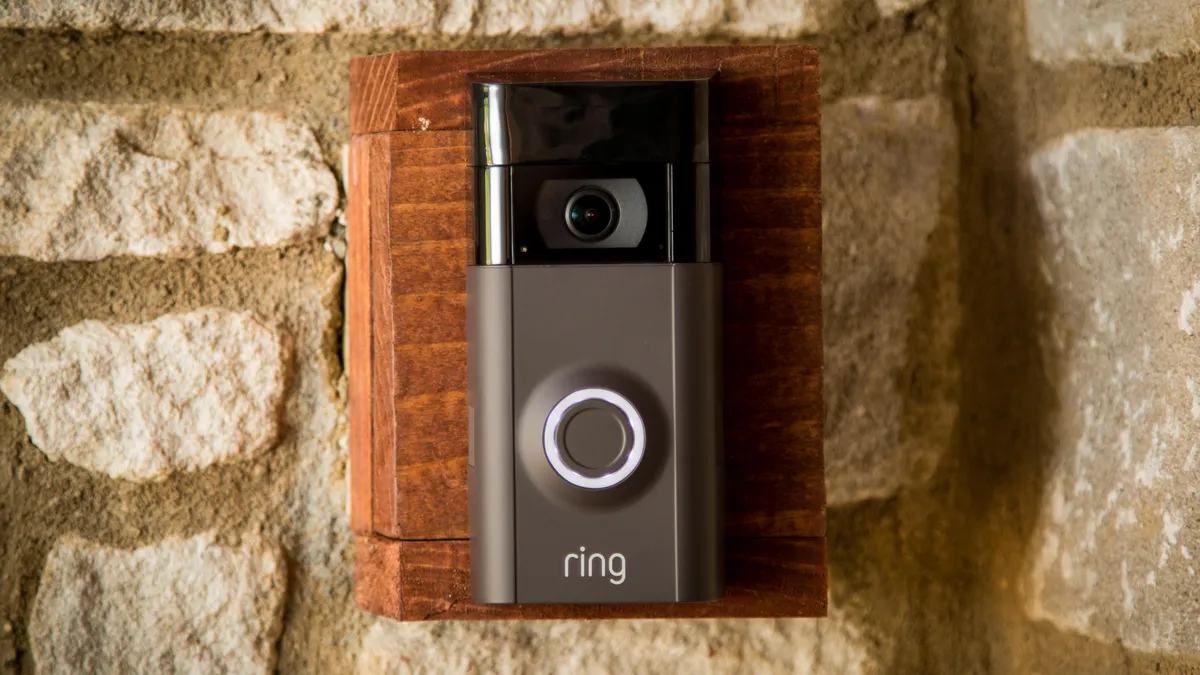
Step 6: Attach the Doorbell
With the wires connected, it’s time to attach the Ring Video Doorbell 2 to the mounting bracket. This step will secure the doorbell in place and allow it to function properly. Follow these steps to attach the doorbell:
- Align the doorbell: Hold the Ring Video Doorbell 2 in front of the mounting bracket. Align the slots at the bottom of the doorbell with the hooks on the bracket.
- Slide the doorbell down: Slowly slide the doorbell downward until it locks into place on the mounting bracket. You should feel a click or snap, indicating that the doorbell is securely attached.
- Give it a firm tug: After attaching the doorbell, give it a firm tug to ensure that it is properly secured. You don’t want it to come loose or fall off, so a gentle test can provide peace of mind.
By following these steps, you will ensure that the Ring Video Doorbell 2 is securely attached to the mounting bracket and ready for operation. Proper attachment is essential to prevent the doorbell from detaching or becoming unstable over time.
If you encounter any difficulties or have concerns about the stability of the doorbell, double-check that the doorbell is properly aligned with the mounting bracket. If needed, consult the Ring Video Doorbell 2 user manual for additional guidance or contact Ring’s customer support for further assistance.
Once the doorbell is securely attached, you’re ready to move on to the next step: installing the faceplate.
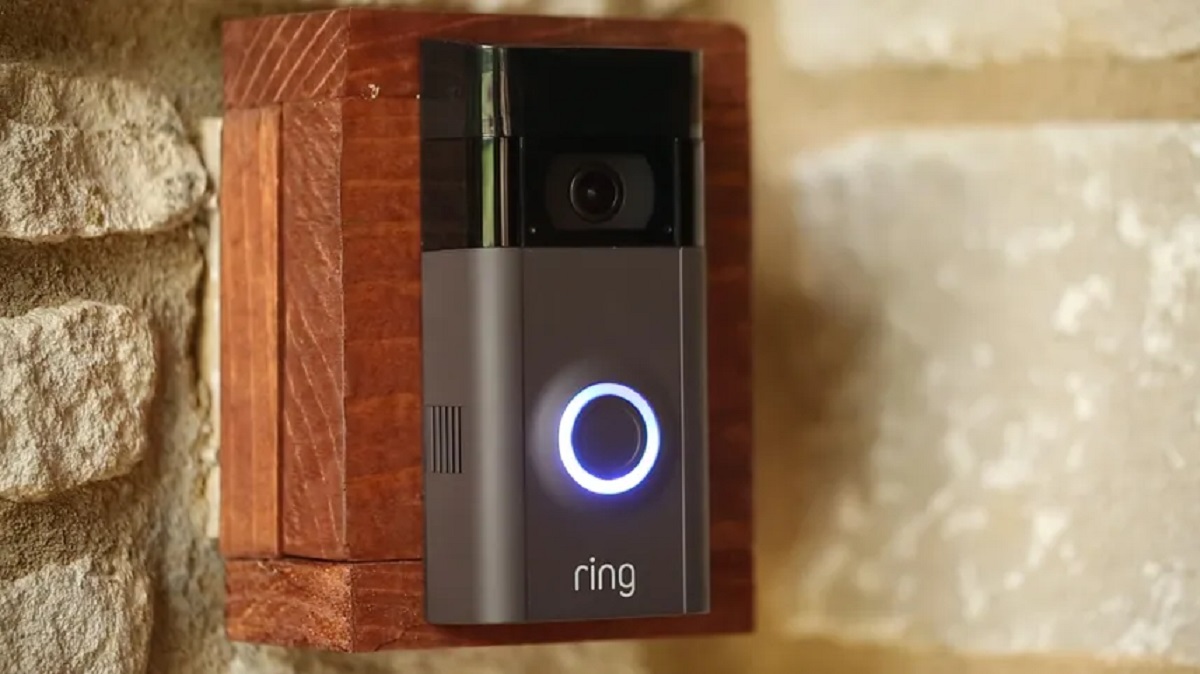
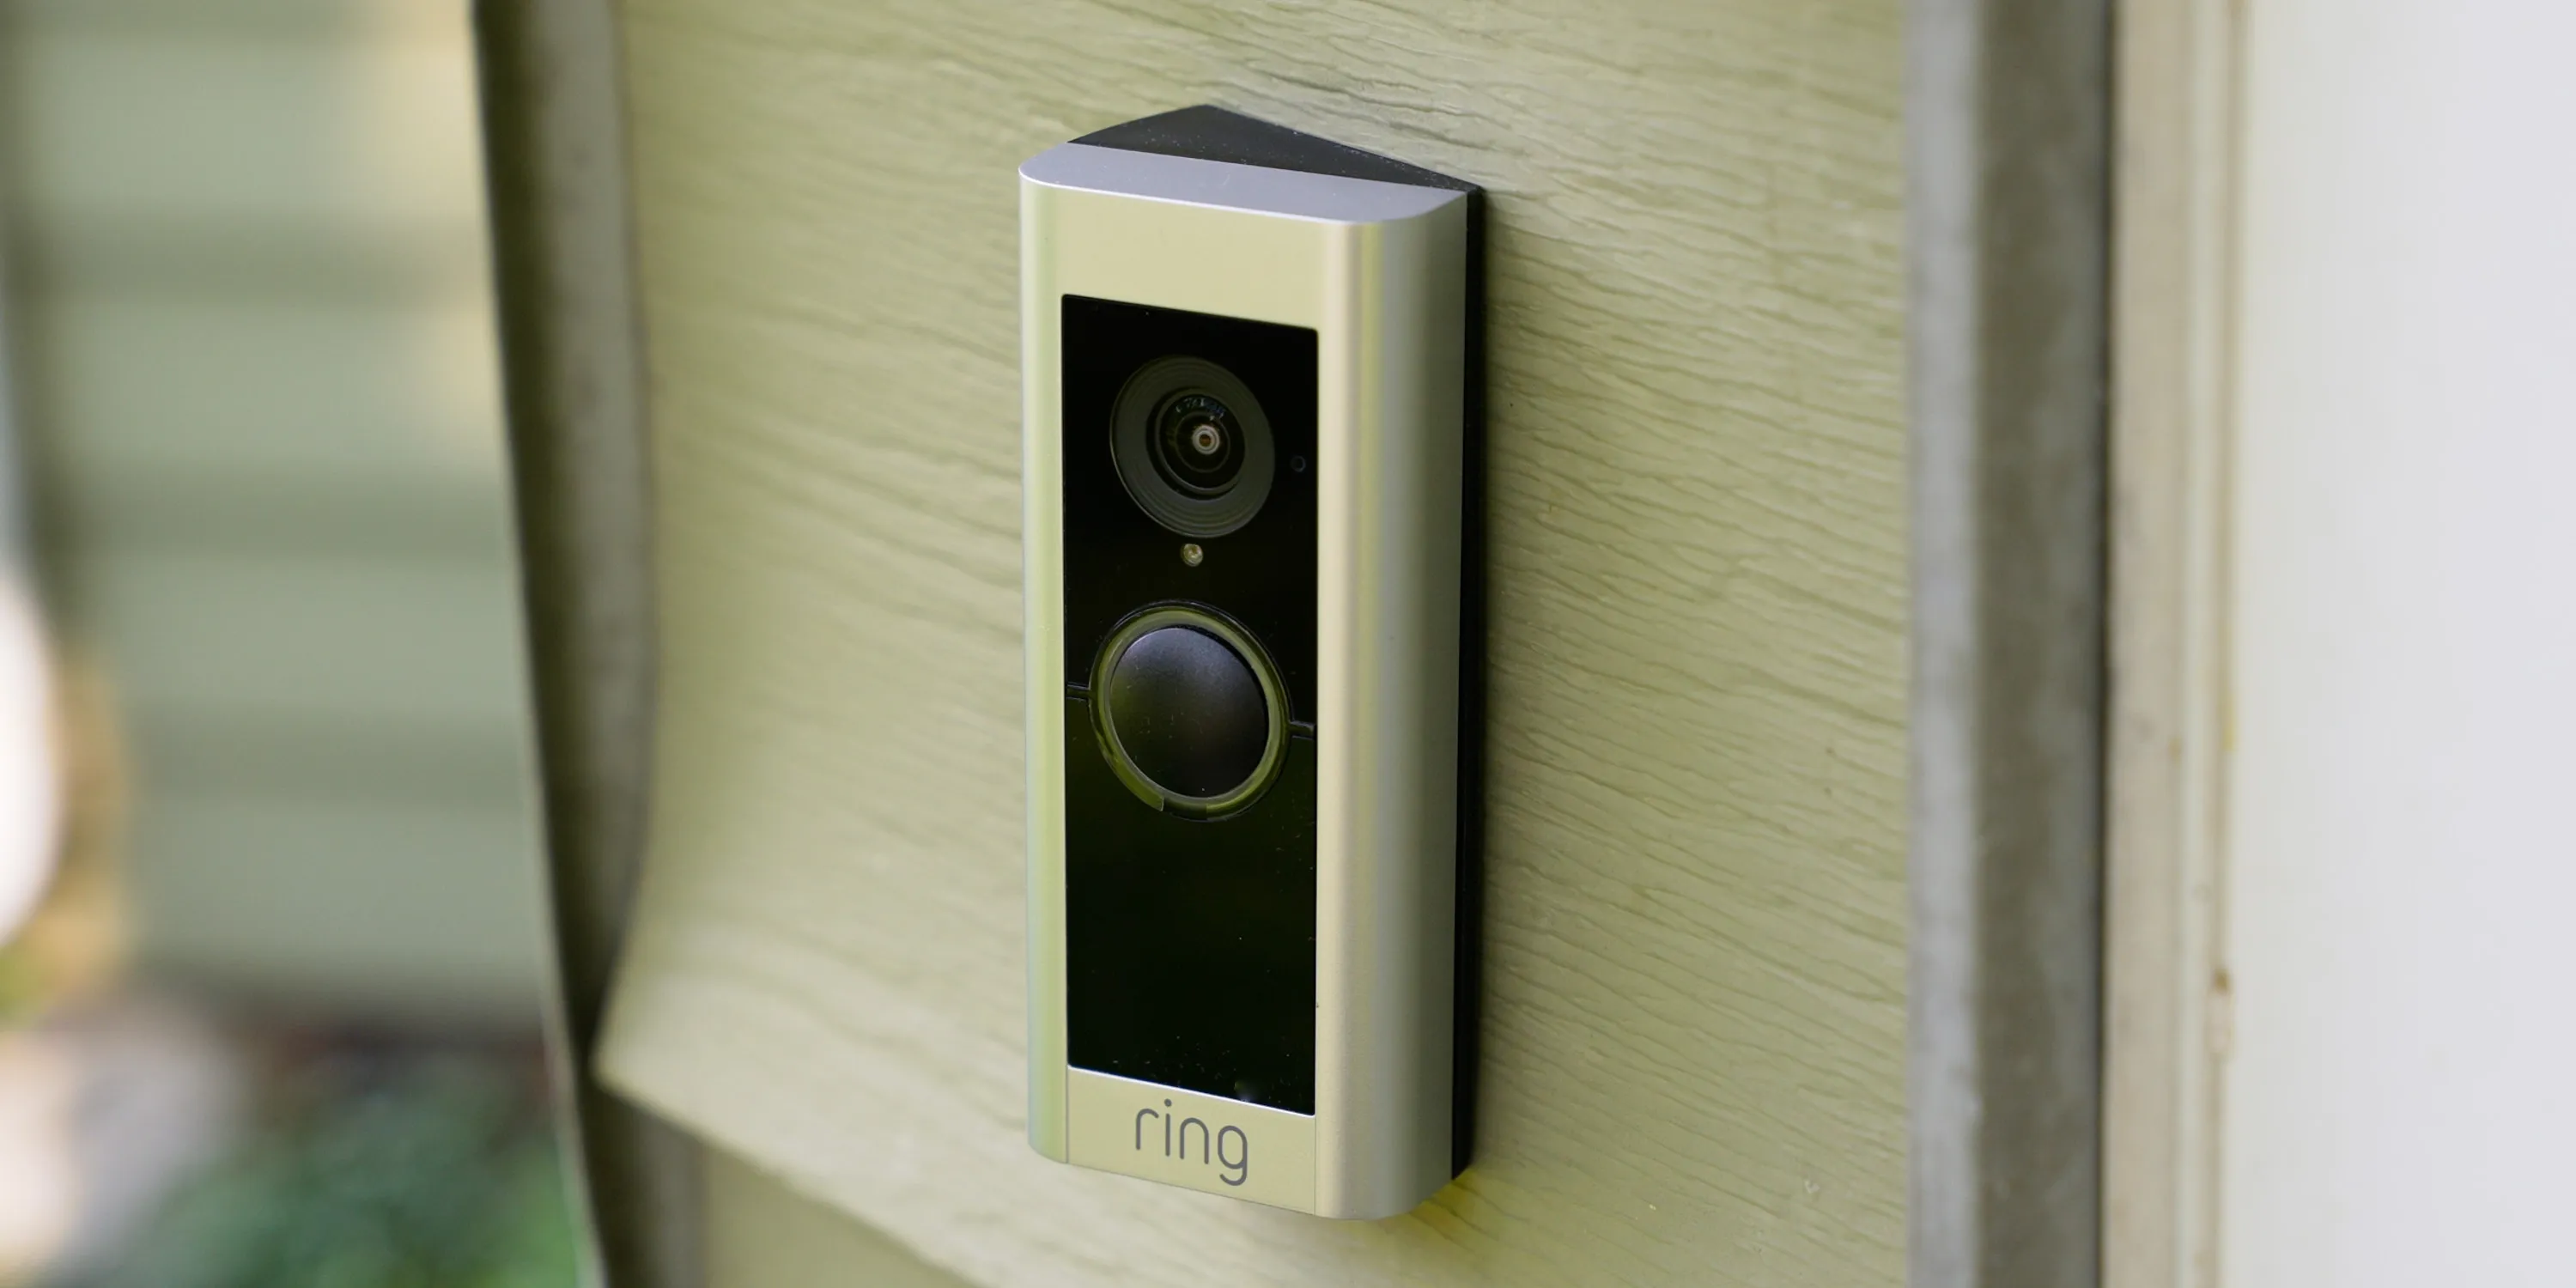
Step 7: Install the Faceplate
Now that the Ring Video Doorbell 2 is securely attached to the mounting bracket, it’s time to install the faceplate. The faceplate not only enhances the aesthetics of your doorbell but also provides protection against the elements. Follow these steps to install the faceplate:
- Align the faceplate: Line up the tabs on the back of the faceplate with the corresponding slots on the front of the Ring Video Doorbell 2.
- Slide the faceplate into place: Gently slide the faceplate down until it locks into place. You should feel a satisfying click, indicating that the faceplate is properly installed.
- Give it a firm press: After installing the faceplate, give it a firm press to ensure that it is securely attached to the doorbell. It should fit snugly and not have any visible gaps.
By following these steps, you will ensure that the faceplate is properly installed on your Ring Video Doorbell 2, providing both visual appeal and protection to the device. The faceplate is designed to withstand various weather conditions, so it’s important to ensure a secure installation to prevent any issues in the future.
If you encounter any difficulties or notice any misalignment with the faceplate, double-check the positioning of the tabs and slots. Make sure they are properly aligned before sliding the faceplate into place. If necessary, refer to the Ring Video Doorbell 2 user manual or contact Ring’s customer support for further assistance.
With the faceplate securely installed, your Ring Video Doorbell 2 is nearly ready for use. The next step will guide you through the process of setting up the Ring app on your smartphone or other compatible devices.
Step 8: Set up the Ring App
Setting up the Ring app is an essential step in maximizing the functionality of your Ring Video Doorbell 2. The app allows you to access and control your doorbell’s features, such as receiving notifications, adjusting settings, and reviewing recorded footage. Follow these steps to set up the Ring app:
- Download the app: Visit your device’s app store (Google Play Store for Android or App Store for iOS) and search for the “Ring” app. Download and install the app on your smartphone or tablet.
- Create a Ring account: Once the app is installed, open it and select “Create Account.” Follow the on-screen instructions to create a new Ring account. If you already have a Ring account, select “Log In” and enter your credentials.
- Add your Ring Video Doorbell 2: In the app, select the option to add a device. Follow the prompts to scan the QR code or enter the serial number on the back of the doorbell. The app will guide you through the process of connecting the doorbell to your Wi-Fi network.
- Configure settings: Once your Ring Video Doorbell 2 is connected, you can customize various settings within the app. These settings include motion detection sensitivity, notification preferences, and recording options. Take some time to explore the app and adjust the settings according to your preferences.
- Test the doorbell: After configuring the settings, give the doorbell a test by pressing the doorbell button or triggering the motion detection. Verify that you receive the notifications and can view the live video feed through the app.
By completing these steps, you will have successfully set up the Ring app and connected your Ring Video Doorbell 2 to your smartphone or tablet. The app will serve as your central hub for managing and monitoring your doorbell, providing you with peace of mind and enhanced security.
If you encounter any issues during the app setup process, refer to the app’s help documentation or contact Ring’s customer support for assistance. They will be able to provide you with further guidance and troubleshoot any concerns you may have.
With the Ring app set up, you’re now ready to proceed to the next step: testing and customizing your doorbell settings.
Step 9: Test and Customize Your Settings
After setting up the Ring app, it’s time to test and customize the settings for your Ring Video Doorbell 2. This step ensures that your doorbell is functioning as desired and tailored to your specific preferences. Follow these steps to test and customize your settings:
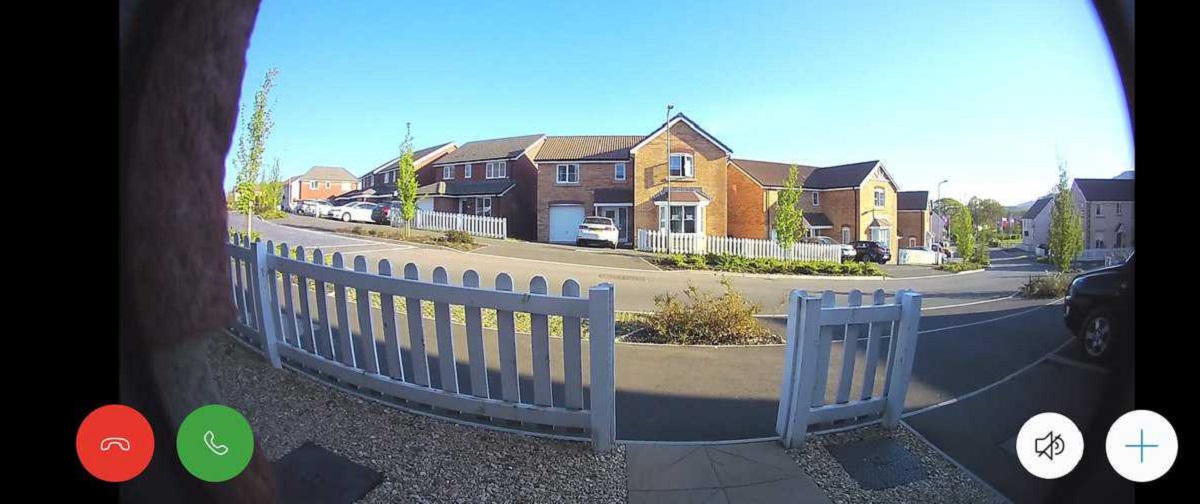
- Check the video feed: Open the Ring app and navigate to the live video feed of your Ring Video Doorbell 2. Verify that the video feed is clear and that you can see and hear any activity at your front door.
- Adjust motion detection: Experiment with the motion detection settings in the app. You can adjust the sensitivity, set detection zones, and customize other options to ensure that you receive notifications only for relevant activity.
- Explore notification settings: Customize your notification preferences within the app. You can choose to receive alerts for motion detection, doorbell presses, or both. Adjust the frequency and type of notifications to suit your needs.
- Test the doorbell chime: If you have a compatible doorbell chime, test its functionality by pressing the doorbell button. Ensure that the chime sounds properly, indicating that it is synced with your Ring Video Doorbell 2.
- Evaluate video recording options: Review the options for video recording, including cloud storage and subscription plans. Decide if you want to enable video recordings and explore any added features or benefits associated with the subscriptions.
- Set up additional features: Explore other features offered by the Ring app, such as two-way audio, night vision, and sharing access with family members or trusted individuals.
Testing and customizing your settings allow you to tailor the functionality of your Ring Video Doorbell 2 to fit your preferences and needs. Take the time to fine-tune the settings to ensure optimal performance and a personalized user experience.
If you experience any issues or have concerns during this step, consult the app’s help documentation or reach out to Ring’s customer support for assistance. They can provide guidance on specific settings and help troubleshoot any problems you may encounter.
With your Ring Video Doorbell 2 set up and fully customized, you can now enjoy the convenience, security, and peace of mind it brings to your home.
Conclusion
Congratulations! You have successfully installed and set up your Ring Video Doorbell 2. By following the step-by-step instructions in this guide, you have transformed your front door into a smart and secure entryway. With the Ring Video Doorbell 2, you can now monitor and interact with visitors from anywhere using your smartphone, tablet, or computer.
Throughout the installation process, you verified compatibility, charged the battery, removed your existing doorbell, installed the mounting bracket, connected the wires, attached the doorbell, installed the faceplate, set up the Ring app, and tested and customized your settings. These steps ensured a seamless installation and optimal functionality of your Ring Video Doorbell 2.
Remember, if you encounter any issues or have questions during the process, don’t hesitate to consult the Ring Video Doorbell 2 user manual or contact Ring’s customer support. They are available to assist you and provide solutions tailored to your specific needs.
With your Ring Video Doorbell 2 properly installed and configured, you now have enhanced security, convenience, and peace of mind at your front door. Enjoy the benefits of easily monitoring and managing access to your home, whether you’re inside or away. Stay connected, stay secure!