Introduction
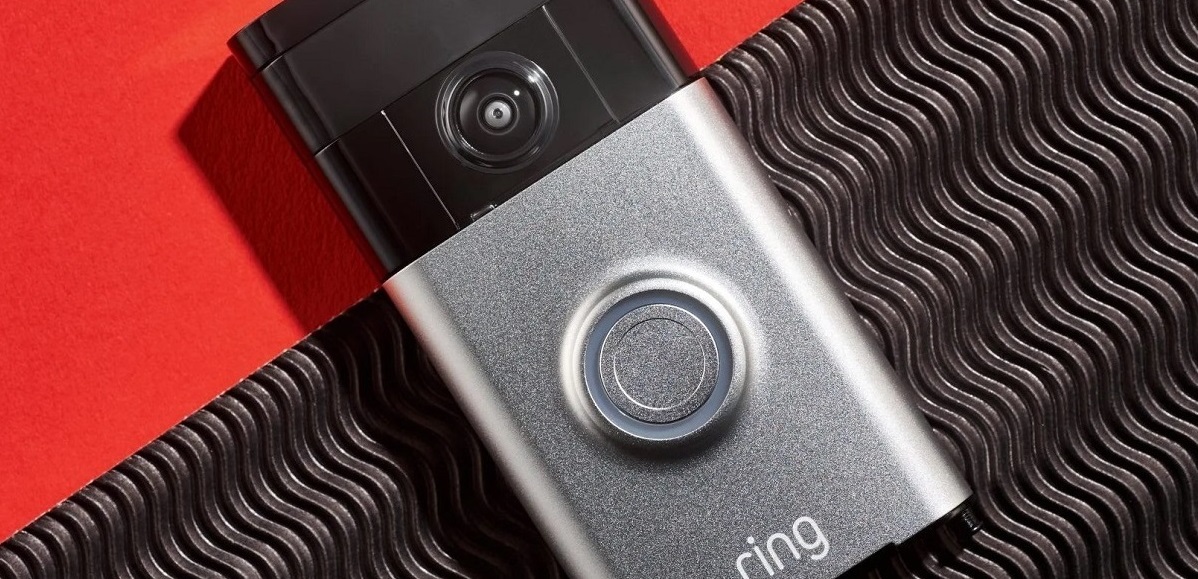
Welcome to the world of smart home technology, where convenience and security meet. Installing a video doorbell can add an extra layer of protection to your home by allowing you to see and communicate with visitors at your front door, even when you’re not there.
Gone are the days when a doorbell simply rang and you had to rely on peepholes or guesswork to see who was standing outside. With a video doorbell, you can have a clear view of your doorstep, receive motion-triggered alerts, and even remotely answer the door from your smartphone.
But what if you don’t have an existing doorbell system in place? The good news is that you can still enjoy the benefits of a video doorbell without the need for complicated wiring or professional installation. In this article, we will guide you through the process of installing a video doorbell even if you don’t have an existing doorbell.
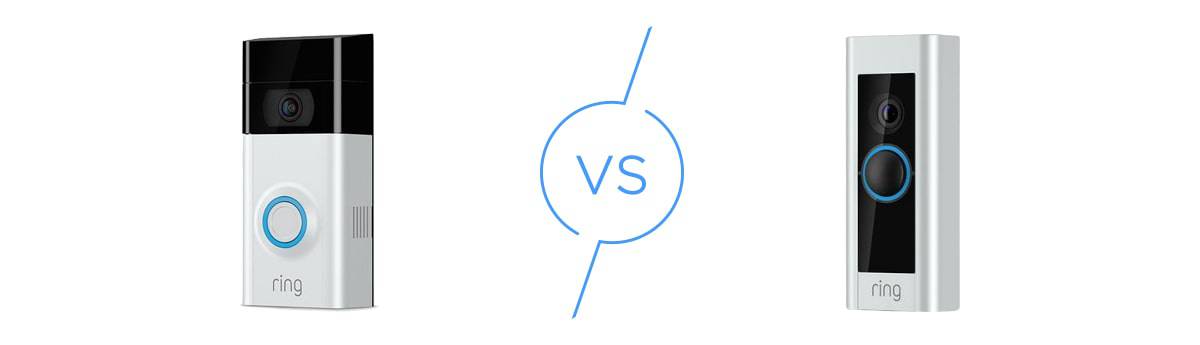
Before we delve into the installation steps, it’s important to choose the right video doorbell for your needs. There is a wide variety of video doorbell options available on the market, each with its own features and capabilities. Consider factors such as video resolution, field of view, two-way audio, night vision, and compatibility with your smartphone or existing smart home ecosystem.
Once you’ve selected the video doorbell that suits your preferences, let’s move on to the installation process. Don’t worry – you don’t need to be an expert handyman or tech guru to complete the installation successfully. Just follow these step-by-step instructions, and you’ll be able to enjoy the benefits of a video doorbell in no time.
Step 1: Choose the Right Video Doorbell
Before you begin the installation process, it’s crucial to select a video doorbell that suits your specific requirements. With a wide range of options available, consider the following factors to make an informed decision.
1. Video Resolution: Look for a video doorbell with high-resolution video capabilities, preferably 1080p or higher. This ensures that you get clear and detailed footage of anyone approaching your door.
2. Field of View: The field of view determines how wide an area the video doorbell can capture. Opt for one with a wide-angle lens, typically around 180 degrees, to cover as much area as possible and minimize blind spots.
3. Two-Way Audio: This feature allows you to communicate with visitors via the built-in microphone and speaker on the doorbell. Clear audio quality is essential for effective communication, so choose a doorbell with excellent audio capabilities.
4. Night Vision: To ensure round-the-clock surveillance, select a video doorbell equipped with infrared night vision. This feature enables you to see and identify people even in low-light or no-light conditions.
5. Smartphone Integration: Most video doorbells come with a companion app that allows you to access live footage, receive notifications, and interact with visitors from your smartphone. Ensure that the doorbell you choose is compatible with your smartphone’s operating system.
6. Smart Home Integration: If you have an existing smart home ecosystem, check if the video doorbell can integrate with platforms like Amazon Alexa or Google Assistant. This allows you to control the doorbell using voice commands or incorporate it into automated routines.
Additionally, consider factors like weather resistance, storage options (cloud subscription or local storage), and ease of installation. Read customer reviews and compare different models to find the video doorbell that best suits your needs and budget.
Once you’ve chosen the perfect video doorbell, you’re ready to proceed with the installation process. Don’t worry if you don’t have an existing doorbell system in place. We’ll guide you through each step to ensure a smooth and successful installation.
Step 2: Check WiFi Connectivity
Before installing your video doorbell, it’s essential to ensure that you have a stable and reliable WiFi connection near your front door. Most video doorbells rely on WiFi to transmit video footage, so a strong signal is crucial for seamless operation.
Here’s how you can check and improve your WiFi connectivity:
1. WiFi Range: Determine if your WiFi reaches the area where you plan to install the video doorbell. Walk outside your front door with your smartphone or tablet and check for a strong WiFi signal. If the signal is weak or nonexistent, you may need to consider options to extend your WiFi range, such as using a WiFi range extender or mesh WiFi system.
2. Internet Speed: A fast and stable internet connection is necessary for smooth video streaming and real-time notifications. Check your internet speed using an online speed test tool. Ensure that you have sufficient upload and download speeds for optimal performance. If your internet speed is below the recommended threshold, you may need to upgrade your broadband package.
3. Router Placement: The placement of your router can impact WiFi coverage. Make sure your router is positioned in a central location within your home and away from obstructions. Avoid placing it near other electronic devices or thick walls that may interfere with the signal. A clear line of sight between your router and the video doorbell is ideal for better connectivity.
4. WiFi Interference: Other electronic devices, such as cordless phones, baby monitors, or neighboring WiFi networks, can cause interference. Switch off or move such devices away from your router to reduce interference. Additionally, changing your WiFi channel to a less crowded one can help minimize interference from neighboring networks.
5. WiFi Network Name and Password: Ensure that you know the name (SSID) and password of your WiFi network. You’ll need this information during the video doorbell setup process. If you’re unsure, check the router’s settings or contact your internet service provider for assistance.
By taking these steps to check and optimize your WiFi connectivity, you’ll create a strong foundation for your video doorbell installation. A reliable WiFi connection will ensure smooth operation and efficient communication between your video doorbell and smartphone or smart home system.
Step 3: Install the Video Doorbell App
Once you’ve ensured a stable WiFi connection, the next step is to install the dedicated app for your video doorbell. The app is essential for setting up and managing your doorbell, receiving notifications, and accessing live video feed from your smartphone.
Follow these steps to install the video doorbell app:
1. Check Compatibility: Before downloading the app, make sure it is compatible with your smartphone’s operating system. Visit the app store (App Store for iOS devices or Google Play Store for Android devices) and search for the specific video doorbell brand or model. Verify that the app is available for your device.
2. Download the App: Open the app store on your smartphone and search for the video doorbell app. Once you find the correct app, tap on the “Install” or “Get” button to initiate the download and installation process. The app will automatically install on your device.
3. Open the App: After the installation is complete, locate the app on your device’s home screen or app drawer, and tap on its icon to launch it. The app may require you to sign in or create an account if this is your first time using it. Follow the on-screen instructions to set up your account.
4. Grant Permissions: When prompted, grant the necessary permissions to the app, such as access to your camera, microphone, and notifications. These permissions are required for the app to function correctly and provide you with all the available features and functionalities.
5. Explore the App: Once you have successfully installed and set up the app, take some time to familiarize yourself with its interface and features. The app will provide options to customize settings, adjust motion detection sensitivity, integrate with other smart home devices, and more.
Remember to keep the app updated to ensure you have the latest features and security enhancements. Check for app updates regularly in the app store or enable automatic updates on your device.
By installing the video doorbell app on your smartphone, you’ll have easy access to all the features and controls required to optimize your video doorbell experience. It’s an essential step in the setup process and will enhance the functionality and convenience of your video doorbell system.
Step 4: Prepare the Mounting Plate
Before you can install the video doorbell itself, you’ll need to prepare the mounting plate. The mounting plate acts as a secure base for attaching the doorbell and ensures proper alignment and stability.
Follow these steps to prepare the mounting plate:
1. Gather the Necessary Tools: Make sure you have all the tools required for this step, which typically include a screwdriver, screws, and any additional hardware that came with your video doorbell. Refer to the manufacturer’s instructions for the specific tools needed.
2. Determine the Mounting Location: Choose a suitable location near your front door to install the video doorbell. Look for a spot that provides a clear view of your doorstep while being easily accessible. Ensure that the mounting location is within reach of your existing doorbell wiring or a power source, if applicable.
3. Mark the Holes: Hold the mounting plate against the chosen location and mark the positions of the screw holes. Use a pencil or a marker to make clear, visible marks on the wall or surface. These marks will guide you during the installation process and ensure accurate placement.
4. Check for Obstructions: Before proceeding with drilling holes, ensure there are no obstructions behind the wall or surface where you plan to attach the mounting plate. Avoid drilling into electrical wires or pipes. If you’re unsure, it’s always wise to consult a professional or use a stud finder to locate the safest areas for drilling.
5. Attach the Mounting Plate: Align the mounting plate with the marked holes and hold it firmly against the wall or surface. Use the provided screws and screwdriver to secure the mounting plate in place. Make sure it is tight and secure. Check for any wobbling or misalignment and adjust as needed.
By properly preparing the mounting plate, you’ll ensure that your video doorbell is securely and accurately positioned. This step sets the foundation for the rest of the installation process and ensures that your doorbell will function optimally once installed.
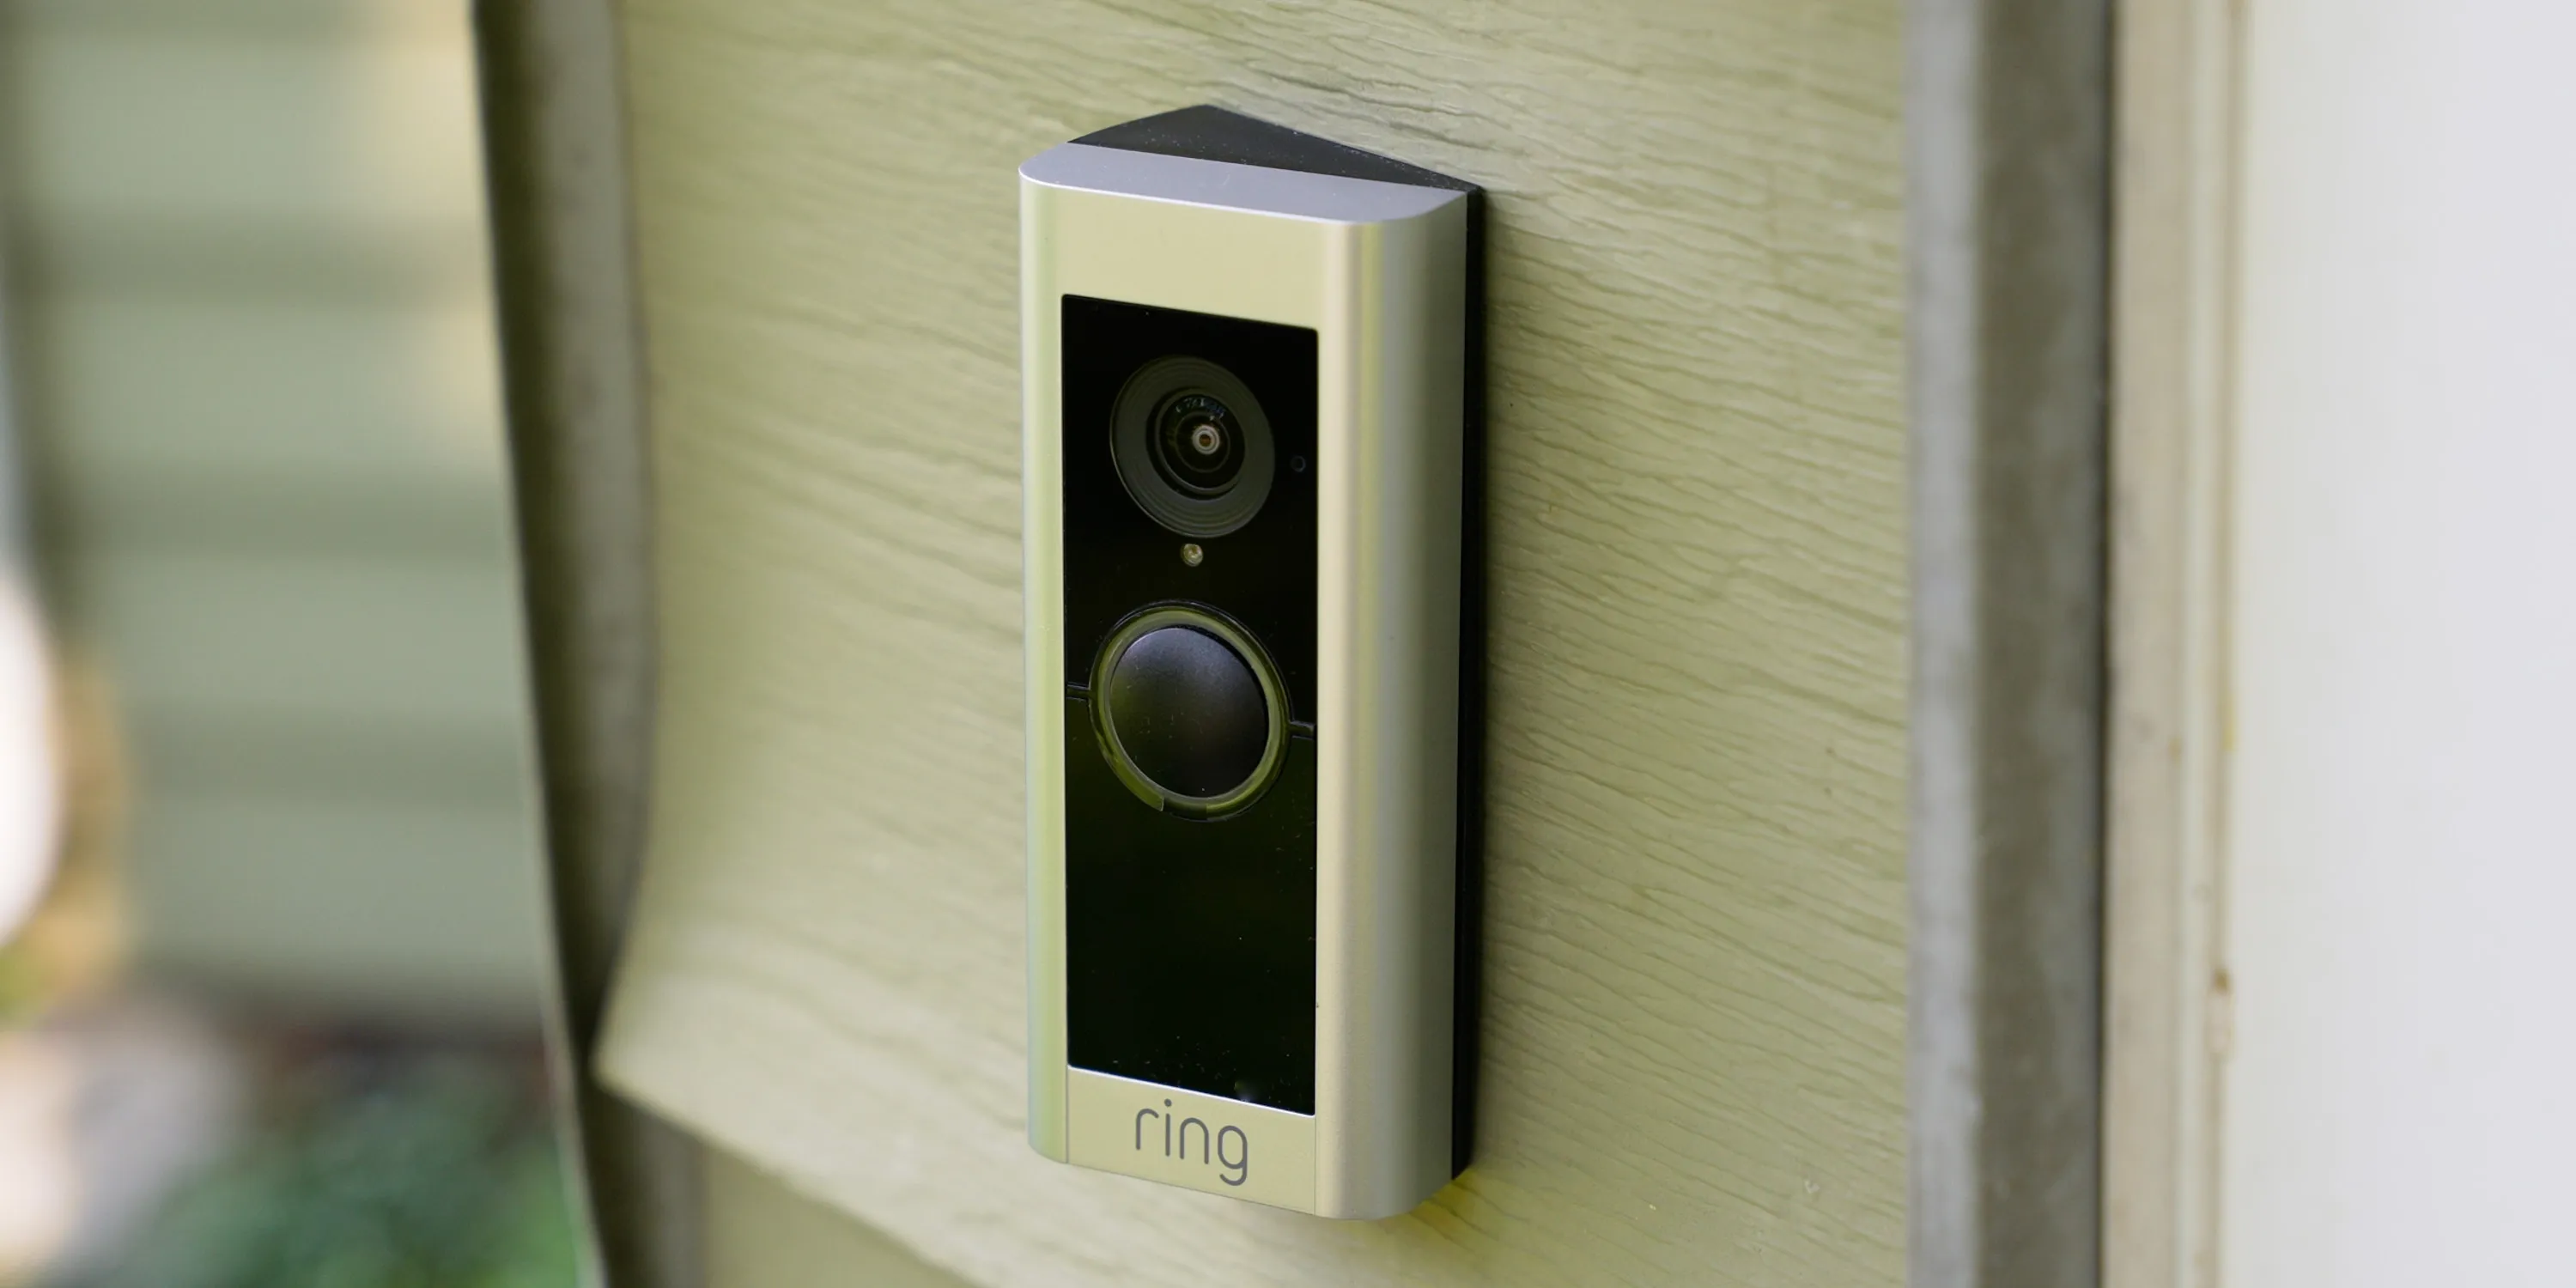
Step 5: Attach the Video Doorbell to the Mounting Plate
Now that you have prepared the mounting plate, it’s time to attach the video doorbell itself. This step ensures that the doorbell is securely fastened to the mounting plate and properly aligned for optimal functionality.
Here’s how to attach the video doorbell to the mounting plate:
1. Remove the Faceplate: Some video doorbells have a removable faceplate or cover. Before attaching the device to the mounting plate, gently remove the faceplate by following the manufacturer’s instructions. This step may vary depending on the specific model you have.
2. Align the Doorbell: Hold the video doorbell against the mounting plate and align it with the screw holes on the plate. Ensure that the device fits snugly and securely into place. Double-check the alignment to ensure that the doorbell is level and straight.
3. Secure the Screws: Once the doorbell is properly aligned, use the provided screws to secure it to the mounting plate. Insert the screws into the designated screw holes and tighten them using a screwdriver, taking care not to overtighten and damage the device or the mounting plate.
4. Test the Stability: Gently give the video doorbell a slight tug or shake to test its stability. It should be firmly attached to the mounting plate without any wobbling or loose connections. If the doorbell feels loose, check the screws and make sure they are tightened properly.
5. Reattach the Faceplate: If you removed the faceplate earlier, carefully reattach it to the video doorbell. Ensure that it snaps into place securely and covers the internal components. This step may require a gentle press or click to lock the faceplate back into position.
By attaching the video doorbell to the mounting plate, you ensure a secure and stable connection. This step is crucial for proper functionality and ensures that the doorbell won’t move or detach over time.
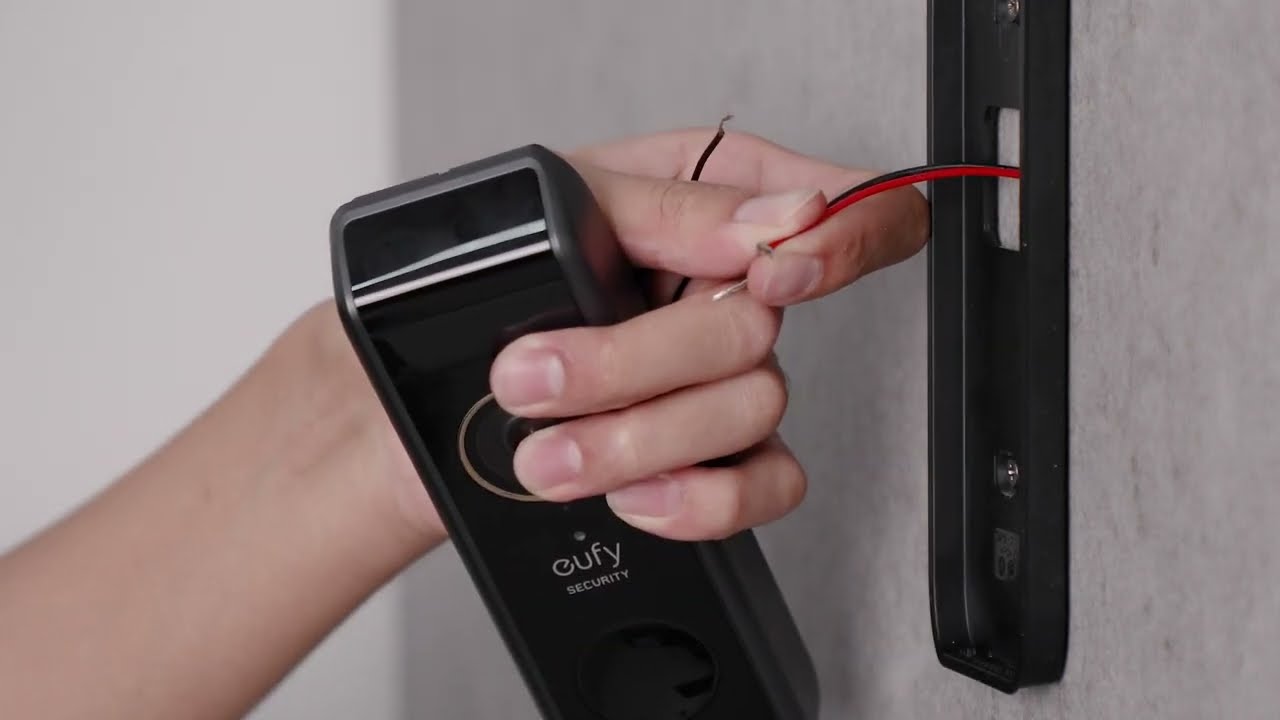
Step 6: Connect the Wires
Now that the video doorbell is securely attached to the mounting plate, it’s time to connect the necessary wires. The wiring process may vary depending on the specific model you have, but here are the general steps to follow:
1. Turn Off Power: Before working with any electrical wires, it’s crucial to turn off the power to the existing doorbell system or the relevant electrical circuit. Locate the breaker associated with the doorbell wiring and switch it off to ensure your safety during the installation process.
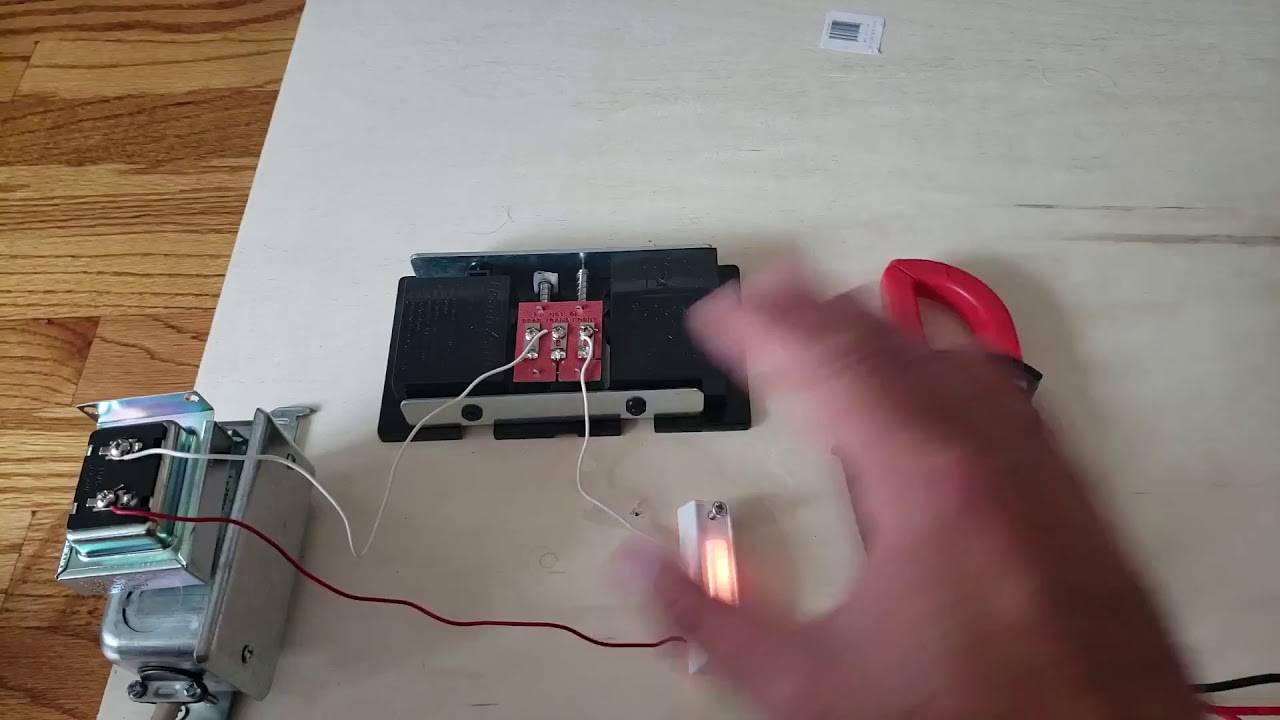
2. Identify the Wiring Setup: Determine the type of wiring setup you have for your video doorbell installation. Common setups include:
- Hardwired: If you have an existing doorbell, you likely have a hardwired setup. In this case, you’ll need to connect the wiring from your existing doorbell to the terminals on the video doorbell.
- Battery-powered: If your video doorbell is battery-powered, skip the wiring process and proceed to the next step.
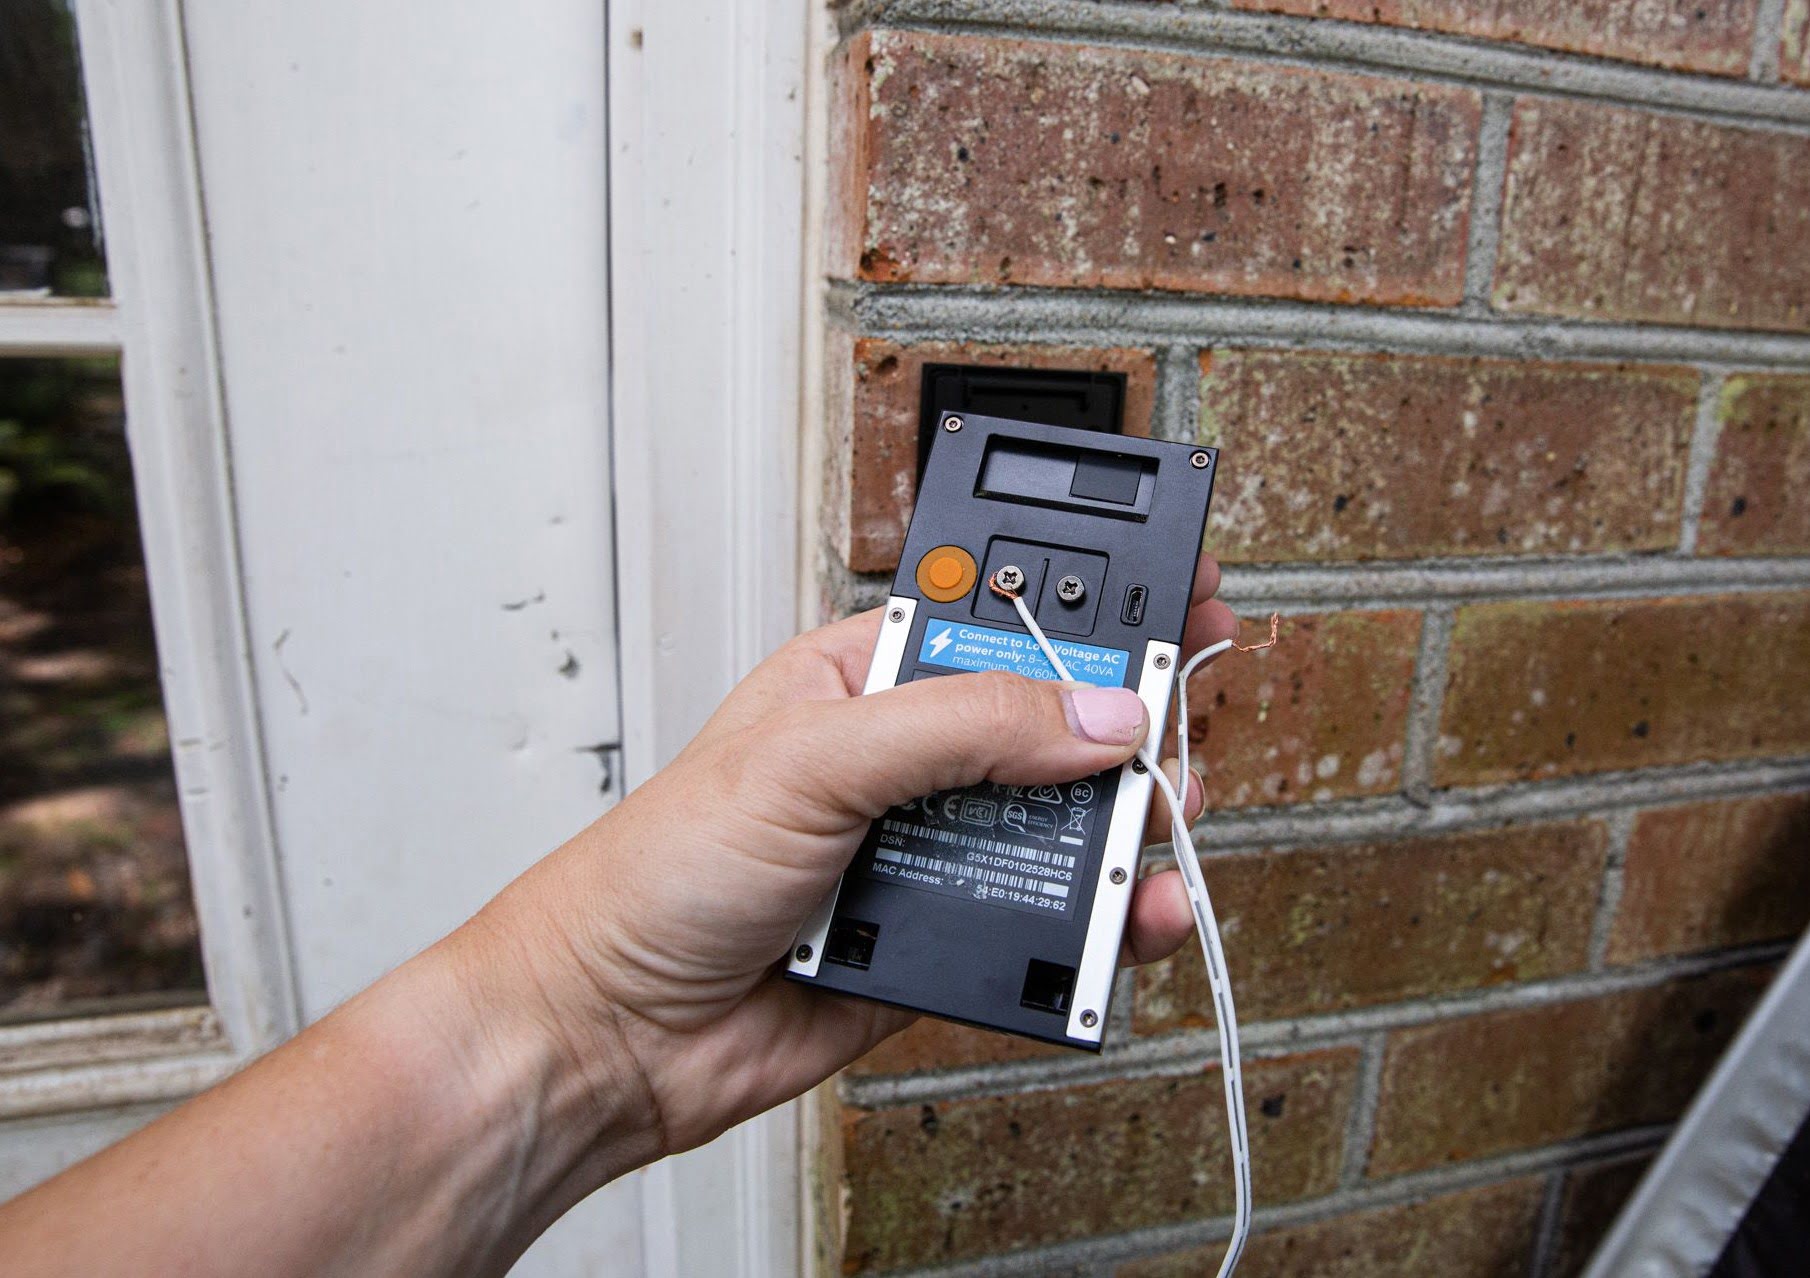
- Power Adapter: Some video doorbells may require a power adapter for power supply. Follow the manufacturer’s instructions to connect the power adapter to an electrical outlet.
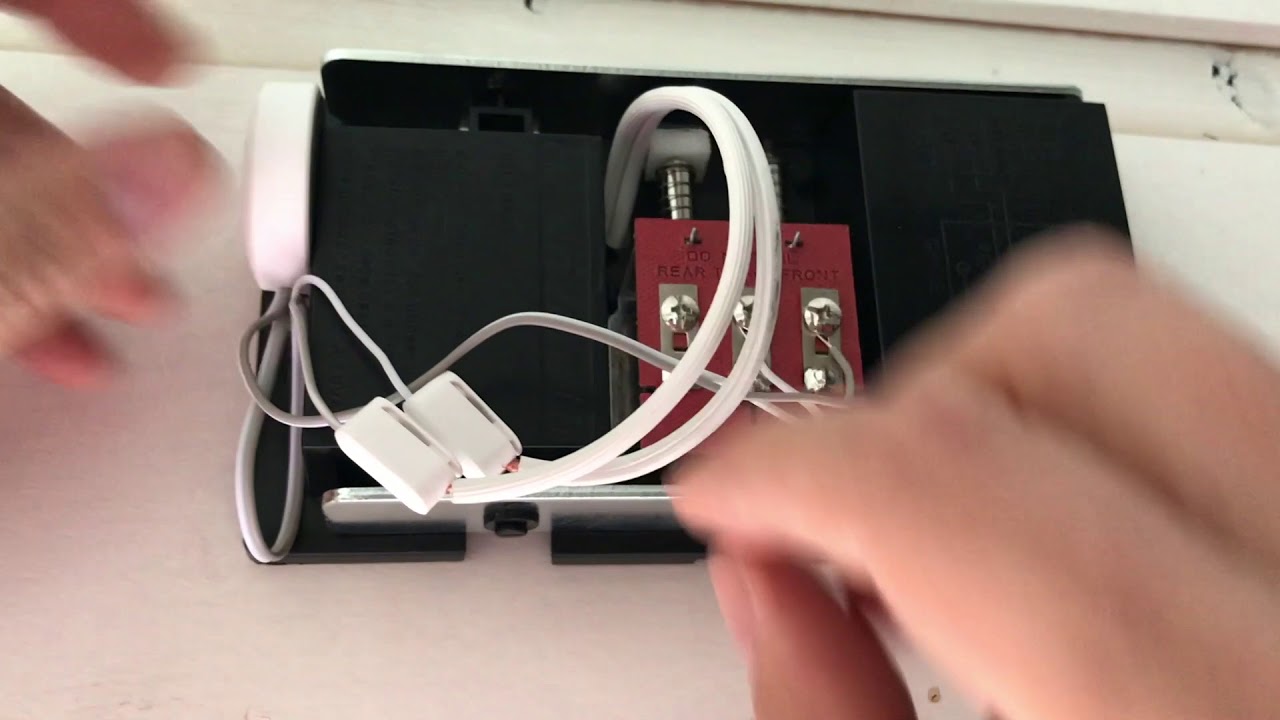
3. Disconnect Existing Doorbell Wires (if applicable): If you have an existing doorbell system, carefully remove the wires from the terminals. Loosen the screws holding the wires in place and disconnect them from the doorbell system. Make sure to remember which wire was connected to which terminal.
4. Connect the Video Doorbell Wires: Follow the manufacturer’s instructions to connect the video doorbell wires to the appropriate terminals. Typically, you’ll match the wires based on their color or labeling. Strip the ends of the wires and insert them into the designated terminals. Tighten the screws to securely fasten the wires in place.
5. Double-check the Connections: Once the wires are connected, double-check the wiring setup to ensure that all connections are secure and properly aligned. This step is vital to prevent any electrical issues or malfunction of the video doorbell.
6. Restore Power: After verifying the connections, go back to the circuit breaker and switch the power back on. This will restore power to the video doorbell system. Ensure that the doorbell is functioning correctly and that there are no sparks or unusual sounds. If any issues arise, immediately switch off the circuit breaker and seek professional assistance.
By correctly connecting the wires, you’ll provide power to your video doorbell and enable its functionality. Remember to follow the manufacturer’s instructions and turn off power to ensure your safety during the wiring process.
Step 7: Test the Video Doorbell
Now that the video doorbell is installed and connected, it’s important to test its functionality to ensure that everything is working correctly. Testing the video doorbell will help you identify any potential issues and make any necessary adjustments before relying on it for your home security.
Follow these steps to test your video doorbell:
1. Power On: Make sure the power is on by checking that the circuit breaker or power source is active and supplying power to the video doorbell system. If the doorbell is battery-powered, ensure the battery is inserted properly and charged.
2. Trigger a Test Event: Create a test event to activate the video doorbell and simulate a visitor at the front door. This can be done by pressing the doorbell button if available or using the app to generate a mock notification or motion detection event.
3. Check the Video Feed: Open the video doorbell app on your smartphone or device and verify that the video feed is clear and visible. Ensure that you can see and identify the area in front of your door. Adjust the angle or positioning of the doorbell if necessary to improve the field of view.
4. Test Two-Way Audio: Activate the two-way audio feature on the app and test if you can hear and speak to the virtual visitor through the video doorbell. Make sure the audio quality is clear, and there are no delays or distortions during the communication process.
5. Review the App Notifications: Check if you’re receiving notifications on your smartphone or device when the video doorbell detects motion or when someone presses the doorbell button. Ensure that the notifications are timely and accurate.
6. Adjust Settings as Needed: Explore the settings on the video doorbell app and adjust them according to your preferences. This includes adjusting motion detection sensitivity, notification preferences, video quality, and any other available customization options.
7. Repeat the Test: Conduct multiple tests from different angles and distances to ensure consistency in the video feed, audio quality, and notifications. This will give you a better understanding of the video doorbell’s performance under various scenarios.
By thoroughly testing your video doorbell, you can identify any issues or areas for improvement. If you encounter any problems during the test, refer to the manufacturer’s instructions or seek professional assistance to resolve them.
Step 8: Adjust Settings and Notifications
After testing the basic functionality of your video doorbell, it’s time to fine-tune its settings and notifications to align with your preferences and needs. Adjusting these settings will ensure that your video doorbell is optimized for your specific requirements.
Follow these steps to adjust the settings and notifications of your video doorbell:
1. Open the App: Launch the video doorbell app on your smartphone or device. Ensure that you are logged in with your account details.
2. Access the Settings: Look for a settings or gear icon within the app’s interface. Tap on it to access the settings menu.
3. Customize Video Quality: Adjust the video quality settings based on your internet bandwidth and storage preferences. Higher quality video may require more storage capacity and may affect your internet speed, so find the right balance for your needs.
4. Set Motion Detection Zones: Use the app to define specific areas for motion detection. This allows you to focus on the areas that matter most, such as your front porch, while reducing unnecessary notifications triggered by movement in other areas.
5. Adjust Motion Sensitivity: Fine-tune the sensitivity level of the motion detection feature. If you’re receiving numerous false alarms or missing important events, you can increase or decrease the sensitivity to better suit your environment and needs.
6. Configure Notification Preferences: Customize the notification settings to determine how and when you receive alerts. You can choose to receive notifications for both motion detection and doorbell button presses, or you can select specific event types to be notified about.
7. Enable/Disable Recording: Depending on your video doorbell’s capabilities, you may have the option to enable or disable video recordings. Adjust the recording settings according to your storage capacity and privacy preferences.
8. Explore Additional Features: Take the time to explore any other features or settings available in the app. This may include options for integrating with other smart home devices, adjusting audio settings, or setting up specific schedules for notifications.
9. Test and Fine-Tune: After adjusting the settings to your liking, conduct further tests to ensure that the notifications and functionalities align with your expectations. Make any necessary adjustments based on the results of these tests.
By customizing the settings and notifications of your video doorbell, you can tailor its functionality to meet your specific requirements. Take the time to explore and understand the various options available in the app to make the most out of your video doorbell system.
Conclusion
Congratulations! You have successfully installed and set up your video doorbell without an existing doorbell system. With this smart home device in place, you can now enjoy the benefits of enhanced security and convenience at your front door.
Throughout the installation process, you’ve learned valuable steps to choose the right video doorbell, check WiFi connectivity, install the necessary app, prepare the mounting plate, connect the wires (if applicable), and test the functionality of the doorbell. By following these steps, you’ve ensured a seamless and effective installation.
Remember to periodically review and optimize your video doorbell’s settings. Customize features like video quality, motion detection zones, sensitivity, and notification preferences to suit your specific needs and environment. Regularly check for software updates to ensure you have the latest features, bug fixes, and security enhancements.
As you continue to use your video doorbell, take full advantage of its features. Utilize the two-way audio function to communicate with visitors, adjust settings to minimize false alarms, and explore any additional features provided by the video doorbell manufacturer.
Lastly, continue to prioritize the security of your video doorbell system. Keep the app and firmware up to date, and regularly change passwords for added protection against potential vulnerabilities. Maintain good internet connectivity and periodically check the status of your video doorbell to ensure proper operation.
Now that you’re equipped with the knowledge to install and optimize a video doorbell without an existing doorbell system, enjoy the peace of mind and convenience that this smart home device brings. Say goodbye to uncertain doorbell rings and hello to a safer and smarter front door experience.