Introduction
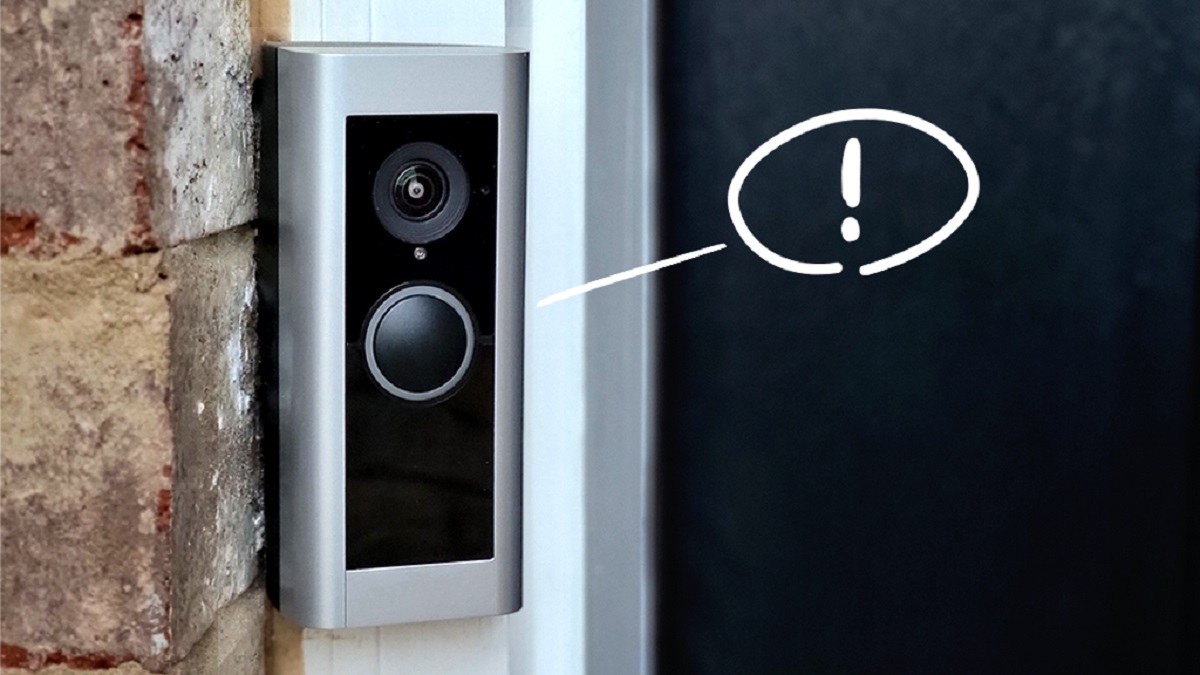
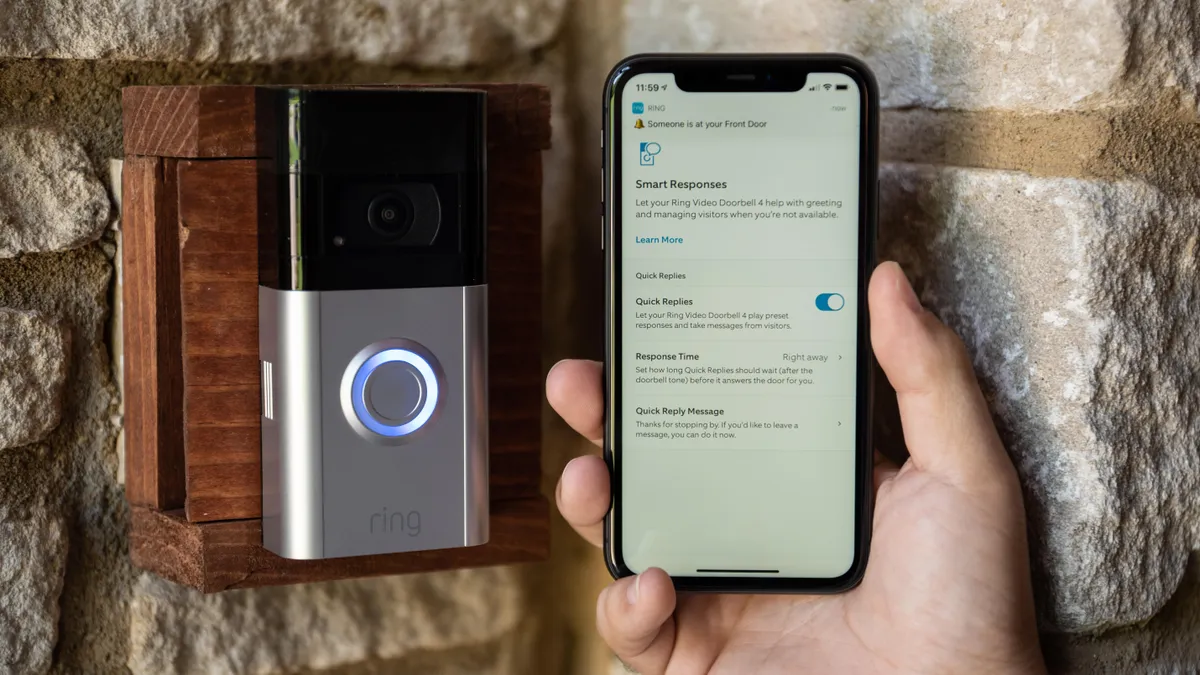
So, you've decided to upgrade your home security by installing a video doorbell. Congratulations! With this innovative device, you can monitor your front door, receive notifications when someone is at the door, and even communicate with visitors from anywhere using your smartphone. While many video doorbells are designed to be powered by rechargeable batteries, hardwiring your video doorbell can provide a continuous power supply, eliminating the need for recharging.
By hardwiring your video doorbell, you can enjoy uninterrupted functionality and potentially enhanced features, such as continuous video recording and advanced motion detection. This guide will walk you through the process of hardwiring your video doorbell, ensuring that you can complete the installation with confidence and ease.
Throughout this tutorial, we will cover each step in detail, providing clear instructions and valuable tips to help you successfully hardwire your video doorbell. Before we dive into the installation process, it's essential to gather the necessary tools and materials. With the right equipment and a bit of patience, you'll be well on your way to enjoying the enhanced security and convenience that a hardwired video doorbell can offer.
Now, let's gather the tools and materials needed for this project, and get ready to transform your home security system with a hardwired video doorbell installation.
Tools and Materials Needed
Before you begin the installation process, it’s crucial to have the right tools and materials on hand. Gathering these items beforehand will streamline the installation and ensure that you have everything you need to complete the project efficiently. Here’s a list of the essential tools and materials required for hardwiring your video doorbell:
- Screwdriver: A screwdriver, particularly a Phillips-head or flathead screwdriver, will be necessary for removing your existing doorbell and mounting the video doorbell.
- Wire Strippers: You’ll need wire strippers to prepare the wires for connection to the video doorbell. These tools make it easy to remove the insulation from the wires, ensuring a secure connection.
- Wire Nuts: Wire nuts are essential for connecting the wires from your doorbell to the wires of the video doorbell. Ensure that you have the appropriate size for a secure and reliable connection.
- Power Drill and Bits: If your video doorbell requires mounting screws, a power drill and suitable drill bits will be necessary for securing the device to the exterior of your home.
- Voltage Tester: Before working with any electrical components, it’s critical to have a voltage tester to ensure that the power is turned off. This tool will help you verify that the wires are safe to handle.
- Chime Kit (if applicable): Depending on your video doorbell model and existing doorbell setup, you may need a chime kit to integrate the doorbell’s functionality with your home’s chime system.
Additionally, you’ll need the following materials to complete the hardwiring process:
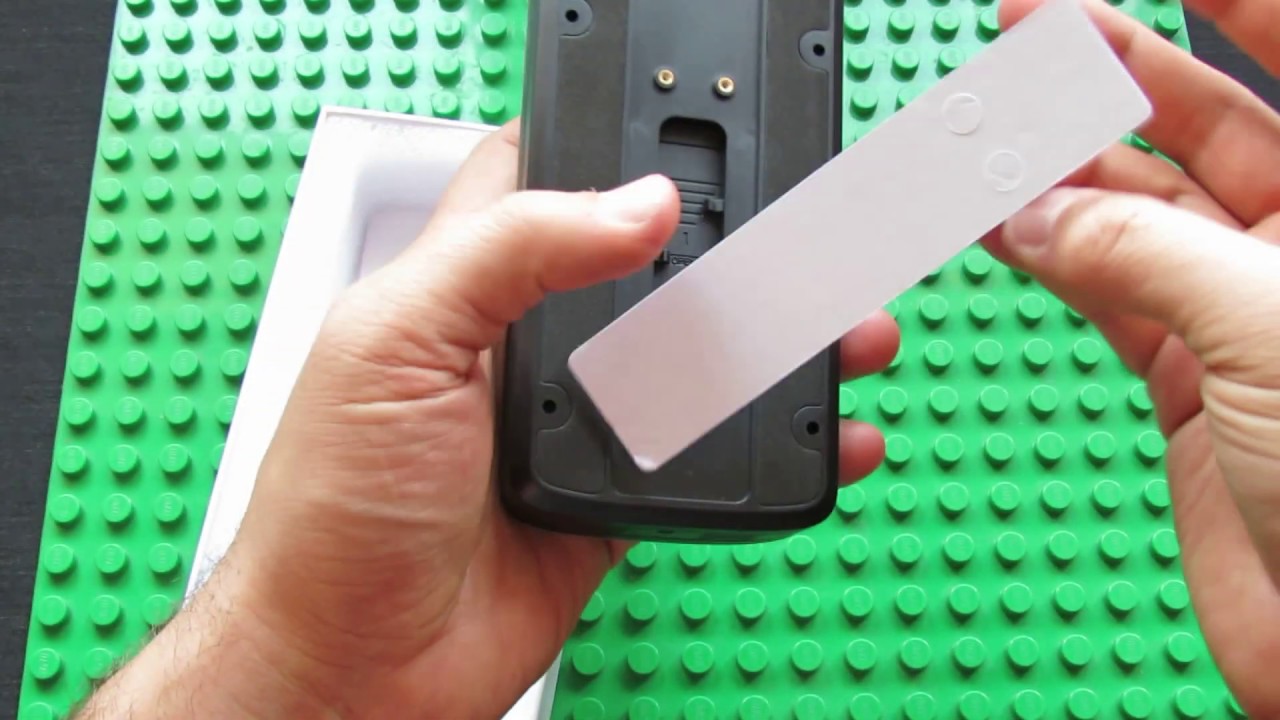
- Video Doorbell: Ensure that you have the video doorbell model of your choice, equipped for hardwiring. Review the manufacturer’s instructions to familiarize yourself with the device and its specific requirements.
- Low-Voltage Wiring: If the existing wiring is not suitable for the video doorbell or if new wiring is required, low-voltage wiring will be necessary to establish the electrical connection.
- Mounting Hardware: Depending on the video doorbell model, mounting hardware such as screws and anchors may be required for securing the device to the exterior of your home.
- Electrical Tape: Electrical tape can be used to secure wire connections and provide additional insulation, enhancing the safety and reliability of the electrical connections.
With these tools and materials at your disposal, you’ll be well-prepared to embark on the hardwiring process for your video doorbell. Once you have everything assembled, you can proceed to the first step: turning off the power to the existing doorbell.
Step 1: Turn Off Power
Before you begin working on the installation of your video doorbell, it’s crucial to prioritize safety by turning off the power to the existing doorbell. This step is essential to prevent any electrical hazards and ensure a safe working environment throughout the installation process.
To turn off the power to the existing doorbell, you’ll need to locate and switch off the appropriate circuit breaker in your home’s electrical panel. The circuit breaker should be clearly labeled to indicate the area of the house it controls. If the doorbell circuit is not labeled, it’s recommended to test the doorbell after turning off each circuit to identify the correct one. Once you’ve located the correct circuit, switch it off to cut off the power supply to the doorbell.
After turning off the circuit breaker, it’s advisable to use a voltage tester to verify that the power has been successfully disconnected. The voltage tester will indicate whether any electrical current is still present in the wires, providing an additional layer of safety before proceeding with the installation.
It’s important to exercise caution and ensure that the power remains off throughout the installation process. By taking the time to turn off the power and confirm its disconnection, you can minimize the risk of electrical accidents and work on the installation with peace of mind.
With the power to the existing doorbell safely turned off, you’re ready to move on to the next step: removing the existing doorbell in preparation for the hardwiring process.
Step 2: Remove Existing Doorbell
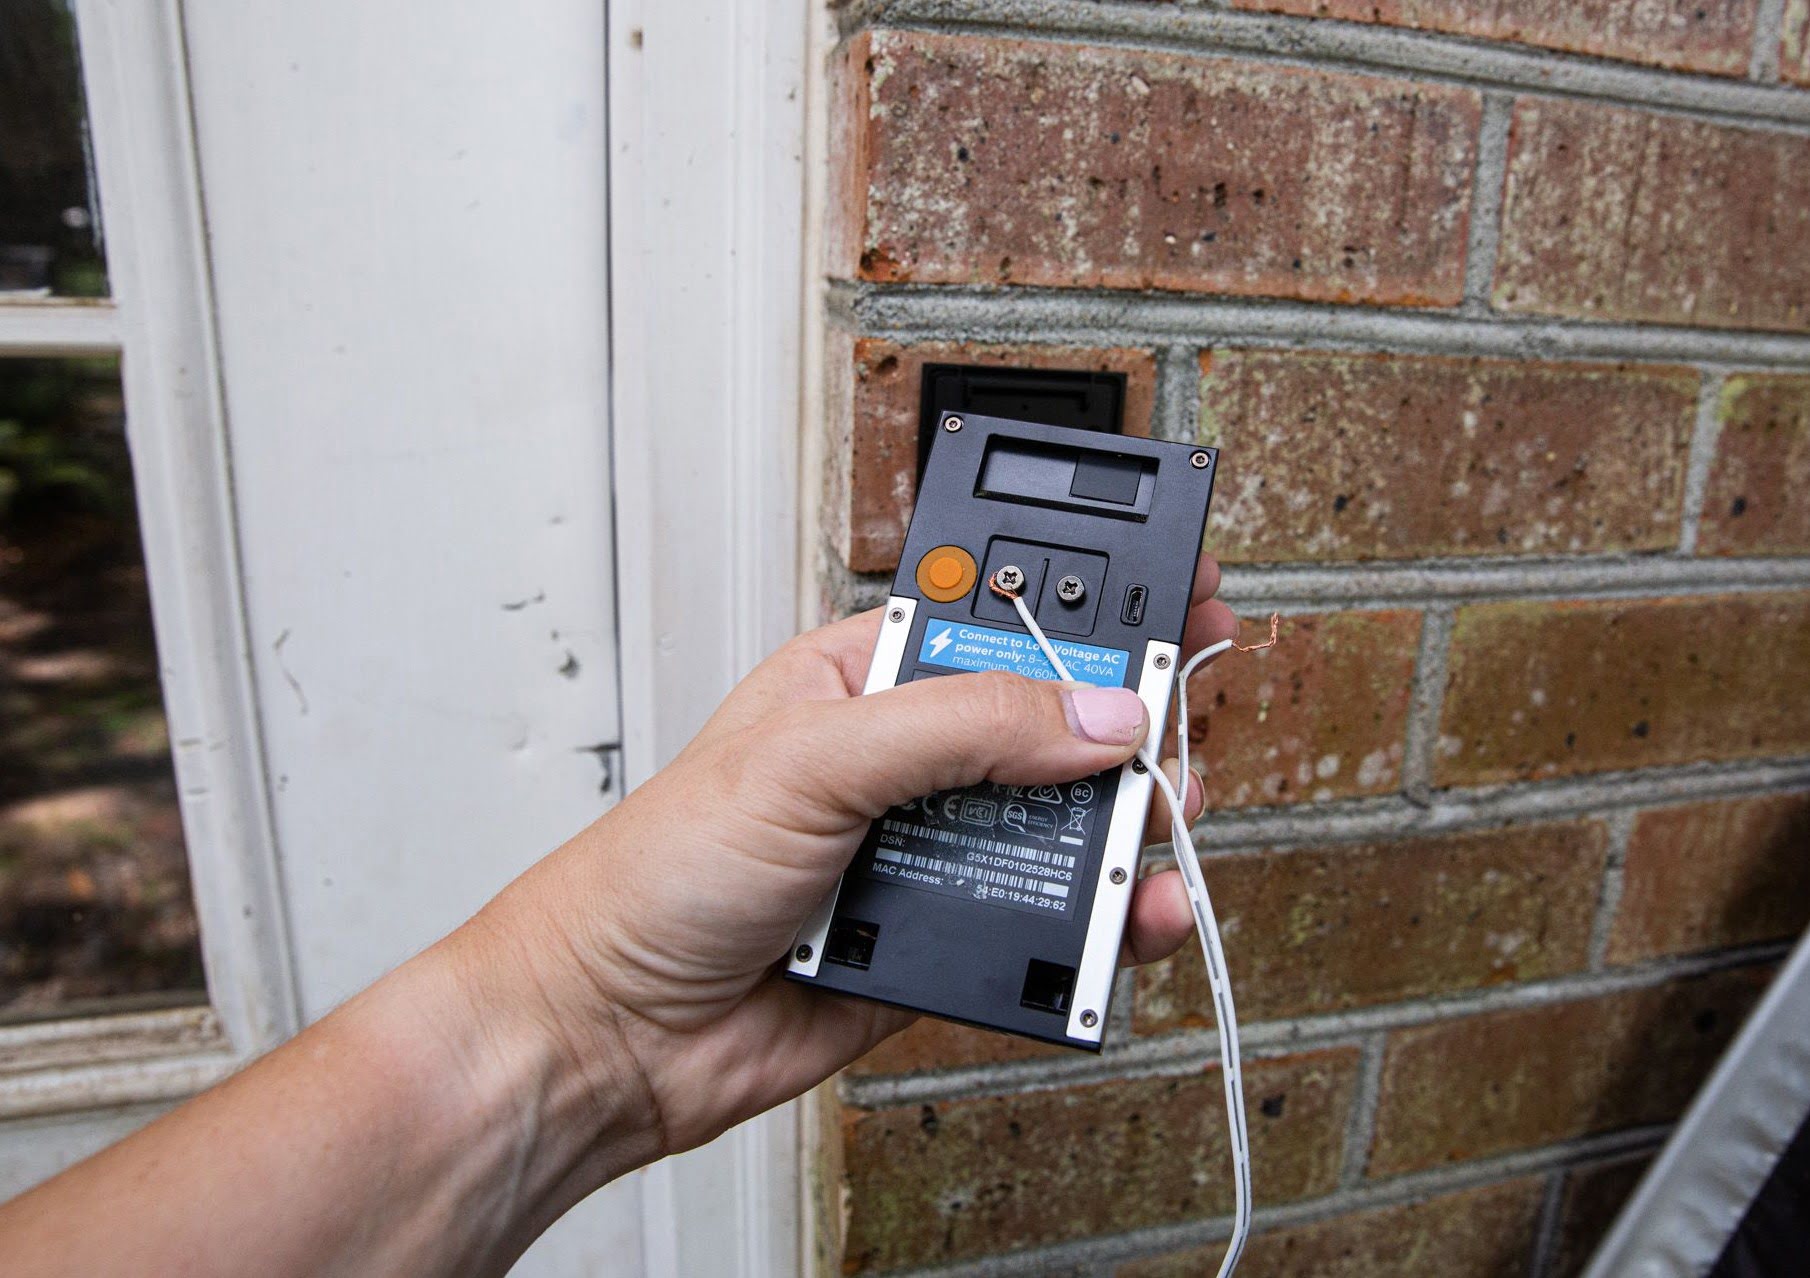
With the power to the existing doorbell turned off, you can now proceed to remove the old doorbell to prepare for the hardwiring of your new video doorbell. This step involves carefully detaching the existing doorbell from its mounting and disconnecting the wires to make way for the installation of the video doorbell.
Start by using a screwdriver to remove the screws that secure the existing doorbell to the exterior wall of your home. Once the screws are removed, gently pull the doorbell away from the wall to expose the wiring behind it. Take note of how the wires are connected to the doorbell terminals, as you will need to replicate this configuration when connecting the wires to your video doorbell.
After exposing the wiring, it’s time to disconnect the wires from the existing doorbell. Depending on the type of connection, you may need to unscrew terminal screws, release wire clips, or detach wire nuts to free the wires from the doorbell. Exercise caution and handle the wires carefully to avoid any damage or accidental contact with live electrical components.
Once the wires are detached, you can remove the old doorbell and set it aside. Take this opportunity to inspect the condition of the wiring and ensure that it is suitable for connecting to your new video doorbell. If the wiring appears worn or damaged, it may be necessary to replace it with new low-voltage wiring to guarantee a secure and reliable connection.
With the existing doorbell removed and the wiring exposed, you’re now ready to prepare the wires for connection to your video doorbell. Proceed to the next step to learn how to prepare the wires and position them for the hardwiring process.
Step 3: Prepare Wires
Now that the existing doorbell has been removed and the wiring is accessible, it’s time to prepare the wires for the hardwiring of your video doorbell. This crucial step involves assessing the condition of the wiring, making any necessary adjustments, and ensuring that the wires are ready to be securely connected to the video doorbell.
Begin by examining the exposed wires to check for any signs of wear, damage, or corrosion. It’s essential to address any issues with the wiring before proceeding with the installation to guarantee a reliable electrical connection. If the existing wiring is in good condition and suitable for use with your video doorbell, you can proceed to the next steps. However, if the wiring requires replacement or repair, it’s advisable to address these concerns before continuing with the installation.
Next, use wire strippers to carefully remove a small portion of insulation from the ends of the wires. This process will expose the conductive metal cores, allowing for secure connections to the terminals of the video doorbell. Take care to strip an appropriate length of insulation, as this will ensure that the wires can be properly seated and secured without excess exposed metal.
After stripping the wires, it’s beneficial to twist the exposed metal cores gently to ensure that the individual strands are tightly bound together. This step promotes a more secure connection and minimizes the risk of loose or frayed wires, which could compromise the functionality of the video doorbell.
If your video doorbell requires specific wire configurations, such as separate terminals for power and chime connections, it’s important to organize the wires accordingly. Review the manufacturer’s instructions for your video doorbell to determine the appropriate arrangement of the wires, and ensure that they are neatly organized and ready for connection.
By taking the time to inspect and prepare the wires for your video doorbell, you can lay the groundwork for a successful and reliable hardwired installation. With the wires in optimal condition and properly configured, you’re now ready to proceed to the next step: connecting the wires to your video doorbell.
Step 4: Connect Wires to Video Doorbell
With the wires prepared and ready for connection, it’s time to proceed with attaching the wires to your video doorbell. This step involves carefully establishing the electrical connections between the existing wiring and the terminals of the video doorbell to enable the device to receive power and function as intended.
Refer to the manufacturer’s instructions for your specific video doorbell model to identify the designated terminals for the power supply, chime connection, and any additional features supported by the device. It’s crucial to ensure that the wires are connected to the correct terminals to avoid any potential issues with the functionality of the video doorbell.
Begin by positioning the prepared wires near the video doorbell, taking care to align each wire with its corresponding terminal on the device. If your video doorbell utilizes screw terminals, loosen the screws to create space for the wire insertion. If the device features wire clips or other connection mechanisms, follow the manufacturer’s guidelines to secure the wires in place.
Once the wires are aligned with the appropriate terminals, carefully insert each wire into its designated location, ensuring a snug and secure fit. If your video doorbell utilizes screw terminals, tighten the screws to establish a reliable electrical connection, taking care not to overtighten and damage the wires.
After securing the wires to the terminals, it’s beneficial to use wire nuts or other suitable connectors to provide additional insulation and secure the connections. This extra layer of protection helps safeguard the electrical connections from environmental factors and ensures a reliable and long-lasting installation.
Before proceeding, double-check the wire connections to verify that each wire is securely fastened to the correct terminal on the video doorbell. It’s essential to confirm that the connections are stable and properly seated to prevent any issues with power supply or functionality once the installation is complete.
With the wires successfully connected to your video doorbell, you’ve completed a critical phase of the hardwiring process. The next step will guide you through mounting the video doorbell in its designated location, bringing you one step closer to enjoying the enhanced security and convenience it offers.
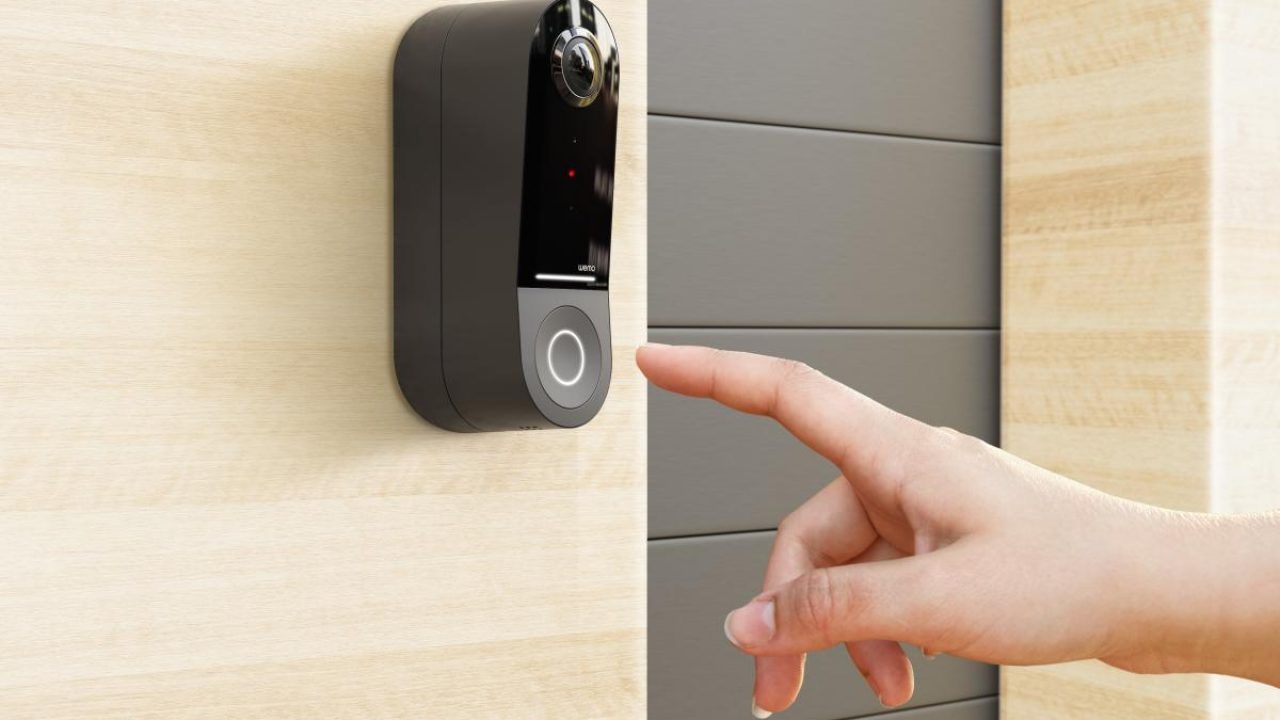
Step 5: Mount Video Doorbell
Now that the electrical connections have been established, it’s time to proceed with mounting your video doorbell in its designated location. Properly securing the device to the exterior of your home is essential for ensuring its stability, functionality, and optimal performance in monitoring your front door and enhancing your home security.
Before mounting the video doorbell, carefully review the manufacturer’s instructions to determine the recommended installation height, viewing angle, and any specific guidelines for positioning the device. This information will help you select an ideal location for mounting the video doorbell, ensuring that it provides a clear view of the entryway and surrounding area.
Using a power drill and suitable drill bits, if necessary, carefully create pilot holes for the mounting screws in the chosen location. Take care to align the holes accurately with the mounting points on the video doorbell, allowing for a secure and flush installation against the exterior surface.
Once the pilot holes are in place, position the video doorbell over the holes, aligning it with the drilled points and ensuring that it sits level and securely against the wall. If your video doorbell requires additional mounting hardware, such as anchors for different wall surfaces, follow the manufacturer’s recommendations to ensure a stable and reliable installation.
With the video doorbell positioned correctly, use the provided screws or mounting hardware to secure the device to the exterior wall. Tighten the screws carefully, ensuring that the video doorbell is firmly attached and resistant to movement or vibration, which could affect its performance and monitoring capabilities.
As a final step in mounting the video doorbell, take a moment to verify that the device is securely fastened and positioned as intended. Confirm that the viewing angle encompasses the desired area and that the device is aesthetically and functionally aligned with your home’s exterior.
With the video doorbell successfully mounted and secured, you’ve completed a significant aspect of the hardwiring installation. The final step will guide you through restoring power and testing the video doorbell to ensure that it operates as expected, bringing you closer to enjoying the added security and convenience it offers.
Step 6: Restore Power and Test
With the video doorbell securely mounted and the hardwiring process nearing completion, it’s time to restore power to the device and conduct thorough testing to ensure that it operates as intended. This critical step allows you to verify the functionality of the video doorbell, confirm the electrical connections, and address any potential issues before finalizing the installation.
Return to your home’s electrical panel and locate the circuit breaker that controls the power supply to the doorbell. Carefully switch the circuit breaker back on to restore power to the device. Once the power is restored, use a voltage tester to confirm that the wires connected to the video doorbell are now receiving electrical current. This verification step ensures that the device is powered and ready for testing.
After confirming the presence of power, proceed to test the video doorbell’s functionality. Depending on the model, this may involve pressing the doorbell button to trigger a notification on your smartphone, testing the live video feed, or evaluating the responsiveness of the device’s features. Additionally, consider adjusting the motion detection settings and exploring any integrated features to familiarize yourself with the video doorbell’s capabilities.
During the testing phase, pay attention to the clarity of the video feed, the responsiveness of notifications, and the overall performance of the video doorbell. If the device is integrated with a chime system, verify that the chime functions as expected when the doorbell is activated. This comprehensive testing allows you to identify any potential issues and address them before completing the installation.
If the video doorbell operates as intended during testing, you can proceed to fine-tune any settings, such as motion sensitivity or notification preferences, to personalize the device to your specific needs. Additionally, take this opportunity to familiarize yourself with the accompanying mobile app or software, exploring the various features and settings available for managing the video doorbell.
By restoring power and conducting thorough testing, you can ensure that your hardwired video doorbell installation is a success, providing you with enhanced security and convenience. With the device operating reliably and meeting your expectations, you’ve completed the installation process and can now enjoy the peace of mind that comes with a seamlessly integrated video doorbell system.
Conclusion
Congratulations on completing the hardwiring installation of your video doorbell! By following the comprehensive steps outlined in this guide, you’ve successfully transformed your home security system, paving the way for enhanced monitoring, convenience, and peace of mind. The dedication and attention to detail you’ve demonstrated throughout the installation process have ensured a reliable and secure integration of the video doorbell into your home.
With the power safely turned off, you carefully removed the existing doorbell, prepared the wires, and skillfully connected them to your new video doorbell. By mounting the device securely and conducting thorough testing, you’ve confirmed its functionality and familiarized yourself with its features. Your commitment to a meticulous and well-executed installation has positioned you to reap the benefits of a seamlessly integrated video doorbell system.
As you enjoy the added security and convenience provided by your hardwired video doorbell, consider exploring the full range of capabilities and settings available through the accompanying mobile app or software. Personalize the device to suit your preferences, adjust motion detection settings, and explore any additional features that contribute to a tailored and effective home security solution.
By embracing the installation process and harnessing the capabilities of your video doorbell, you’ve empowered yourself to monitor your front door, receive notifications, and communicate with visitors from anywhere using your smartphone. The continuous power supply provided by the hardwiring ensures uninterrupted functionality, eliminating the need for frequent recharging and enhancing the device’s capabilities.
As you reflect on the successful installation of your video doorbell, take pride in the improved security and accessibility it brings to your home. Your commitment to a thorough and well-executed installation has positioned you to enjoy the benefits of a seamlessly integrated video doorbell system, providing you with greater peace of mind and control over your home’s security.
With the hardwiring process complete and the video doorbell seamlessly integrated into your home, you can now relish the added security, convenience, and peace of mind that this innovative device offers. Your proactive approach to home security has set the stage for a more connected and protected living environment, ensuring that you can monitor and manage your front door with ease and confidence.