Understanding your ring video doorbell power source options
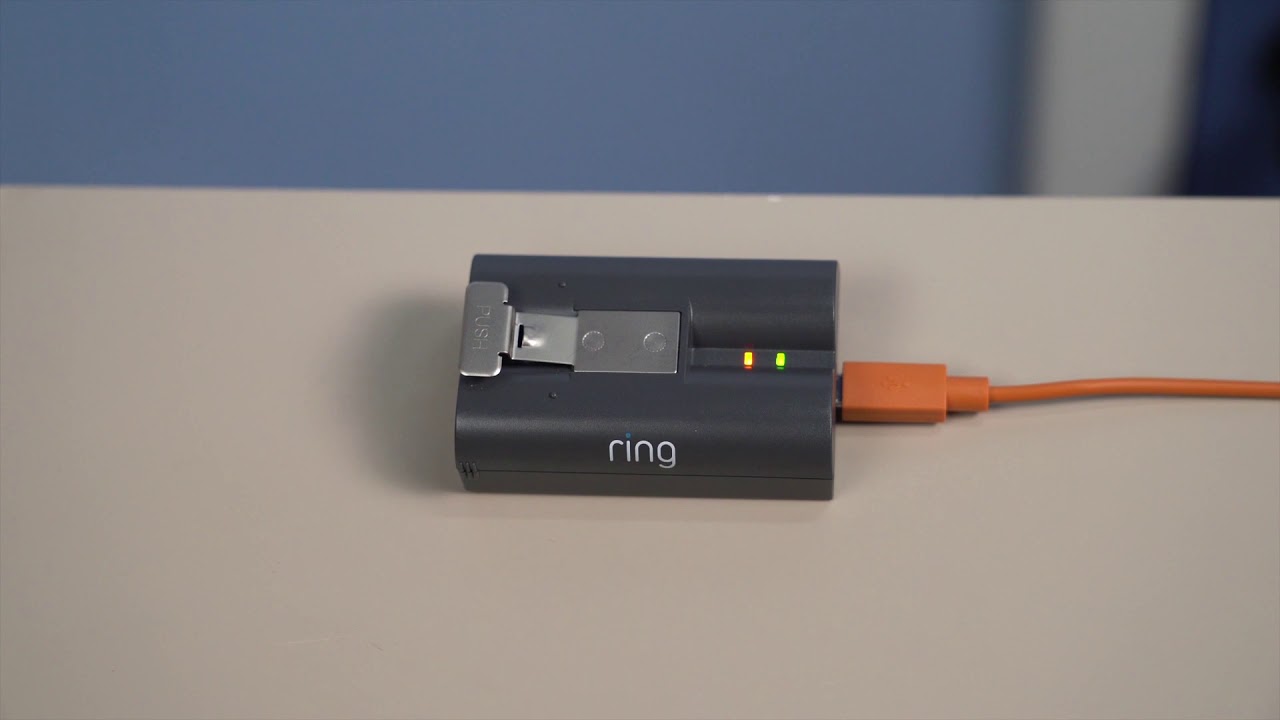
How is a Ring video doorbell powered? The core distinction comes down to whether your doorbell runs on a rechargeable battery or relies entirely on a wired connection. A battery-powered Ring doorbell is designed to operate for weeks or months on a single charge. You can extend that runtime by hardwiring a Ring battery doorbell for trickle charging. This sends a small, continuous current to keep the internal battery topped up. However, many people find that after making this connection, the old mechanical chime in their house stops sounding. If you find yourself searching for answers about "my ring doorbell not ringing my mechanical Chime after wiring it," the reason is that trickle-charge wiring does not supply enough power to activate a traditional chime mechanism. For those who want a chime to ring, you must check if your specific video doorbell works with existing chime. Only certain Ring wired doorbells can trigger a mechanical bell directly when properly installed with the included accessories. If you are using a battery model and want to know how long you have left before you need to recharge, you can tell when a Ring doorbell is fully charged by the light ring on the front: a solid blue LED indicates a full battery, while a spinning white light means charging is still in progress.
Setting up and installing your doorbell
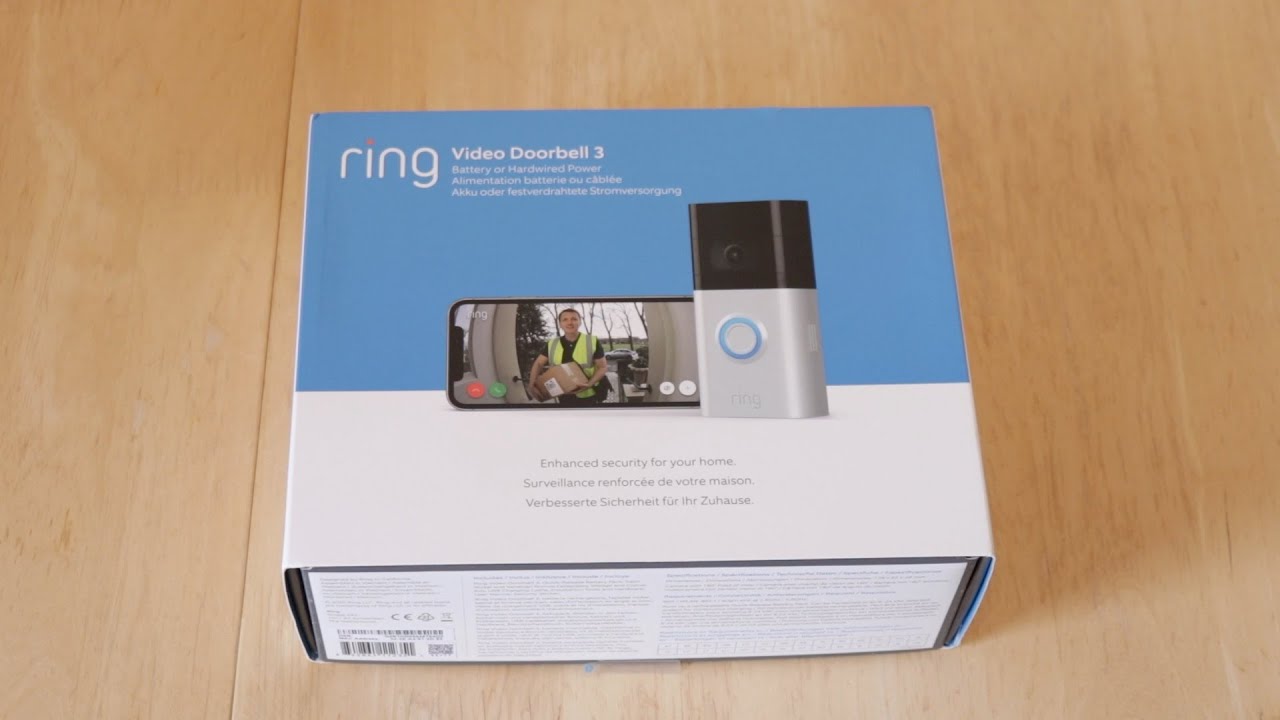
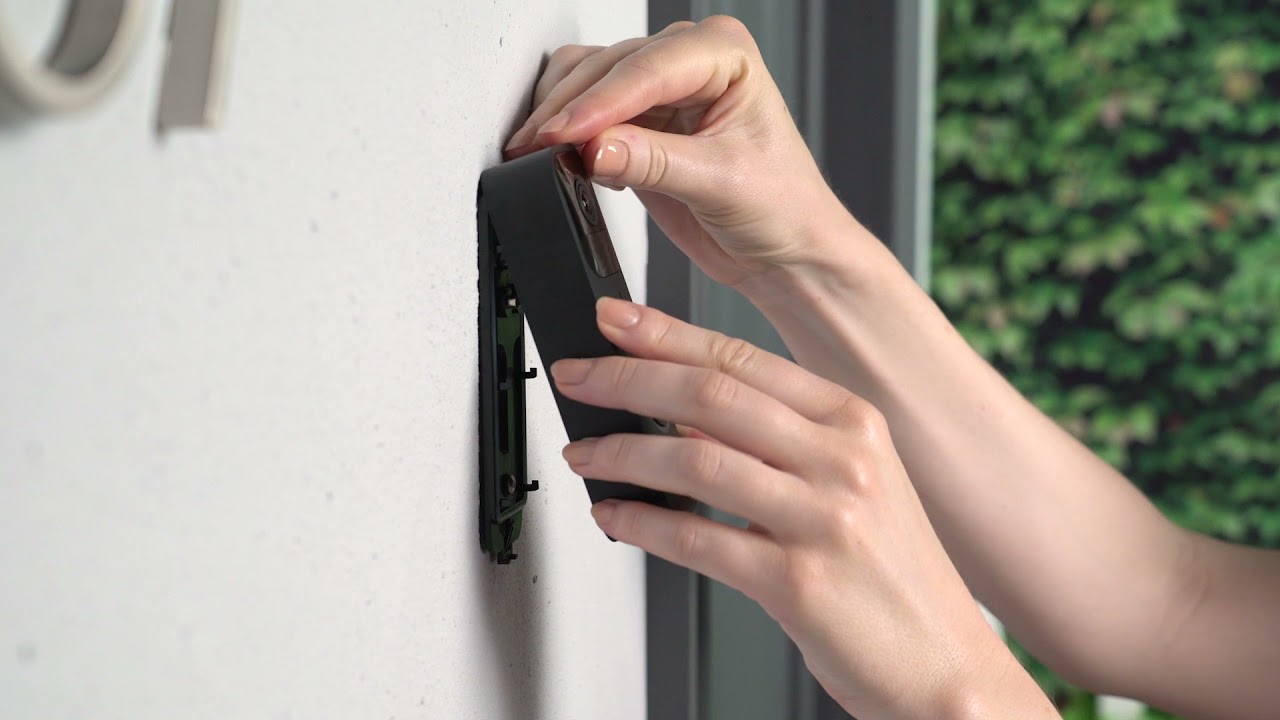
Start by opening the box and checking the contents of the Ring Video Doorbell box against the quick-start guide. You will find the doorbell unit, mounting bracket, screws, a screwdriver bit, and, critically, a Pro Power Kit if you have a model that includes one. Before you touch any wires, hold the doorbell up to your doorframe. Confirm the width of the Ring Video Doorbell fits your existing space. Many older doorbell holes are too narrow for the unit. If you plan to replace your existing wired doorbell with Ring Video Doorbell, first turn off power at the breaker and test the wires with a voltage detector. The existing low-voltage wires will connect to the mounting bracket’s terminals. On battery models these wires provide a trickle charge to supplement the internal battery. They do not power the doorbell directly. Do not attempt to install Blink Video Doorbell using these same wires. That system uses a different voltage protocol. Once the bracket is secure, attach the faceplate and slide the doorbell onto the bracket until it clicks.
Configuring and connecting your devices
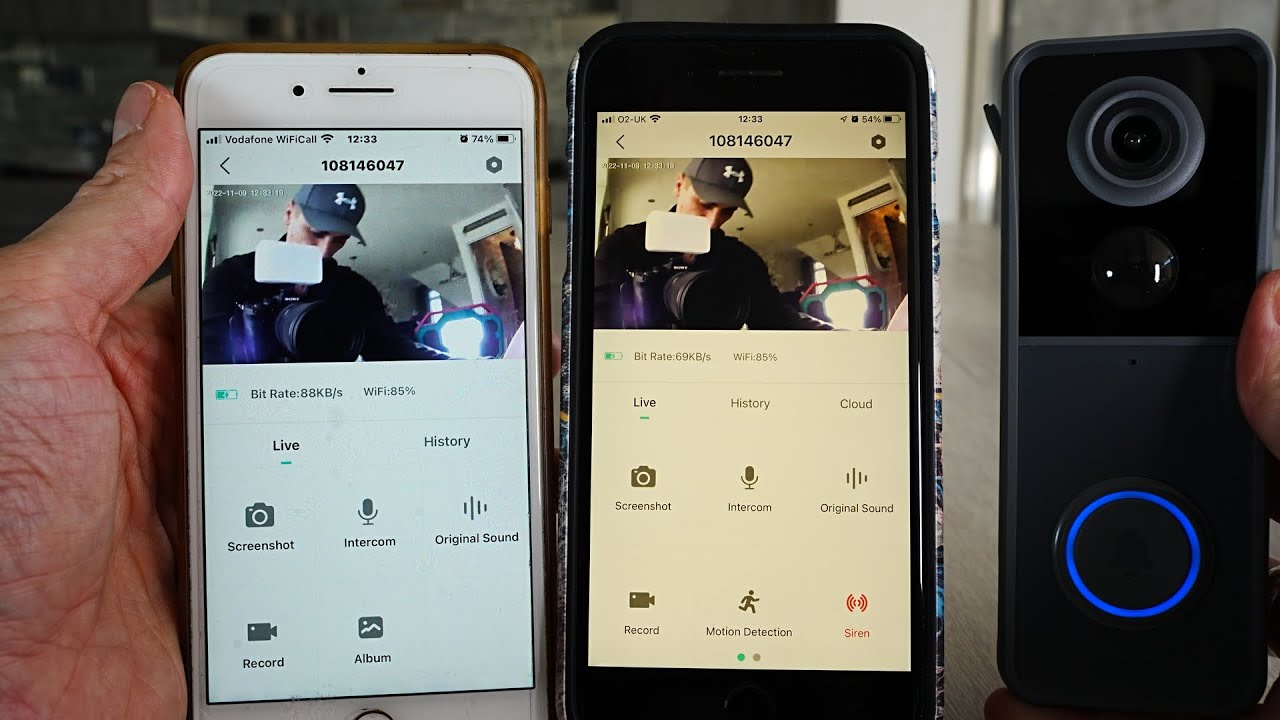
Once the doorbell is mounted, open the Ring app and follow the on-screen prompts to scan the QR code on the device. You will need to connect to your home's 2.4 GHz Wi-Fi network during this setup. Some newer Ring models also support 5 GHz networks. If you live with others, you can connect Ring Video Doorbell to multiple phones by inviting household members through the app's "Shared Users" feature. This gives everyone their own access to live views and alerts. After the initial connection, you may want to adjust volume on Ring Video Doorbell 2 specifically by tapping the device settings and sliding the speaker level to your preference. The default chime can be startling in a quiet home. For those with other smart home ecosystems, you can connect Blink Video Doorbell to Alexa using the "Skills" menu in the Alexa app. This allows voice announcements when someone presses the button. If you prefer a unified interface, you can get your video doorbell to work with a different app by checking whether your model supports third-party integrations. Ring devices generally work best with their own app, but some models offer limited compatibility through APIs or smart home hubs.