Introduction
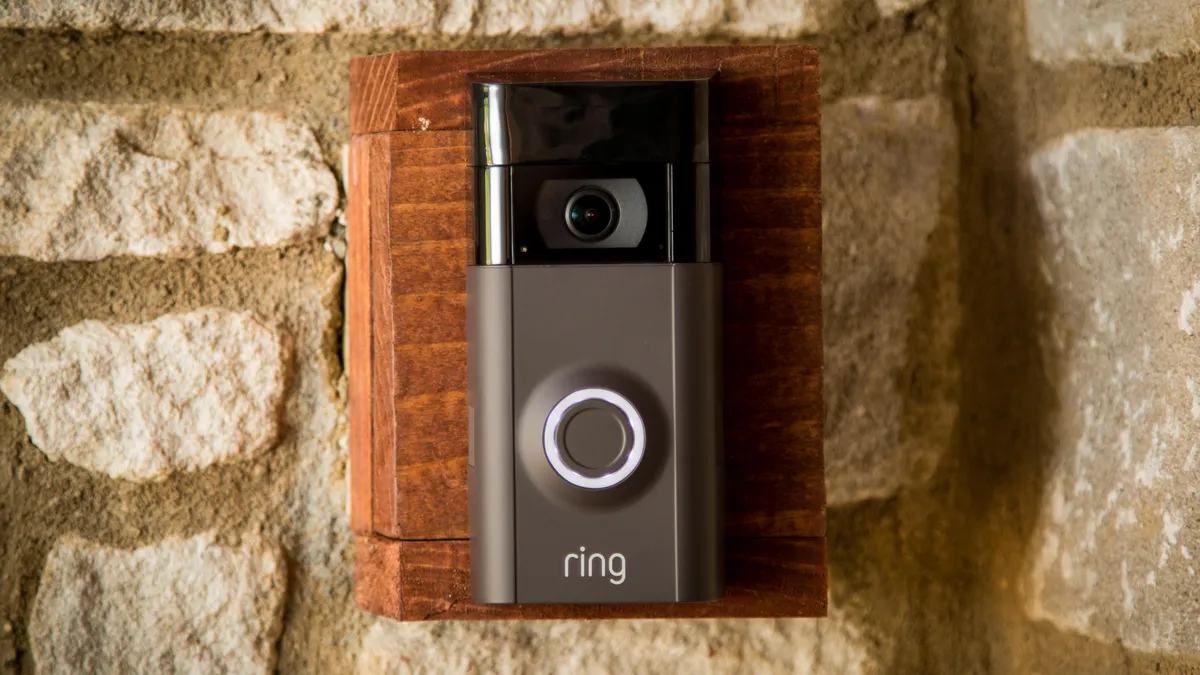
Welcome to our guide on how to physically install your Ring Video Doorbell without an existing doorbell! The Ring Video Doorbell is a revolutionary device that allows you to monitor and communicate with visitors at your front door from anywhere using your smartphone or tablet. Whether you want to enhance your home security, increase convenience, or simply have peace of mind, installing a Ring Video Doorbell is a great investment.
While many homes already have a traditional doorbell setup in place, there are situations where you may not have an existing doorbell to replace. Don’t worry! Installing a Ring Video Doorbell without an existing doorbell is still a straightforward process that you can easily accomplish with the right tools and instructions.
In this tutorial, we will guide you through the step-by-step process of physically installing your Ring Video Doorbell in a location without an existing doorbell. From choosing the ideal installation spot to connecting the wiring and adjusting the settings, we will cover everything you need to know to successfully set up your Ring Video Doorbell. So let’s get started!
Tools and Materials Needed
Before you begin the installation process, make sure you have the following tools and materials on hand:
- Screwdriver (typically Phillips-head)
- Drill (if necessary)
- Drill bits (if necessary)
- Level
- Tape measure
- Pencil or marker
- Mounting screws
- Anchors (if needed)
- Mounting bracket (included with the Ring Video Doorbell)
- Ring Video Doorbell
- Wiring (optional, depends on power source)
- Wire stripper (if wiring is required)
It’s important to have all the necessary tools and materials ready before starting the installation process. This will ensure a smooth and efficient installation without any delays or interruptions.
Additionally, it’s a good idea to gather any user manuals or documentation that came with your Ring Video Doorbell. These resources can provide specific instructions and information that may be unique to your device model.
Now that you have everything you need, let’s move on to the step-by-step installation process for your Ring Video Doorbell without an existing doorbell.
Step 1: Choose the Ideal Location for Your Ring Video Doorbell
The first step in installing your Ring Video Doorbell without an existing doorbell is to choose the ideal location for it. This is an important decision as it will determine the visibility and functionality of your device. Here’s what you need to consider:
- Mounting Height: The recommended height for your Ring Video Doorbell is approximately 48 inches (about 4 feet) off the ground. This height is suitable for capturing clear video footage of visitors and allows for easy interaction with the doorbell.
- Viewing Angle: Ensure that the chosen location provides a clear view of your front door and the surrounding area. Avoid obstructions such as trees, shrubs, and other objects that could hinder the device’s line of sight.
- Accessibility: The location should be easily accessible for installation and maintenance purposes. It’s important to have a stable surface for mounting the device and sufficient space for connecting the wiring (if applicable).
- Power Source: Consider the availability of a power source near the chosen location. If you have an existing doorbell wiring, you can connect your Ring Video Doorbell to it. If not, you can opt for battery-powered or solar-powered options.
Once you have identified the ideal location for your Ring Video Doorbell, use the mounting bracket included in the package to mark the drilling holes. You can use a tape measure, level, and pencil or marker to ensure accurate placement.
Remember, the location you choose will have a direct impact on the functionality and effectiveness of your Ring Video Doorbell. Take your time to select the best spot before proceeding to the next step.
Step 2: Prepare Your Doorbell Mounting Area
Now that you have chosen the ideal location for your Ring Video Doorbell, it’s time to prepare the mounting area. Follow these steps to ensure a smooth installation:
- Prepare the Surface: Clean the mounting area on your wall or door frame to ensure a smooth and secure installation. Remove any dirt, dust, or debris that may affect the adhesion or stability of the mounting bracket.
- Check the Surface Material: Depending on the material of your mounting surface, you may need to use different drilling techniques and anchor options. For example, if you’re mounting the device on brick or stucco, you may require masonry anchors and a drill with appropriate bits.
- Determine the Mounting Orientation: Depending on your preference and the structure of your mounting surface, decide whether you want to mount the Ring Video Doorbell vertically or horizontally. The Ring Video Doorbell can be installed in either orientation, and it’s important to choose the one that works best for your space.
- Check for Obstructions: Before proceeding with the installation, ensure that there are no hidden wires, pipes, or other obstructions behind the mounting area. Carefully examine the wall or door frame to avoid any accidental damage or interference.
By taking the time to prepare your mounting area, you can ensure a secure and stable installation. This step is crucial in creating a solid foundation for your Ring Video Doorbell.
Step 3: Attach the Mounting Bracket to the Wall
Now that you have prepared the mounting area, it’s time to attach the mounting bracket to the wall or door frame. Follow these steps to securely mount your Ring Video Doorbell:
- Position the Mounting Bracket: Place the mounting bracket on the previously marked drilling holes. Ensure that it is level and aligned with your desired orientation (vertical or horizontal).
- Mark the Screw Holes: Use a pencil or marker to mark the drilling points through the holes in the mounting bracket. This will guide you when drilling the holes for the screws.
- Drill the Holes: Using a drill with the appropriate bit for your surface material, carefully drill the marked holes. Ensure that your drill is set to the correct depth to accommodate the length of the screws.
- Install Anchors (if necessary): If you are mounting the device on a surface that requires anchors (e.g., brick, stucco), insert the anchors into the drilled holes. Gently tap them in with a hammer until they are flush with the surface.
- Secure the Mounting Bracket: Align the mounting bracket with the drilled holes and attach it to the wall or door frame using the provided screws. Tighten the screws securely but be careful not to overtighten and damage the bracket or surface.
- Double-Check Alignment: Ensure that the mounting bracket is firmly secured and level. Use a level to confirm that it is correctly aligned to prevent any issues with the positioning of your Ring Video Doorbell.
Once the mounting bracket is securely attached, you have completed the crucial step of setting up the foundation for your Ring Video Doorbell. It’s now time to move on to the next step and connect the wiring (if applicable).
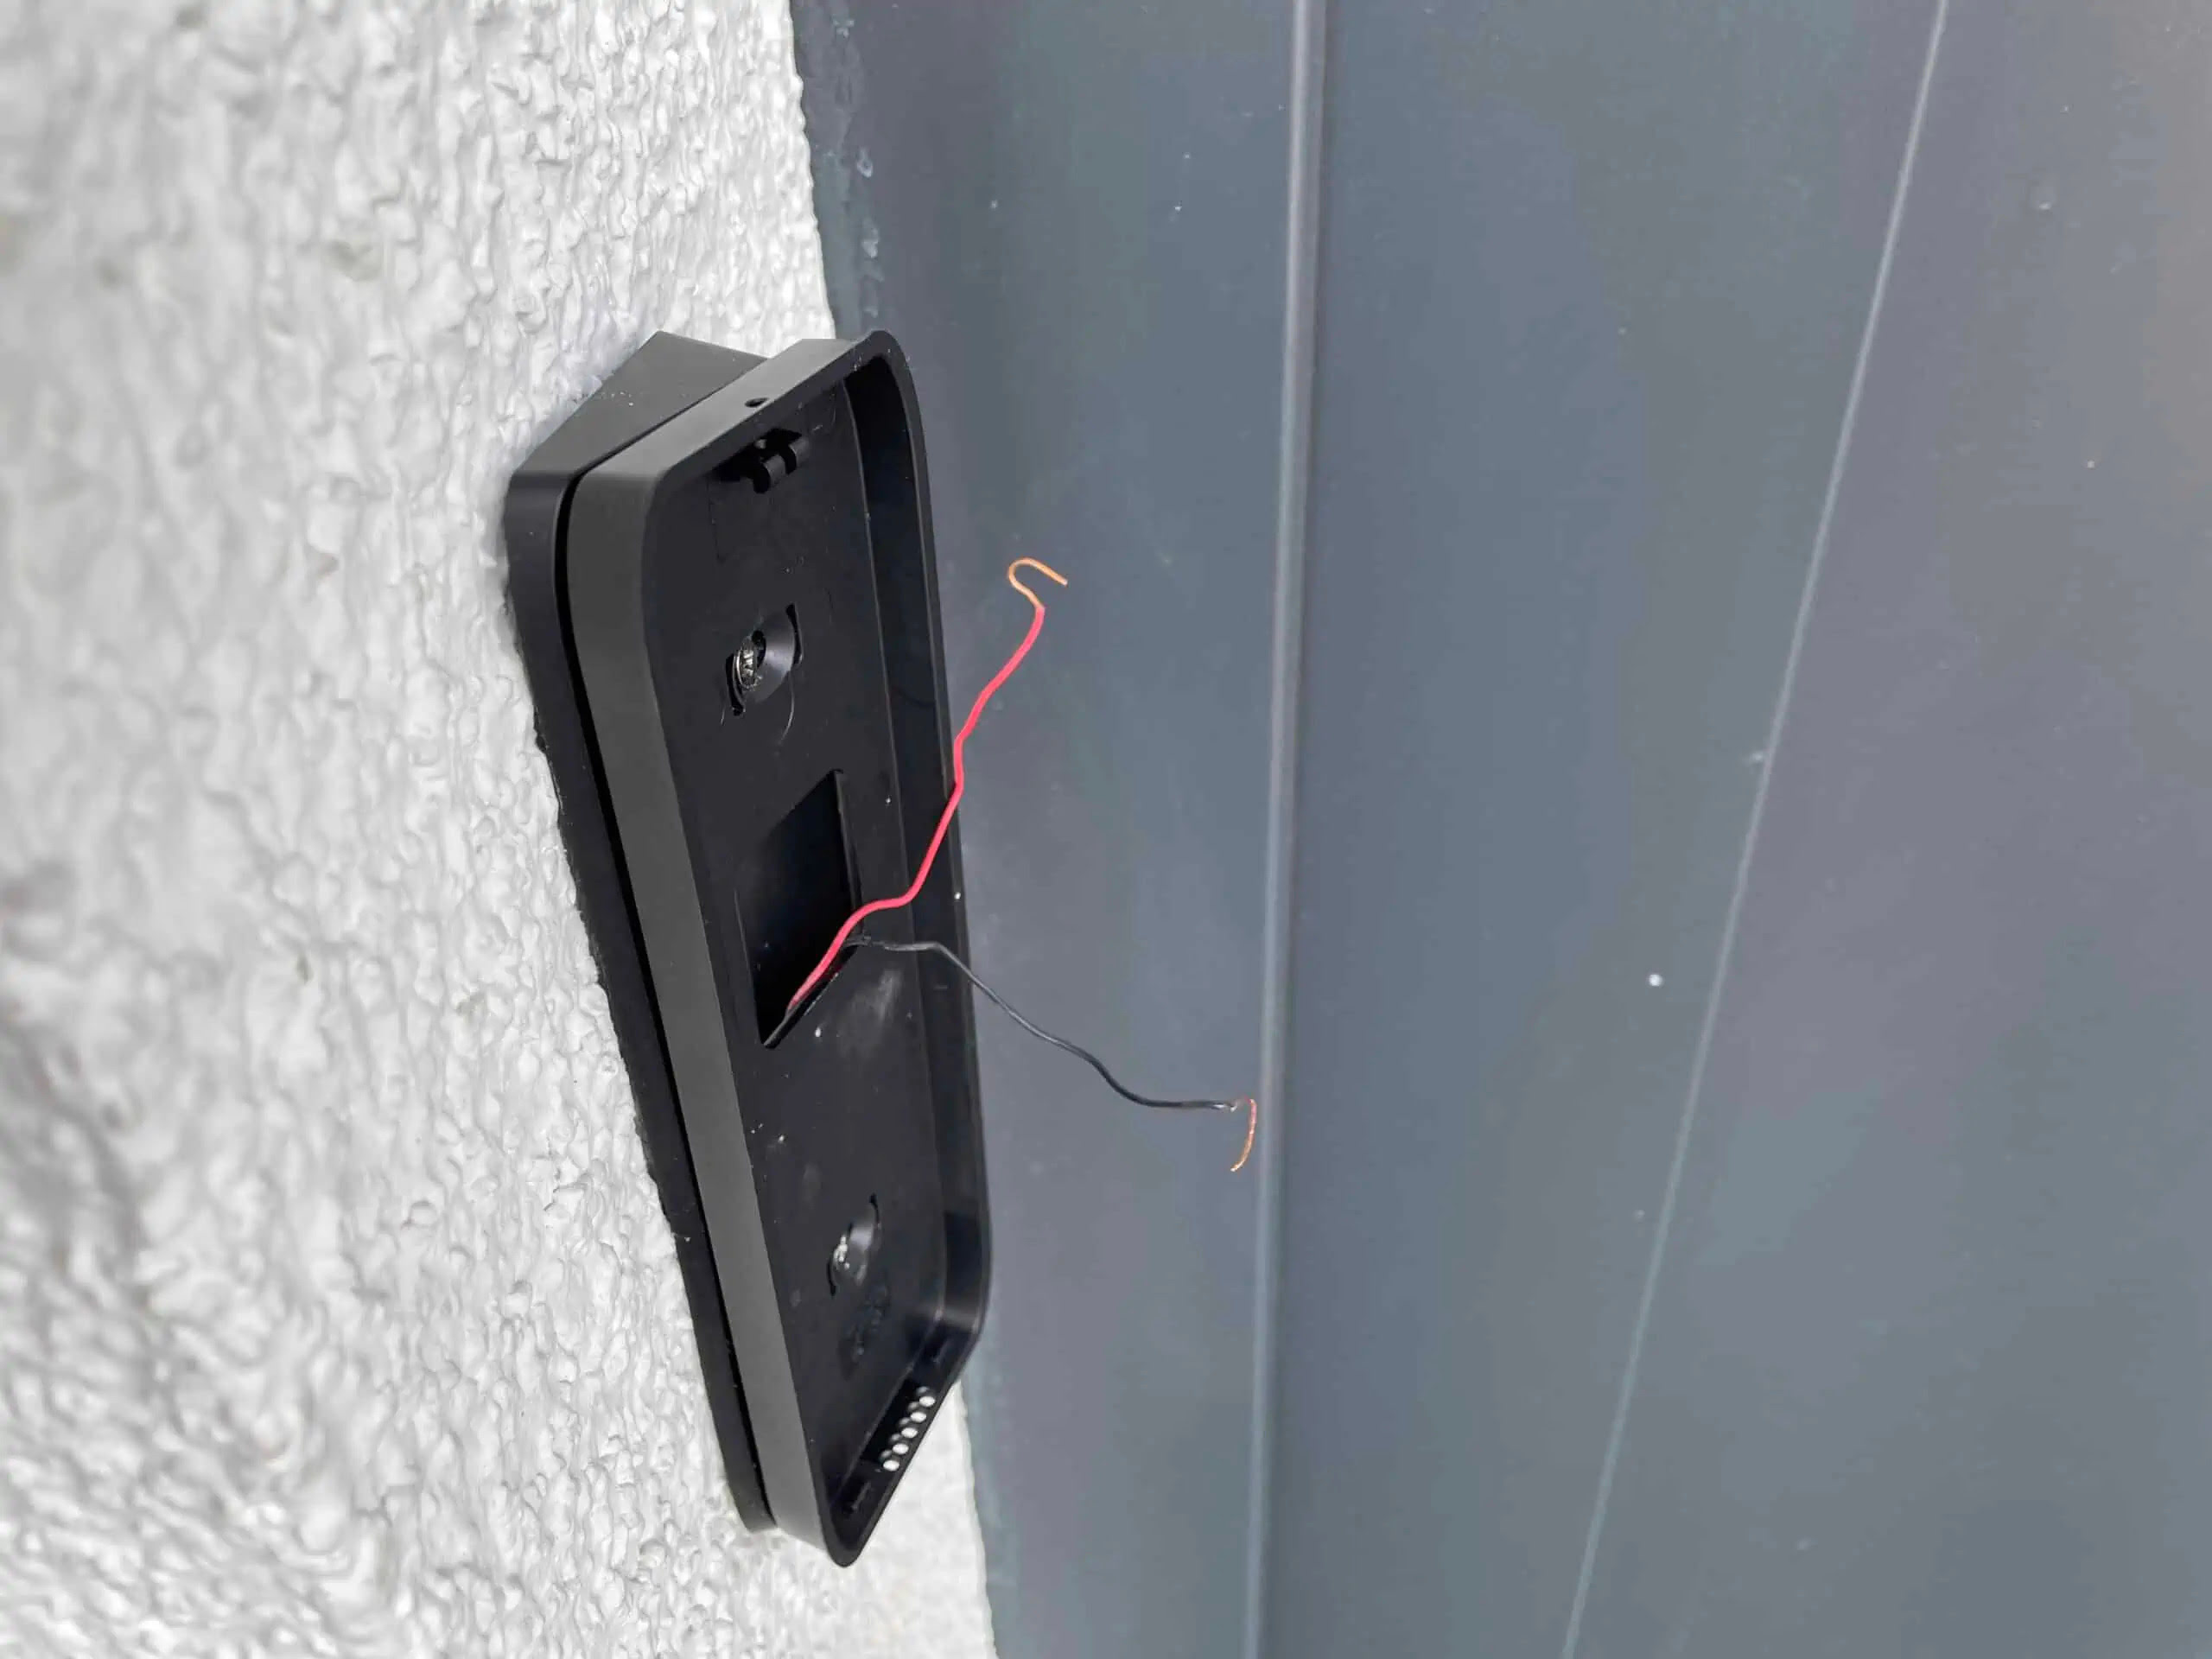
Step 4: Connect the Wiring
Connecting the wiring is an important step in the installation process, especially if you’re using the Ring Video Doorbell with a wired power source. Follow these steps to ensure a proper and secure connection:
- Locate Power Source: If you have an existing doorbell wiring, locate the power source and ensure that it’s in good condition. Turn off the power to the doorbell at the breaker box to prevent any electrical accidents.
- Remove Old Doorbell: If there was a previous doorbell installed, carefully remove it from the mounting surface. Disconnect any wiring connected to the old doorbell.
- Prepare the Wires: Strip the ends of the wires to expose the bare copper. Use a wire stripper to remove the insulation from approximately 1/2 inch of the wire ends.
- Connect the Wires: Match and connect the corresponding wires from the Ring Video Doorbell to the doorbell wiring in your home. If necessary, use wire nuts or electrical tape to secure the connections.
- Verify Connections: Double-check that all connections are secure and properly insulated. Tug gently on the wires to ensure they are firmly connected.
- Test the Power: Turn the power back on at the breaker box and verify that your Ring Video Doorbell is receiving power. You can do this by checking the LED indicator on the device or using the Ring mobile app to monitor the device status.
It’s important to handle electrical connections with care and take the necessary precautions to avoid any hazards. If you are unsure about dealing with electrical wiring, it’s recommended to seek the assistance of a qualified professional to ensure a safe and proper installation.
However, if you are using a battery-powered or solar-powered Ring Video Doorbell, you can skip this step and proceed to the next step, where you will attach the Ring Video Doorbell to the mounting bracket.
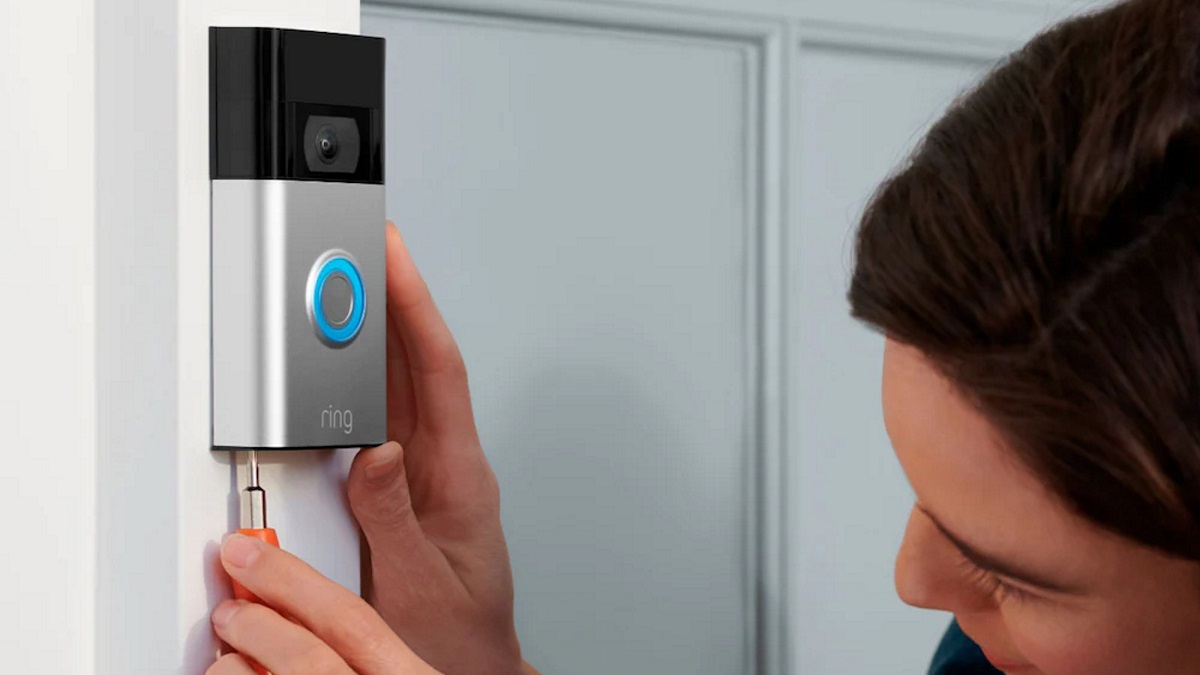
Step 5: Attach the Ring Video Doorbell to the Mounting Bracket
Once you have the mounting bracket securely installed and the wiring (if applicable) properly connected, it’s time to attach your Ring Video Doorbell to the mounting bracket. Follow these steps to ensure a secure and stable attachment:
- Align the Doorbell: Position your Ring Video Doorbell in front of the mounting bracket. Ensure that the screw holes on the back of the doorbell align with the corresponding holes on the mounting bracket.
- Insert the Screws: Insert the provided screws into the holes on the back of the doorbell and align them with the holes on the mounting bracket. Using a screwdriver, gently tighten the screws until the doorbell is securely attached.
- Double-Check Alignment: Ensure that the Ring Video Doorbell is level and properly aligned with the mounting bracket. Use a level to verify that the device is straight and not tilted.
- Test the Doorbell: Test the functionality of your Ring Video Doorbell by pressing the doorbell button or using the Ring mobile app. Make sure that the doorbell rings and that you are able to receive notifications and communicate with visitors.
It’s important to ensure that the Ring Video Doorbell is securely attached to the mounting bracket to prevent any accidental removal or damage. Take the time to double-check the alignment and functionality before moving on to the next step.
With your Ring Video Doorbell properly attached, you’re now one step closer to enjoying the convenience and security it offers. The next step will involve testing and adjusting the motion detection settings to optimize the performance of your device.
Step 6: Test Your Ring Video Doorbell
After successfully attaching your Ring Video Doorbell to the mounting bracket, it’s time to test its functionality and ensure that everything is working as expected. Follow these steps to test your device:
- Activate the Device: Depending on the power source for your Ring Video Doorbell (wired, battery-powered, or solar-powered), ensure that it is properly powered up and ready to be tested.
- Ring the Doorbell: Press the doorbell button or use the Ring mobile app to simulate a visitor ringing the doorbell. Listen for the chime and check if you receive a notification on your connected device(s).
- Check Video and Audio Quality: When the doorbell is pressed, check the video feed on your mobile device to confirm that you can see and hear the visitor clearly. Test the two-way audio feature to ensure that you can communicate effectively.
- Adjusting the Motion Detection Settings: If necessary, adjust the motion detection settings to optimize the performance of your Ring Video Doorbell. This includes setting the motion sensitivity, creating motion zones, and customizing the notifications you receive.
By testing your Ring Video Doorbell, you can ensure that it is functioning properly and meeting your expectations. If you encounter any issues during the testing phase, consult the user manual or reach out to Ring support for assistance.
Once you have confirmed that your Ring Video Doorbell is working as intended, you can proceed to the final step of adjusting the motion detection settings to suit your specific needs and preferences.
Step 7: Adjusting the Motion Detection Settings
Adjusting the motion detection settings of your Ring Video Doorbell is an essential step to ensure that it accurately detects and notifies you of any movement around your front door. Follow these steps to customize the motion detection settings:
- Launch the Ring App: Open the Ring mobile app on your smartphone or tablet, and log in to your Ring account if necessary.
- Select Device Settings: Locate and select your Ring Video Doorbell from the list of devices associated with your account.
- Access Motion Settings: Within the device settings, find and tap on the “Motion Settings” option. This will allow you to adjust the motion detection settings.
- Adjust Motion Zones: If your Ring Video Doorbell supports motion zones, fine-tune the areas in the camera’s field of view where you want motion to be detected. This helps to reduce false alerts and focus on specific areas of interest.
- Tweak Sensitivity Settings: Depending on your preferences, adjust the sensitivity of the motion detection feature. Higher sensitivity levels will detect even subtle movements, while lower levels may reduce false alerts caused by background activity.
- Customize Notifications: Select the desired type of notifications you want to receive when motion is detected. This can include audible chimes on your device, mobile notifications, or both.
- Test and Refine: After making adjustments, test the motion detection by walking or moving in front of the Ring Video Doorbell. Monitor the camera feed and notifications to ensure that the device is capturing the desired activity accurately.
By adjusting the motion detection settings to your liking, you can ensure that your Ring Video Doorbell effectively captures and alerts you to any motion around your front door, providing an added layer of security and convenience.
Once you have fine-tuned the motion detection settings, you are ready to fully enjoy the benefits of your Ring Video Doorbell. Take some time to familiarize yourself with the various features and settings available through the Ring mobile app for a seamless user experience.
Conclusion
Congratulations! You have successfully completed the installation of your Ring Video Doorbell without an existing doorbell. By following the step-by-step instructions outlined in this guide, you have set up a powerful and convenient device that enhances the security and convenience of your home.
Throughout this installation process, you have chosen the ideal location for your Ring Video Doorbell, prepared the mounting area, attached the mounting bracket, connected the wiring (if applicable), attached the doorbell to the mounting bracket, tested its functionality, and adjusted the motion detection settings to your preferences.
Now, you can enjoy the benefits of your Ring Video Doorbell, including the ability to remotely monitor your front door, communicate with visitors, and receive instant notifications of any activity. This device provides peace of mind and convenience, allowing you to feel more secure and in control of your home’s entryway.
Remember, if you encounter any issues or have further questions, consult the user manual provided with your Ring Video Doorbell or reach out to Ring support for assistance. They are available to help troubleshoot and address any concerns you may have.
Thank you for choosing Ring and for taking the time to install your Ring Video Doorbell. Enjoy the added security and convenience it brings to your home!